You must be logged in to rate content!
14 minute(s) of a 720 minute read
10-13-2012
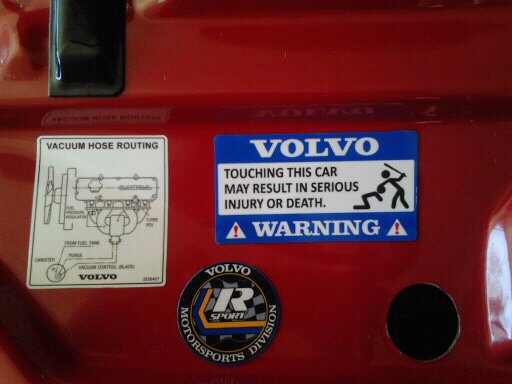
Received a few items fro Dave Bartons site. So I applied the Vacuum Hose Routing Decal and the Retro to R134A Refrigerant Decal. Just to keep thing right..........
Also a special Volvo Warning Decal. I got a few other things too. More on those later.
10-15-2012
Hot Diggity. The Upper Steering Shaft U Joint came in today & I went to get it.
I noticed it had a coating of some type that made it appear dullish greyish in appearance.
So I packed clean paper towels around all the U Joint's Neoprene Seals.
Then I *very lightly & carefully* hit it on the steel wire brush wheel on my bench grinder.
Then "sanded it" with some Green Scotch Brite Pads, to give it some brushed appearance.
Then............ my CVOCD kicked in high gear at full throttle. I figured I'd do a little "rust proofing" of the actual u joints in my favorite color
I sprayed some Brakleen *on a paper towel*, then wiped any/all oil/cosmoline/grease off the just the u joint parts to be painted.Did this twice.
Then I sprayed the paint into a srpay can lid that I collect for just such adventures/endeavors. And I brushed on the paint with a quality modeler's paint brush. I carefully kept the paint out of the u joint's end cap grease seals.
While this might not last forever, it'll stay for a year or five I hope. Anything to slow down silent & sneaky *Ol' Man Rust*
For those wondering, I used VHT High Temperature Engine Enamel (up to 550F*) in SP134 Ford Light Blue color.
FWIW, This VHT Light Ford Blue color, is a dead match for the blue IPD powdercoats their adjustable suspension parts & Sport Springs. I wish I had seen this paint before I painted my IPD Sway Bars .
I'll start installing these and the new/remanned P/S rack tomorow or the next day. The paint on the u joints should be dried fully by then.
Pics below:
Here's what the brand new upper ujoint looked like when I got it.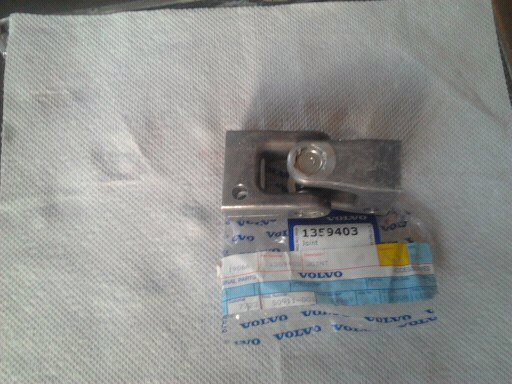
And after I used wire buffer/bench grinder lightly & then Scotch Brite pads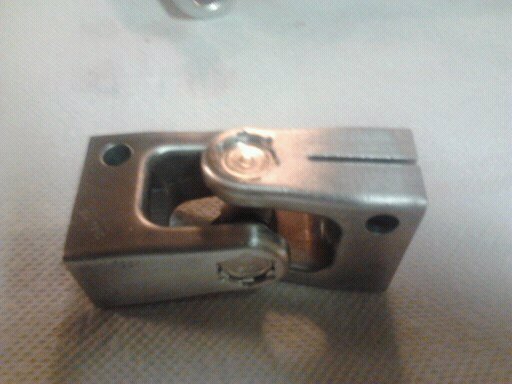
Here's both Scan tech Lower, and OEM Volvo Upper U Joints
And my CVOCD Detailing of both....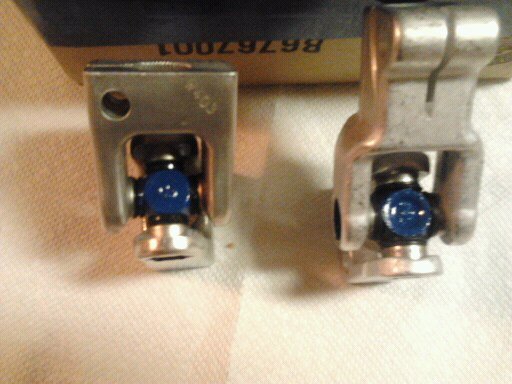
10-17-2012
Got a little work done today. I hope to finish it tomorrow. I clean the splies with a stiff brass brush & then applied NeverSieze to all the splined areas on the steering shaft , u joints, and the threaded portions of the inner tie rods. Should make disassembly a bit easier when I do this again in 21+ years from now.
Pics below: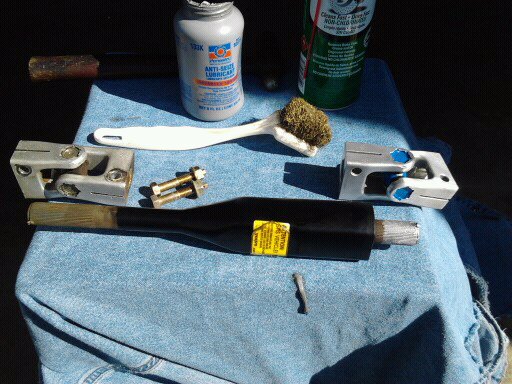
Steering shaft in with the new upper & lower u joints.
Blurry P/S rack installed pic that I'll replace with a better one tomorrow.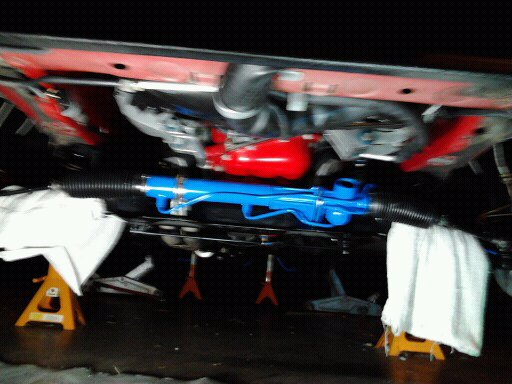
10-19-2012
Well, I now since I already had the upper & lower steering shaft u joints, and stering rack with tie rod ends in the spindle arms all installed.
I then I installed the P/S Resrvoir onto the P/S Pump,and bolted the P/S Pump/Reservoir Assembly to it's brackets .
Then I installed the P/S lines with the banjo bolts, & with new banjo bolt copper seal washers into the respective P/S Rack hose ports.
And tightened/torqued them by "experienced hand pulls" of the closed end wrenches I used.
By using wrenches I only had to remove the sway bar. Otherwise I would have had to pull the A/C Compressor and a few other odds & ends.
Since the A/C was recently charged with R 134a refrigerant, and is doing fine, I chose the simpler amd easier way of tighening the P/S Hose banjo bolts to the rack's ports.
I routed the P/S lines very nicely & expertly, even if I do say so myself.
I filled the P/S reservoir with about 1/2 qt of ATF Type F fluid, and turn the wheels left/right/left/right then topped off the P/S Reservoir again, and repaeated this scenario, and addding fluid, a few times.
Then I installed the IPD Front Sway bar, and got it all bolted in. The passenger side front wheel is askew a bit, but was "well enough aligned by eyeball" enough to drive a little.
So.........I turned on the heater and drove the car @ 7 miles to get engine up to operating temp and get the t - stat to open. I drove home, let it idle a few minutes just to add some heat maybe, then checked both of the temp gauges and yep, op temp had been reached.
So I cut it off, and immediaitely drained the coolant via removing lower radiator hose and loosening the overflow bottle's cap. With my large stainless steel drain pan, surround by lots of rags of course. And of course *with my faithful and loyal APBT Ozzy in the house*, so he couldn't lap up any *poisonous coolant*.
I also removed the T Stat housing, and turn the "piddle valve" that is of the top of the t-stat, straight up to the top at the 12 o'clock position . This per Apachechef's recommendation,a while back, which makes good sense. Air always rises to the top in water.
I then re attached lower rad hose, and filled with 2 gallons of distilled water. Then I again, drove the car (with heater on) @ 7miles, to get op temp .
Came back, drained coolant again. Refilled again, with 2 gallons of distilled water, and drove 7 miles again.
I did this scenario *two more times*. So after draining the 1st coolant out and then 4 distilled water refills and almost 8 gallons of distilled water later...............
. The 4th drain gave me *exactly* what I wanted coming out of the block & radiator.
"Pure...Clean...Water..Water " (remember that tune ? , you're old if ya do LOL..). I couldn't *even smell any "coolant odor" * in the 4th & last drain of the distilled water. "Right On", that's what I was after.
I then oured in one gallon/3.78 litre of OEM Volvo "Blue" Coolant, Volvo p/n 31338284 according to the jug,, and then topped off with about 1/2 gallon of distilled water. Yep, I noticed that too. Should have held 2 complete gallons, but it is still below the "MAX" mark on coolant overflow bottle.
I figure close to 1/4 to 1/2 gallon was left in the heater core. Though not 100% positive about that. I'll check it tomorrow morning when engine/cooling system is "stone cold" and do a "coolant mix test" with my Prestone Coolant Mix Tester.
But as of now I'm pretty sure I have 50/50 mix of OEM Volvo Coolant & 100% pure, clean Distilled Water. And no dilution of this mix by the old/original Peak 150,000/5 Year Coolant . That , of course, was my objective. 
FWIW, and for Newbies, * ALWAYS, ALWAYS, ALWAYS USE "DISTILLED WATER" OR "PURIFIED WATER" *, or with the coolant in a 50/50 mix in your Volvo, or any other water cooled vehicle. This goes for adding water to your car battery too, should you ever need to.
WHY , YOU ASK?
Because "City Tap Water(chlorine, flourides), well water(iron and mineral deposits), mountain stream (who knows ), melted snow ( air pollution elements?), and seawater (salt a big no-no), *ARE NOT GOOD* for your engine block, water pump impellar and bearing/s, radiator passageways, nor the hoses. And those descriptions only cover a few of the things you do not want in your cooling system, that are in those "waters". "And that's the rest of the Story"
I topped off the P/S Reservoir a few times in between all this too. I have an appointment tomorrow to get the front end alighned properly at local Volvo Dealership.
At least now my complete suspension/steering system rebuild is *completed*, as well as my complete coolant system rebuild is "completed*.
I am now pretty much convinced the Ist. Clstr. Temp gauge's comp board is toasted.
I only need to install the IPD Instrument Cluster Temperature Gauge Compensator By Pass Kit( a wire) tomorrow. As during the fill/drain/drive & /fill/ drain/ drive
scenario, the Instrument Cluster Temp Gauge registered any where from 7-8 o'clock position to 9 o'clock position,to the 10-11 o'clock position, but never into the red, just as it was before the new clutch fan and longer fan shroud install.
Pic of the completed P/S Rack install below: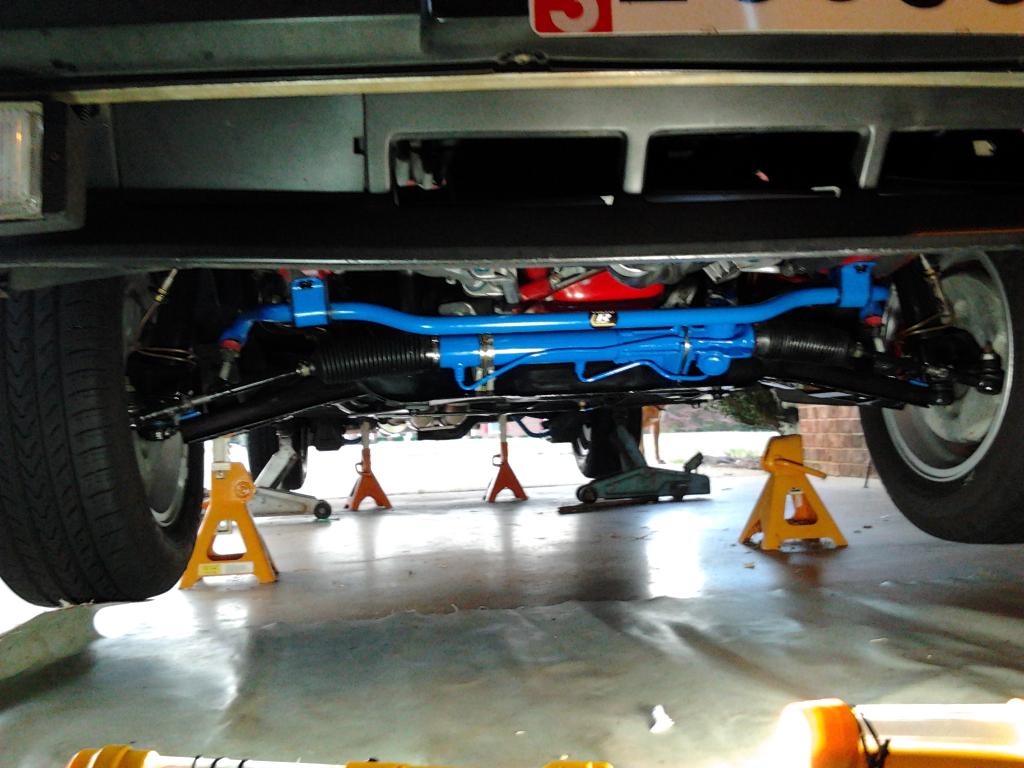
10-20-2012
OK, got the front alignment done. Steering wheel is dead centered, car drives straight, no wandering/pull to one side. So alignment is 100% correct.
I bought some new P/S pump/bracket "flange screws" as Volvo calls them. The old ones had 12mm wrench sized heads. These new bolts have 10mm wrench/socket sized heads. This "change" was part of Volvo's weight shaving and cost savings no doubt. I think I like the new bolt head size better honestly.
Also, remember in an earlier post about the installing the P/S pully onto the P/S pump shaft, I mentioned the pulley went on only so far, and not as far as the old P/S pulley on the old P/S pump?
I said I'd wait & see how the new pulley on the new pump alighned with the A/C Compressor's pulley which drives the P/S pump pulley.
I'm glad I did wait to see how it aligned first...................because it is *dead on* in alignment where it pulley stopped by itself, on the P/S pump's shaft .
The old P/S pump pulley did not align as well as the new one does. Win/Win here I suppose.
Pics Below;
No more rusty bolt heads.... still waiting on the new long through bolt to come in though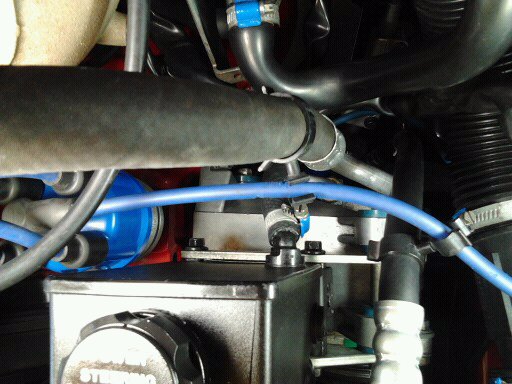
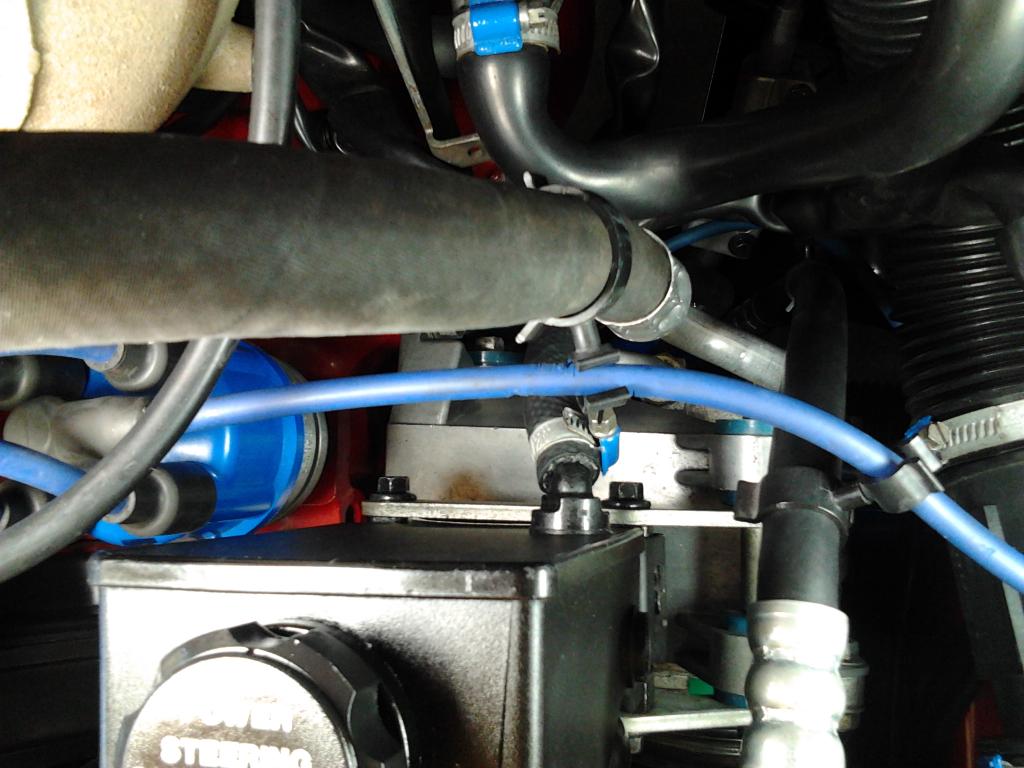

Also, the new OEM Volvo P/S pump Pulley helps appearances too.....
Dead on straight alignment of P/S Pulley to the second A/C drive pully that spins the P/S Pump.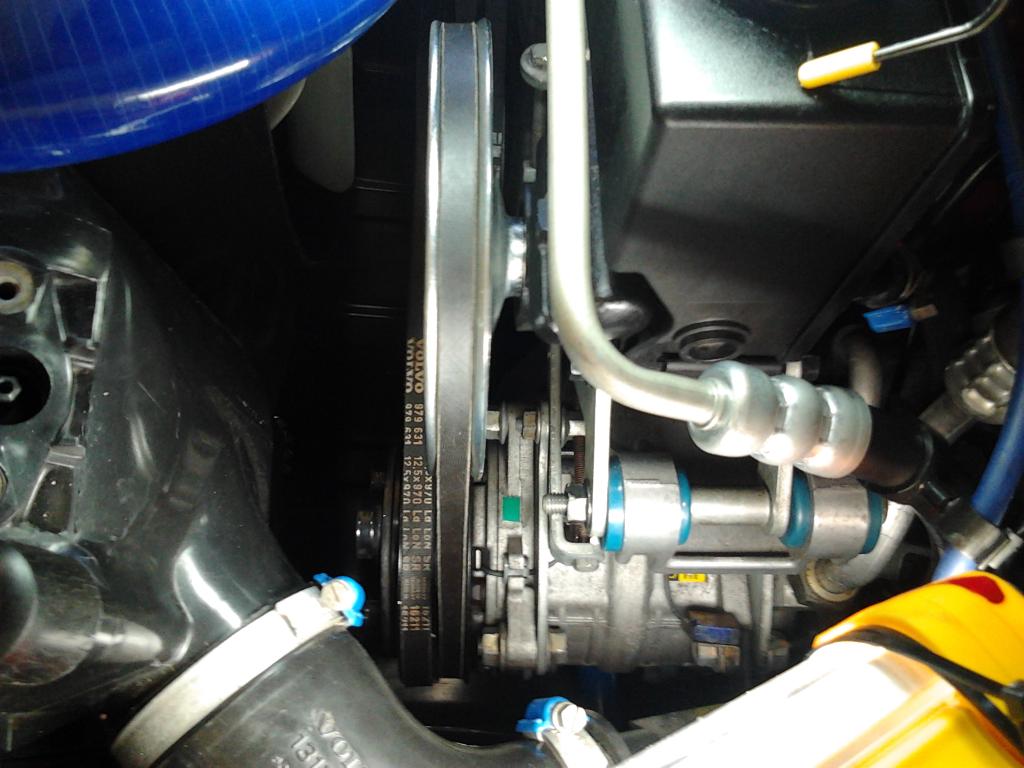

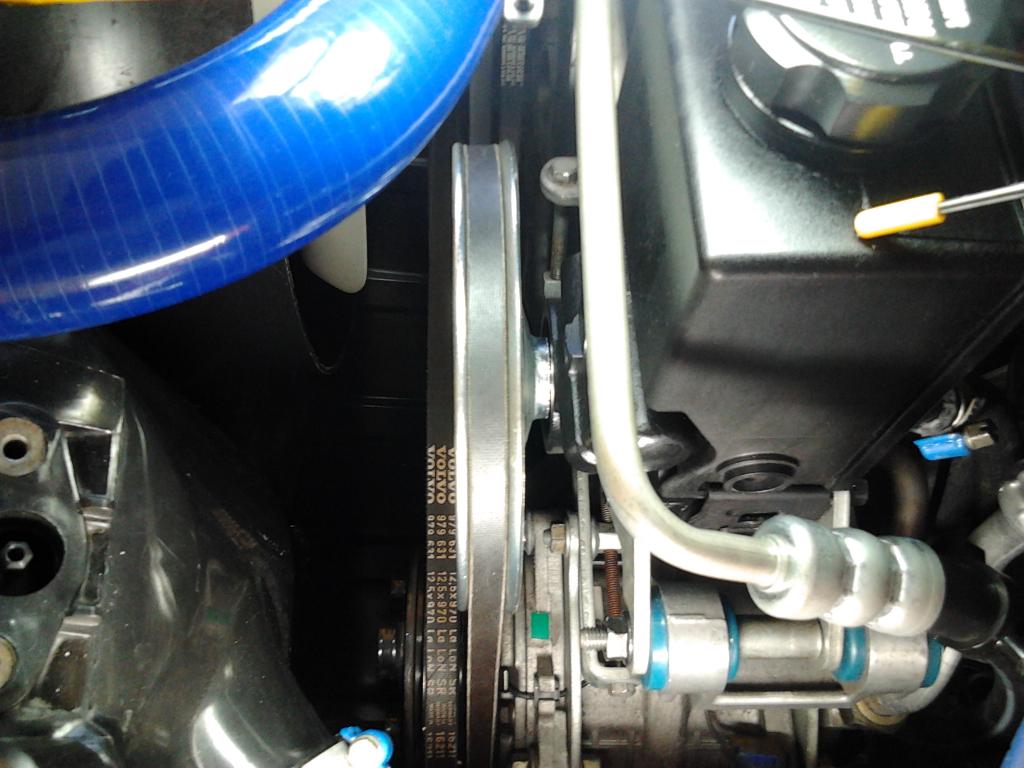
I removed the instrument cluster, remove the gauges from the Inst Clstr Hsg.
I then spent some time cleaning out the inside of the Ist. Clstr Hsg. as it had dust, ciggie ashes etc, had gathered at the bottom. I removed the warning light strips and wiped them off with a damp rag too.
I also wiped off the lense and the black surround inside the hsg,(gently) from inside with a damp soft terry cloth towel scrap and then dried it with same.
I also very gently and very carefully, wiped dust of the gauge's (speedo, tach, fuel & WT)black faces.
Then I used small needle nose pliers to remove the Temp Gauge's Compensatiing Board.
And then used same pliers to install the IPD Comp Board By Pass wire to terminals #1 & #3. Re-installed the gauges into the cluster hsg, and re-installed the cluster into the dash of car.
Reconnected batt cables, and went for a drive.Now the temp needle stays half way between the white border line at bottom and the 9 o'clock position
I do believe theis compensator board was beginning to fail, as sometimes it worked correctly & other time is did not. It varied greatly in it's performance.
I'll see how the gauge acts now with the IPD Temp Gauge By Pass Kit installed.
And the Instrument Cluster now looks much cleaner inside....Pics below
The compensator board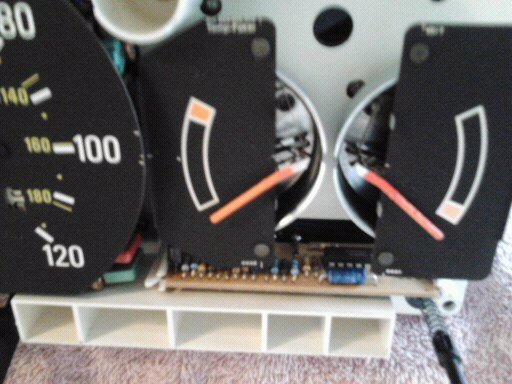
The installed IPD Temp Gauge By pass Kit wire.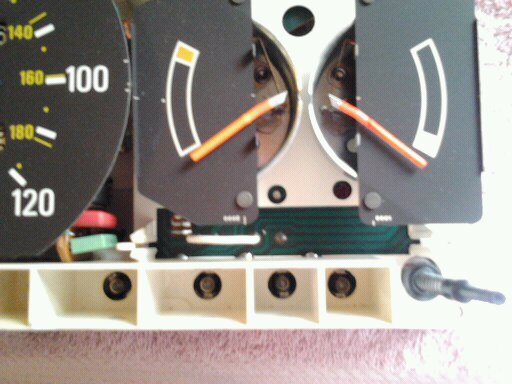
After doing the comp board mod, the Instrument Cluster gauge seems, so far, to have stopped it's erratic readings and stay pretty much in the same place all the time once it reaches operating temps.
Nice to know it was, in fact, the Int Cltr gauge/Compensator Board that was beginning to fail,*and not an actual overheat situation* All the other cooling system components are now all new, so should have years of troublefree performance now.
A spirited test drive tonight after the "Comp Board Removal Mod", comfirms it's cooling *very properly*.


The compensator board, was in deed, *the problem all along*.
10-22-2012
Ordered some nifty little parts from Philski O'Flood tonight, to make the car a little nicer, more classier at night.
More on this mod is soon to come...................................
Meanwhile back at the Ranch.............
I noticed today that the fuel gauge in instrument cluster wasn't reading the full tank of gas. It was registering around 1/2 a tank
I suppose I could have somehow bumped the needle, when doing the comp board by pass kit mod, and didn't realize it.
But come to think of it, the fuel gauge has been acting "lazy" before I started this P/S Rack install *as well as* while I have been driving it, since I installed the P/S Rack.
And it's needle has always had ,what looked like very small mildew spots on it, that none of the others don't have , so it may have been replaced at some point with another, used fuel gauge during the car's life. Dunno for sure.
In any event...I had another cluster from an 86 245, and swapped it/s fuel gauge in the 91 cluster.
It is reading correctly now, but of course the black face finish does not match the others now. So now, I'm looking to buy a good used 1991 flat black 240 fuel gauge now.
I PMed Ken, and hoping he has one.............

Nice build!
Posted by Diggymart on 3/30/20 @ 2:45:08 PM