You must be logged in to rate content!
12 minute(s) of a 720 minute read
2-3-2012
Yep the glue was dry. I chose to toss a little black paint on it to maybe keep termites out.
I'll install the rear seat and probably the speakers, while this gets good 'n dry .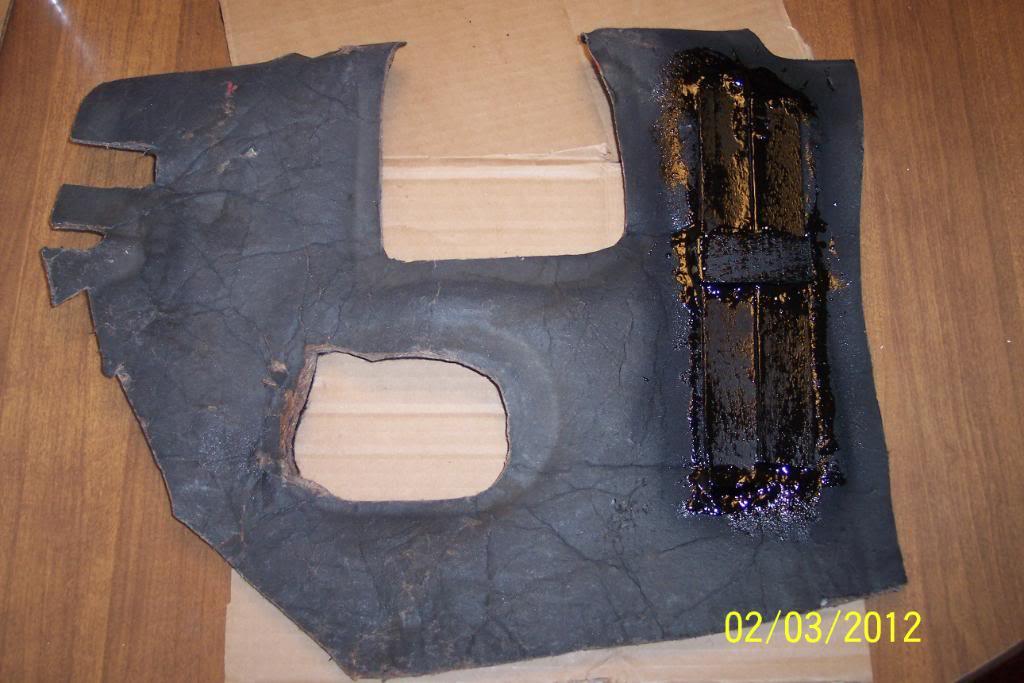
OK, got the insulation padding affixed with the Industrial Strength/Heavy Duty sticky back Velcro fasteners and neatly trimmed to fit the floorboard almost perfectly.
Now.... let's hope the seat fits well, like I'm thinkin it will. Time to find out..........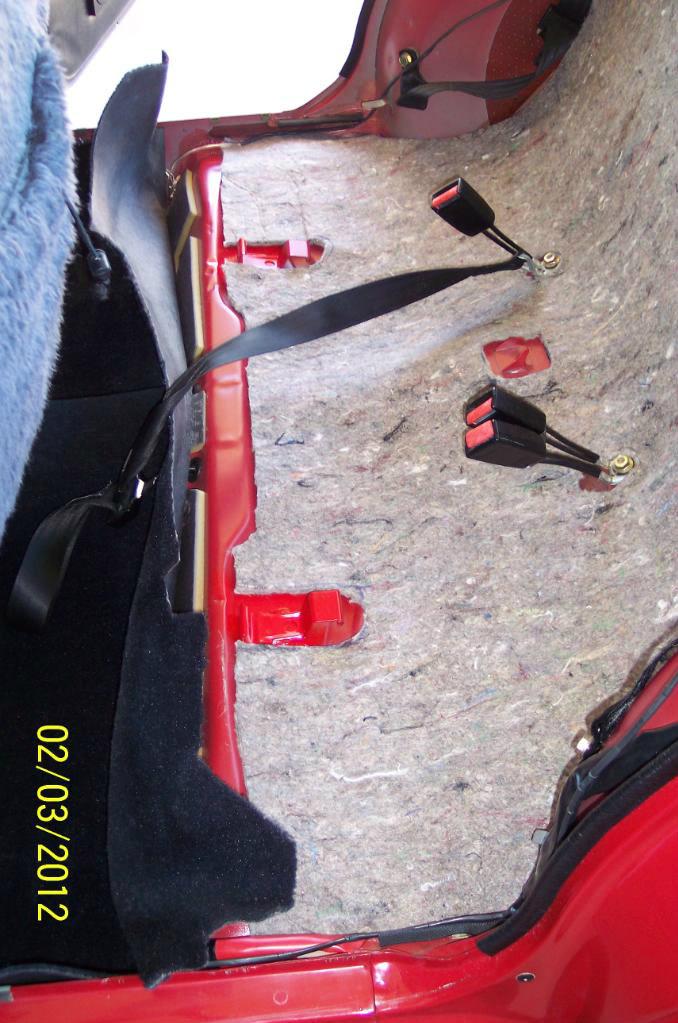
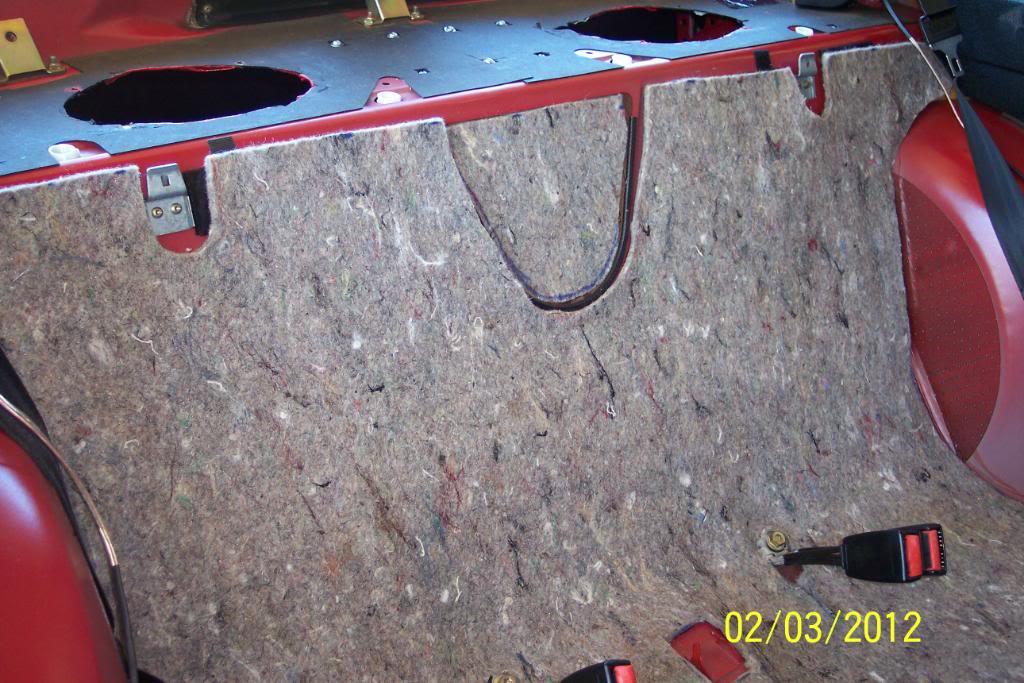
OK,I shortened the passenger side speaker wire by @ two feet or more. I found the extra, rolled up under the car. I left @5 inches on both sides under the carpet, for a little extra wire,should it be needed in the future.
I also re-routed the speaker wires, up along wheel houses, behind the plastic 1/4 window trim, and straight to previously shown hole in the rear window's "down pillar" and into the trunk.
Now.....................
Boy Howdy, the rear top of seat went into place just fine. I have the bottom seat half in place, but not fastened into place yet. I'm going to wait until I get the speakers mounted,then fasten bottom half of seat afterwards.
I installed the black rear seat belt reel covers, & installed the newly carpeted pressboard package tray panel in place.
Then I just laid the speakers in the holes,then laid the grilles on top of them, and then installed the rear headrests to be sure they clear the speaker's grilles.
Test fits just fine,Hot Diggity!! The speakers clear the headrests , and each speaker looks to be perfectly centered between each rear headrest.
Damn,I'm good. I'd say this qualifies me as a sure fire, genuine "One Man Mod Squad" .
I'll wait until I complete the final speaker/headrest/bottom seat install, and wait until I've replaced everything back into the trunk, to post the "before & after" pics.
Ya'll come back now, ya 'ere?
2/5/12
Speakers are installed. In the trunk views only @ 3:00AM EST. Will post view from Interior later today ...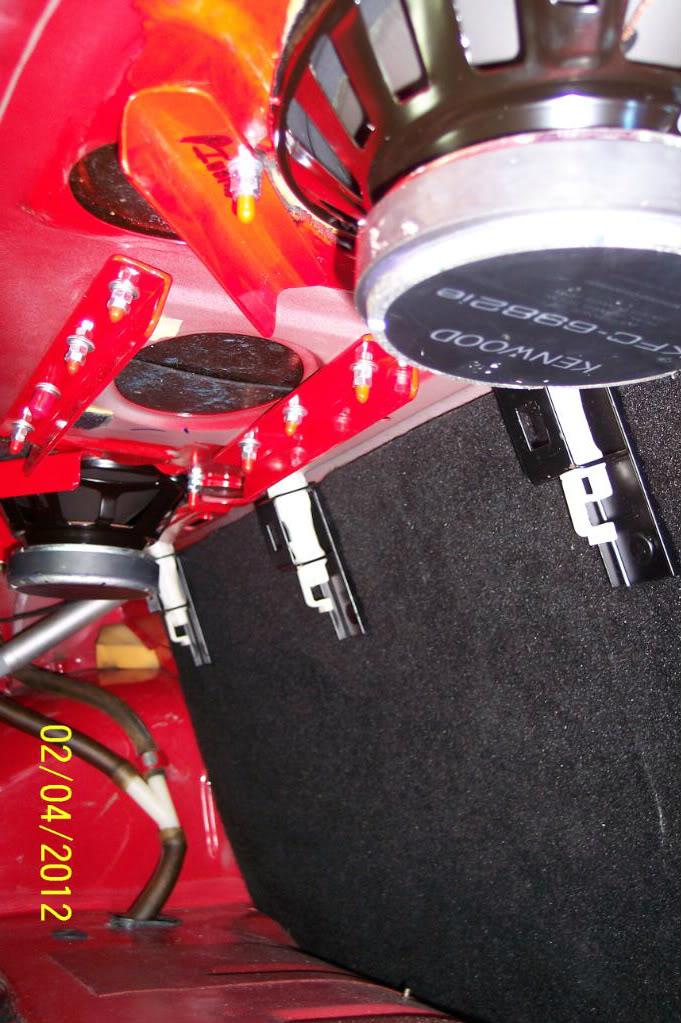
Check the OEM looking clamps holding/routing the speaker wires. I still have to find/make another clamp to hold them off the trunk lid's gas shocks. Have to go hunting this weekend fo them.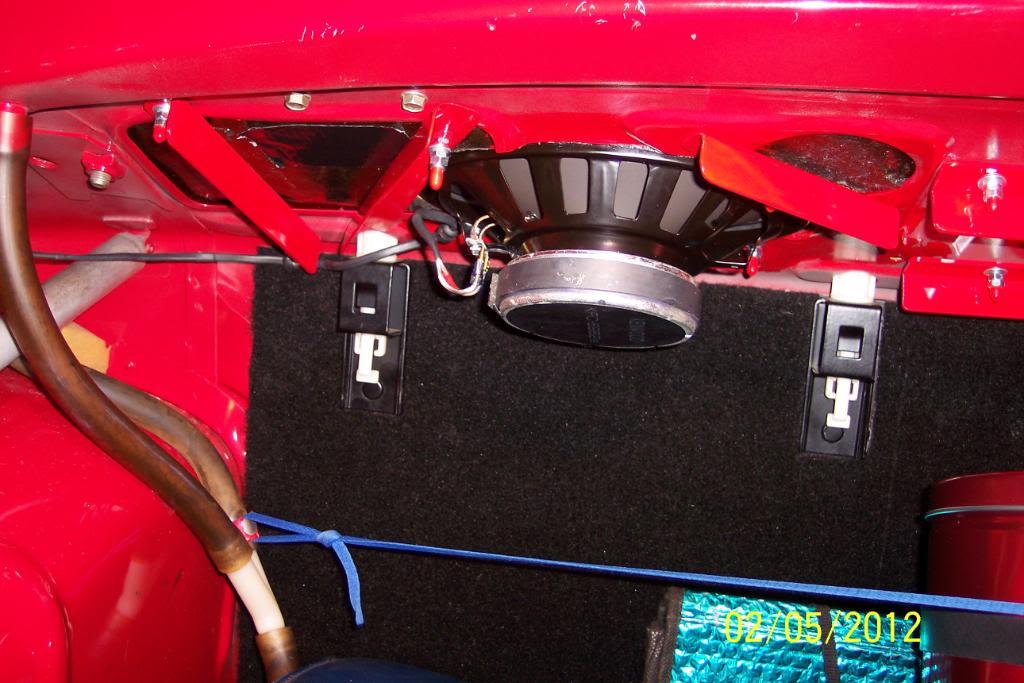
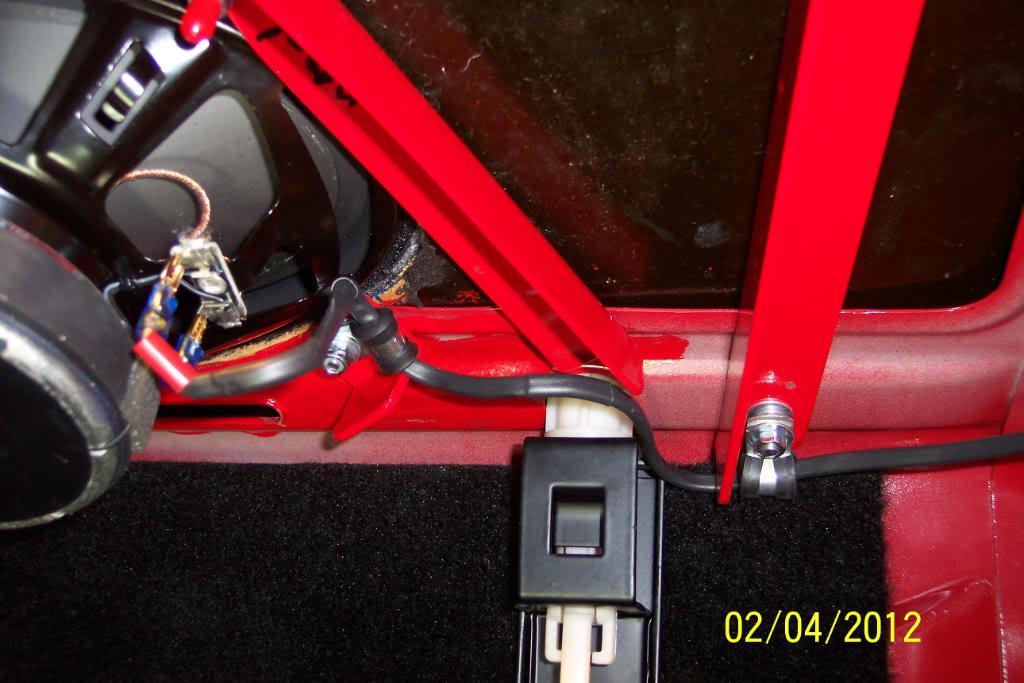

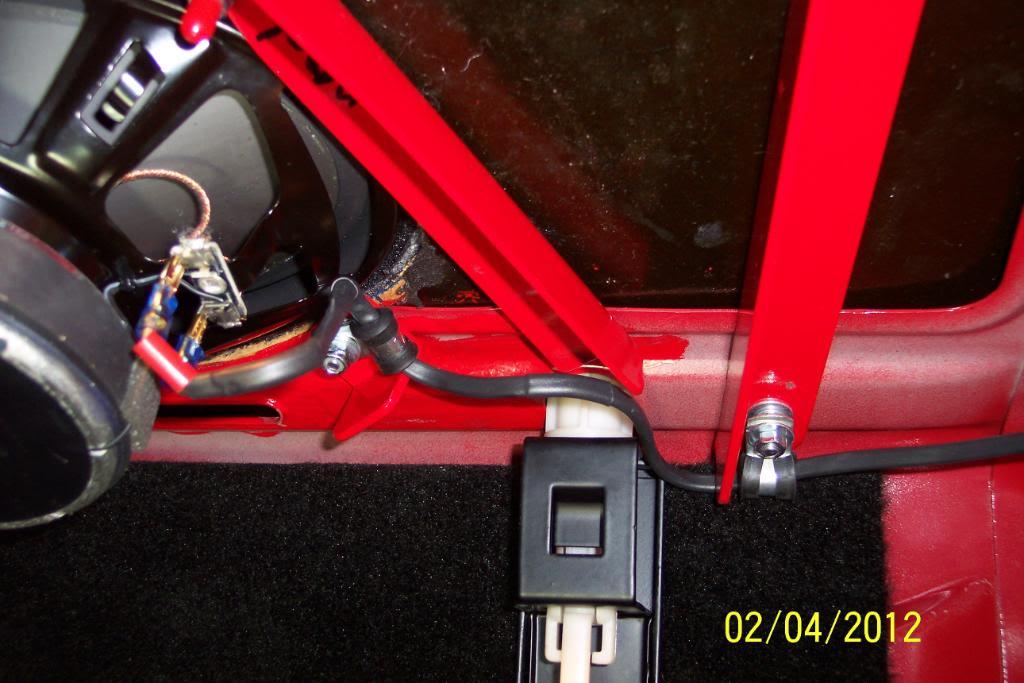
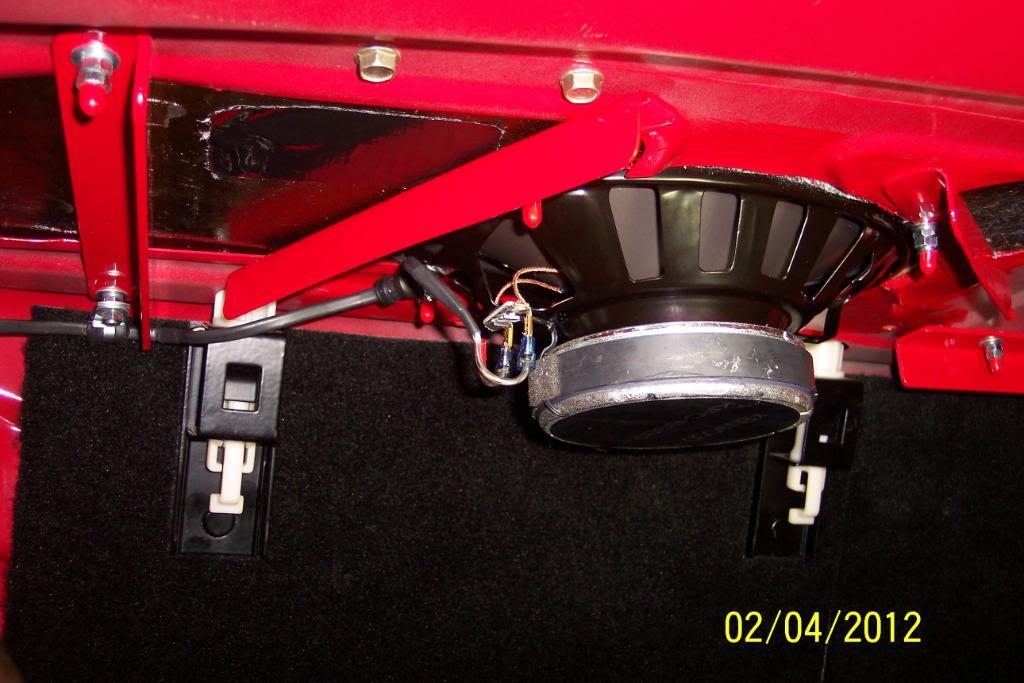
Then I finished installing all of the trunk's insulation padding & it's carpeting..........and yes I see the spot of red near the spare tie/TL that I missed on drvr's side. I'll fix that later today.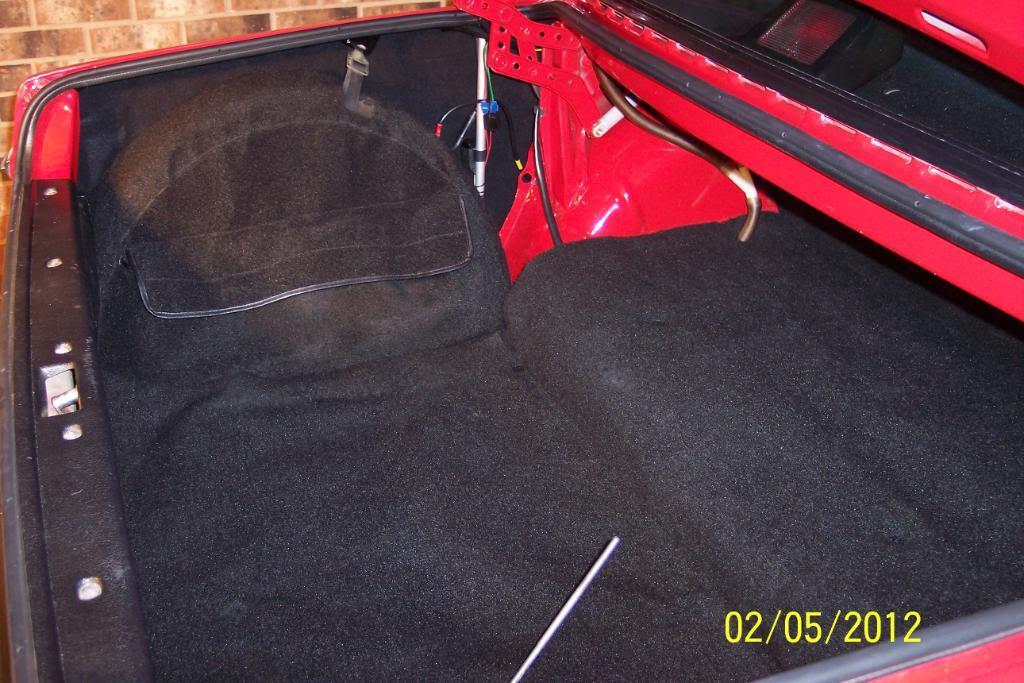
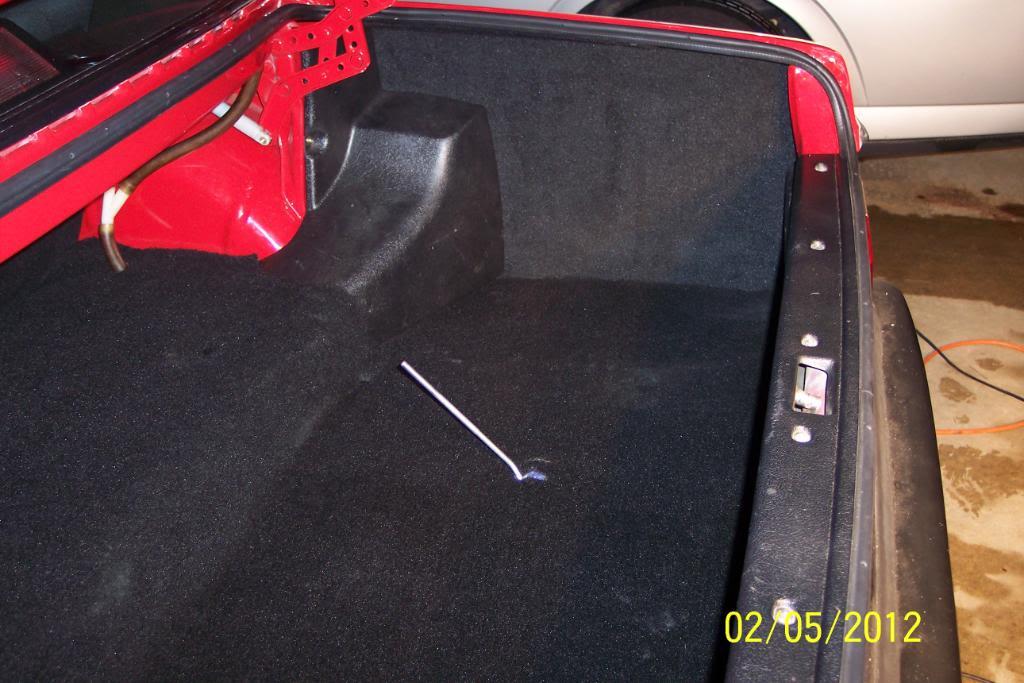
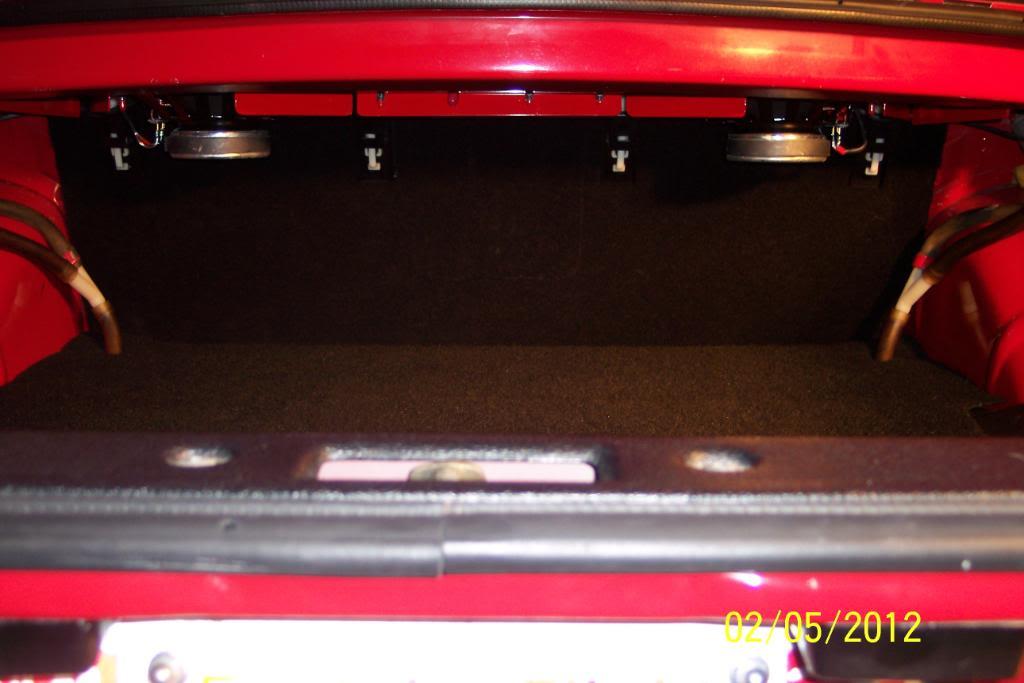
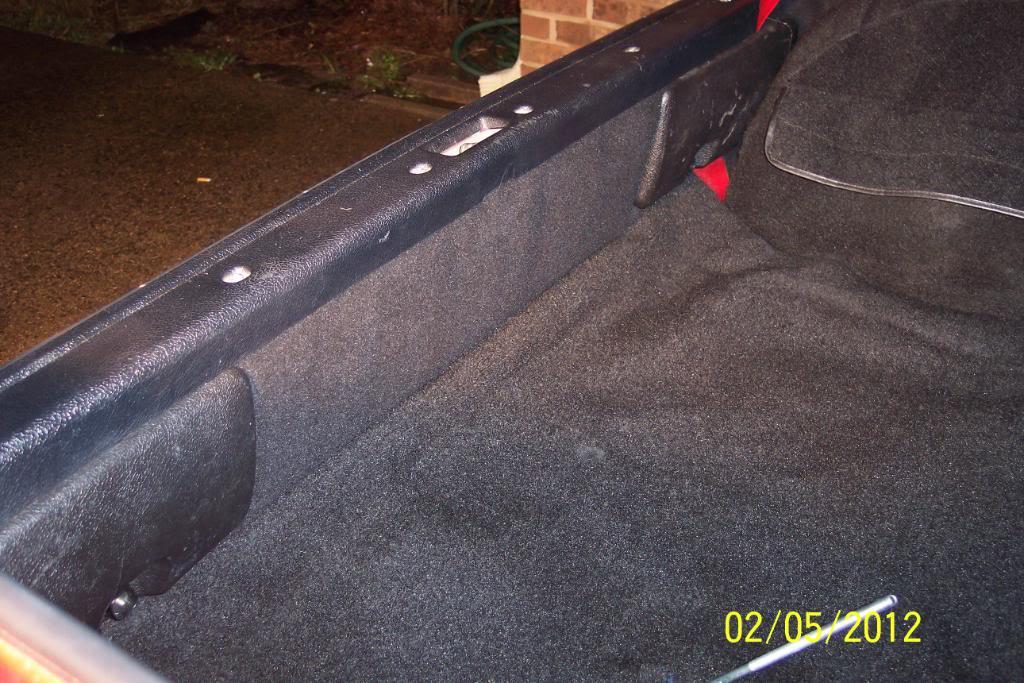
Then re-installed all the "junk in my trunk".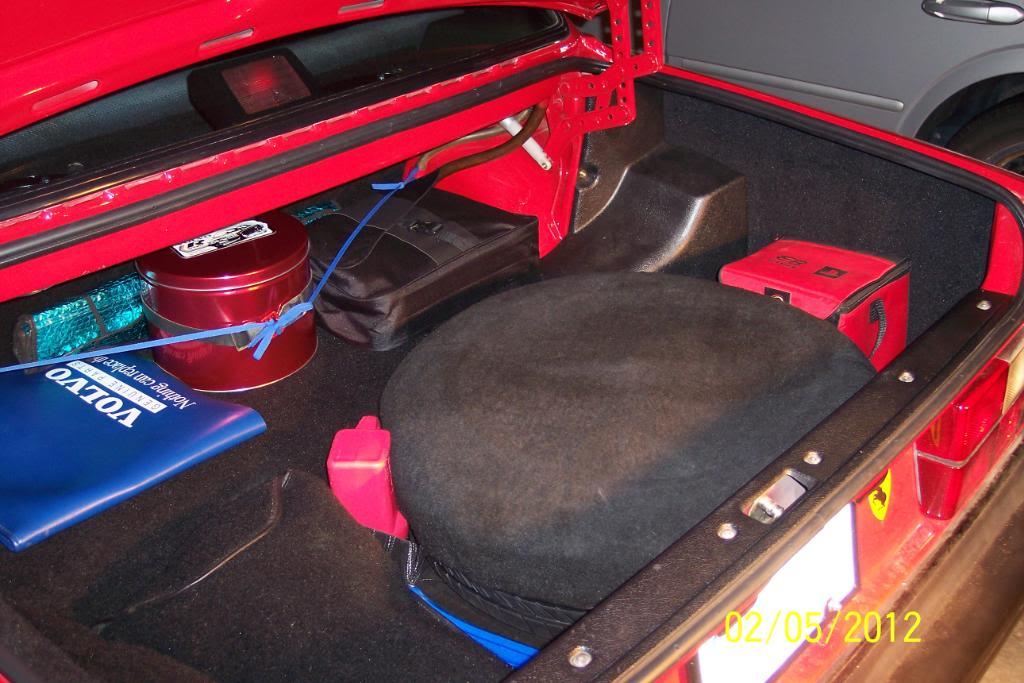
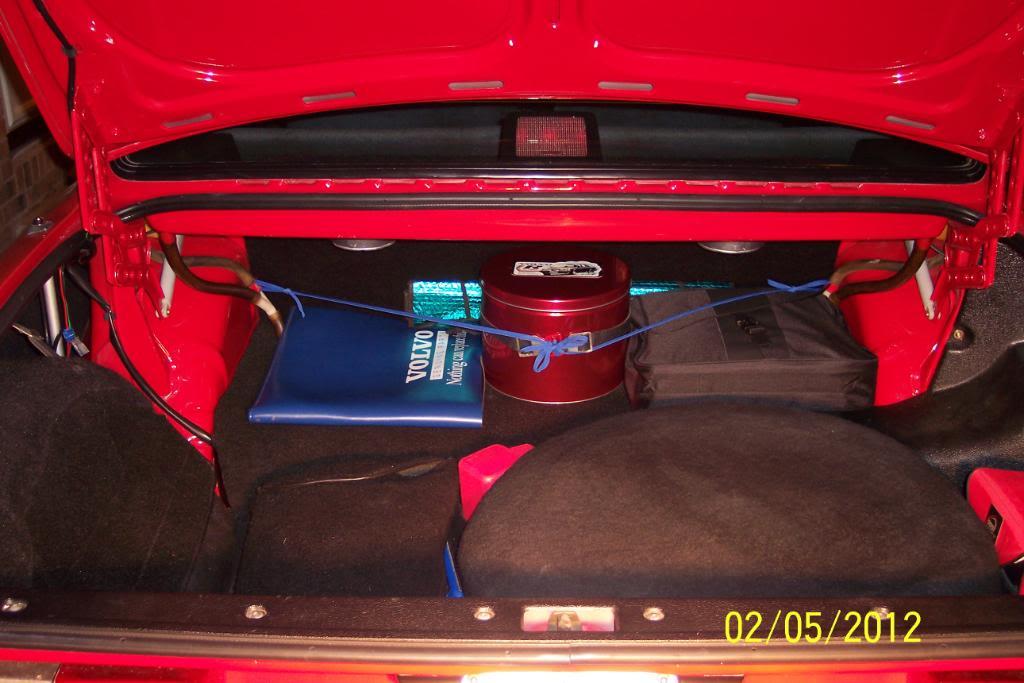
I still have to paint the screw heads black with a modeler's brush, and maybe cover the mesh grilles with cloth, or run as is. Either way I'll use the butyl tape- like goo to hold the mesh grilles in place that KW supplies. I have some left over from another install.
In any event, here's what the speakers & package tray panels look like now.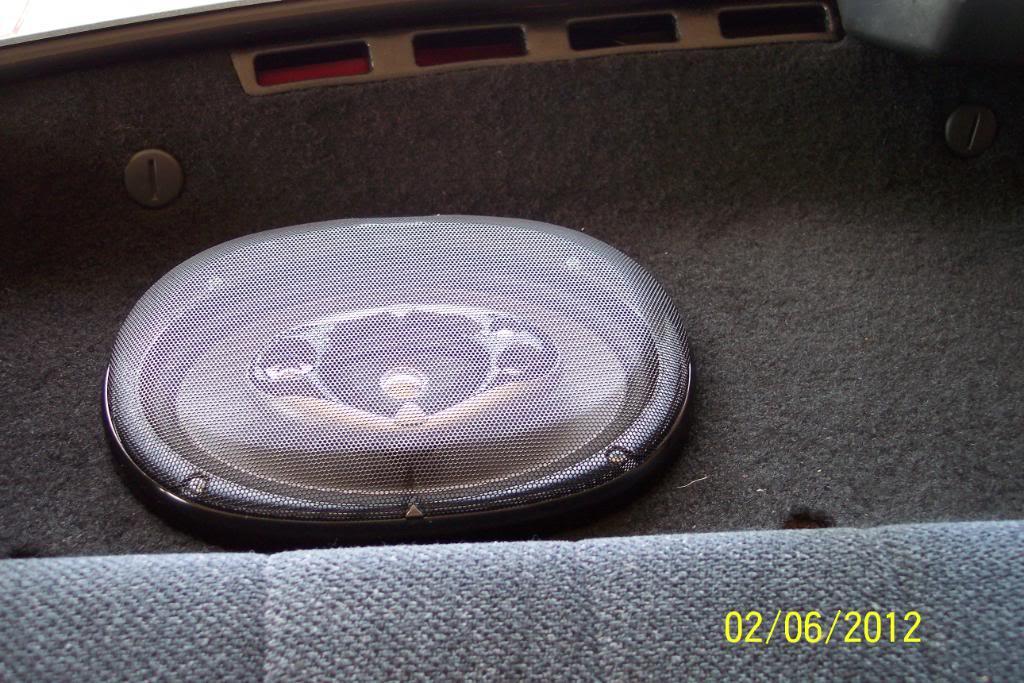
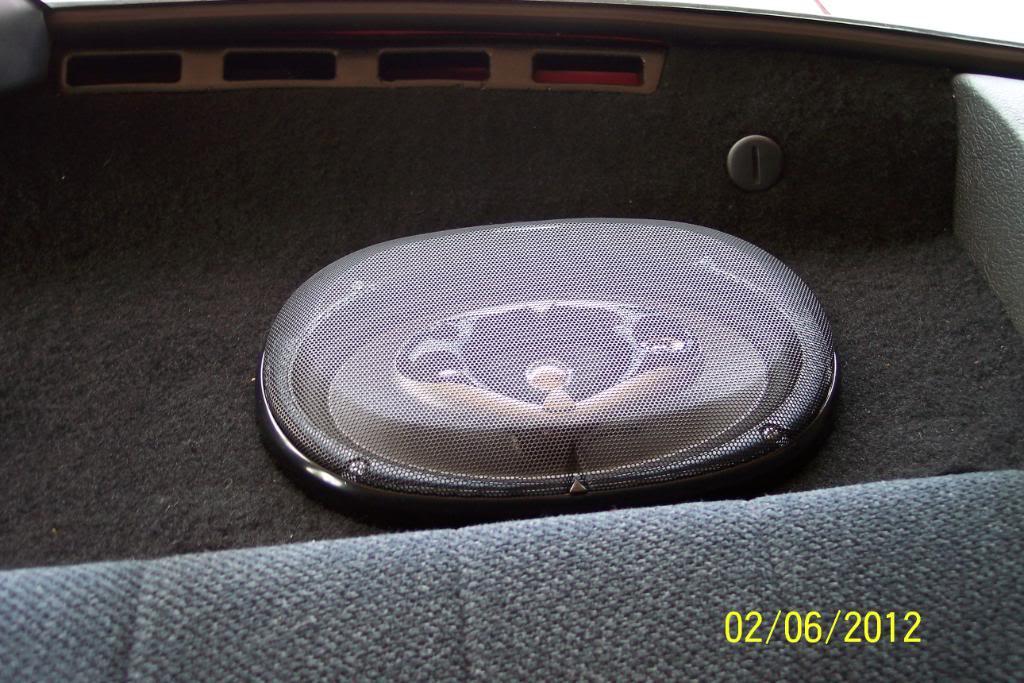
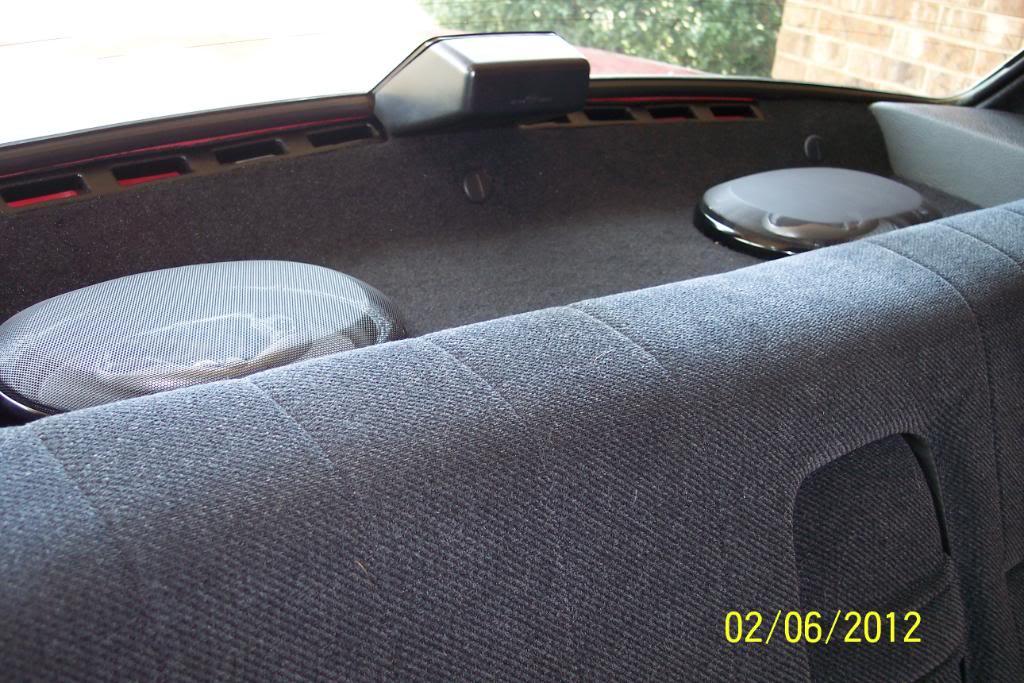
I'm using a 14" tire with no rim in it, in the driver's side butt cheek, just to hold up the spare tire cover. Would be nice to have a round box, same size as the tire was, to fit under the cover. Making a round box would be a PITA though. Anyone sell round sub boxes?
I've also thought that maybe one or two bazooka subs, mounted in the trunk, but mounted as such that they are projecting through to the interior at the edge of partition panel ,where the rear passenger armrest is ,would be a cool way. Remember there's a "trap door" already there.Could do away with the door, or mount it back a ways then,could close the trap door and put armrest up when not using it.
2/15/12
Well, finally got some time tonight, to permantly install the speaker grilles . These are the kind that rely on butyl tape to hold the mesh grilles to the plastic frames. Yep..... happy, happy,joy joy.
But they look like I want it to. I nixed the covered with cloth idea too. Wasn't gonna work anyway IMO.
I just spent @ 4 hours packing the slot around both speaker's frames circumference caaarefullyyyy with butyl tape, rolled into small strands.
Worked it into the groove with a graphite pencil dabbed in saliva. Cleaned off any that was where it shouldn't be, and placed the meshes on the frames.
I'm going to fix the carpeted package tray to where it'll no longer allow the red to show between the glass & tray in the vent areas .
I'll post pics of (finally) completed 6 x 9 speaker & carpeted rear package tray panel install tomorrow when there's daylight.
I did get a new Nissens radiator today, as my 91 244's OEM Blackstone has been weeping around the top neck.
I bought it at C & L Radiator & A/C Shop in Burlington ,NC. Mr. Lunsford and his son have been good to deal with. They've been in business for 65 years & I've been coming here @ 14 years. Honest & 1st class guys IME. I highly recommend these guys too.
They got this radiator for me in 2.5 hours. Cost me $202.83 including the sender & the sales tax. And it has a lifetime warranty, and I actually have a person to take it to if need be. Killer deal IMO. I'll install it tomorrow. With pics.
Notice it has the thread in electric fan sender, and came with a sender too, though too high a temp for a 240's radiator cooling fan, I've been told.
My fan is mechanical, and I wanted this type of new radiator to avoid the pop in plug blowing out scenario at a later date....
I think my Blackstone's core was on it's last leg, too, so good timing here..
here's a few of the radiator..............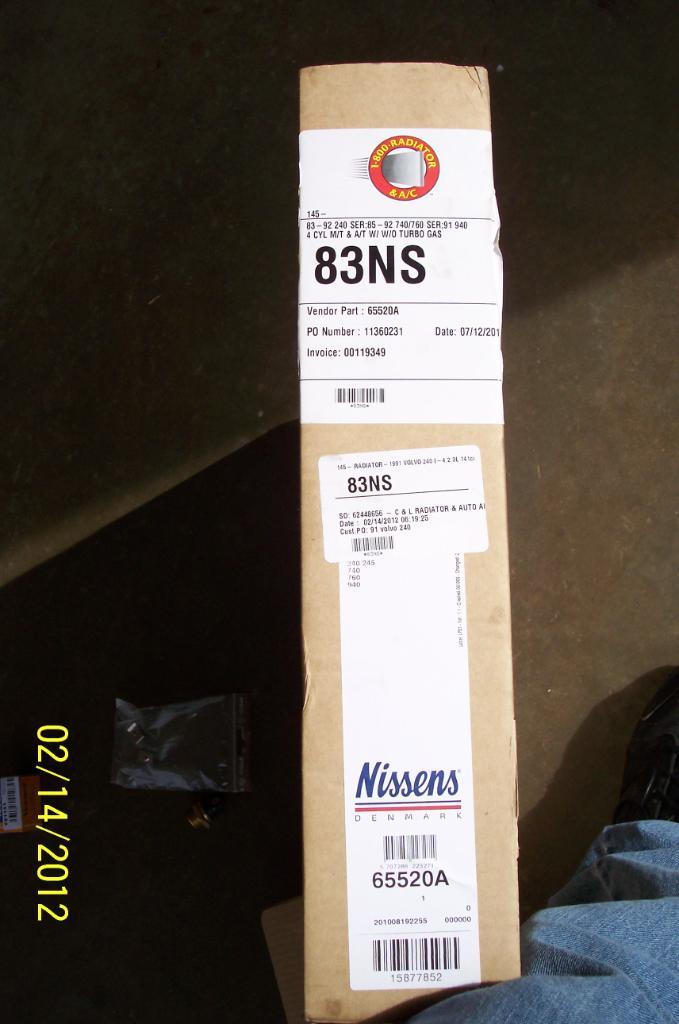
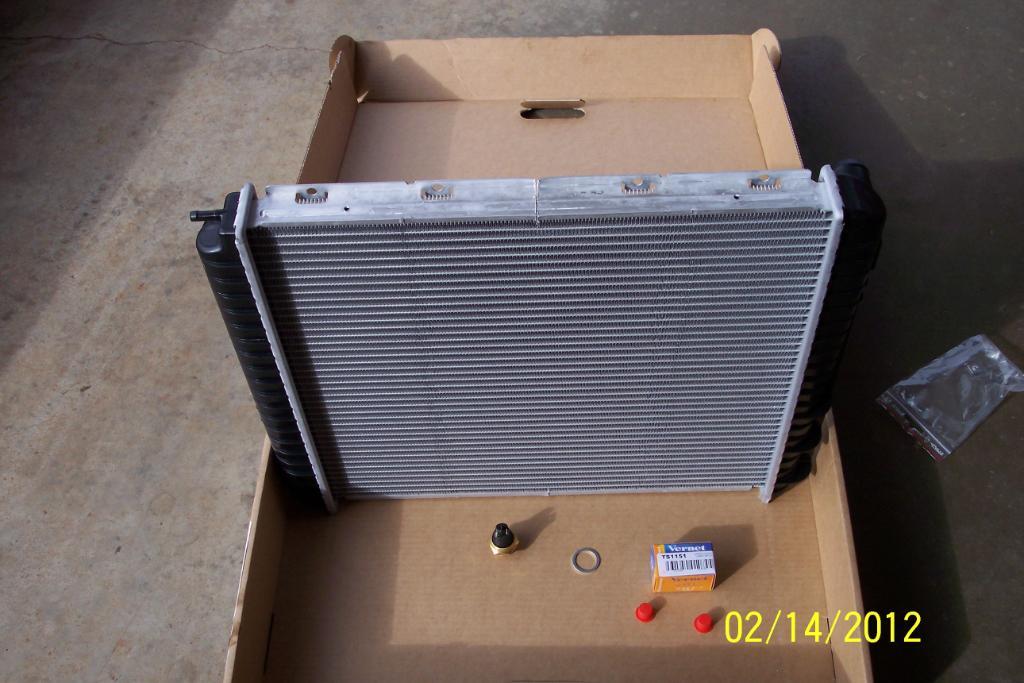
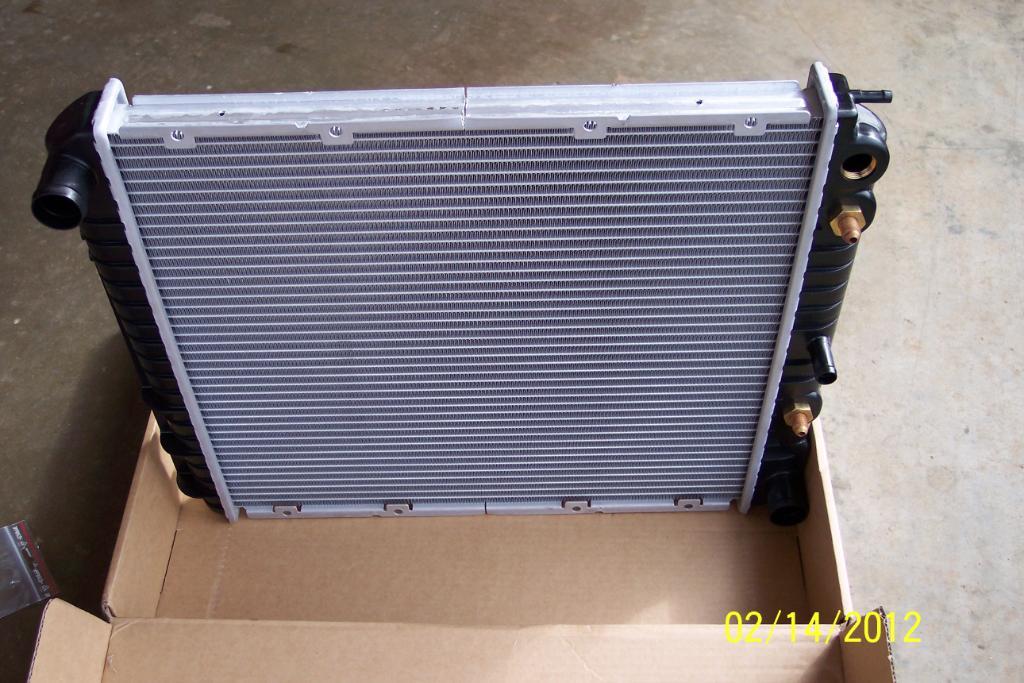
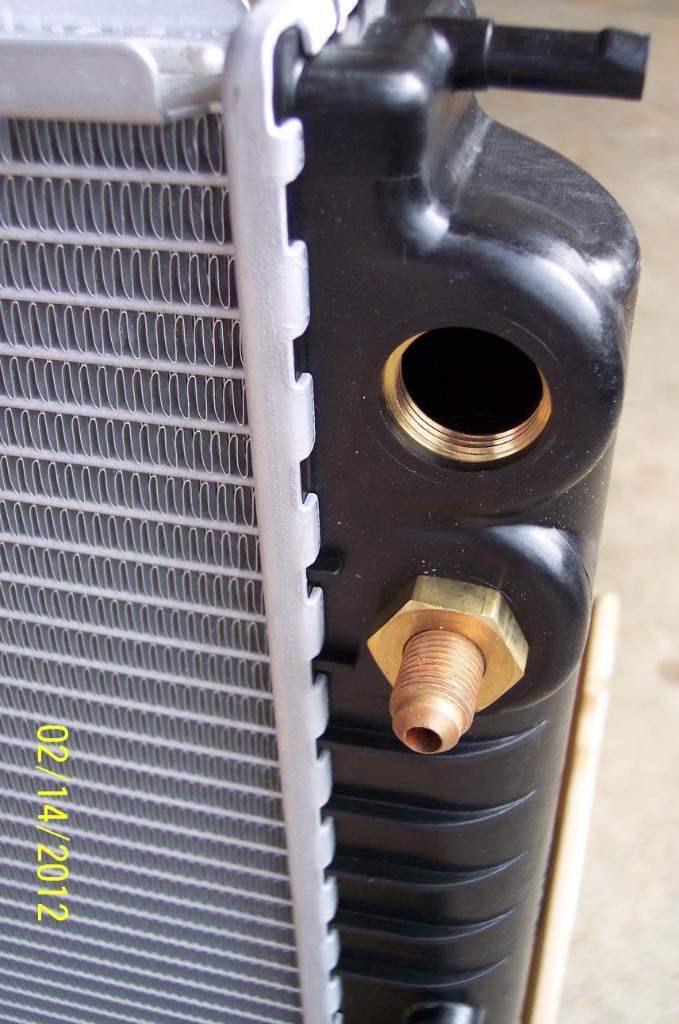
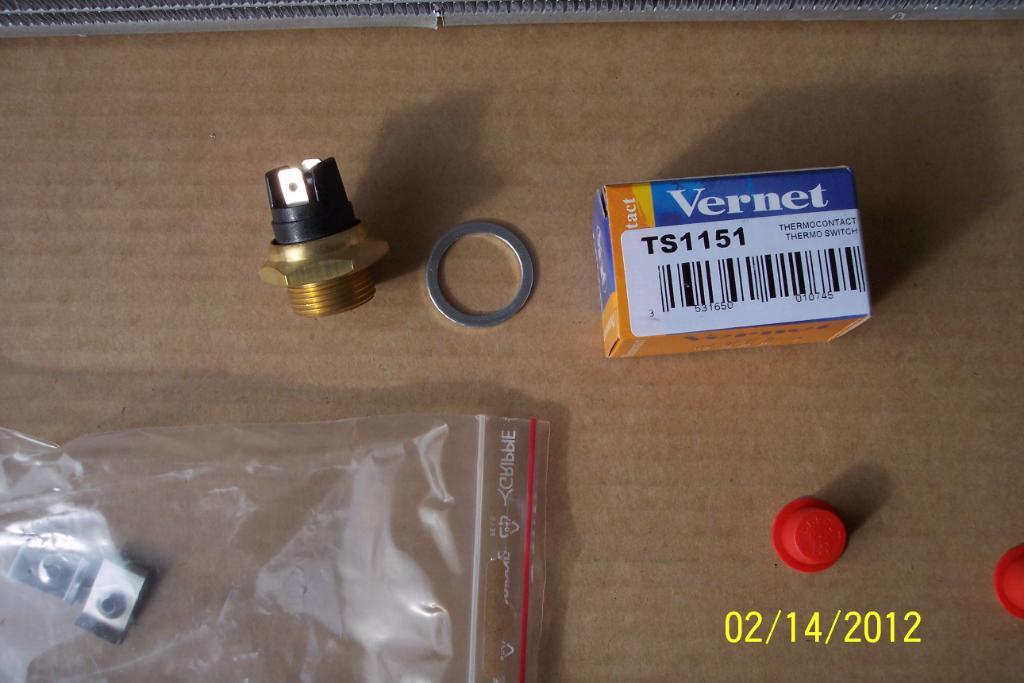
And I bought two 5/16 flared caps to seal off the Auto trans cooler line nipples. I'm going to buff there to mirrorlike shiny brass tomorrow before installing them.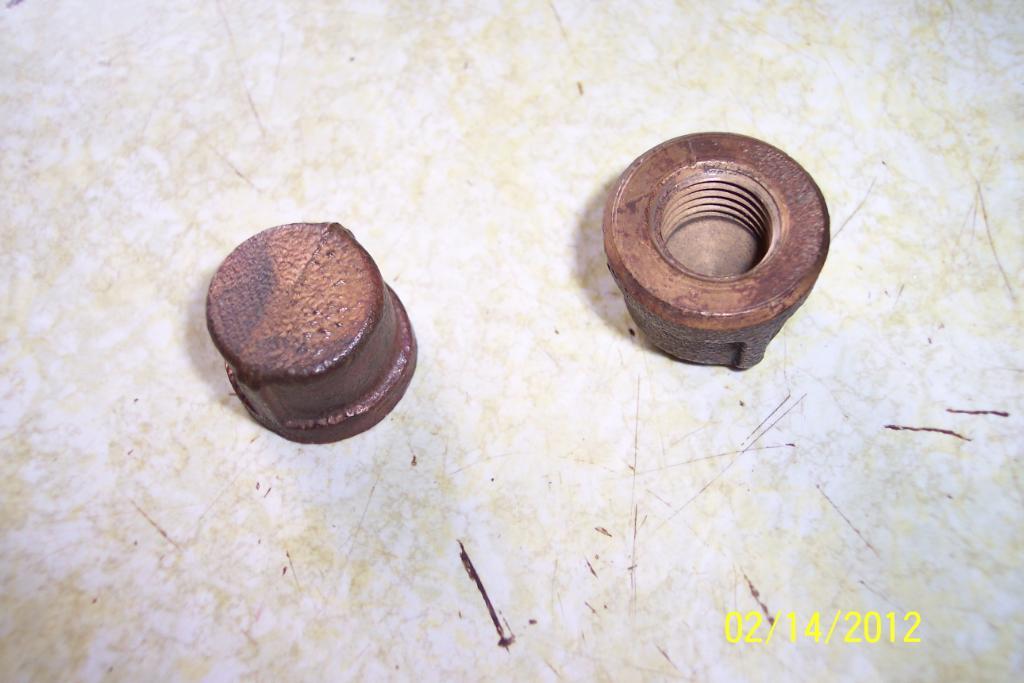
OK, I have finished the speaker install and got rid of most of rear showing. I left the red visible through the vent holes though. Supposed to be that way I figure........now I'll install the rear passenger headrests.
Hopefully I can find some of the black OEM plugs for the rear headrest holes in the package tray so I can remove headrests when wanted.
The speaker install looks almost like it might have been a factory option, which was the look I was going for......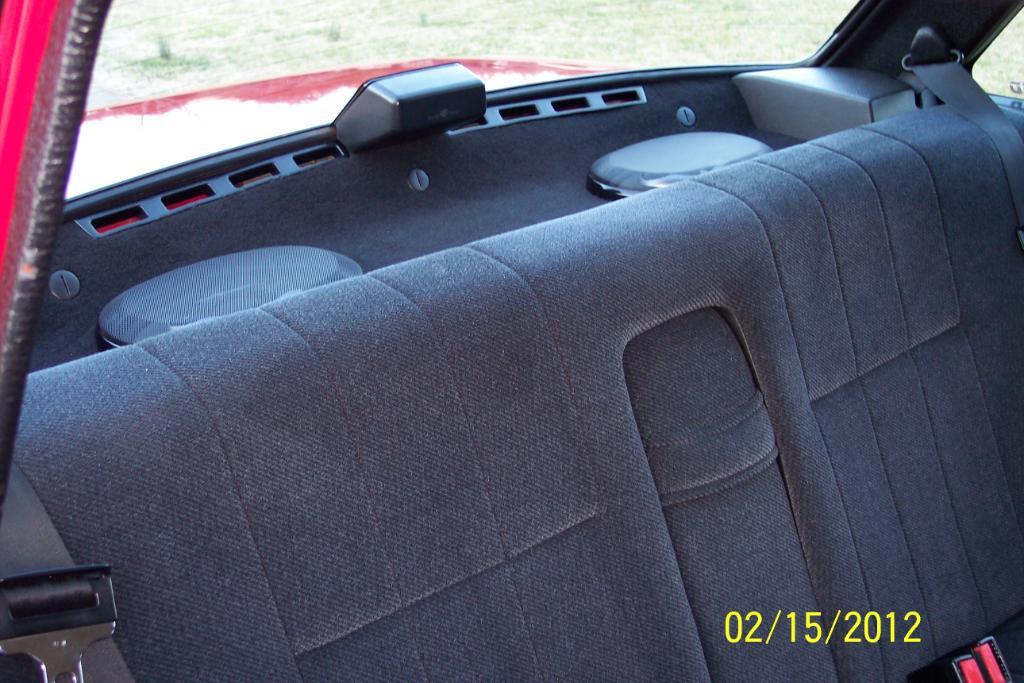
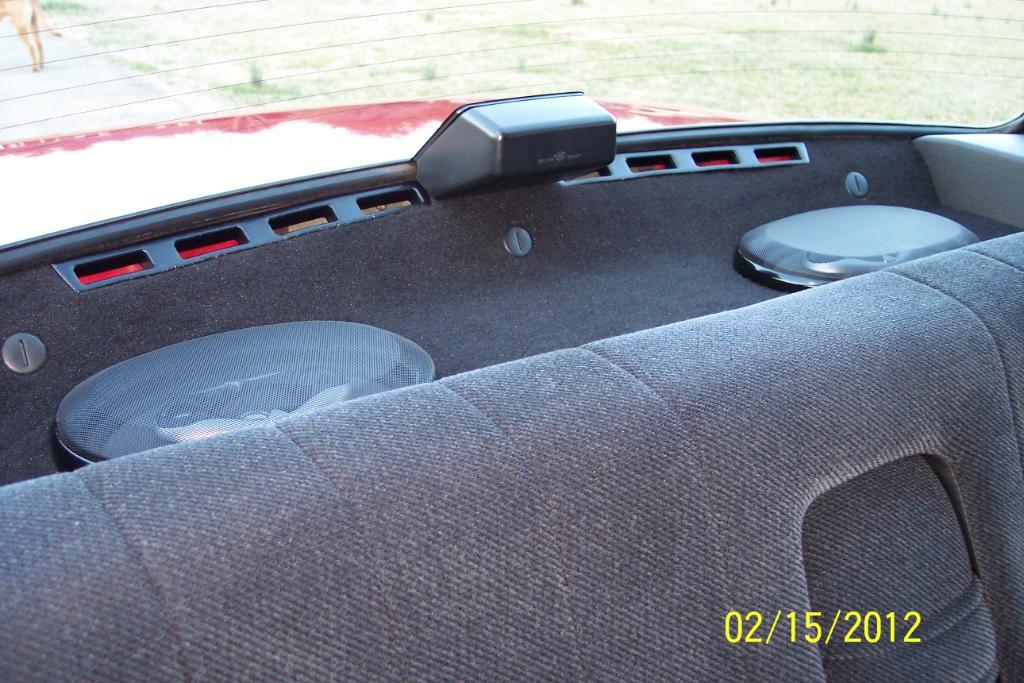
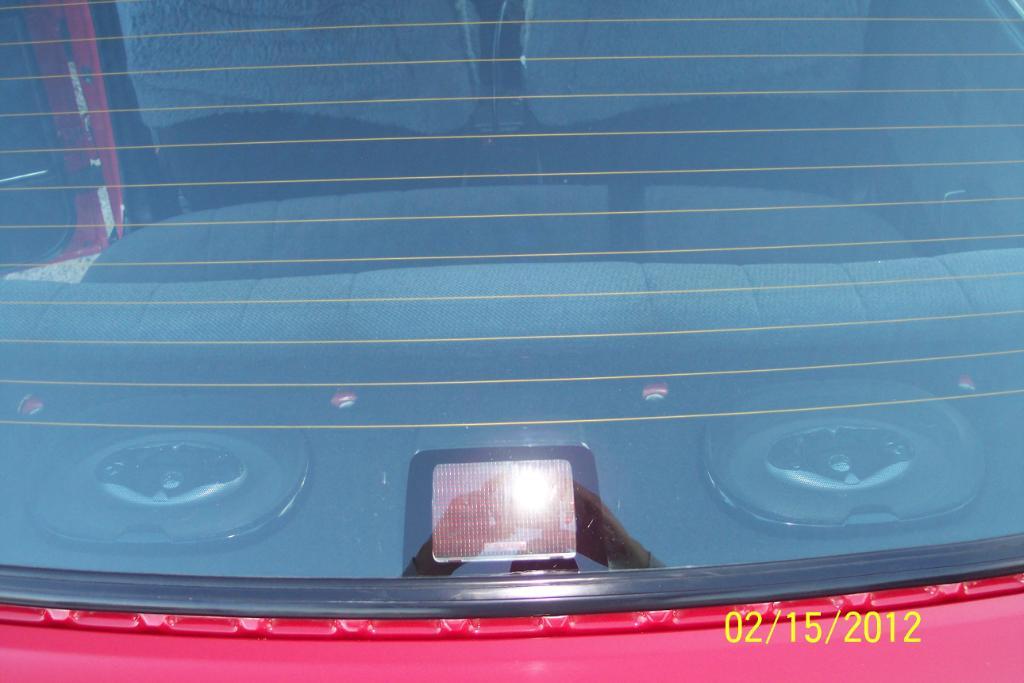
After finishing the speaker install, I started on removing the old radiator. First I removed the skid/belly pan, and cleaned it up.
Then, I drained the coolant, and re-installed bottom hose, and filled with 2 gallons of Distilled water. Cranked up the engine & let it reach operating temp.
Cut engine off and drained the distilled water. I repeated this 2 more times. Why? To remove all the non distilled water & coolant which I used last time.
After all the bad water purging, I removed the old radiator, and cleaned up, and then waxed, all of the painted lower radiator support area. And pulled out the fan shoud & washed it, and wiped off the fan.
Here's what I found causing the coolant leak on the radiator.
I looked up into the T Stat hsg with a MagLite to be sure no broken pieces of it was in the stat, as a ring of it was in the end of the top rad hose. None was there.
Damn lucky the hose hasn't fell off while driving it,IMO. Kinda short, ain't it Pappy?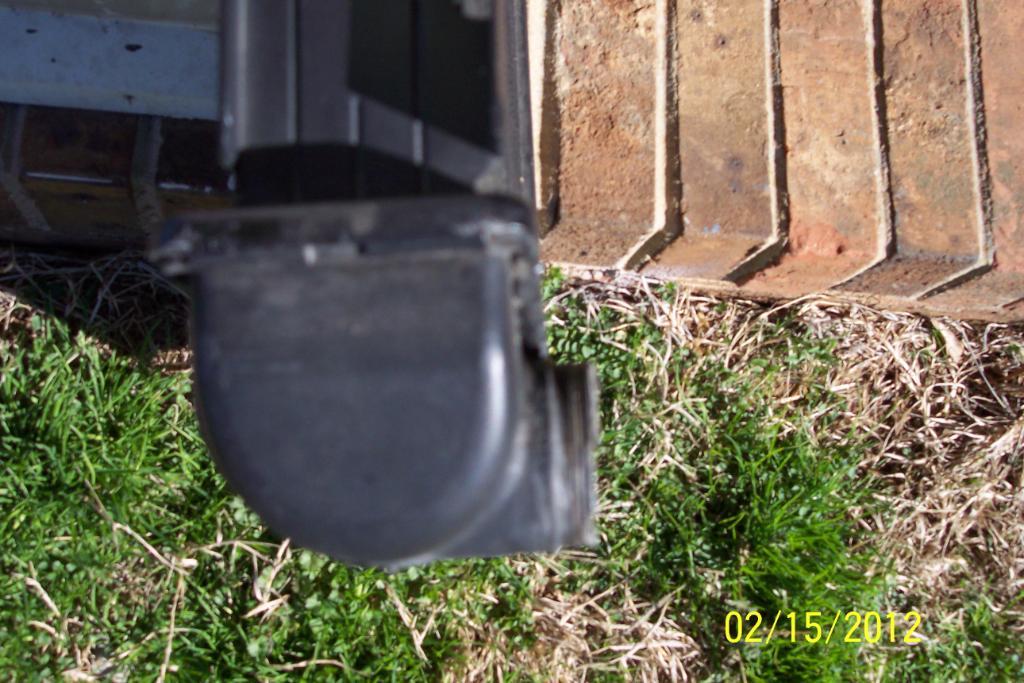
Cleaned up the lower rad suport........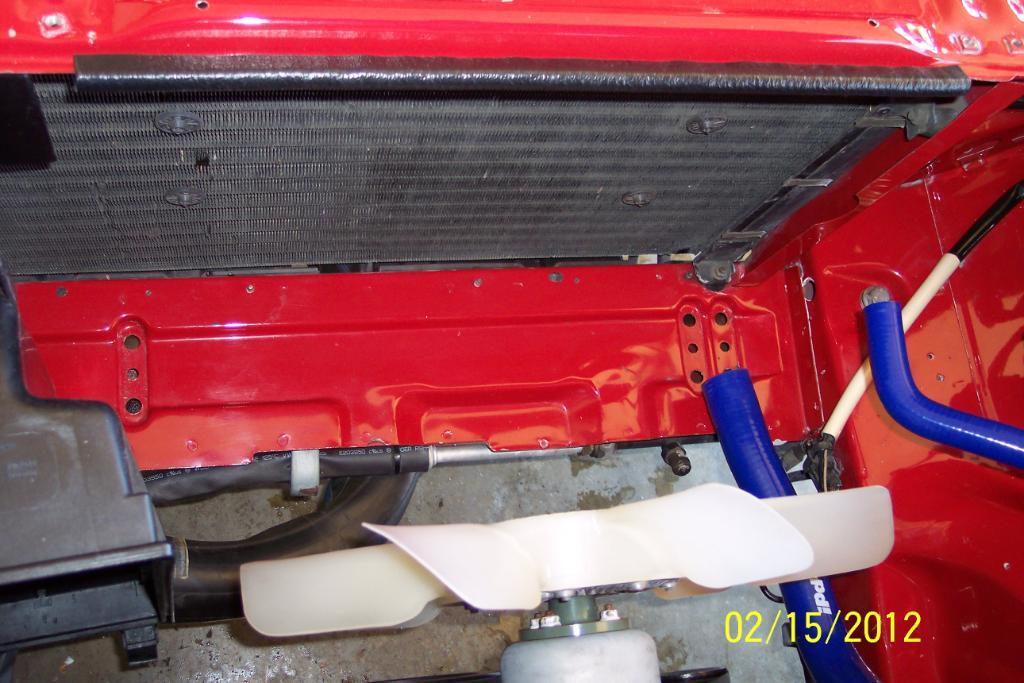
I had to unfasten the air box, and checked the filter while I was at it. It needs replacing so I ordered two Mann air filters from FCP today. I blew out the old filter with compressed air, and cleaned out some bugs & dust out of the air box, then replaced old filter. I refastened the air box in then. I placed the rad's rubber pad rests in the lower rad support. Then,I fitted & tightened the A/C fan sender to the rad,( what the instructions called it) Then I installed fan shroud's clips onto the Nissen's rad, & then installed the new Nissen's radiator, intalled it's brackets and hooked up all the hoses. And then,filled the Nissens radiator, with one gallon of distilled water & one gallon of Peak 150,000 mile AntiFreeze per Danica Patrick's suggestion. Cranked engine up, let reach operating temp, and checked for leaks. None..Good. Reinstalled the belly pan and took her for a drive to Advance Auto, to pick up a replacement for the alternator I returned the other day. Then hit the hiway for a test drive at speed keeping a check on coolant temps. Temps looked AOK, and came back & checked for any coolant leaks again. None.... Good. I have modded one of the 5/16th brass flared caps for the auto trans line nipples on the new Nissens radiator.. I turned it down thinner in the lathe, smoothed the top of it,laid a beveled edge to it, & polished it with jeweler's rouge, and a buffer pad. Looks quite a bit different now doesn't it? From this...
To this....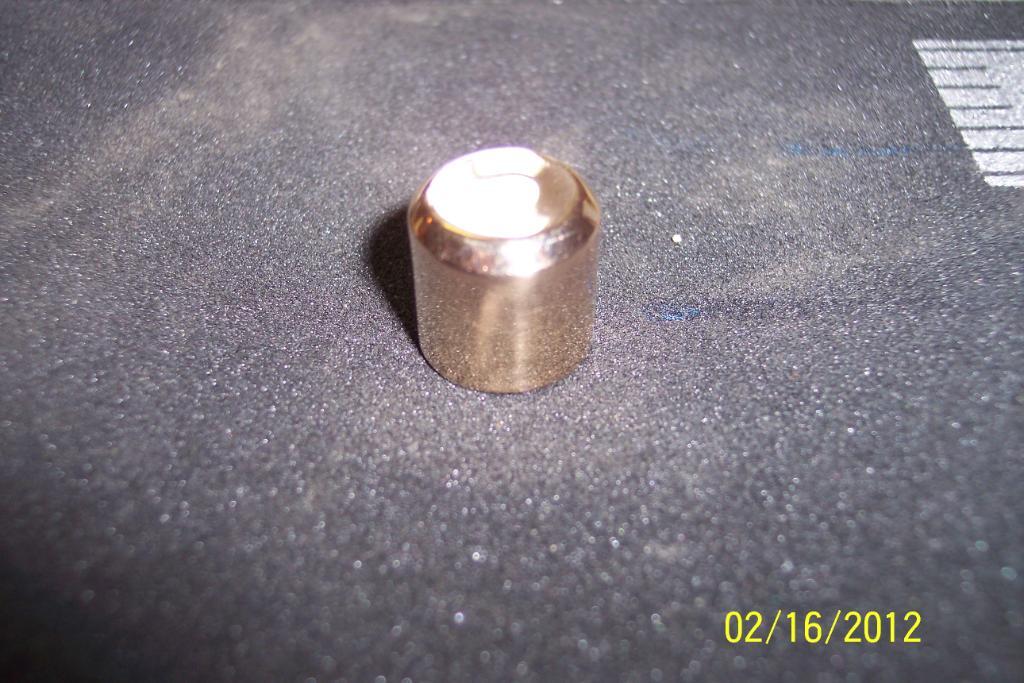
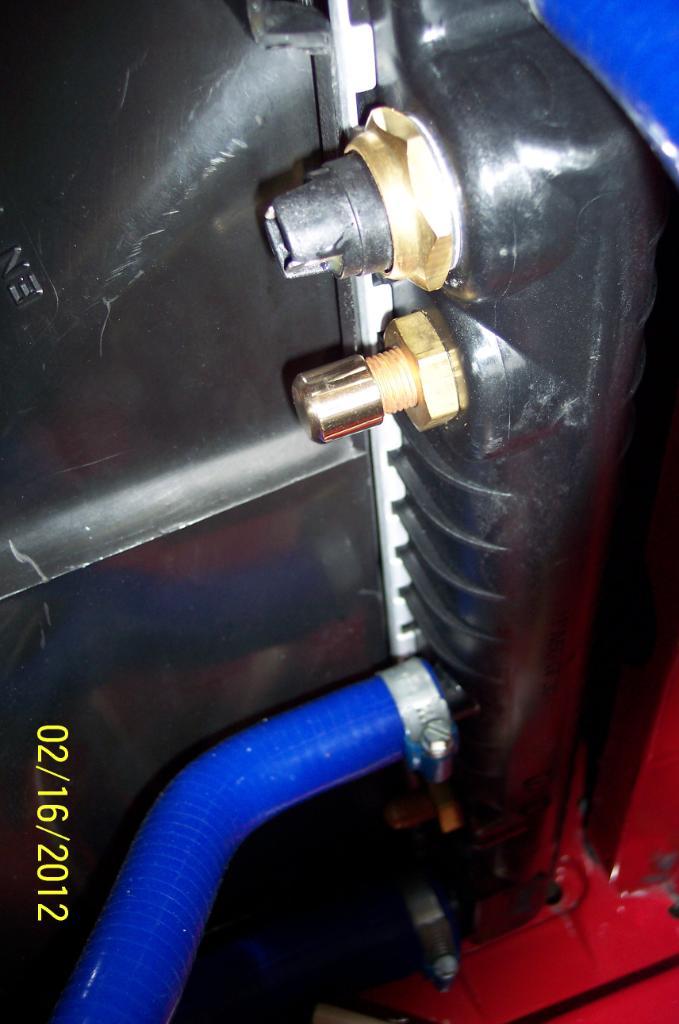
FWIW, after having riven the car @ 60 miles or so, I do notice that he grey insulation padding I installed under the rear seat, cabin/ trunk partition,& in trunk,is working well.
It did away with a lot of the diff noise being transferred to the cabin, due to the IPD Adjustable Upper Torque Rods with their rather hard durometer bushings.
It also quietened a little of the exhaust note inside the cabin too. And the stereo system sounds a lot better now too.
Now I'll have to think of what the next thing to mod will be.............
Pics below.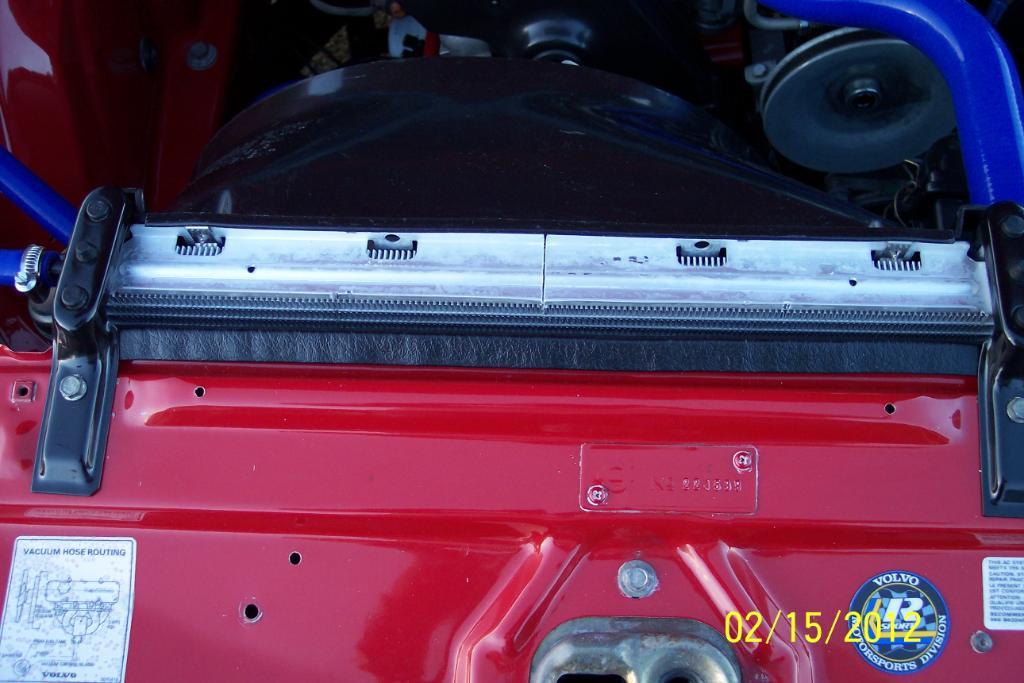
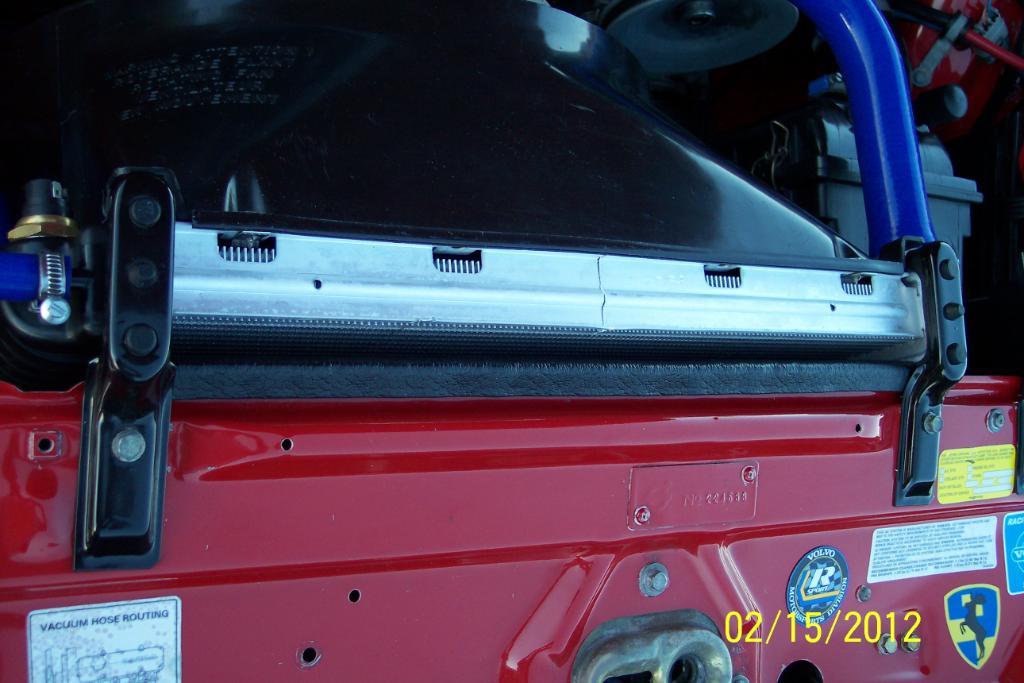
tbc..

Nice build!
Posted by Diggymart on 3/30/20 @ 2:45:08 PM