You must be logged in to rate content!
8 minute(s) of a 720 minute read
8-16-2011
One has to realize I used to work on new in showroom, and customer's custom Harley Davidsons, and I've built a few bikes that appeared in shows to boot. Sometimes the customer was a 1%er Club member, so I always did my best work . I guess the habits of that remains instilled in me & still shows in my work. Even on a Volvo 240 build.
,Today I took a razor blade, and an Exacto knife, and scraped/cut the paint on the bleed valves off , so the clear hose would slide on easier. Then cracked open all the bleed valves to free them of the death grip the paint had on them.
Then I commenced to bleeding the brakes................
FWIW, I just thought I'd share how I actually set up for bleeding the brakes. Doing it this way keeps from ruining the newly painted calipers, and keeps from making a big mess to clean up. ..
Ya need ...........
Eight(one for each bleed valve) ,8mm wrenches(1/4" IIRC for early 240s)
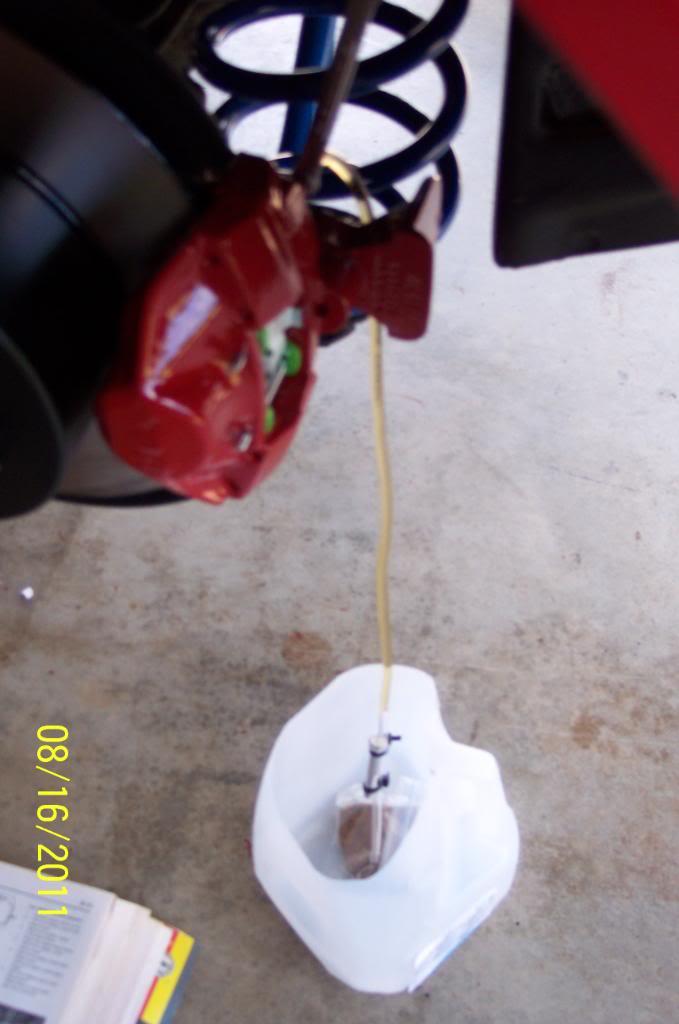
4 empty milk jugs with top cut out,4 rocks in baggies(to keep jugs from blowing away due to wind /to view how dirty old fluid was)
Clear 1/4" sink tubing from Lowes, say maybe 1.5 ft per bleed valve(8 of them)
8 tie wraps,
4 bolts to tie wrap to the bottom of the lines, so they will not curl up.
And 3/16" clear line will work, but is easily made to leak if you're not careful. The 1/4" clear line requires more finagaling to get on the bleed valves, but is more secure. Let it sit in the Sunshine before slipping on the bleed valve helps.
This has always worked very well for me, and is worth doing if you've painted your calipers. I didn't spill a drop on the carport floor. And disposal of used brake fluid, read burned, was much easier.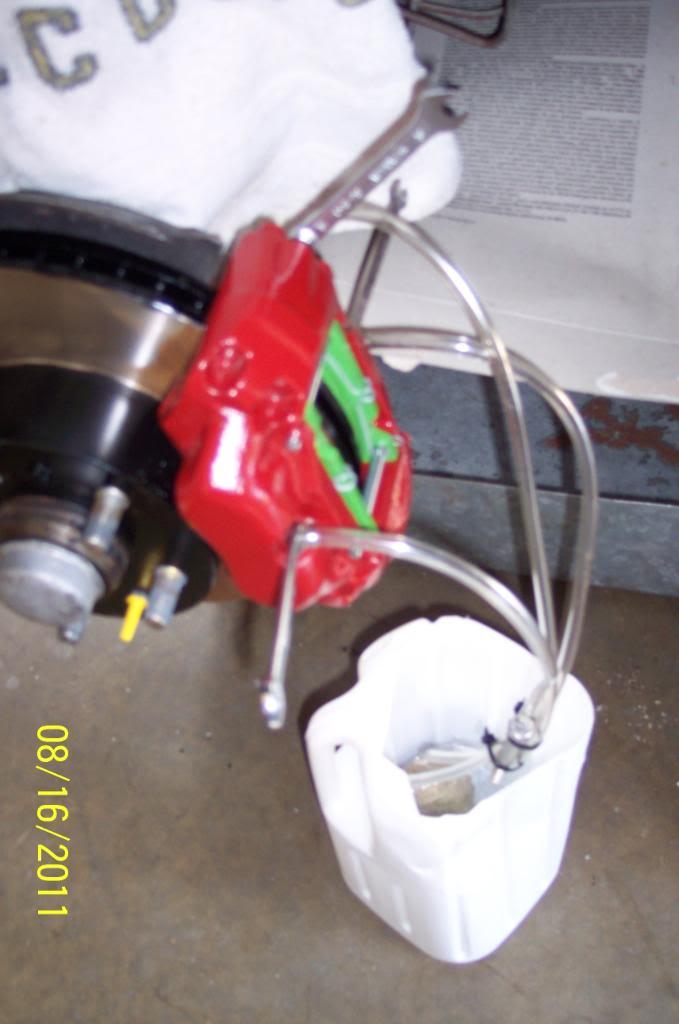
I also cover up around the MC area very well, in case I spill brake fluid. It's very overdone because, I did not want to take any chances of ruining the lower control arm's paint job, as well as the inner fender's paint.
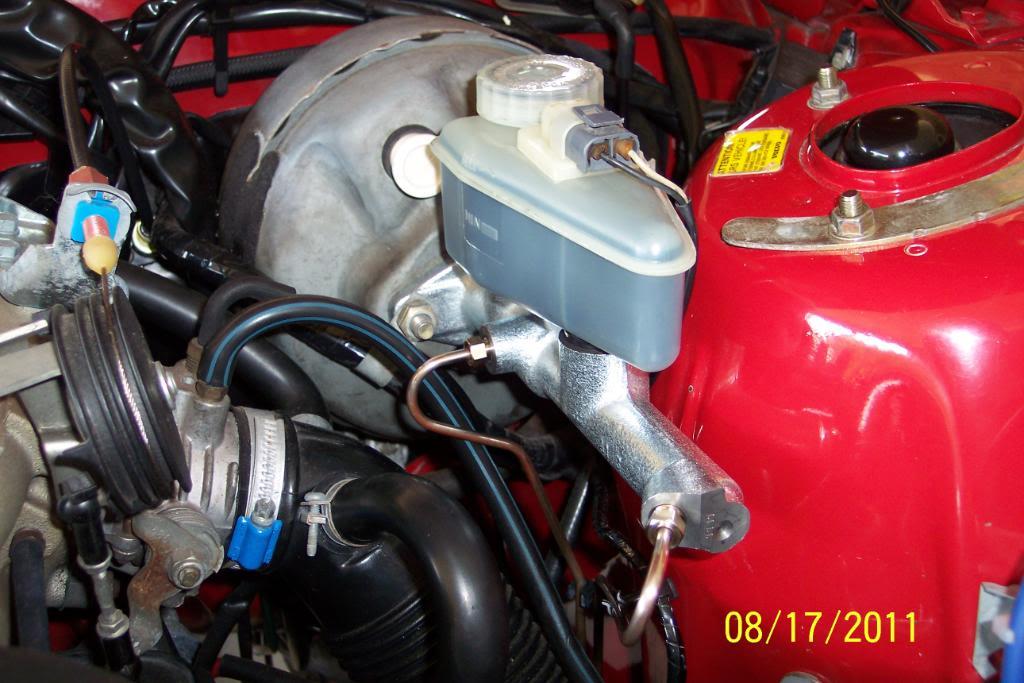
Notice that's ATE Super Blue Racing Brake Fluid DOT4 in the new master cylinder. Ha Ha, more BLUE!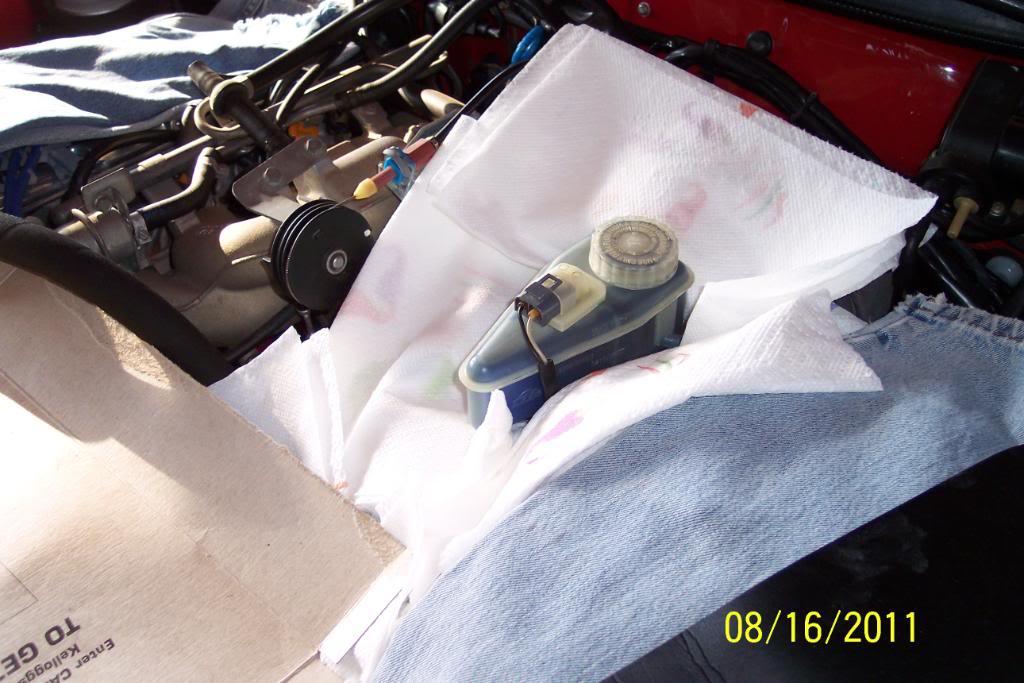
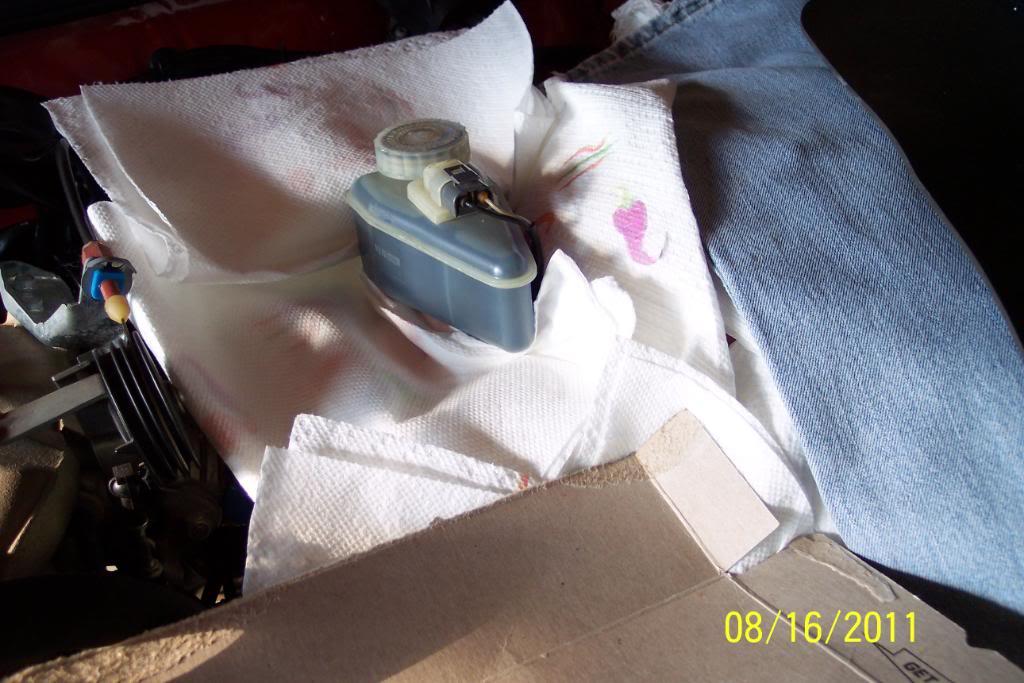
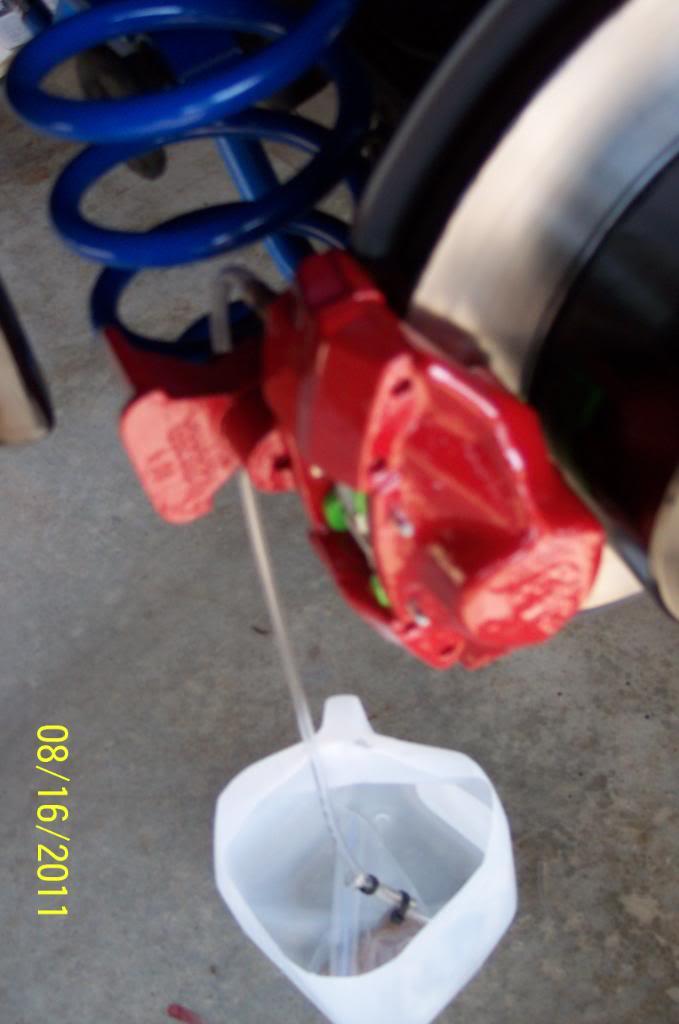
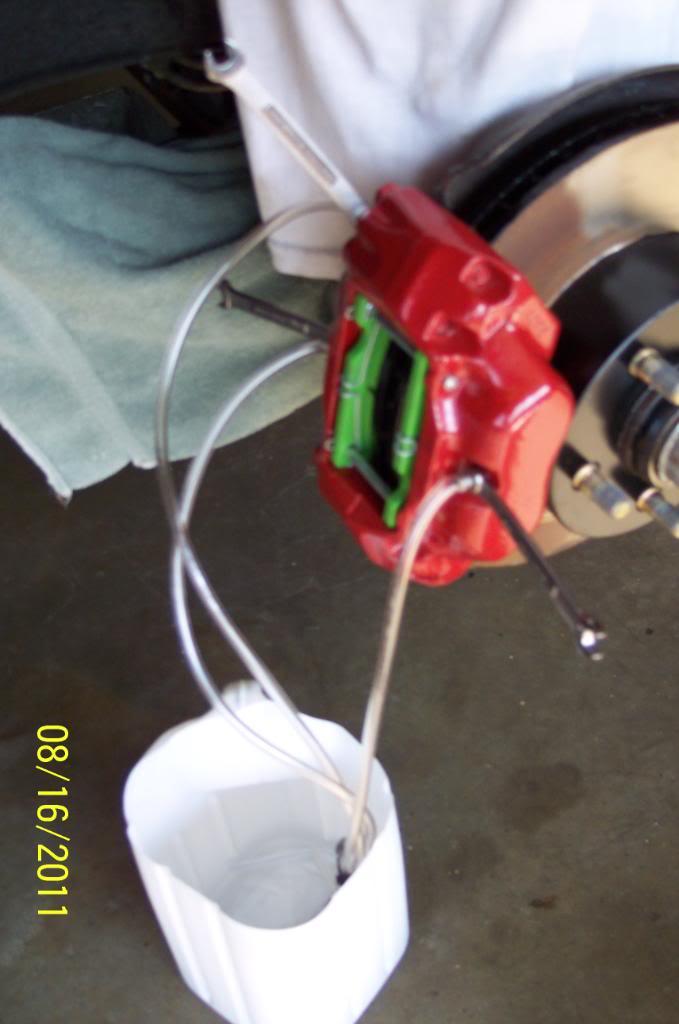
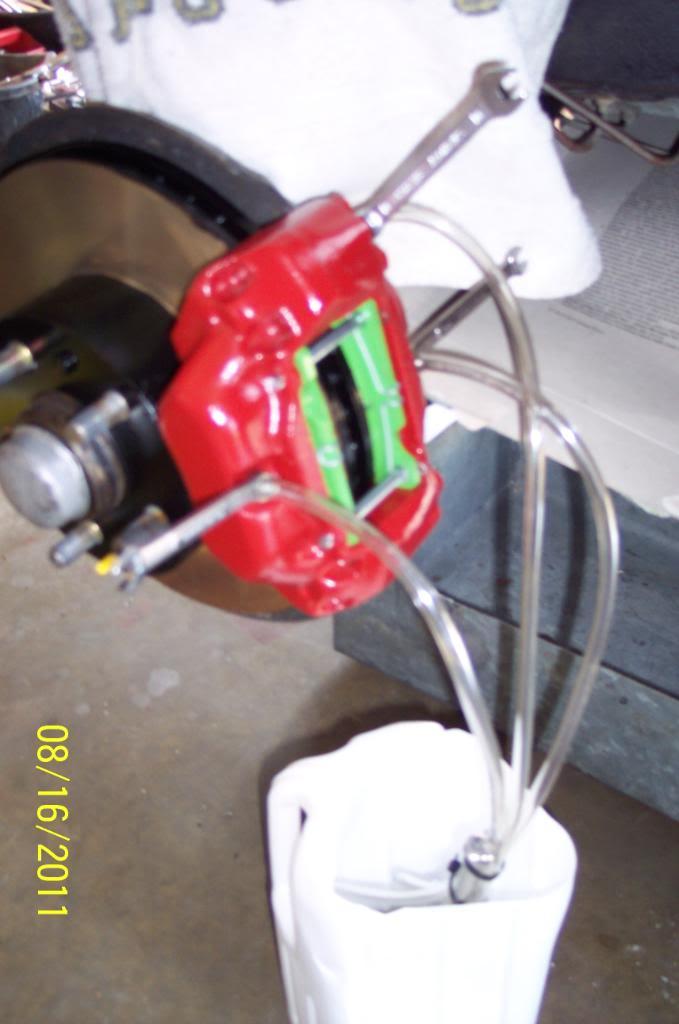
I've been busy bleeding the brakes. I have new fluid running out of all bleed valves & with no air & a good,firm pedal.
I then tapped on all the brakes lines their full length, with a hammer handle. I'm going to let it sit a few hours, then check the pedal & bleed all bleed valves one more time,just to be sure/positive.
I don't want to do this again if at all possible.
Ooohhh ......almost forgot.. pic of pretty blue brake fluid, to match the IPD Susp. parts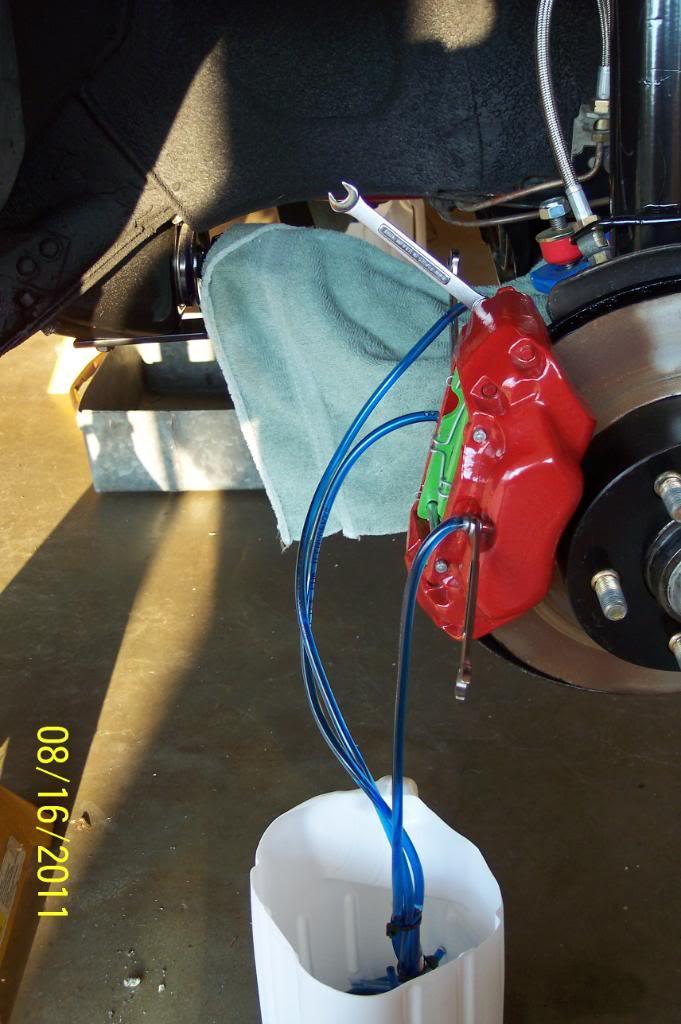
The entire brake system is fully bled & now brake system is correctly & fully functional. In other words, I have good brakes.
Close ups of Master Cylinder......
And how it "blends" with rthe est of the engine compartment..........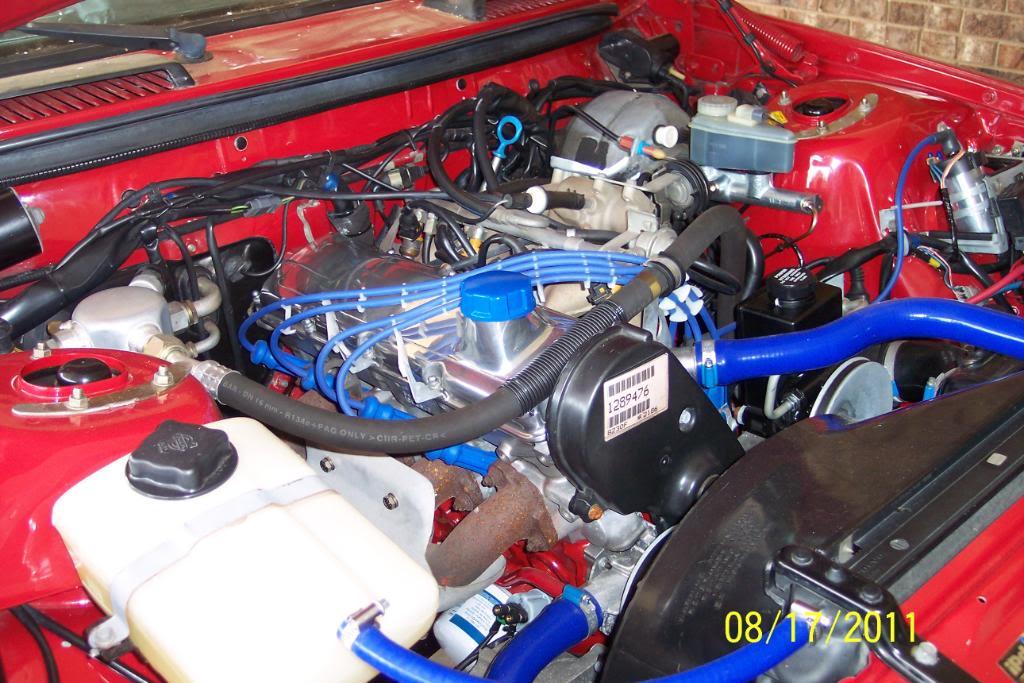
8/19/11
Went to A/Z, bought two pair of 18mm "Spark Plug Nonfoulers" for less than 10 bux. Then ,I cut a flange of an OEM Volvo cat I've had since 1997. Dressed it a bit, and had local muffler shop weld new straight pipe to it. Then muffler shop cut a hole & welded the bung in the header pipe.
Muffler shop also happened to have an old,used,what looks to be, "Orange Peeler" glasspack muffler. No rattles inside it.Quieter ,I suppose, than the proposed small round Thrush muffler (I call 'em Woodpecker muffler") I had intended to use, so for 5 bux i bought it.
Spent $35.00 for muffler & having an OS bung welded into 9:00 position of old downpipe and welding on flange, plus the 33" piece of new straight pipe.
Ran outta time, so will return Monday/Tuesday with car, to properly place bends in straight pipe, and weld hangars on glasspack, then weld on glasspack to bent straight pipe. Will run catless to Raleigh.
Hell, this seems like a helluva lot of work & $$ ,just to have a not so cheap, temp exhaust , only for the 70+ mile trip to RJS Custom Piping in Raleigh NC, to have the 2.5" mandrel system made. Gotta pay to play I guess.... I can always use it for similar tasks in the future....
I did bolt it all up, & just slid the muffler on. Hell it points straight at the "diff's hog's head".
Then I cranked engine & let it reach operating temperature. Did this 3 separate times. I looked for water & oil leaks all around the engine bay...and.....found NONE. Whew!
From sound of 1 glasspack, I'm thinking I'll need another muffler of some type, to run with the planned 2.5" in/out 6 round x 18" long MagnaFlow muffler ,when 2.5 system is on. I'll be shopping online for those tomorrow I suppose.
After I welded my header pipe bracket back on the old header pipe, I repainted it for the 3rd time with DupliColor Engine 500* Ceramic Paint in black.
Painted welded on flange of straight pipe, and bolted all these parts on. Aims straight for hog's head..again.
I sanded the 5 bux Cherry Bomb, and painted it with some red caliper paint, I had left over. Damn thing looks new now.
Gonna have muffler shop put some bends in the straight pipe, weld on two round rod hangers then weld on the Cherry Bomb, add some pipe to run it just under the axle and weld on a turn down tip on end.
I figure I can use this set up, later, on another of my 240s, to get it to a muffler shop if /when, I have exhuast system failure. Like I doin' now.
I don't want to chance breaking studs off of ex. mani with a half assed temp exhaust system. That woud be a large can of PITA at this near to being finished.
In the last pic, you'll see why I'll have to remove the straight pipe nd have local muffler shop put a few bends in the pipe .
A FEW PICS...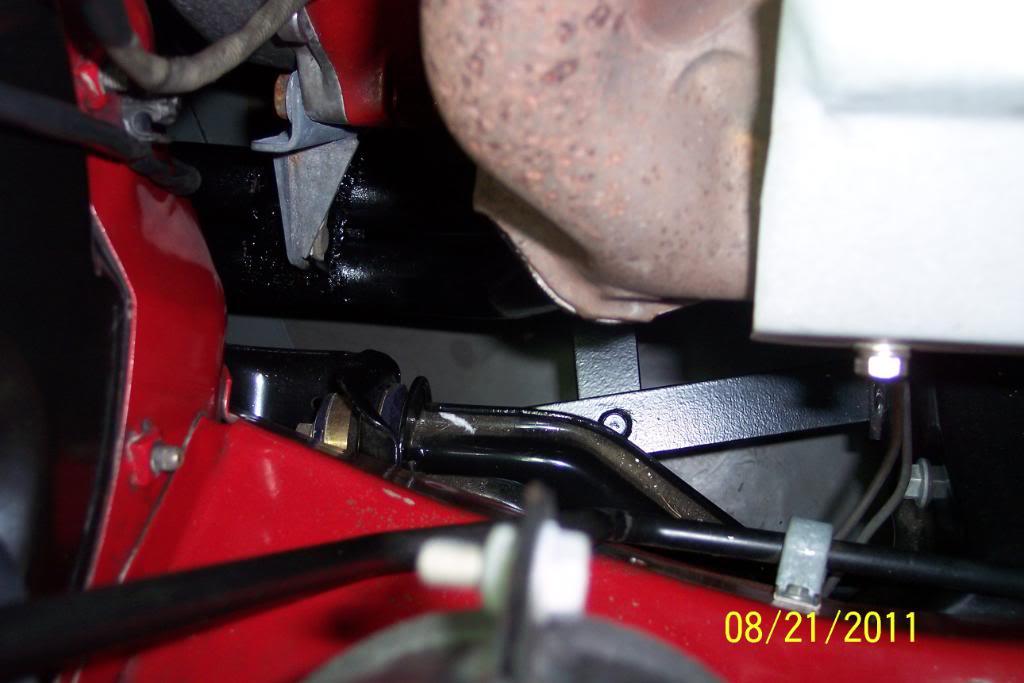
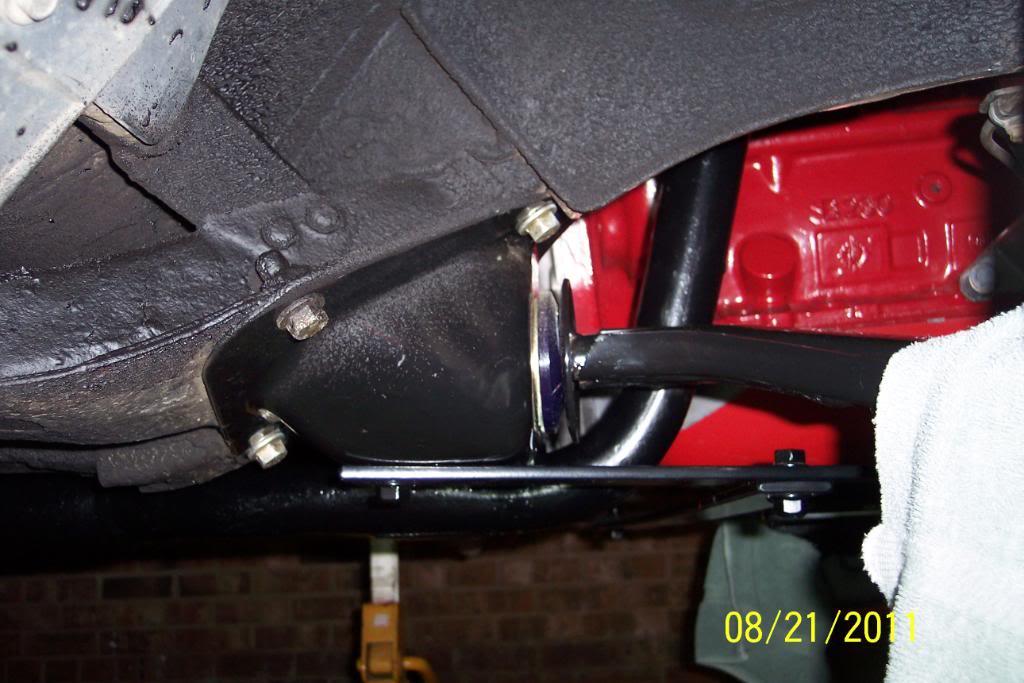
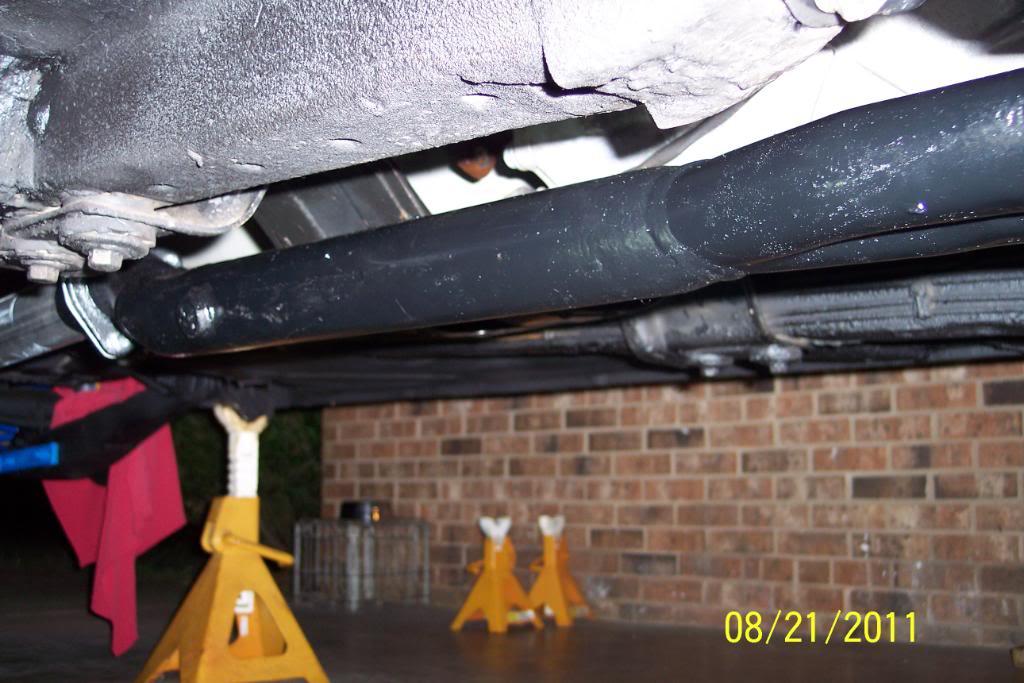
Either the exhaust pipe will hve to double time it as a drive shft, or vise versa,. I think I'll just have a few bends put in it.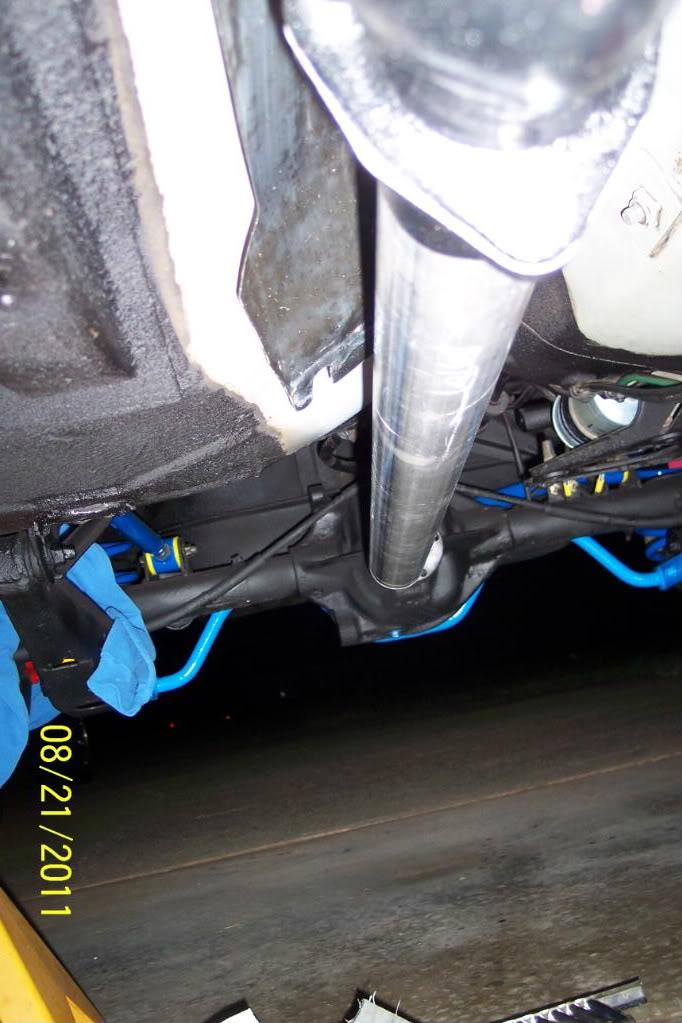
8/21/11
So. I pulled the stright pipe off today. I'l have to drive it to muffler shop with "open header".
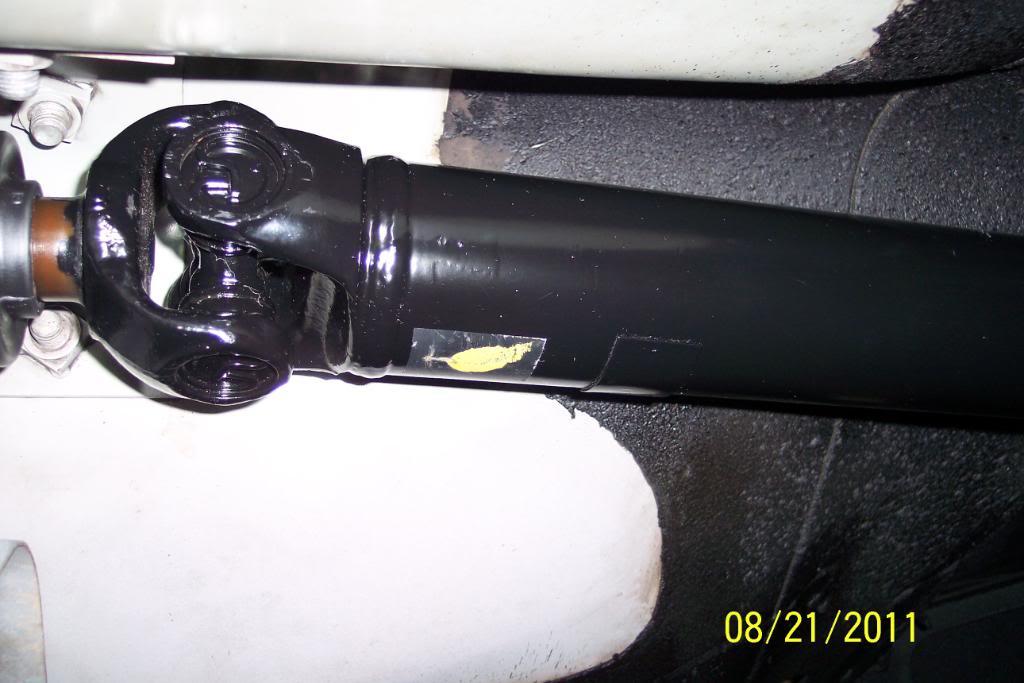
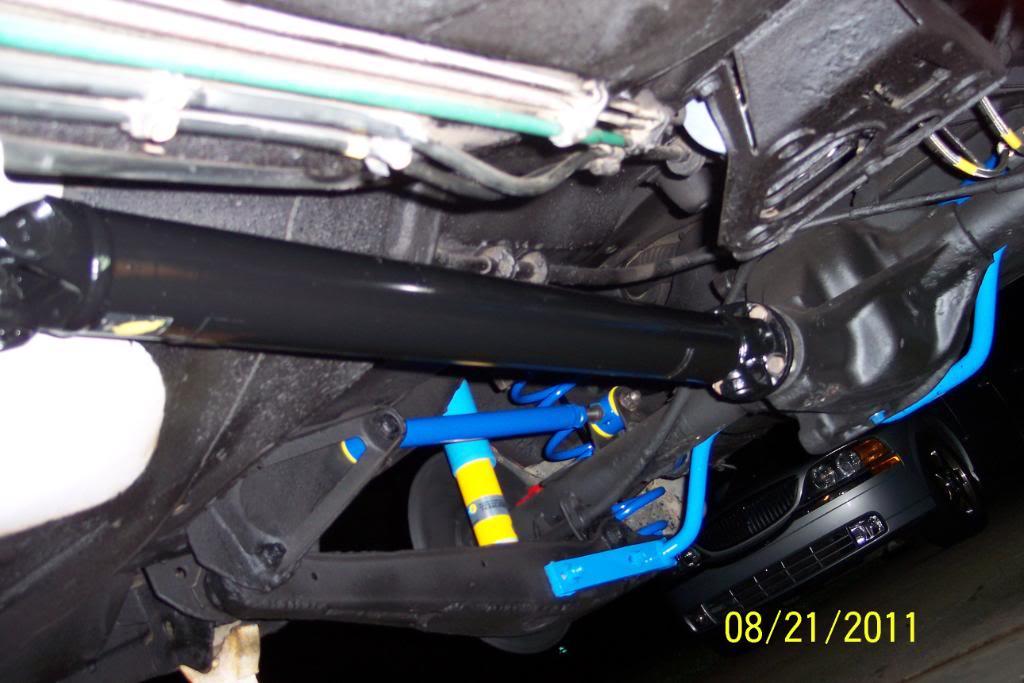
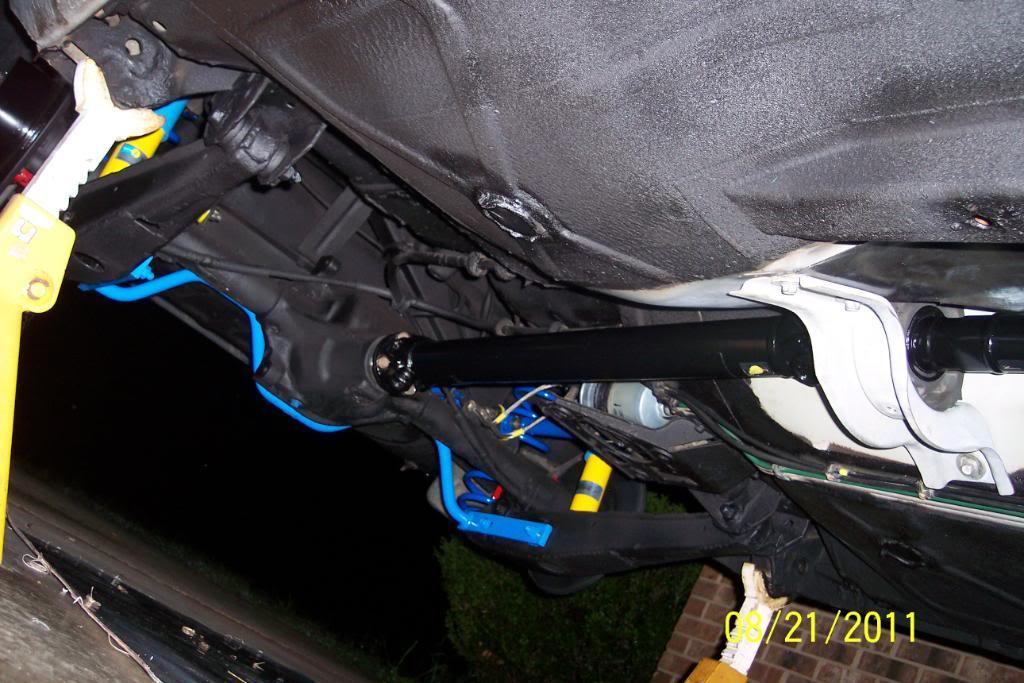
Once pipe was out of the way, I installed the newly rebuilt driveshaft. Flex disc, U Joints, center support rubber, center support bearing ....all of them new. And DS/Ujoints are all painted of course.
Pics........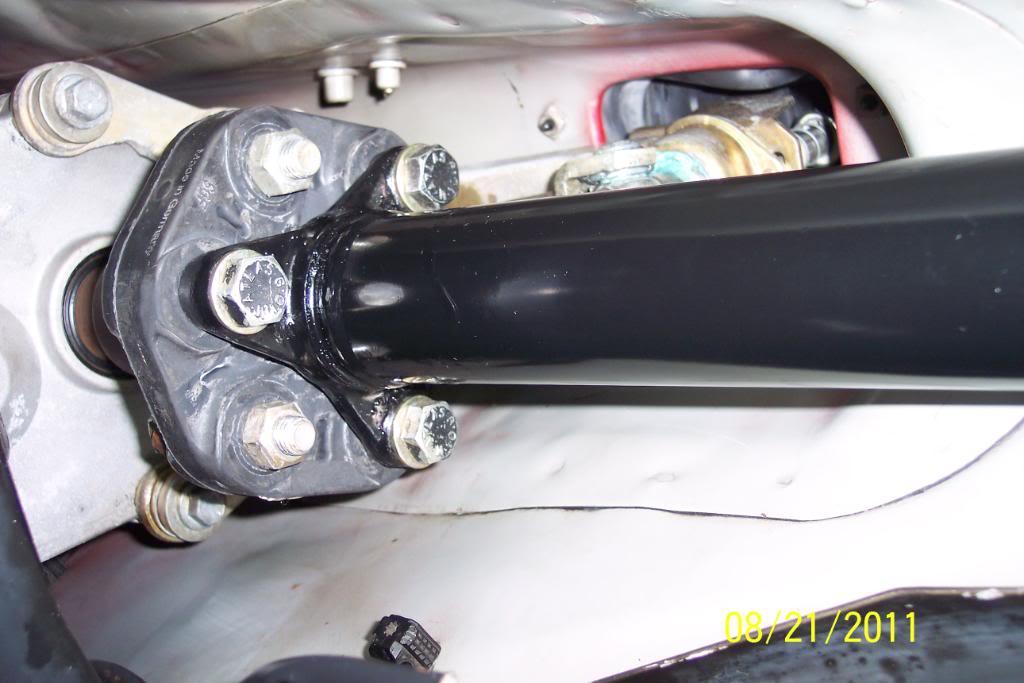
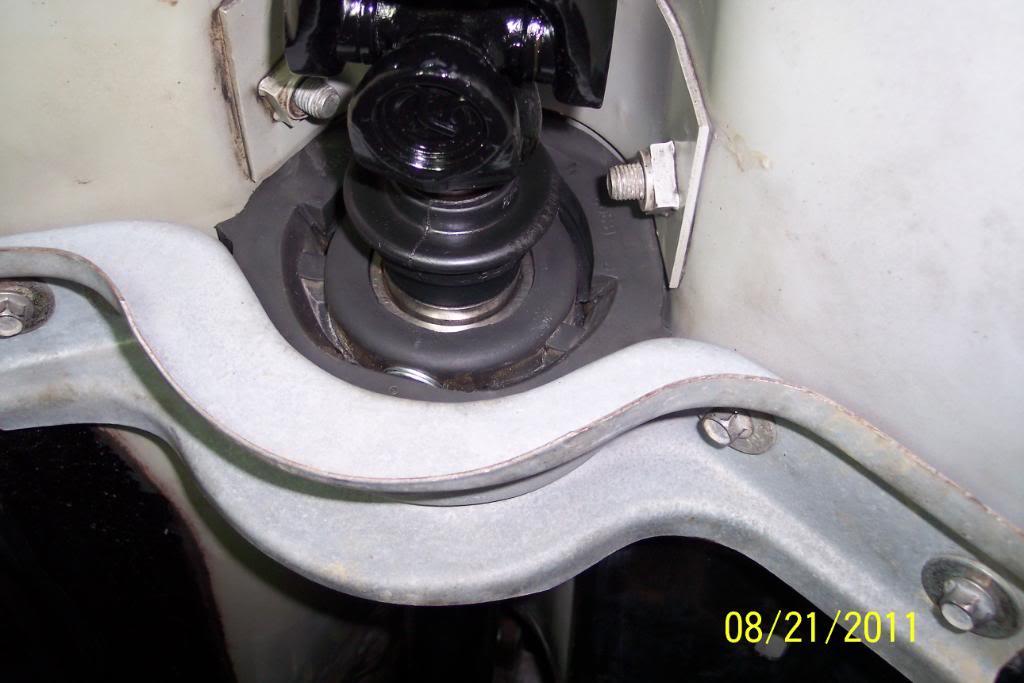


Nice build!
Posted by Diggymart on 3/30/20 @ 2:45:08 PM