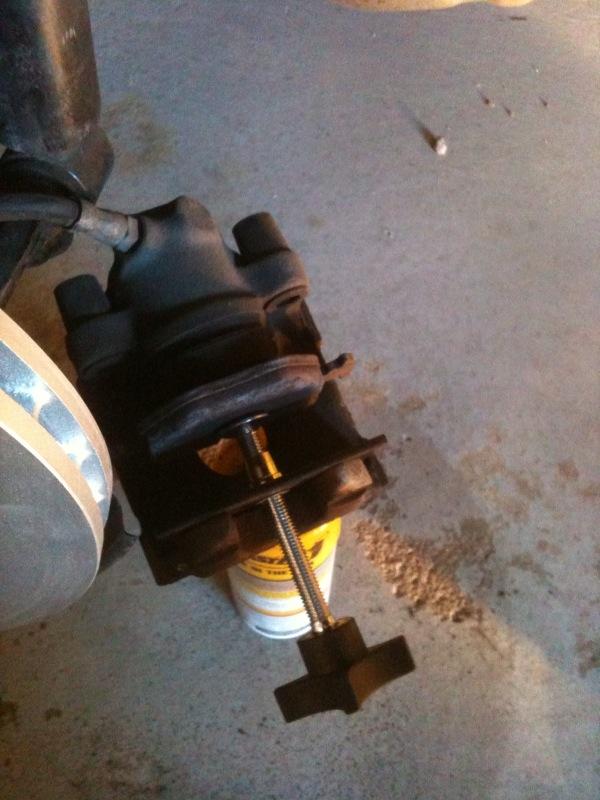
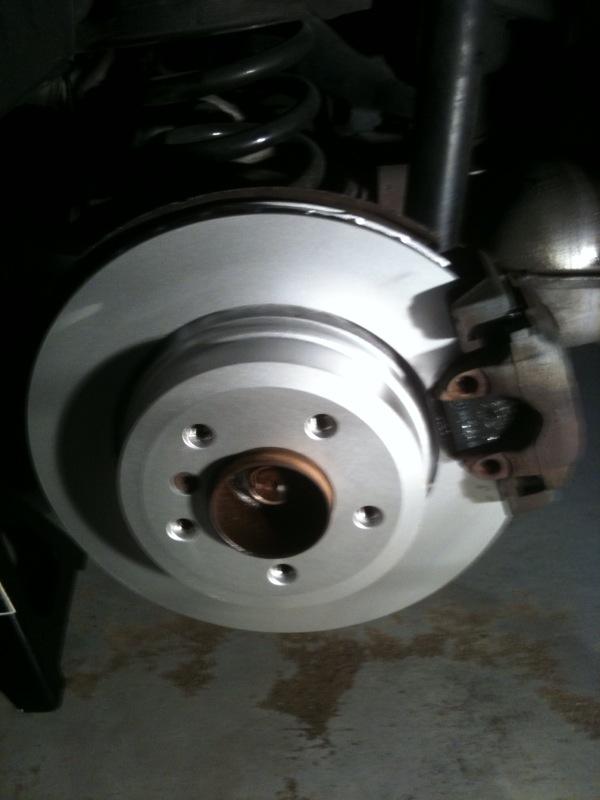
You must be logged in to rate content!
9 minute read
Rear Brakes - Pads and Rotors for an X3
Compliments of Proud Highway @ www.bimmerfest.com
The following is writeup that describes the process for replacing the rear brake pads and rotors on a 2006 X3.
DISCLAIMER: What follows is meant for entertainment purposes only. The author is not a certified mechanic and is not qualified to provide advice regarding vehicle maintenance and/or repair. Readers should seek the services of a qualified, licensed professional when performing any brake repairs. The author makes no warranties express or implied regarding the accuracy of the information provided herein and has no formal affiliation with this website or its owners. PROCEED AT YOUR OWN RISK!
Preface:
Brake pads and rotors are a common wear item, however it may not always be necessary to replace the rotors. Rotors can often be resurfaced and trued by shops with a brake lathe; this process is often referred to as having your rotors "turned."
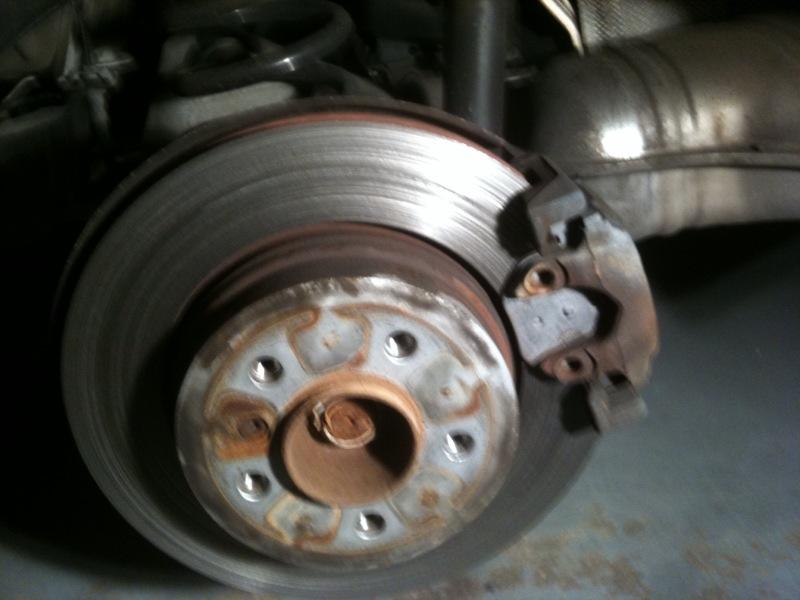
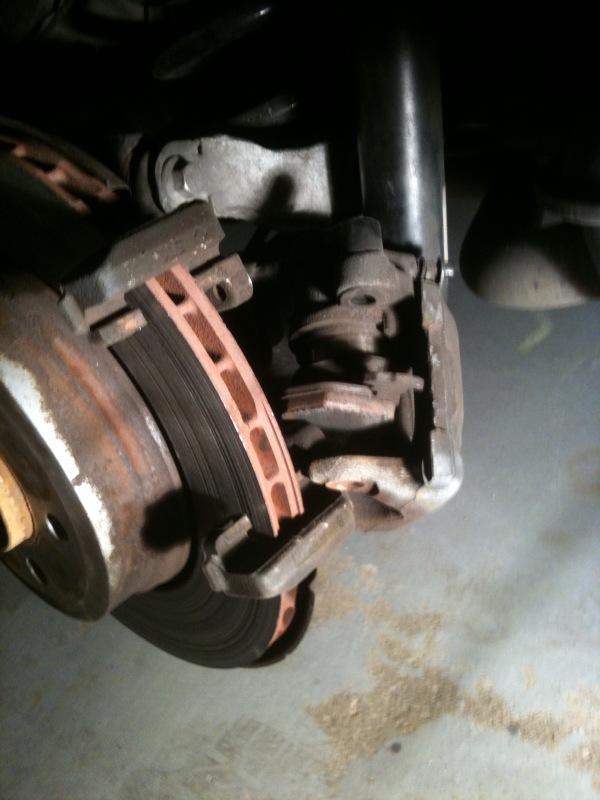
On this particular job, the DS rear brake pad completely failed and the braking surfaces were metal on metal. This caused deep scores that destroyed the rotor.
This job is dirtier than expected--lots of brake dust and grease. Keep some paper towels/rags nearby for wiping up messes and cleaning parts and fasteners.
Difficulty. This is always a subjective measure. If you can easily assemble Ikea furniture you can probably do this job. However, you must recognize that if you botch it up the resulting consequences will be greater than a wobbly dresser in your guestroom.
Time. Plan for 4 hours.
#1
Before ordering parts visually inspect your brakes noting the thickness of the rotors and pads. Verify that the anti-rattle clip has not fallen off. Also check to see that hose leading to the caliper is in good repair without leaks or abrasions.
#2
Procure the necessary parts. For this job I ordered the following:
- Rear Brake Disc (34213332217) qty 2
- Rear Brake Pad Set (34213403241) qty 1
- Rear Brake Pad Wear Sensor (34353411757) qty 1
Brake Pad Paste (81229407103) qty 2
#3
Assemble tools, parts and equipment.
From L to R
- Coveralls
- Gloves
- Wheel chocks
- PB Blaster
- Caliper lube
- Floor light
- Diet Coke
- Headlamp
- Parts (see#2)
- Hex sockets 6mm & 8mm
- Brake caliper compression tool
- Utility knife
- Hammer (regular sized pictured; BFH preferred)
- Needle nose pliers
- Screwdrivers
- Pliers
- Socket set
- Torque wrench
- Jack Stands
- Pack of 8" zip ties*
- Jack*
- Eye protection*
- Box wrench or spare tire wrench*
- 1 roll of paper towels or clean rags*
- Household spray cleaner (409/Simple Green etc)*
- Canister vacuum*
*Not pictured.
#4
Raise and secure the rear end of the vehicle using jack stands and wheel chocks. This writeup presumes familiarity with this process. It should be stated, however, that many steps throughout this process will place considerable forces on the vehicle (fore/aft and laterally). Use an abundance of caution in securing the vehicle. A fall will cause case severe damage to your vehicle and may result in injury or death.
#5
Remove anti-rattle clip using needle nose pliers
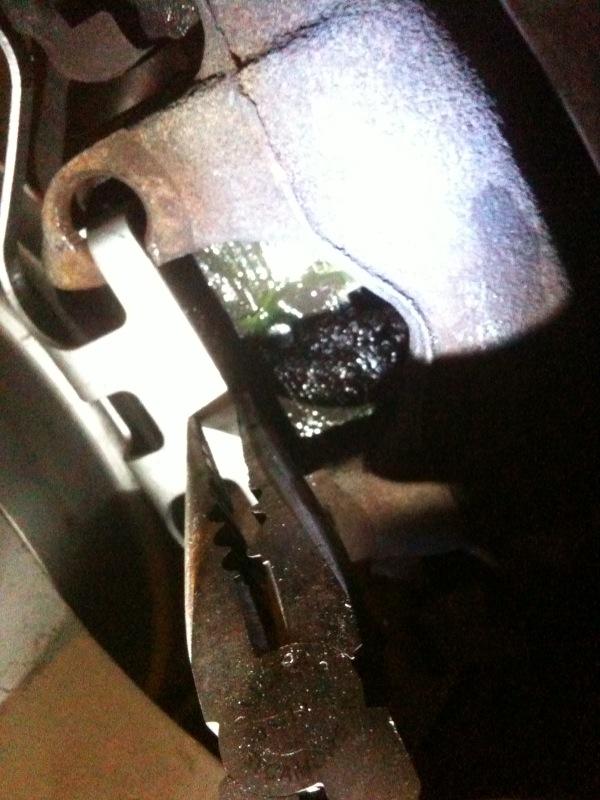
View with wheel removed. Vacuum and/or brush away any dust or debris.
#6
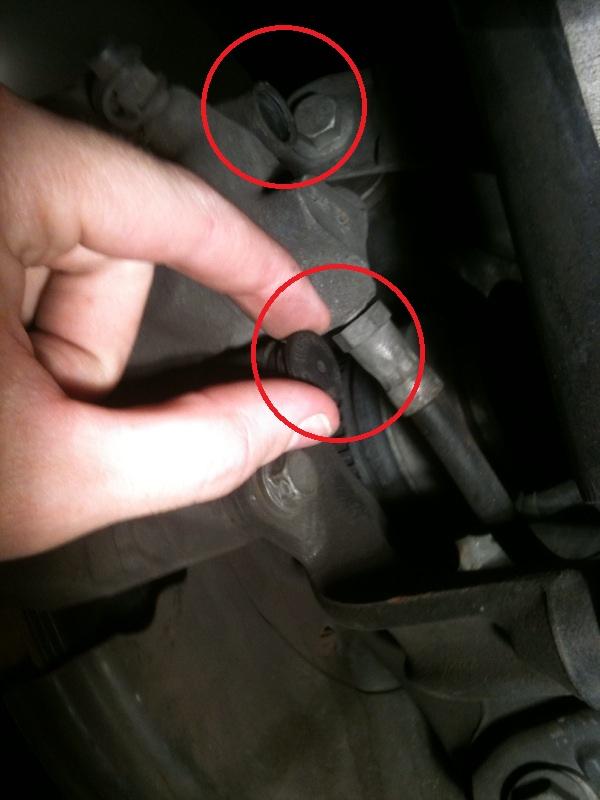
Remove plastic covers to guiding bolts with a flat head screwdriver. These are located on the back side of the caliper.
#7
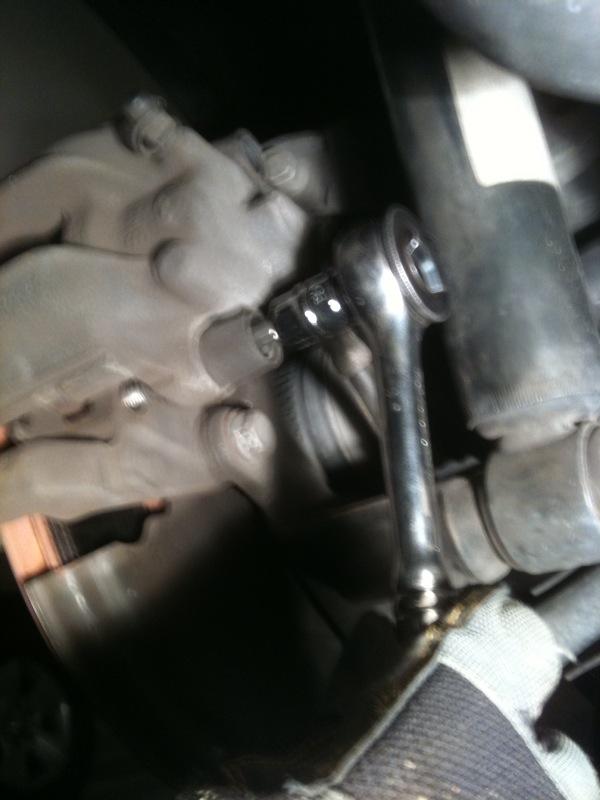
Using a 6mm hex socket remove the two guiding bolts from the calipers housing.
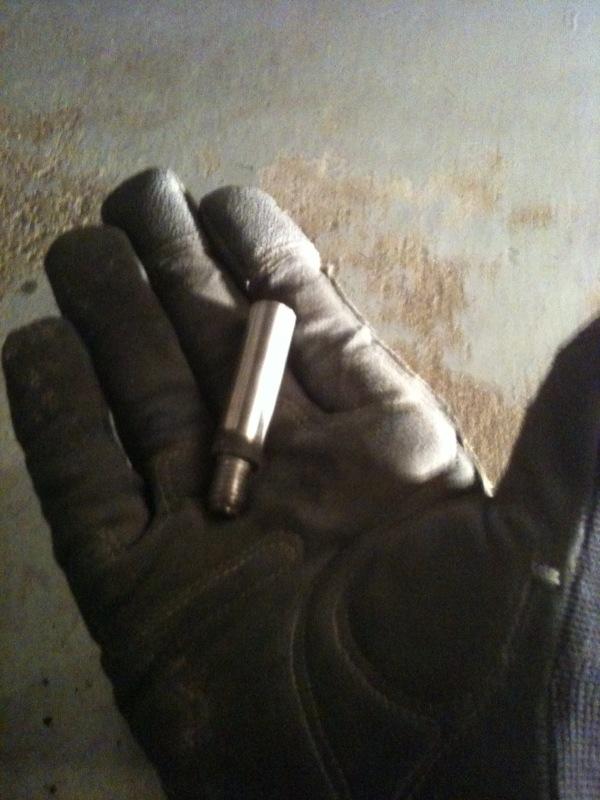
Removed guiding bolt.
#8
Remove caliper housing from rotor; wiggle it using moderate lateral force. Housing should then pull away from rotor. Secure housing to trailing arm or other fixed point using plastic zip tie. This is to prevent the caliper from interfering with other steps and to protect the brake line from damage that would occur by if it were left to support the weight of the caliper housing by itself.
#9
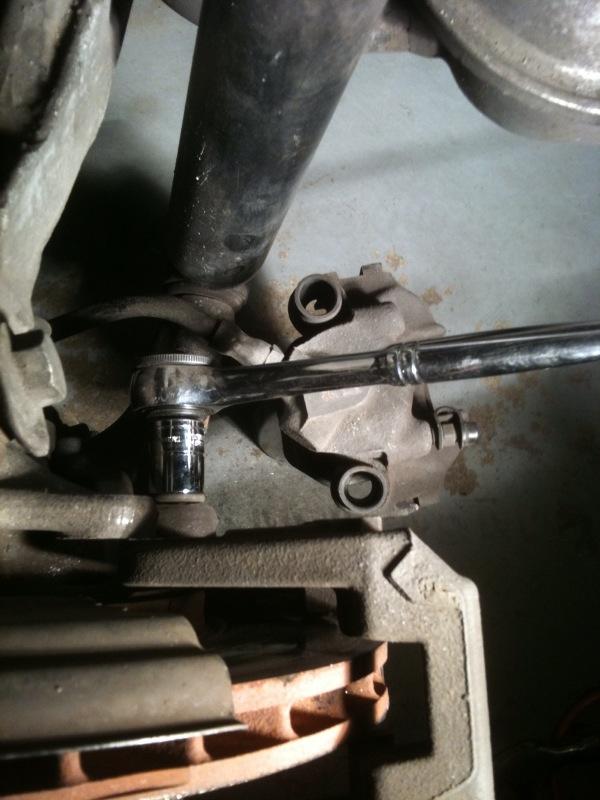
Using a 16mm socket, remove the bolts holding the brake carrier. These may need to be treated with PB Blaster.
#10
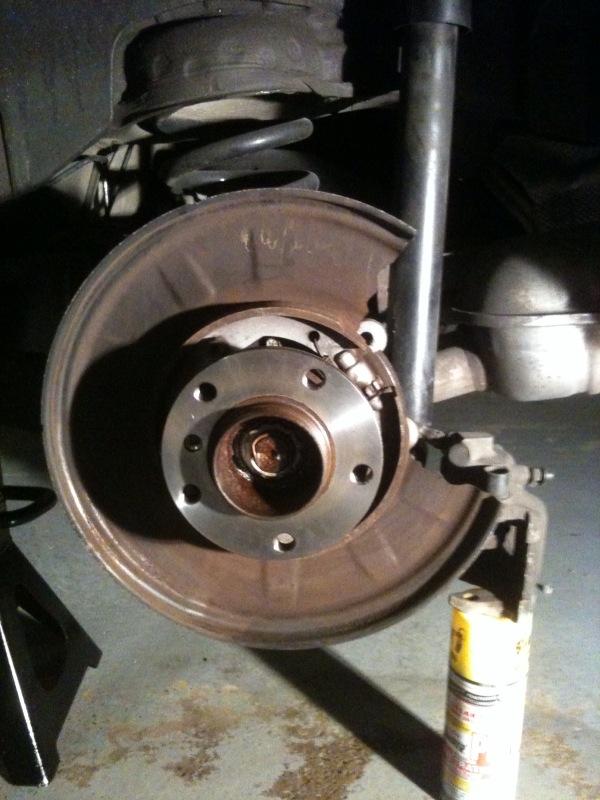
Using a 8mm hex socket, remove the inner hex bolt securing the rotor (yellow), treat the area where the hub meets the rotor with PB Blaster (red). After a few minutes, remove the rotor by tapping the backside with a hammer. The rotor may be stubborn coming off; if needed reapply PB Blaster. Note: the rotor cannot be removed if the parking brake is set.
#11
Once the rotor is removed, clean the mating surface of the hub. Inspect hub for cracks or other damage. Also inspect nearby suspension linkages and drive line boots for tears or leaks.
#12
Install new rotor to hub. Tighten inner hex bolt to 12 ft-lb (16 Nm).
#13
Return to the caliper housing and remove the outer brake pad. Using the above-referenced tool, fully compress the caliper piston.
#14
After removing the the inner pad, apply a coating of brake pad paste to the backing plate of the new brake pad. Place the new pads inside the caliper housing taking care not to get any grease or other debris/contaminants on the braking surface of the pads.
#15
Reinstall the brake carrier. Tighten bolts to 48 ft-lb (65 Nm).
#16
Reinstall the caliper housing. Torque guiding bolts to 22 ft-lb (30 Nm). Reinstall plastic covers to guiding bolts.
#17
Reinstall the anti-rattle clip using needle nose pliers.
#18
Reinstall wheel and lower vehicle. Lug bolts should be torqued to the specs recommended by your respective wheel design/maker. Before driving, start vehicle and pump brakes several times to reposition caliper pistons and equalize braking pressure.
Posted elsewhere are bimmerfest are procedures for brake bedding. Following those steps are critical in obtaining optimum performance from your newly services brakes.
Addendum
The rear passenger-side brake caliper has a brake pad wear sensor. It is recommended that you first disconnect the sensor from the junction box before servicing the brakes and rotors. This will avoid damage to the sensor outlet that could occur should the wire get pulled upon during the brake work.
Follow the sensor as it runs out from the caliper housing.
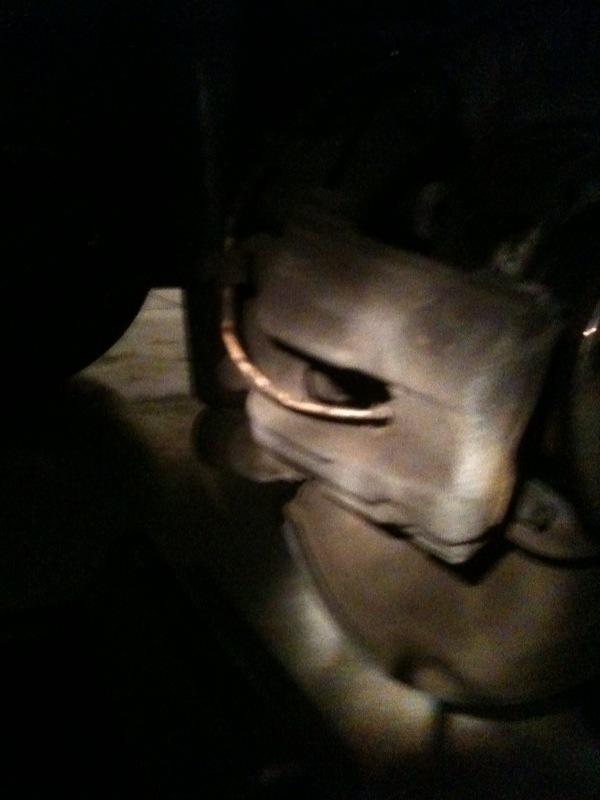
It then goes along the lower arm through a series of clips to a junction box located behind the rocker panel. The approximate location of the box is as indicated.
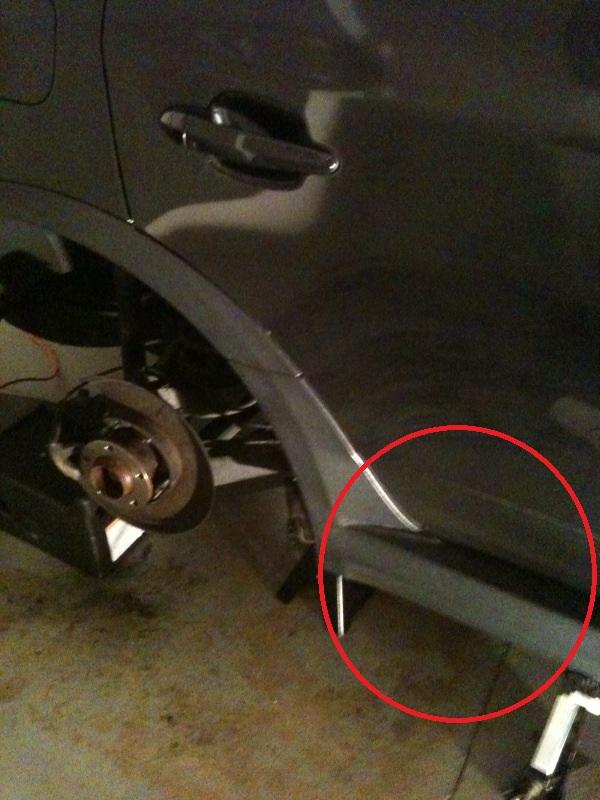
To access the junction box remove the two outer bolts using an 8mm socket. Swing the access panel out of the way on the remaining rivet.
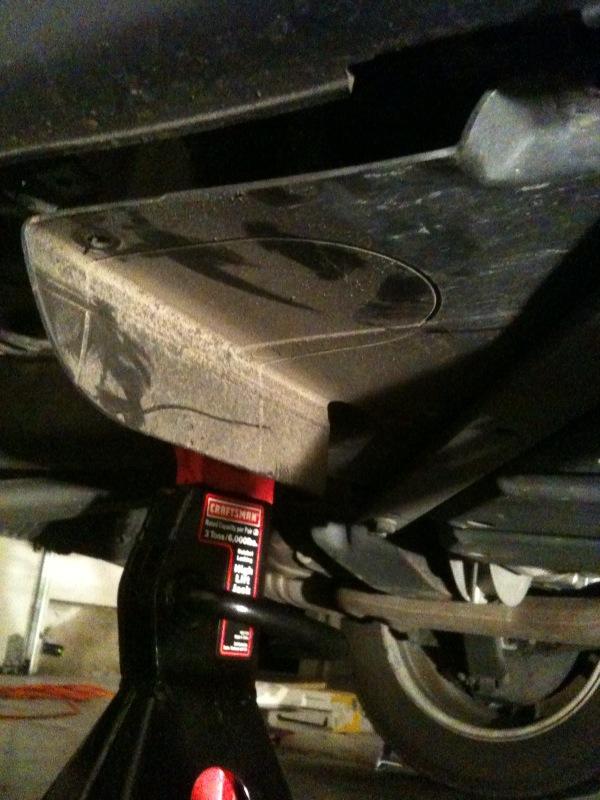
Locate the junction box underneath.
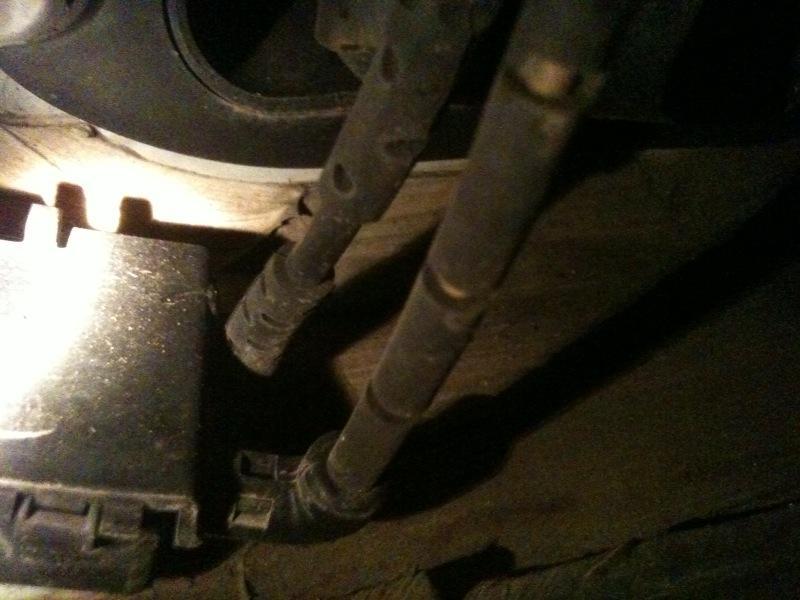
Open the junction box (it hinges from the bottom). Pop out the lower wire to the brake pad wear sensor and disconnect it. Connect new sensor and route it through clips back to caliper.
After servicing the brakes route the sensor through the top of the caliper housing and clip it too the indicated area of the inner brake pad.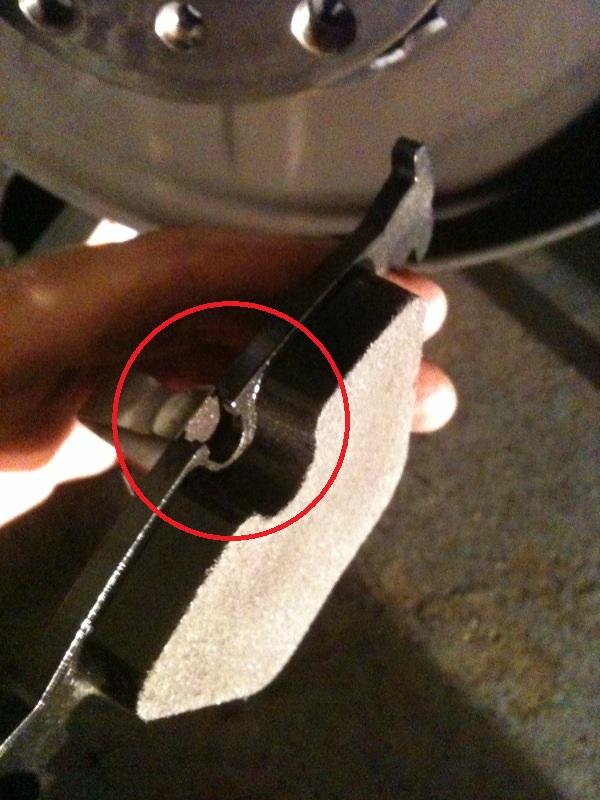
Install new brake pads and assemble as provided above.
I WISH TO KEEP THE STATUS OF THIS DIY "BETA" ANY INPUT OR SUGGESTIONS FOR REFINEMENT WOULD BE APPRECIATED.

