You must be logged in to rate content!
8 minute(s) of a 417 minute read
1-18-2012
Manifold mounted together. Threads coated with High Temp copper pasta.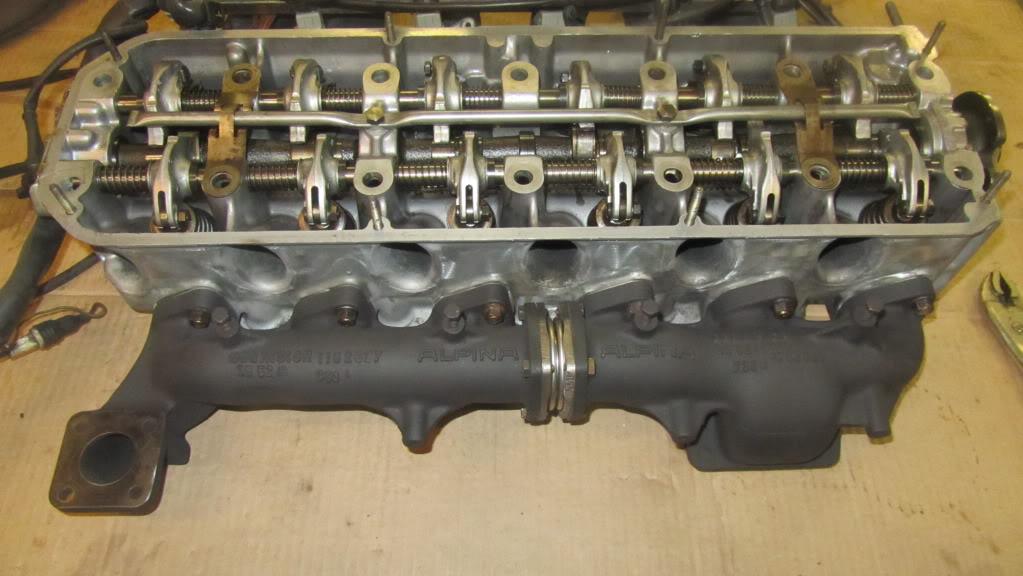
I did order only ONE inlet gasket.... Grrr.... So it all stopped...
"Wanna-be-mounted".... 

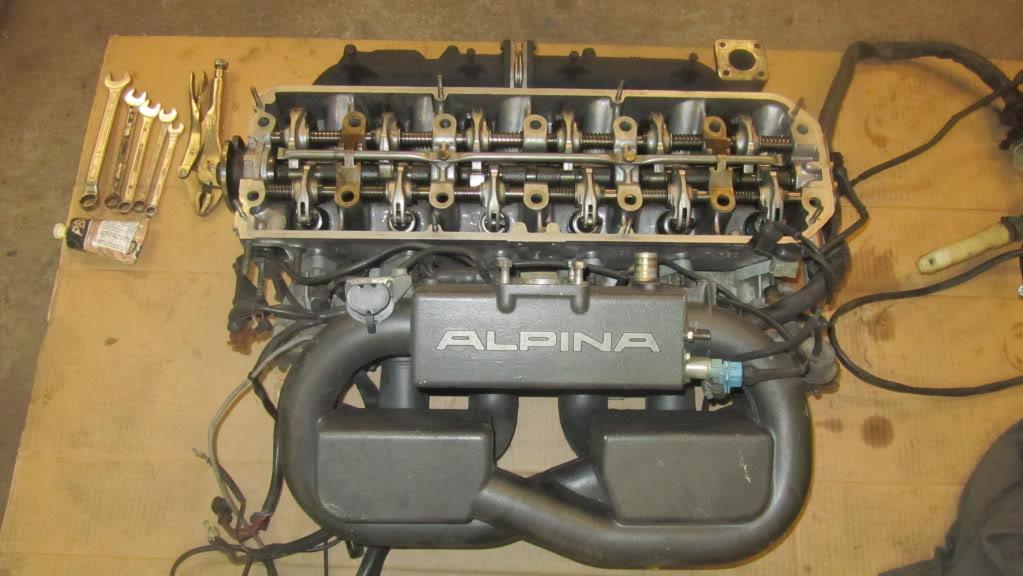
Due to weekend, all shops were closed. I made my own gaskets, with real "gasket-card"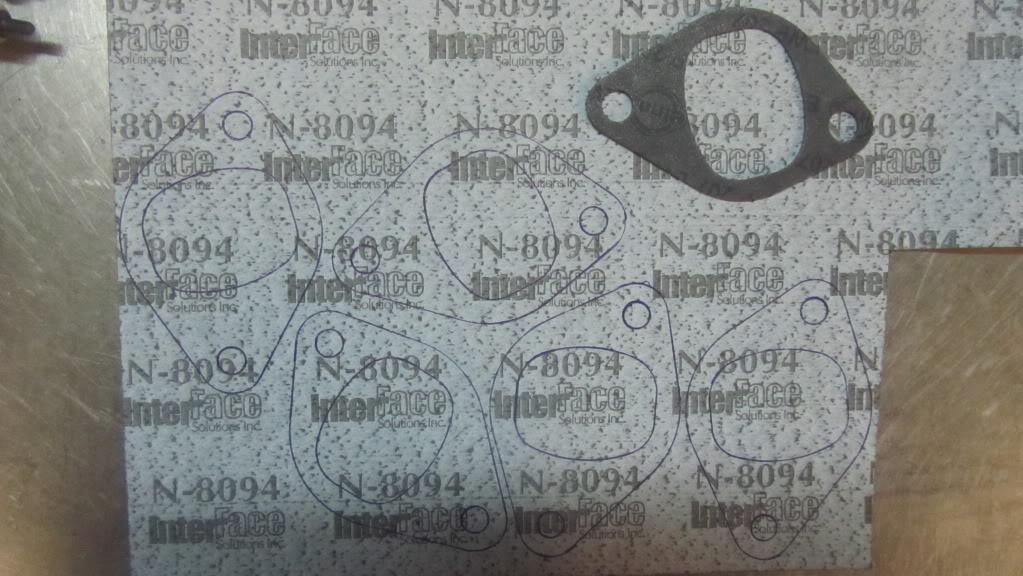
Make sure to cut away any thing in the way---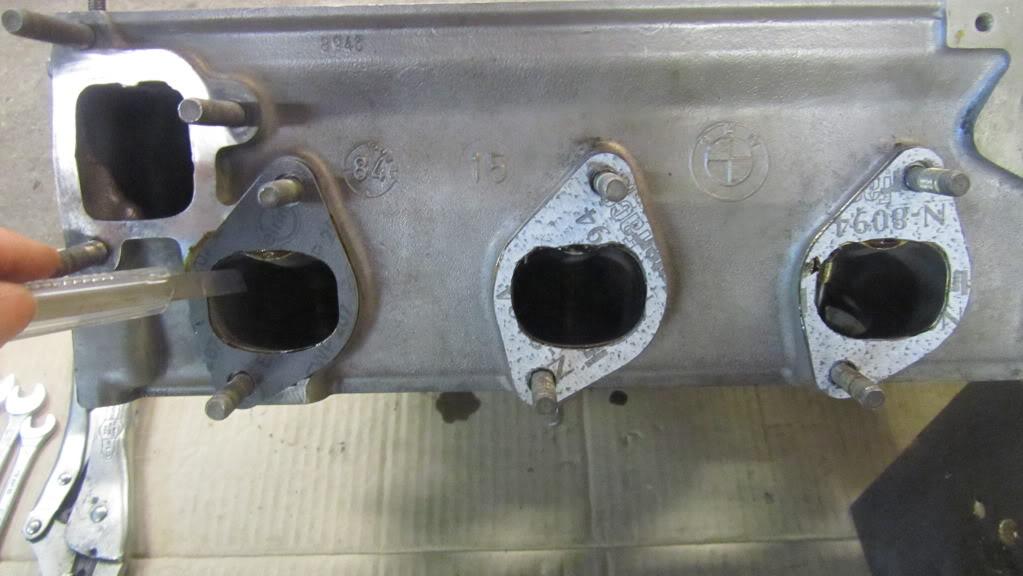
Intake mounted, bring it on!!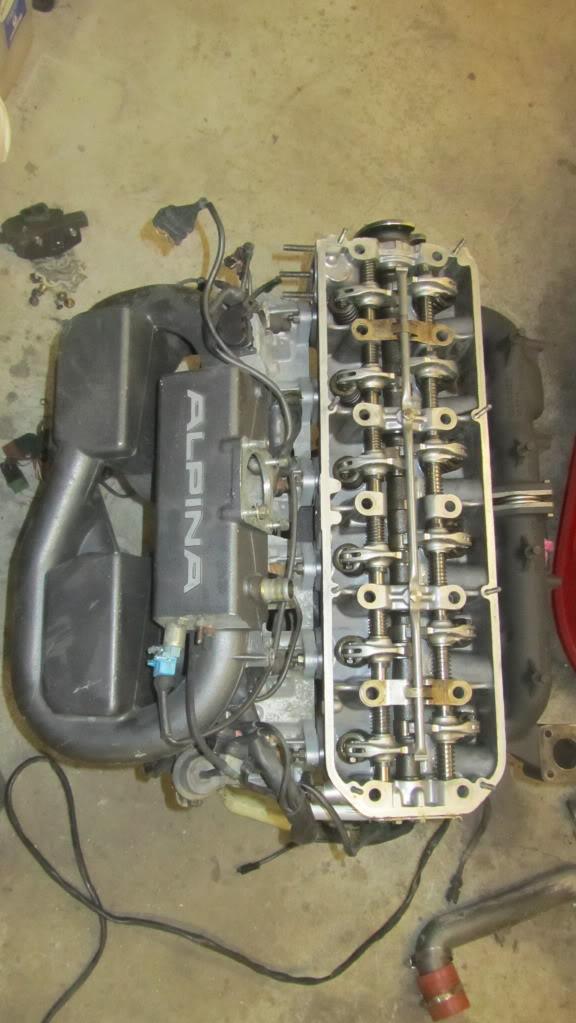
Remember the clamps that holds the fusebox i position? Steel towards paint = rust! This is why I applied some rubber-ish material (which I do not remember the name of) to the end of the clamps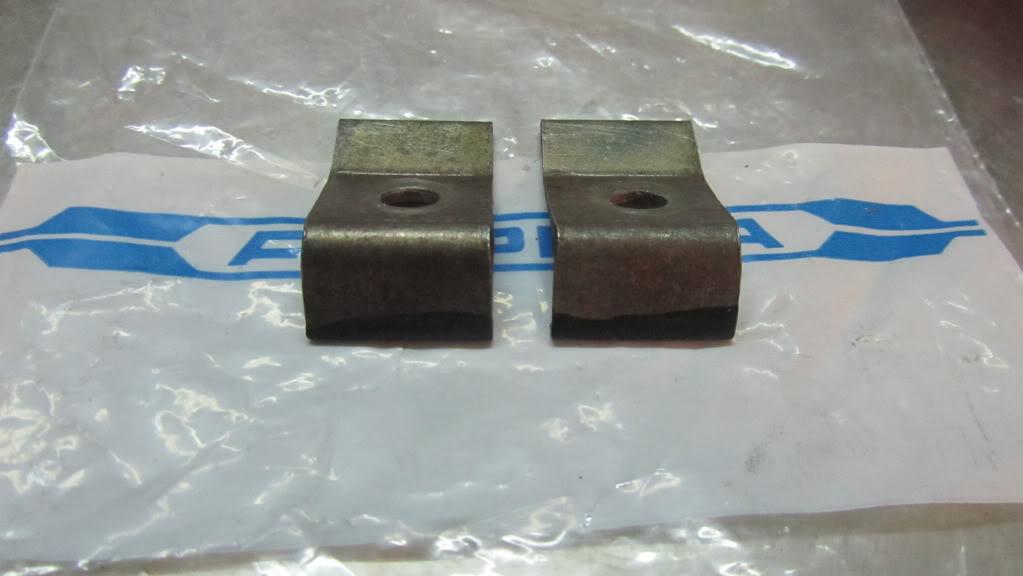
In position again, without any possibility for rust issues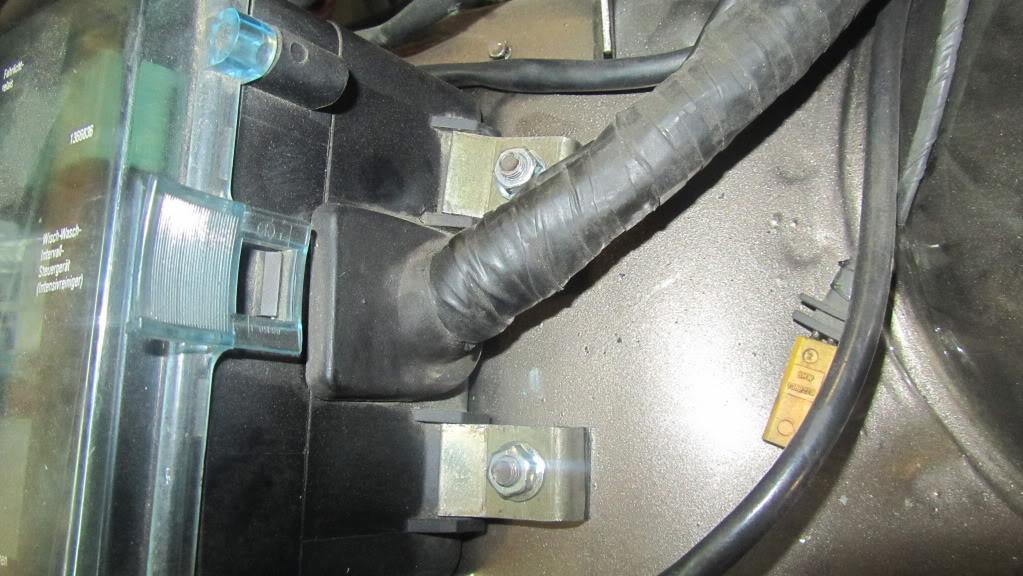
Head gasked, with a special gasked-cement applied.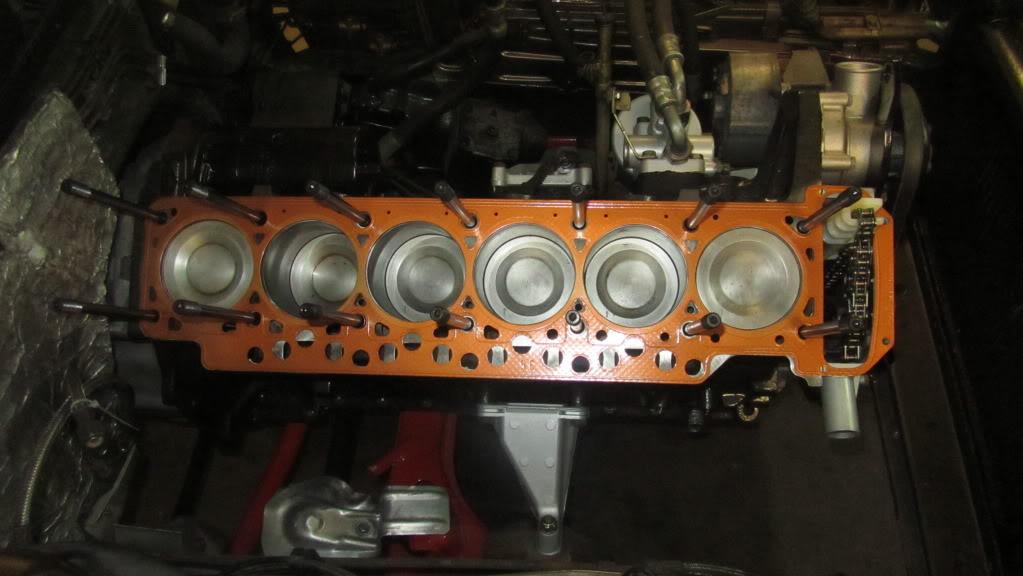
It fits!!!!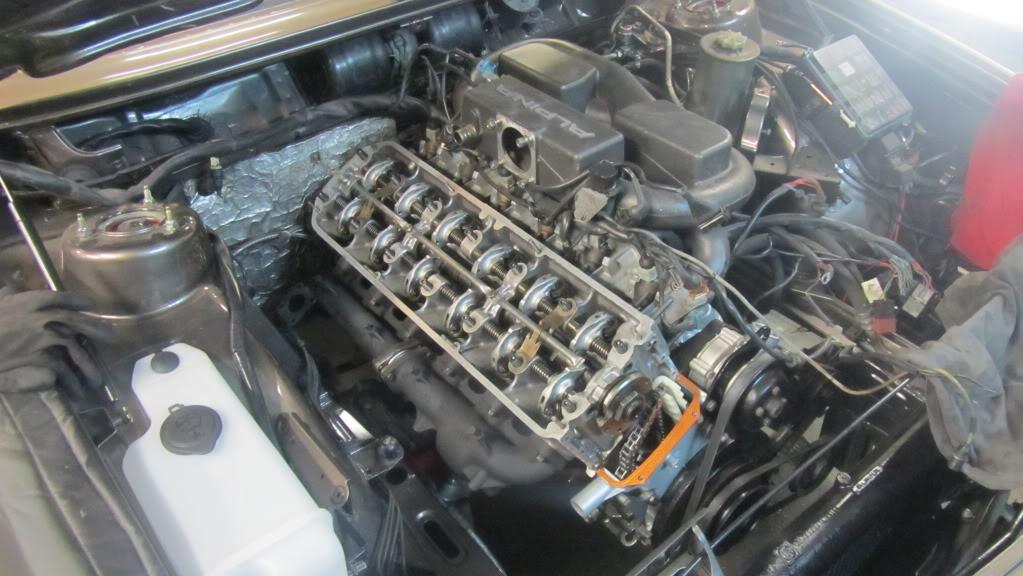
I made ut 2 lengths of masking-tape, and numbered the bolts, just to be a tip for those who are not too rutinated. It is a nice little detail.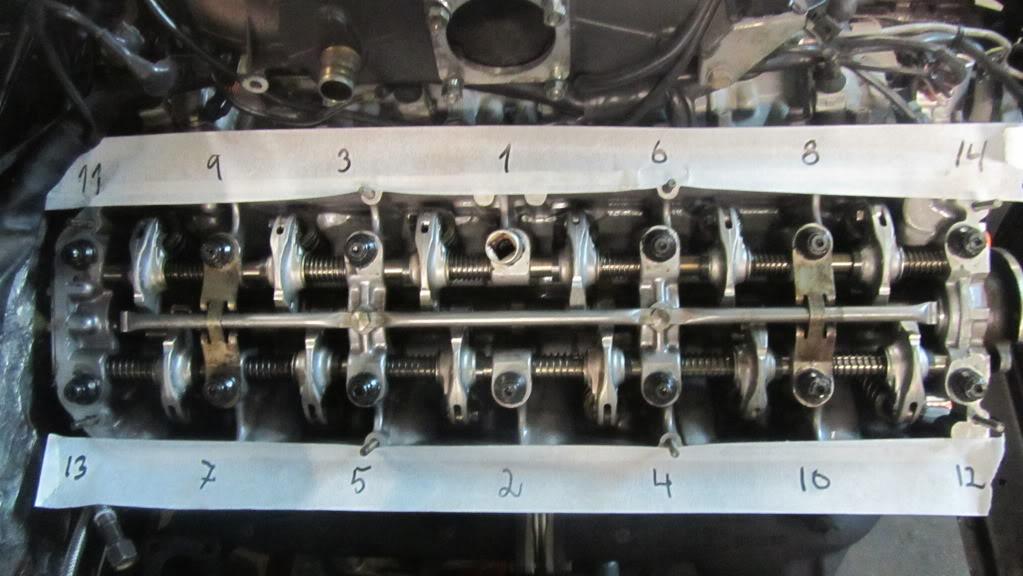
Timing chain in correct position, and I fill the little chamber with oil for pre-set the tensioner-piston.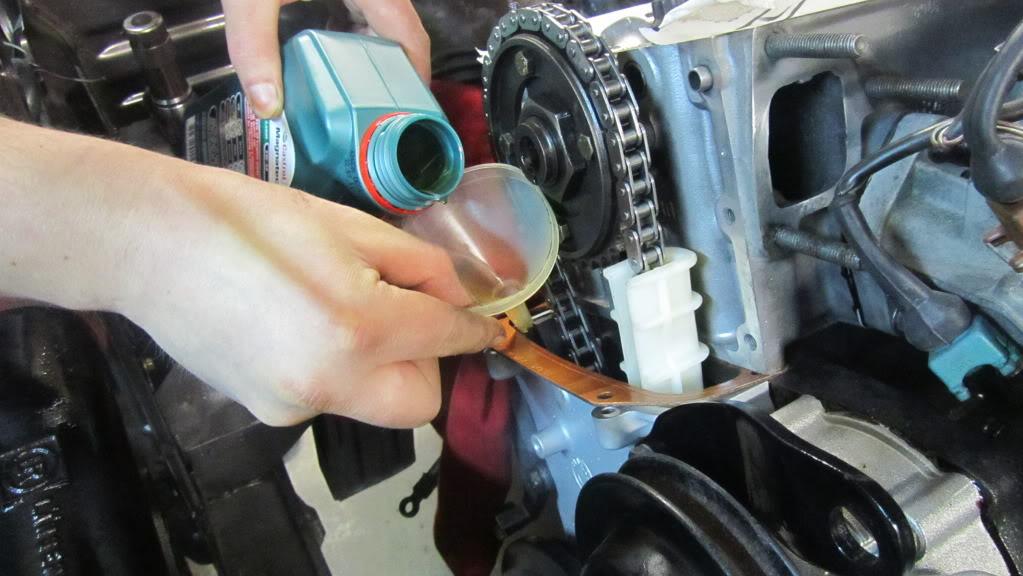
Pump the piston, and allow oil to enter the pistons chamber. Make sure the piston is in position to the tensionerguide.

Added some Three Bond in the corner, to avoid further oil leaks.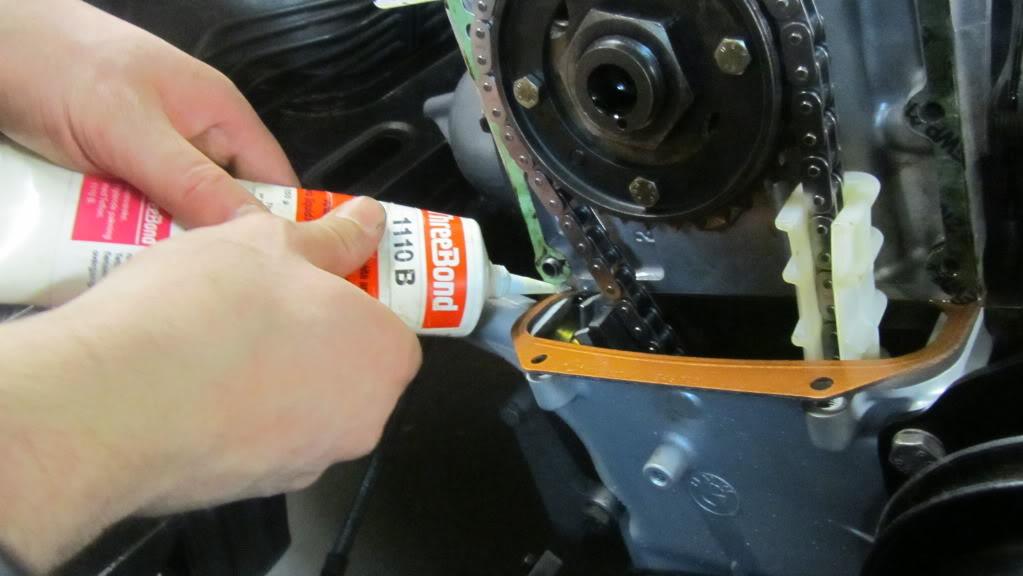

Is it room for the turbo?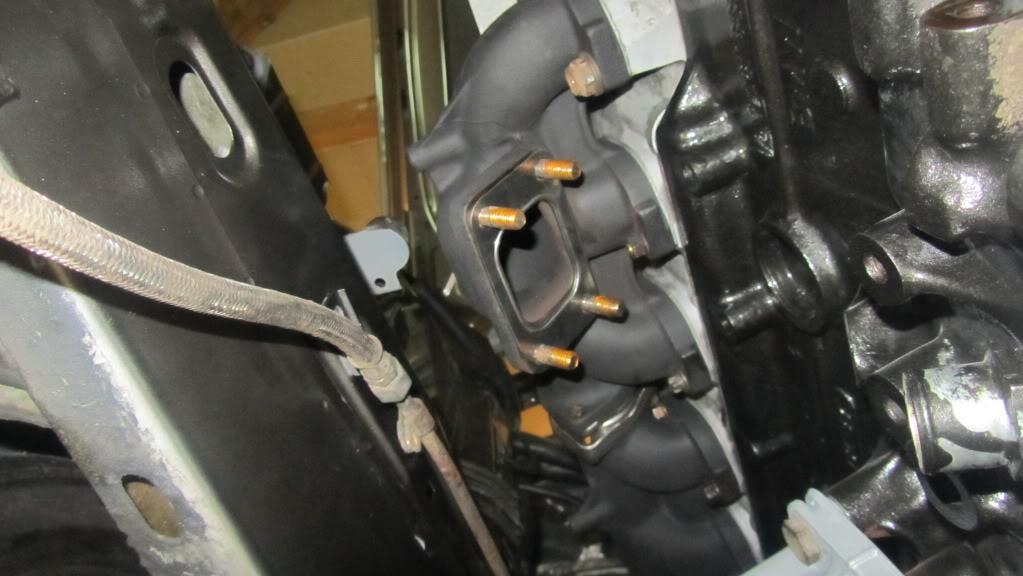
Yes, it is 
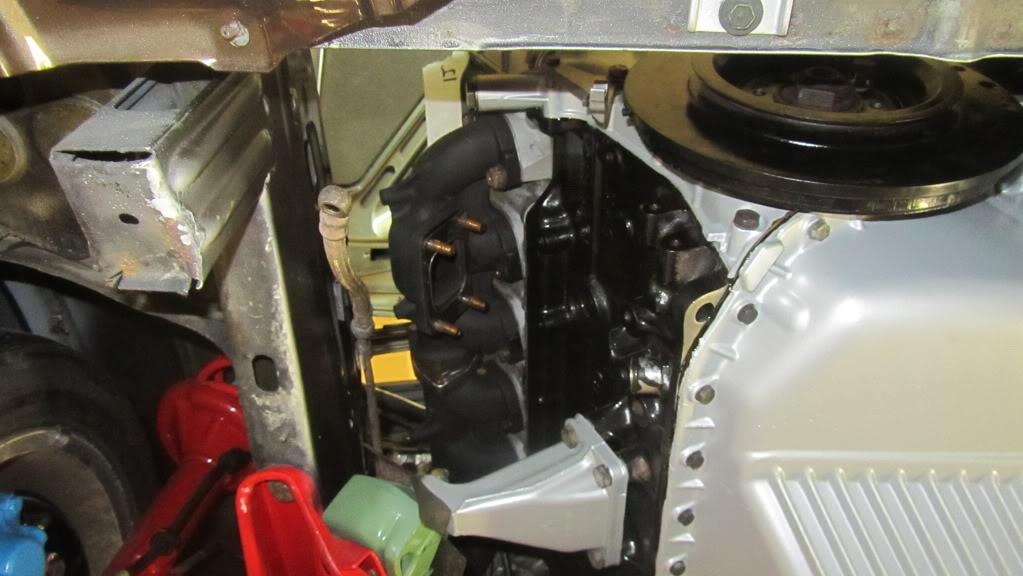
I am beeing optimistic!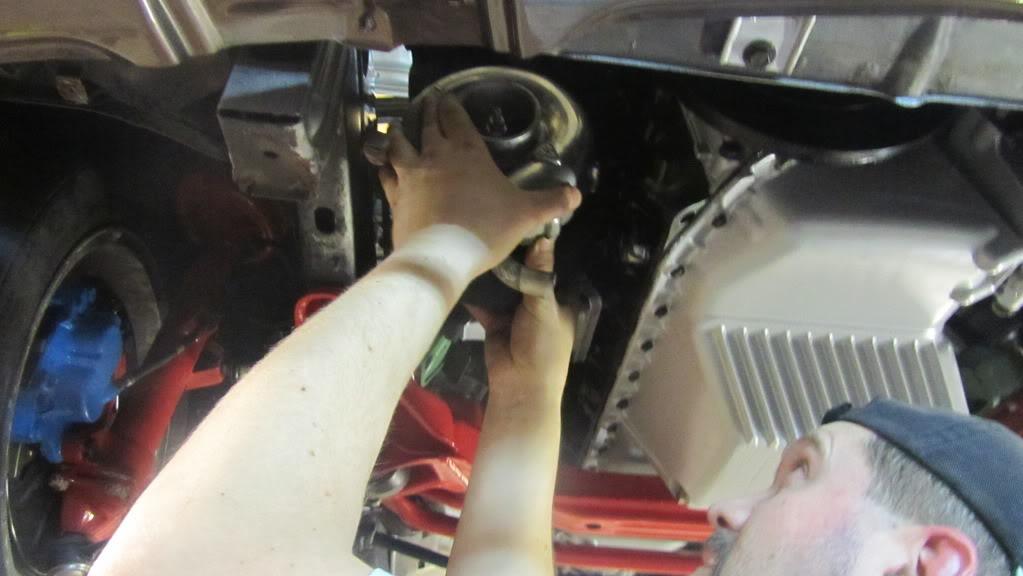
Oh yes, the baby is located where it is supposed to be...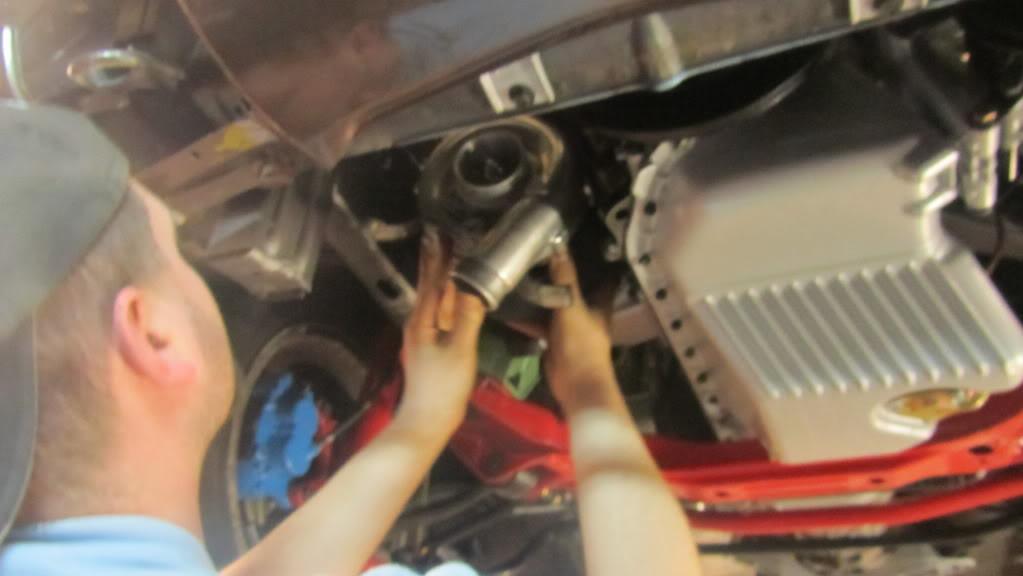
My friend wonder where the access for the Nuts for the flange is located  Not too much space behind there, he claims...
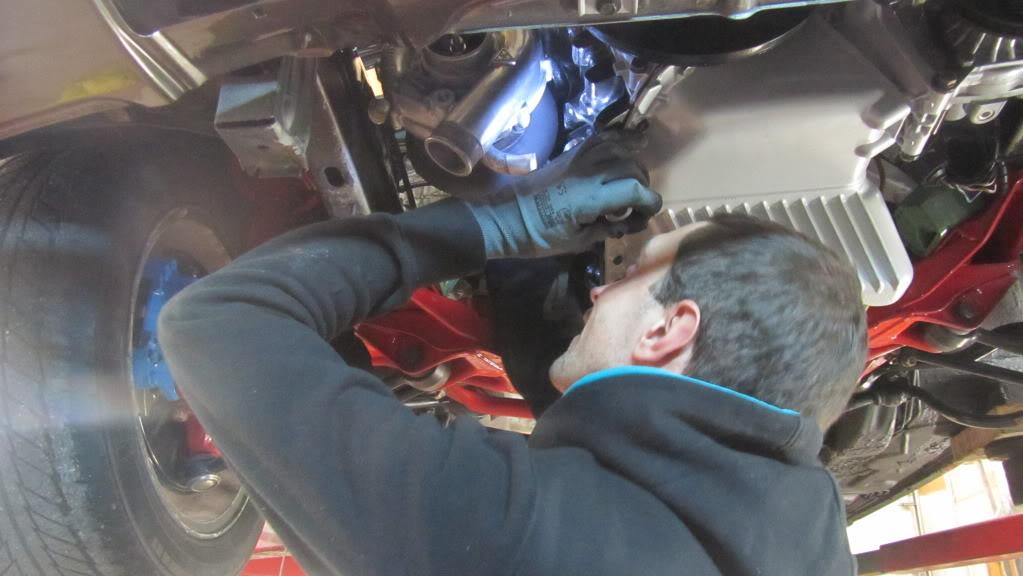
Turbo is torqued, and oil return into the block is good now.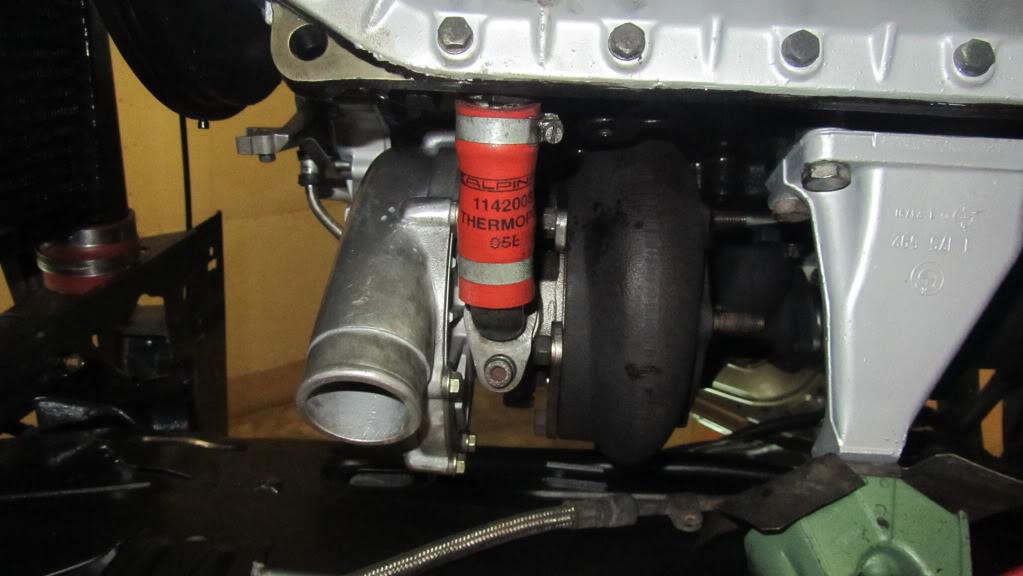
Oil supply line: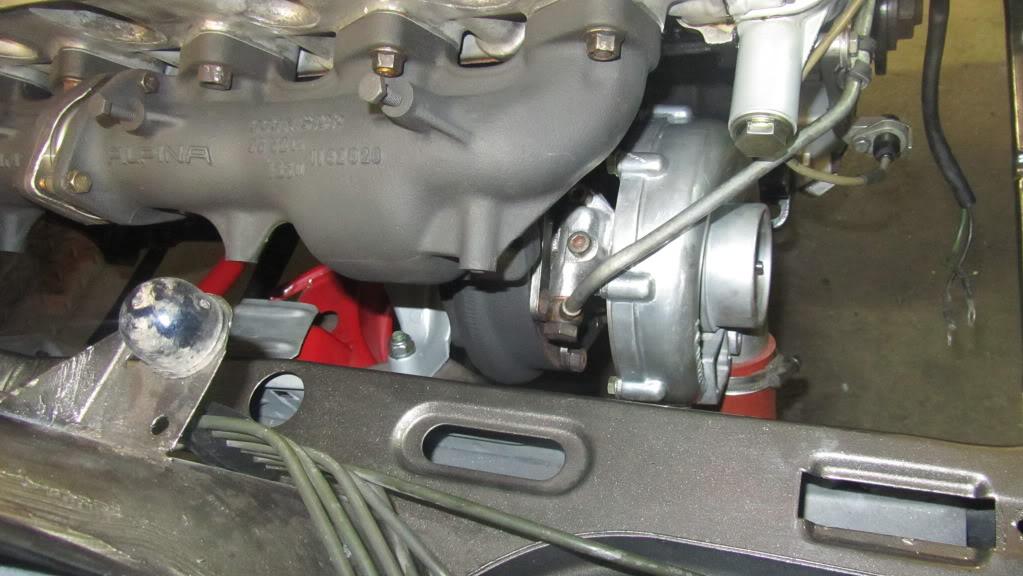
Next step: Wastegate.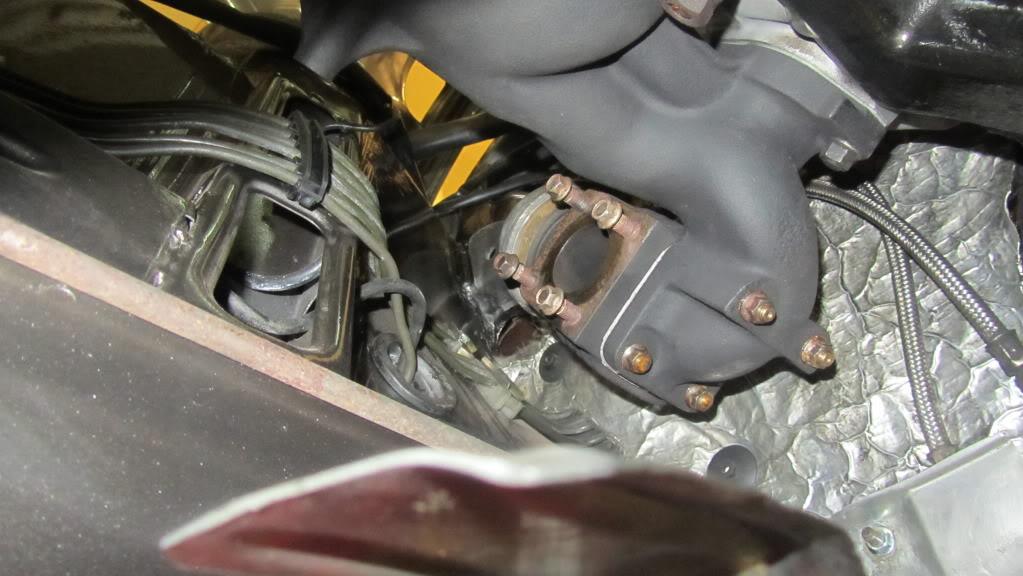
And connected...
Supply line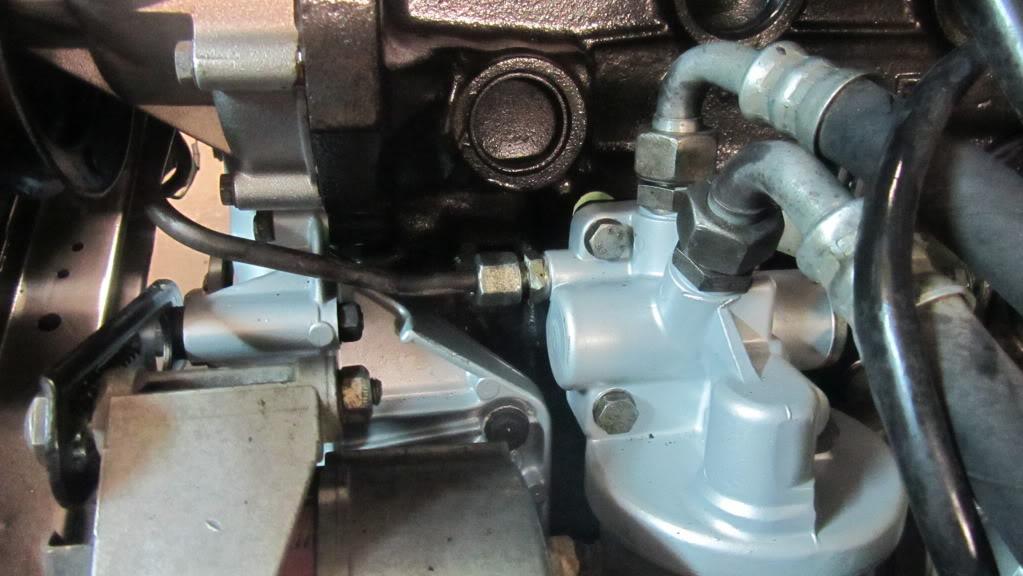
Just a quick pic of the engine bay.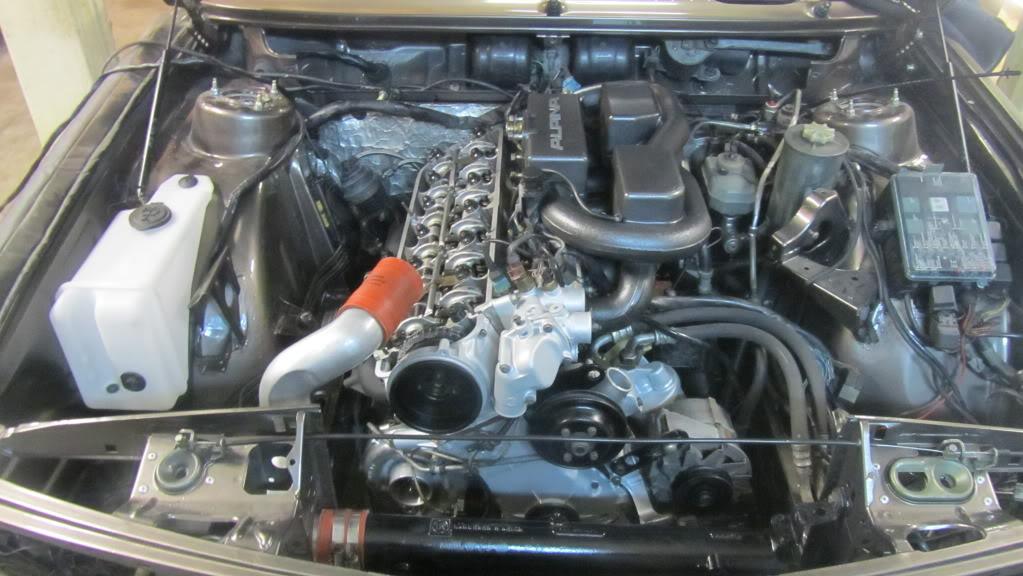
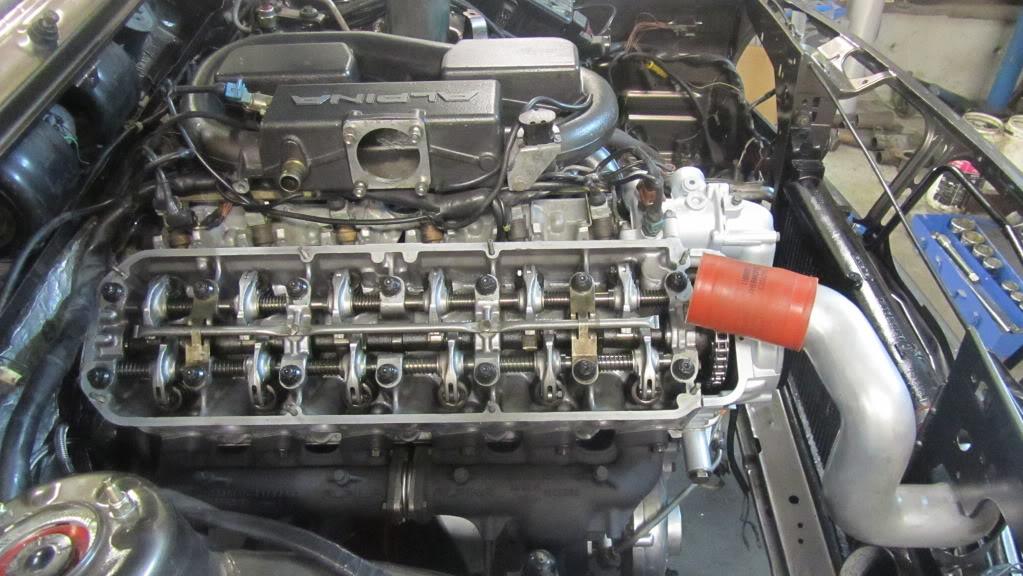
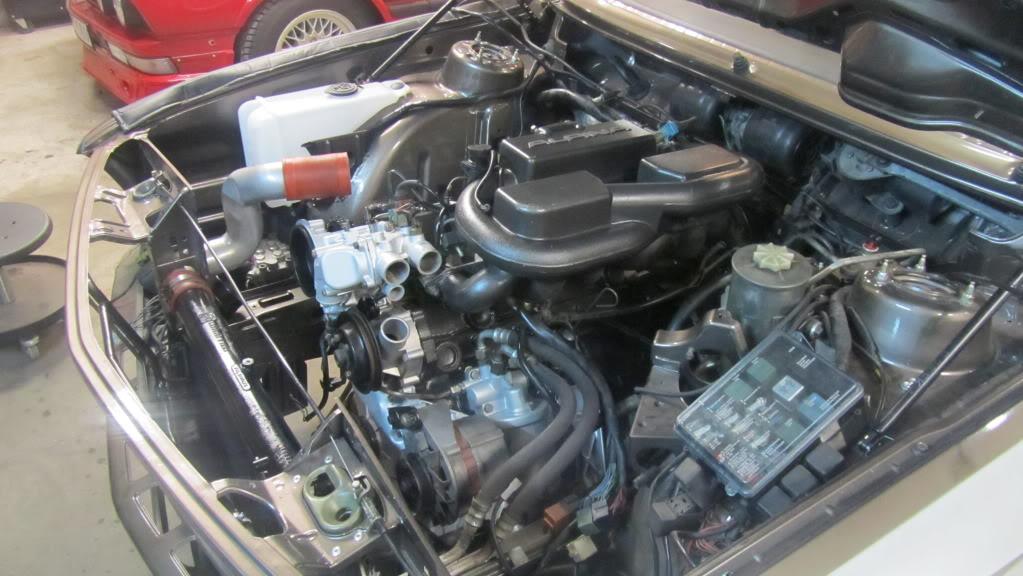
Some new hoses
Valves adjusted, and everything so far is good...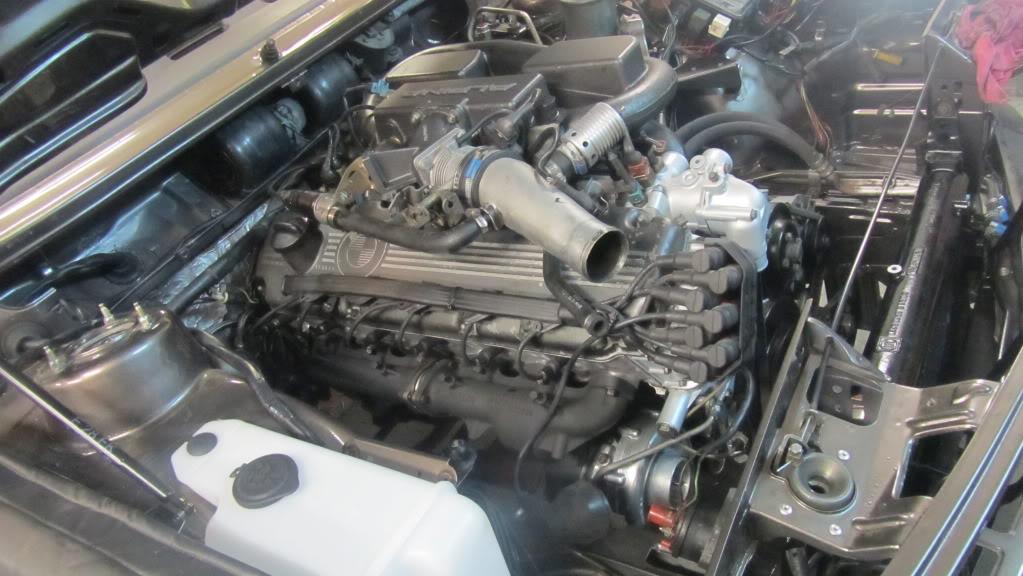
No fun. A lot of electrical bad stuff... Time-consuming to fix...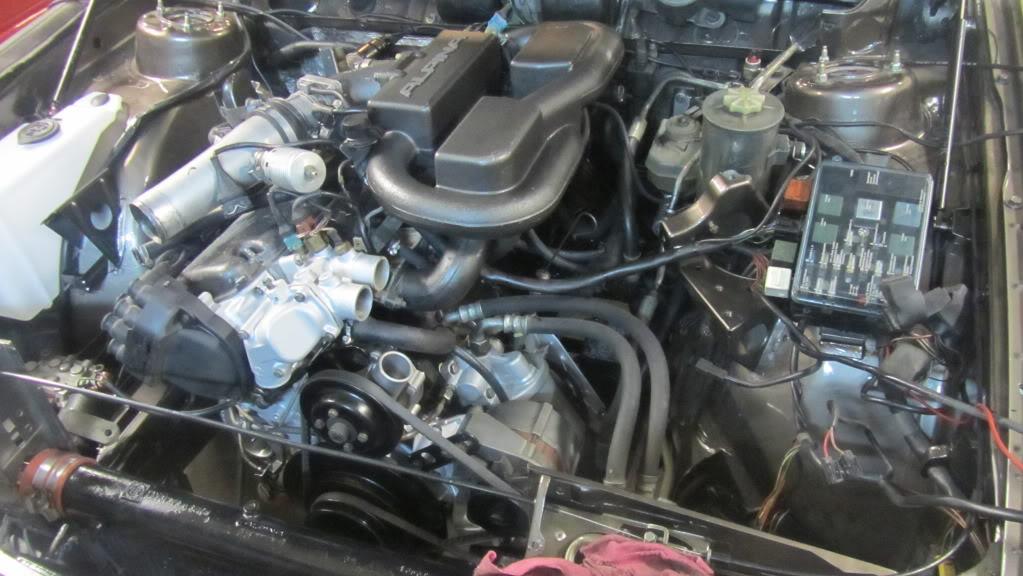
Mounting openers and lockind devices, the prepare for the big adjusting-day.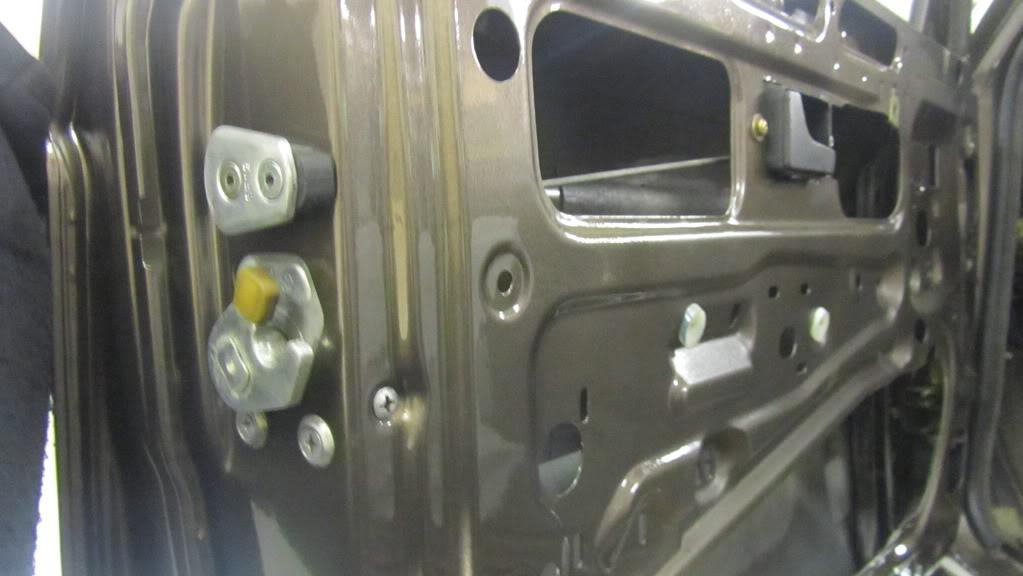
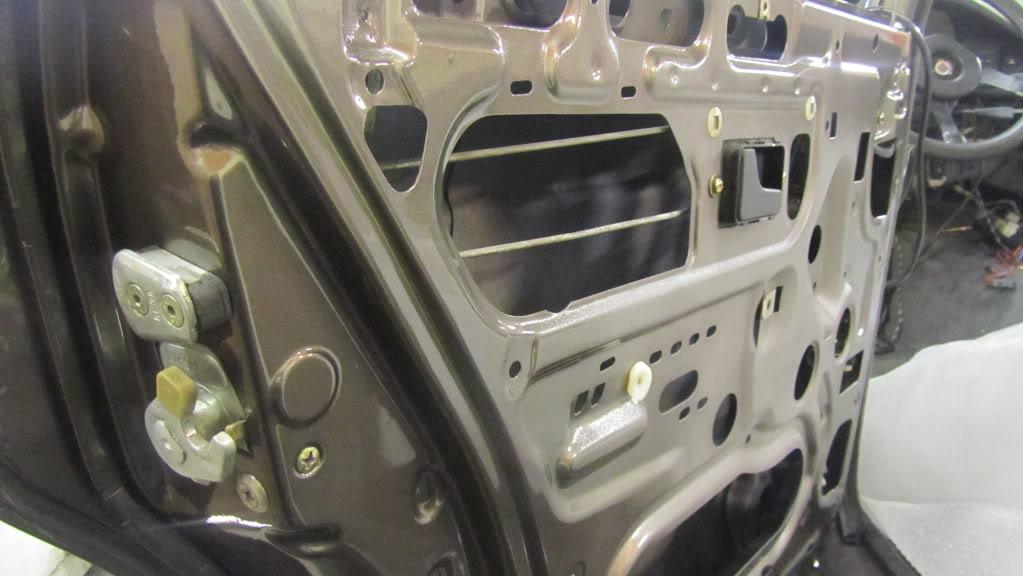
A great tip, is to adjust properly the "opener" before paint job. Better to do it in an early stage...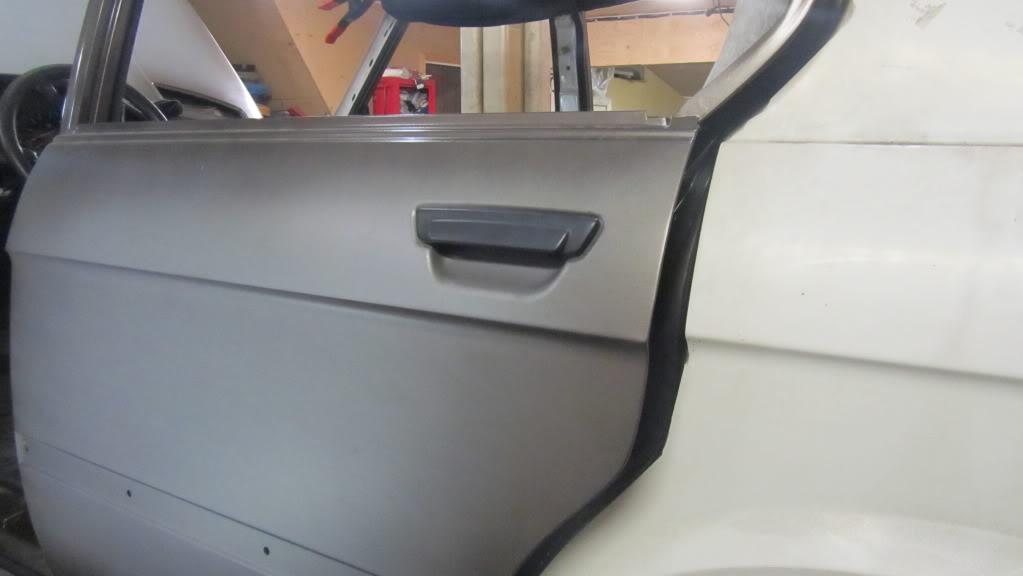
Todays action:
Package from USA!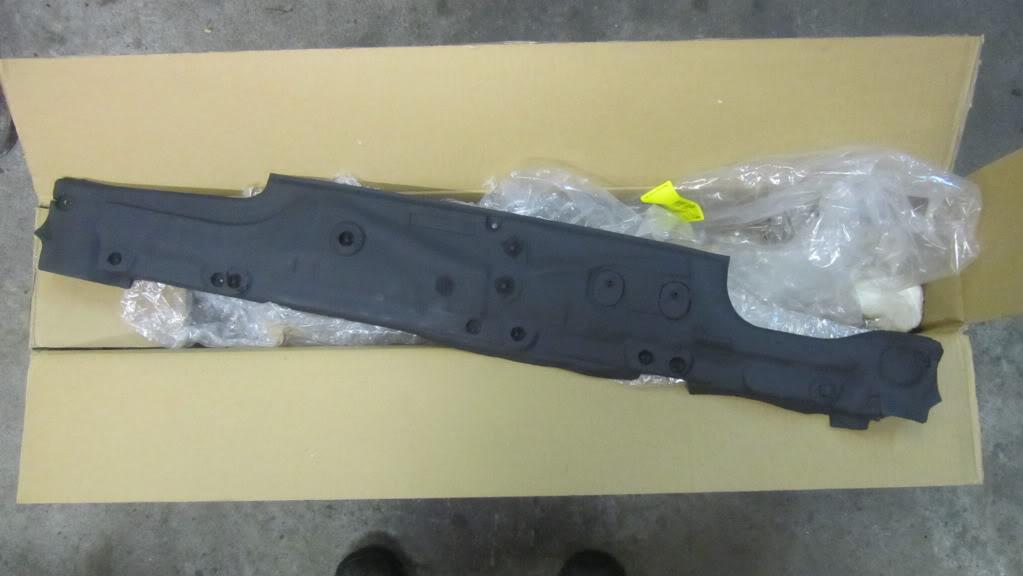
Nice example.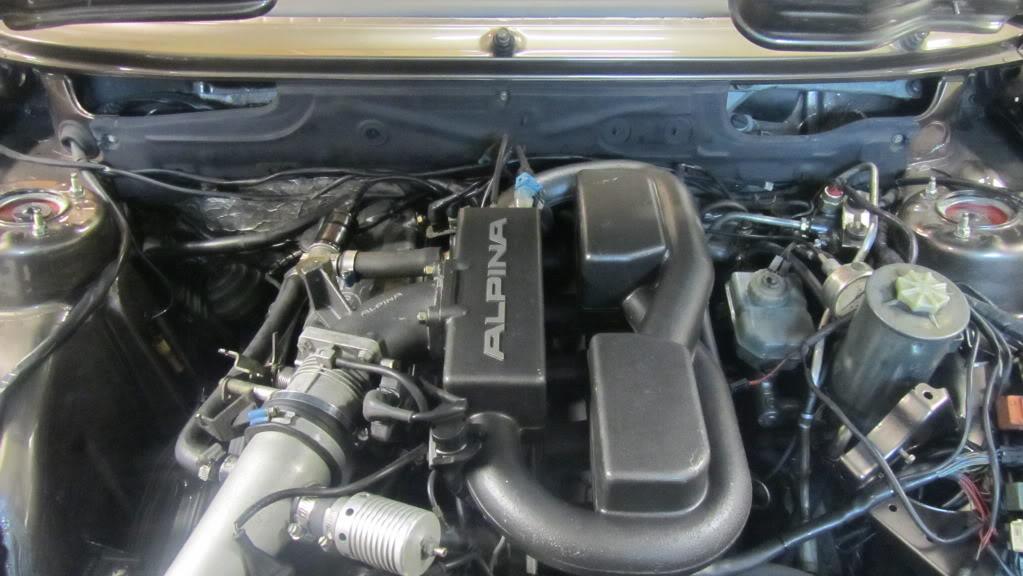
I need to see if there are oil pressure before start-up, used a Mini-Mezz and a fittings.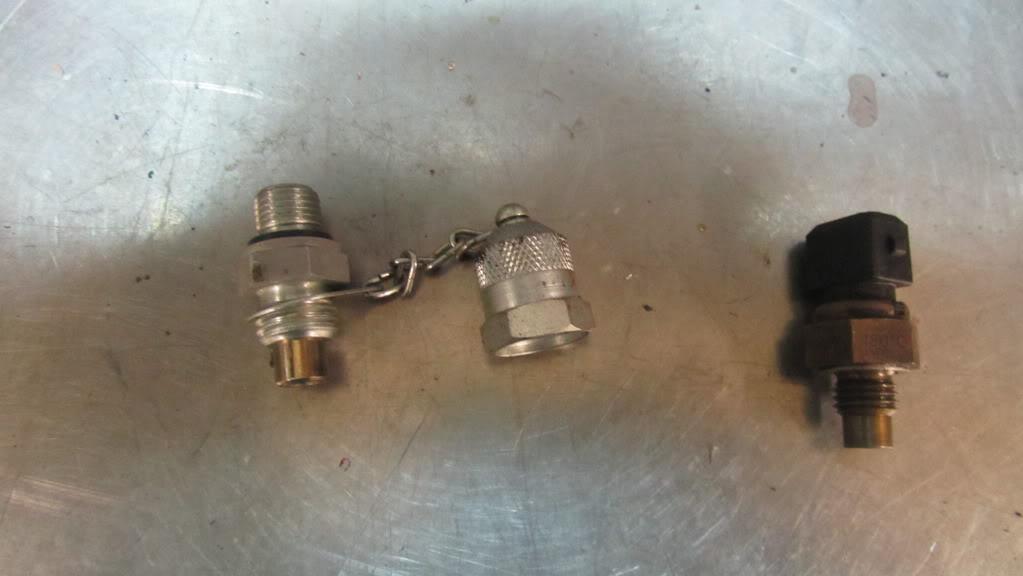
On site, with manometer connected.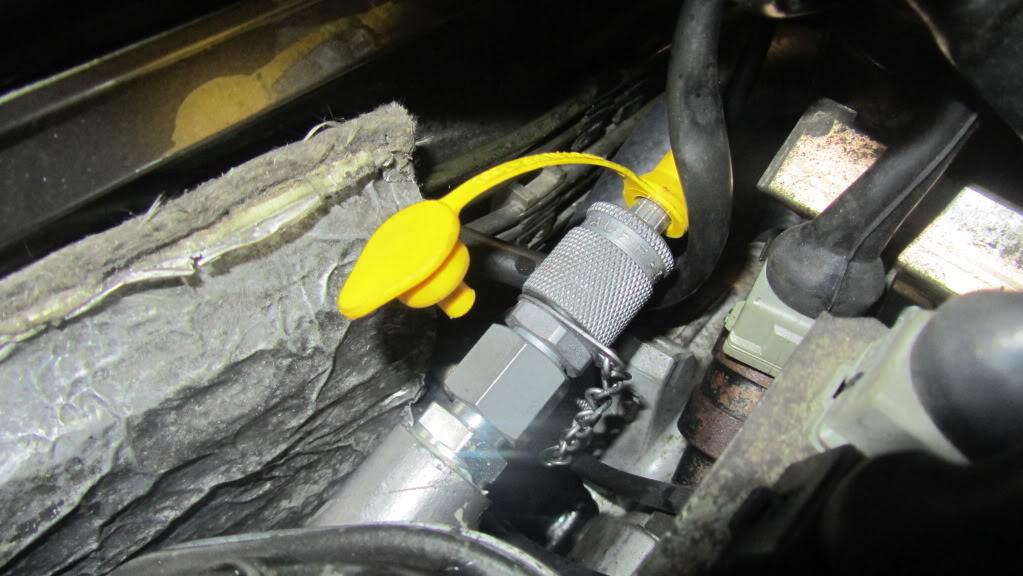
The manometer with a flex hose.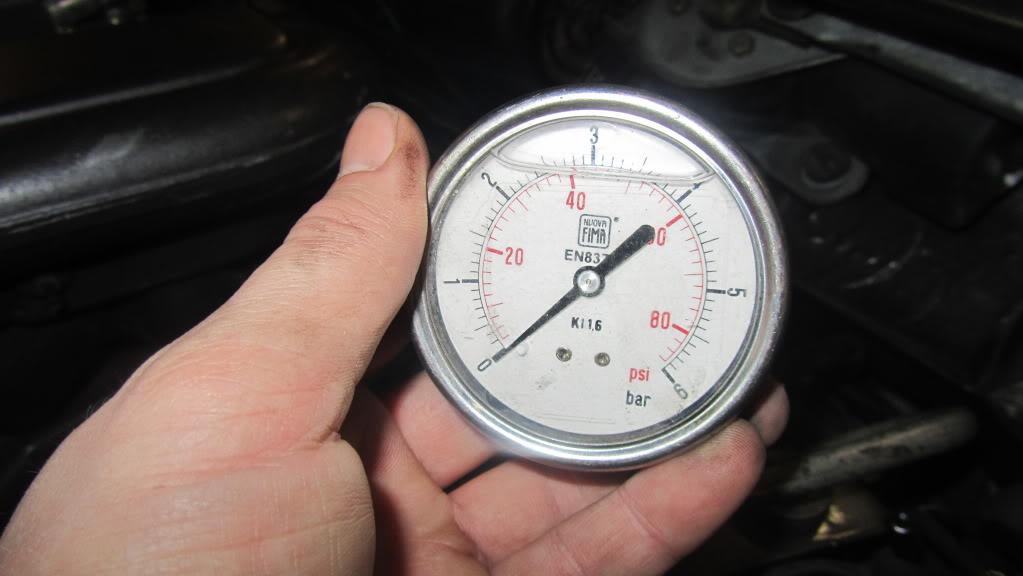
Time to start adjusting the doors etc!!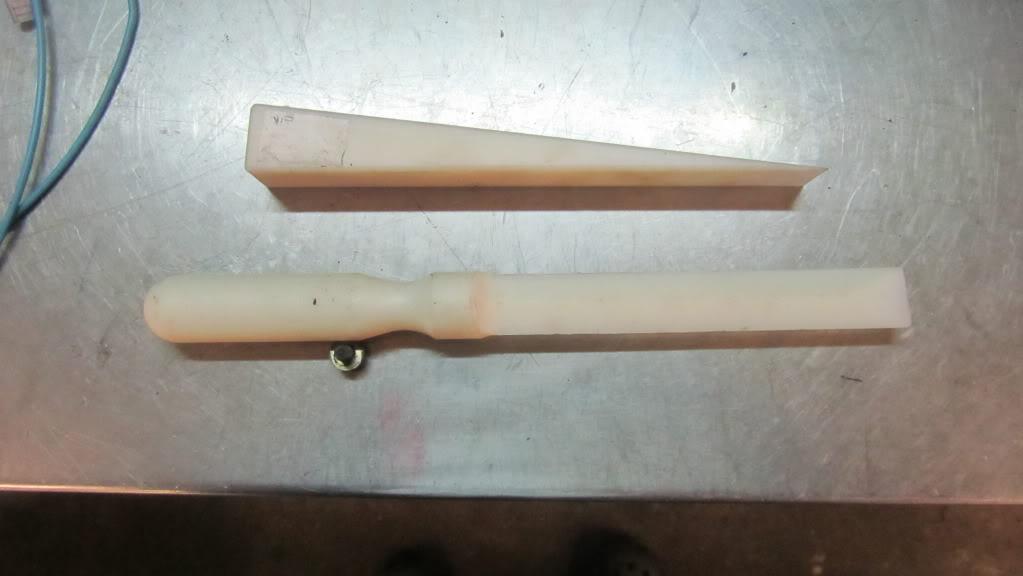
I prefer the visual gap between doors to be between 4mm and 5mm. I am aiming for the 4.5mm line
4.6mm, suits me fine
Heres a pic of an used shim..
Make sure you adjust the doors fithout the endpiece, and check clearances. It looked good at the right back door - but it was not
This is what will happen...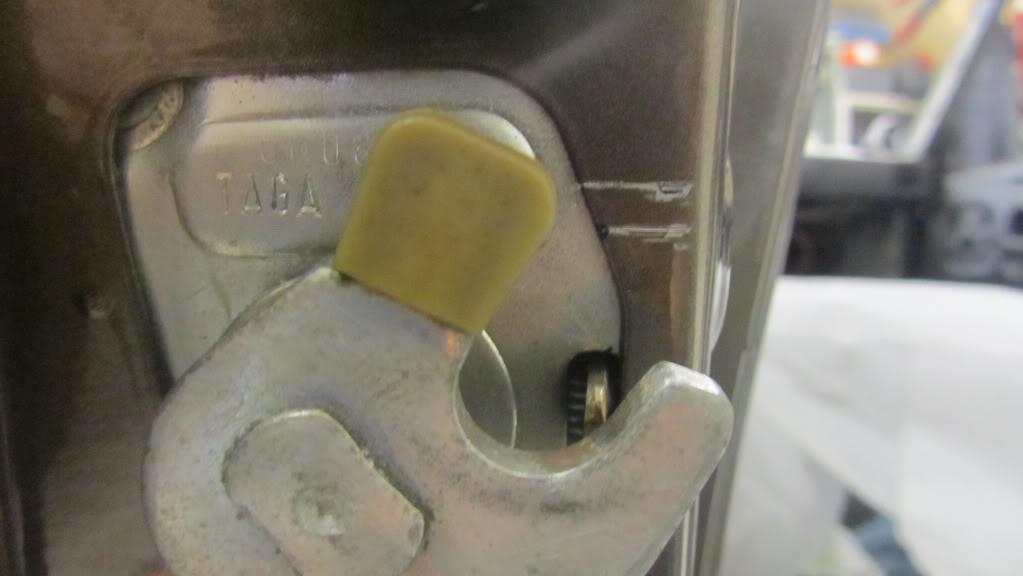
Tiny tiny adjustment....
Fender off, to put on some Butyl between fender and chassis.

Getting better, dont you think so?
Horisontal line.

Love the Bimmers!
Posted by Diggymart on 1/26/20 @ 11:36:41 PM