You must be logged in to rate content!
6 minute read
VW to AUDI Keyfob
Compliments of dustinwark @ www.vwvortex.com
I had decided to attempt at getting an Audi key fob to work with our cars and thought it would be a good opportunity for a DIY as I don't believe it has been done yet. I remember a while back someone swapping out the internals of a Bentley fob and getting it to work and some minor research found a DIY for people with the Audi fob that looks like ours doing the switch. Now let me begin by saying that if you attempt this do so at your own risk, I am not responsible if you **** anything up. I would also like to point out that currently I am only part way done with this project and will update when it is all done.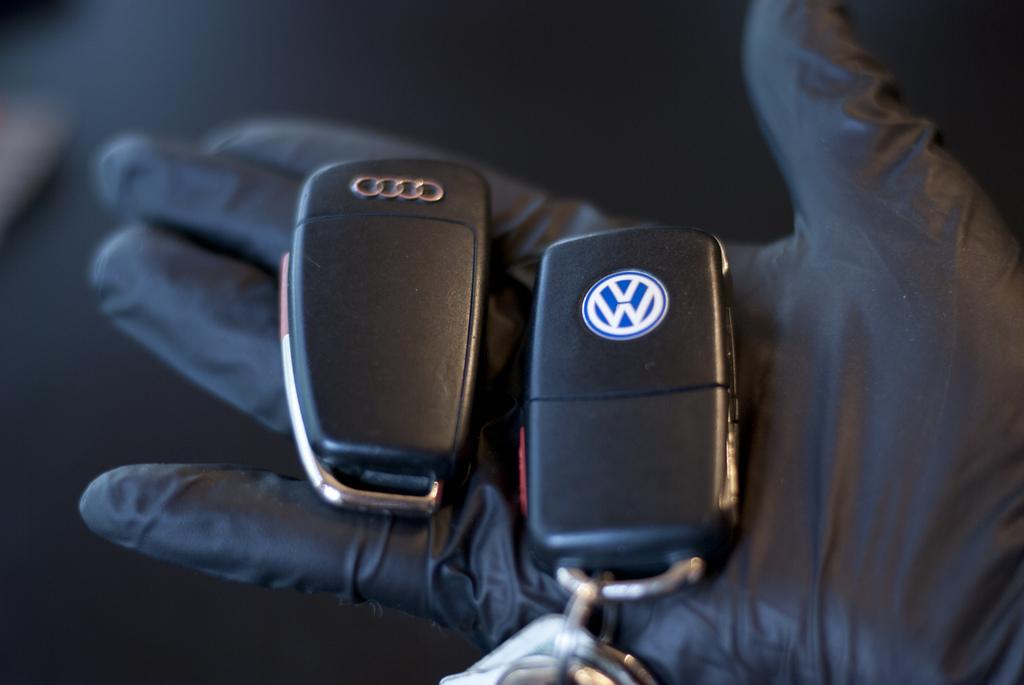
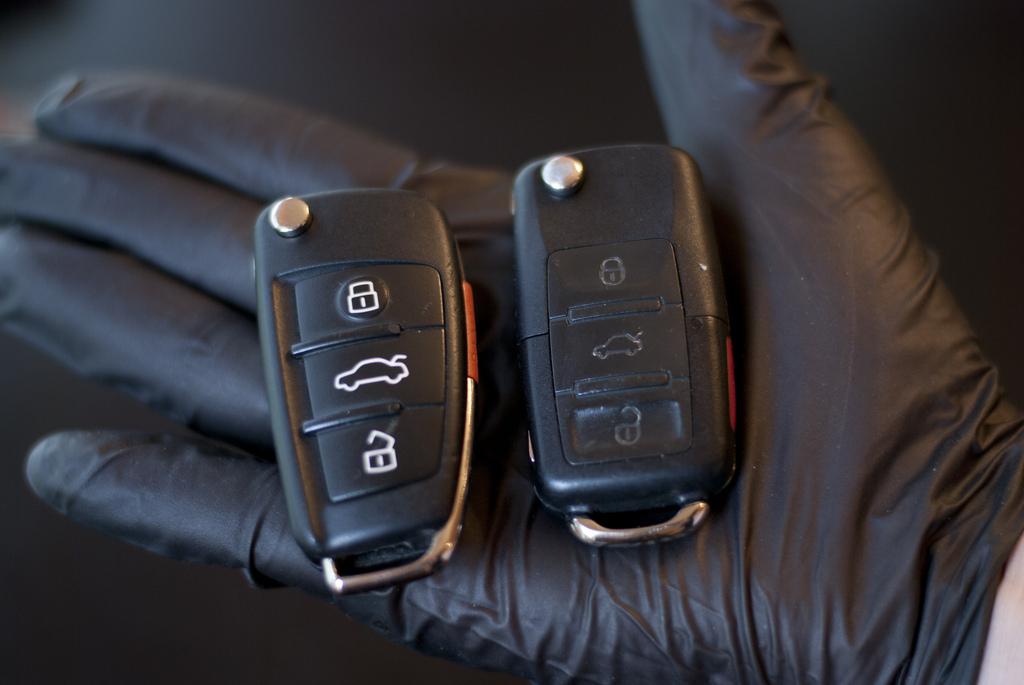
You will need:
* Audi key fob WITH internals (Chip, buttons, battery, etc..) I bought mine on ebay for $8 shipped (it was used) and watch out for cheap knock-offs. I originally bought a knock-off that I thought was legit, it has no panic button, it doesn't fit together, and feels cheap.
* Volkswagen key fob that works on your car (two will make things easier and safer if you **** up)
* Key blank for the Audi fob
* Phillips screw driver
* T5 and T6 Torx bits
* Something to pry stuff with
-STEP 1-
The first thing you need to do is to separate the two halves of the VW fob, I found this is easier if you have a key chain attached. It was a bitch to get off, but keep pulling hard and it will give. You can also try using a small flat-head to pry it apart.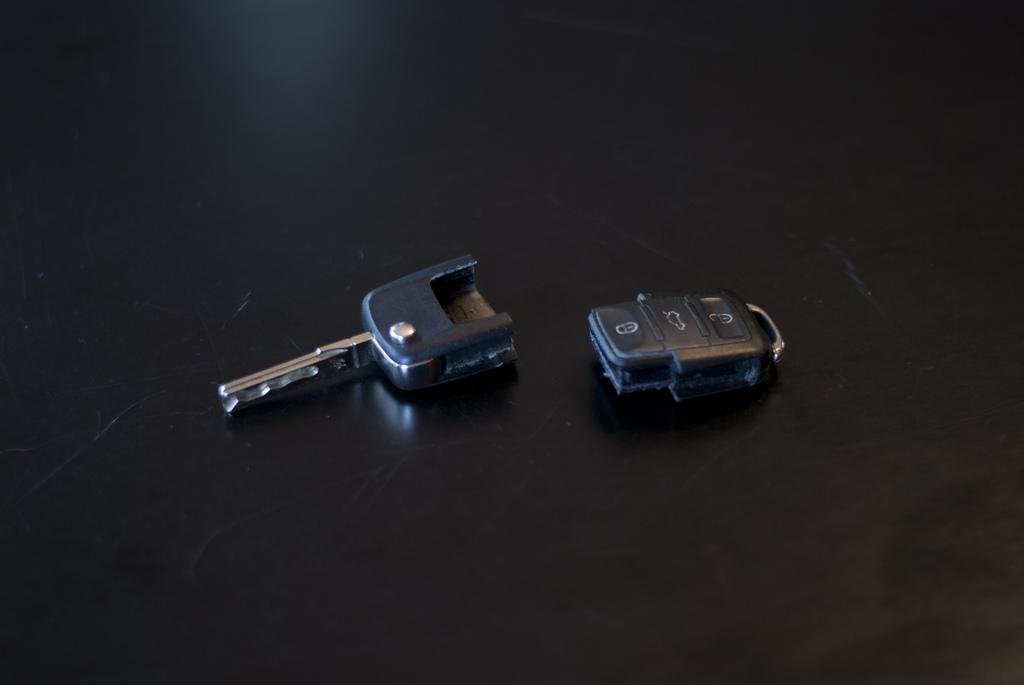
-STEP 2-
Next you must remove the small VW emblem. I used a small flat-head to get underneath it and lift it off. It is glued on and I am not aware of a way to get it off without destroying it. So if you want to use this key again I suggest buying a new VW emblem on ebay or something.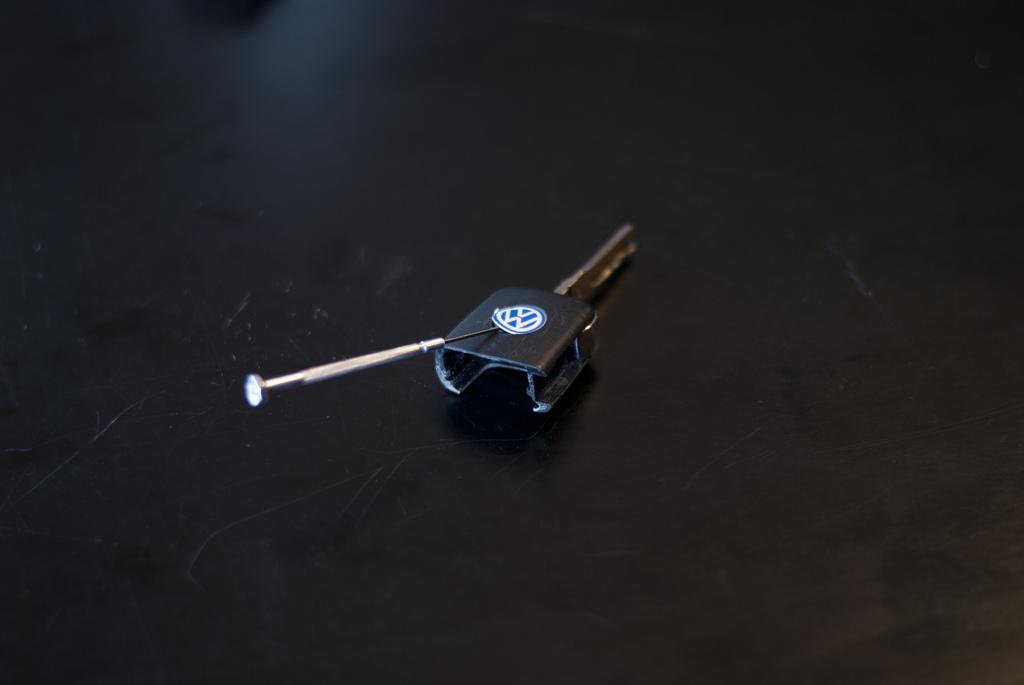
-STEP 3-
After the emblem is off you will notice a small screw, remove it using the phillips screw driver.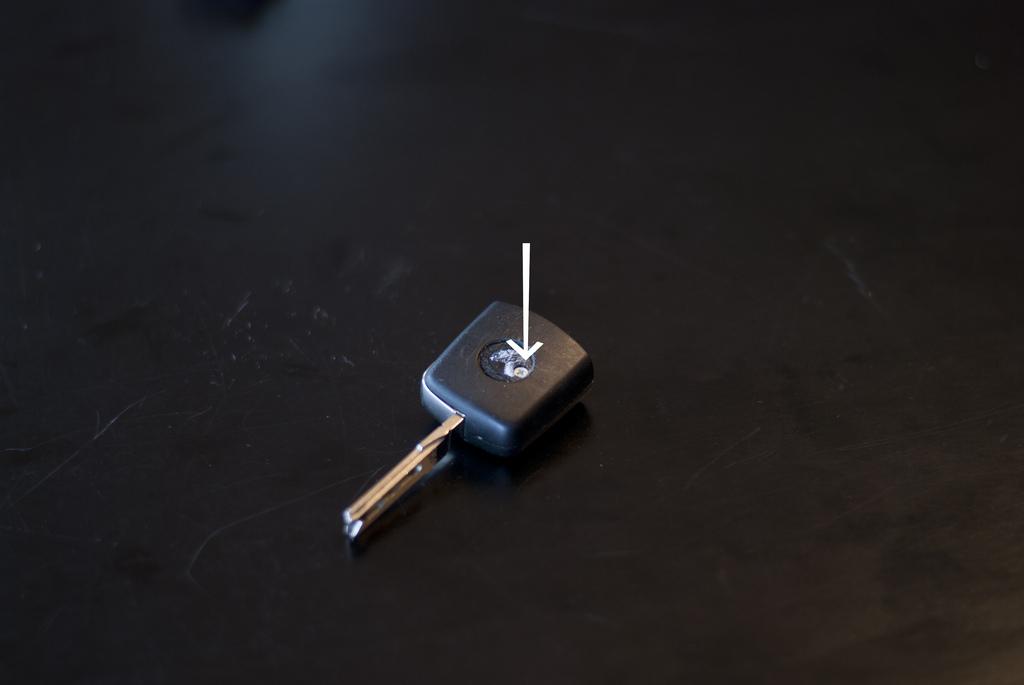
-STEP 4-
It should split in half once the screw is removed. You will notice the following pieces separate (left plastic side, right plastic side, small spring, small metal button, key blade, and the screw) Don't lose any of these parts.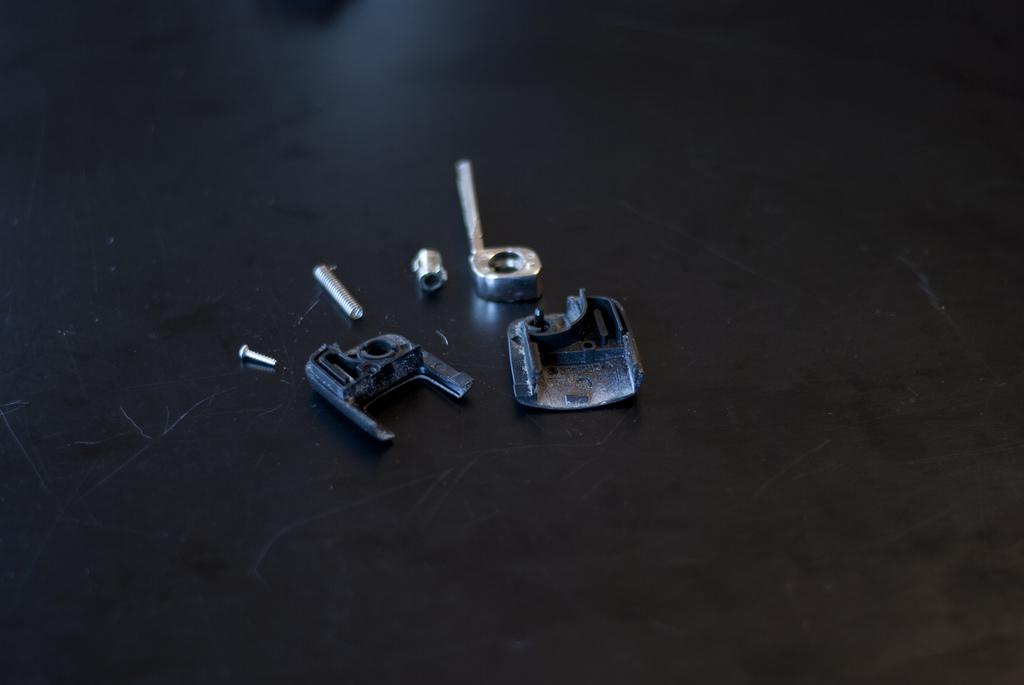
-STEP 5-
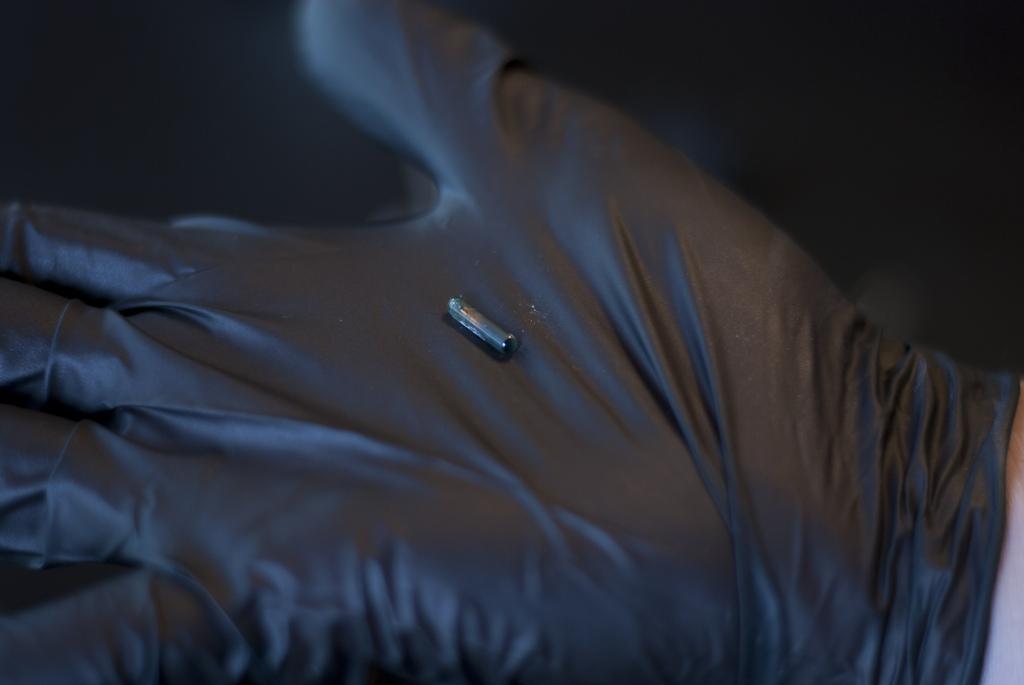
This is the most delicate part of the DIY. You have to remove the transponder chip from the plastic side where the buttons where. This little glass chip is what communicates with your car's ignition and lets the car turn on, and stay on. It is also what the dealership charges an arm and a leg for to program (which his why we are switching it to the new key). It is not glued in, just held in by the plastic. I bent a paper clip to make a tool to help me pull it out. BE VERY CAREFUL PULLING IT OUT AND REMEMBER WHICH WAY IT FACES!!!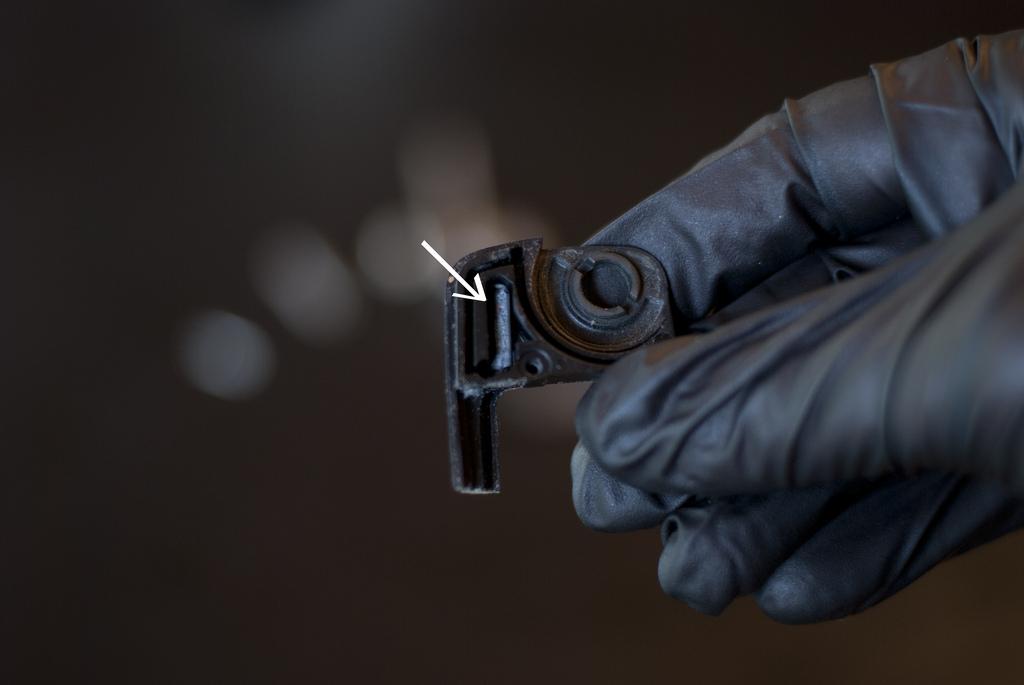

-STEP 6-
Next we need to crack open the Audi fob. Pop off the battery cover (might need to carefully use the pry tool). Undo the three screws under the battery cover (A is a T6 and B are T5s). After they are removed it should open like the VW fob.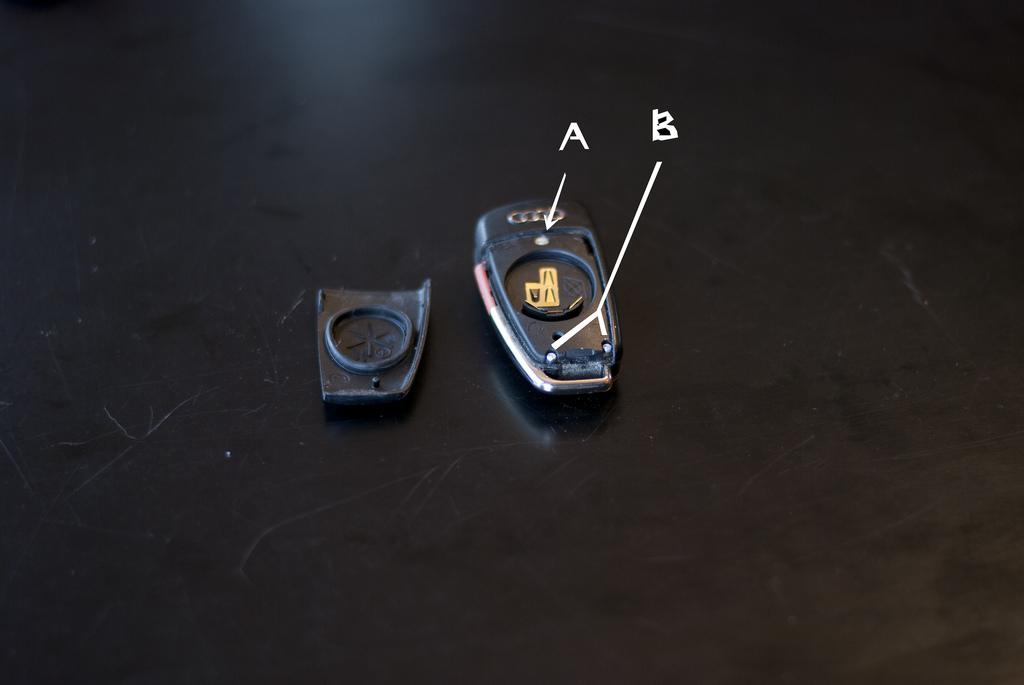
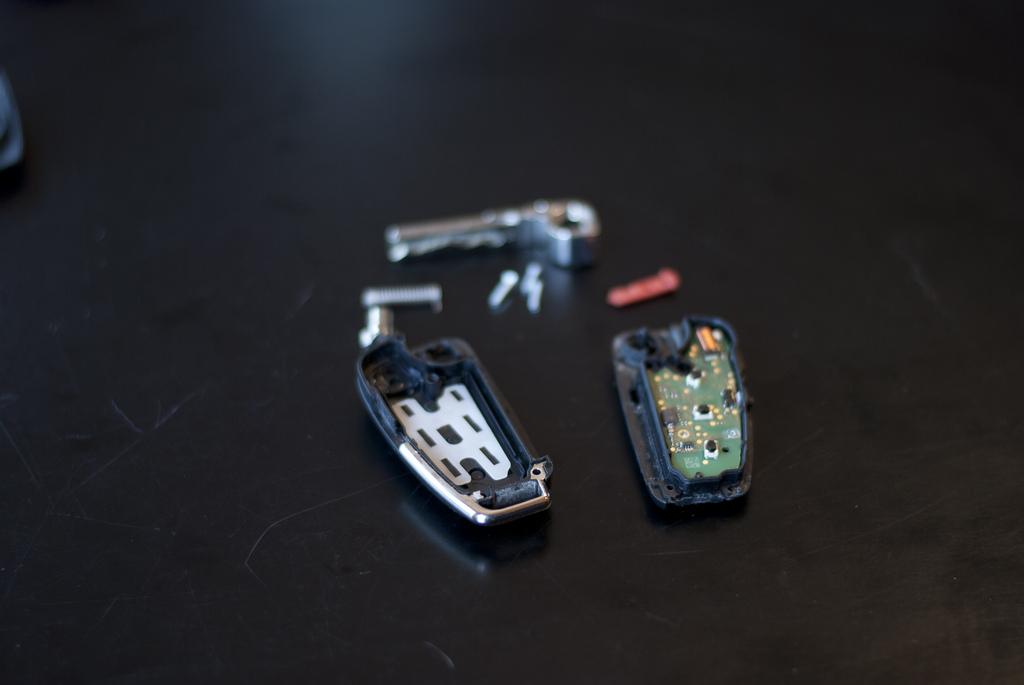
-STEP 7-
Now, this is where my Audi key seemed to differ from the "Audi to Audi DIY" found here:
http://www.audizine.com/forum/showth...Fob-for-B6-DIY
They claim that under the computer board there is a grey plastic case as seen in their picture (theirs on top, mine bottom):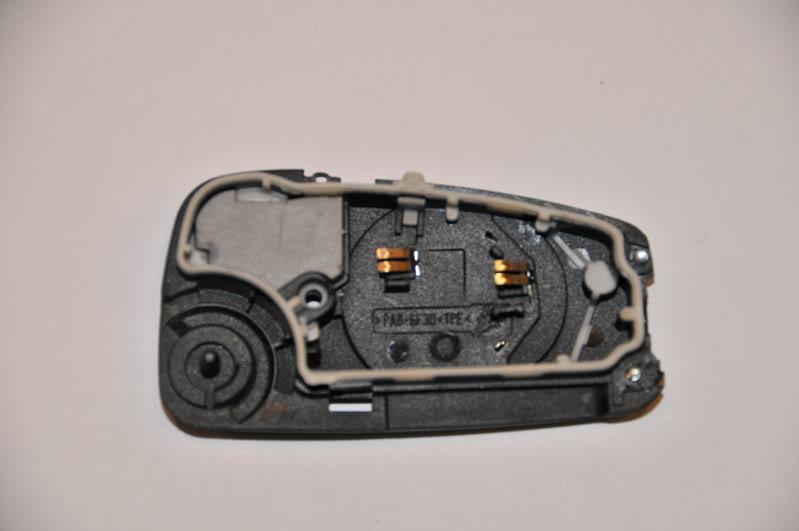
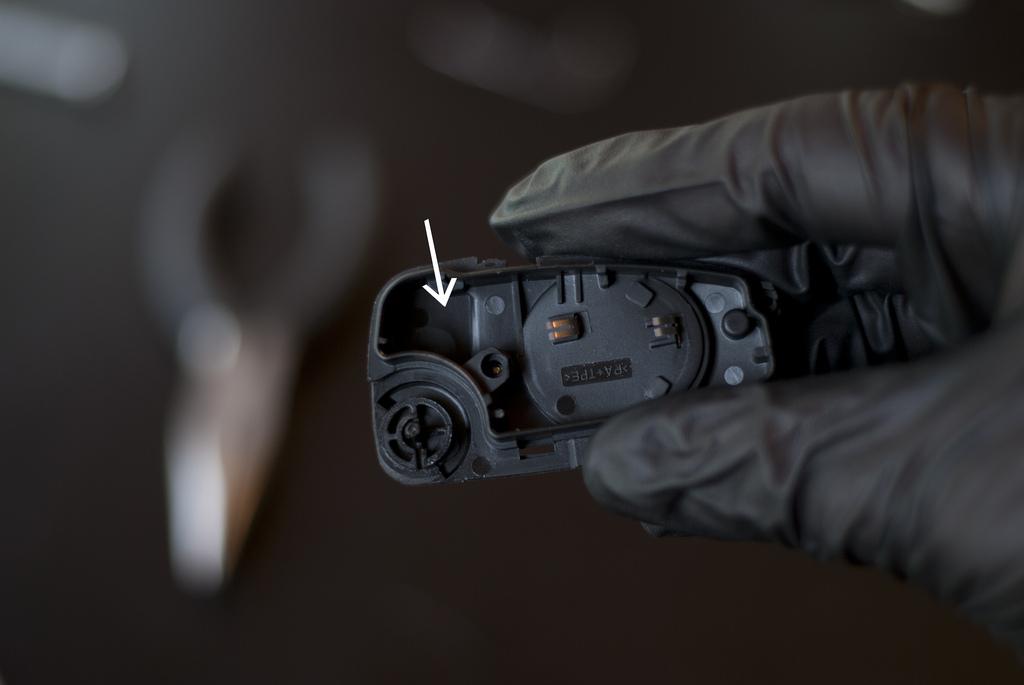
As you can see, mine does not have a grey case and there was no transponder chip I could see. My computer board also looks slightly different. (Theirs on top, mine on bottom):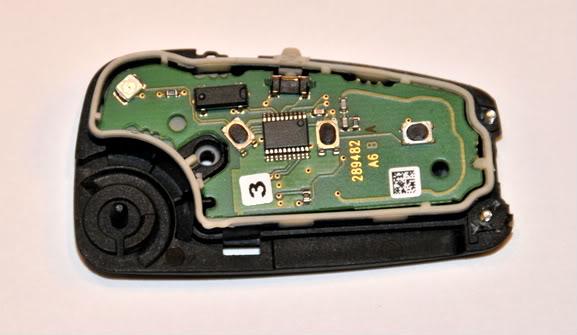

I believe Audi must have upgraded their transponder chip to an integrated one. I think the copper colored thing on mine is the transponder. So I decided to attach my transponder chip where it used to go with a little sticky wall clay stuff.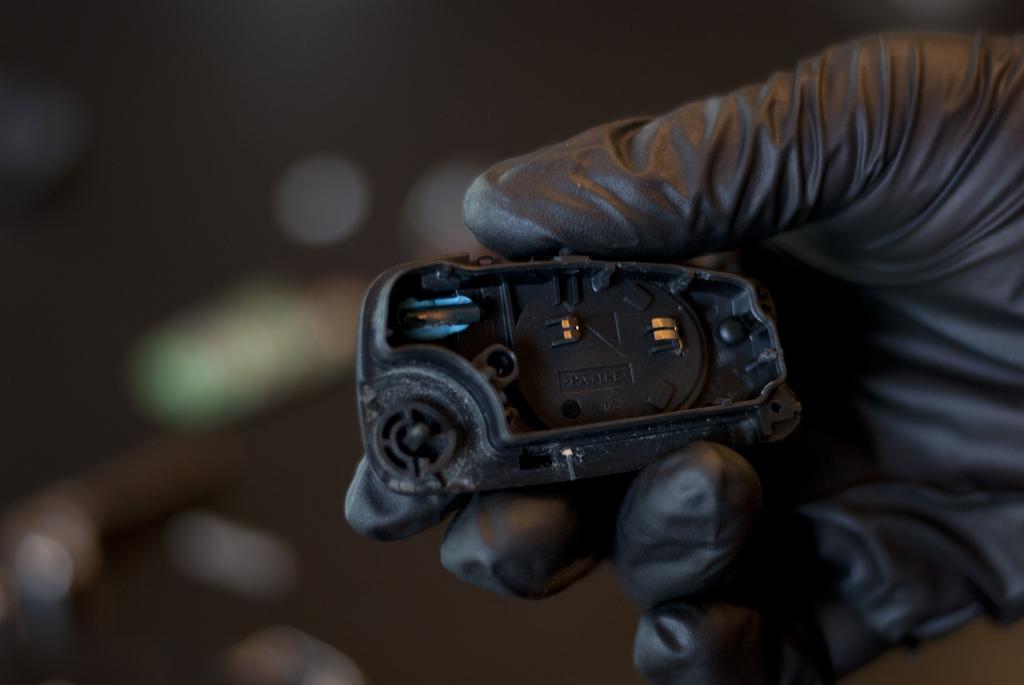
-STEP 8-
Put the computer board back over the transponder chip and put the fob back together.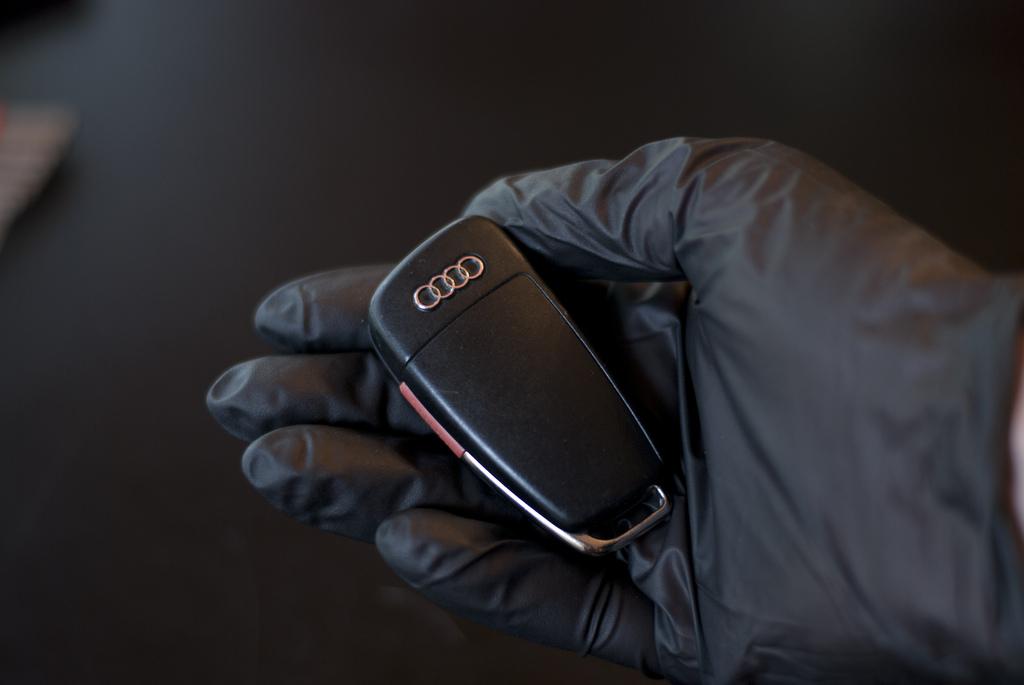
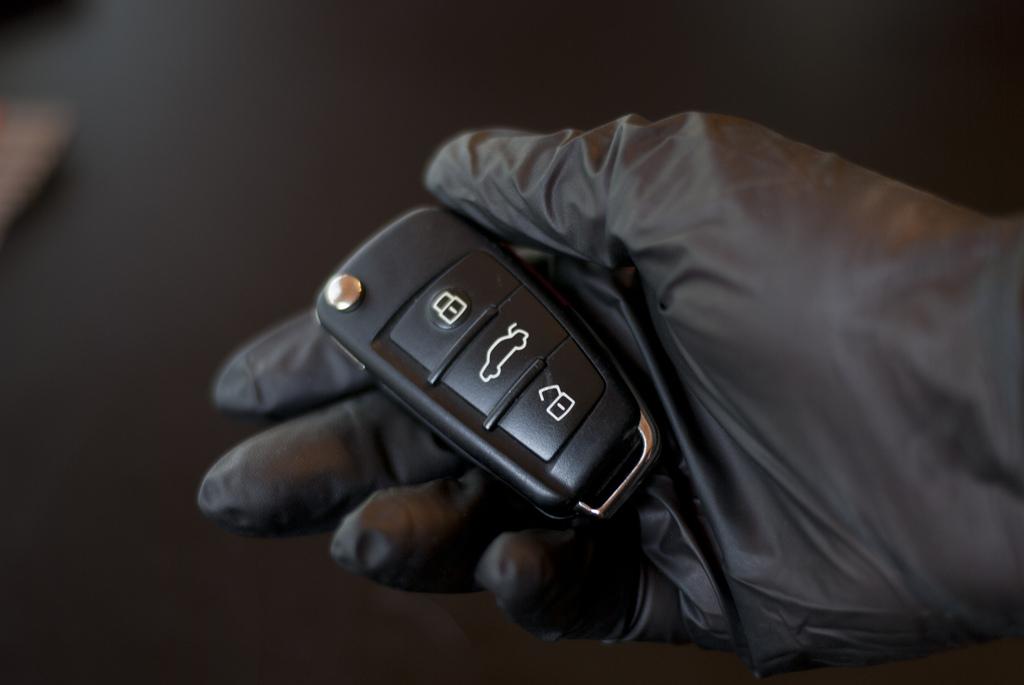
I still need to get the blade cut for my car, which I have been told should only cost $10, then I have to sync the remote to the car which can be done with a semi-complicated process if you have a second key. Once I get the blade cut I will finish the write up and test everything to make sure the transponder chip works like it should.
Good to know
Posted by Diggymart on 1/29/20 @ 11:25:02 PM