You must be logged in to rate content!
10 minute(s) of a 270 minute read
6-28-2010
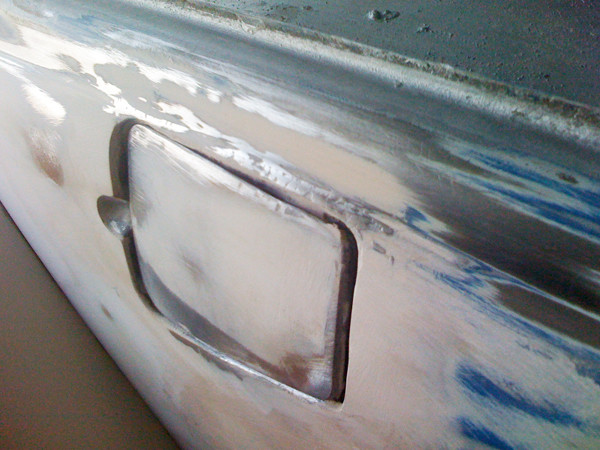
Almost there! I know this stage has seemed to drag on, but I'm trying to make sure it's as perfect as possible so I'm not using filler during the primer stage. It seems just when I have a section done, I run my hand over it and I can feel just the slightest wave or imperfection.
This gas door has been the biggest PITA because of the body line just above the door. Once I get the shape right it'll be on like Donkey Kong.
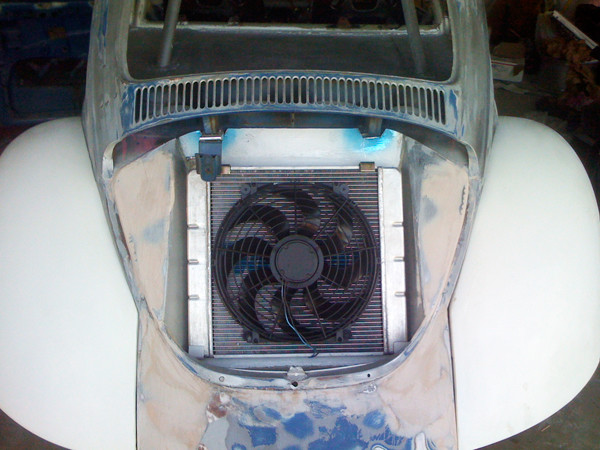
I have the radiator area nice and flat. Just a couple more spots that need work and it'll be good.
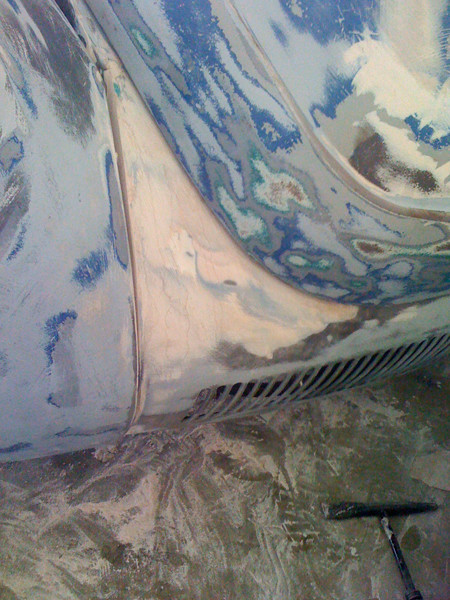
The front clip needed some help. Some high spots and lows.
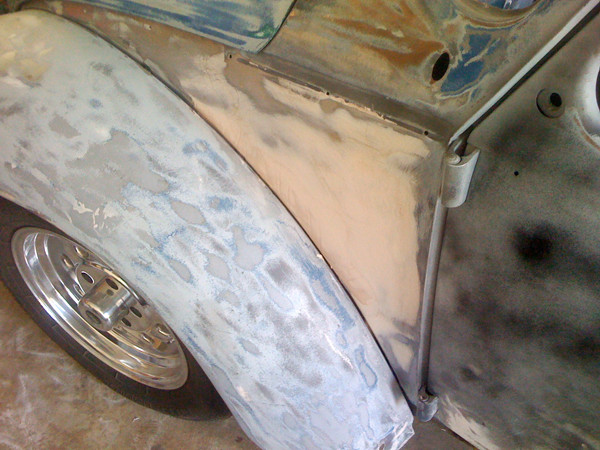
Just about finished with the other front quarter panel. Just a little more blocking. And another skim coat to make sure it's flat.
I'm hoping to have the remaining body work done by this weekend and to have some primer down. I have a 3 day weekend and the wife is working late tonight so I should be able to get it done. We'll see.
7-13-2010
Well, I didn't get the body work finished. I kind of needed a break from it so I tackled some other things and cooling issues that needed to be worked out.
I made brackets for my locking hood pins. Everything was lining up great. The passenger side was slightly off after welding up everything. I tried to bend it a little and the pin broke. > I figured, no problem, I can weld it on. Little did I know it's made out of aluminum. Figures why it broke so easily. So I have to buy a whole new kit just so I can redo the passenger side. Oh well.
The locking units mocked up.
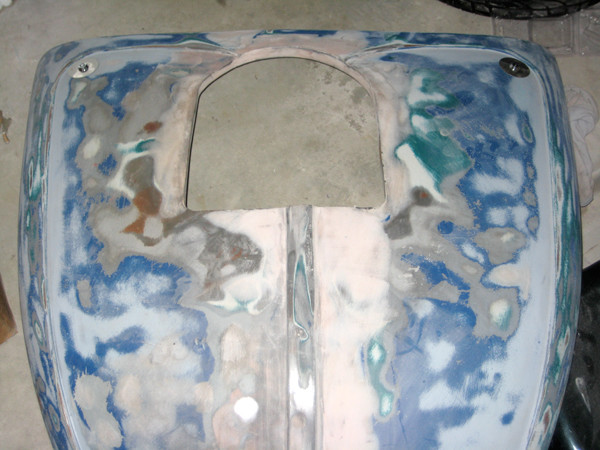
The good pin.
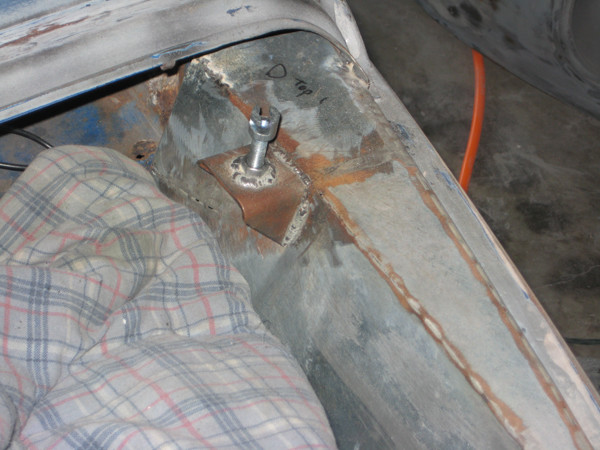
And the jacked up one that'll need redoing.
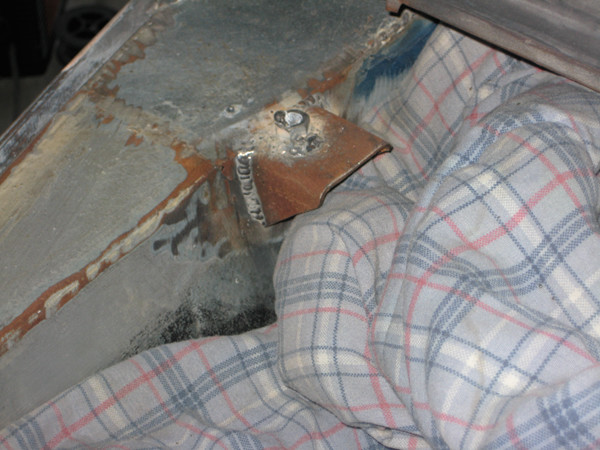
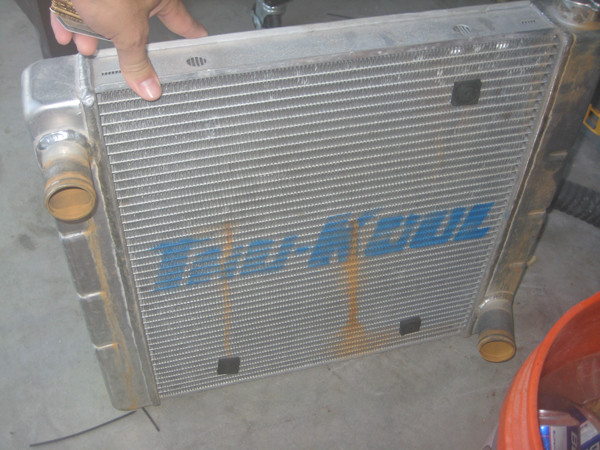
My new replacement radiator. I had to replace it cause when the guys welded up my exhaust / plumbing, some slag put pin holes in it.
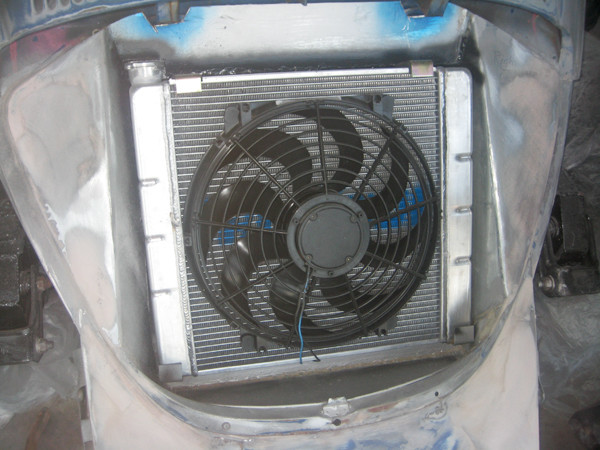
Here you can see where the water was leaking out. See the rust from the leak. If you look at the inlet, you'll see it was leaking there too cause I had the wrong size hose. So I replaced it with the correct size.
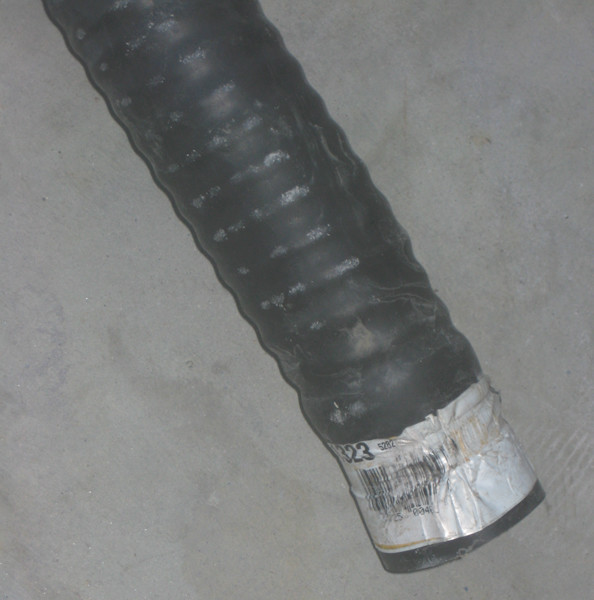
You can see just how much the hose was pinched and it still didn't seal. No more leaks here.
I also moved the overflow outlet to the radiator in the rear and I capped off the inline water neck. Now hot rusty water doesn't spew on my engine. I also installed a 20 psi can on the inline neck. The radiator has 18 psi cap. I might go a little lower, just incase.
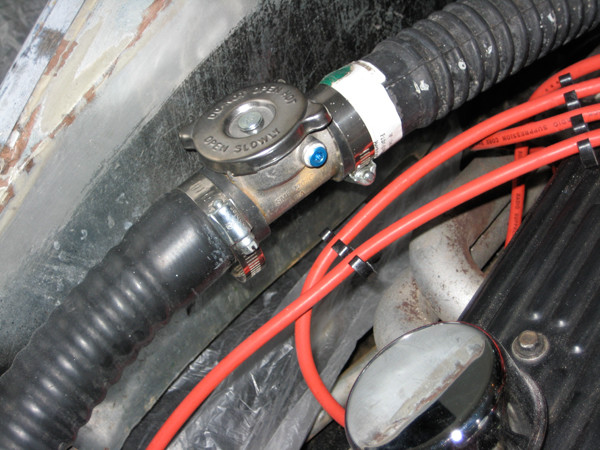
Having replaced the radiator, fixed the hose leak, all the water gets back to the radiator, and not on my engine. I also installed a high flow 160º thermostat and I finally put in a 50/50 mix of coolant / water. The engine runs a constant 160-190º. I'll never have overheating issues again, I hope.
Onto body work. I just need to finished sanding down a few skim coats I put down the make her as flat as I can possibly get at this stage. These are the problem areas I'm still working on.
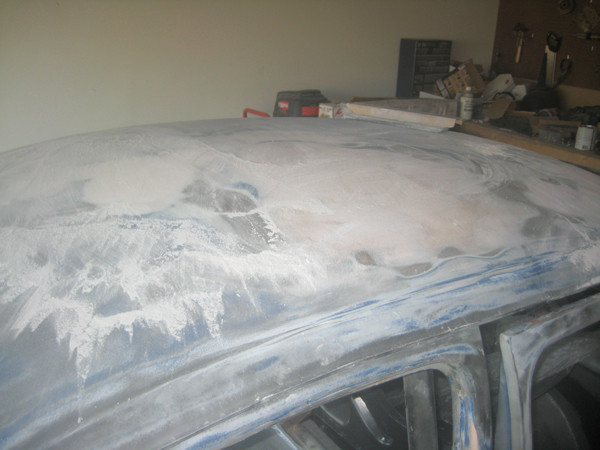
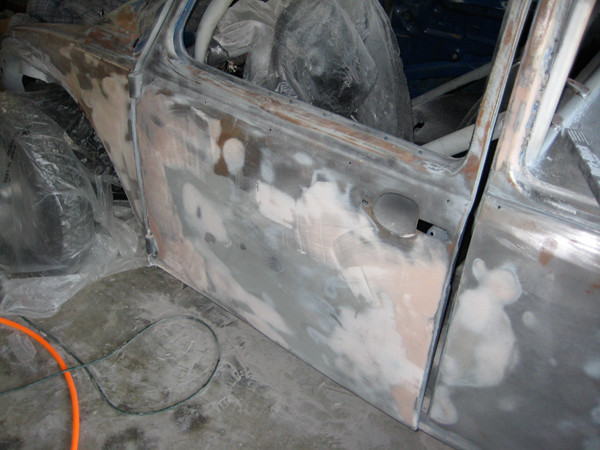
If I'm not too tired from our Saturday night gig I'll get a temporary booth setup and I'll spray some high build primer.
More updates soon.
7-21-2010
Thanks for the advice. As of now my plan is to get the body straight as possible with filler. I'm blocking with 36, 80, then 100. I'll spray a couple coats of epoxy primer, a couple coats of high build 2K primer, and mist a black guide coat. Block sand dry with 180 / wet 220. Fix any imperfections. Spray another coat or two (depending on how straight the body came out) of high build primer to get a uniform color. Possibly another mist coat and wet sand with 400 then 600 all in one direction until guide coat is gone and the body as perfect as I can get it. Then will come two coats of S/S paint and two coats of clear for an extra shine. The I'll sand away the orange peal with 400-600 grit and then lay a wet coat of clear.
I've never done this before, well I've done spot repairs and took cars into Maaco, but never a full job from start to finish myself. This seems like a good plan, to me at least.
If this doesn't get the roof straight I don't know what will. I made a flexible sanding block out of some scrap plexiglass and wood. I glued the pieces on and voila.
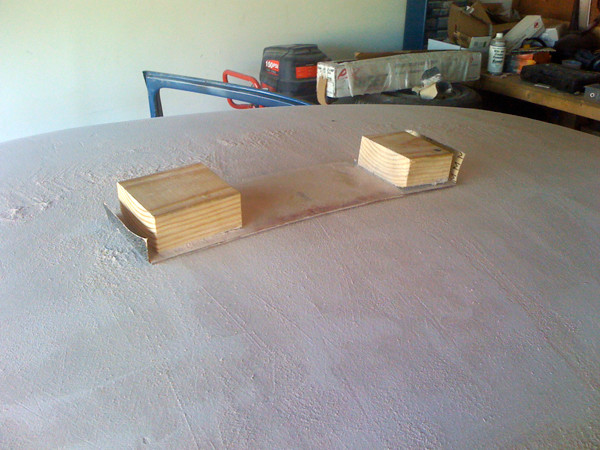
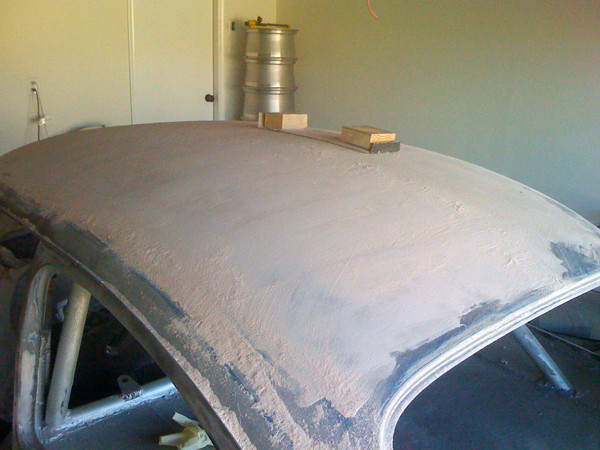
As you can see I put down a skim coat on the entire hood. Im noticing where I was having my problems the filler was sanded flat. It didn't have that nice curve the vw roof has.
The rest of the body is pretty much ready except for sanding down a couple spots the needed a little filler, which you can see as the darker shade of bondo. Pin holes and grooves.
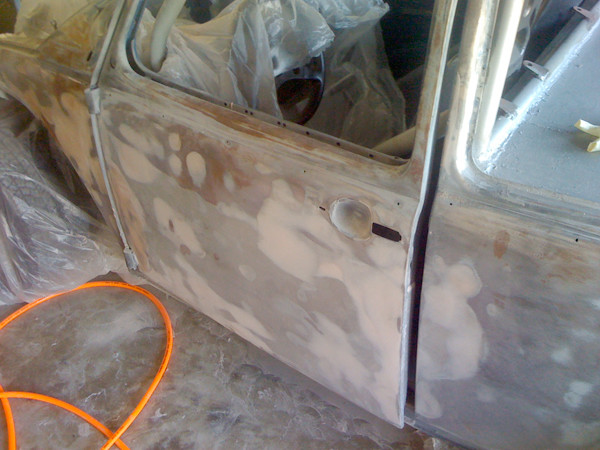
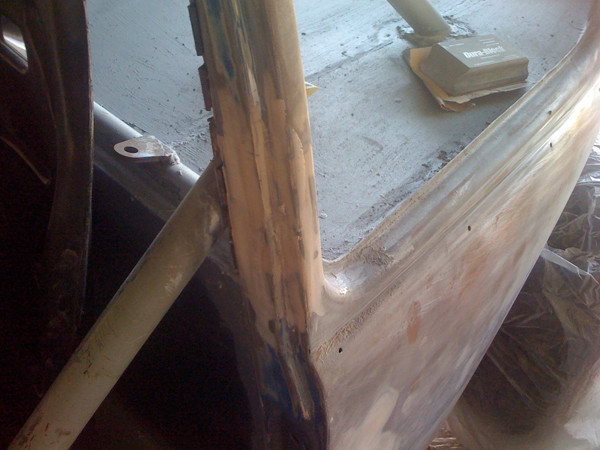
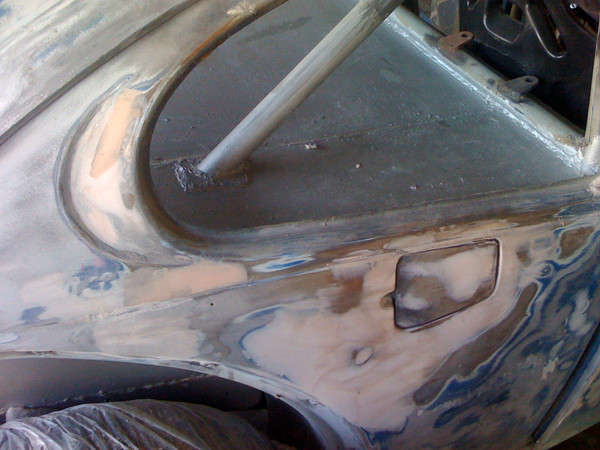
Crossing my fingers and hoping to get the roof ready in time for the weekend.
8-15-2010
It's FINALLY in PRIMER! I swayed away from my original booth design. No explosions, no fumes in the house, minimal overspray and fumes AND I'm alive. ;D
I still need to do the hood and deck lid. I stayed up til 2 am Friday putting paper down on the floor, hanging plastic on the walls and prepping the car. I stayed up until 5 am this morning painting. I was exhausted and too TIRED to finish the hood.
So far it's looking really good. Doesn't look like it'll need too much sanding, but we'll see. I still need to put down a contrasting guide coat.
When I went to paint I just left the garage door wide open. I made a bug guard which also helped catch some over spray. The duct tap didn't stick to the screen material too well. So when I go to do final paint I'll need to figure a better way to hang the "screen door".
The 33 gallon compressor I'm using kept up pretty well with the gun set at 40 psi. ;D When I go to do final paint I'll do smaller sessions. Fenders, then hoods, and then the car body. All in all it would've sufficed spraying the whole car.
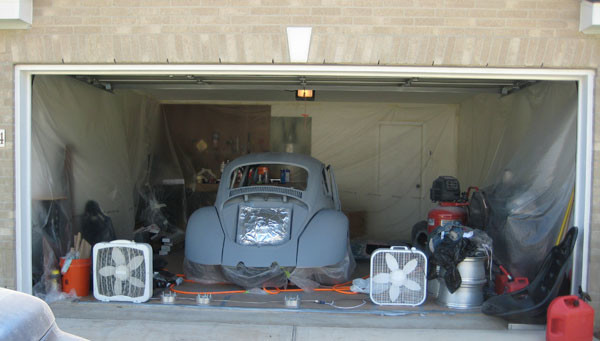
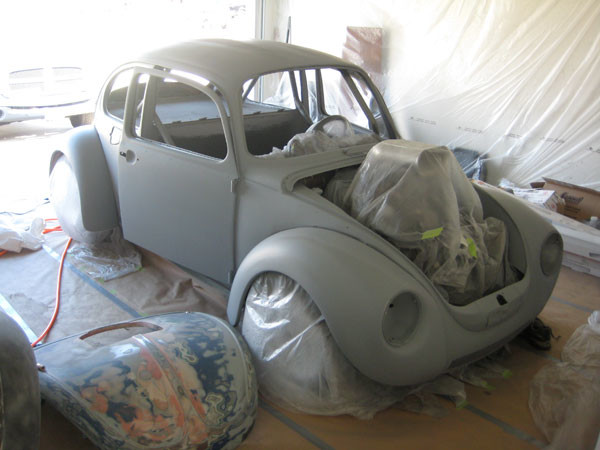
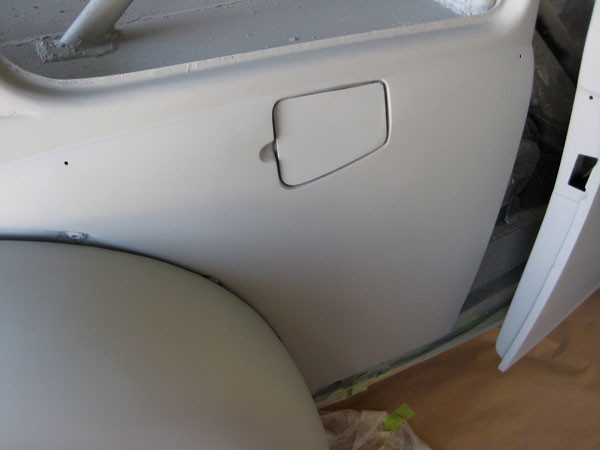
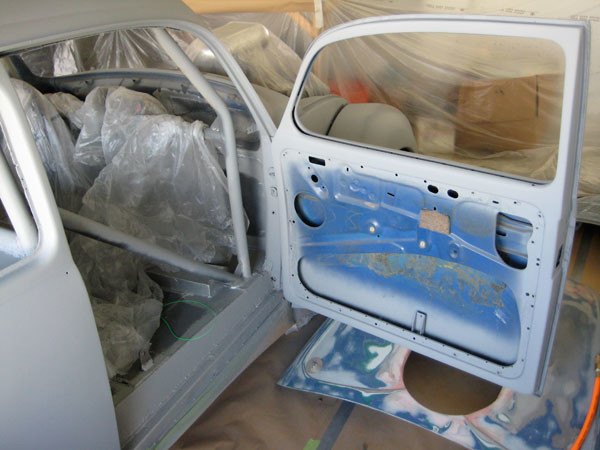
The engine compartment is coming out pretty slick.
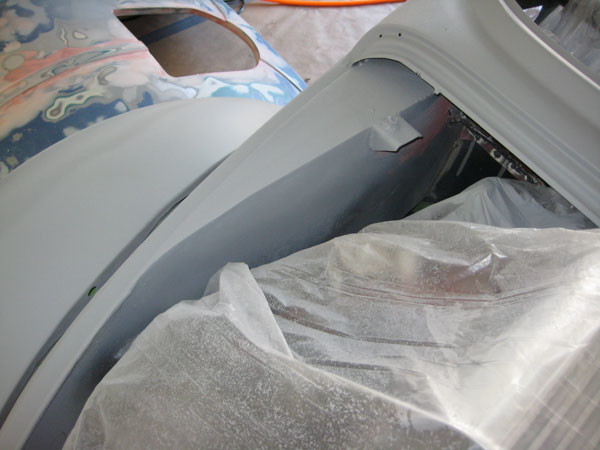
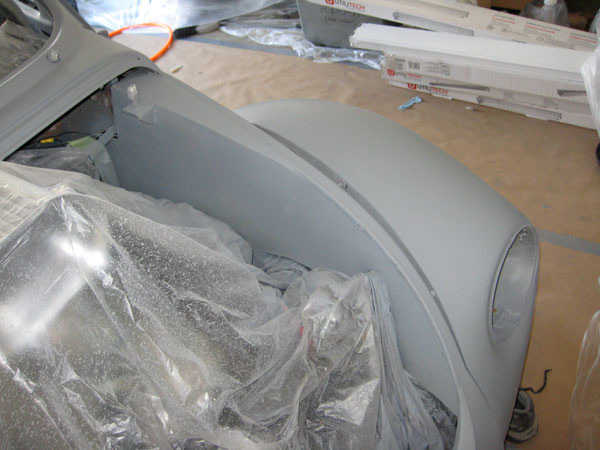
I used some aluminum foil to mask off the radiator. That way I can start it up, move it out of the garage to sand without having to worry about plastic melting to the radiator.
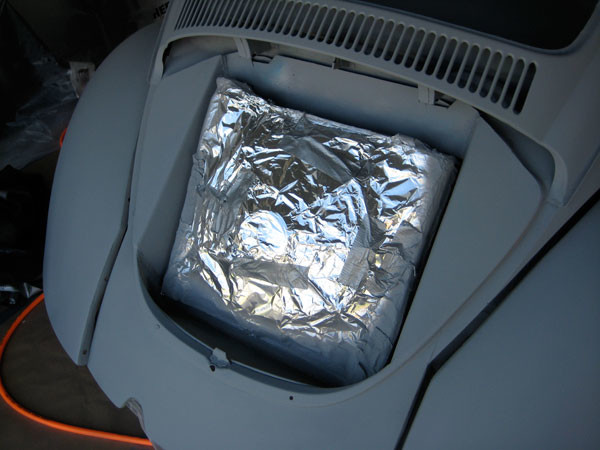
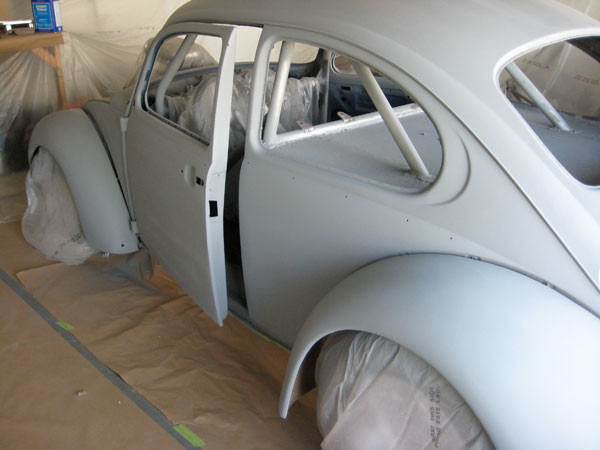
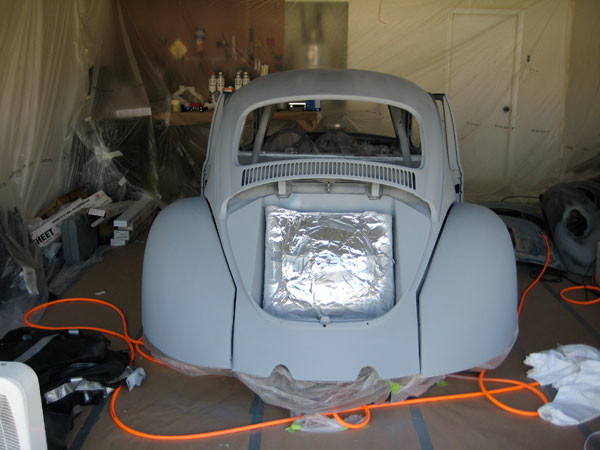
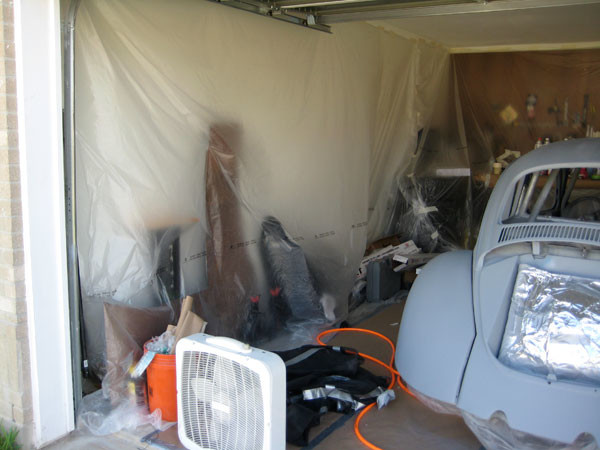
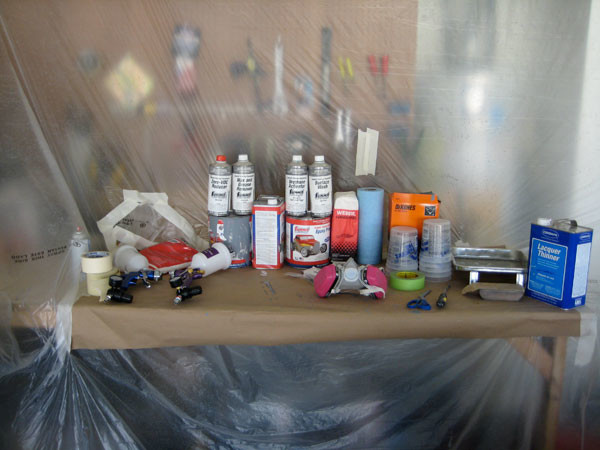
Worked like a champ and there was plenty of ventilation. The garage NEVER filled up with over spray. The was just a light mist, but it never got to the point towards I couldn't see. I wonder how well my other plan would've worked?
I still need to do something about more lighting when it comes time to do final paint. More soon.
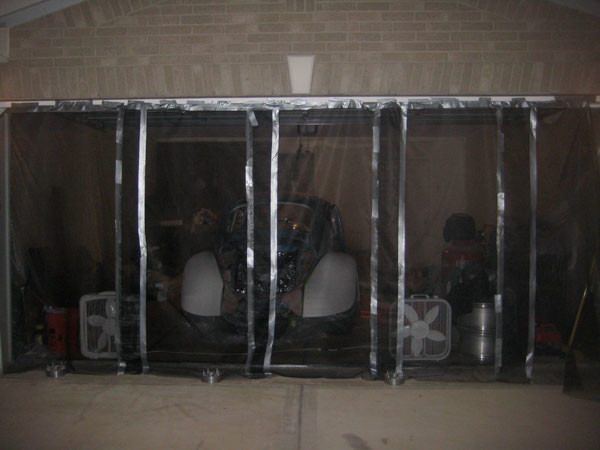
8-24-2010
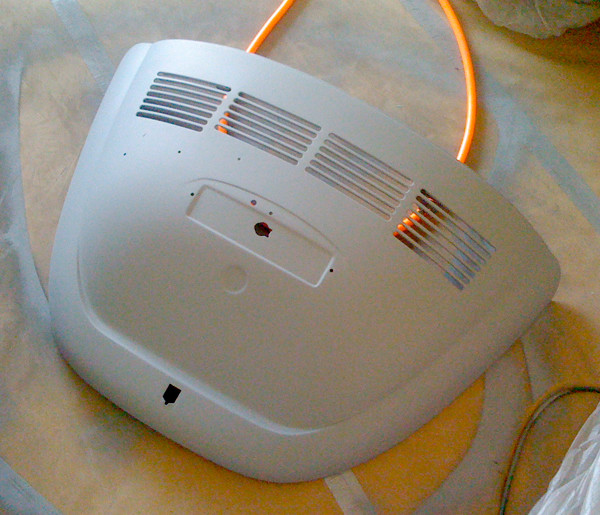
Not as much progress as I would've like to got done this past weekend. Here's a couple pics of the hood and deck lid primed. Next I need to dust coat it with black and I'll start block sanding with 180-220 wet.
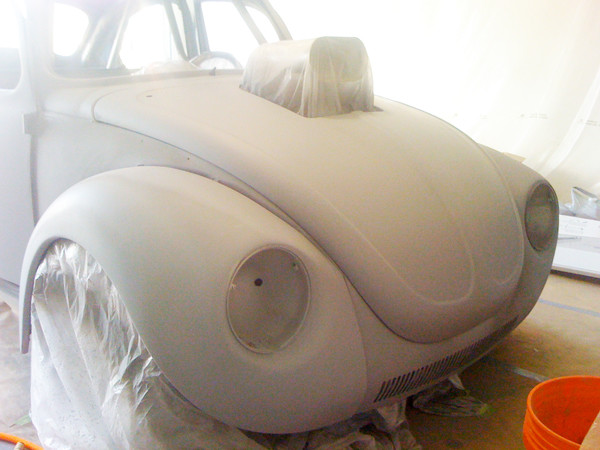
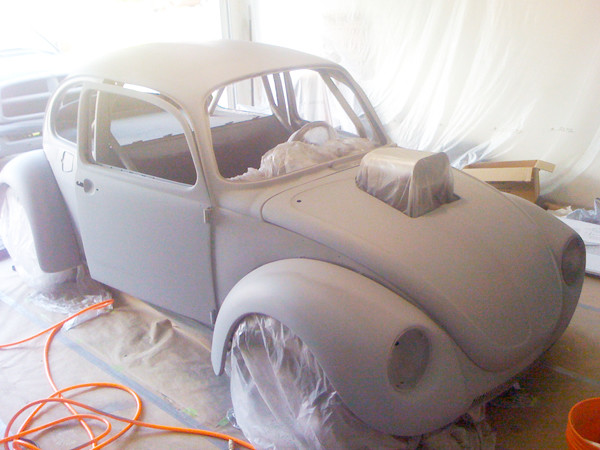
Here's a quick video of me spraying the primer. My camera ran out of memory before I finished the hood. I normally wear latex gloves, but ran out. I figured I was okay only doing a couple panels.
Impressive!
Posted by Diggymart on 4/27/20 @ 2:40:48 PM