You must be logged in to rate content!
5 minute(s) of a 68 minute read
1-16-2014
Sorry there hasn't been much of an update.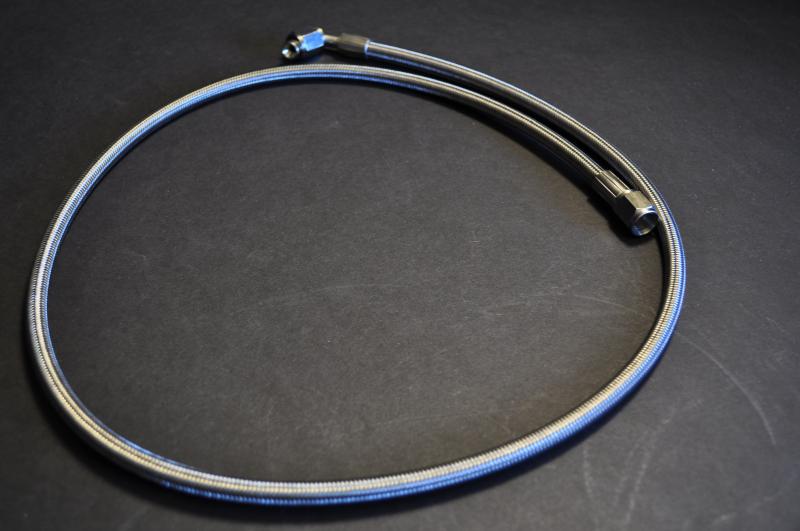
small but its something.
Really the only work i had to do on the manifold is drill the stud holes in a slightly oblong shape because a coupe of them seemed close together and it was making it hard to even get it onto the studs. Then on the studs them selves i had to cut off alittle bit of the end of them because on the manifold the studs if they are not shortened they will hit the manifold itself and keep it from actually sealing to the head.
All and all if you have a grinder to shorten the studs and an air drill or a normal drill ( may take some patience and a couple good bits ) its a pretty simply process but for forsure worth it.
Its an extremely solid manifold and i have absolutely no questioning its quality. This is the type of manifold that will last MUCH longer than the engine it self. So much so id say this manifold will last longer than my lifetime. And i know thats a dramatization but its how i feel about the quality of it. Its piece of mind that i will never have to worry about anything cracking or a weld breaking.
6-8-2014
Sorry about no status. Reason being is its been crunch time at ITT tech. I finally finished school, and getting my associates degree on the 26th. After that, im planning on getting a good job to actually be able to afford the ecu and clutch. The ecu and clutch are the last things i need to start this build besides little hard ware pieces. I cant wait.
Small update.. the people i had Tig weld it didnt do that great of a job... bad enough i dont wanna show it off. So im going to buy a roll of heat wrap to cover it.
7-1-2014
Finally ordered my last couple things and im starting the build today officially.
Today i mainly focused on getting the wrap around intake off and wiring harness off. I still have the two temp sensors on the block, the starter, and a few others but i decided id end it at that for today.
I've taken some shots of the progress step by step, and was considering doing my own thread on a basic na-t build since not many seem to have many images of the steps involved.
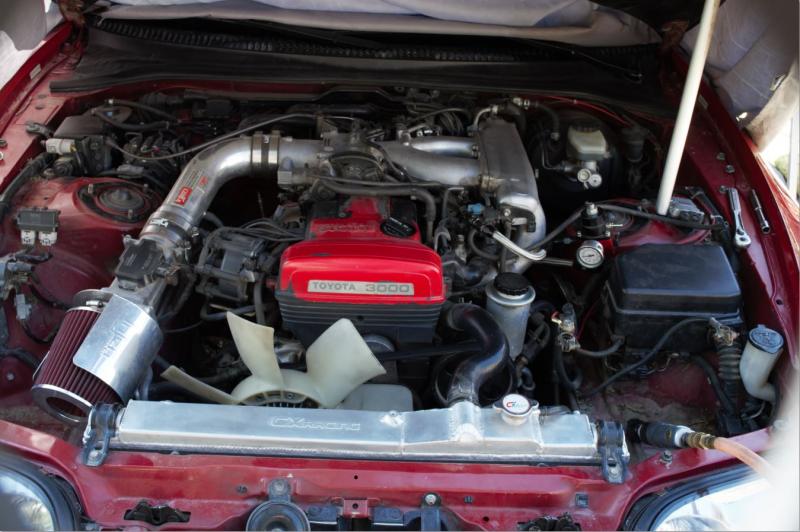
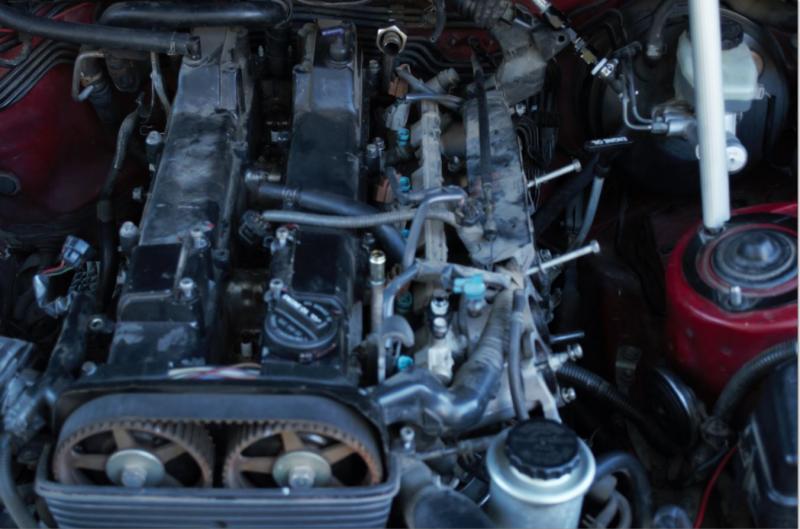
So first a shot of the engine bay as it was
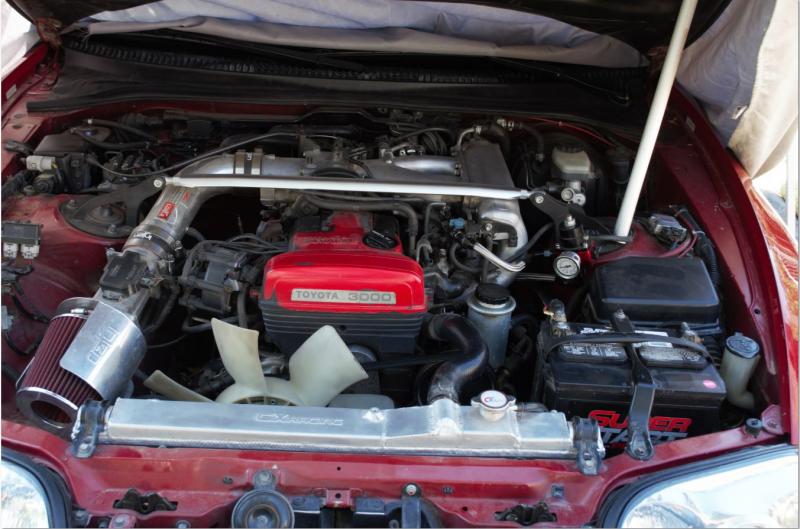
Then removing the battery and tray
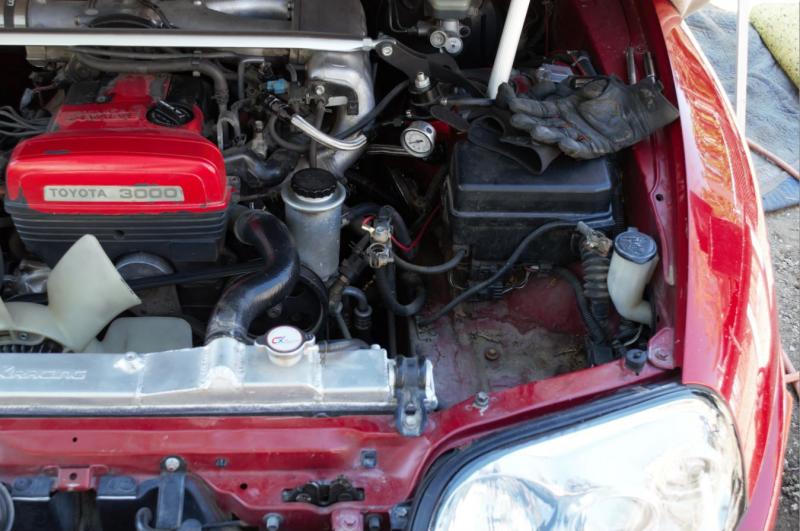
The strut tower bar and intake pipe
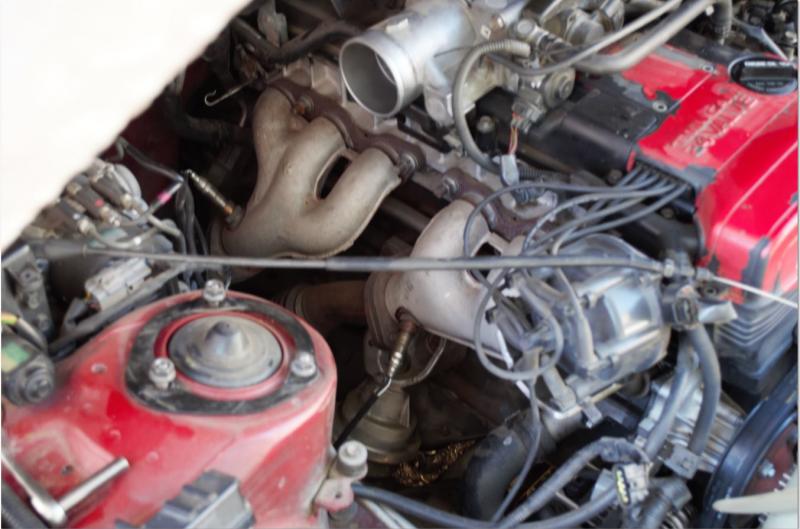
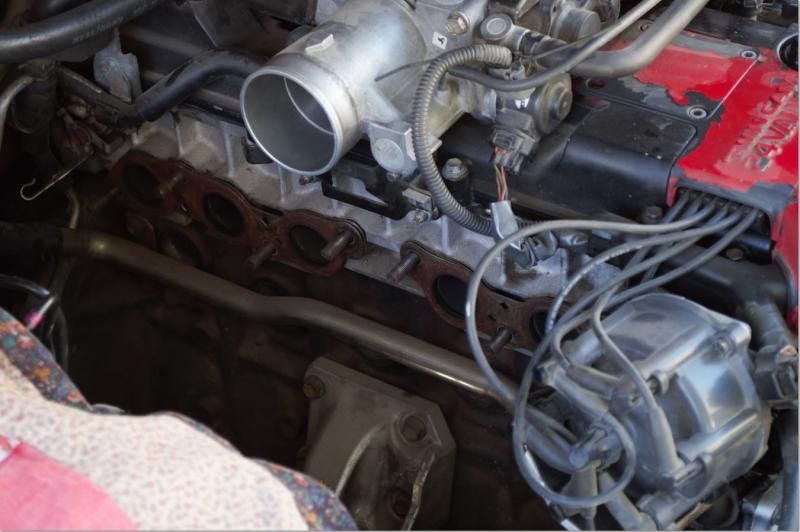
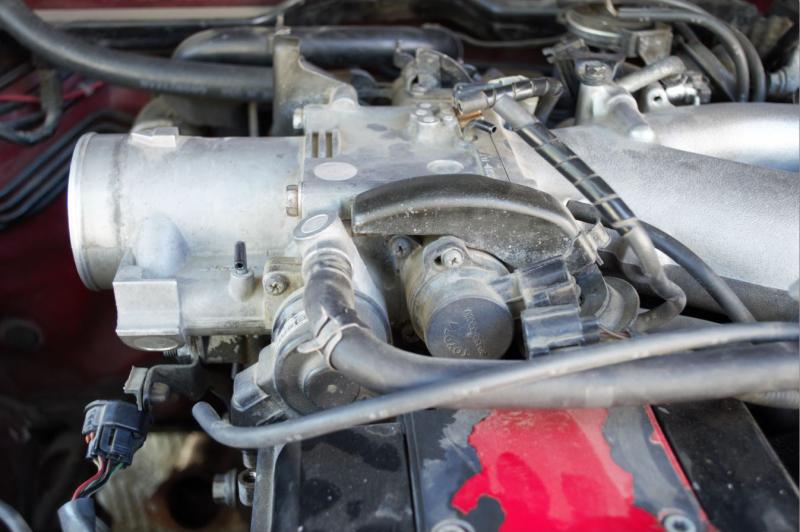
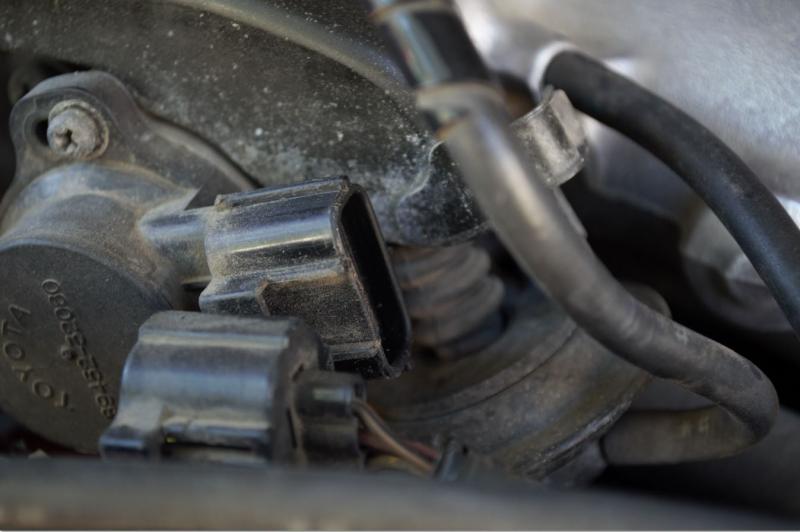
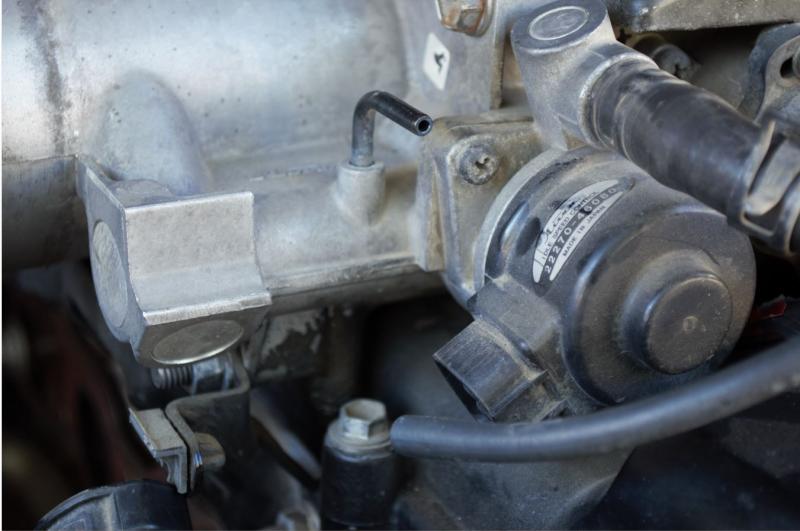
Disconnecting plugs and vacuum lines on the TB
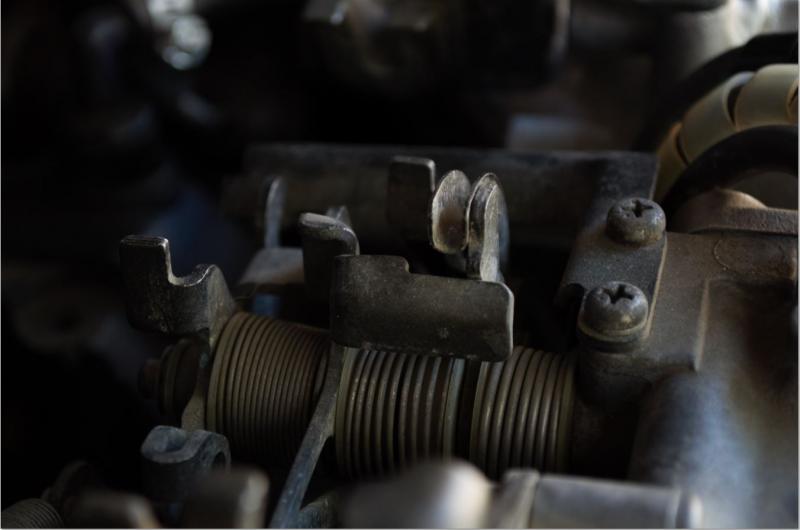
Y section removed
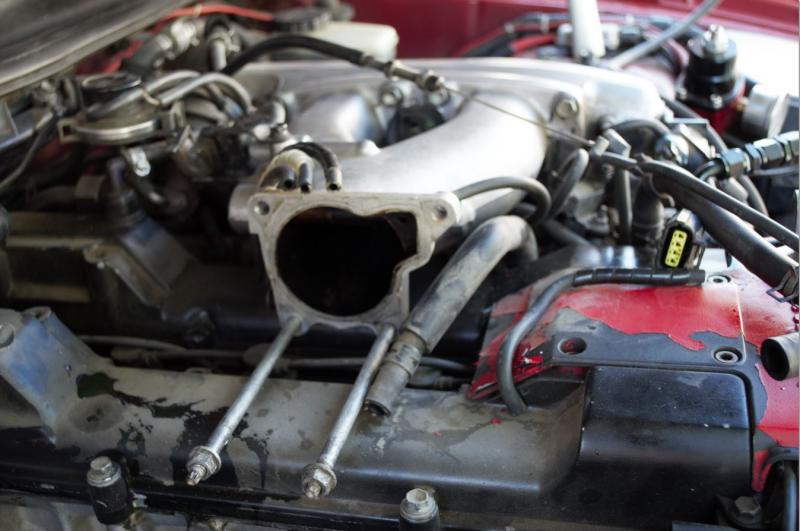
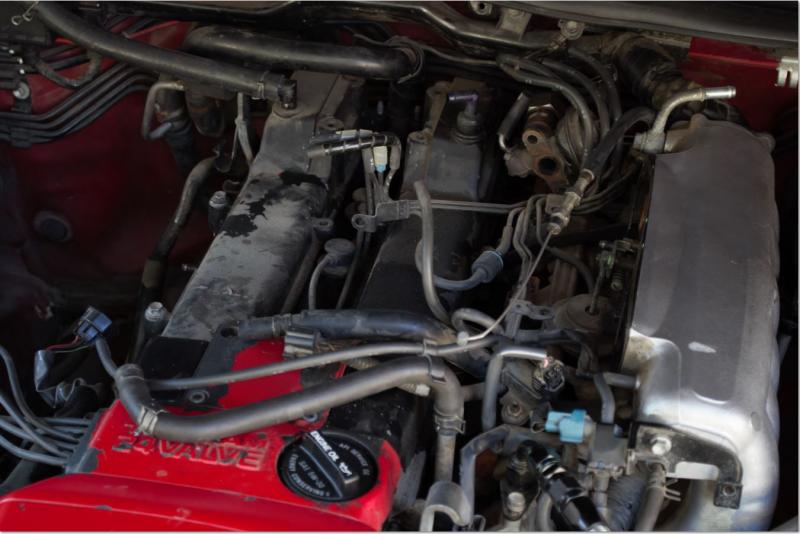
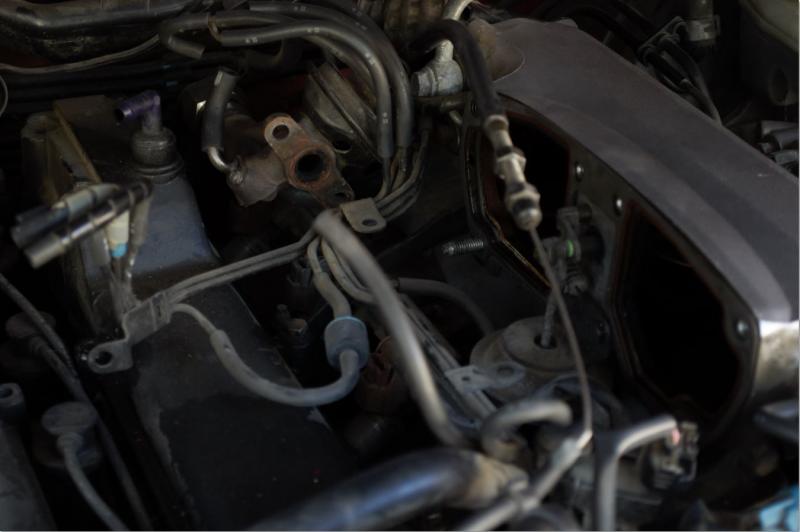
Removed next section of manifold
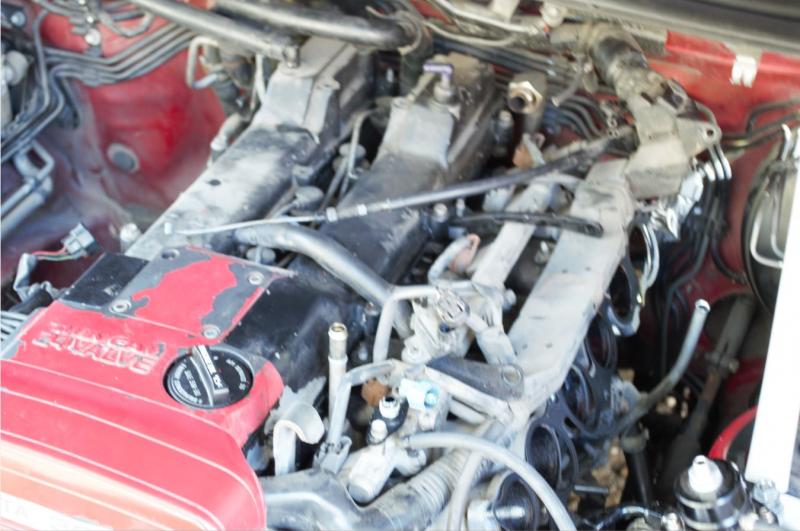
Removed spark plug wires, and disconnected everything on the exhaust side and started disconnecting the intake side.
Thats my progress so far, hopfully tomorrow ill have more shots.
