You must be logged in to rate content!
9 minute(s) of a 297 minute read
2-16-2015
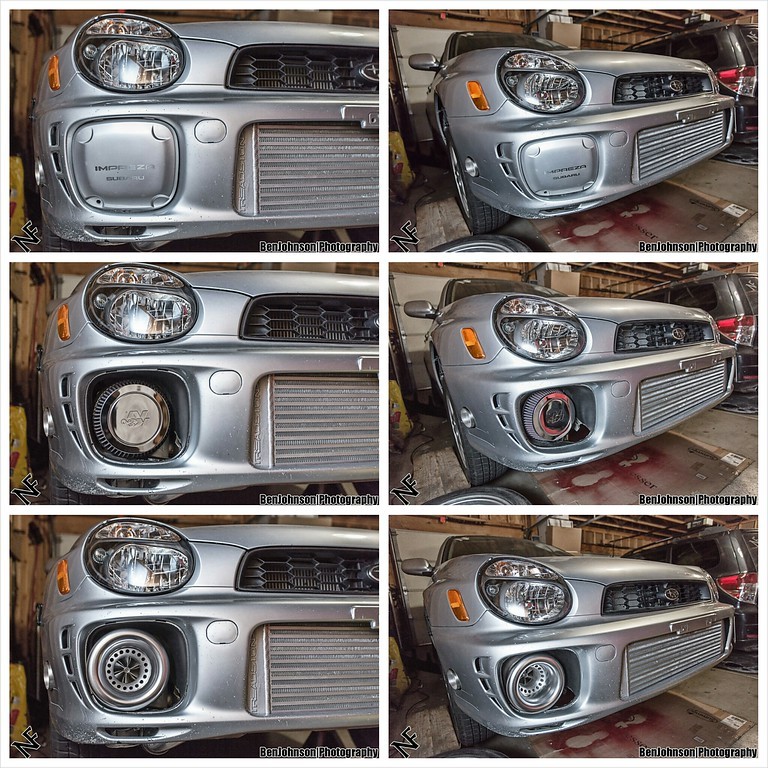
Here's a shot with the chopped off exhaust dump. Trying on various intake options.
2-23-2015
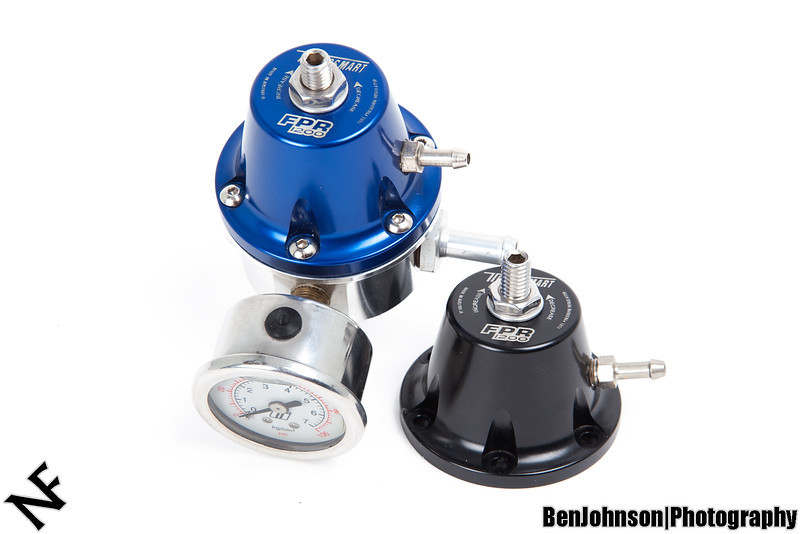
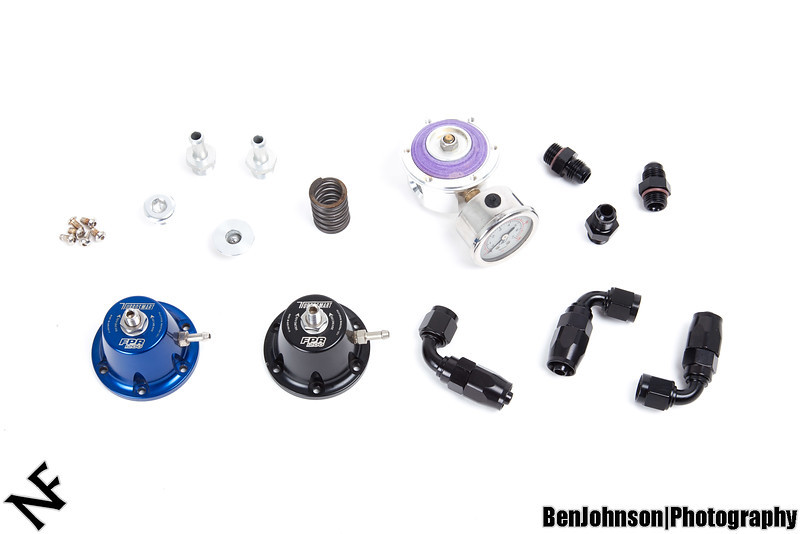
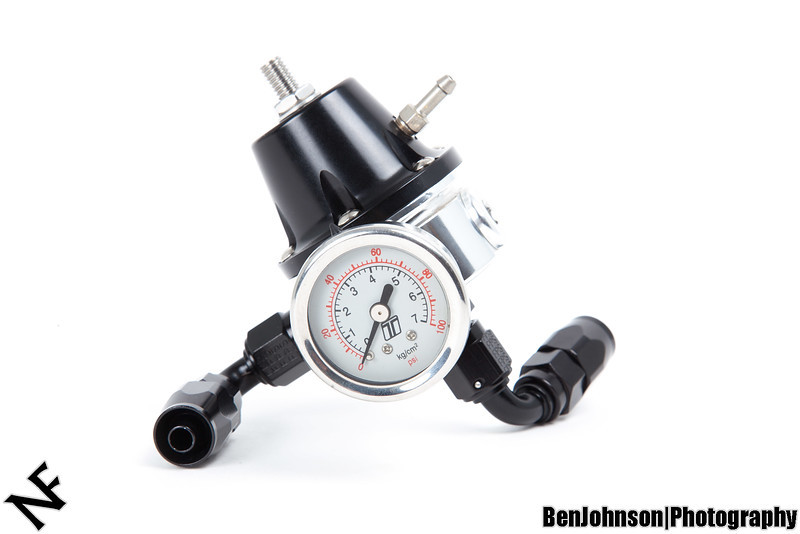
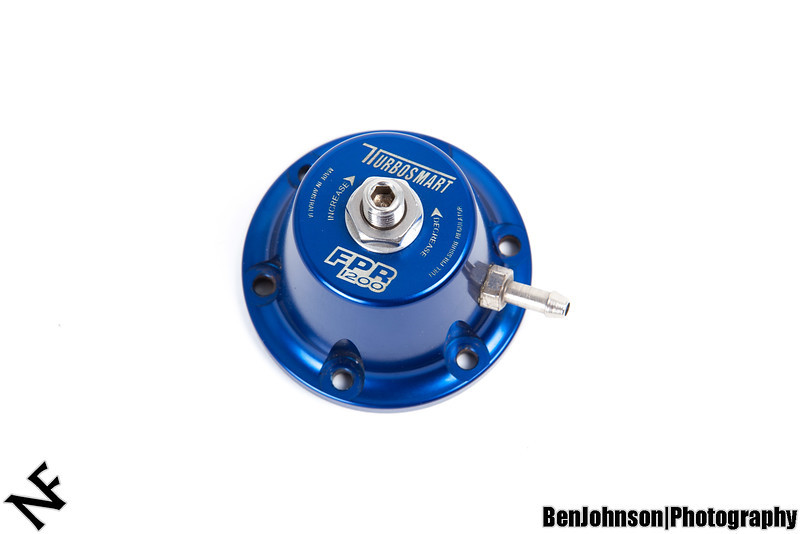
The other day I swapped the cap on my TurboSmart FPR from blue to black.
Started with this (cap screws already loosened):
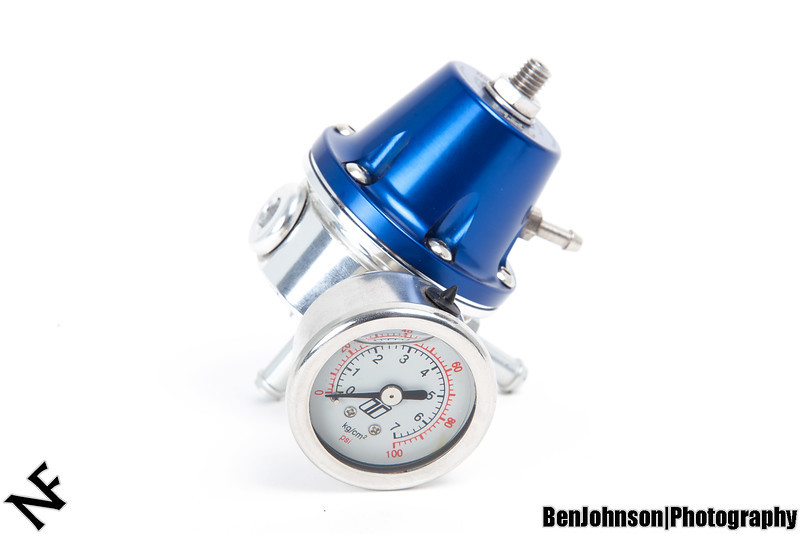
Going to be swapping on this black cap:
Everything all taken apart:
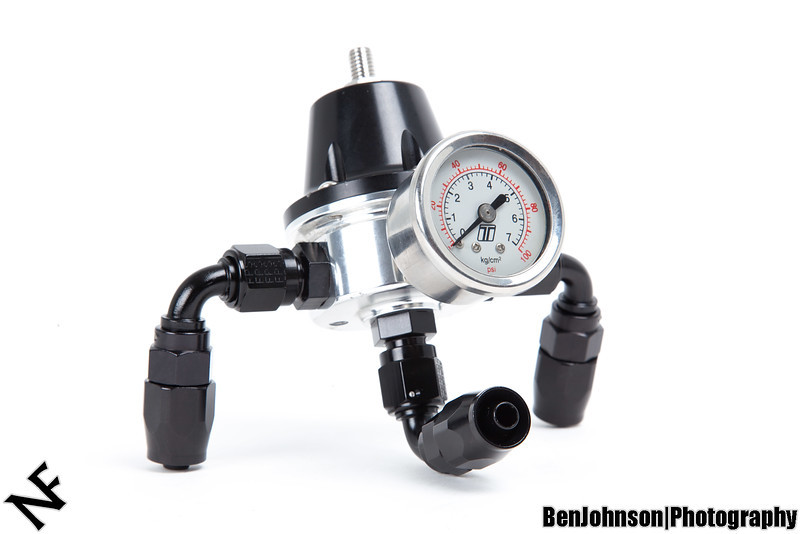
Here it is with the black cap and dual inputs (for parallel fuel rails):
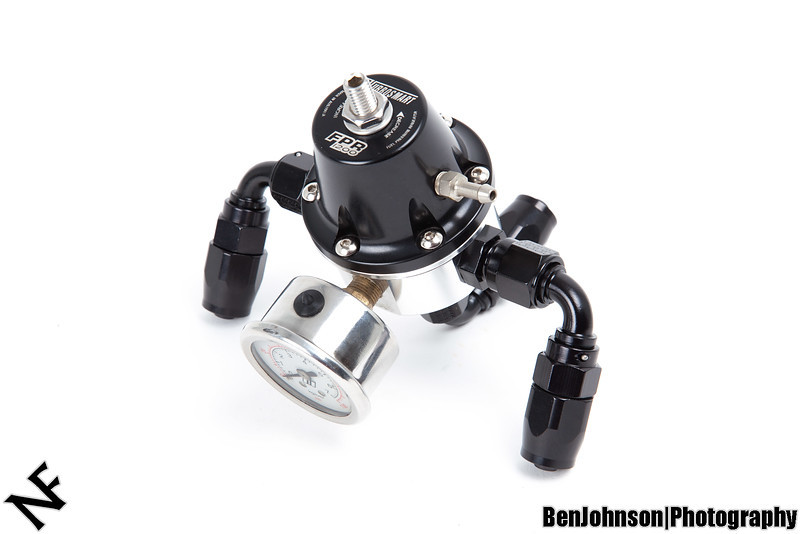
And here is with a single input (for series fuel rails):
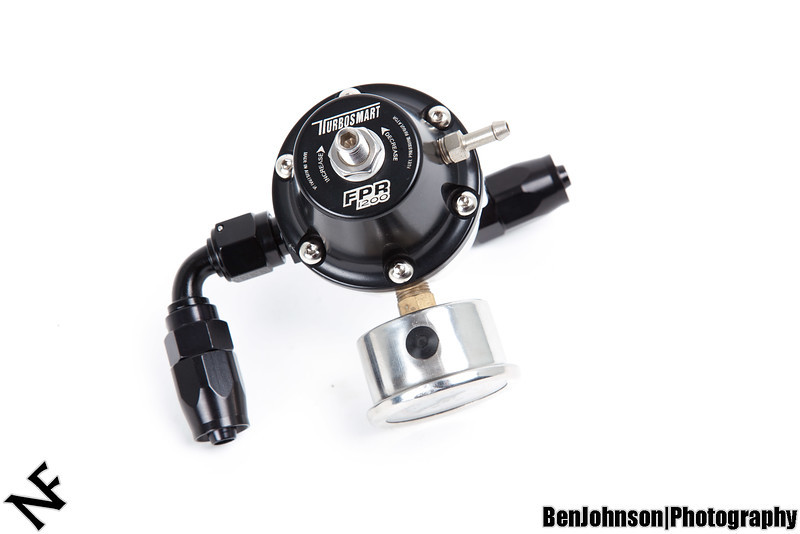
Blue cap for sale if anyone is interested!
2-23-2015
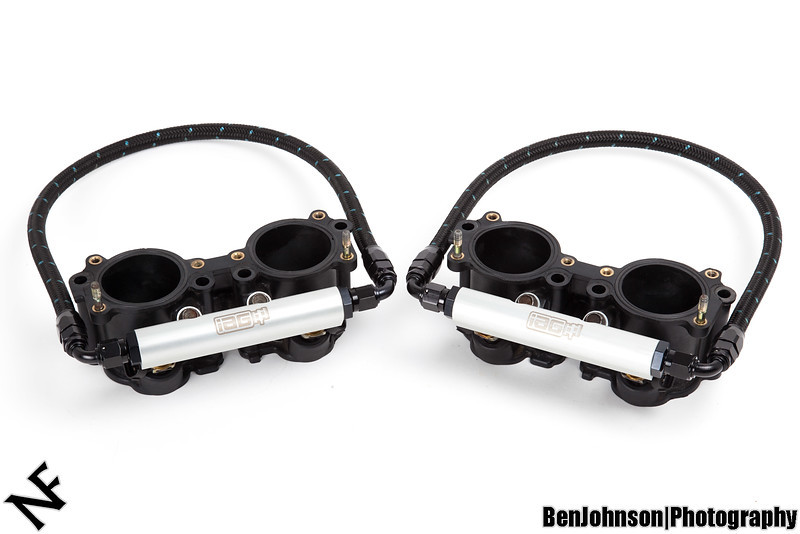
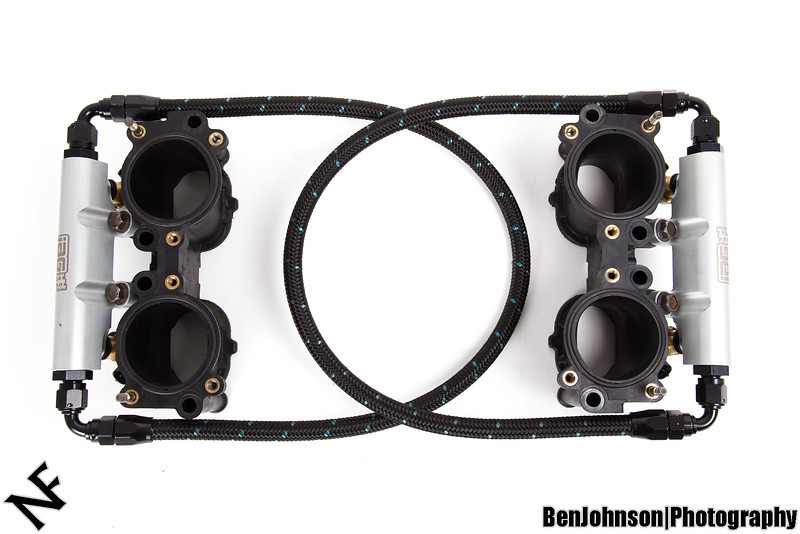
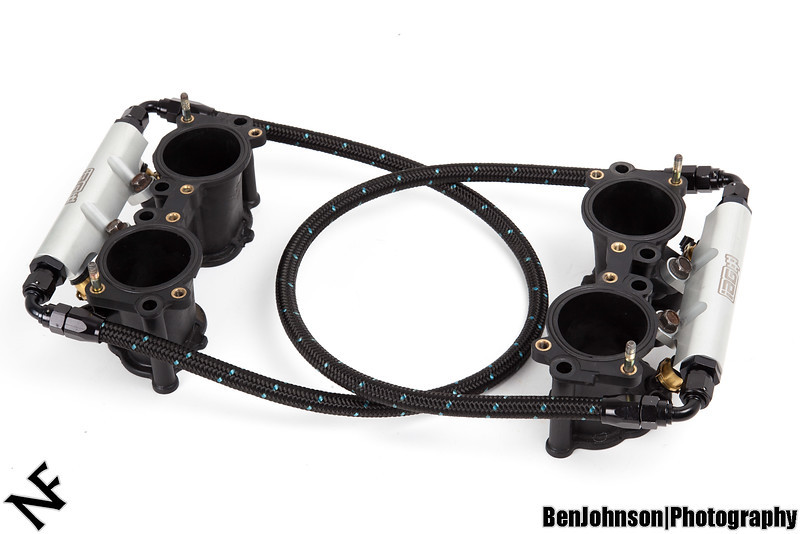
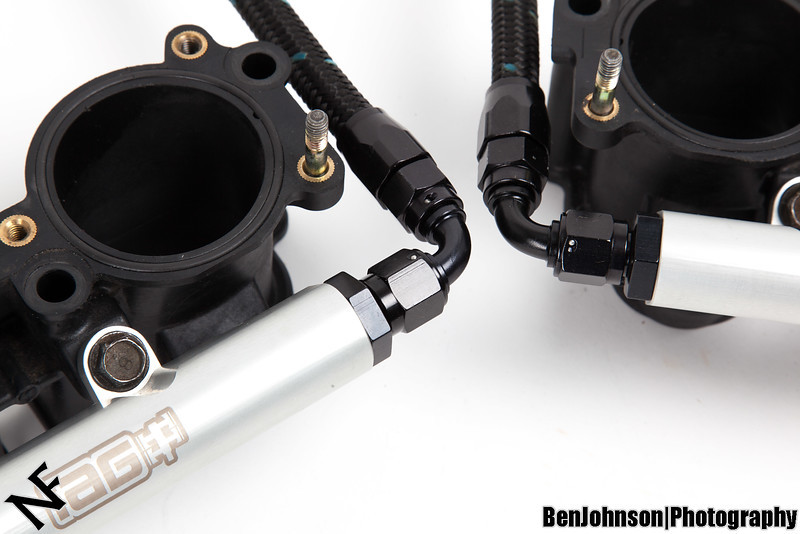
Over the weekend I worked on getting the fuel rails and lines setup. The IAG lines do not have the SS braided layer under the nylon braid so it was very easy to cut and get setup with the fittings. I set the rails up for series fueling. They are arranged 4-2-3-1. This is the opposite of the firing order. There is a LOT of debate on fuel line routing but Dom at Maxwell Power has some good points for going with the opposite of the firing order.
http://forums.nasioc.com/forums/show....php?t=1934936
http://forums.nasioc.com/forums/show....php?t=2162858
I also pulled off the TGV housings (I have the plastic ones) and cleaned them up, as well as cleaning the injectors and replaced the top o-rings. I assembled the TGV's, rails, and injectors. It is a great benefit of aftermarket lines/rails that they're not tied to the intake manifold at all so they can be assembled off the car and then installed.
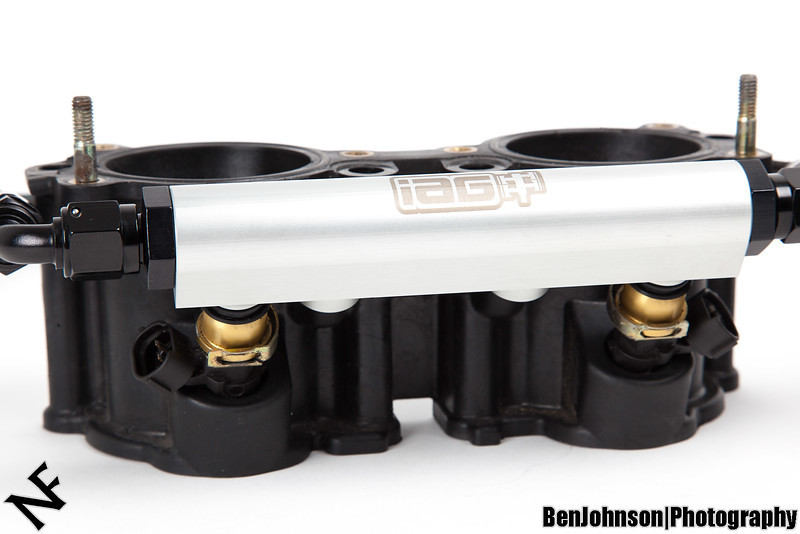
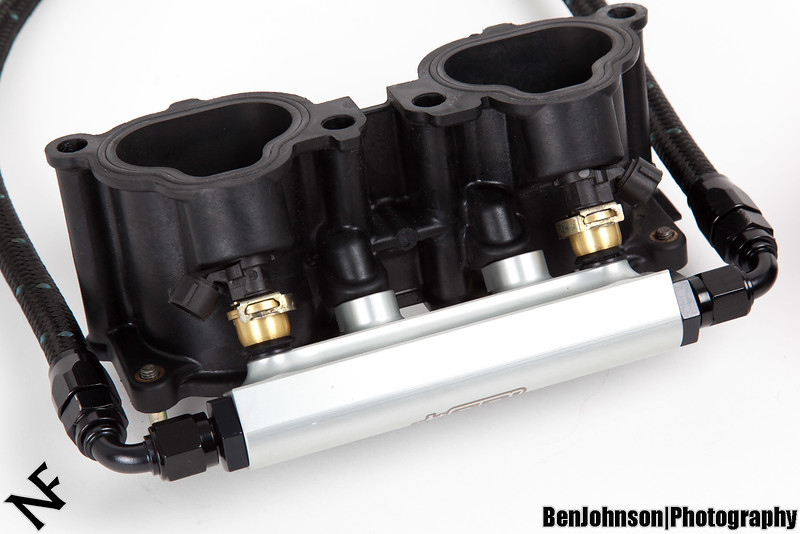
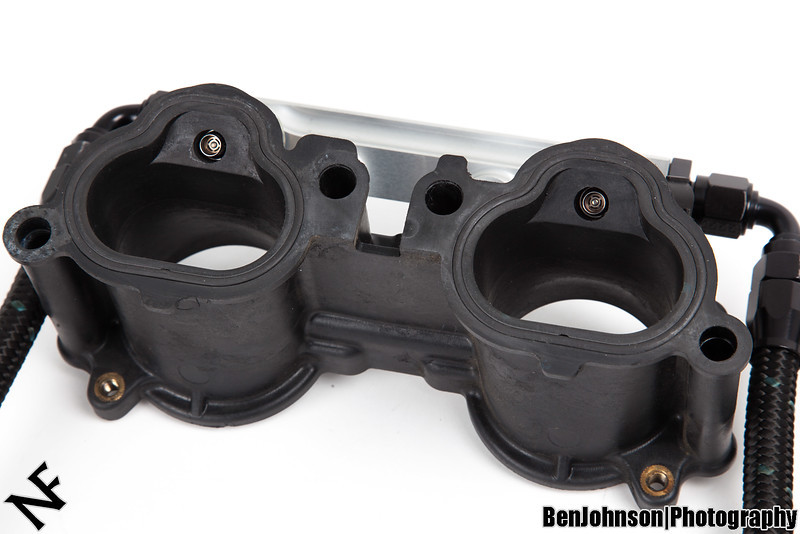
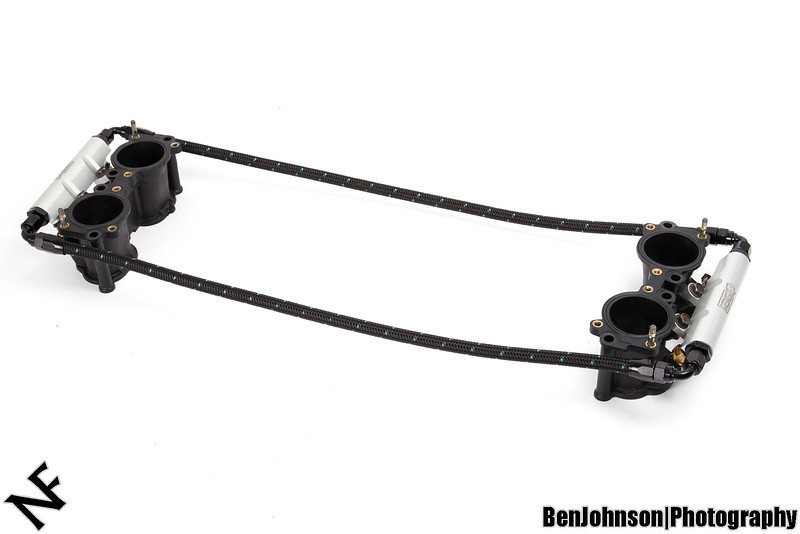
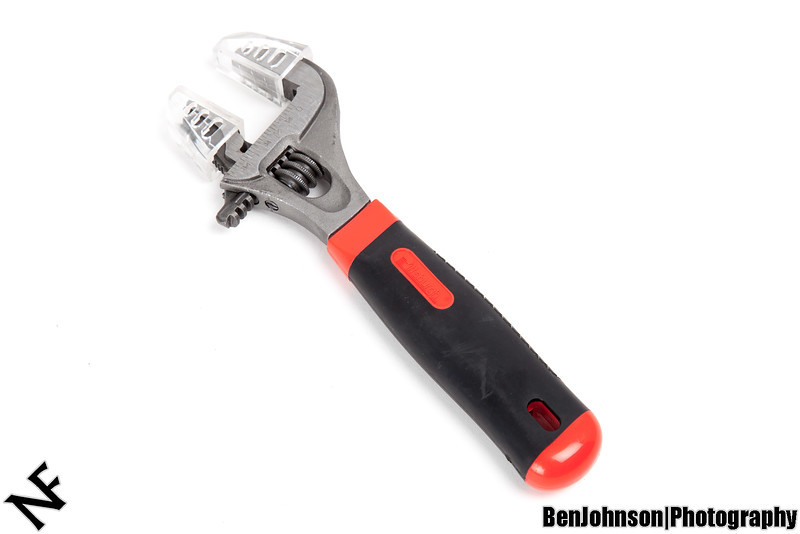
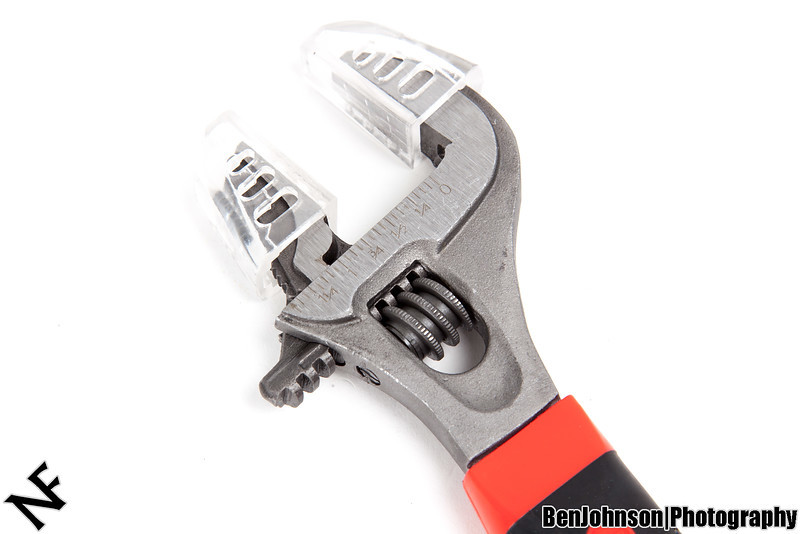
I picked up this adjustable wrench from Harbor Freight. It is cheap, but much better quality than the other cheap adjustable wrenches I have been using. Adjustment is very smooth and the jaws are very thin (even compared to the AN fitting specific wrenches). The best thing is that it comes with plastic covers for the jaws so it won't mar the fittings. The covers aren't a perfect fit, so you can't put a ton of torque on with them, but so far so good.
http://www.harborfreight.com/2-in-1-...nch-67128.html
2-24-2015
I did some work last night. I re-did the crankcase vent lines and then finished installed the TGV's, fuel rails, fuel lines, and intakemanifold. I also hooked up the turbo oil feed to the AVCS banjo. The little Mr. Heater was able to get it (barely) above freezing in my garage.
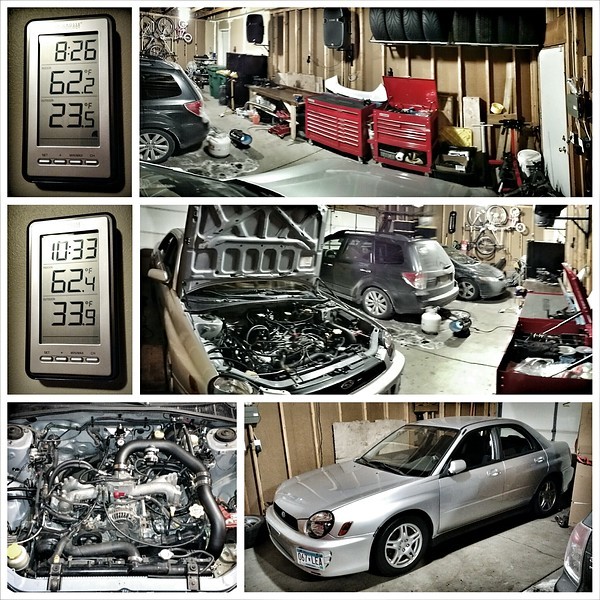
It is getting really close. I hit two minor hiccups.
First is that I was shipped the wrong scavenge pump and I am having a hard time trying to return it because it has been so long. Hopefully I can get that figured out soon and then order the correct one. Then once I get that I need to mount it and do the wiring.
Second is that I need a new radiator. Mine was always slightly leaking so I am going to order a new one and then I need to install that. One other thing I've been putting off is hardwiring the fuel pump. After that it's just filling/burping coolant and filling/priming oil.
Here's my basic list:
- Install Radiator
- Install Oil Scavenge Pump
- Wire Oil Scavenge Pump
- Wire Fuel Pump
- Fill and Burp Coolant
- Fill and Prime Oil
It's not a whole lot of work left but it will probably still be a couple weeks at least due to waiting for parts to arrive. I am hoping to do some of the wiring while I am waiting for parts so that it will all be quick drop in's once things arrive.
I do have a 7500W ceiling mount electric heater, but it's still sitting in the box because I don't have 220V in my garage. I already bought a breaker box and a few other items, but I haven't had a chance to do any actual work (I know very little about home electrical).
2-25-2015
I have been looking into that one and it does look great. Do you have the Street version or the Competition version? My setup is very, very simple but it functions much like the Competition version from IAG. Here is a photo:
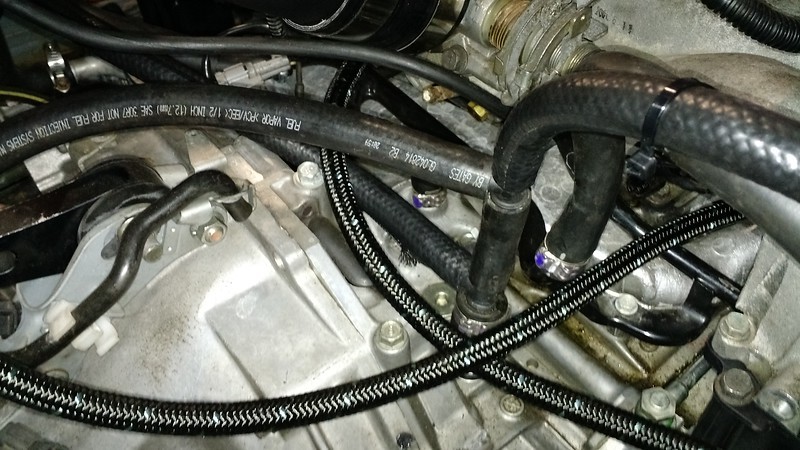
All I'm doing is T'ing both of the front vent ports on the valve covers into the large vent port on the back of the block. Then this is all T'd into a vent line that runs down along the trabsmission and ventd under the car (just like IAG).
The PCV port on the intake manifold it plugged and there is no routing back to the intake (just like IAG). My setup does not catch any oil or route it back into the pan in any way. The oil vapor is simply vented.
Very effective for keeping oil out of the intake tract. Not so friendly to mother nature but that's the trade off. My setup costs just a few dollars. Two 1/2" T fittings and some 1/2" fuel line is all you need.
It can get fairly cold around here too. We just had several days where it never got above 0°F at all. I'm not driving this car though. I ran a setup like this on my 2011 as well and I did drive that in the winter and I never had issues.
On this car I do have a 2012 STI motor so it's all much the same as my 2011 was. That OEM hose adapter was swapped out on both my setups for a straight hose going into a T fitting. Nothing back to the inlet or intake manifold. The PCV port on the intakeanifold is plugged.
On this car I actually did try using small port on the OEM fitting as the vent. It didn't flow nearly enough and the car smoked on decel. Once I swapped that to a 1/2" vent it went away completely.
Oil consumption was never too crazy in my 2011. I never had to add anything between changes. This car I change it frequently for the miles I drive so it's never enough to notice. I only did 3000-4000 miles last summer and changed the oil half a dozen time. Usually before and after going to the track.
I do like the look and design of the IAG but for this car I don't think I need it. If I were going to get one though it would be the IAG for sure. I just got their fuel rails and the quality is great.
2-27-2015
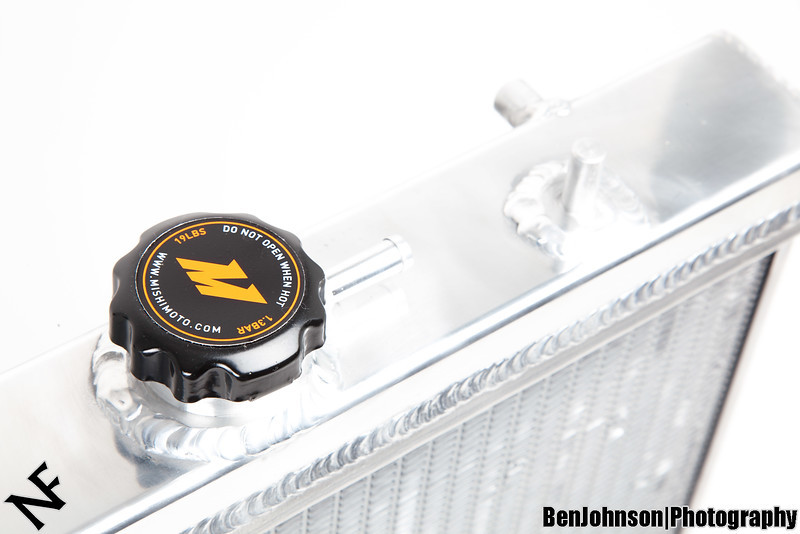
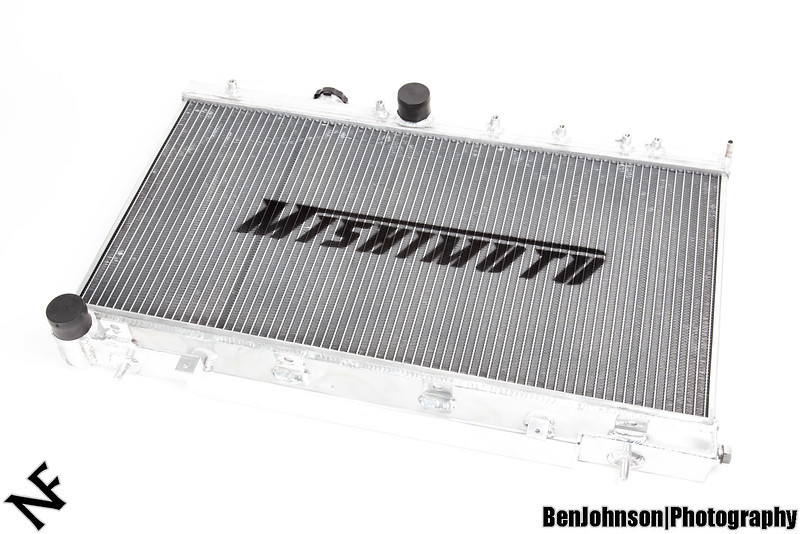
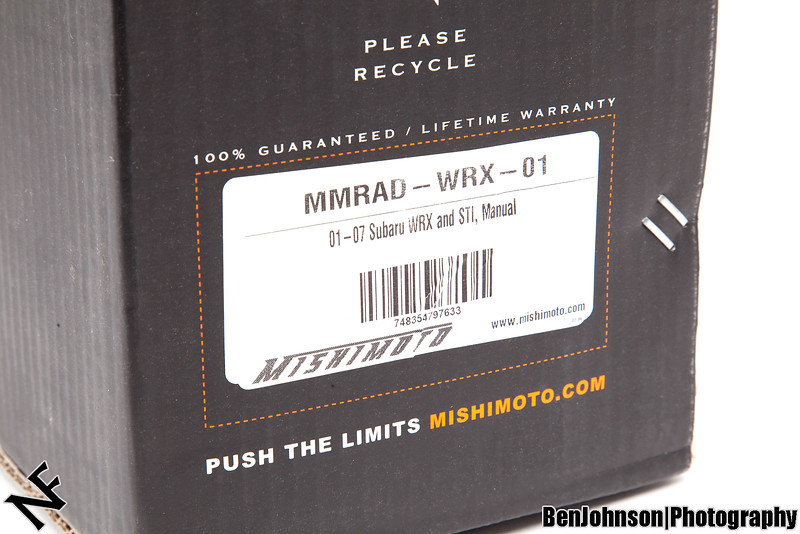
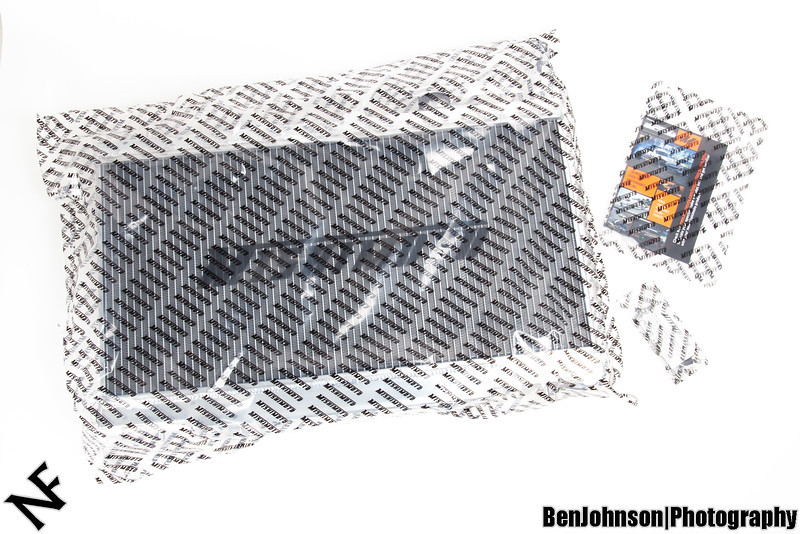
Picked up a radiator because mine was leaking. Just arrived today.
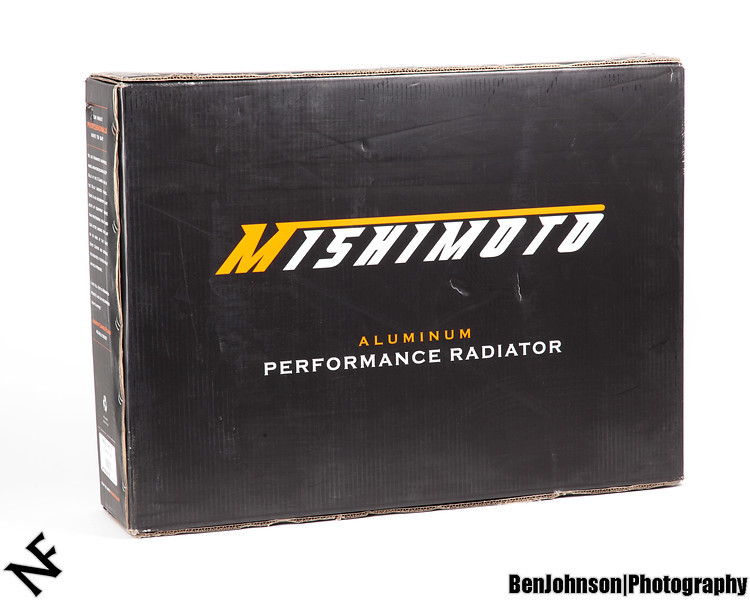
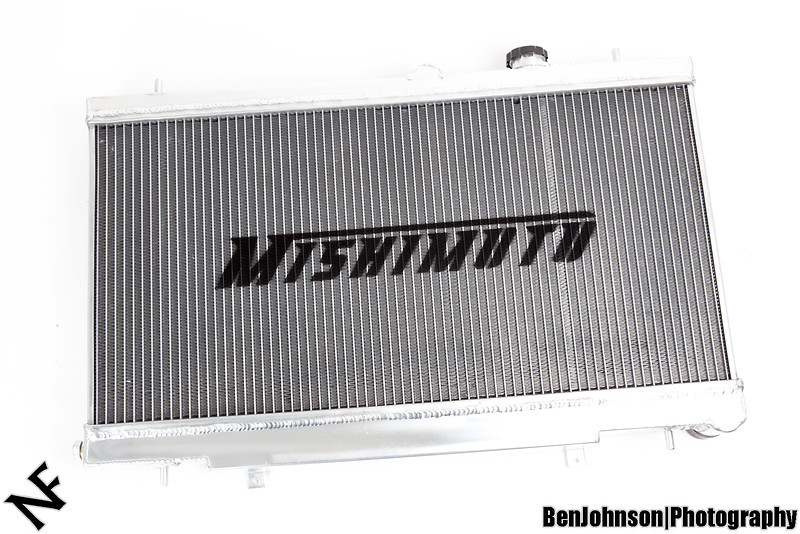
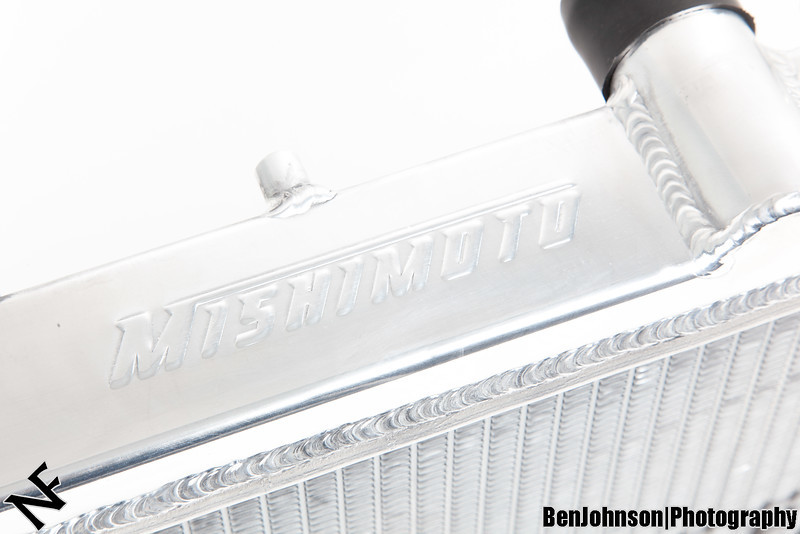
This will be swapped for OEM:
