You must be logged in to rate content!
5 minute(s) of a 312 minute read
2-1-2011
I have received several PMs regarding the design of my Hydra controlled fuel pump controller setup so I figured that I should take a few moments to explain it.
Being an Engineer I spent a lot of time thinking about the best wiring design and all the possible things that could go wrong. As I mentioned a few posts ago, I decided to switch off of a ground input from the Hydra. Since I was feeding a relay I could just as easily used a positive based output but this would not have been as safe. If the output wire would have ever gotten shorted out it would have fried the Hydra (something you never have to worry about with a ground).
I programmed the PWM12 output (connected to A11 on the small blue plug) so that it would be ON when the car saw less than 3PSI of boost and OFF above 3PSI of boost. Again, ON during very low boost and OFF above 3PSI. This may seem backwards but is a crucial part of my design for safety reasons. Next I wired up the relay so that it would give the fuel pump controller the signal to go full blast while it was NOT being energized (the normal state). My reasoning behind all of this was that if there was an electrical or relay based failure the worst that would happen is that the fuel pump would run 100% duty until the issue was corrected. The other way around would result in a blown motor because of a $9.00 relay failing to switch.
I would love to hear some feed back on this if anybody is interested in commenting. Thanks!
2-3-2011
I got my header back from Moore Performance today and it looks pretty good. They moved the tab that was causing me all the oil cooler fitment issues and re-coated that spot on the header. What fantastic customer service!!!
With a little luck I should be able to get the header mocked up on the engine tonight to retest the fitment.
2-5-2011
I spent a solid seven hours in the garage today which allowed me to get a lot done. I concentrated on the motor which is still on the stand unfortunately but at least its getting very close.
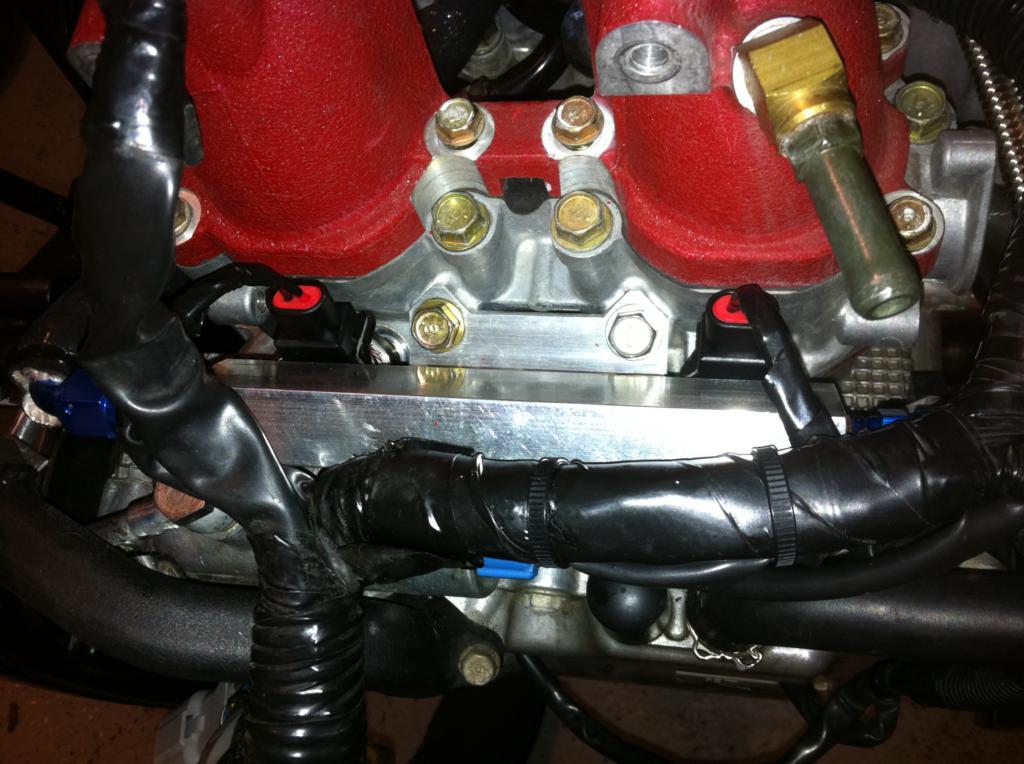
To being with, I fitted my engine's electrical harnesses with the custom connectors for the new UR 1260cc injectors. I am pretty happy with the wiring results, the harness looks pretty factory which was my goal. Once the harness was prepped I focused on the fuel rails. I was honestly shocked to discover how filthy the inside of the UR fuel rails were from the factory. I used a .45 hand gun cleaning kit to scrub out the inside of the rails and brake clean to blast the remaining dirt away. I then installed the 1/4 NPT to -6 AN adapters into both ends of each rail and sealed it up with some Permatex fuel system gasket maker (awesome stuff).
Here's the top of the installed rail showing the electrical stuff:
I then installed the header and temporarily bolted on the turbo so I could work on making the fuel lines. I finished up the bulk of my engine fuel lines and I am really pleased with how it turned out. The fuel rails are fed from the back and have return lines exiting at the front. Each line goes to a T located under the alternator which exits strait up and makes its way to the regulator. All the lines are covered with fire sleeve so that nothing rubs.
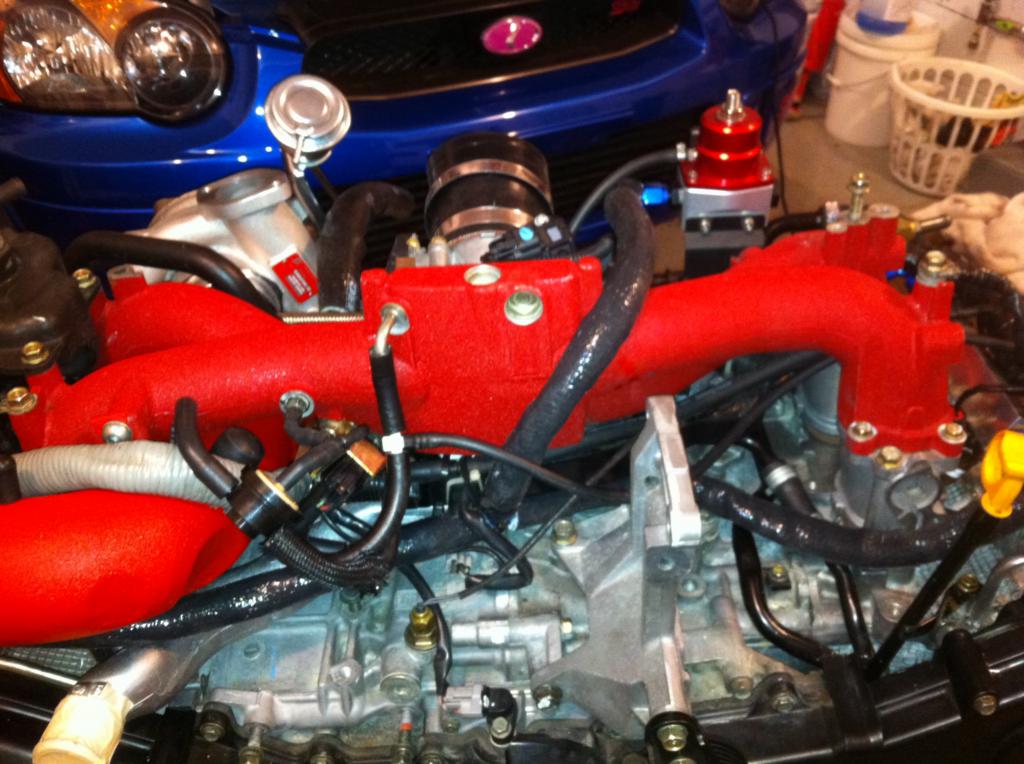
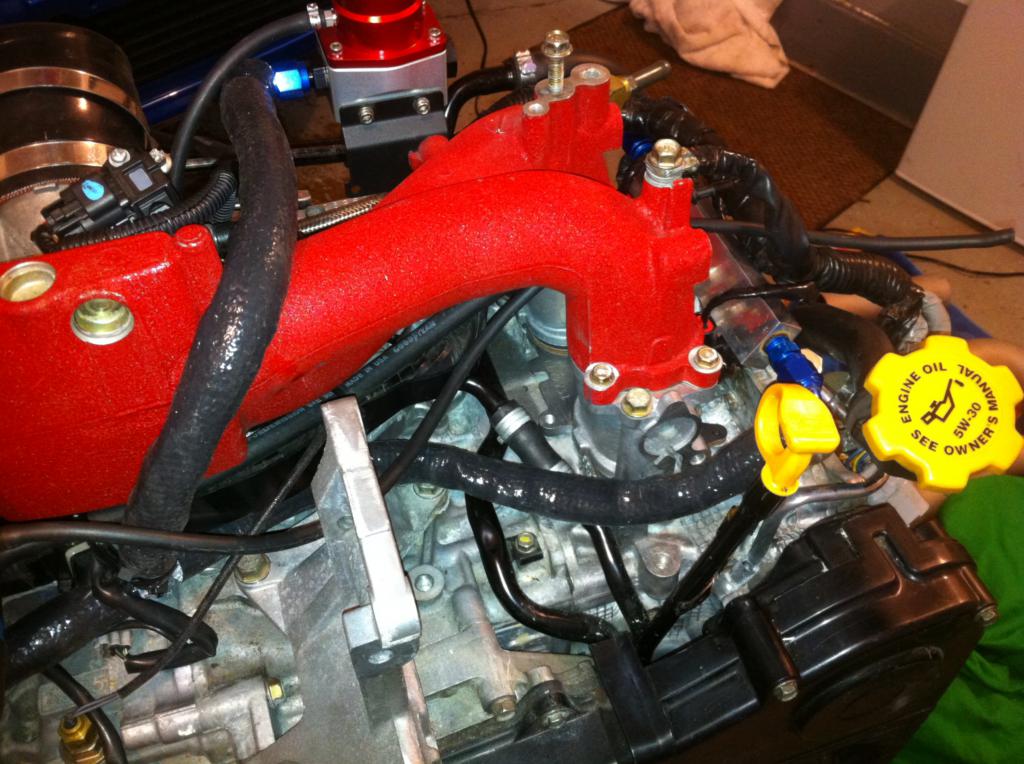
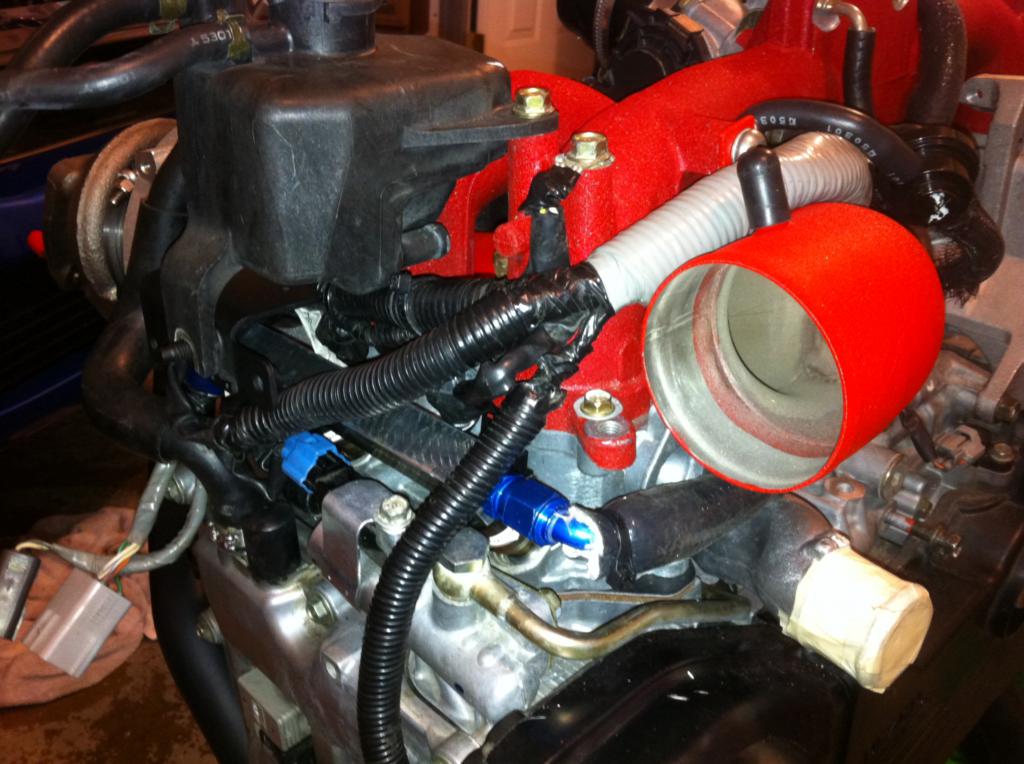
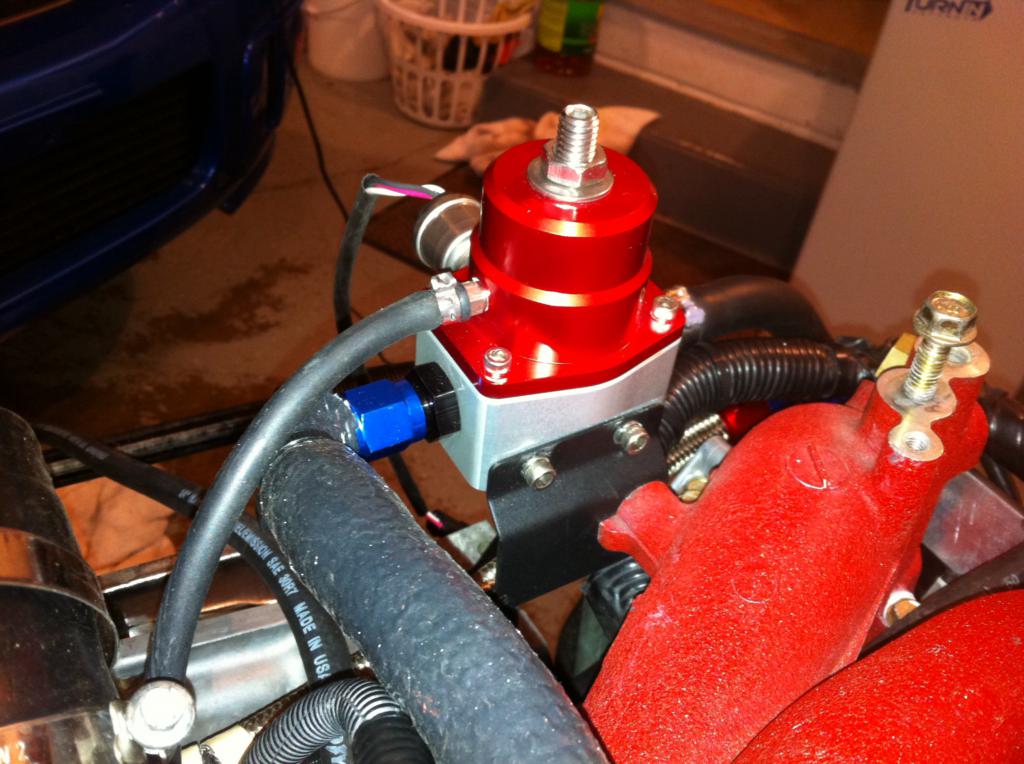
I also finished up connecting all the engine related bits of the fuel pressure regulator. Notice the very small clinch clamp securing the pressure line onto the regulator. There's a clamp like this on both ends of this thick walled hose. Trust me, this can mean the difference between a perfect car and a blown motor!
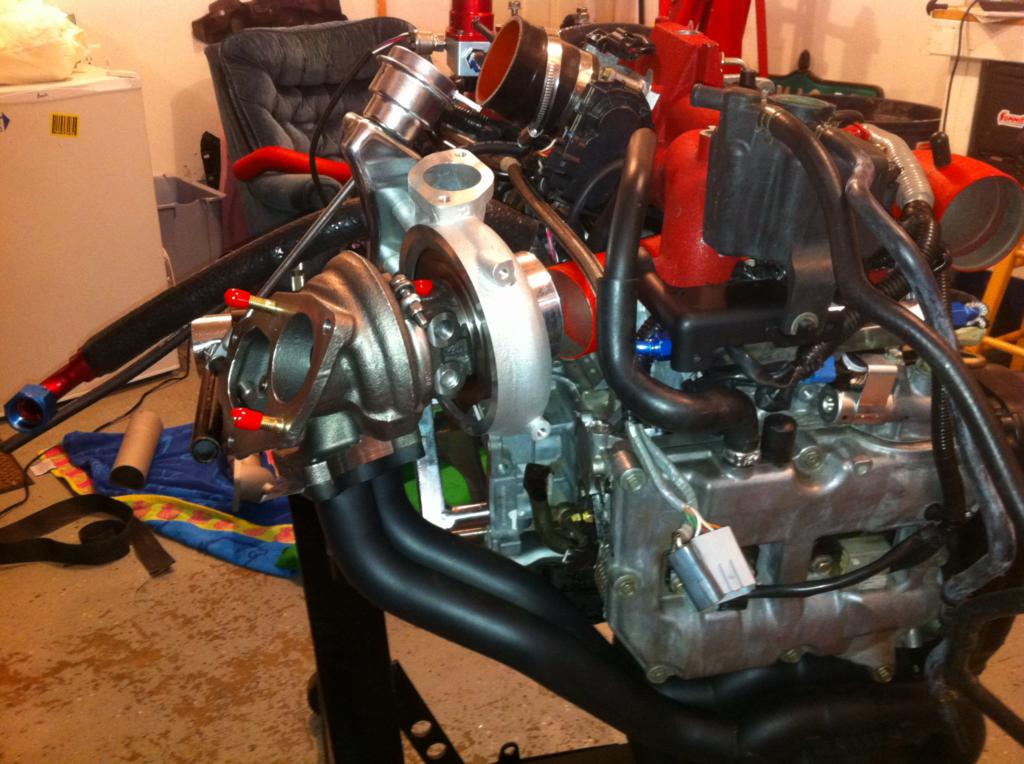
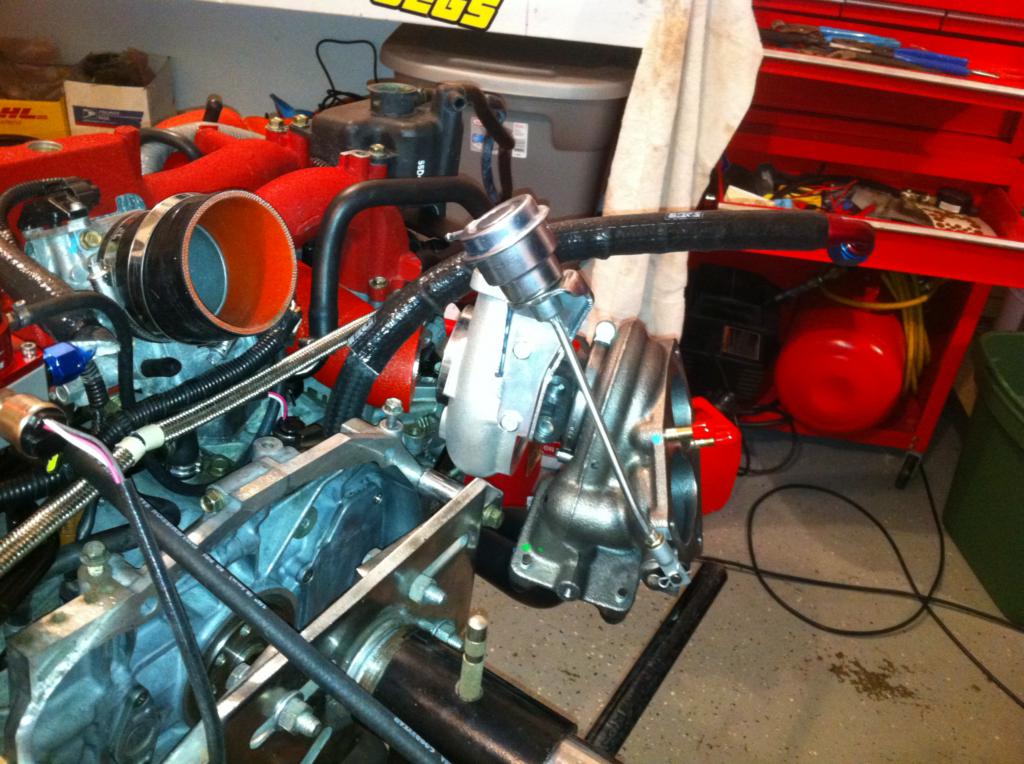
Here are a few picts of the turbo sitting in place. I dont have any of the custom brackets or oil lines in place so there's a lot missing but you still get the point.

Nice!
Posted by Diggymart on 2/4/20 @ 8:31:02 PM