You must be logged in to rate content!
5 minute(s) of a 731 minute read
8-10-2020
Approximately 3h15m to pull the engine without any assistance (unless the baby counts). That was my kneejerk guess when I blocked out 5-8am on Saturday morning to do this; but usually my estimates are about 30%-50% of the actual time needed.
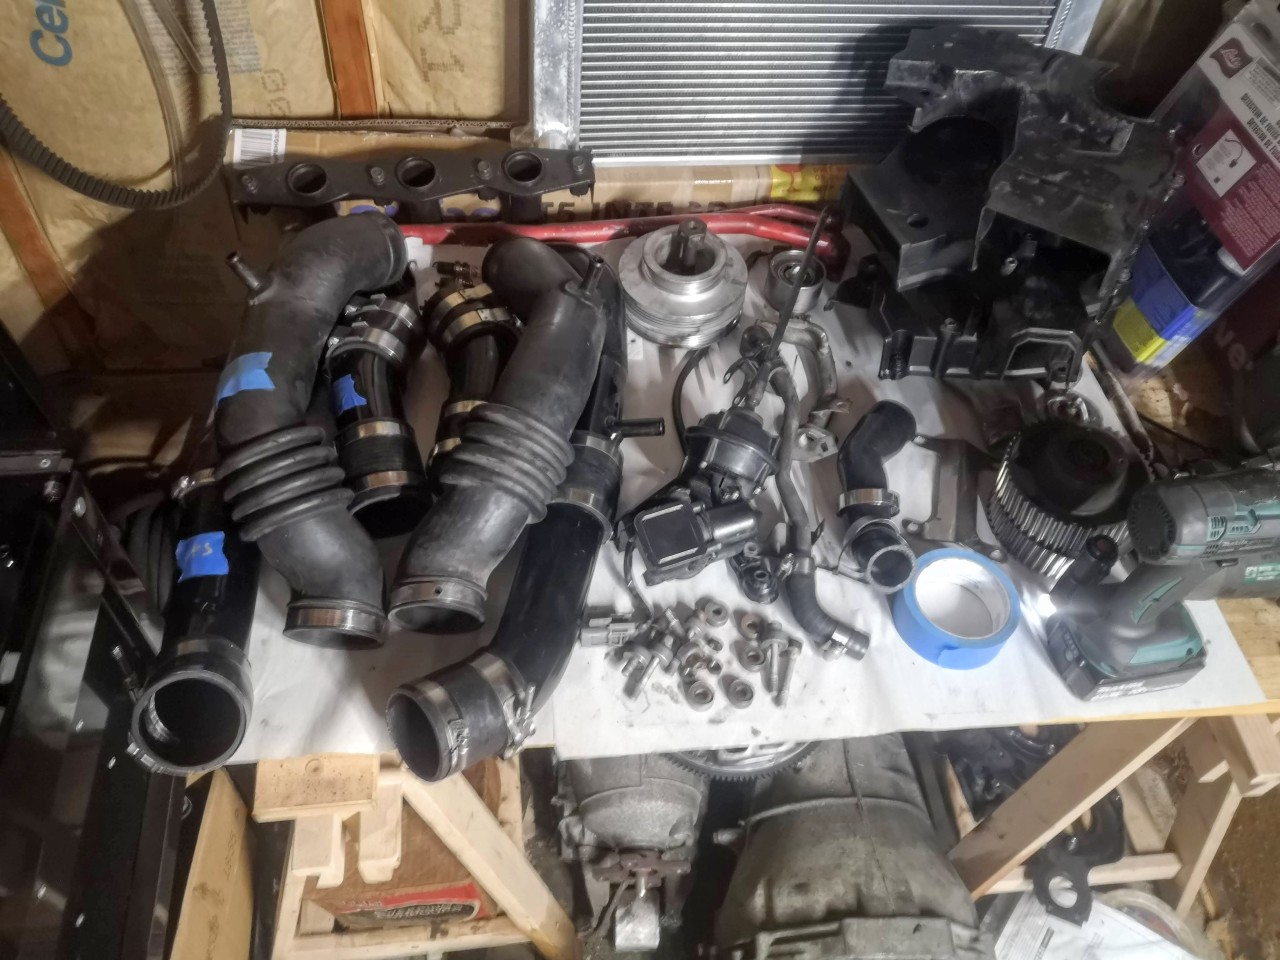
Some of the parts removed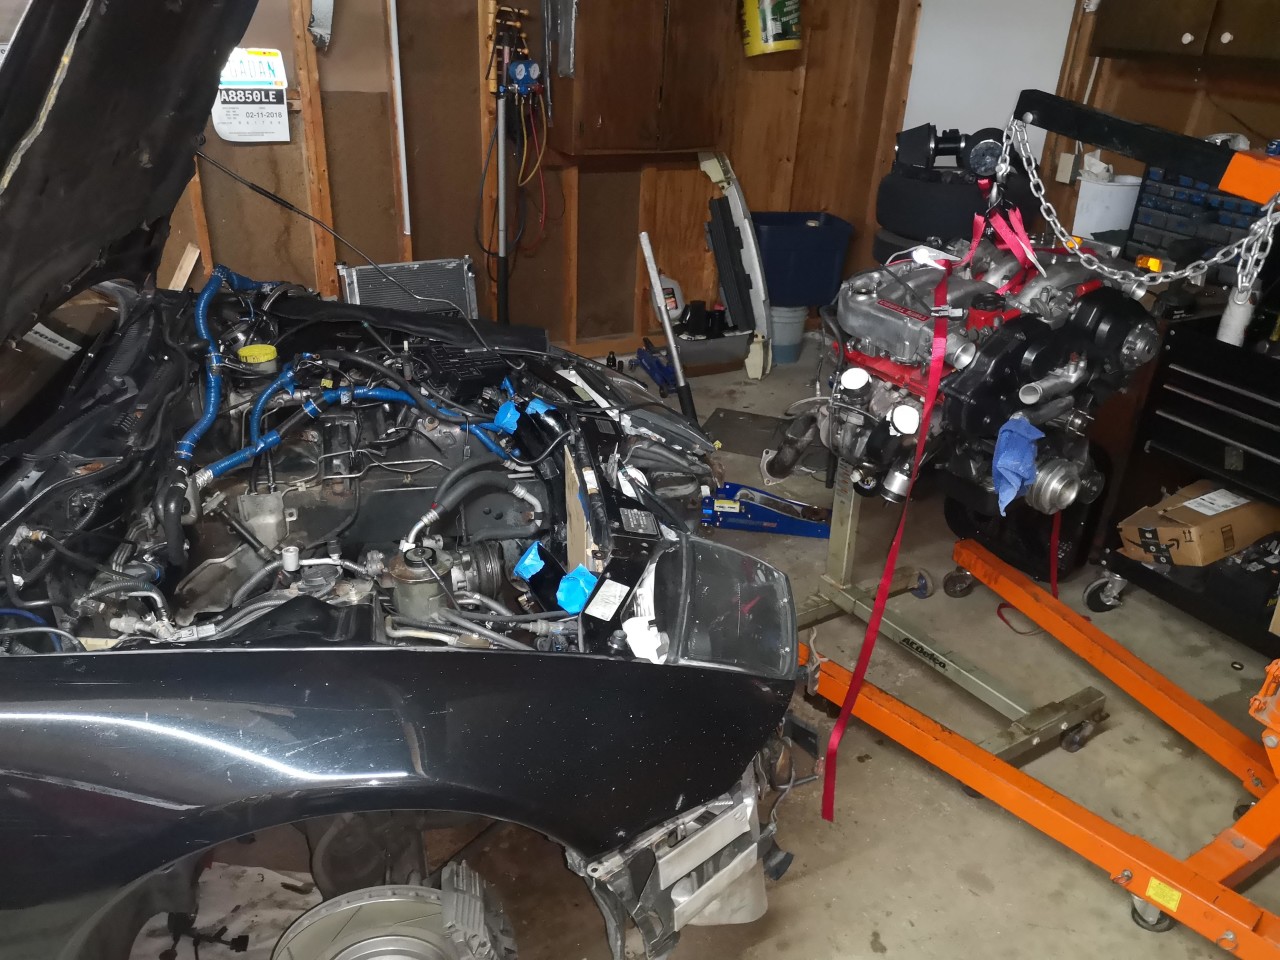
Felt good to get it mounted to the engine stand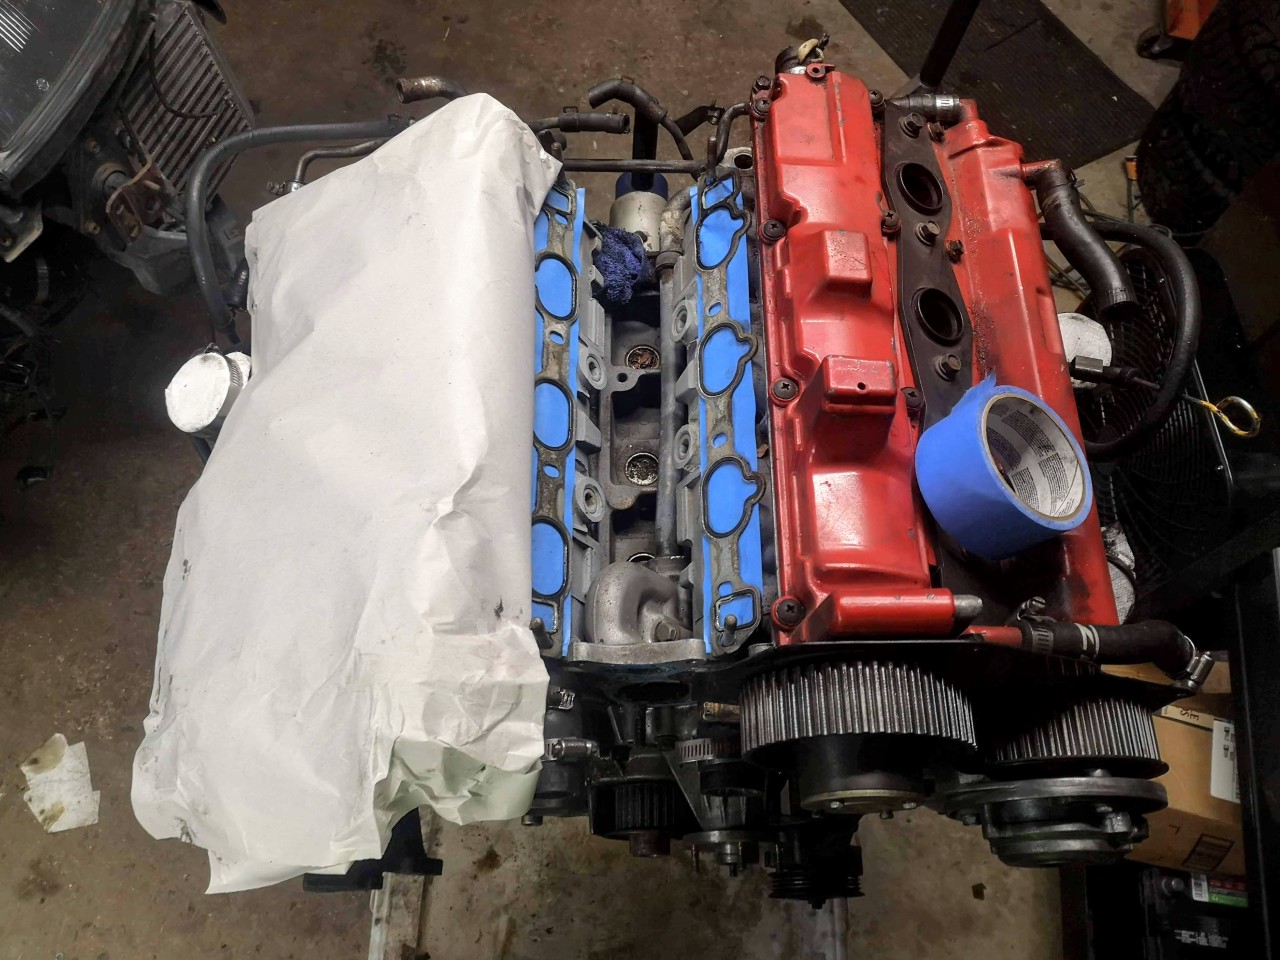
How I left it last night
I forgot how much of the engine had to be disassembled to get the heads off. I'm planning on removing the passenger side head without taking the turbo off in the hopes I just need a new headgasket. But given the amount of coolant I see...I'm fearing worst case. A bare block just showed up on CL, I'm hoping that's not an omen.
I've got a busy week at work, so I'm not sure when I'll be in the garage next. I was REALLY hoping to have an answer by the end of the weekend.
8-26-2020
Up until this happened i was also of the "just keep an eye on it" mentality. I hope my experience helps motivate you if just slightly to dig into it before it becomes more serious. 
Progress has been slow but consistent. I get 3 hours every Saturday morning before the family wakes up to get as much done as possible...which usually isn't much. Thanks to a little bit of sleep regression with the baby my 'after bedtime' availability as nearly disappeared.
I've got a lot of updates here and a lot of pictures. I got the motor opened up was met with both good and bad news depending on how you look at it.
I removed the cams before removing the heads, and discovered a badly scored journal on the exhaust cam on cylinder 5 (same as the blown HG), as well as a mildly scored intake cam/journal on cylinder 6.
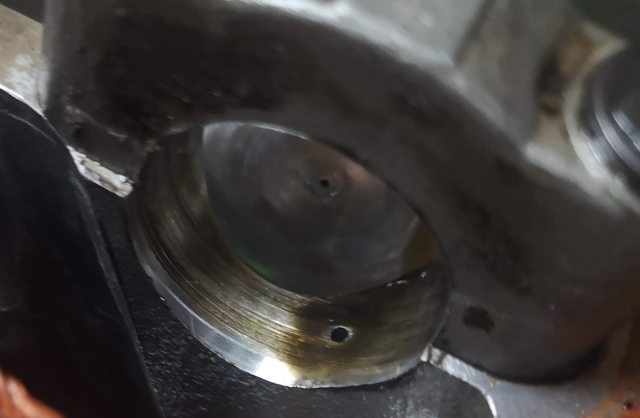
Definitely was a letdown to see this. Cyl 5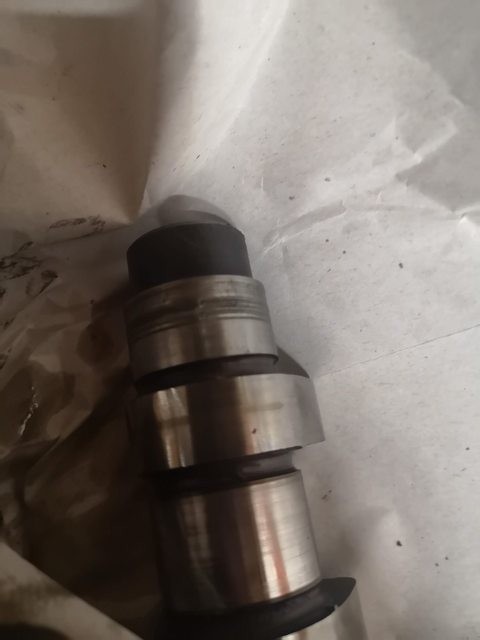
Cam on cyl 5.
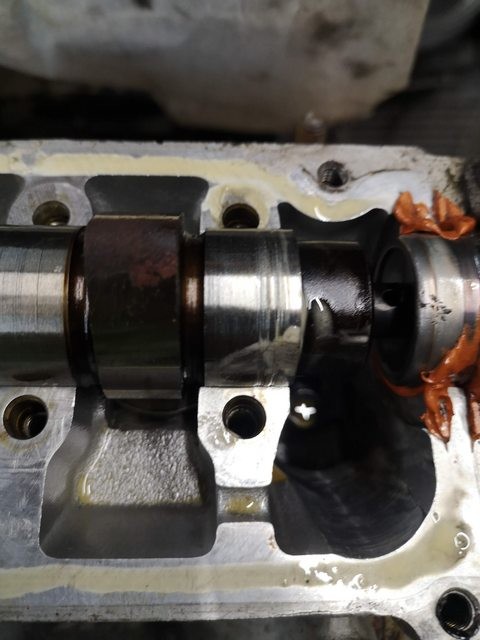
This is the 'better' one. Cyl 6
I initially planned on junking the heads and finding replacements but I'm assuming due to COVID there are a) no pre-built heads available at any vendors and b) no local options currently taking work. My plan is to source replacement cams, and polish the heads once I confirm oil flow to these journals. I plan on getting a round drill attachment and developing some awesome rube-goldberg type contraption with emory cloth and scotch brite to bring it to a uniform, round, smooth finish.
Given that they are the last journal on each cam, I feel mostly pretty good about polishing them even if I am increasing the clearance between the head and the cam. I plan on driving 50 or so miles and opening the heads back up to check head stud torque as well as wear on the cam journals. So that's bummer #1
With the passenger head remove I was able to observe the damage and see what happened.
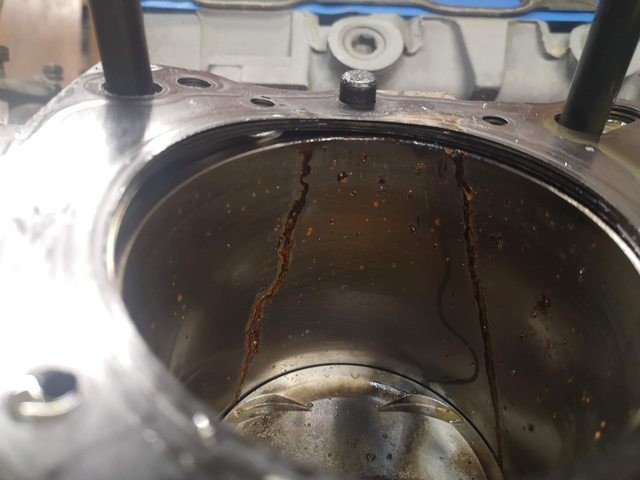
The warped headgasket has me concerned about warped heads...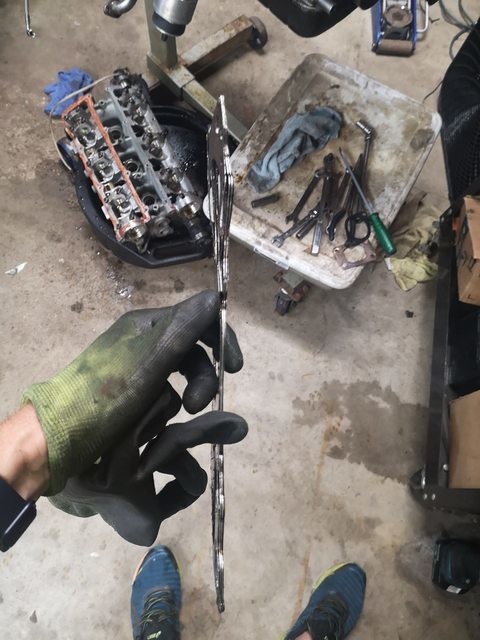 Warpage isolated to cylinder 5
The coolant looks to have flash rusted on the cylinder wall, but was easily removed with a very very mild abrasive. The 'straighter' indication had me mildly concerned about a crack, so I developed a plan to dye-penetrant test the block. Aside from the flash rusting, the cylinders and pistons all looked great with the crosshatching still clearly visible. Good news (I guess?) #1
Thankfully due to the nature of my employment, I had access to excess aerosol based dye penetrant supplies. It's really a simple 4 step process.
1. Clean the surfaces with formula #1. Spray on, let sit long enough to dissolve contaminants, wipe off.
2. Spray penetrant and allow to sit for 10-20 minutes to penetrate into potential indications
3. Wipe off penetrant with a rag damped with cleaner
4. Spray developer and observe.
The developer is a white spray that will pull the penetrant back out of the indication and provide a high degree of contrast to aid in visual detection of said indications.
I wasn't sure how the chemicals would react with the piston or ring surfaces, so I protected them dutifully with paper towel.
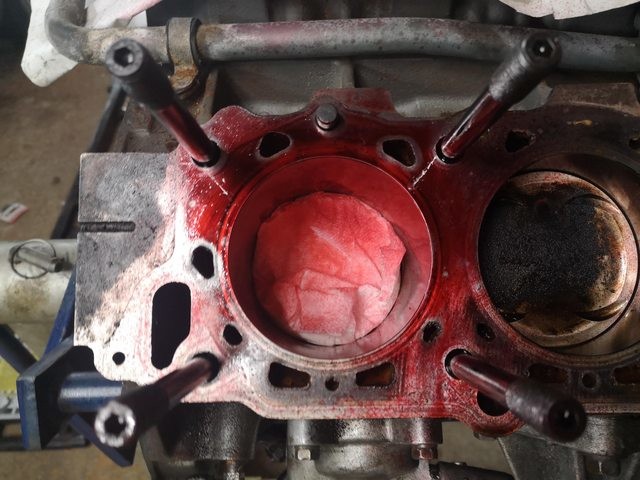
Penetrant applied
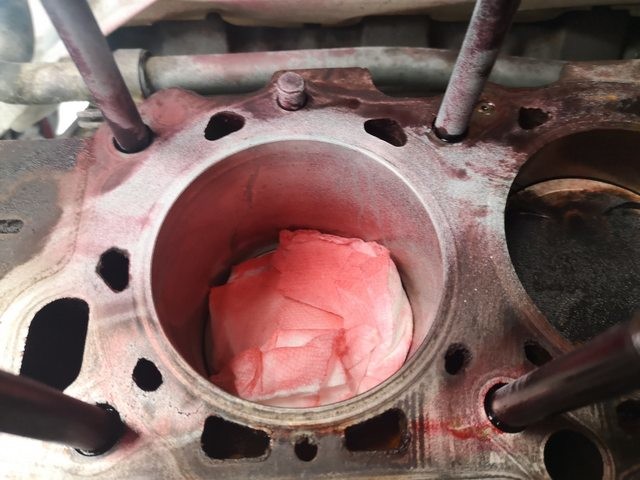
Developer applied. Definitely no cracks
After applying the penetrant and developer, it was clear that the indications were surface rust only, the walls and top of the cylinder were indication free. Good news #2!