You must be logged in to rate content!
5 minute(s) of a 731 minute read
4-24-2011
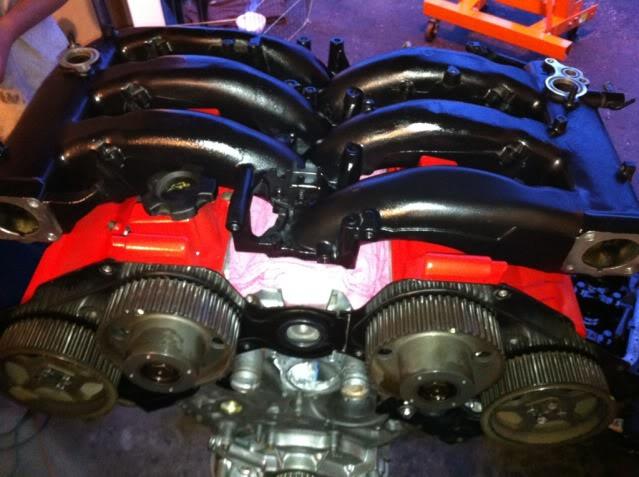
Lots of progress this weekend. Friday was a crappy day, rainy and cold. Didn't get a whole lot done; lots of prep-work for the new motor. My girlfriend Mal took the day off to help and took a wire wheel to the plenum and accessories to clean them up for paint, and we cleaned up the oil pan and other boring work. We probably got some other small stuff done but I can't really think of it.
Saturday Pete stopped by and forced us to get some real work done. We got started bright and early at 9am and we pulled the old motor completely apart so we wouldn't have to look at it anymore.
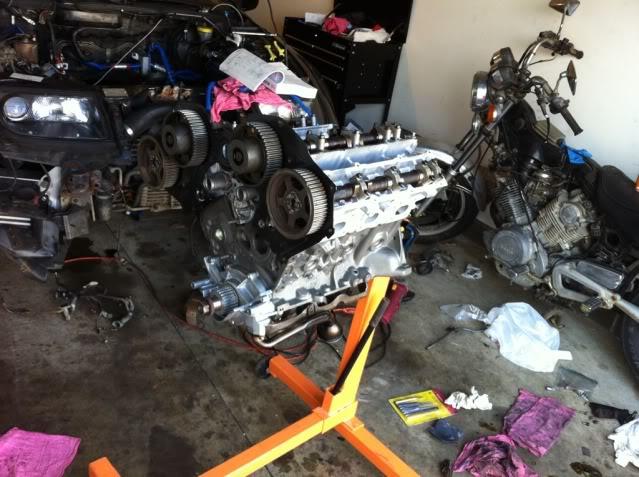
With Pete's help we didn't really have any hiccups building the heads. They went together pretty easily and we got lucky with our exhaust cam placement (forgot to look for the CAS senor). We had no issues building the heads or putting them onto the motor. In under 5 hours we got the old motor ripped apart completely and the heads assembled and torqued onto the new motor. Pete left a little after 1, and we took a break for lunch and to take the dog to the beach.
After a short adventure and a trip to Lowes for some clean new replacement bolts, we got the fresh new painted valvecovers installed with brand new gaskets and fresh RTV. We flipped the block over and re-installed the old oilpan and new rear main seal (all freshy cleaned of course) with brand new grade 8.8 hardware. We even had time to take a few pictures to see what everything was going to look like.
We're almost there! Sorta!
Mal cleaning the plenum. Yay for wire wheels!

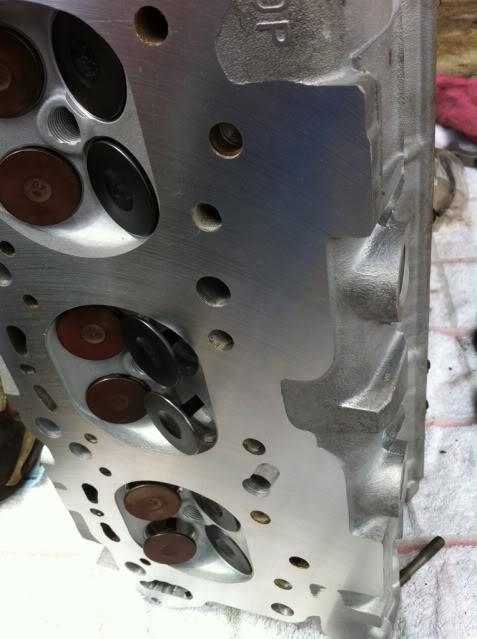
Fresh heads w/ valve job!
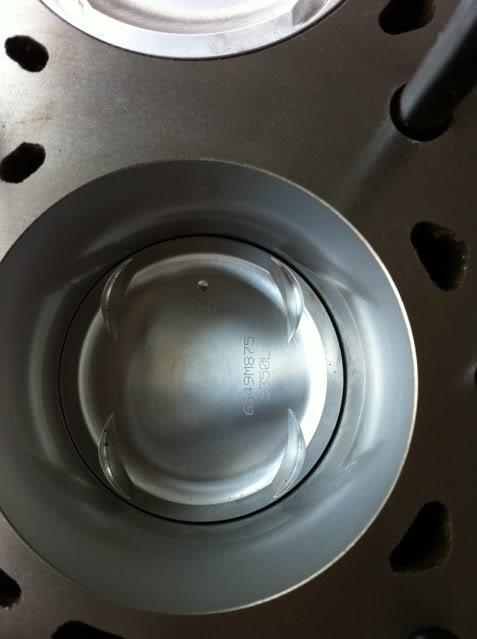
Smooth bore :-)
First head on!
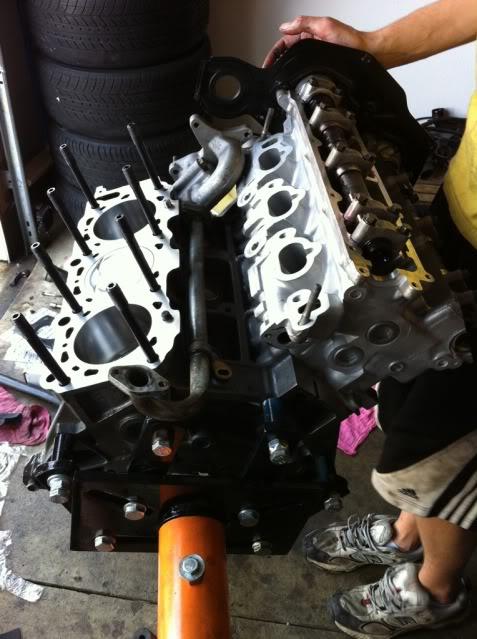
Both heads on:
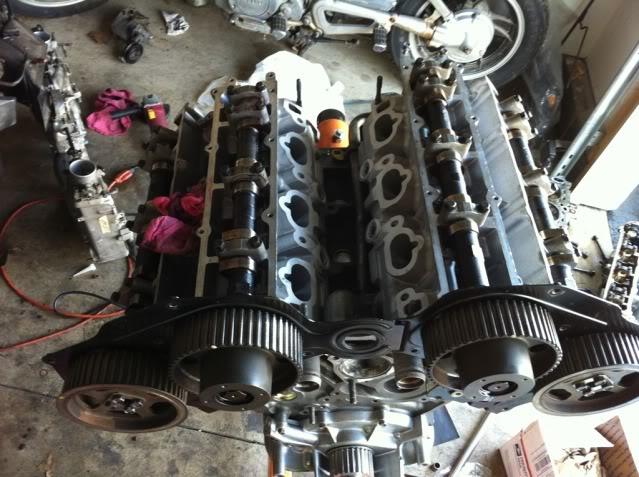
Our work area
Mock up. I think I'm gonna like this color scheme
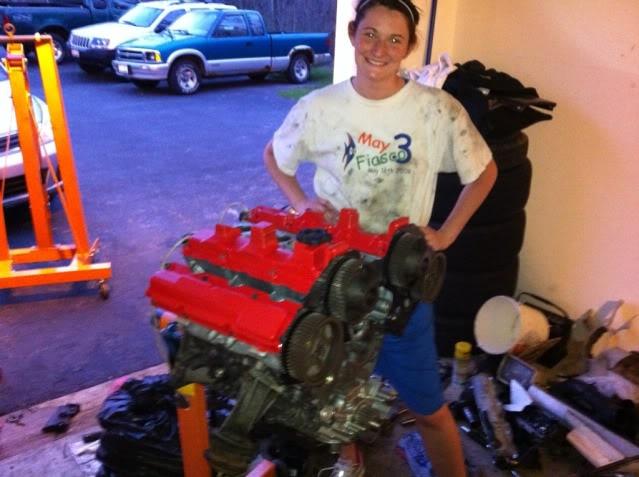
My fantastic assistant/girlfriend (I have to say that shes watching me type this)
5/10/2011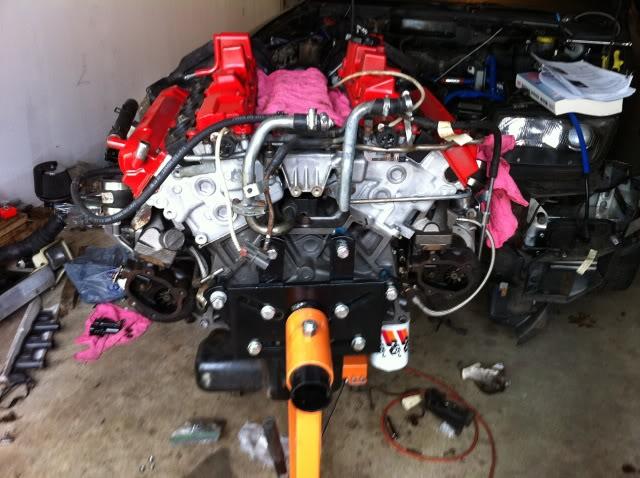
Some good some bad on Saturday.
I was excited to get my timing belt on and finish all of the external work on the motor so it would be ready to drop back in. To make a very long story short, I think the threads on my rameyZ idler studs were messed up. They looked kinda funny before I installed them, but I thought maybe it could just be me. I heard they were hard to install, but...I don't think they were supposed to be this difficult. They chewed up the threads in my block and my lower intake. Now I have to wait for OEM studs to come in and I'll be using a helicoil or some sort of insert to install the OEM studs. What a setback :-/
While I was cursing up a storm on the front of the block, my girlfriend installed my exhaust manifold studs along with the manifolds themselves. She wasn't feeling too hot so I took over and got both turbos and associated hardware on by myself in just about 90 minutes. I ordered stainless steel oil feed lines and didn't find out until I talked to Coz yesterday that the SHORT stainless steel oil feed line replaces the LONG oem line and vice versa for the LONG stainless steel oil feed line. So I have to redo that work tonight and hope I can get the oil lines off with the turbos still installed.
Also, (I should have taken a picture) the oil return tubes don't line up that well with the oil pan. Is that normal? Should I bend them back into place? I mean they're almost 1/2" off. I have a feeling that could cause some nasty oil leaks if I ignore it and just try to stretch the silicone line between the two.
All in all I'm glad the turbos are installed, but I've still got to do all of the timing hardware. The car won't be ready for this weekends road rally. But the most important thing is to make sure everything is done right so I'm not going to kick myself too much. Heater core install is tonight! I haven't had AC or heat since I bought this car. I'm pulling out all the stops! 