You must be logged in to rate content!
4 minute(s) of a 126 minute read
12-23-2015
Initial thoughts on this oil pan:
Well thought out.
Welded sheet aluminum, dent vs break.
Baffles look like they will be very effective.
The anodizing looks good.
Welds look good.
Negatives:
Needed some die grinder touch up for fitment. Not entirely a big deal considering this is the first batch.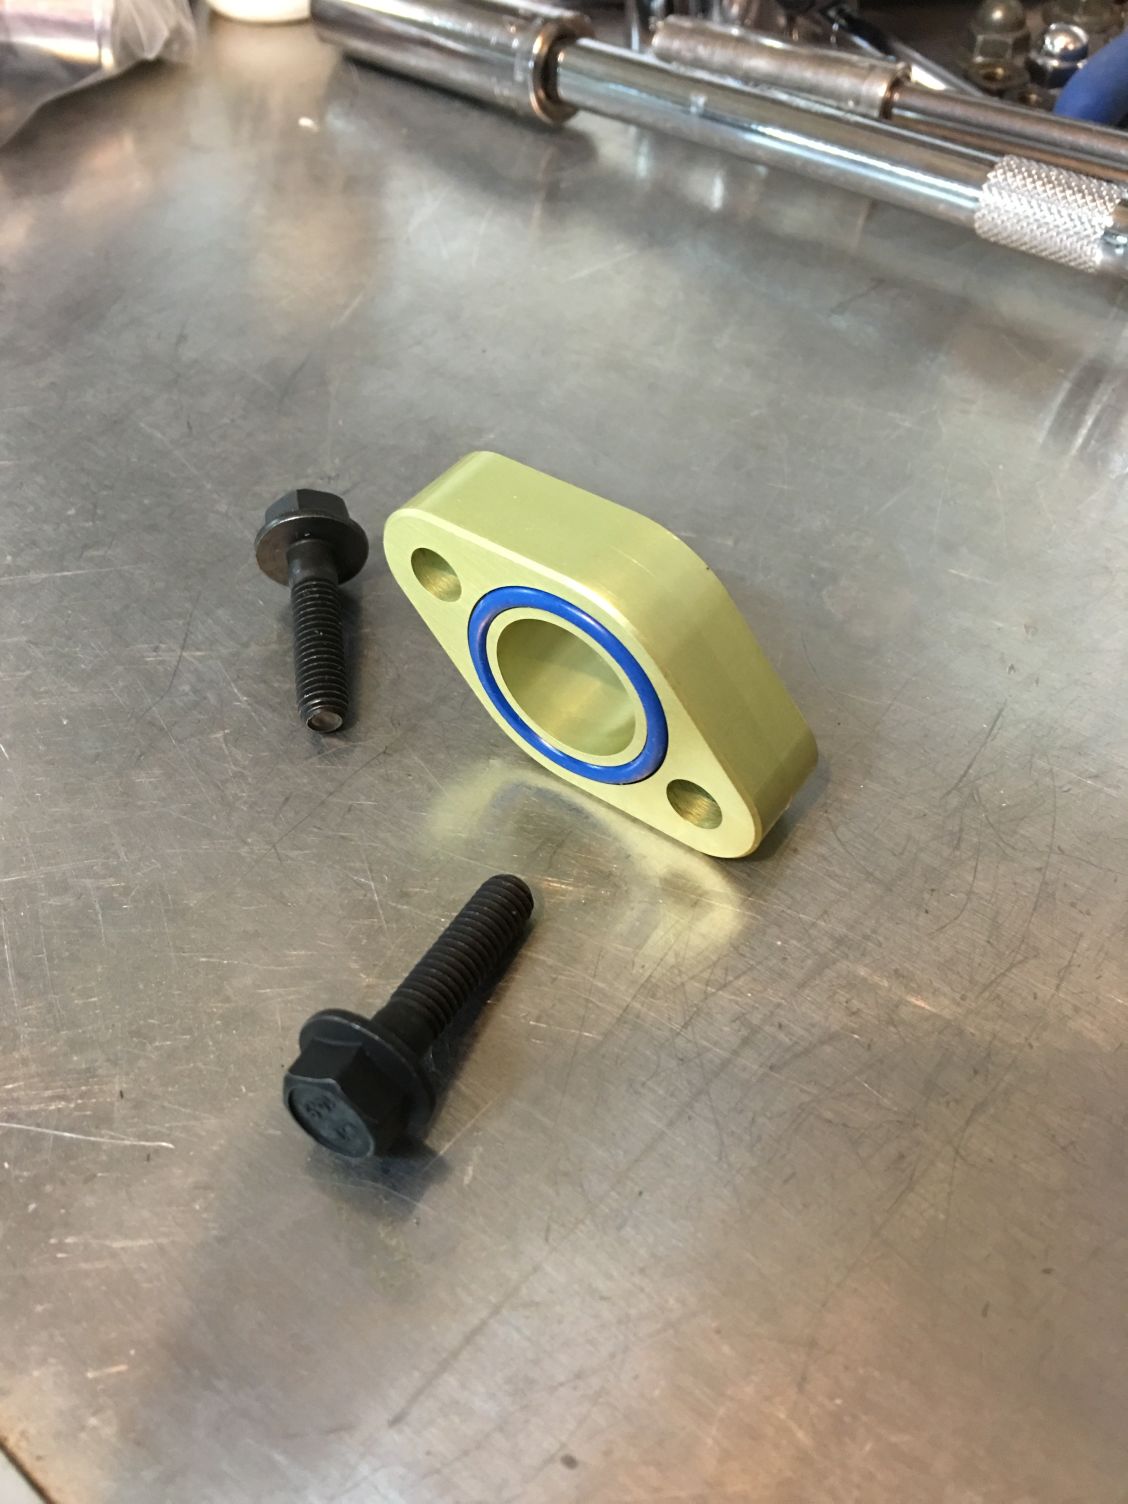
The included spacer for the oil pickup. O rings on both sides.
Installed with a bit of loctite. Don't want this to come loose.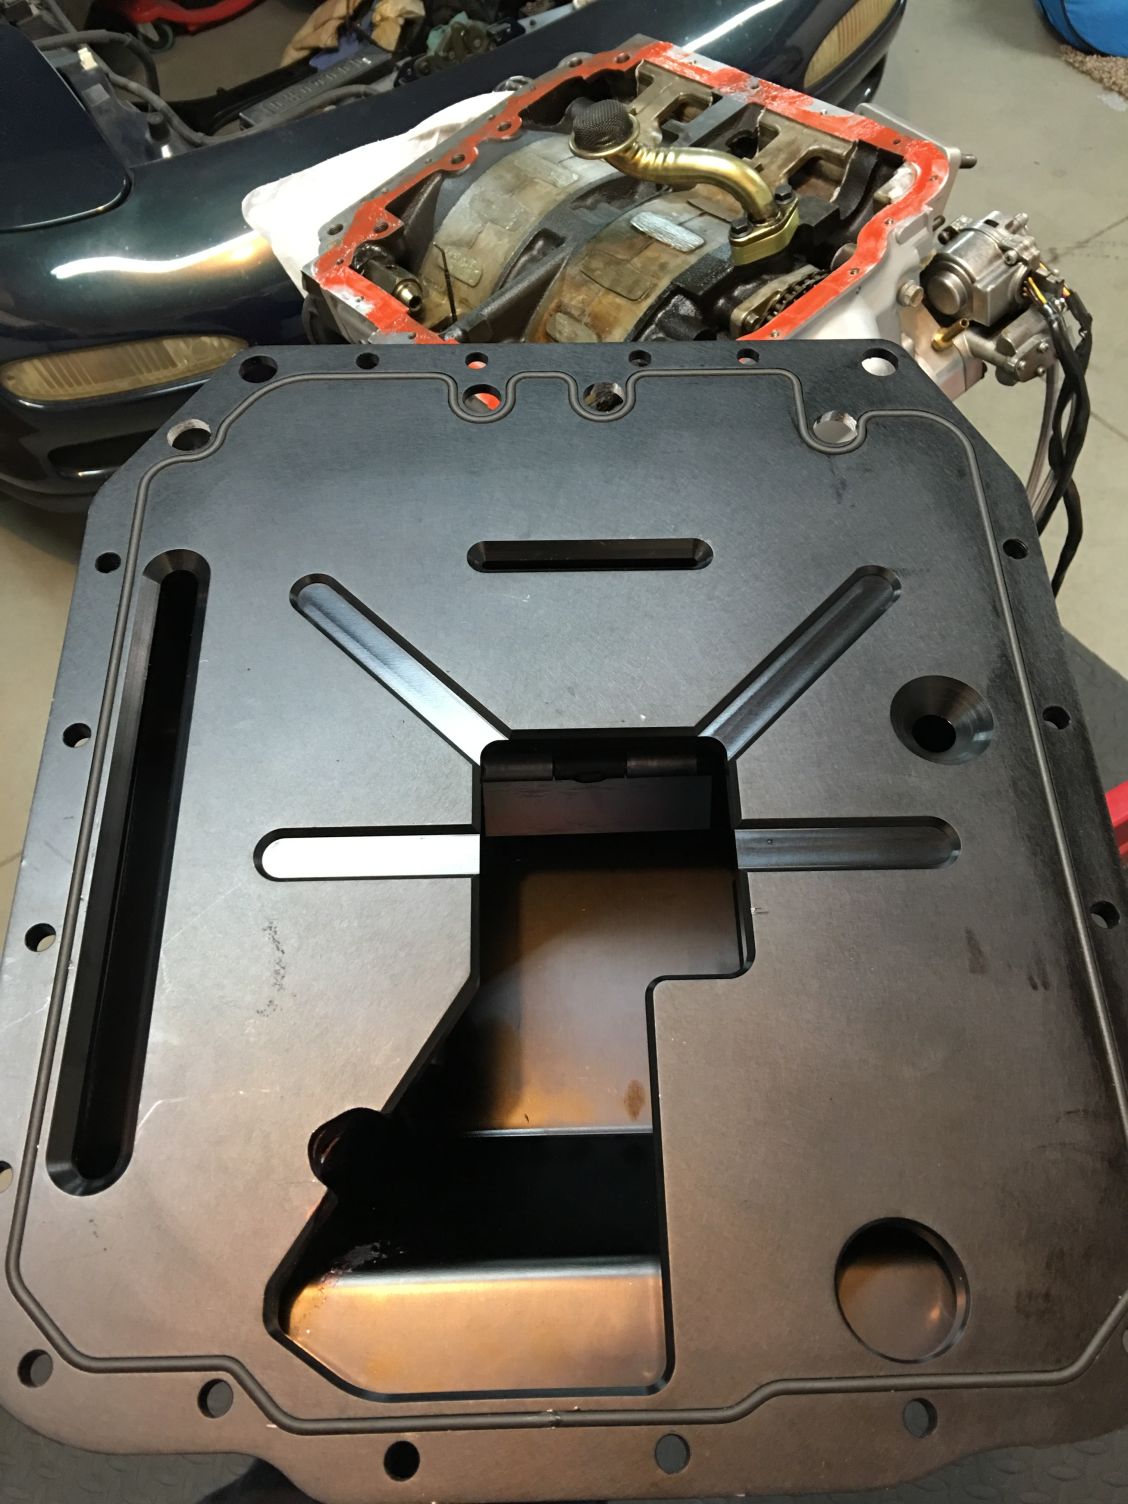
Can barely make out the trap doors. There are three of them to maximize oil in the pickup area. O-ring is pre-installed in the pan for easy bolt up.
A little bit of pull from the weld. This should come down flat with even and stepped torquing. Speaking with Len, they mounted these to a 3/4" fixture to prevent warping. So the minor amount left over wasn't a problem later.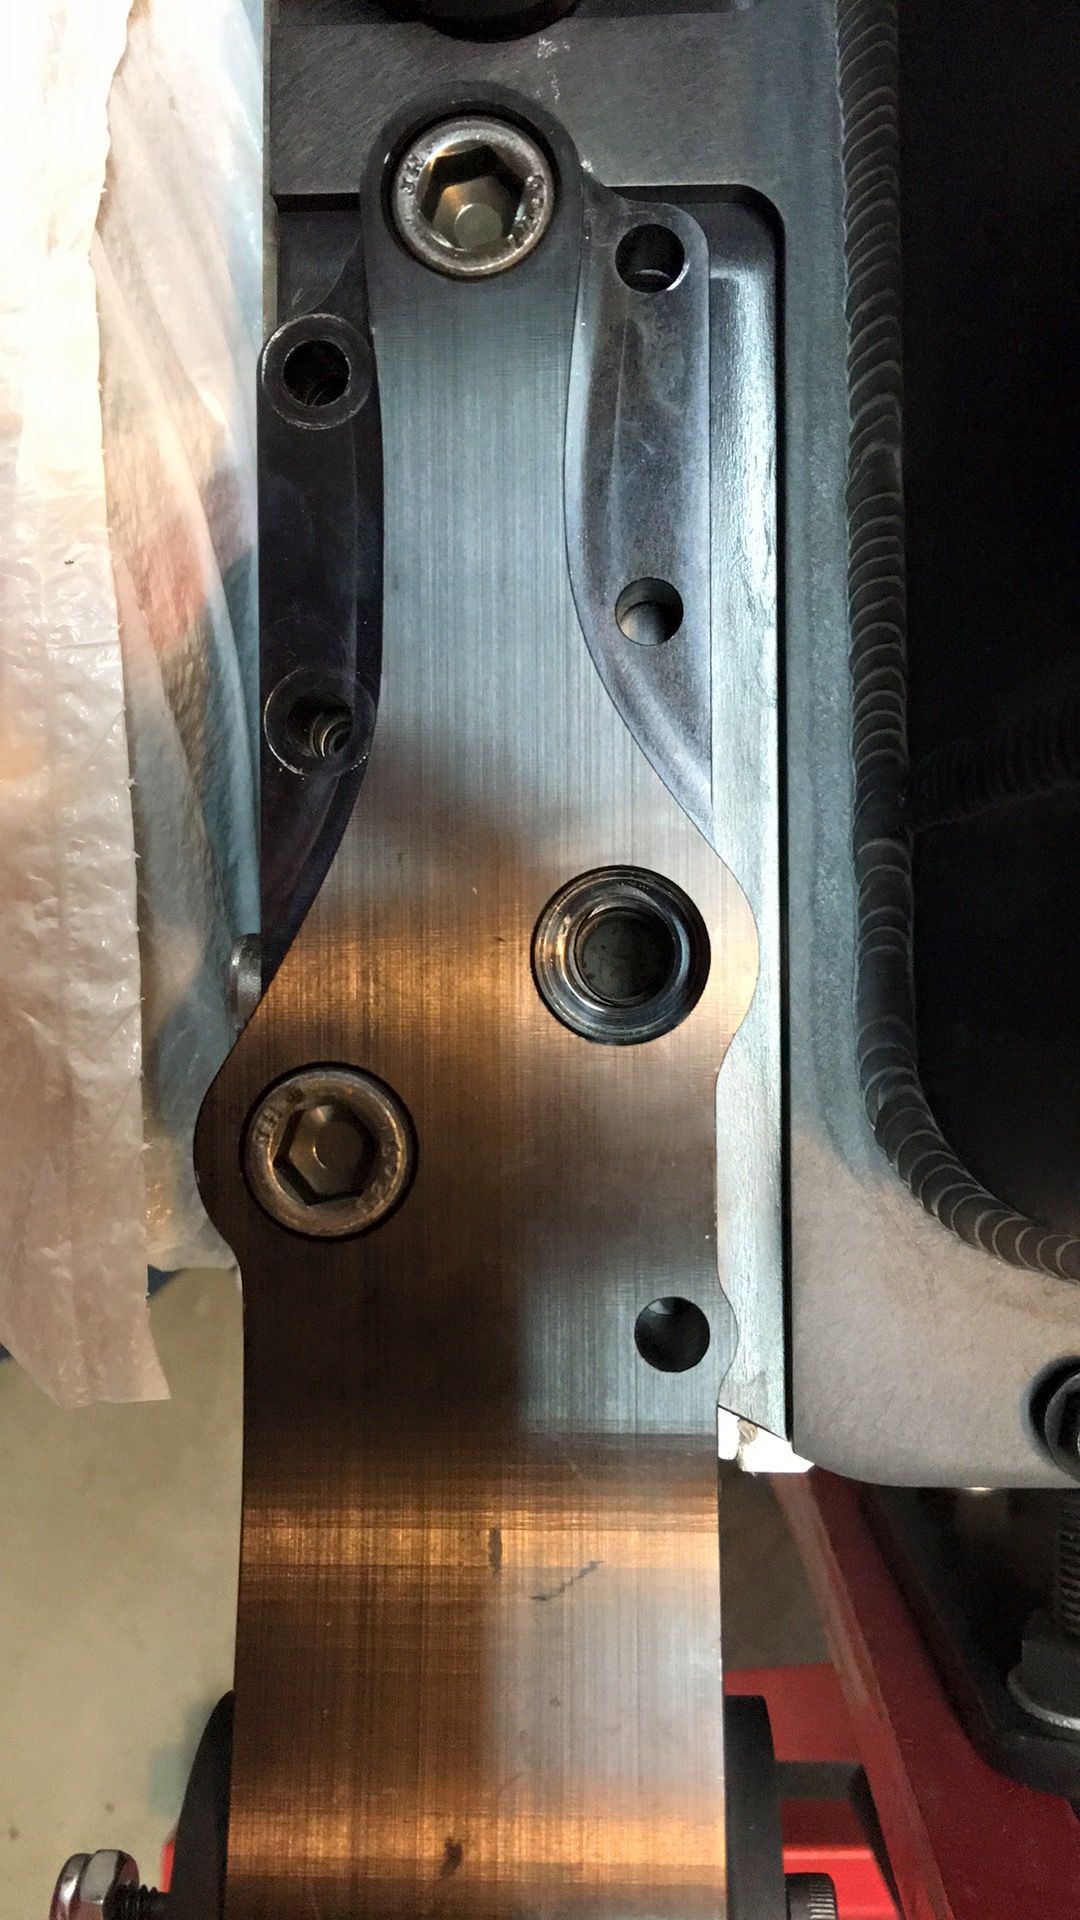
There was some misalignment the required a die grinder to oval out a couple of the holes on the engine mount bolt locations. This could be due to slight variations in different irons or because of my metal front cover gasket. Or a combination of slight variances.During development of the IRP Filler Neck, we learned that the spacing of the bolts is different between 93 and 95 models, so anything is possible.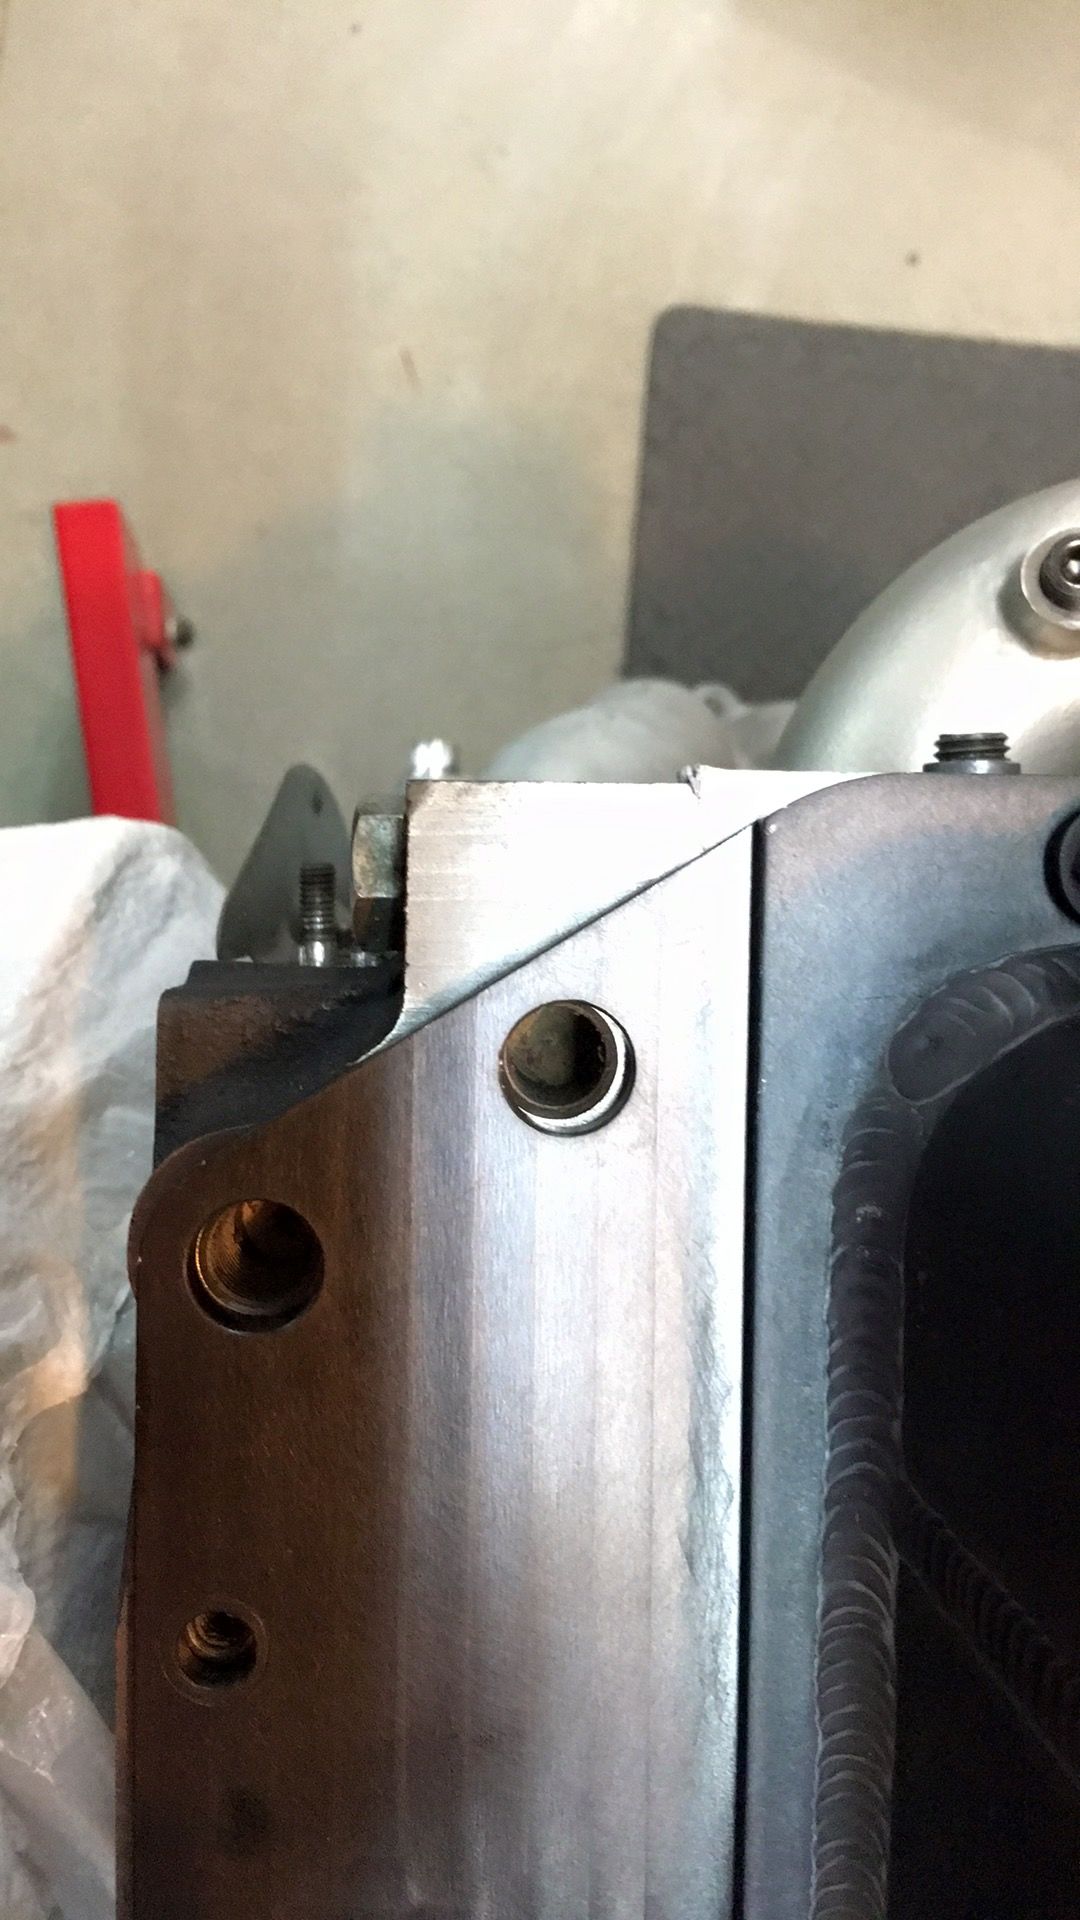
Just another shot of what needed to move a little. After breaking out the die grinder, everything fit. I ended up having to oval out three of the holes.If yours requires this, don't get crazy, it is just aluminum and I ended up just barely breaking through into the o-ring land. Luckily it is nothing major and won't negatively affect the sealing properties.
Thanks man! I am very happy I got in on the original run.
The oil pan install went pretty straight forward once the holes were clearanced. I swapped out the hardware for shiny stuff.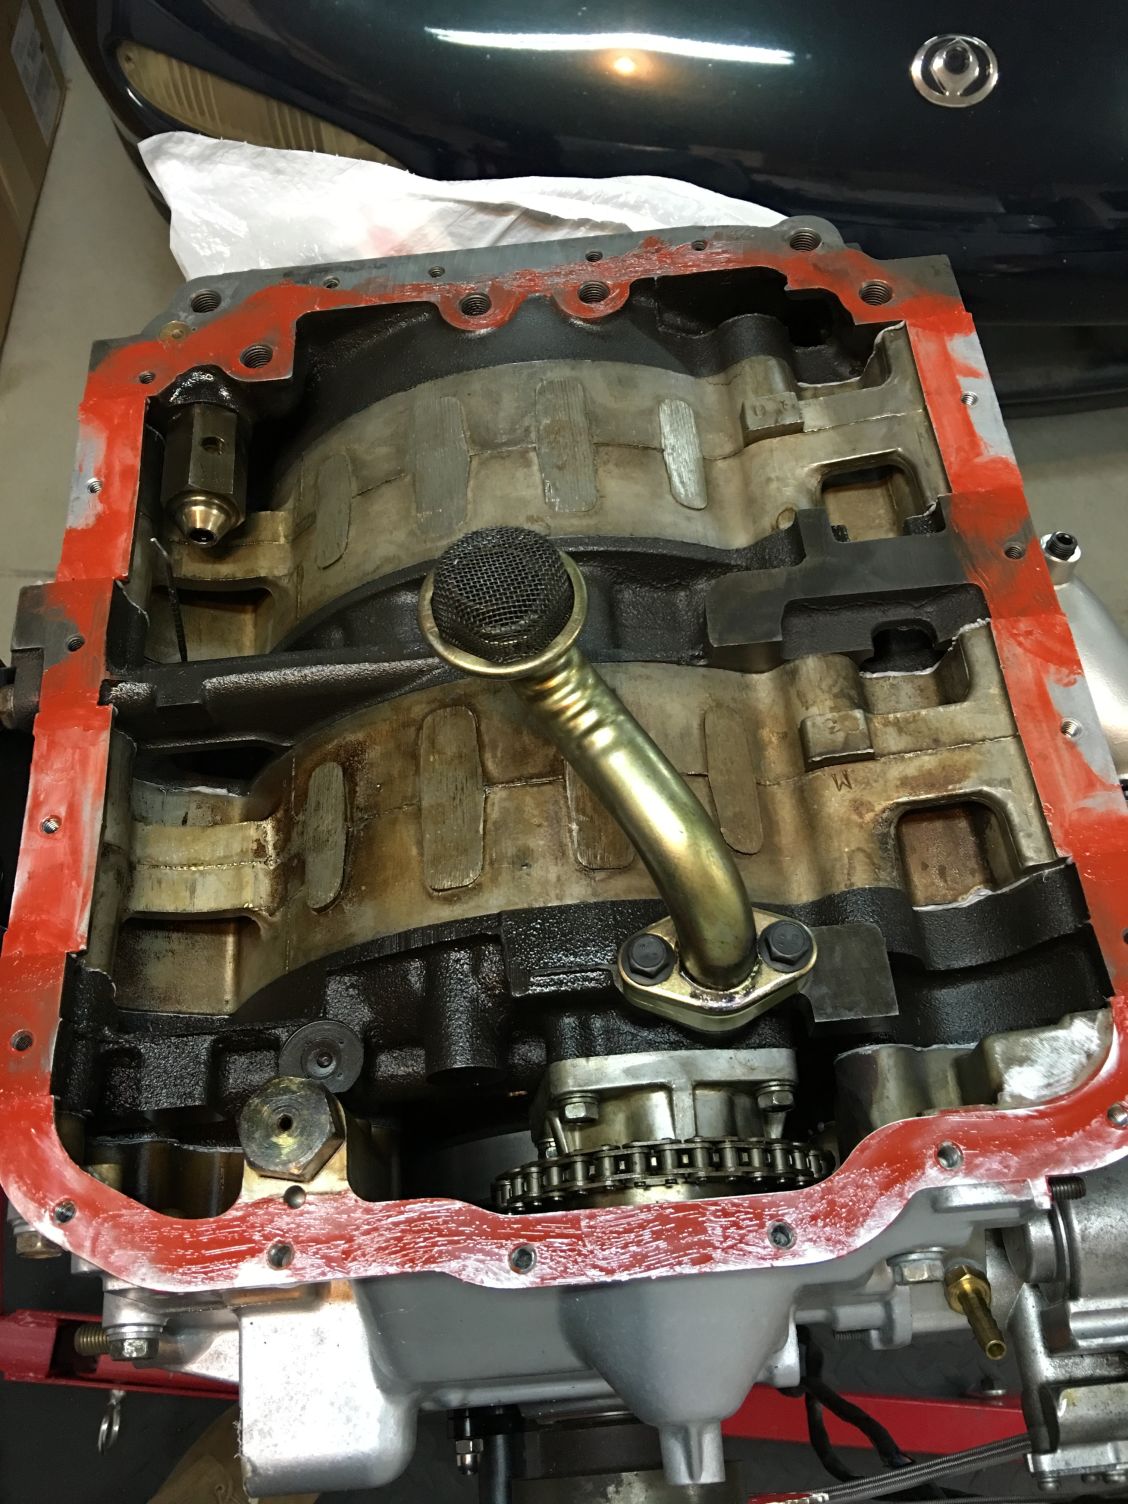
I used a thin bit of silicon gasket maker with a little extra at the joints between the housings and plates.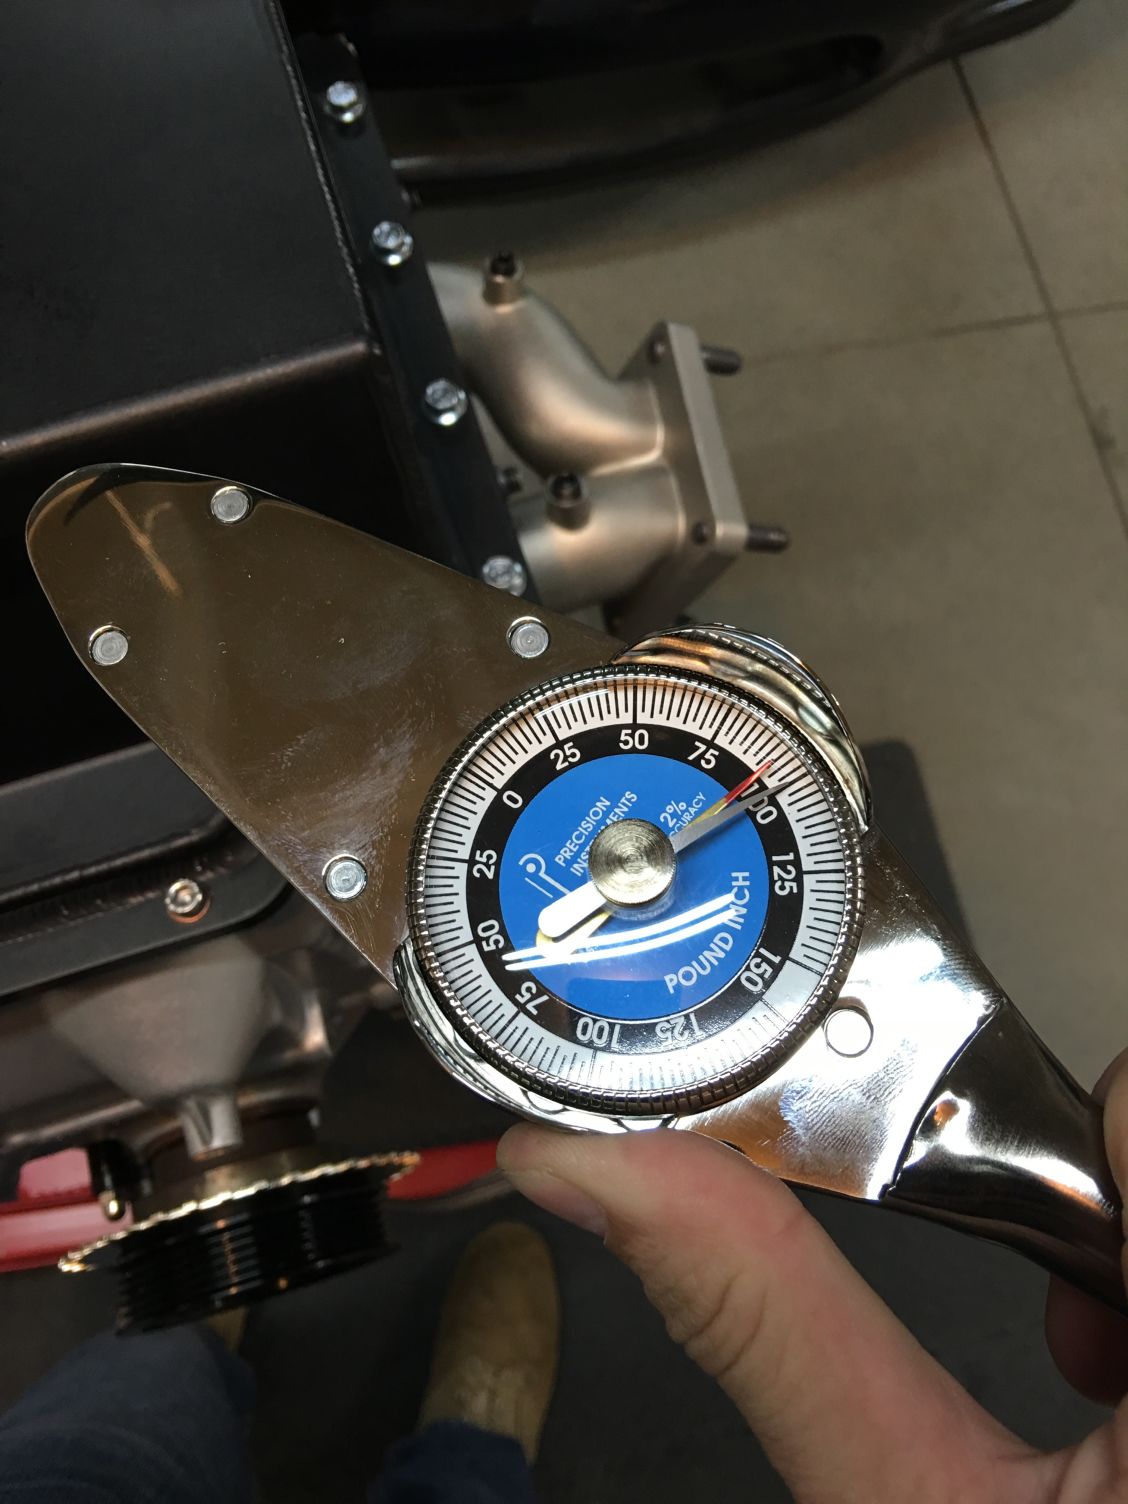
Used blue loctite on the bolts and tried to do a 'star' pattern with multiple steps up to the final torque value of 100 in/lbs. Also, these precision instruments torque wrenches are nice!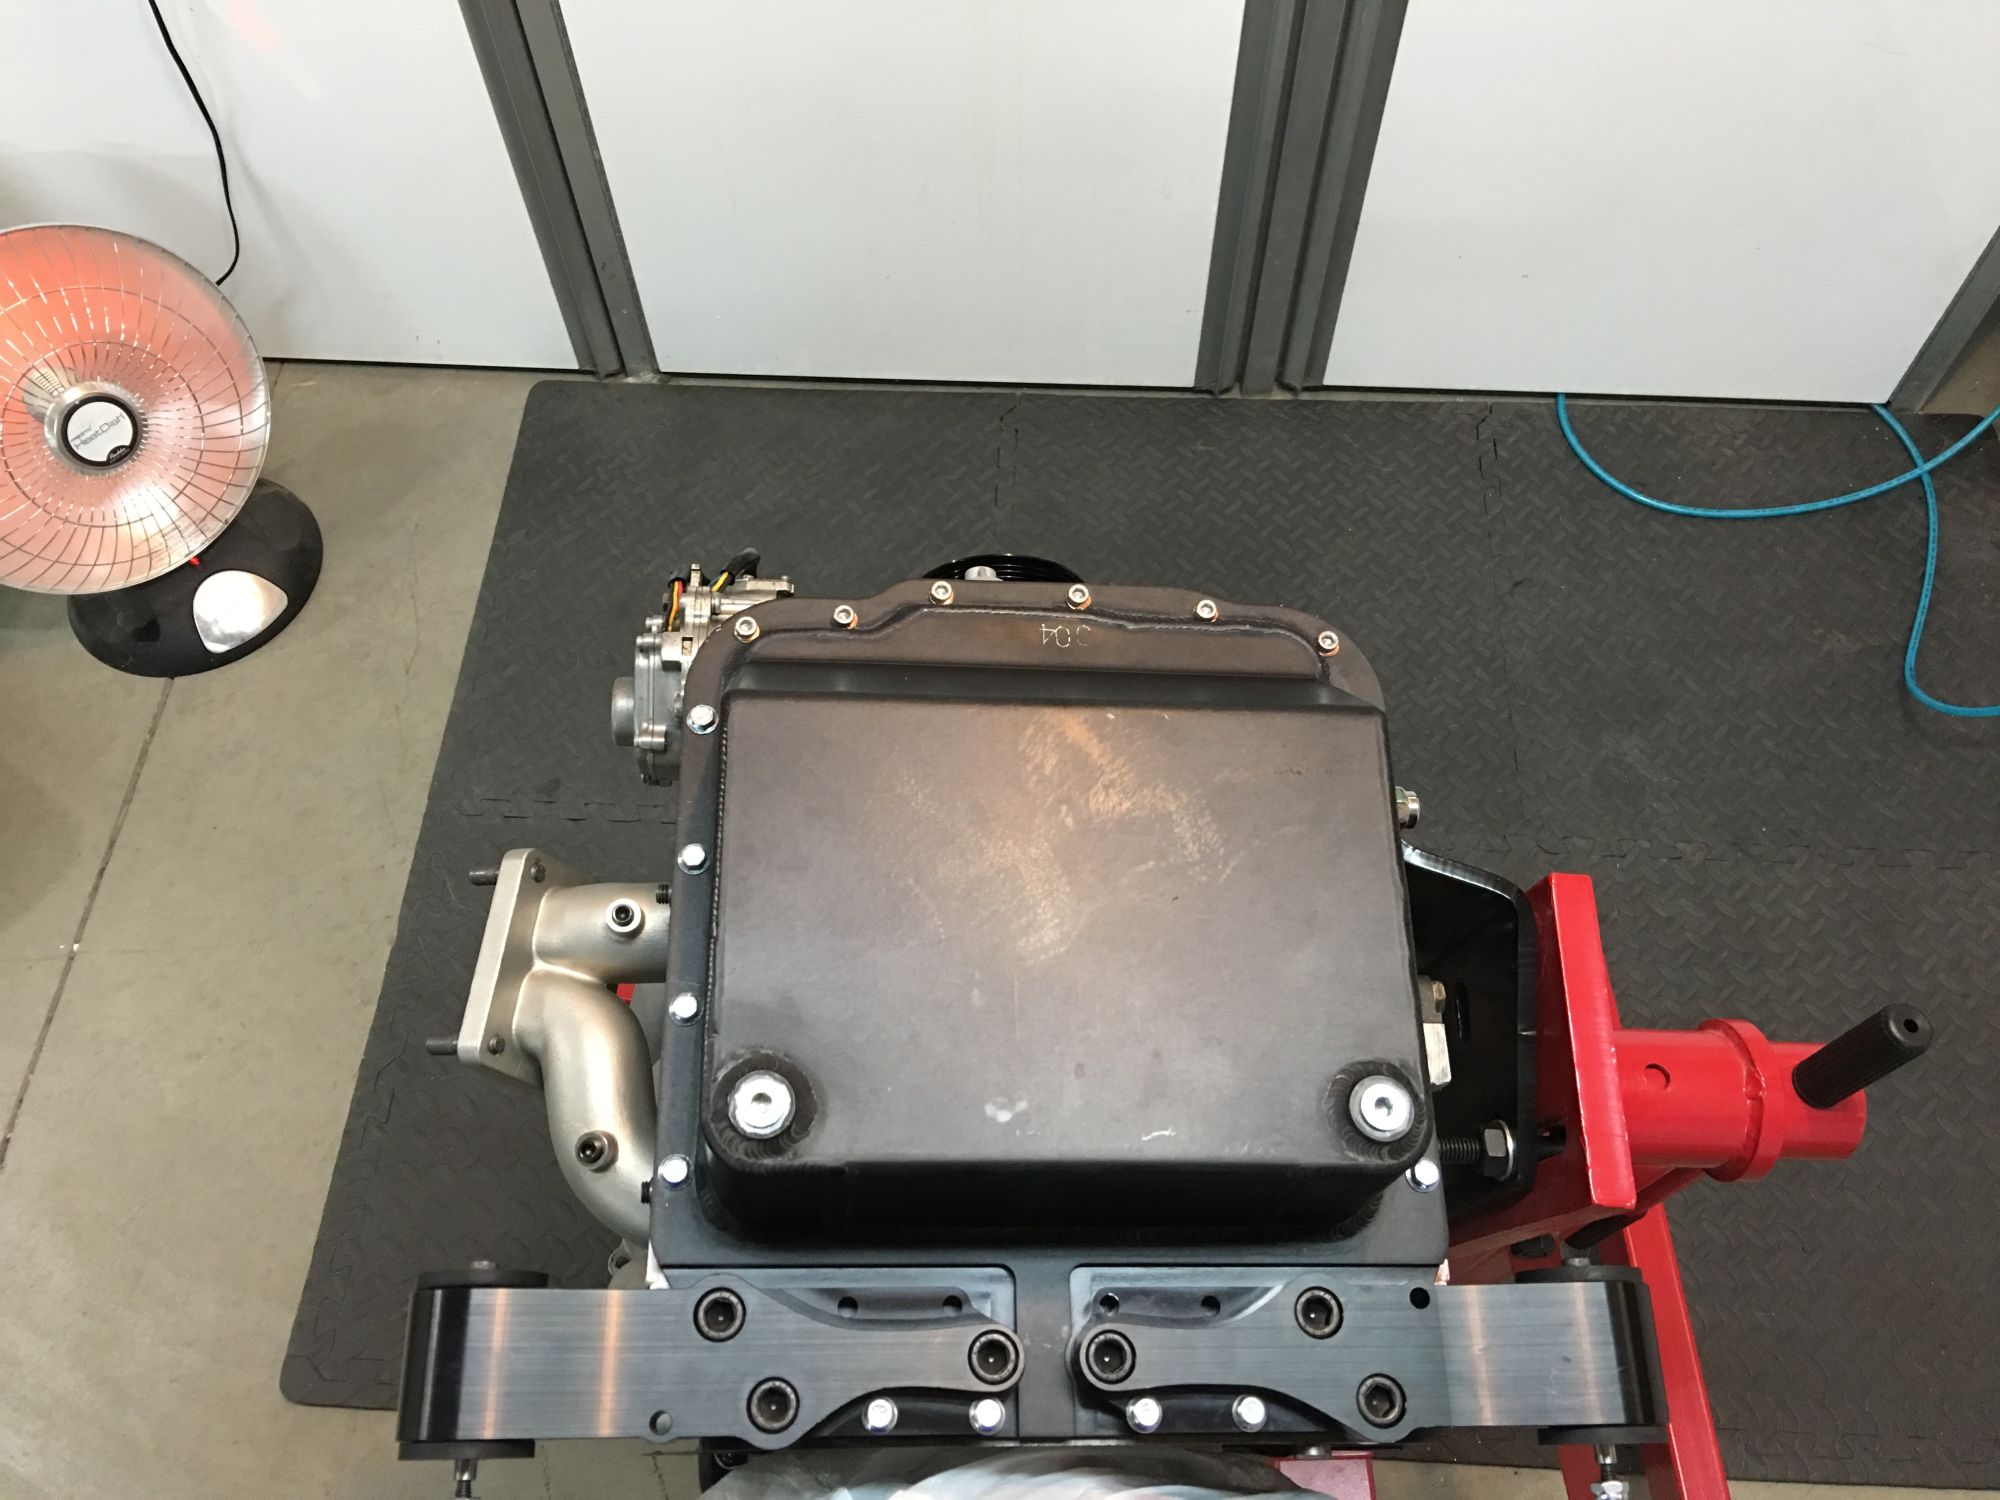
Engine mounts torqued down as well to 68 ft/lbs, with blue loctite as well.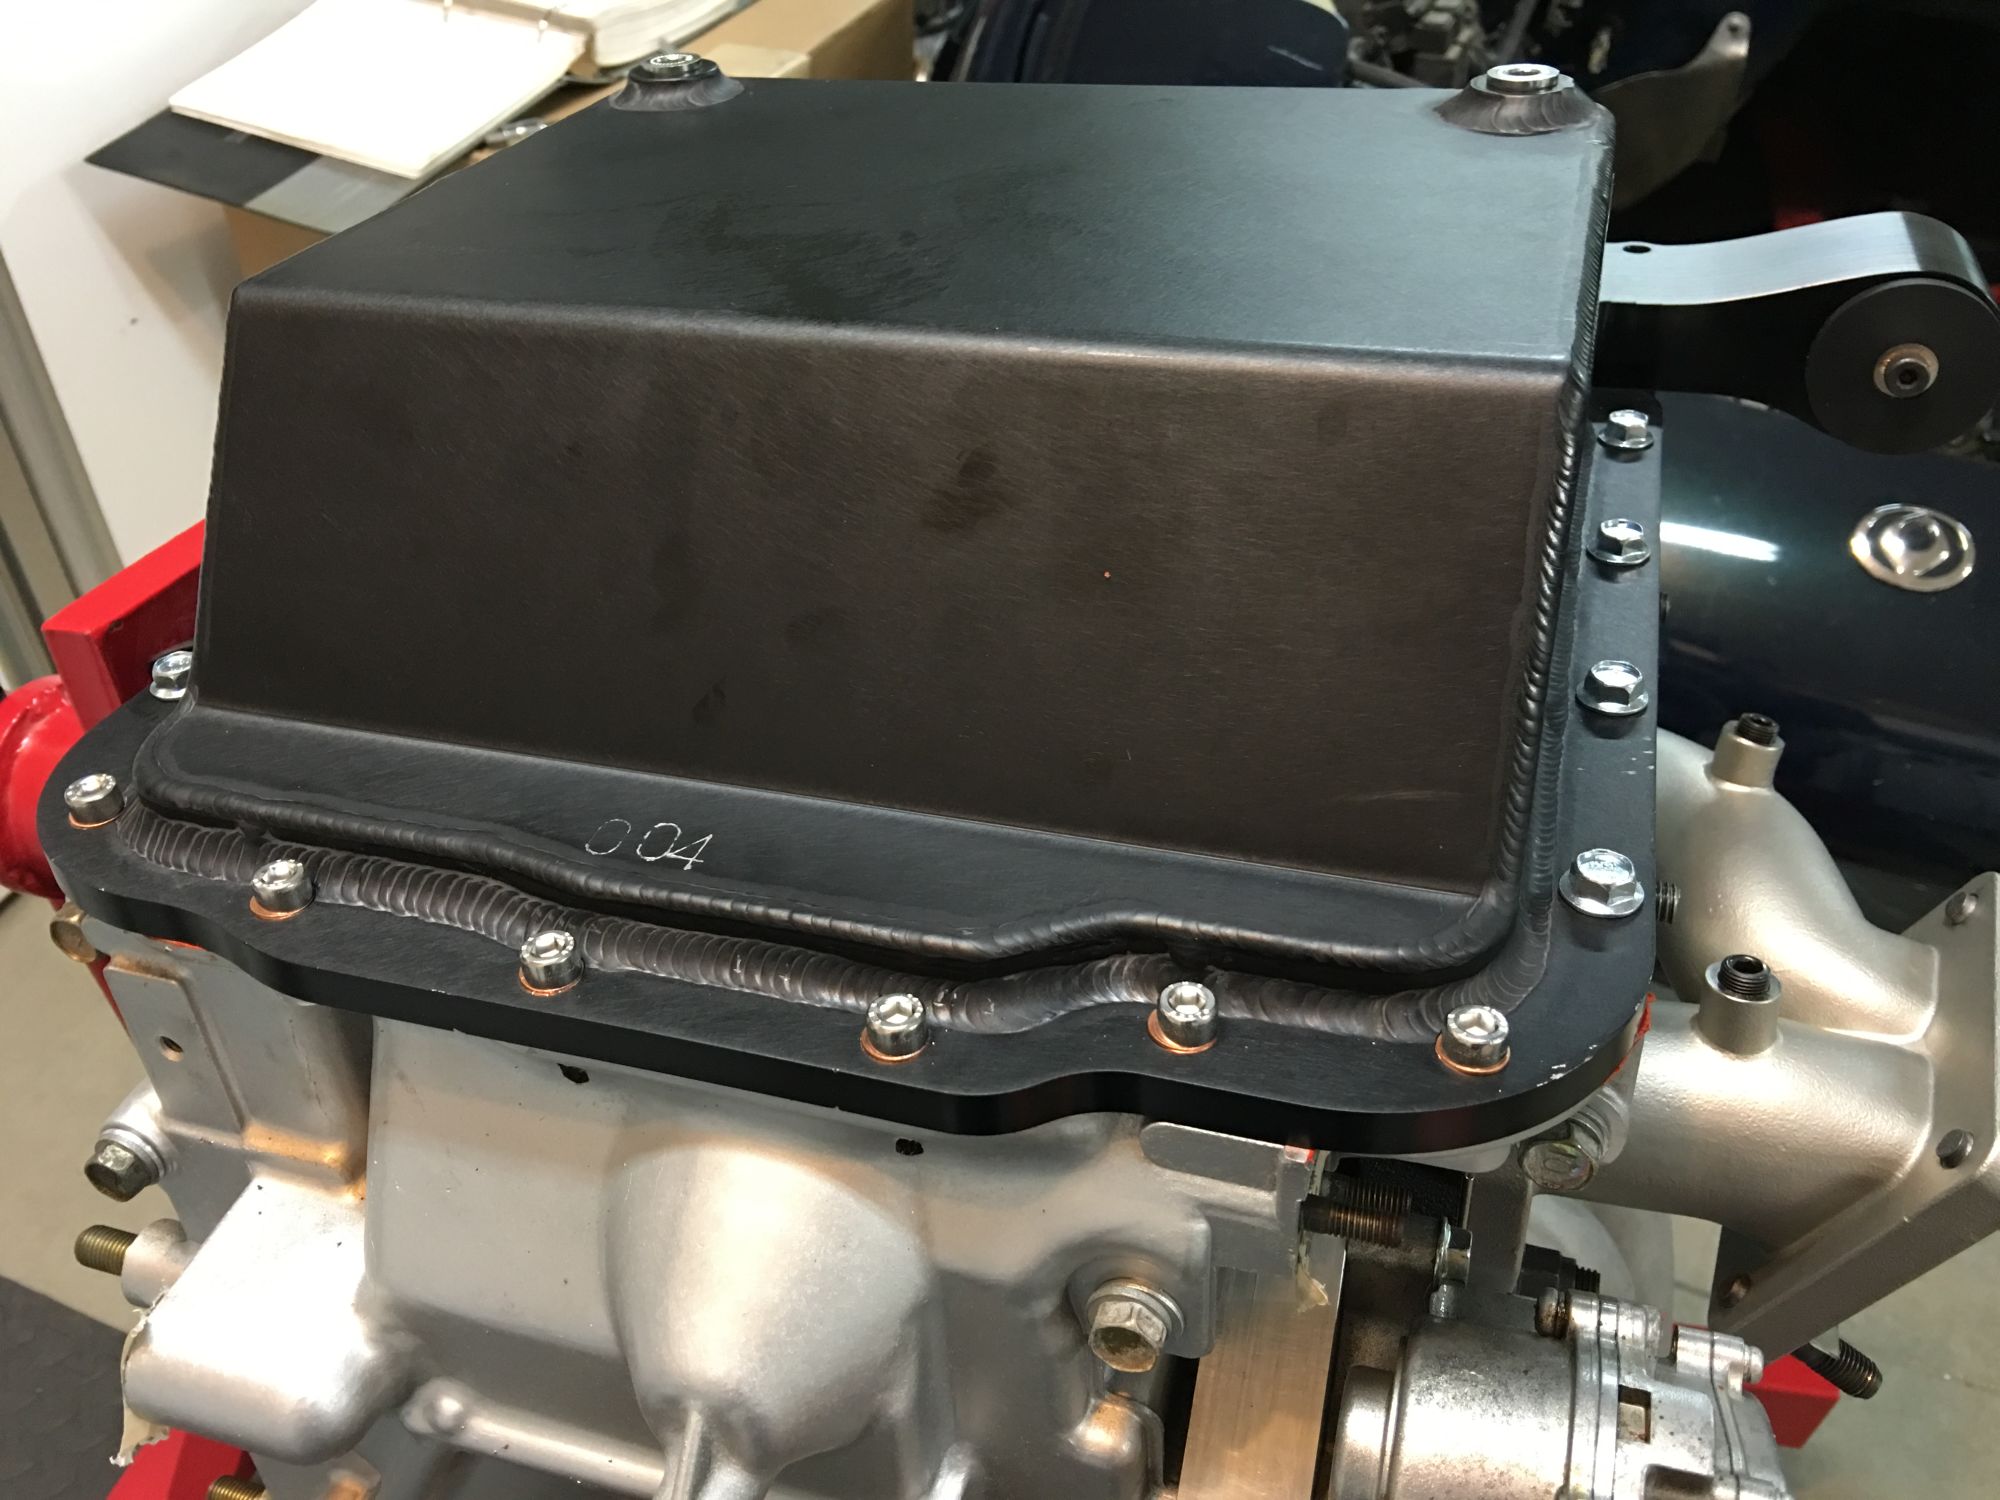
From six bolts are Allen head. There is a relief machined into the lip of the pan, however, since the alignment was ever so slightly off, I used copper washers to allow for a more even surface tension at the bolt head.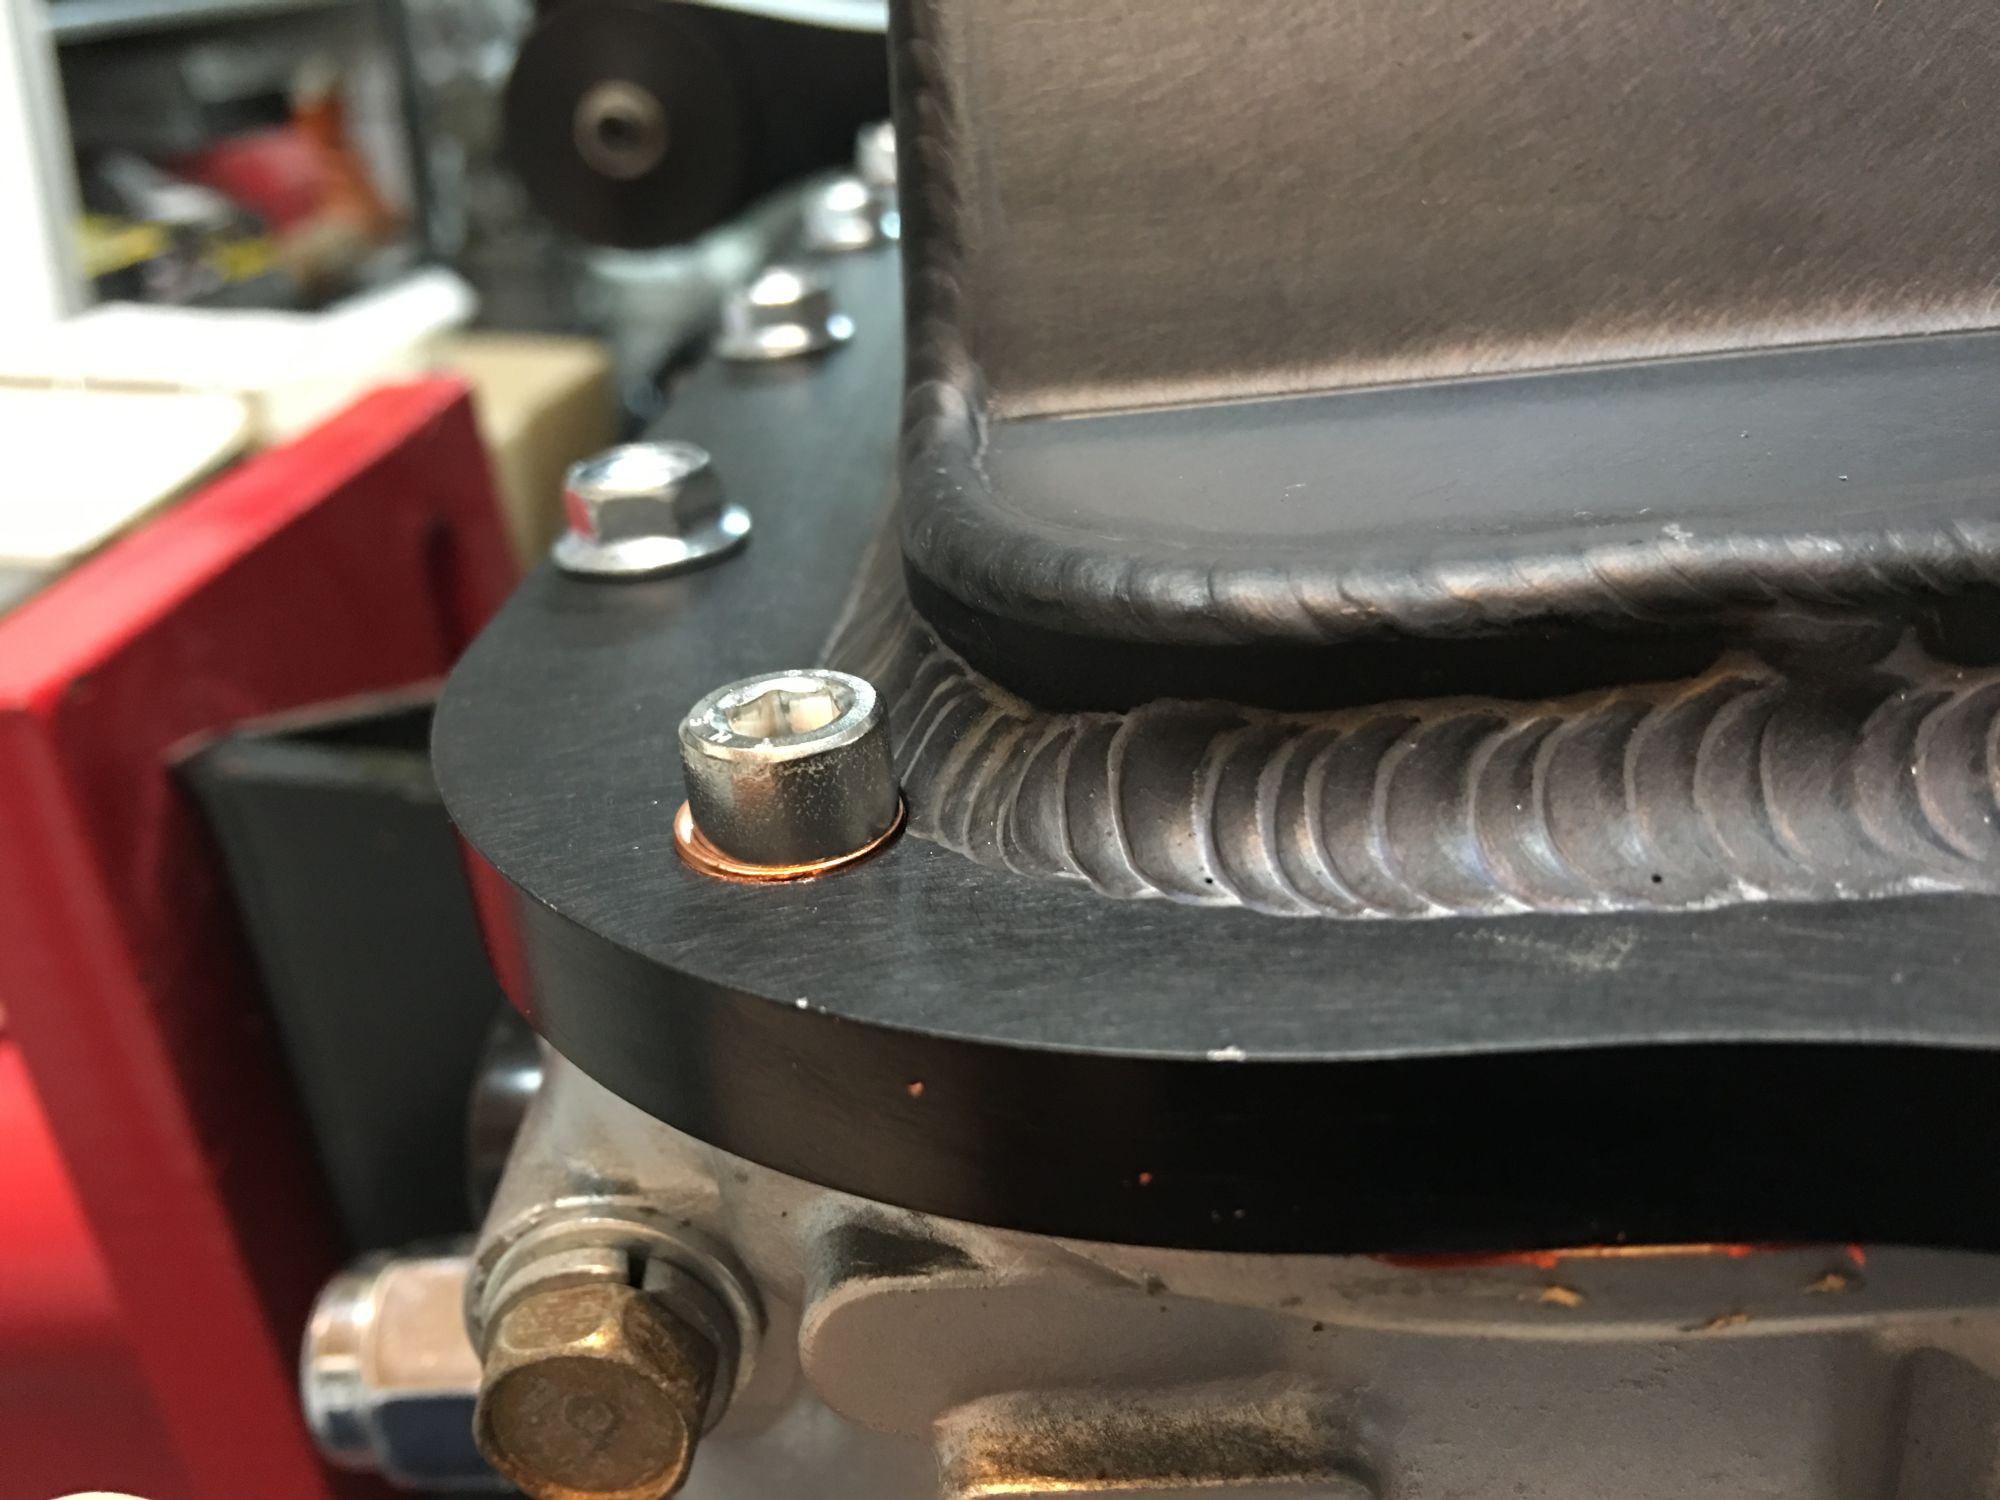
Up close on one of the copper washers. You can see the relief machined into the weld for the bolt to have a flat mating surface. Definitely a well planned detail.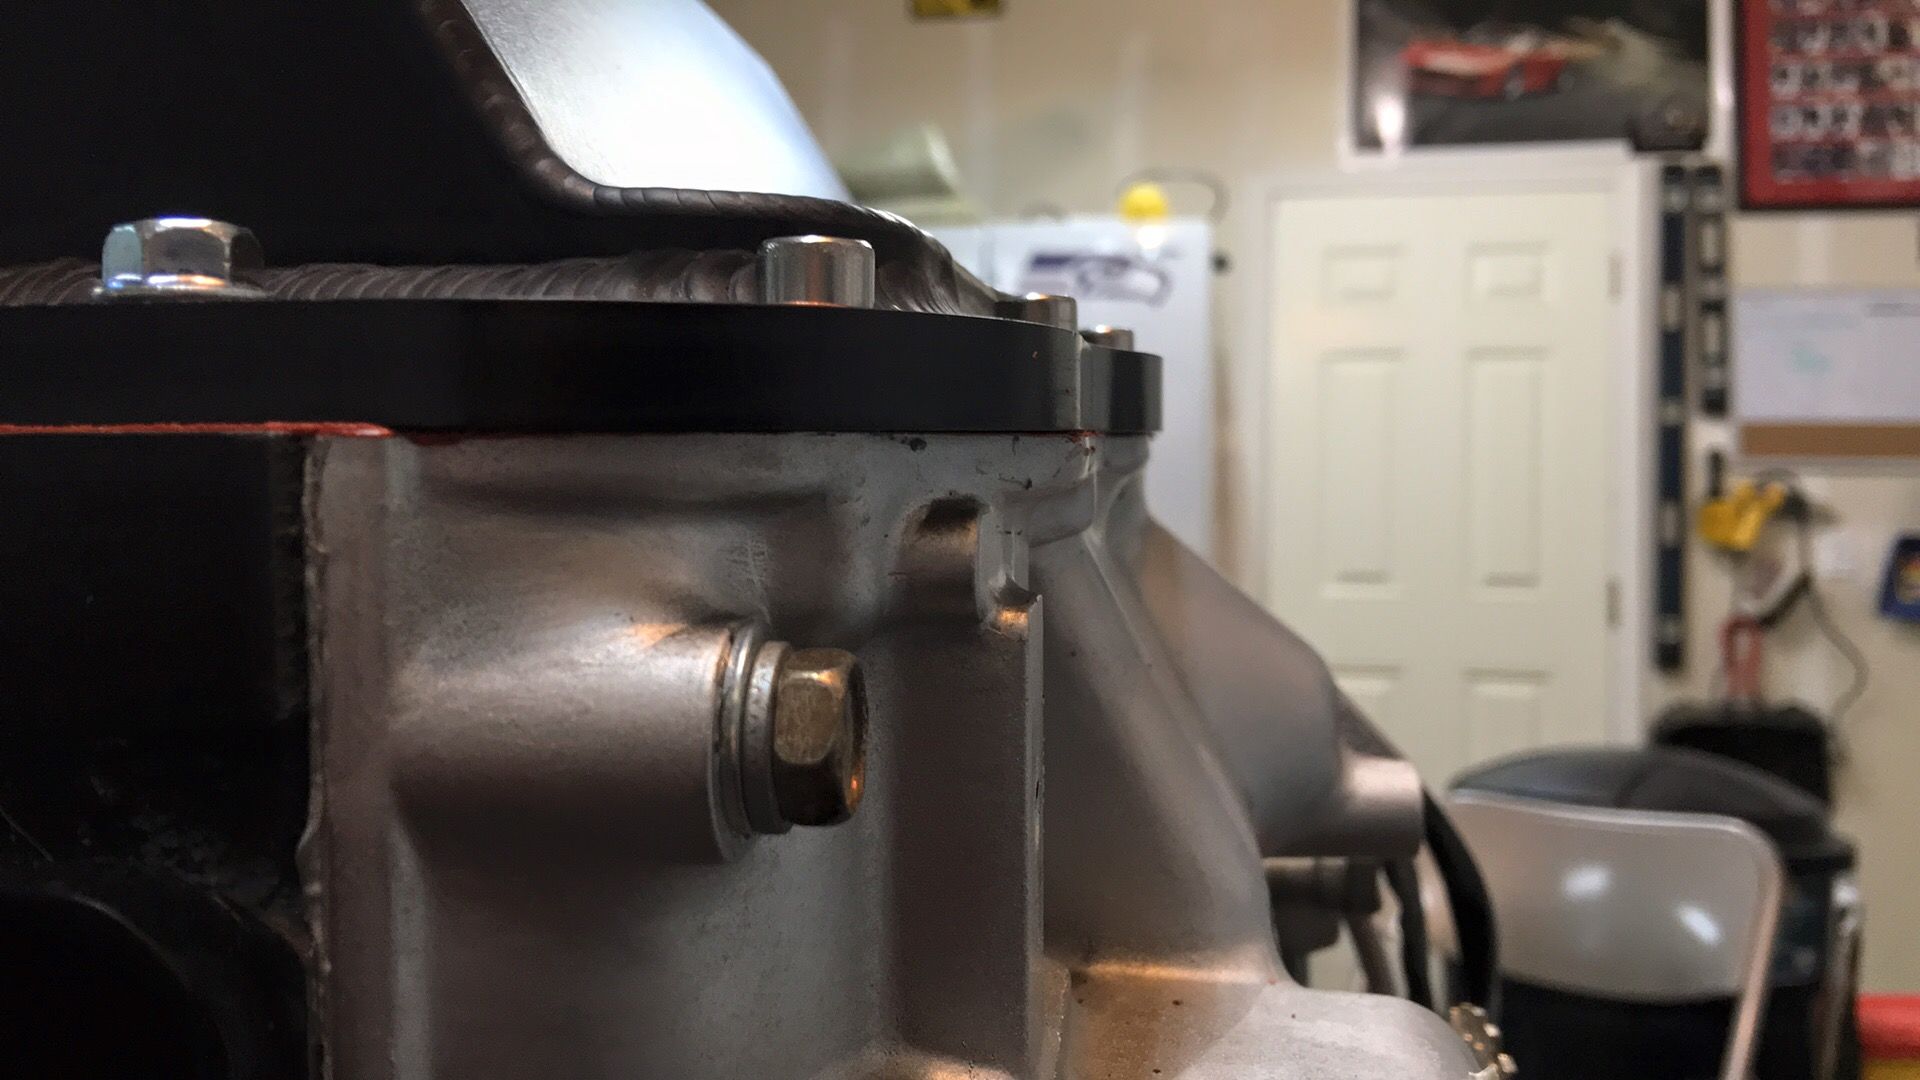
Here is the lip pulled flat. I used numerous steps in getting the torque up to 100 in/lbs.
Nice!
Posted by Diggymart on 5/8/20 @ 5:45:12 PM