You must be logged in to rate content!
6 minute(s) of a 297 minute read
9-3-2008
swung by the car tonight and picked up the camera. Here are a couple of the pics I took this past weekend.
Took the cover off, and started installing components. First up was the manifold, wastegate, and turbo to see if all my hard work actually paid off.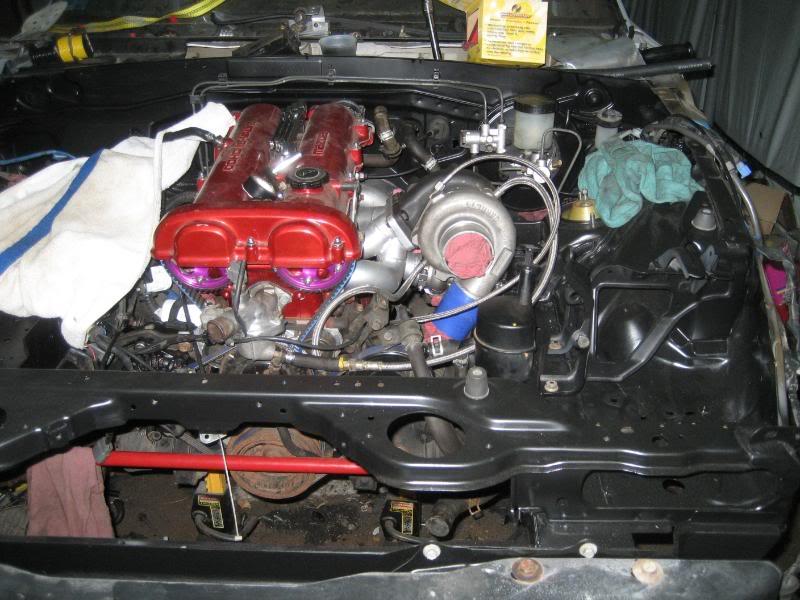
Oh and it sure did! 
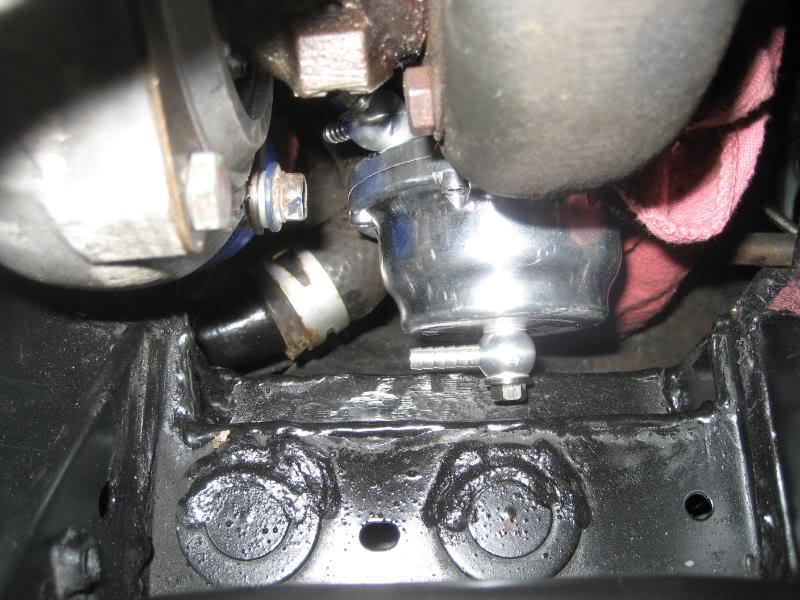
The wastegate will sit about 1" further back as the engine right now is leaning forward a bit. I'm pleased with how it came out though. Here's a shot from up front.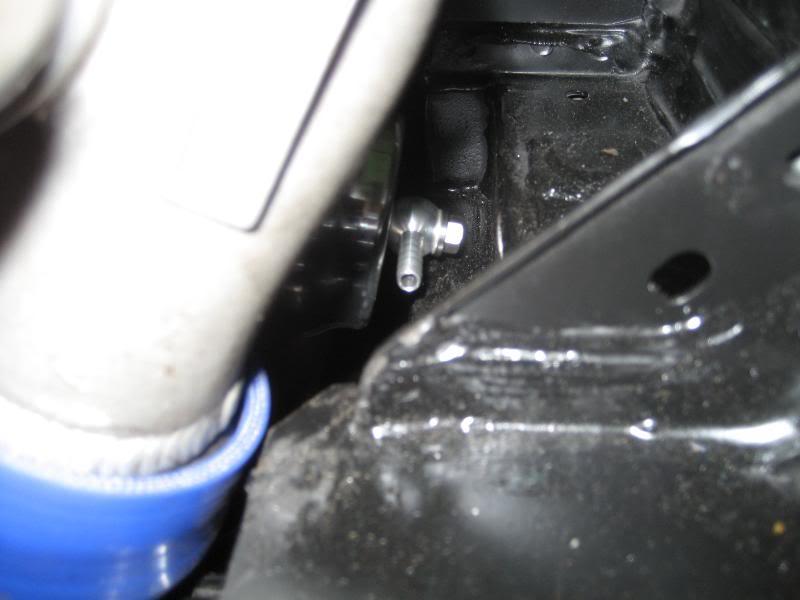
Next up I decided what the hell, I'm going to hide some of these wires and remove the ones I don't need. I'm doing everything else, why stop here?
I started with the passenger side as there is more junk over here. I moved the transistor and the capacitor to outside in the upper fender, drilled new holes for them and extended the wiring harnesses for them. I might go back and change this around some, and incorporate the stock bracket, but I have to think it over some more.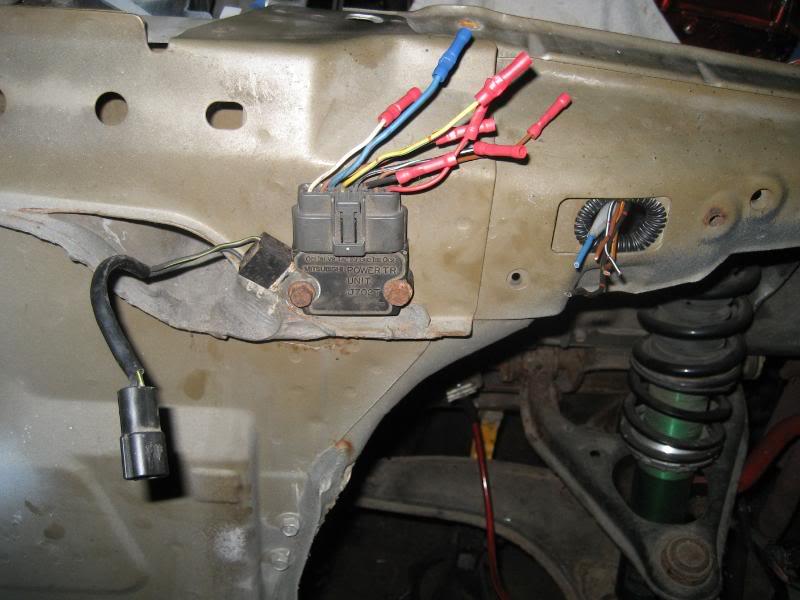
Yes, I cut off the butt connectors and soldered everything in nice and clean. I don't want to have to guess about faulty wiring splices so I figured do it right the first time. Here's a shot of them all buttoned up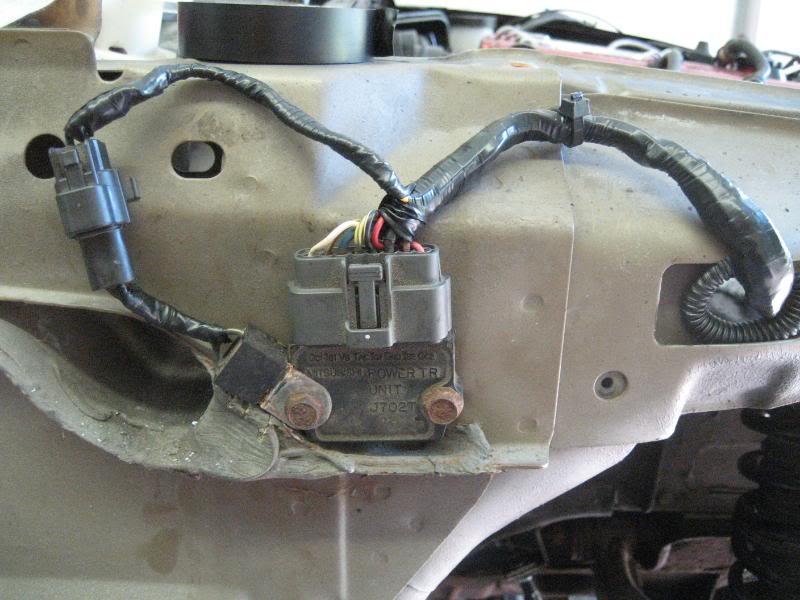
Here's the wiring after I took off the factory tape and plastic covering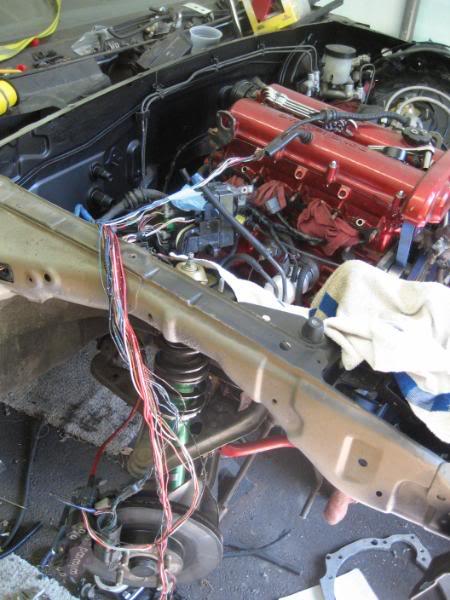
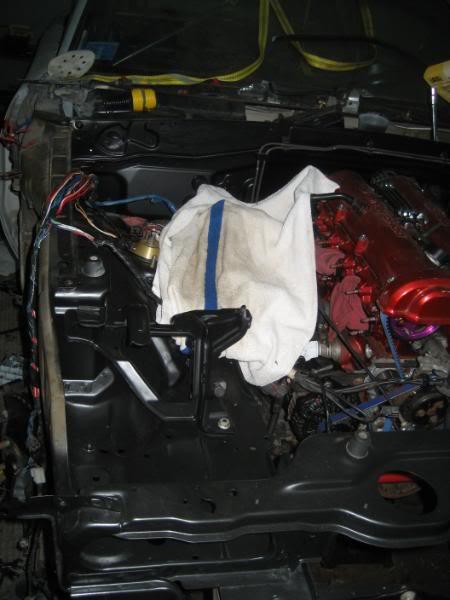
I'm keeping the towel down so I don't scratch the paint while I'm moving things around.
Got a little bored with this and decided to get back to fab work and finally finished the last big hurtle- the clutch fork. Unfortunately I forgot to take pictures during the process- just kind of got in the zone and saw the finish line up ahead. What I did was cut it just below the "line" below where the pivot ball sits, and spaced it out 1/2". I then cut out a piece of 1/8" stock in the shape of a parallelogram and welded it up at an angle, resting it on the pivot ball indent. I then cut out some side plates out of 1/8" stock and welded them to the each side. Here are some pics while I was cleaning up the welds with the grinder a bit.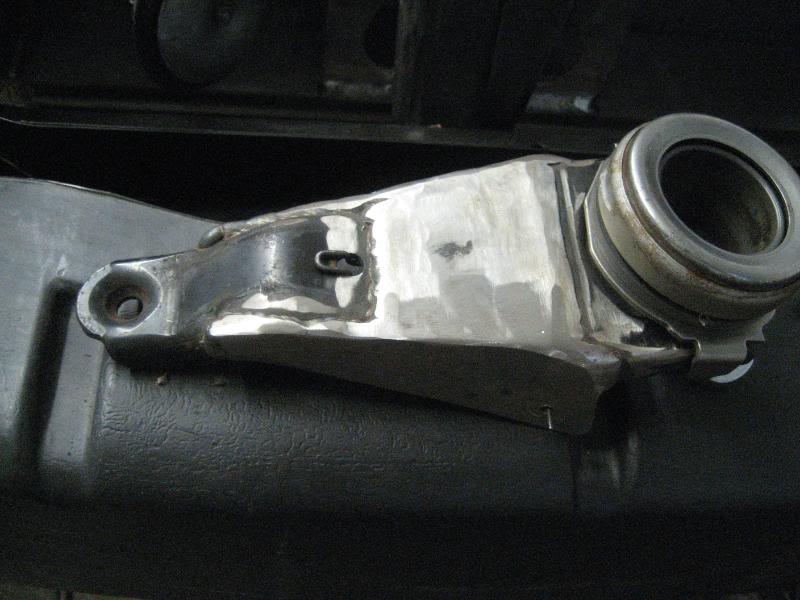
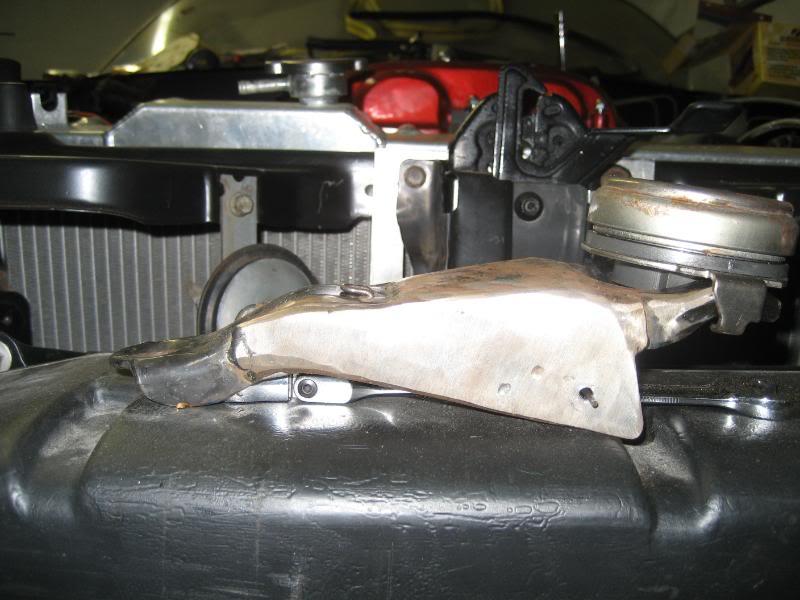
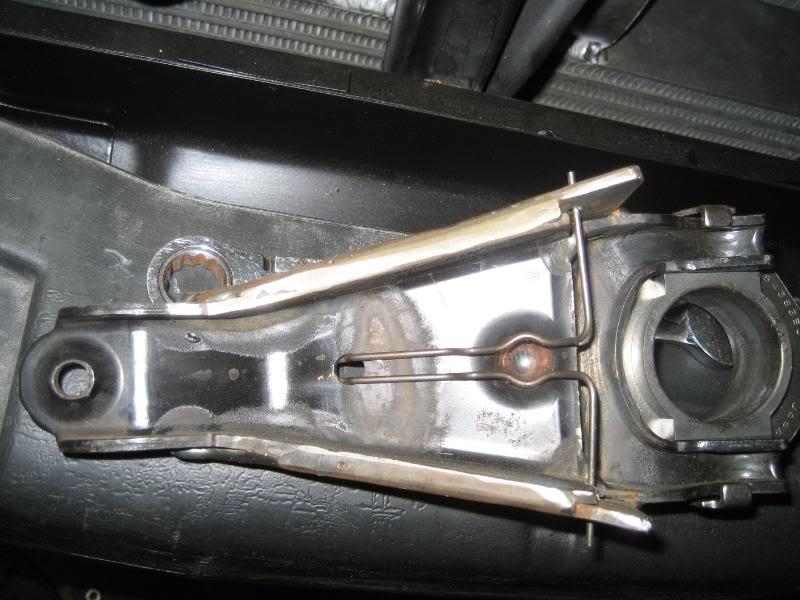
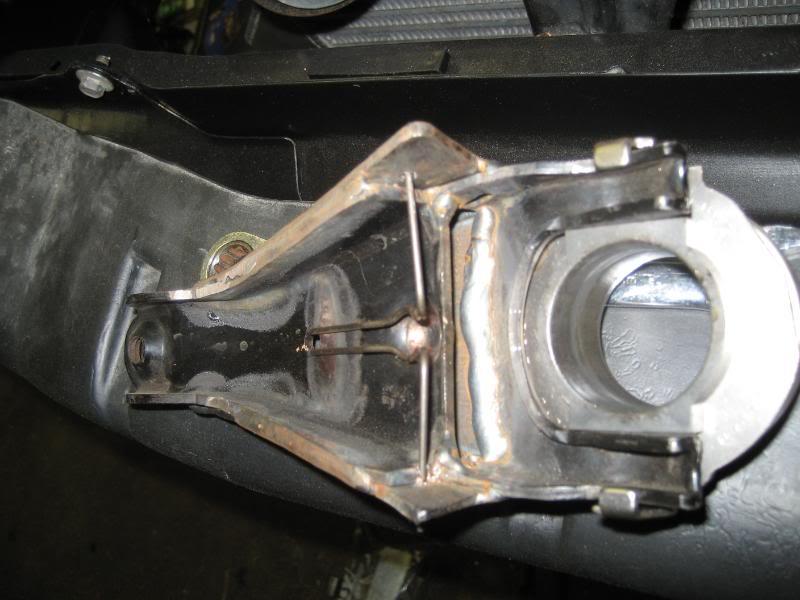
I still have to elongate the 2 holes for the retention spring, clean up the welds a bit more, and of course paint it, but you get the idea. I thought about this for a long time, and I think this is going to work out great- It certainly will be strong enough that's for sure. This weekend I'm going to start really putting things back together now. Right now the last bit of fab work is going to be the exhaust, which i need everything basically back in the car so I know how much room I have to play with. I'm hoping to stuff a 3" turbo-back in there somehow.
9/17/2008
I started a mild wire tuck. I'm not 100% impressed with how it came out, but it'll stay for now. Eventually I'm going to go back and hide everything (hard lines included).
Here's the passenger side: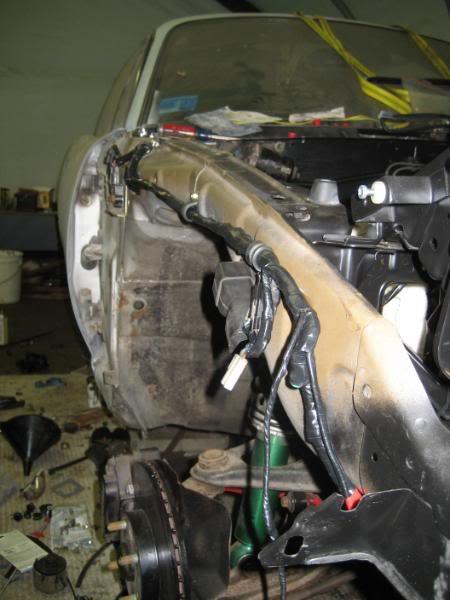
I'm going to run the fan, power steering pump, and t-stat temp sensor wires through here. This is the initial fit.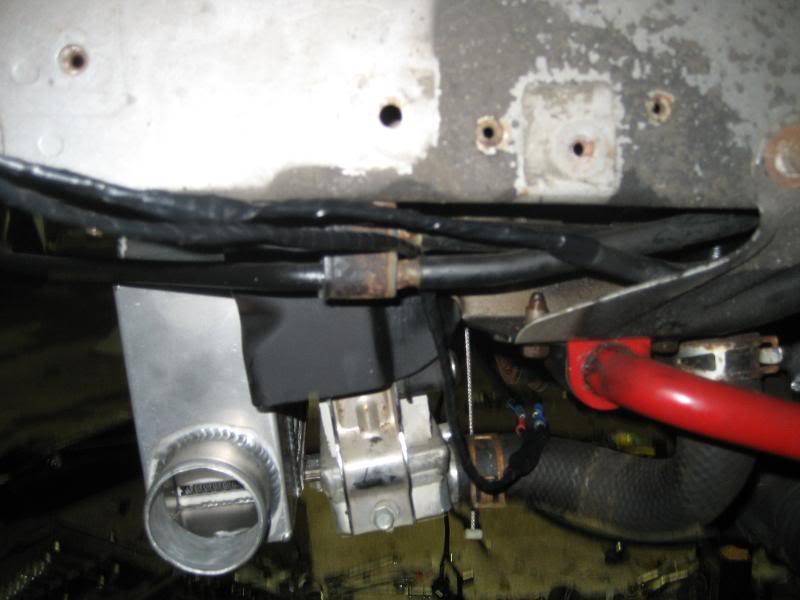
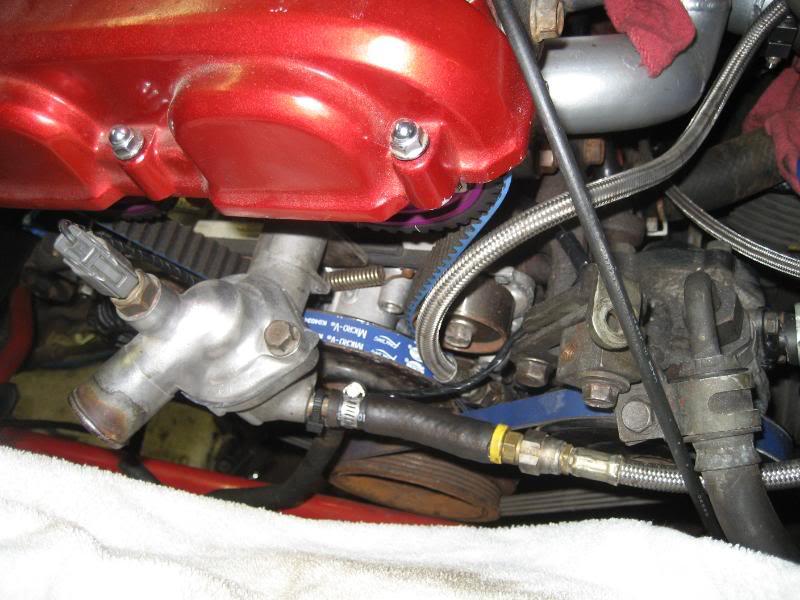
they'll go down here between the block and ps bracket, and follow the lower rad hose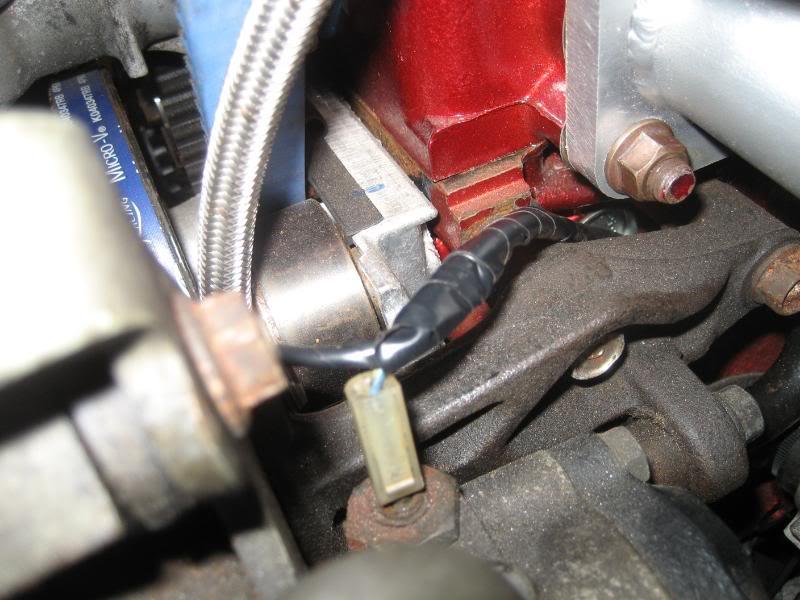
driver's side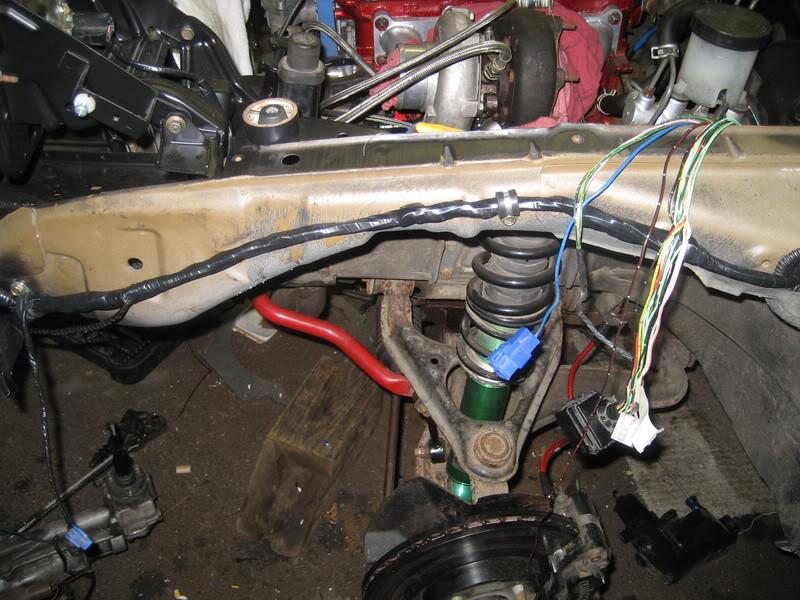
I forgot to take more pics of the wiring, I finished up at 3:30 am so I was a little tired.
Got the rear rotors back from the machine shop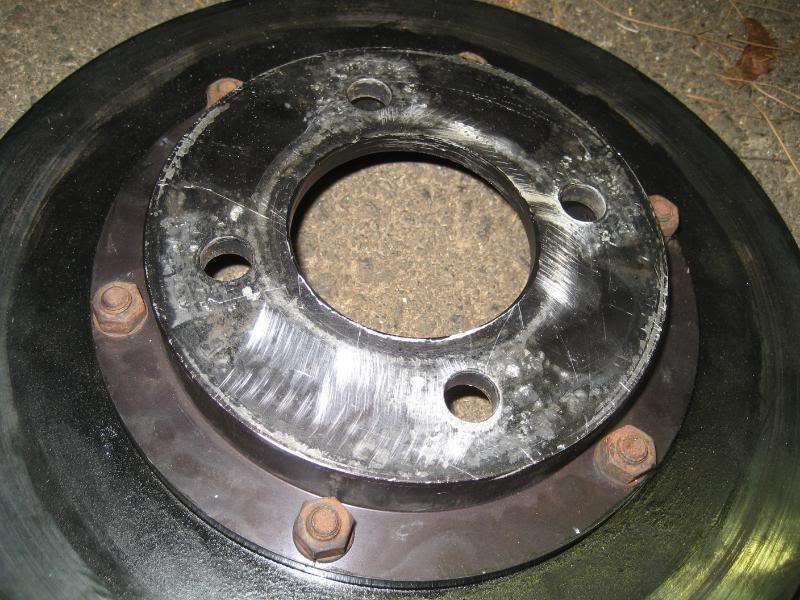
I had to make a cut to the dust shield for the calipers to fit with the new brackets.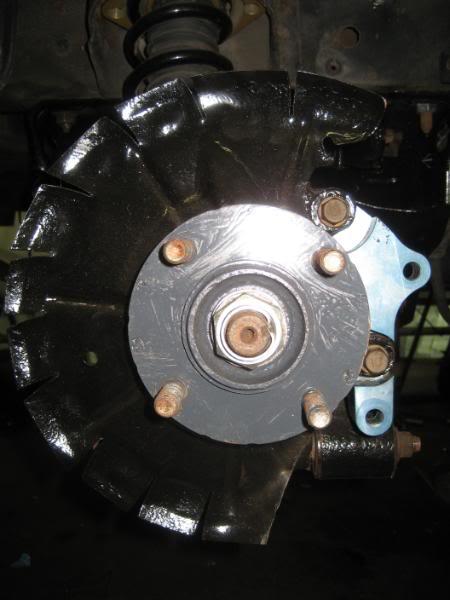
Then I installed my calipers. (old ones were a little iffy so I just got new ones. Better safe than sorry.
pass side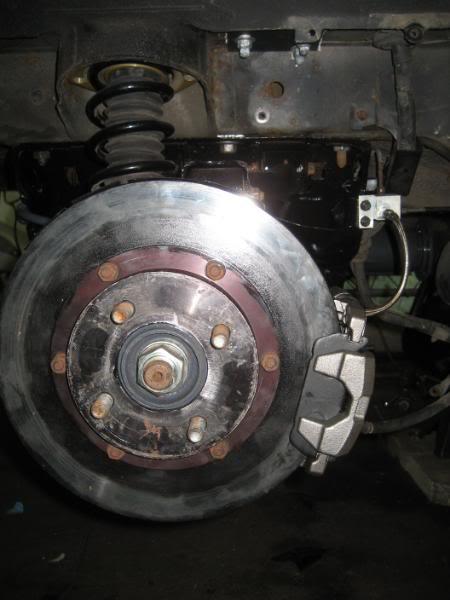
and the bling bling driver's side (no idea why this one is gold)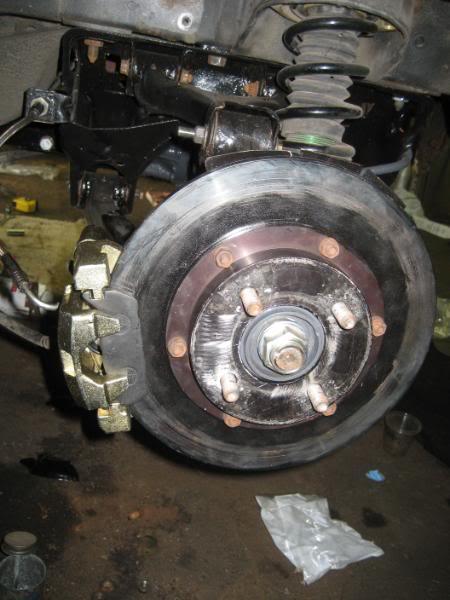
I'm using porterfield r4s pads all around.
Next, I installed the new clutch fork. and slave cylinder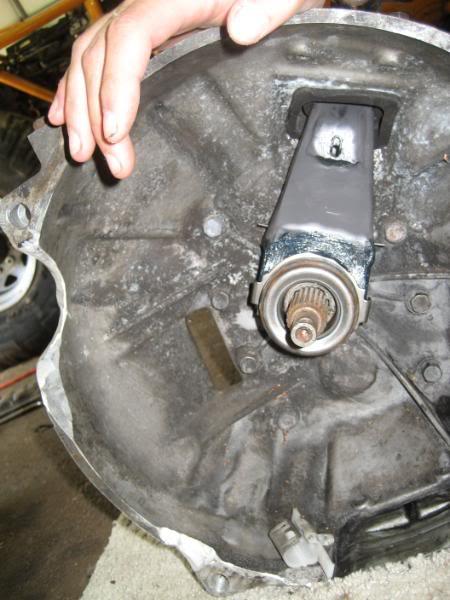
Then I fought with the tranny and finally got it in and bolted down.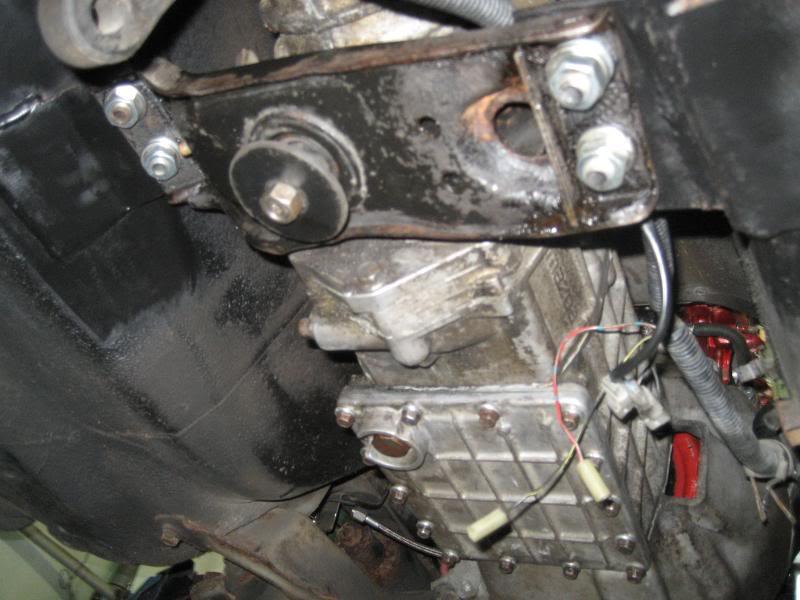
Great build!
Posted by Diggymart on 1/29/20 @ 11:22:34 PM