You must be logged in to rate content!
7 minute read
Here are instructions for doing a timing belt service on an Audi 4.2L V8 S8. Below is a video of putting the vehicle back together after receiving the wrong idle pulleys in our kit. It took awhile for the proper parts to be delivered but she is now back on the road. We used this factory manual for guidance, this DIY is a bit of a supplement to that. http://d2doctor.co.uk/files/40V_V8_timingbelt.pdf?fbclid=IwAR1wZuSlA10QheZ8ygtUkShR_f4i8xpMfP3XR_VNkWxkeV4ZLslfc0pu790_aem_Adb1gKviEFTibJUDXbwtib6xh_C_YLom2Kztdeybrf7pNyJvbEshmfurDkaS5Q-pP84
If you are having trouble seeing this video, watch on YouTube
If you are having trouble seeing this video, watch on YouTube
First you need to put the car in the “service position” to gain access to the front of the engine. This involves removing much of the front and swinging it open like a door.
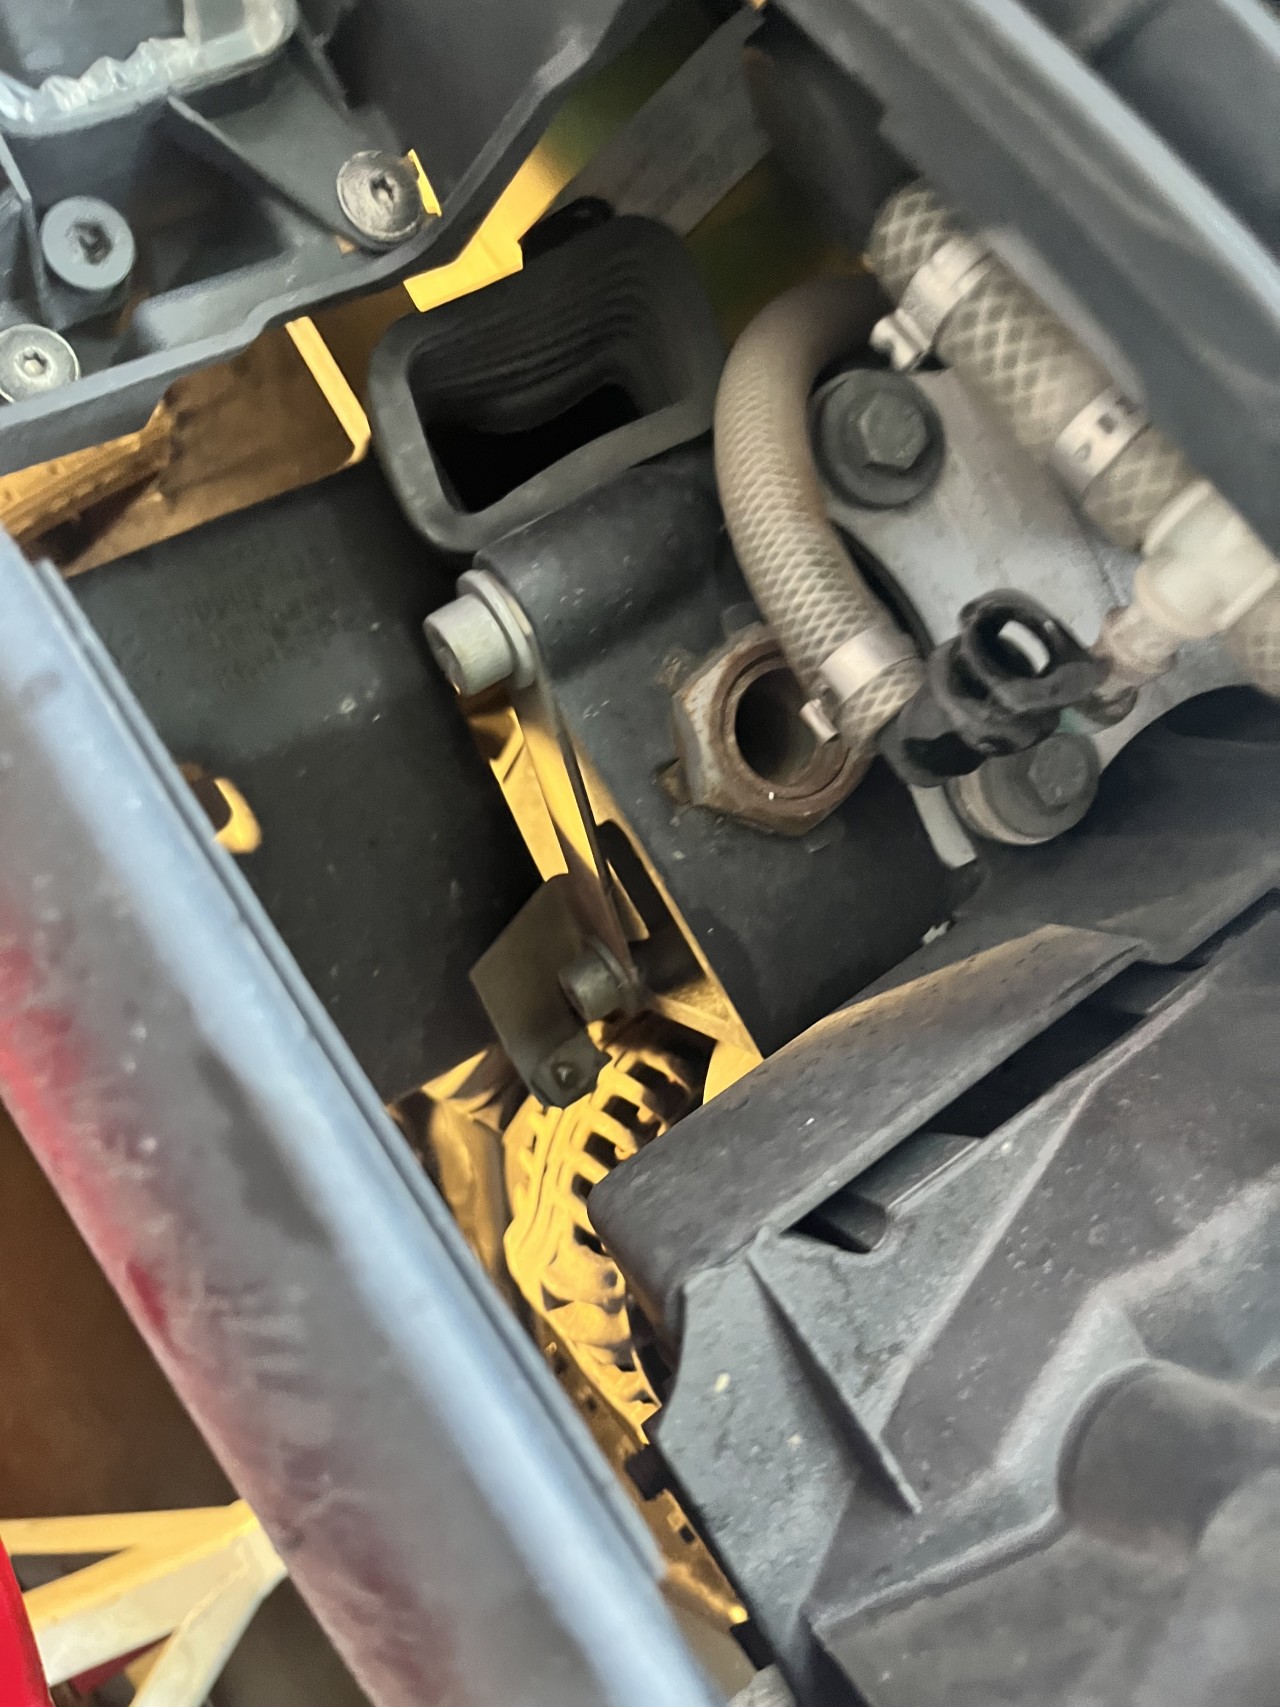
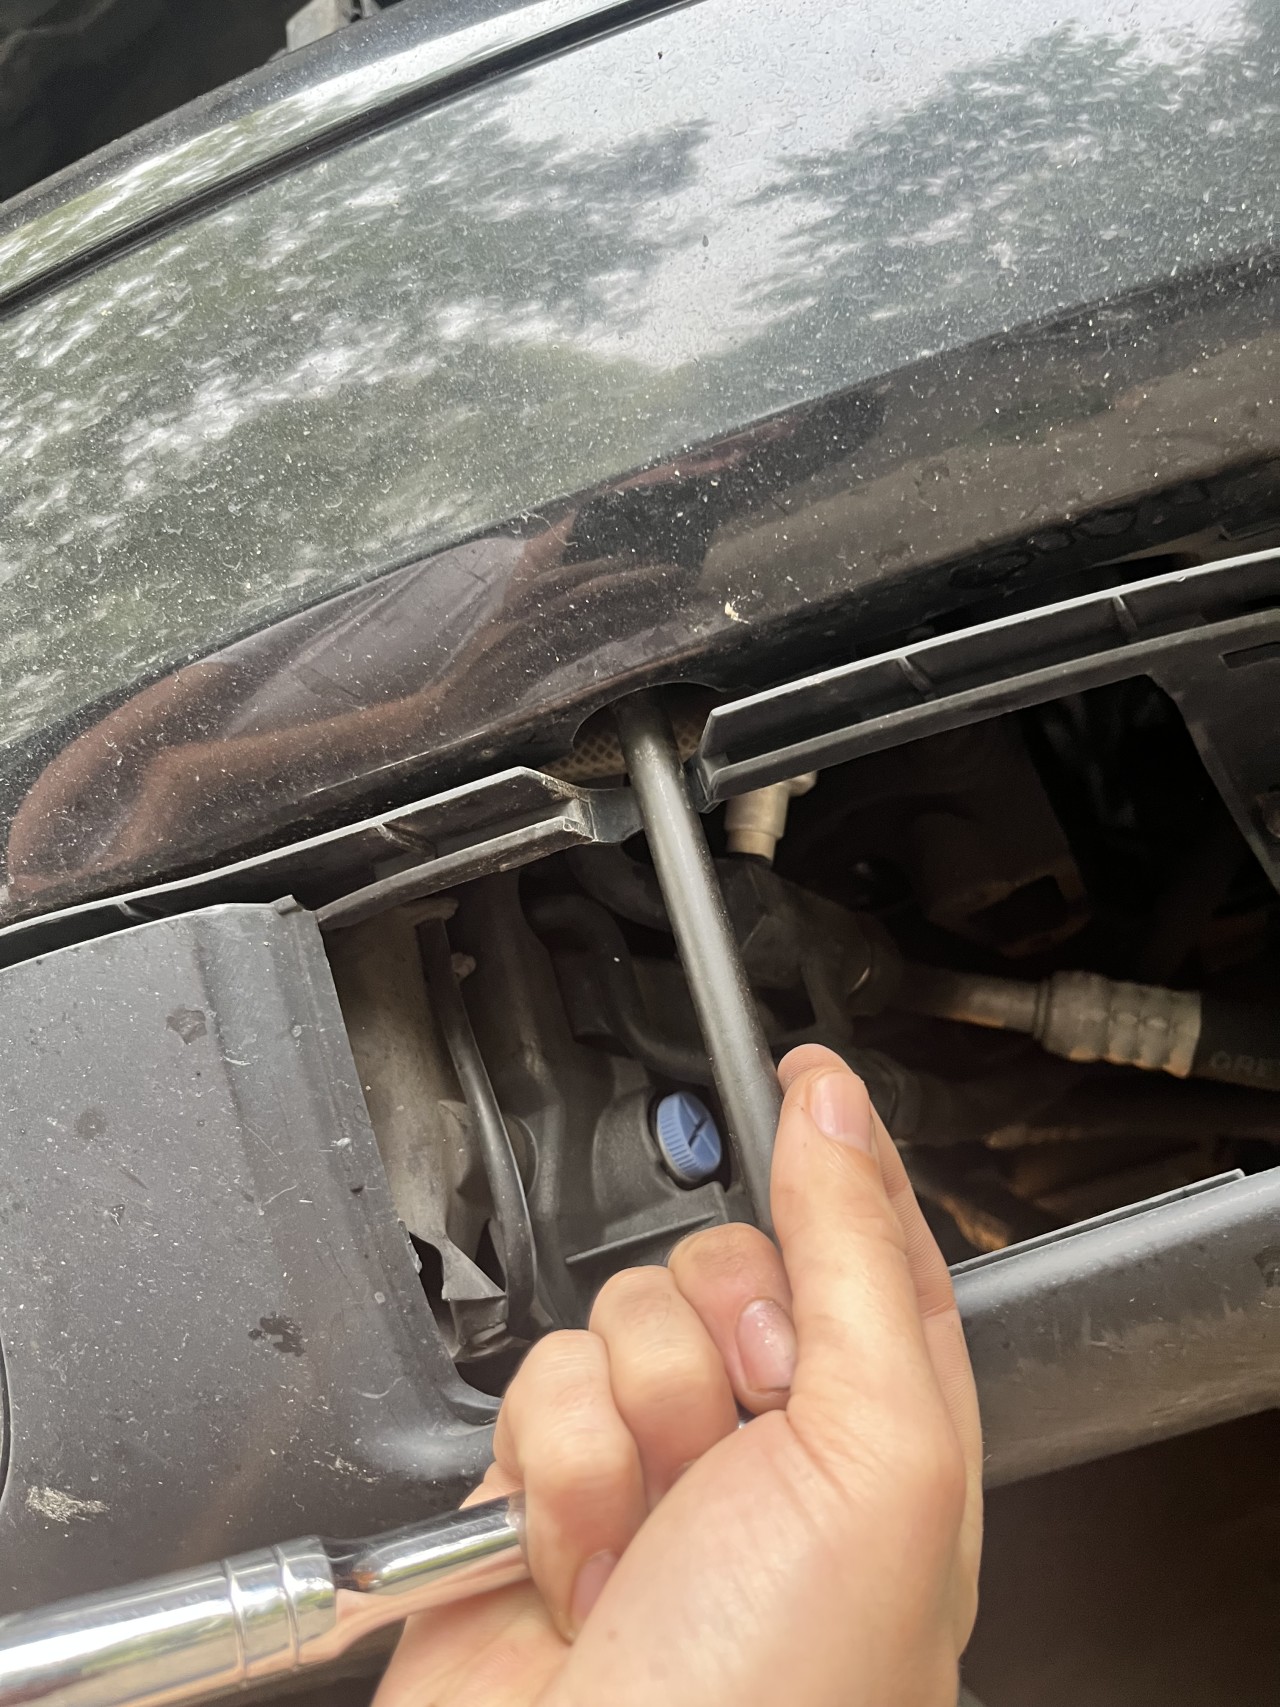
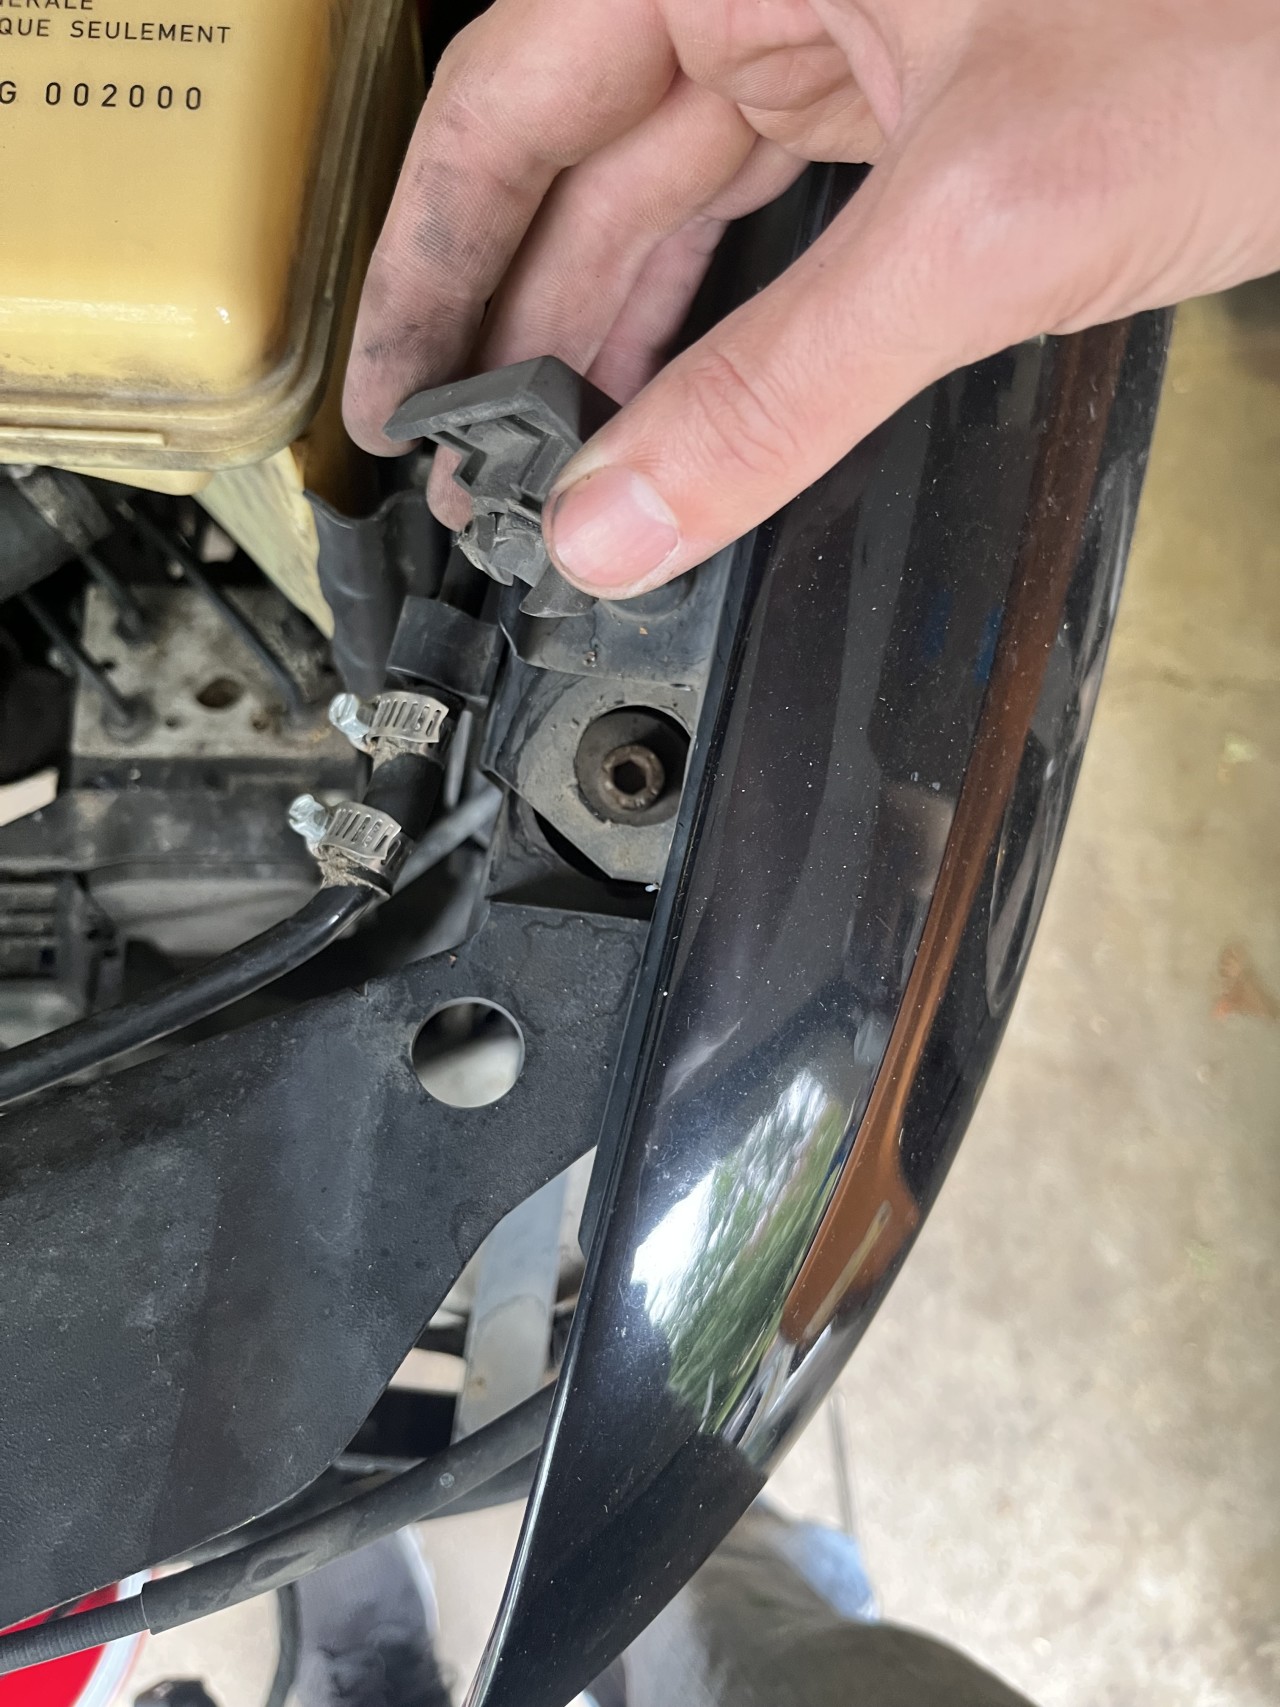
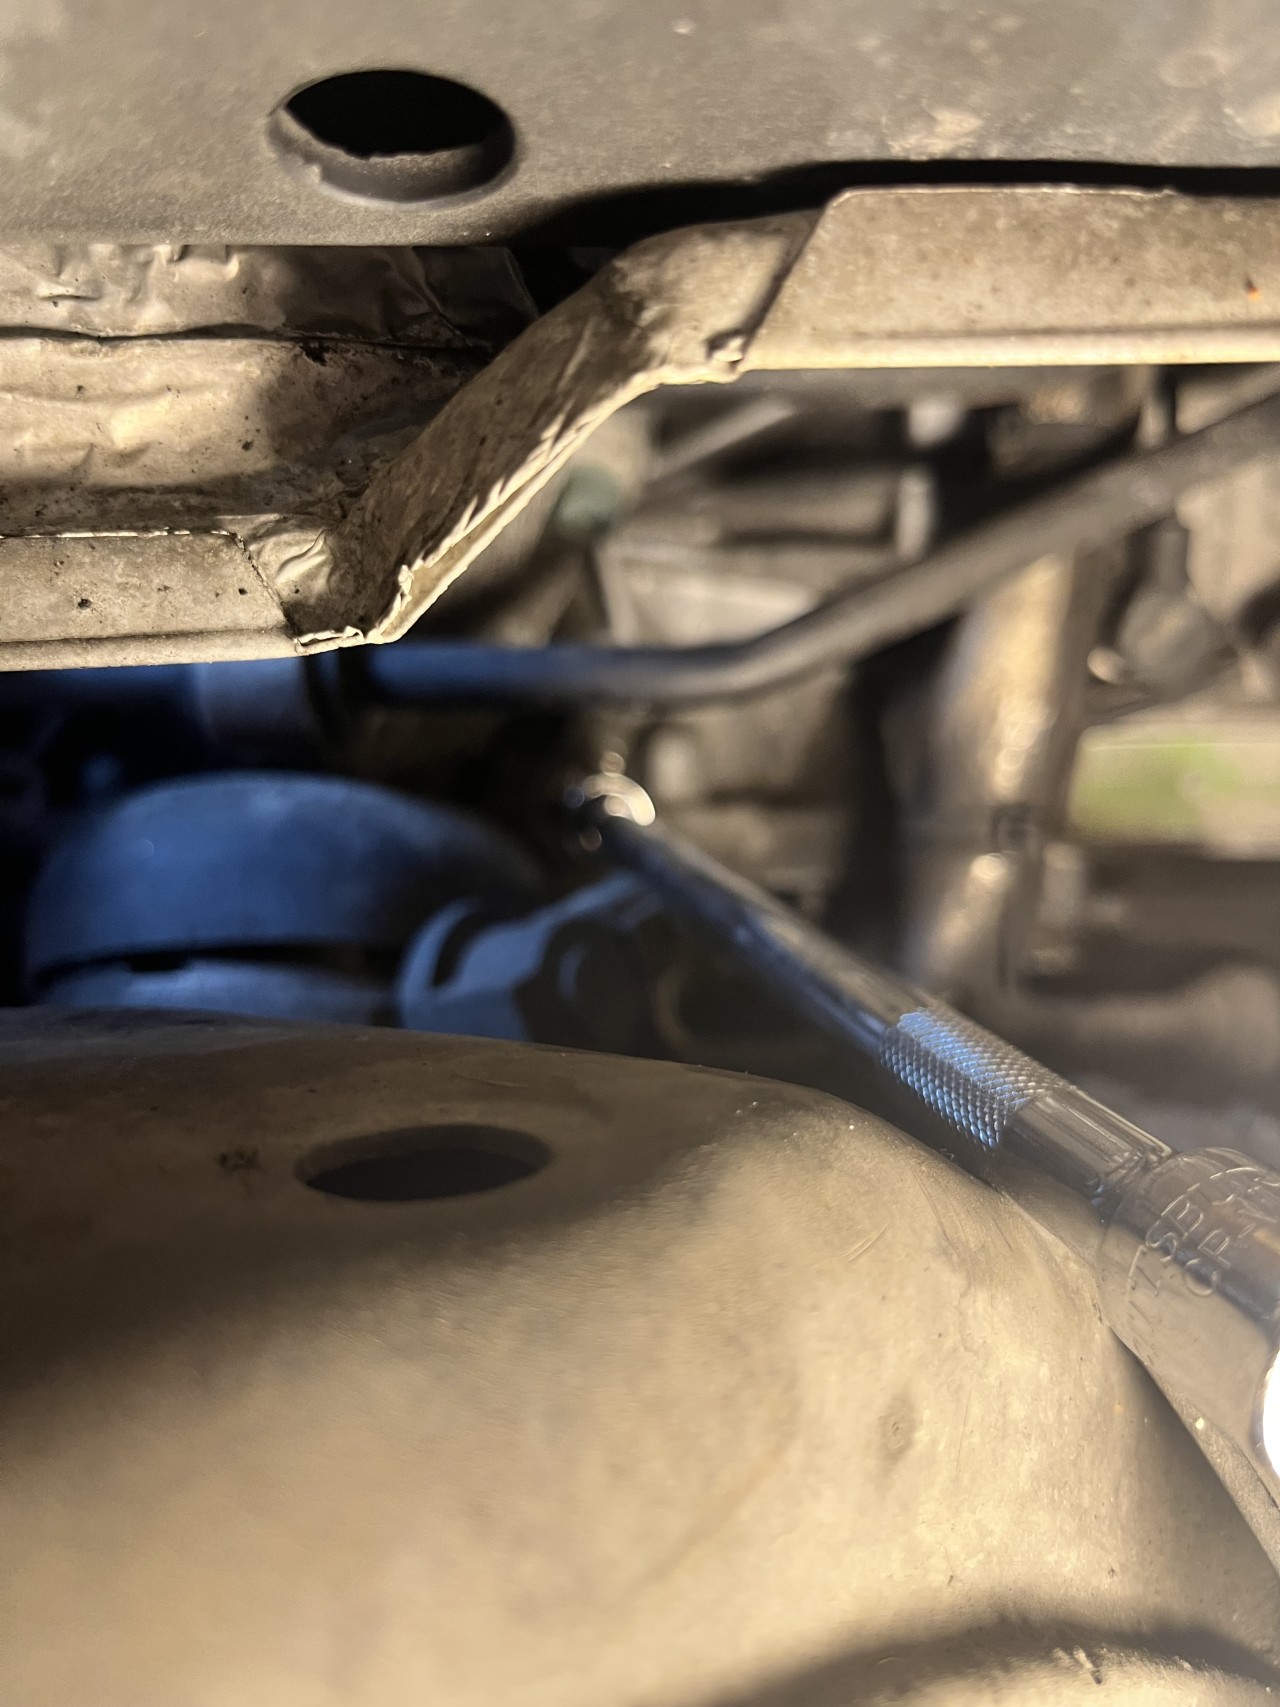
Access the bumper bolts through this deep hole. 2 bolts for the front underside.
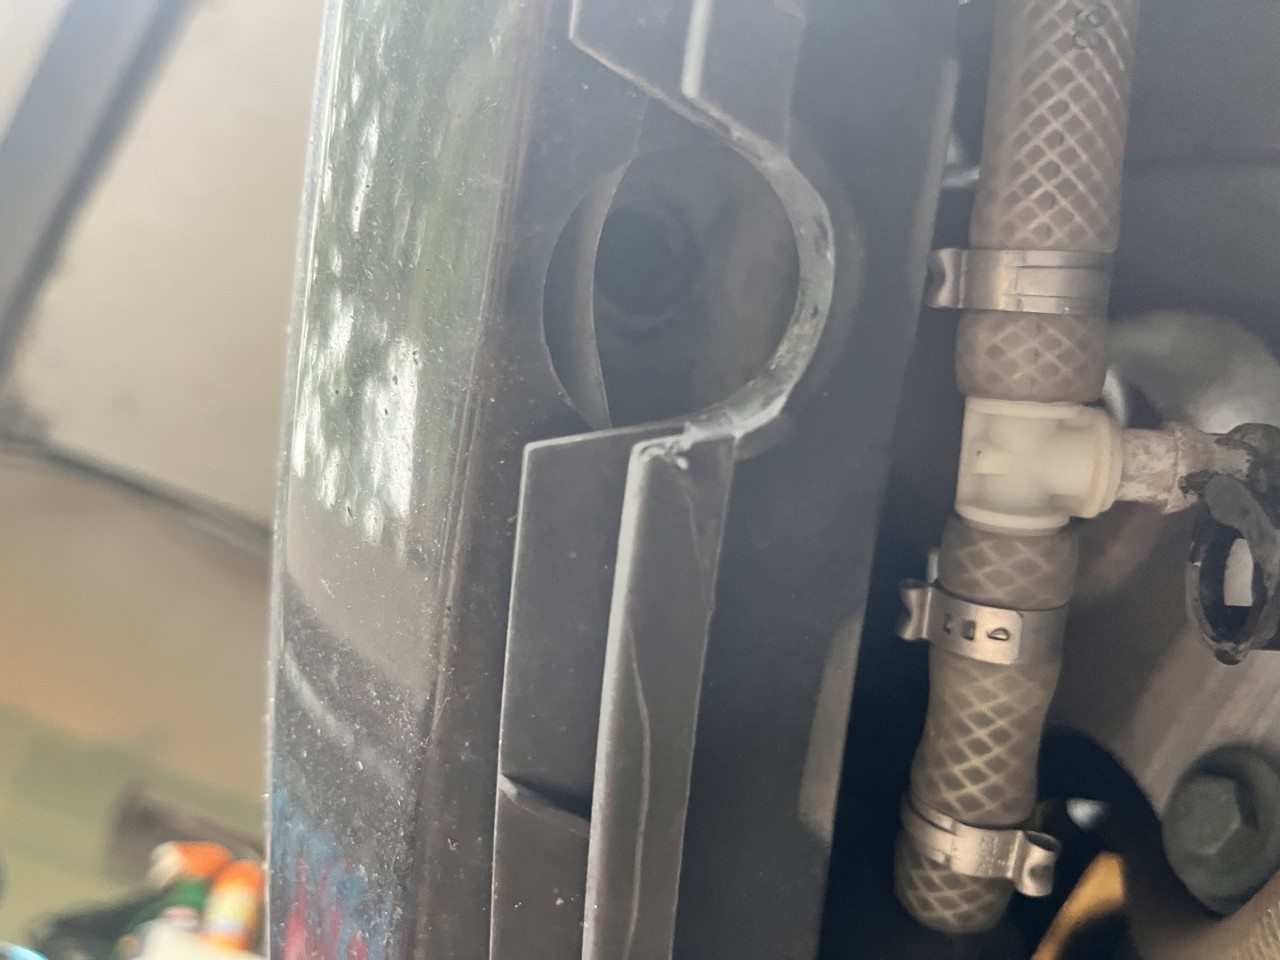
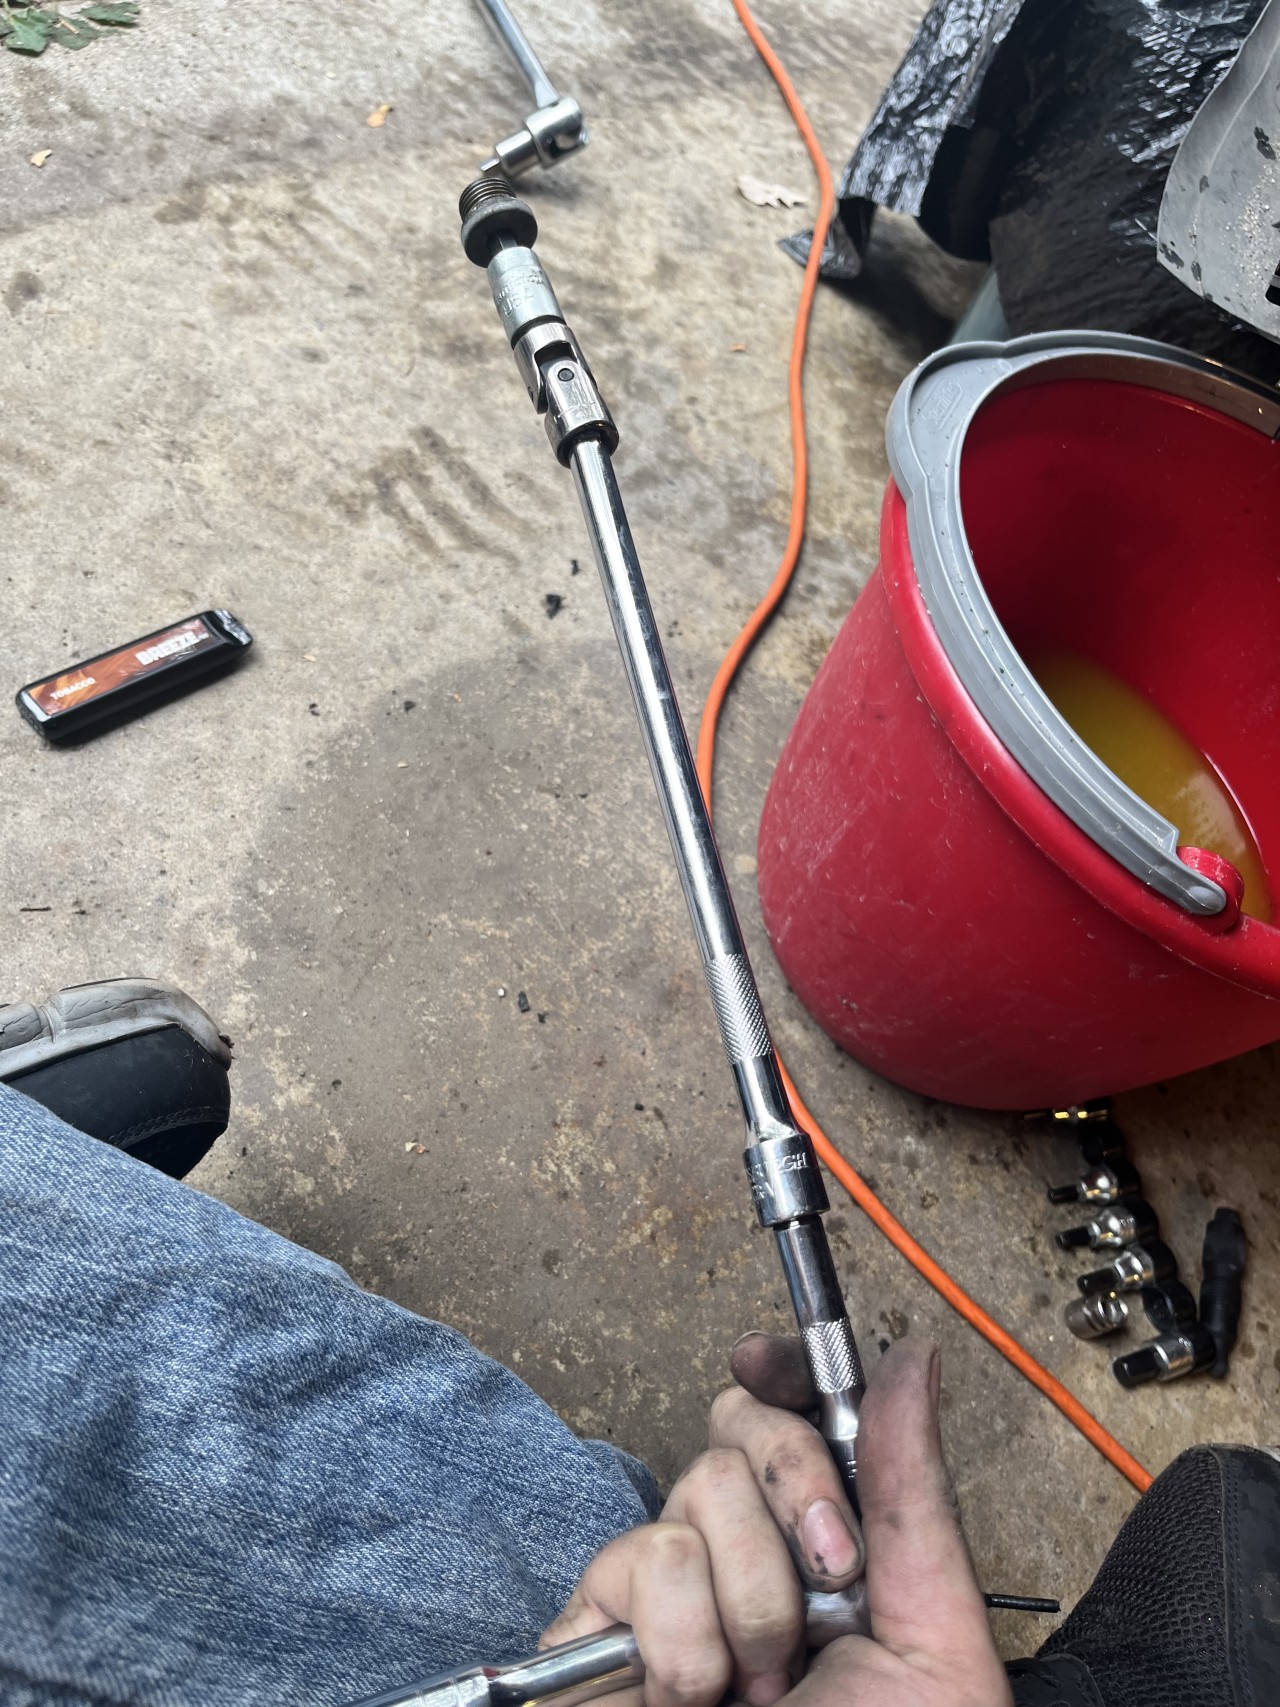
You will need an extension.
Here is the extracted bolt.

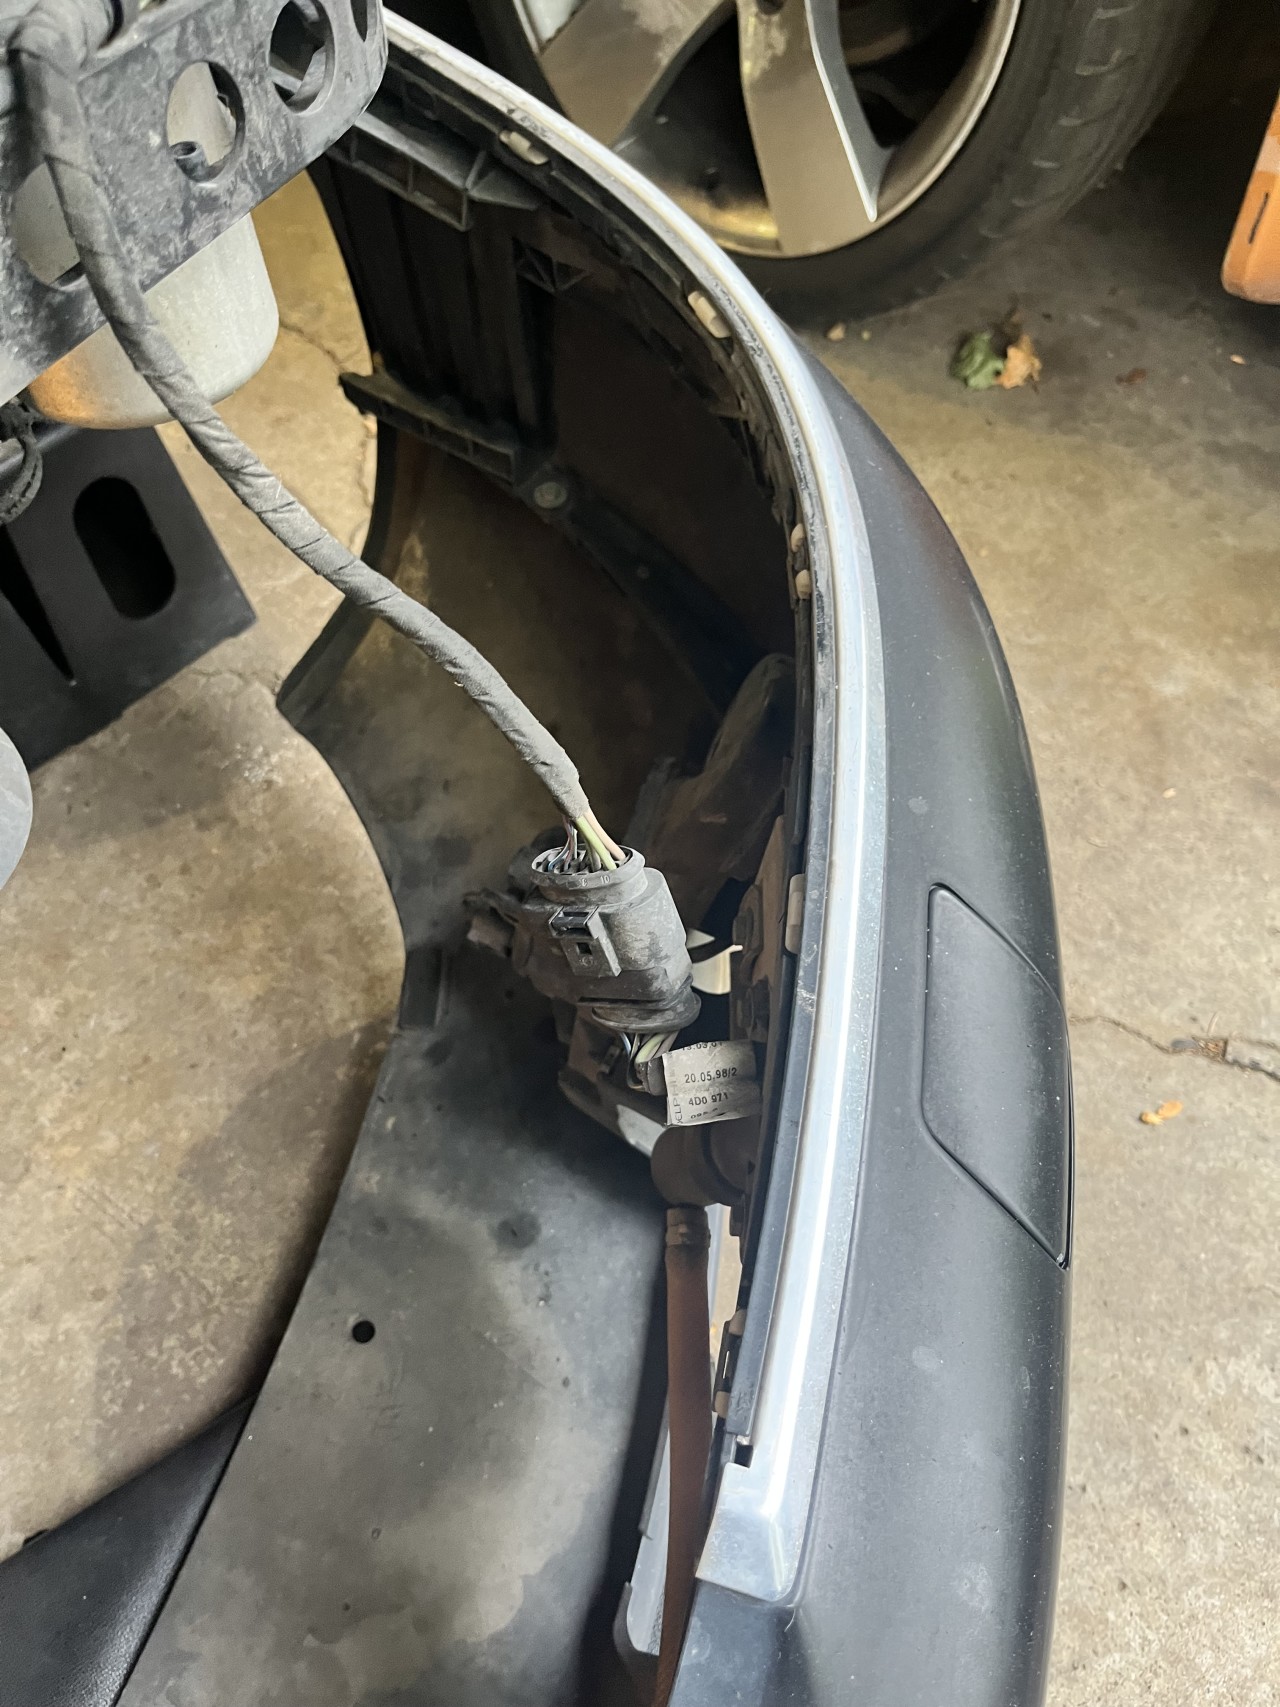
Unclip the wiring harness.
Pop up the trim clip
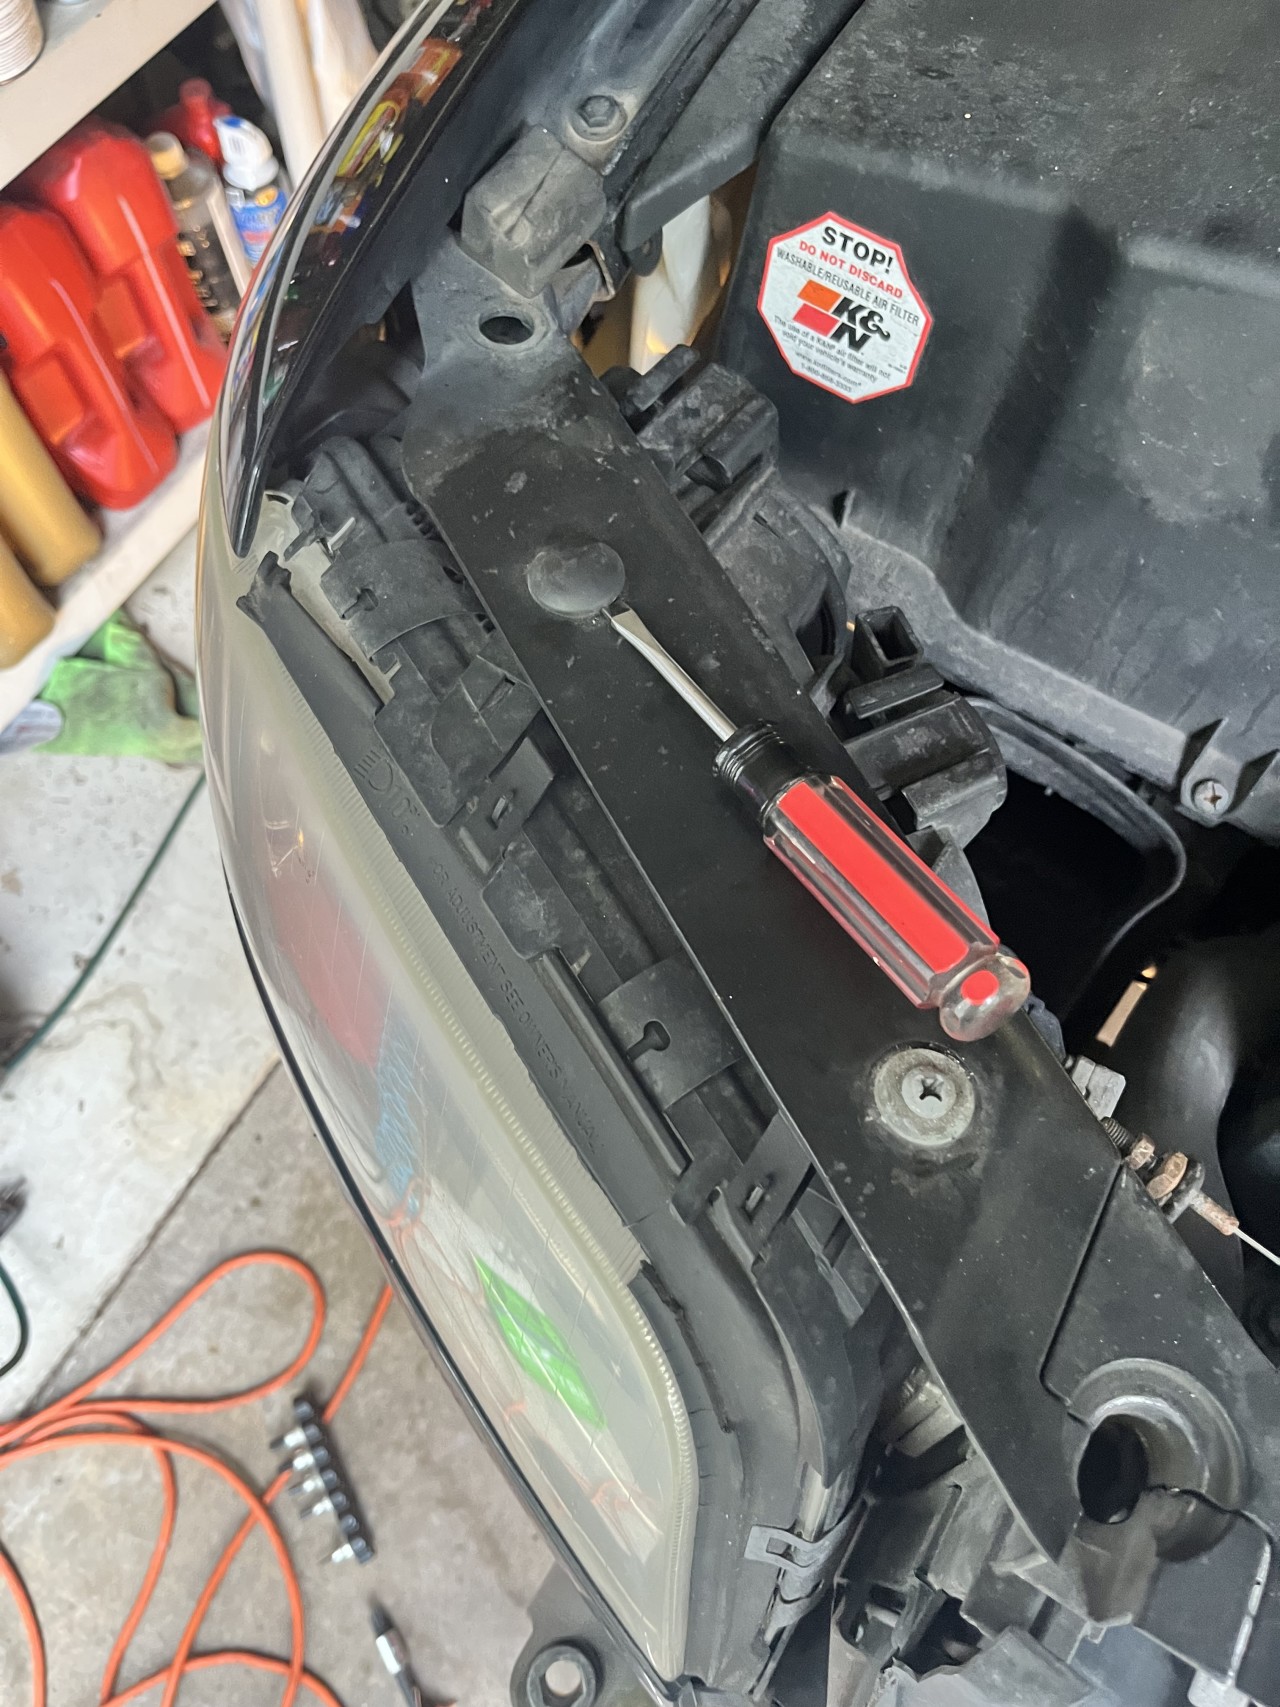
Unscrew the philips screws holding the headlight on. There are a couple on top and a couple accessible from the front behind the trim.
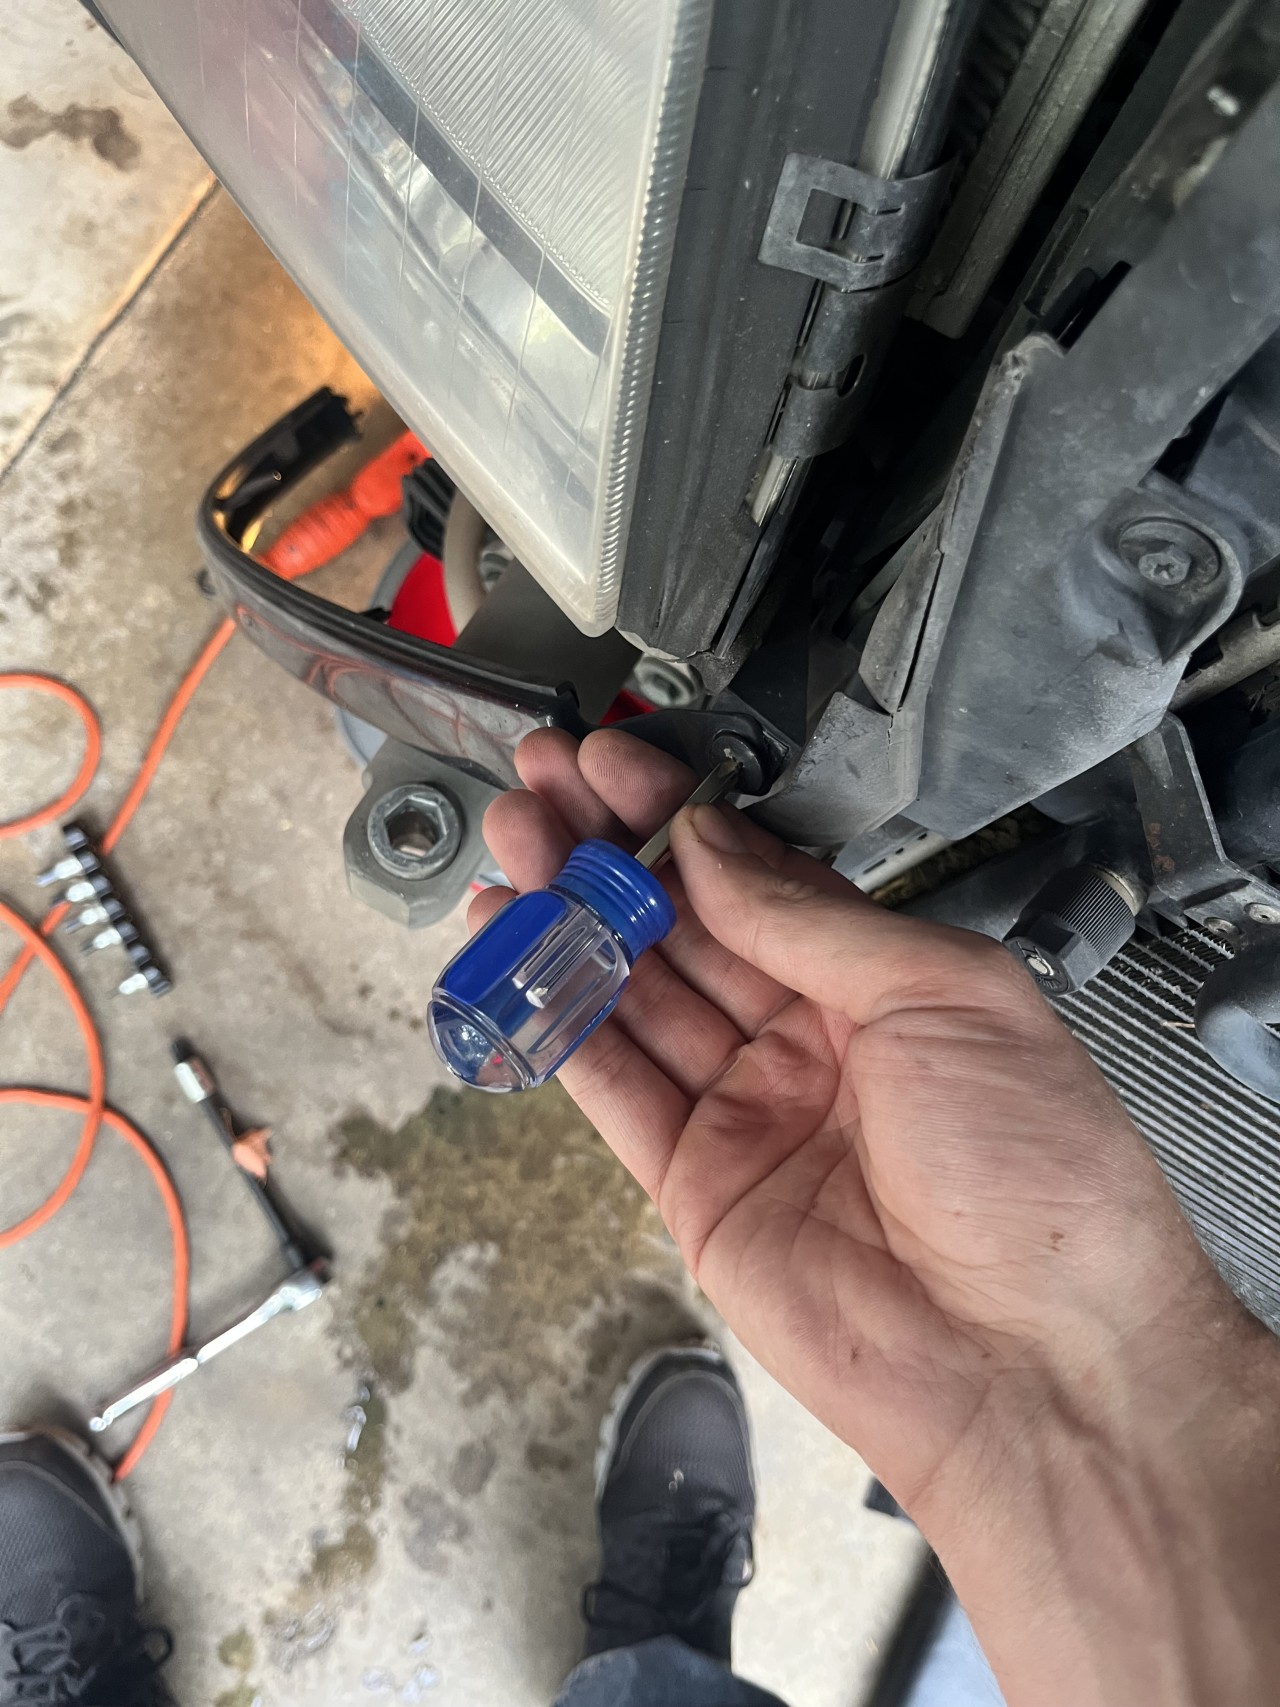
Underside headlight bolts and three front bumper shock column bolts.
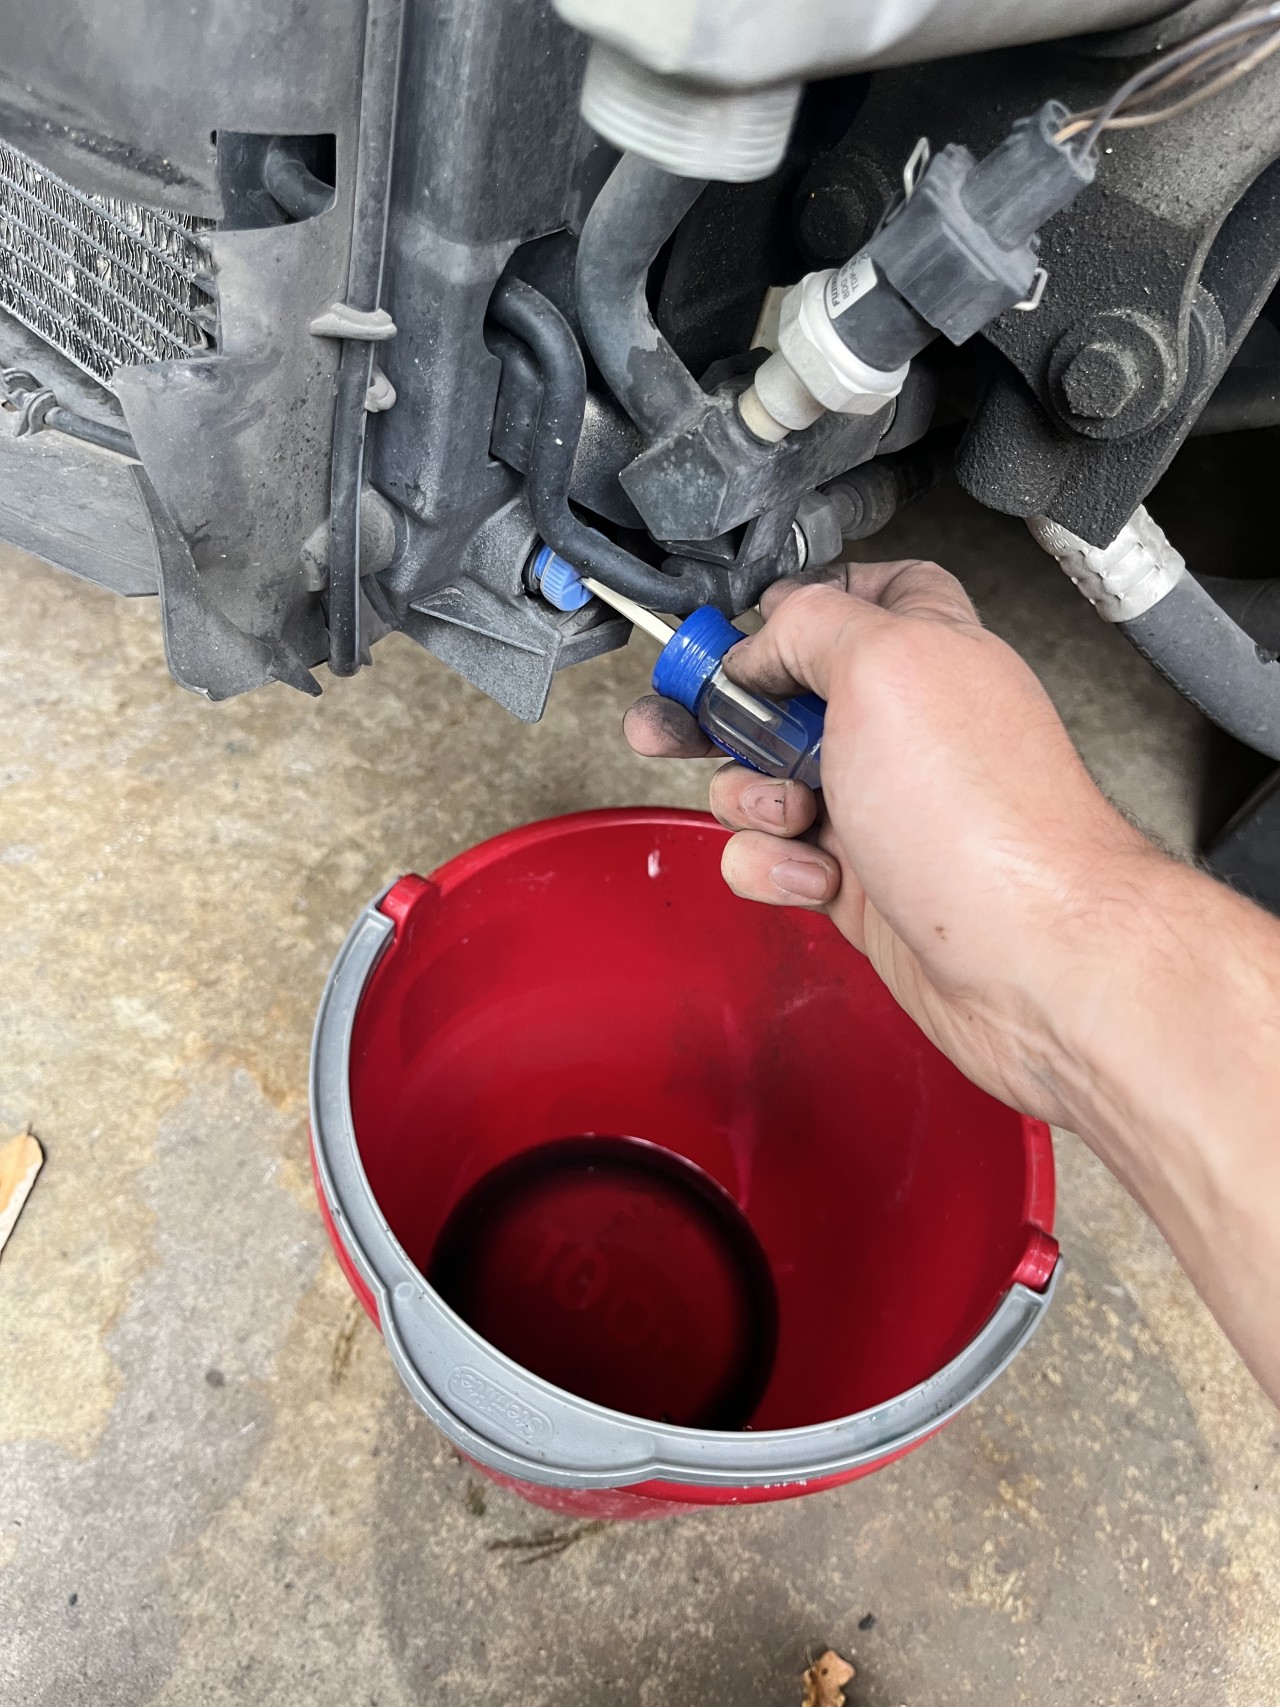
Drain your cooling system as you’ll have to disconnect one of the radiator hoses.
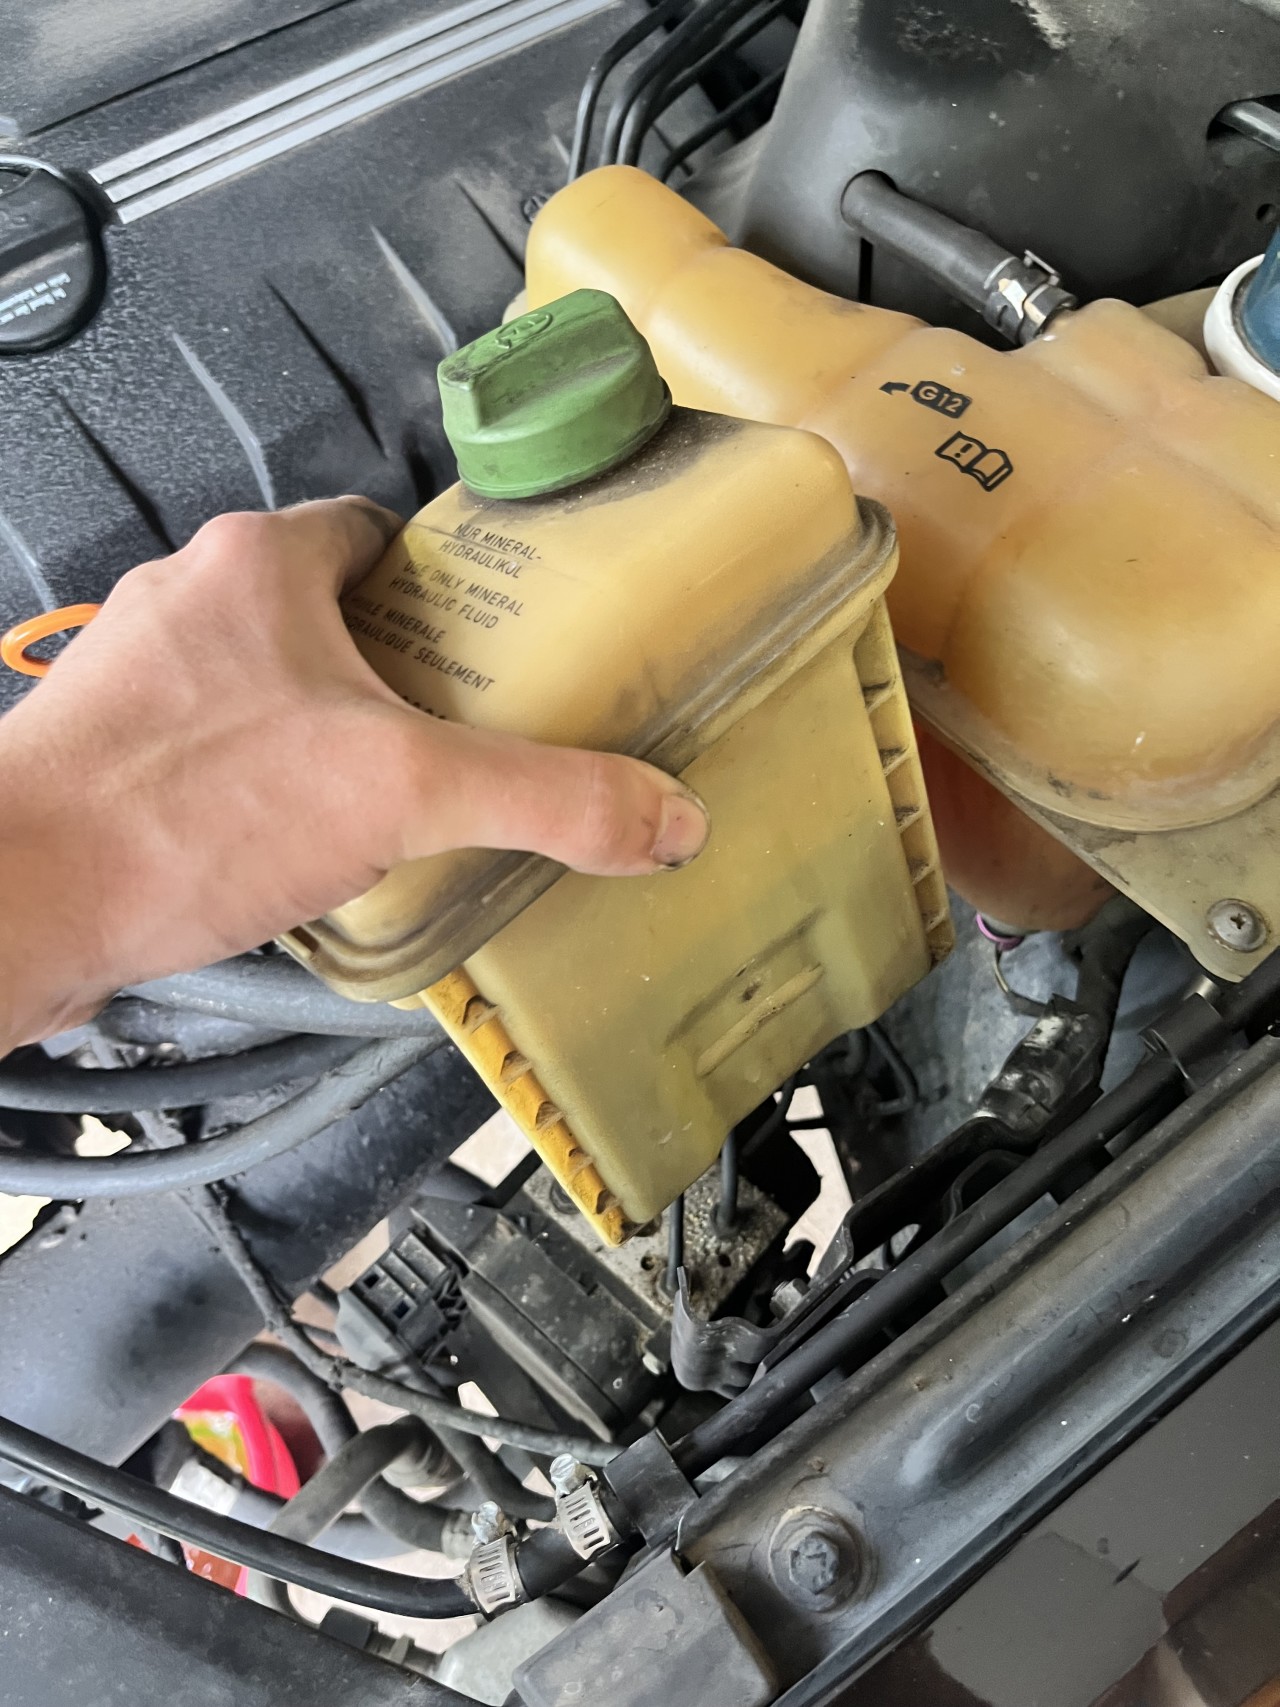
Detach the reservoir from the side of the car, this will give the line slack.
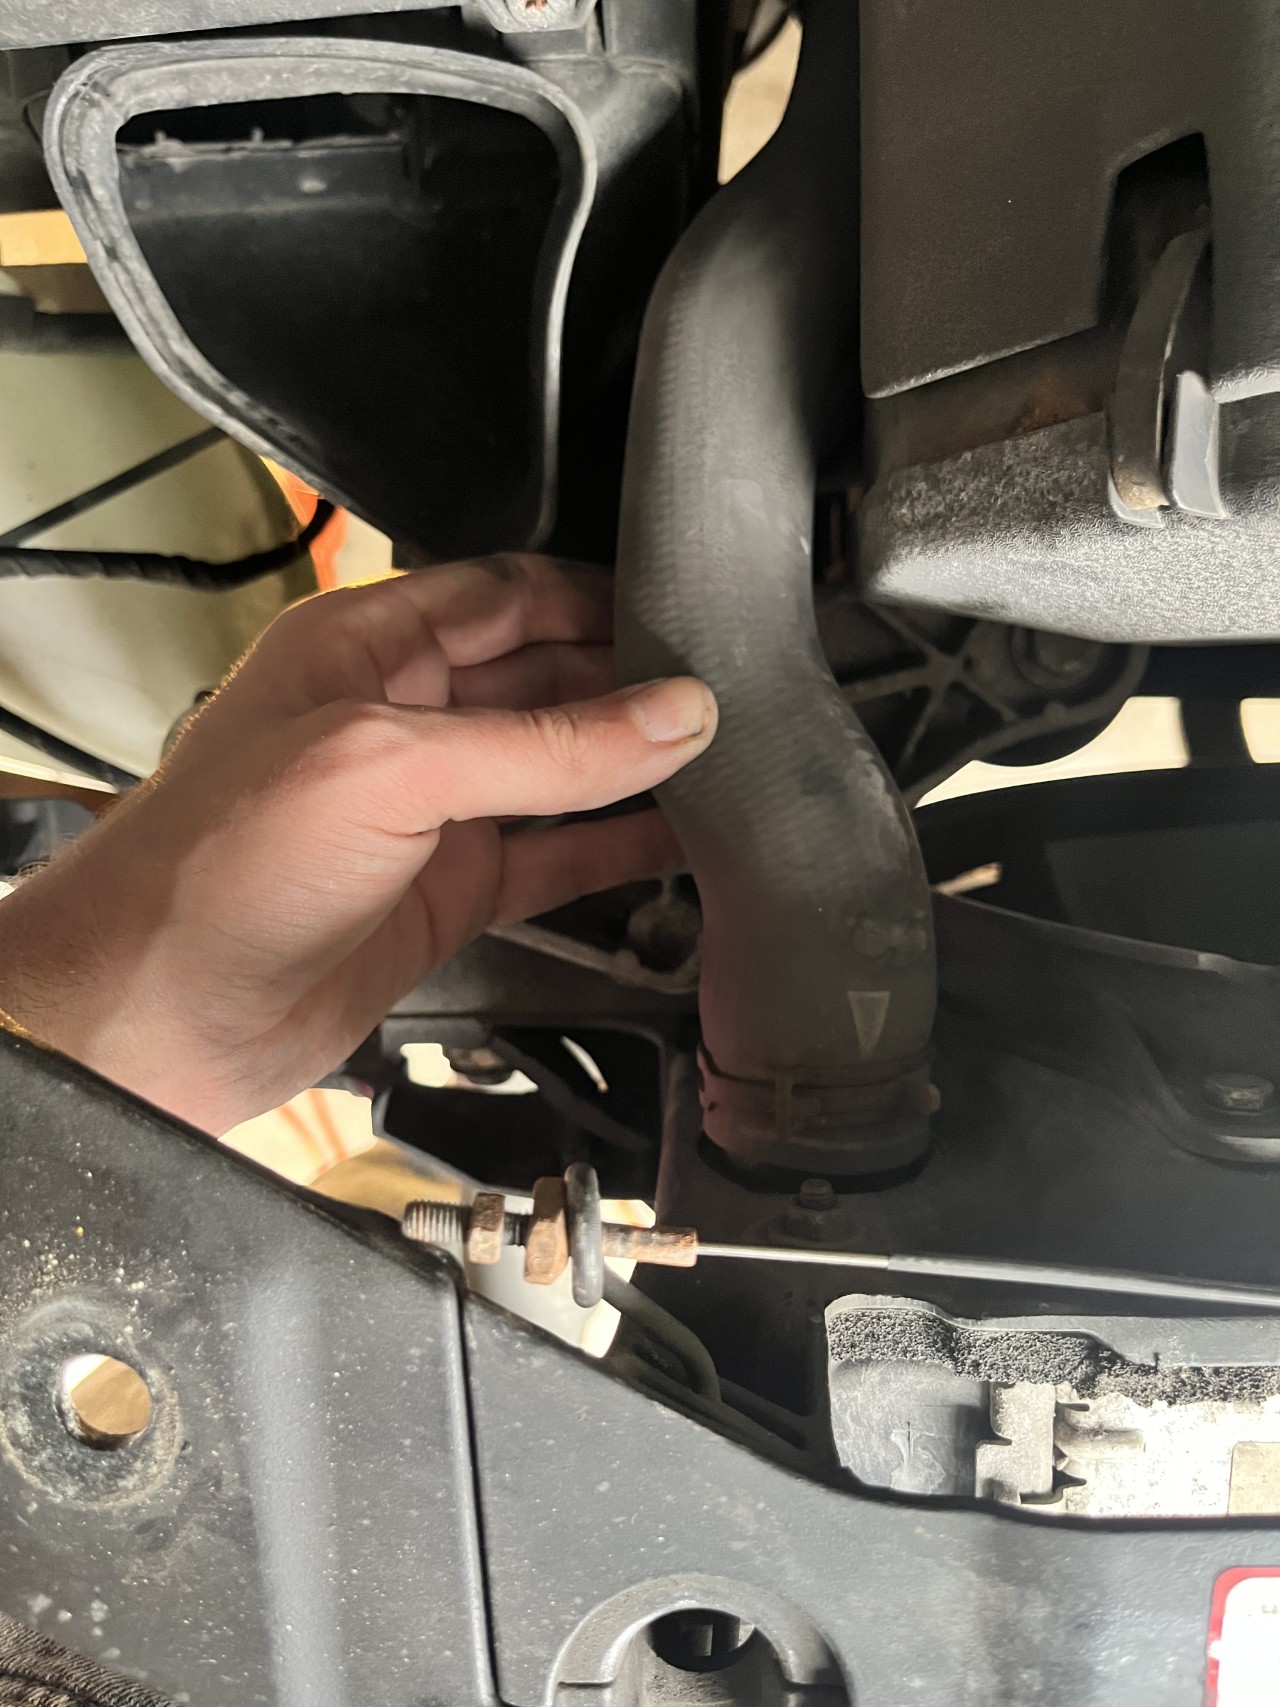
Remove radiator hose.
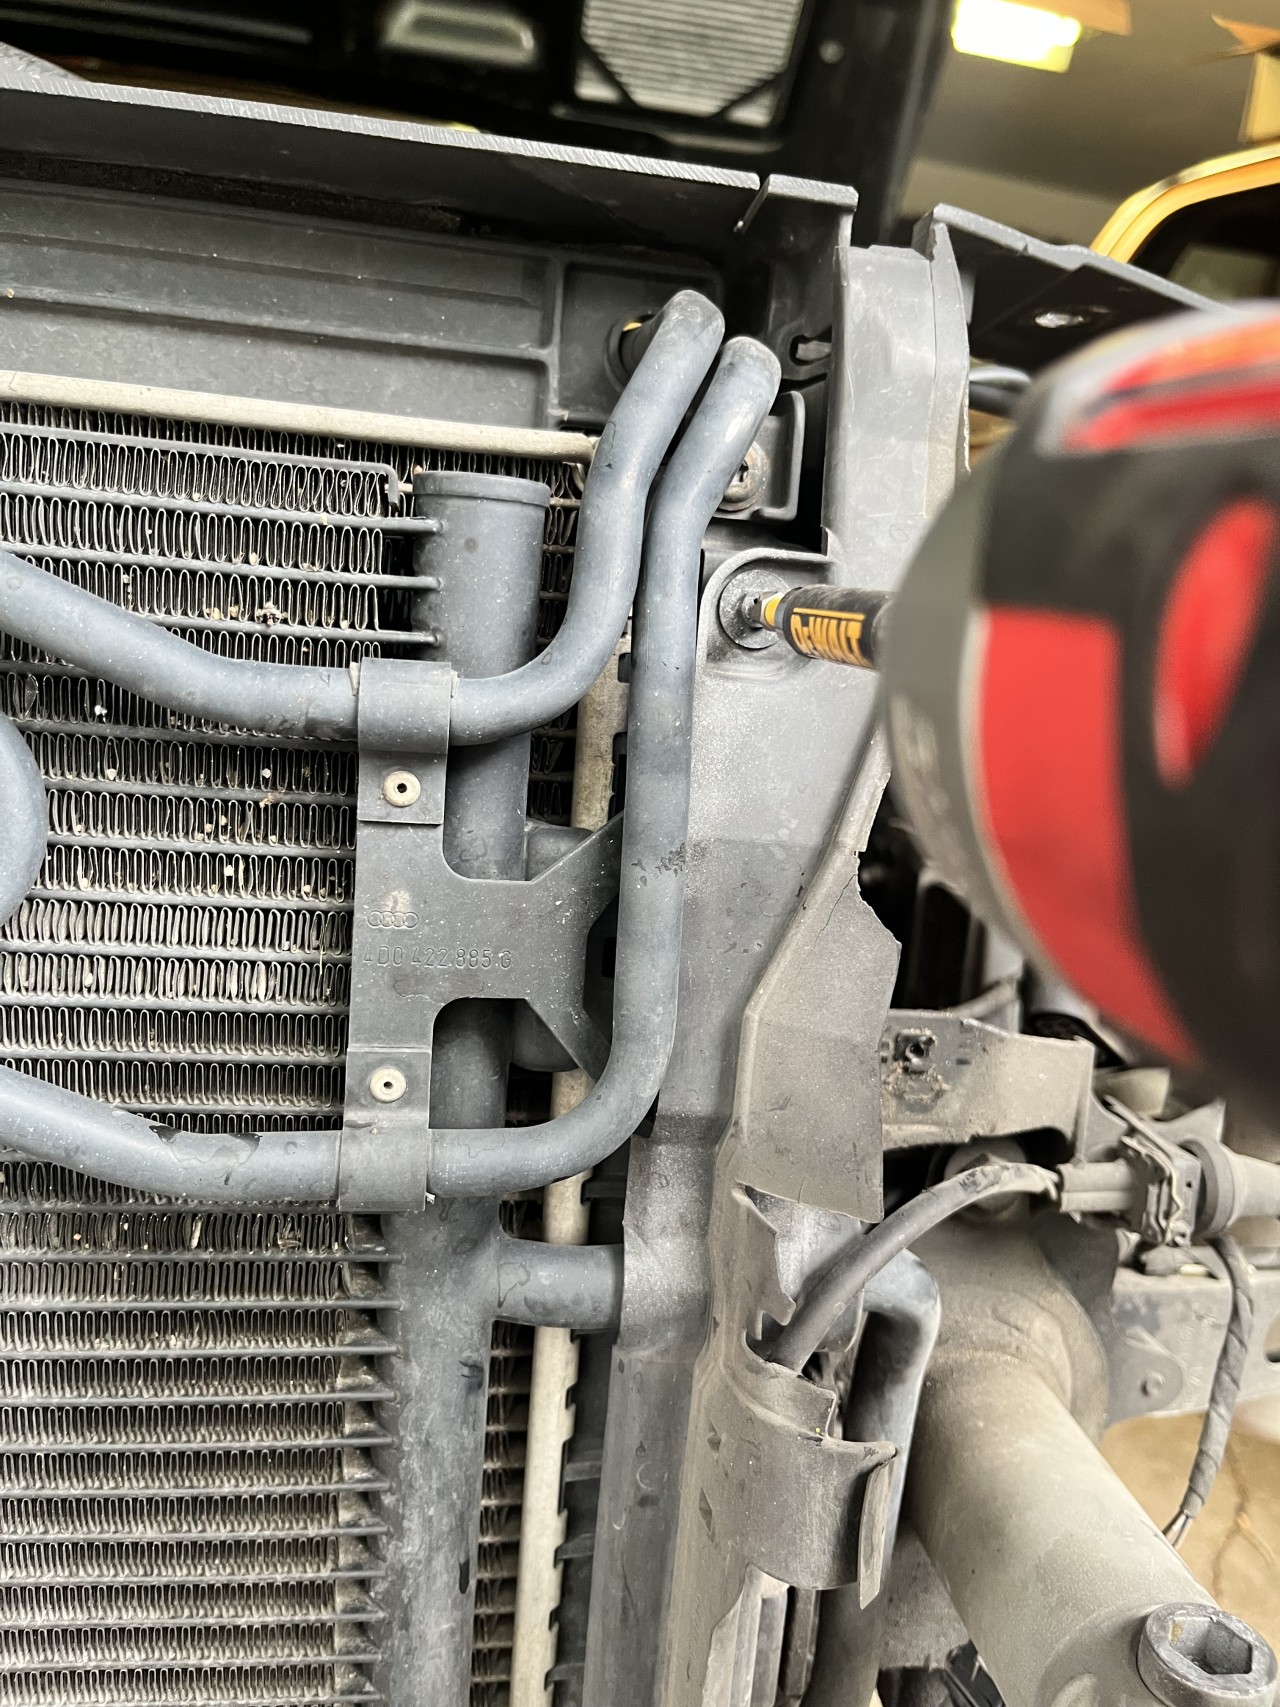
Remove radiator shroud trims
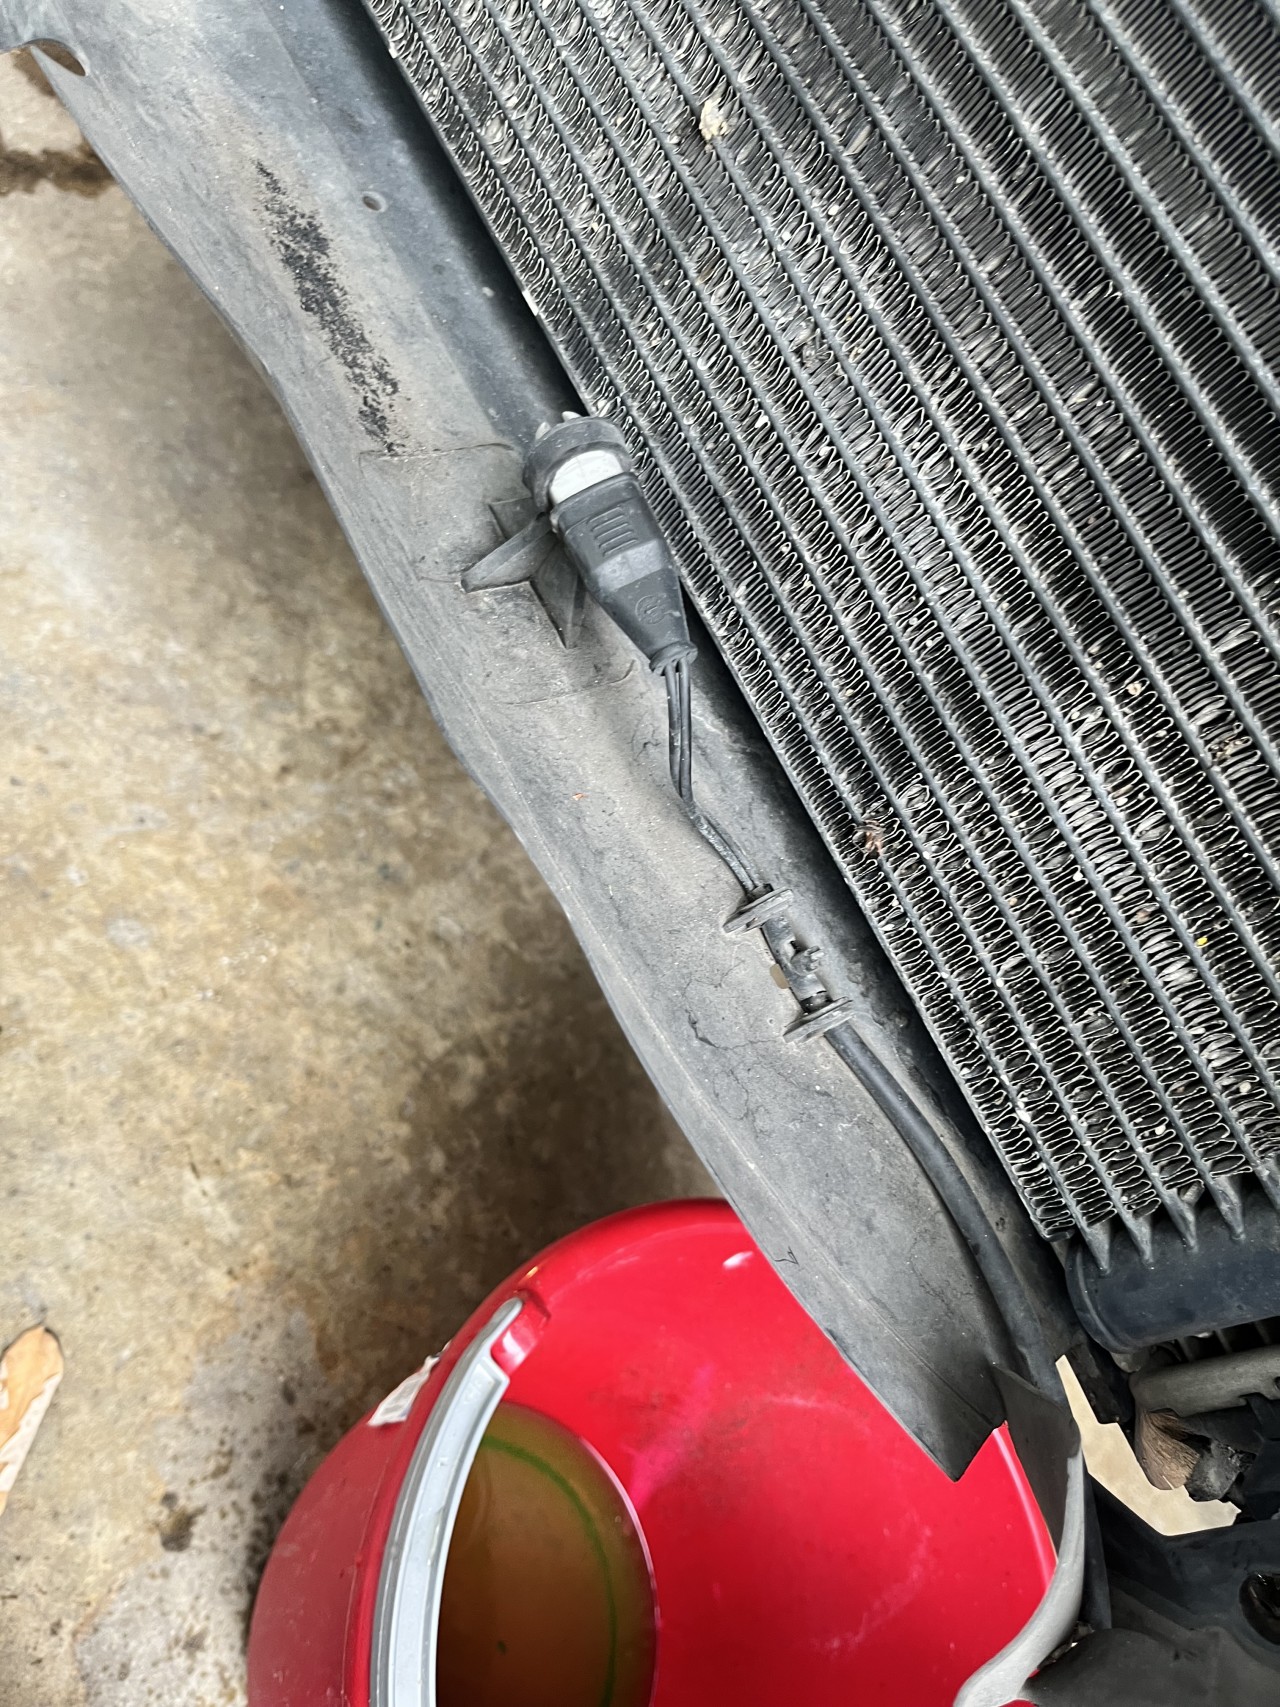
Detach front temp sensor from it’s clip
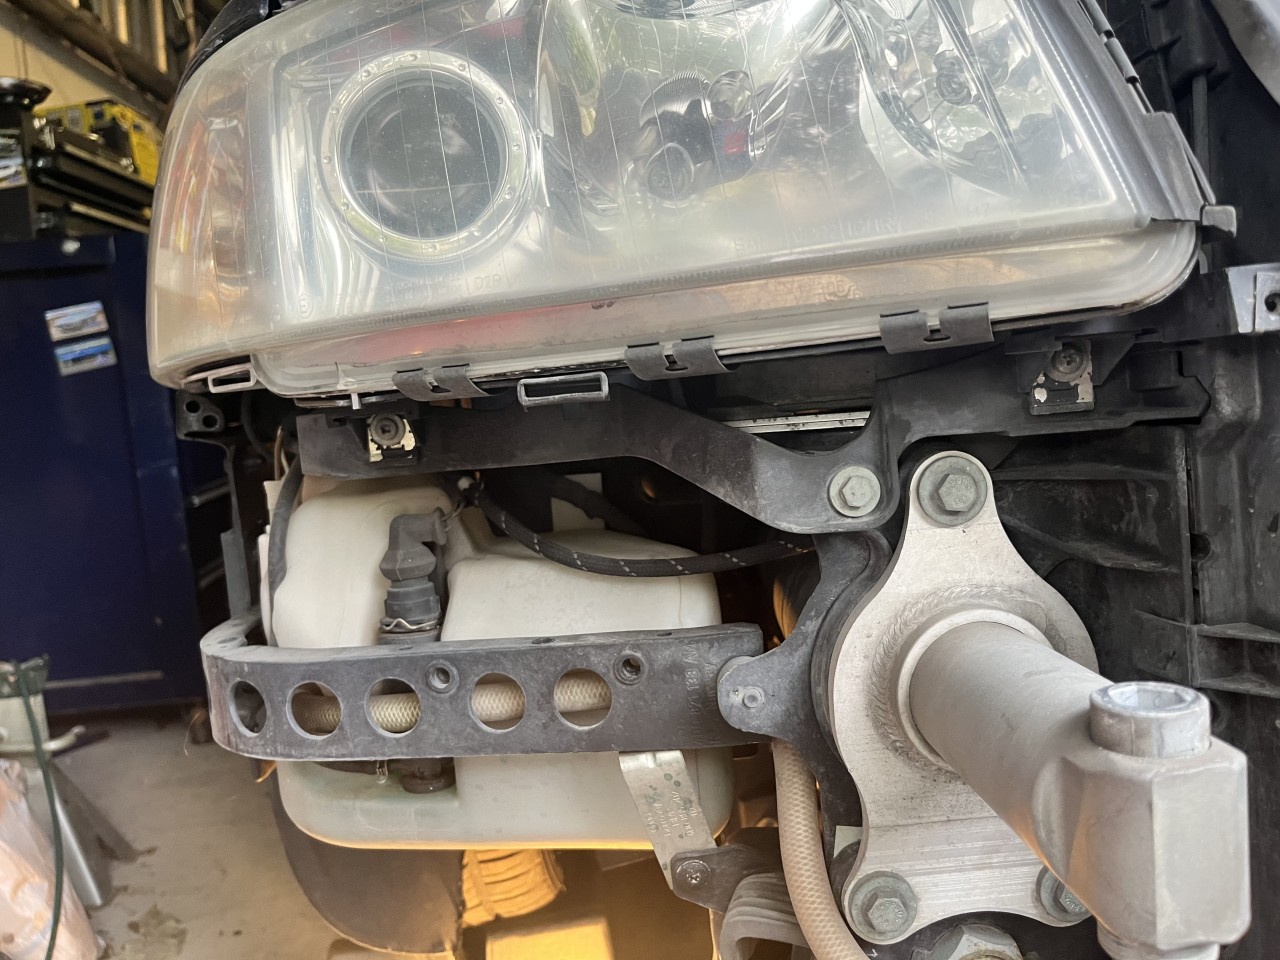
Remove hood rubber stops and remove screws underneath.
3 bolts remove the shock column
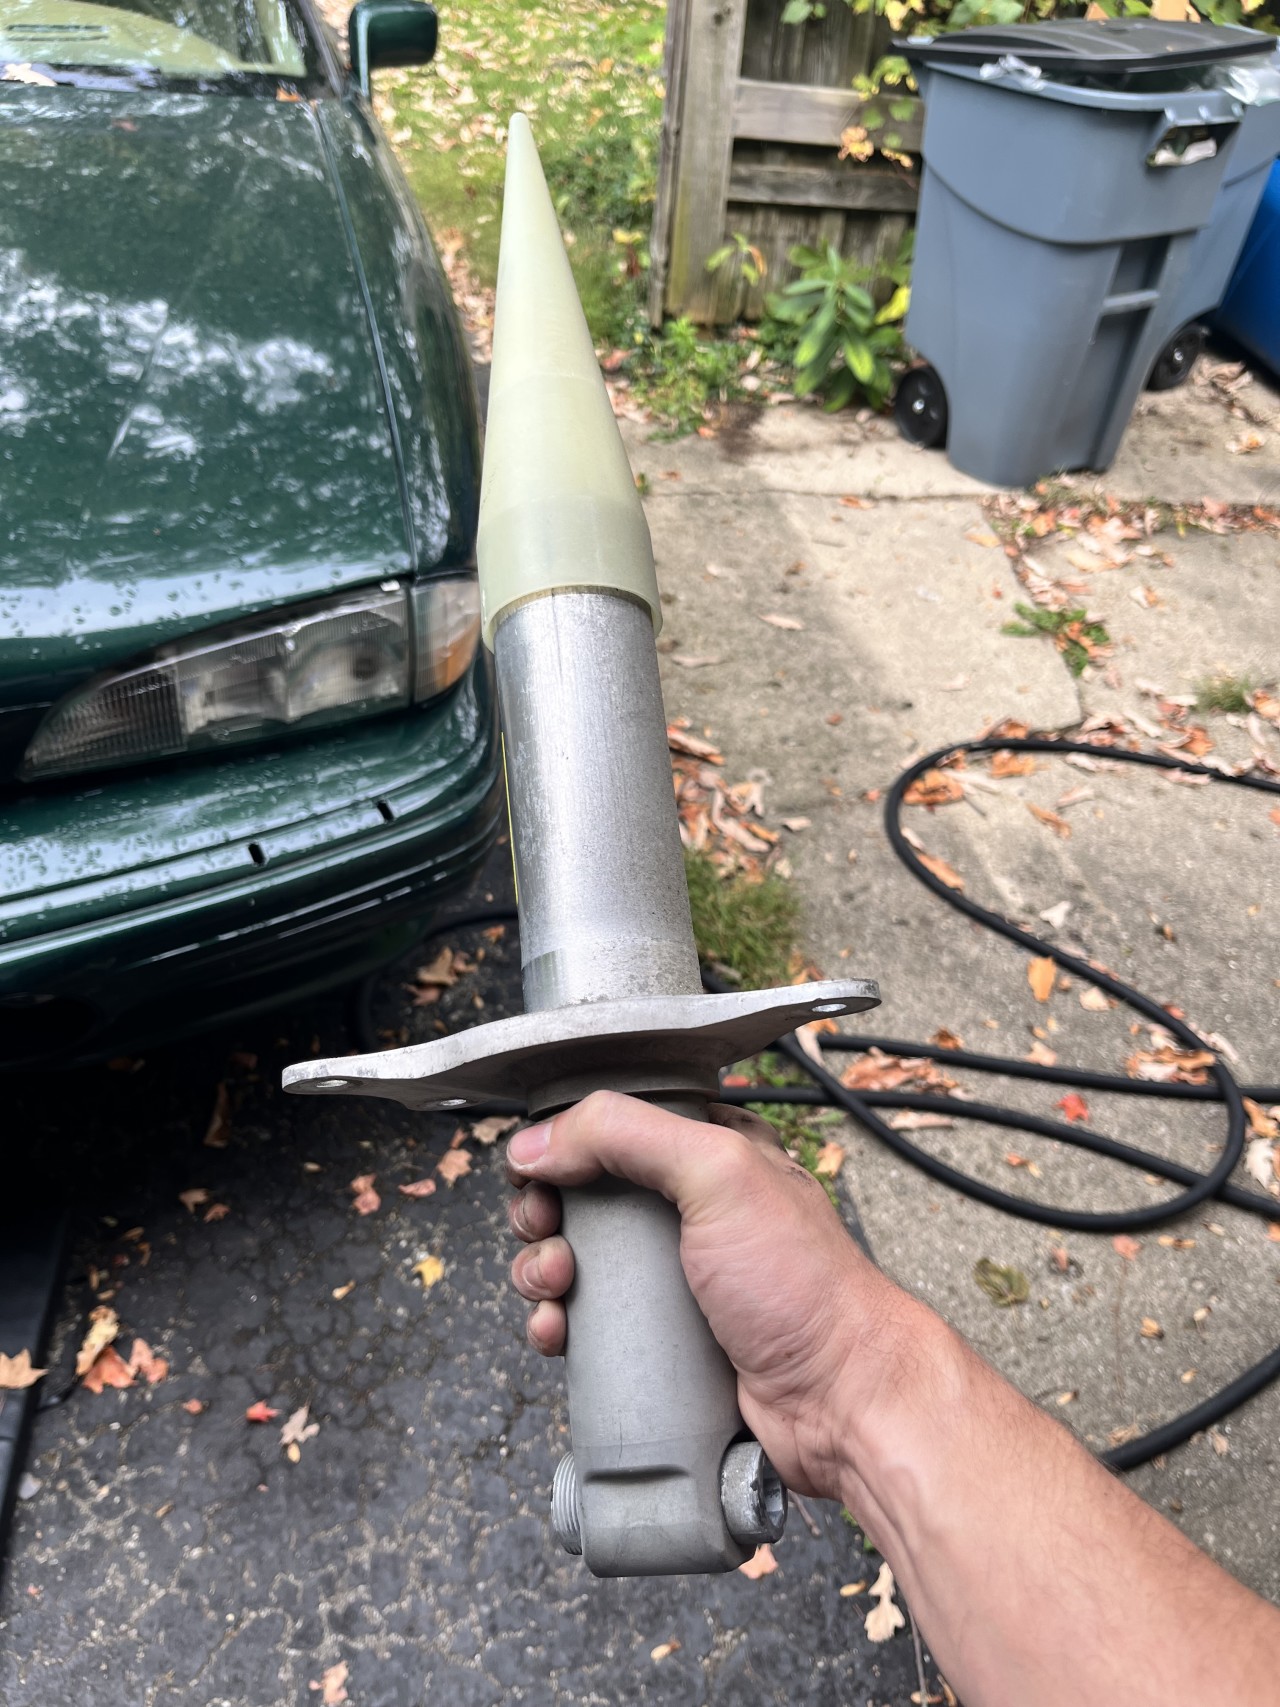
Pointy fella
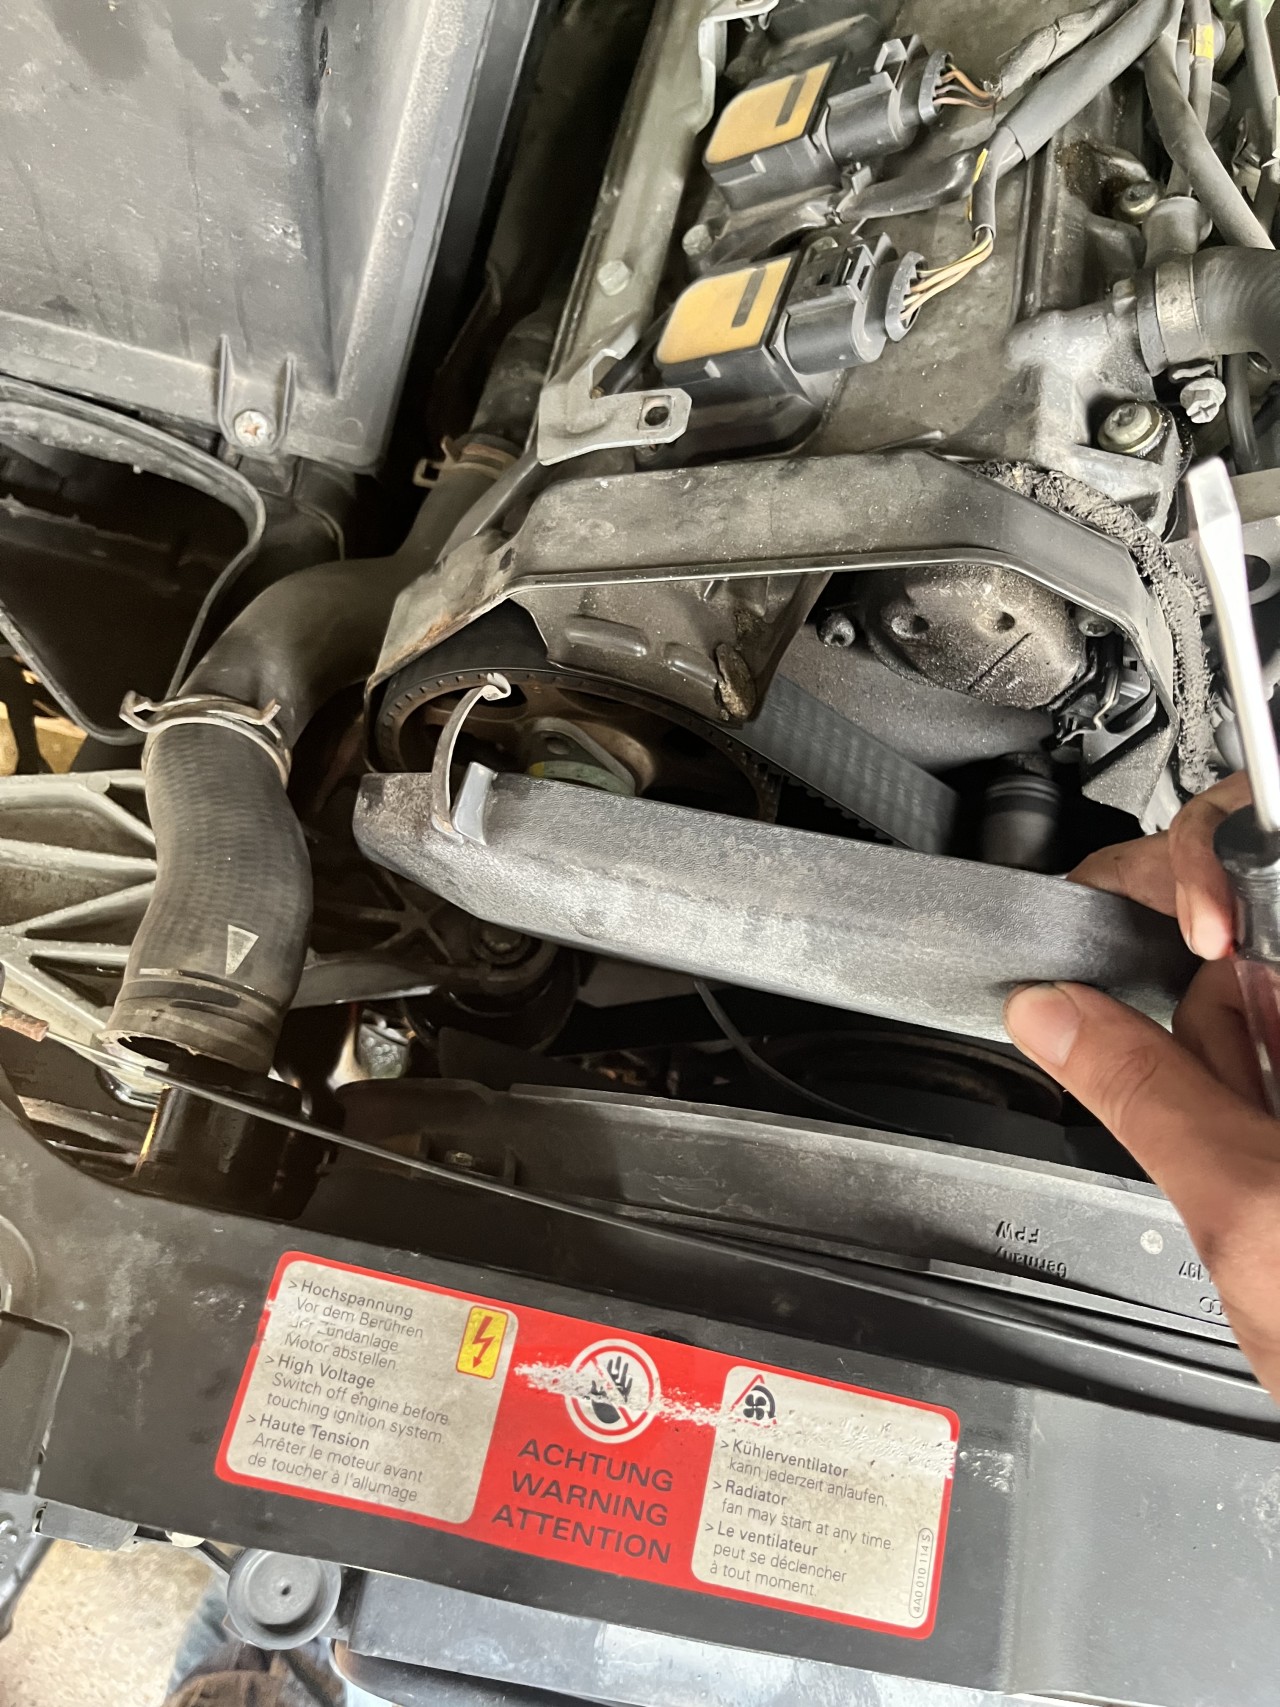
Remove timing belt covers, they are held on by clips
Remove the lower radiator hose.
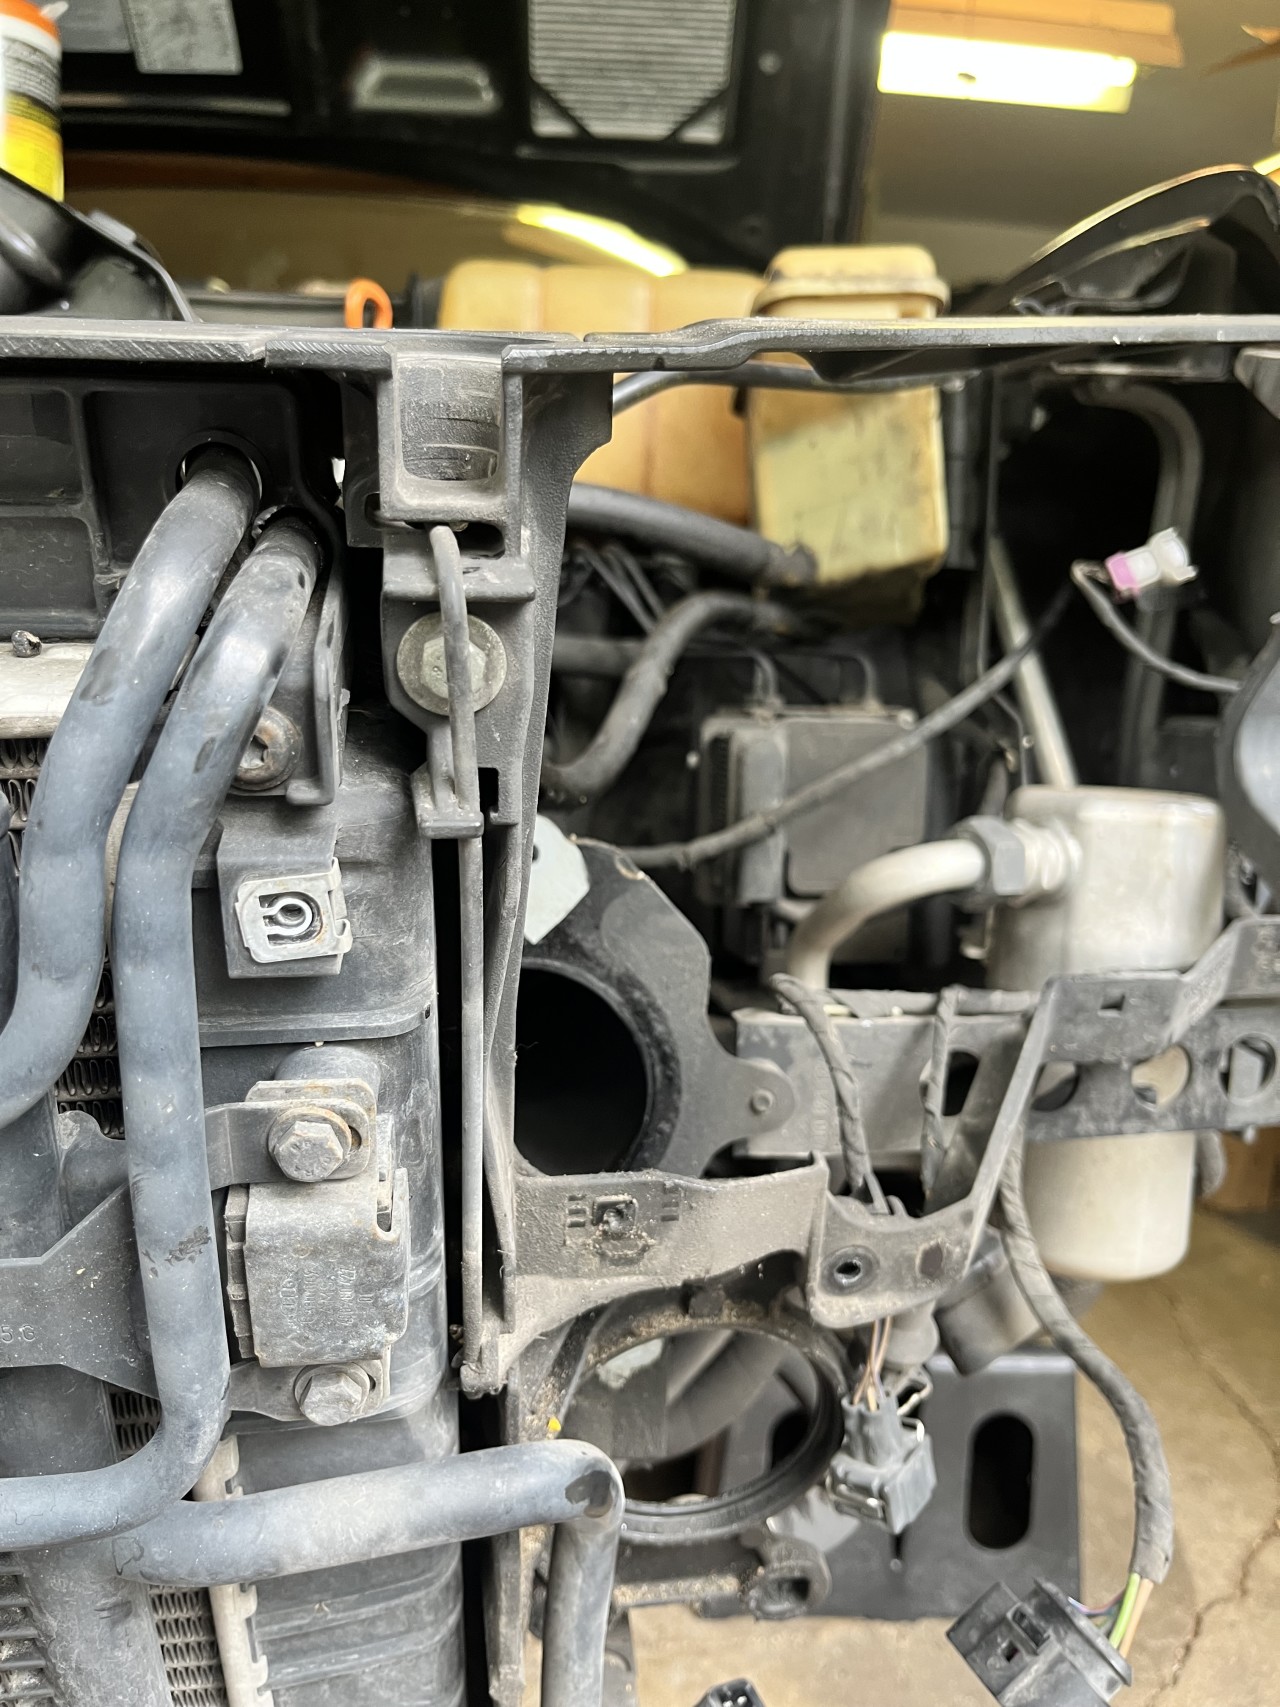
Remove radiator bolts. It’s good to have a box or something the radiator can rest on ready to go. You don’t want to put too much strain on the hoses.
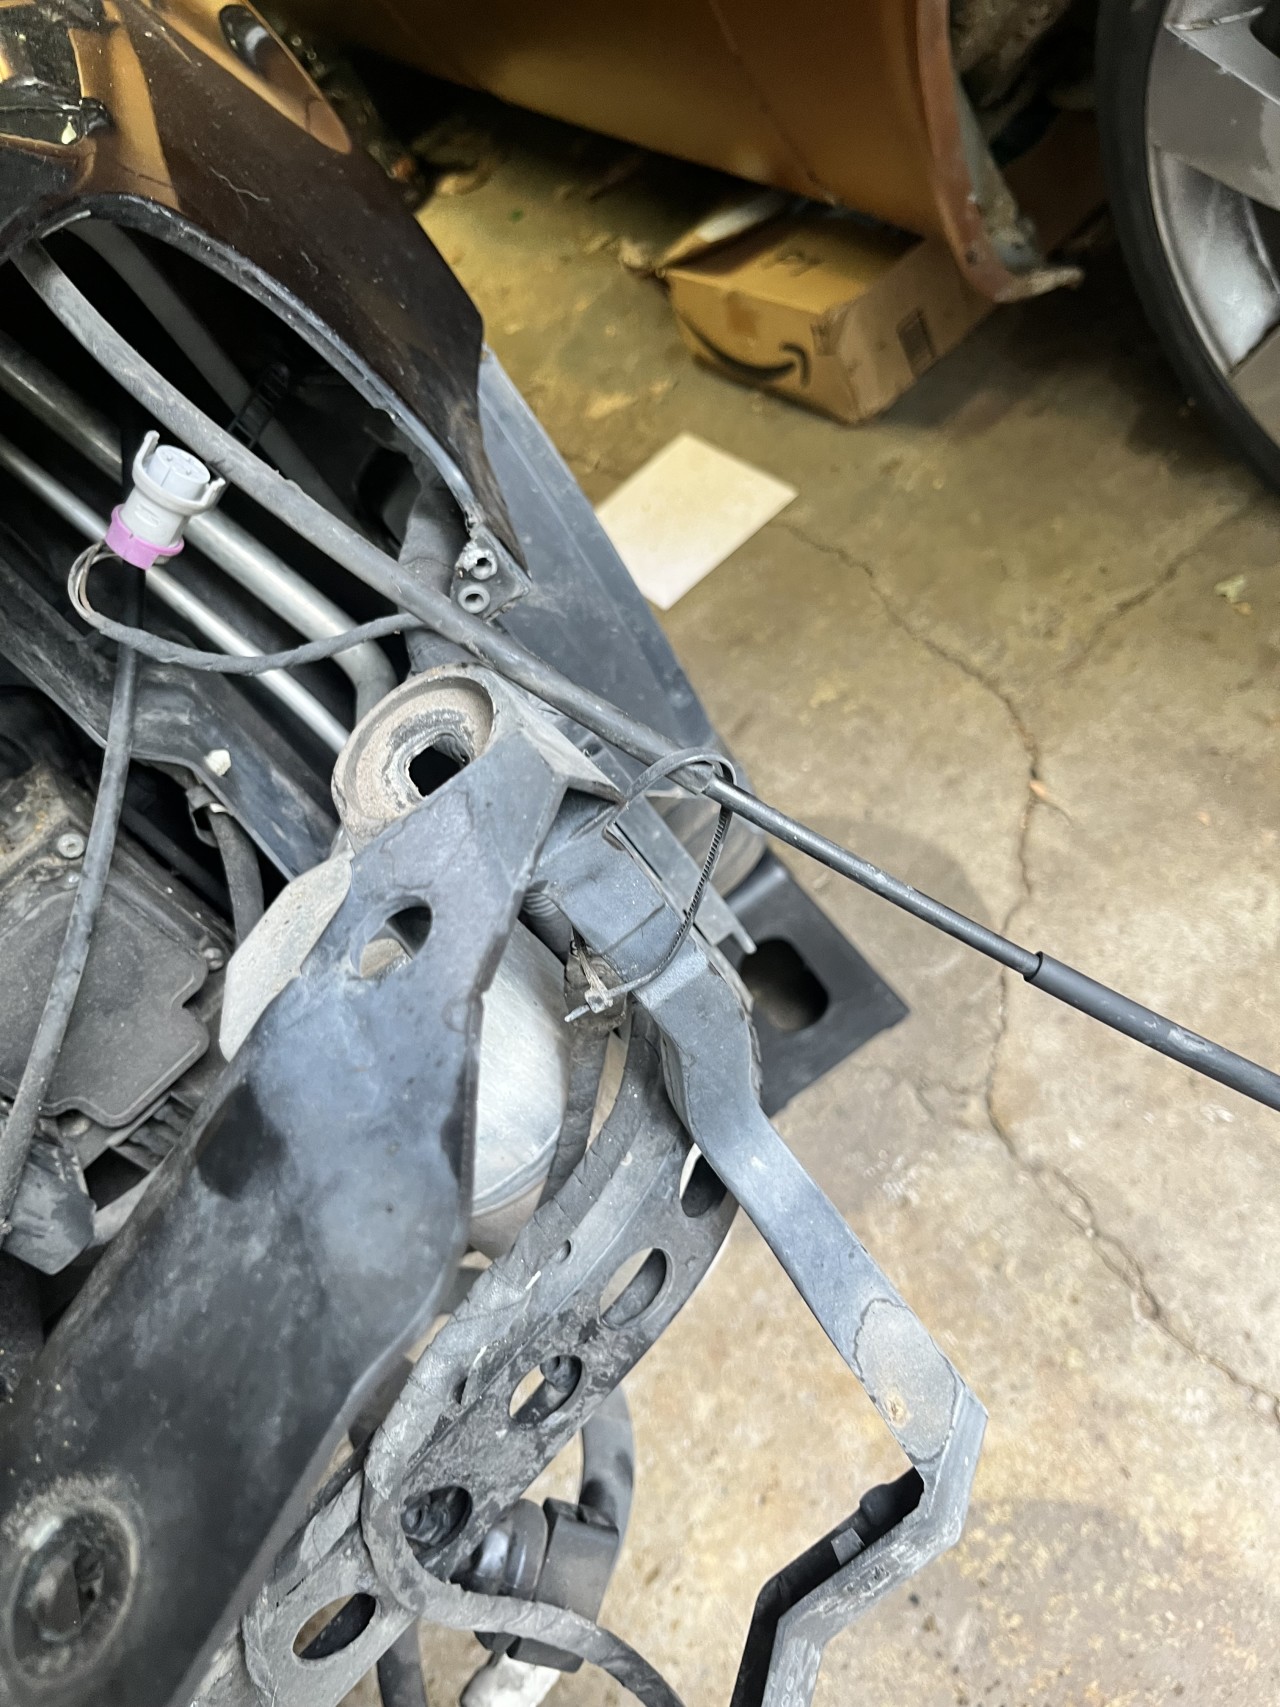
Detach the hood cable from its clips.
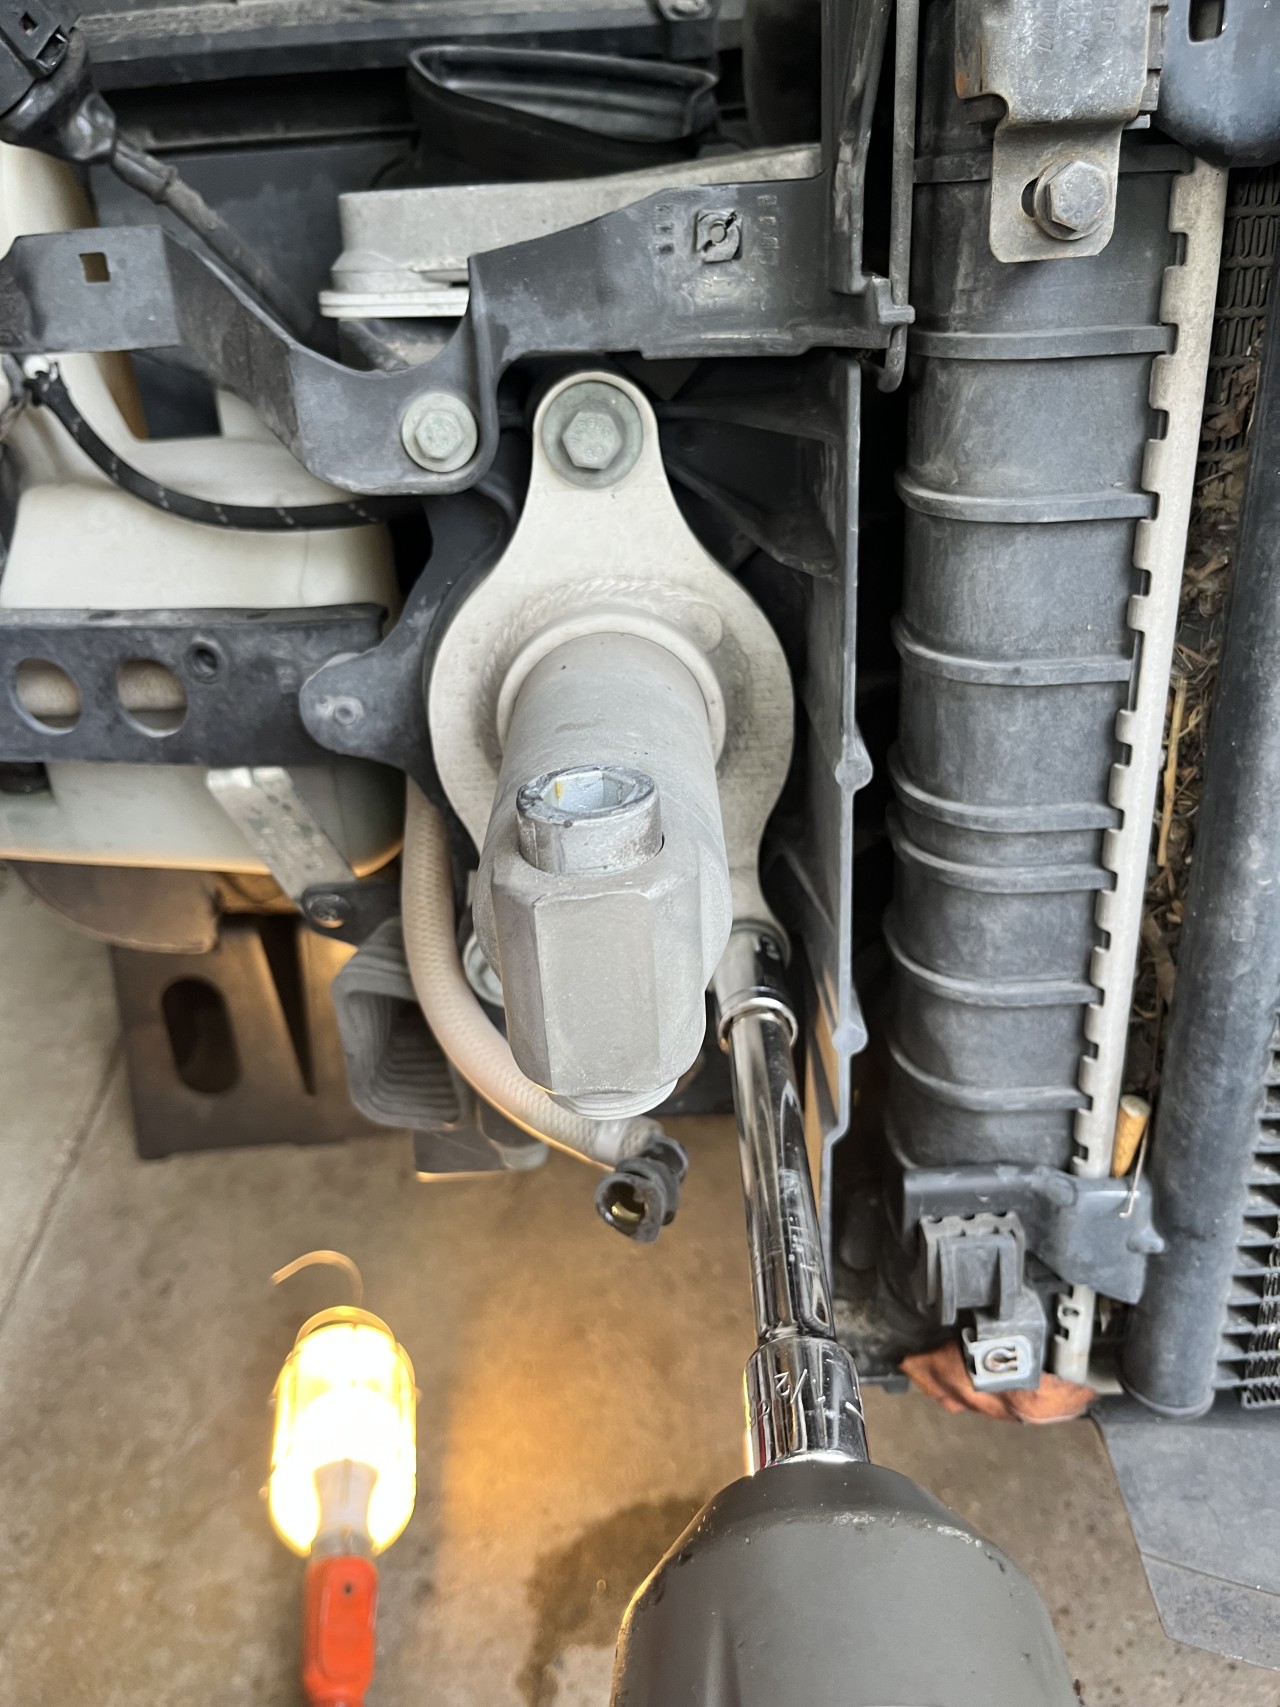
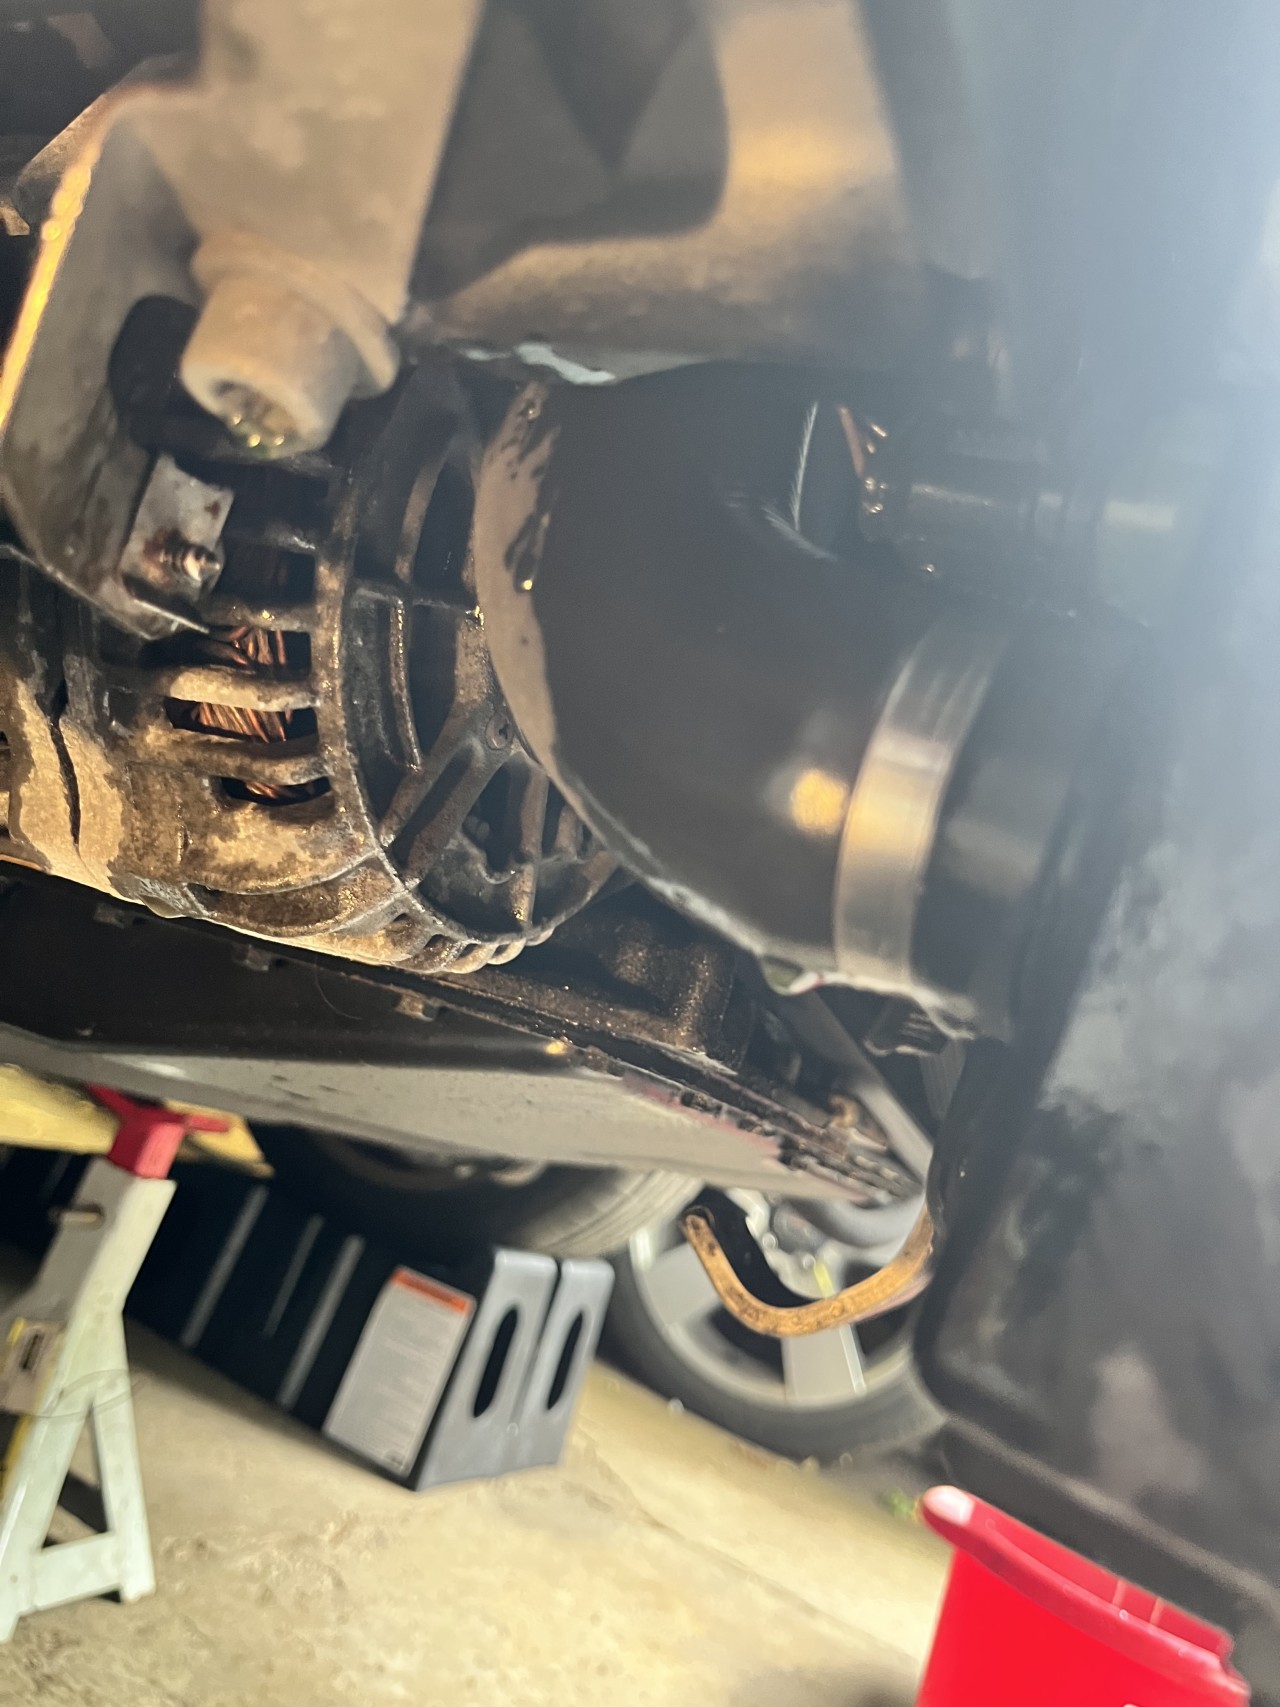
Remove the fan, its a counter clockwise threading
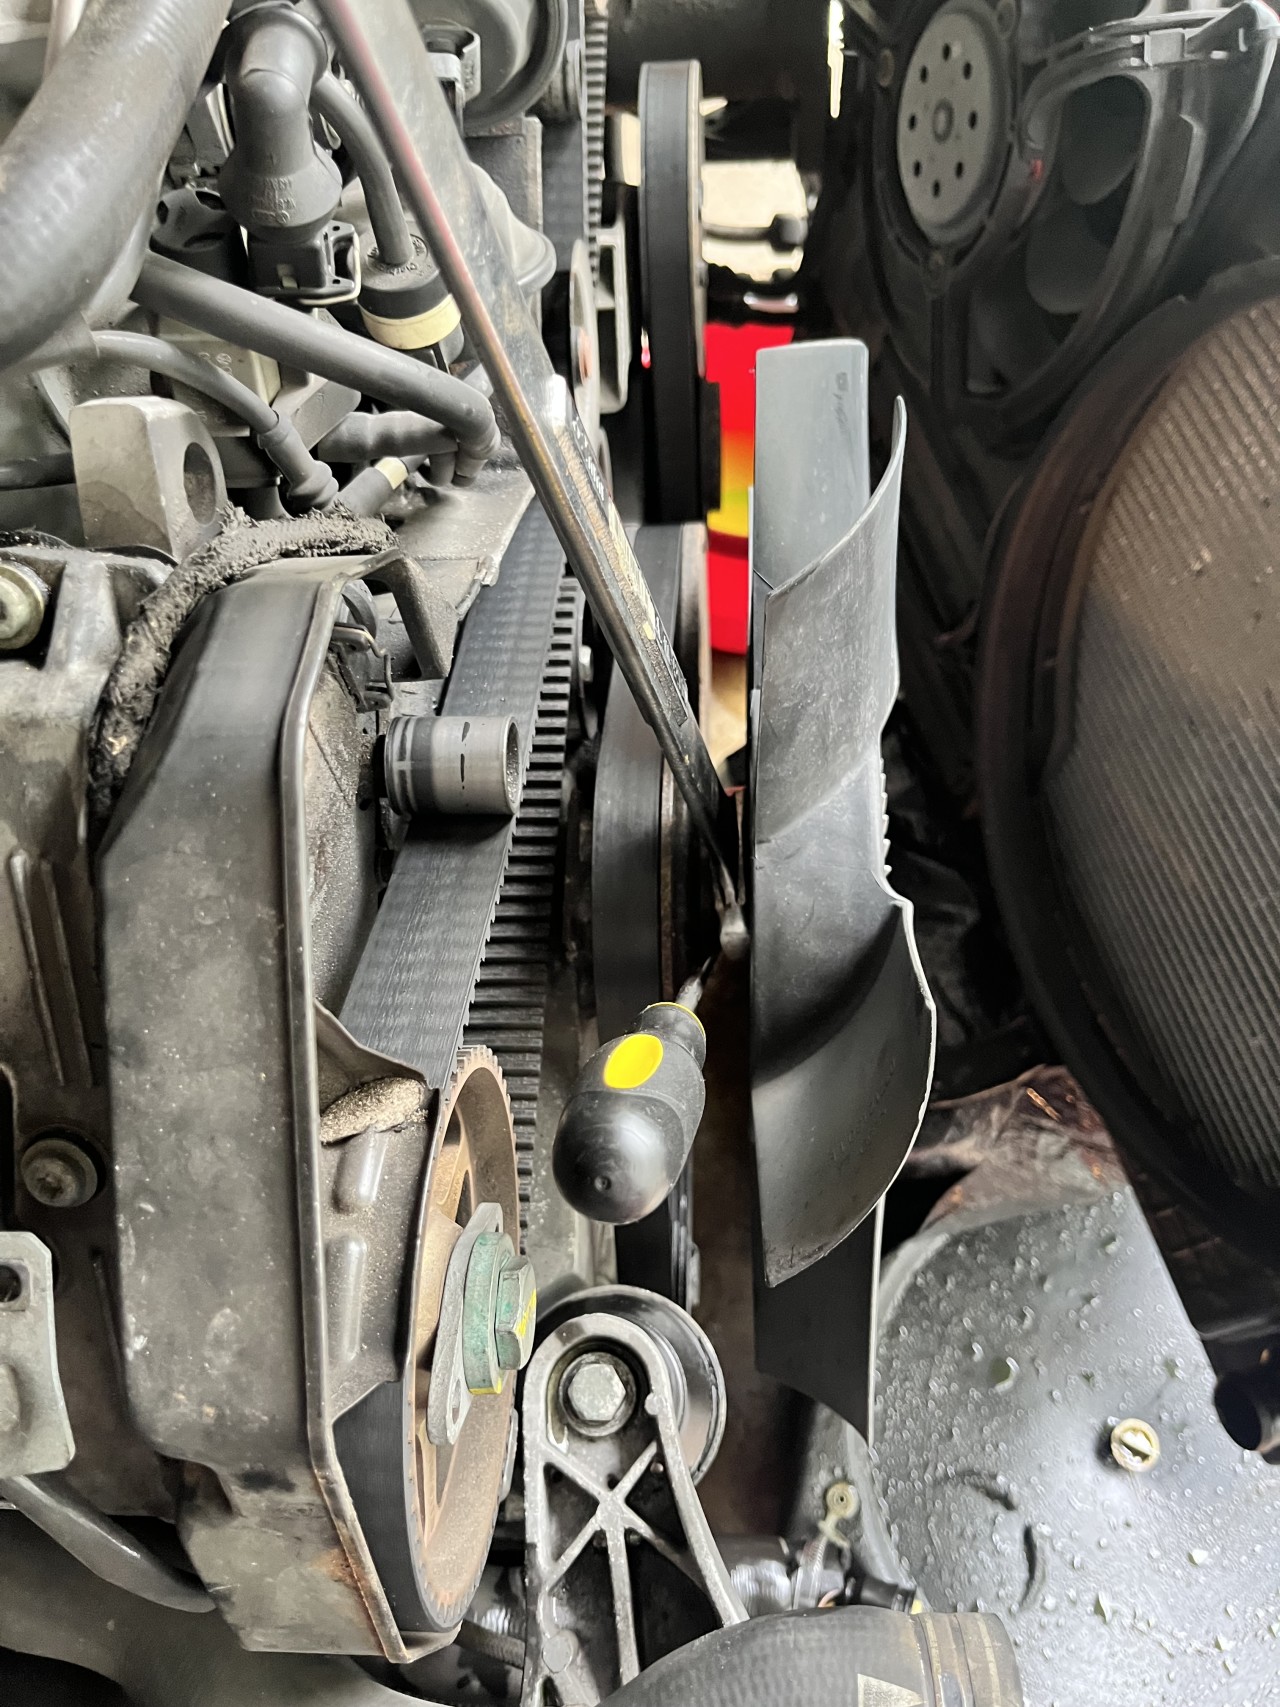
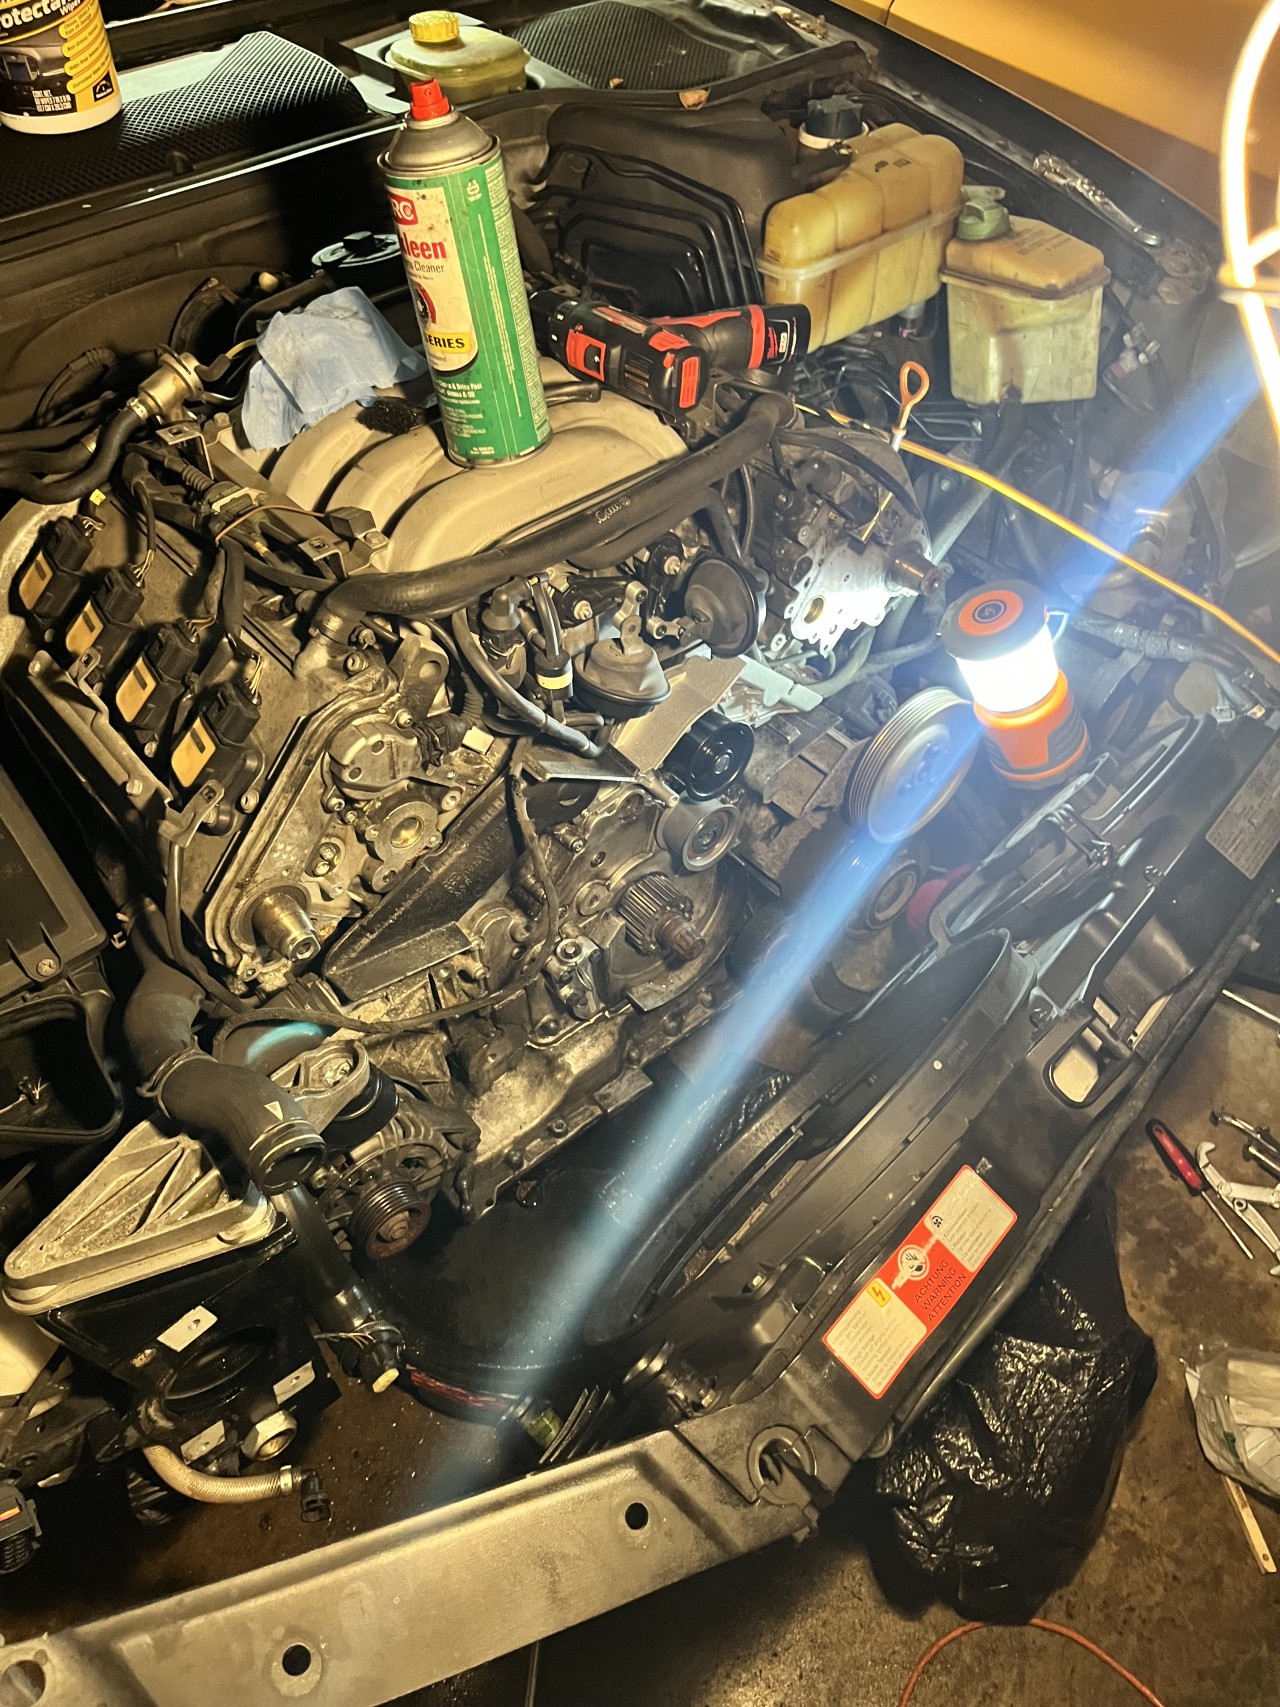
Pull back your front core support/radiator to gain access to the timing belt
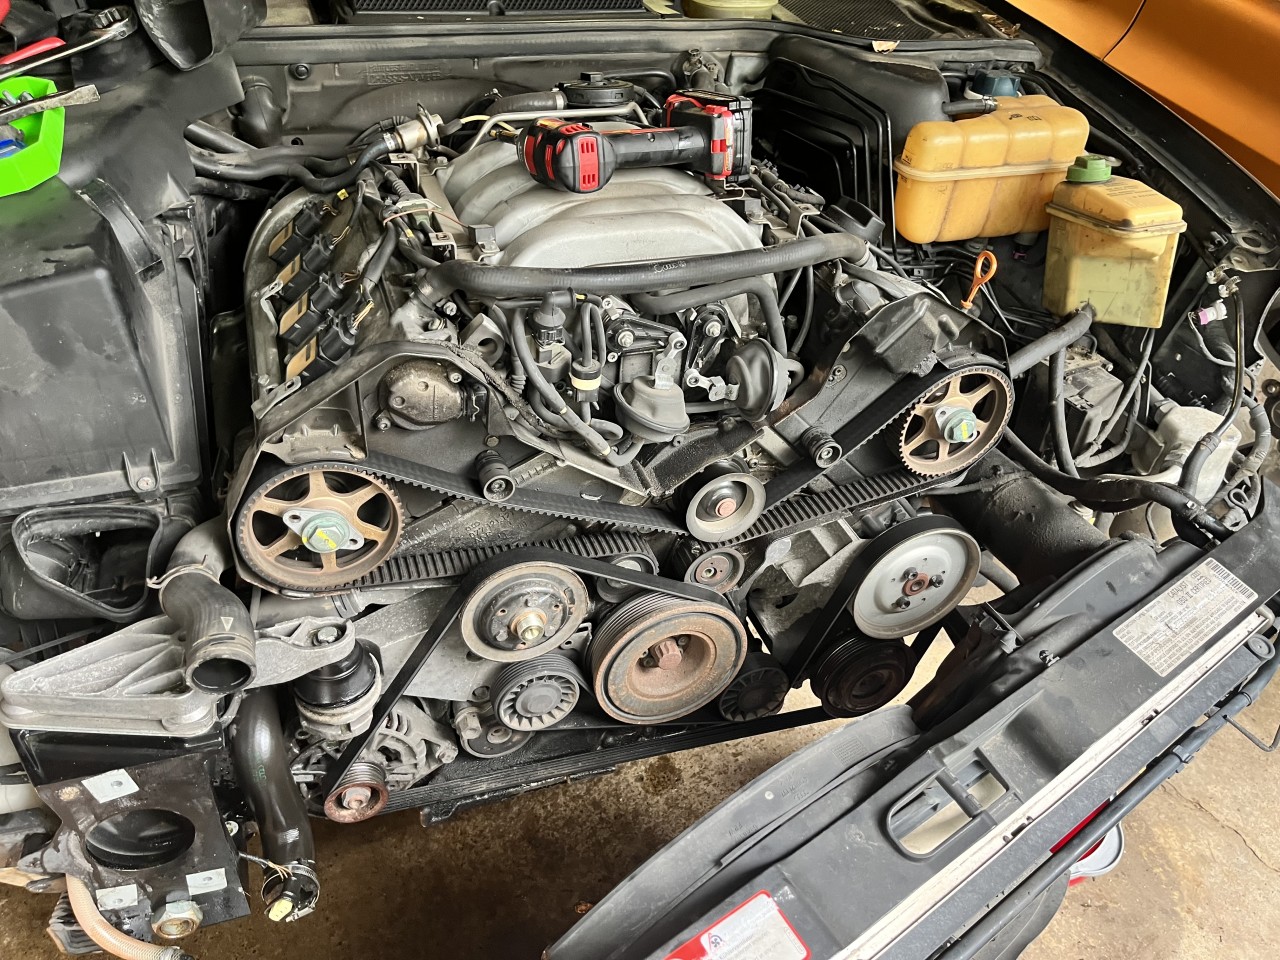
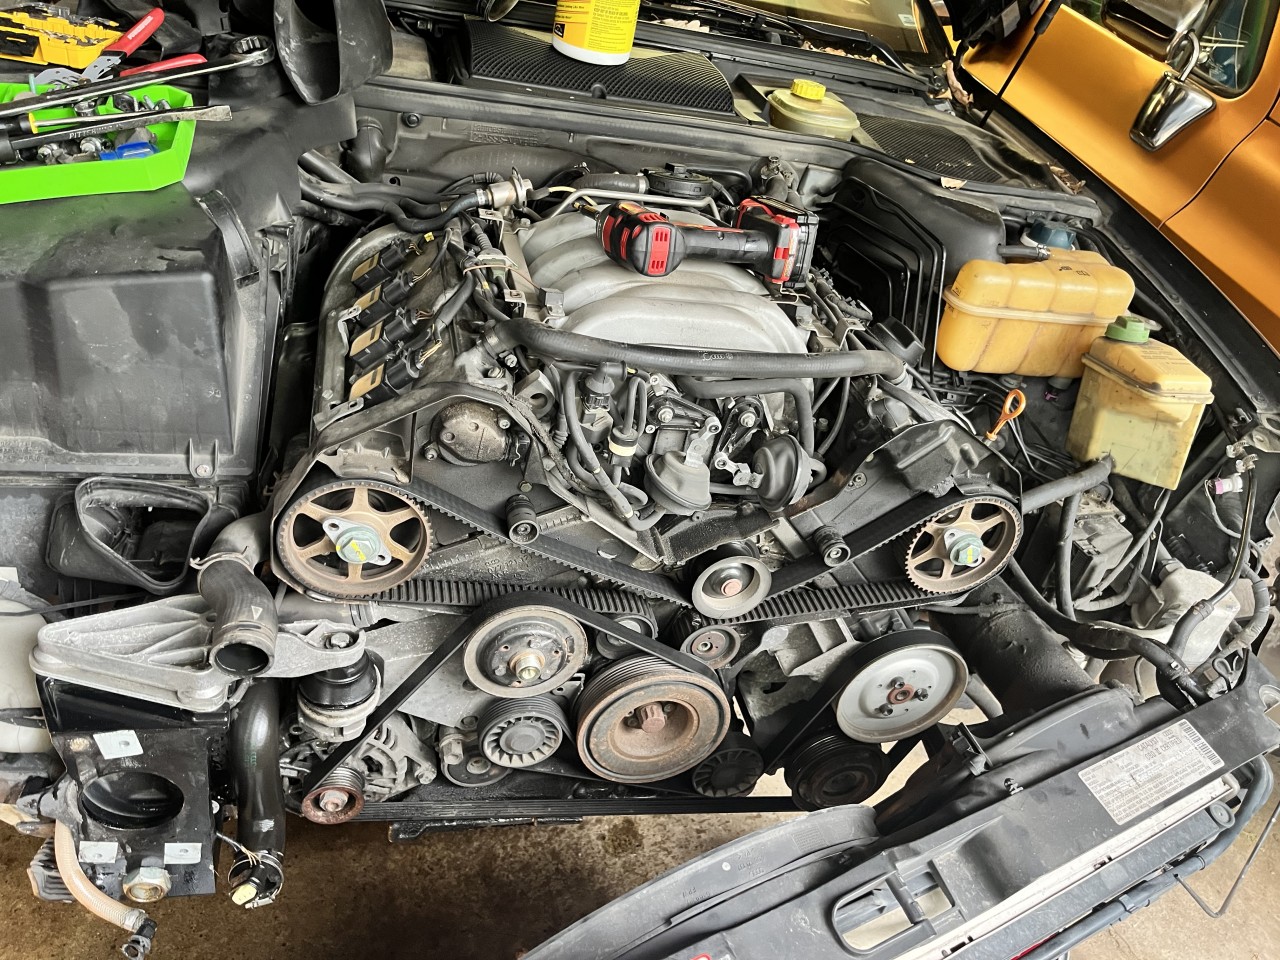
Get the engine positioned for proper service. The crank position mark is on one of the plastic covers.
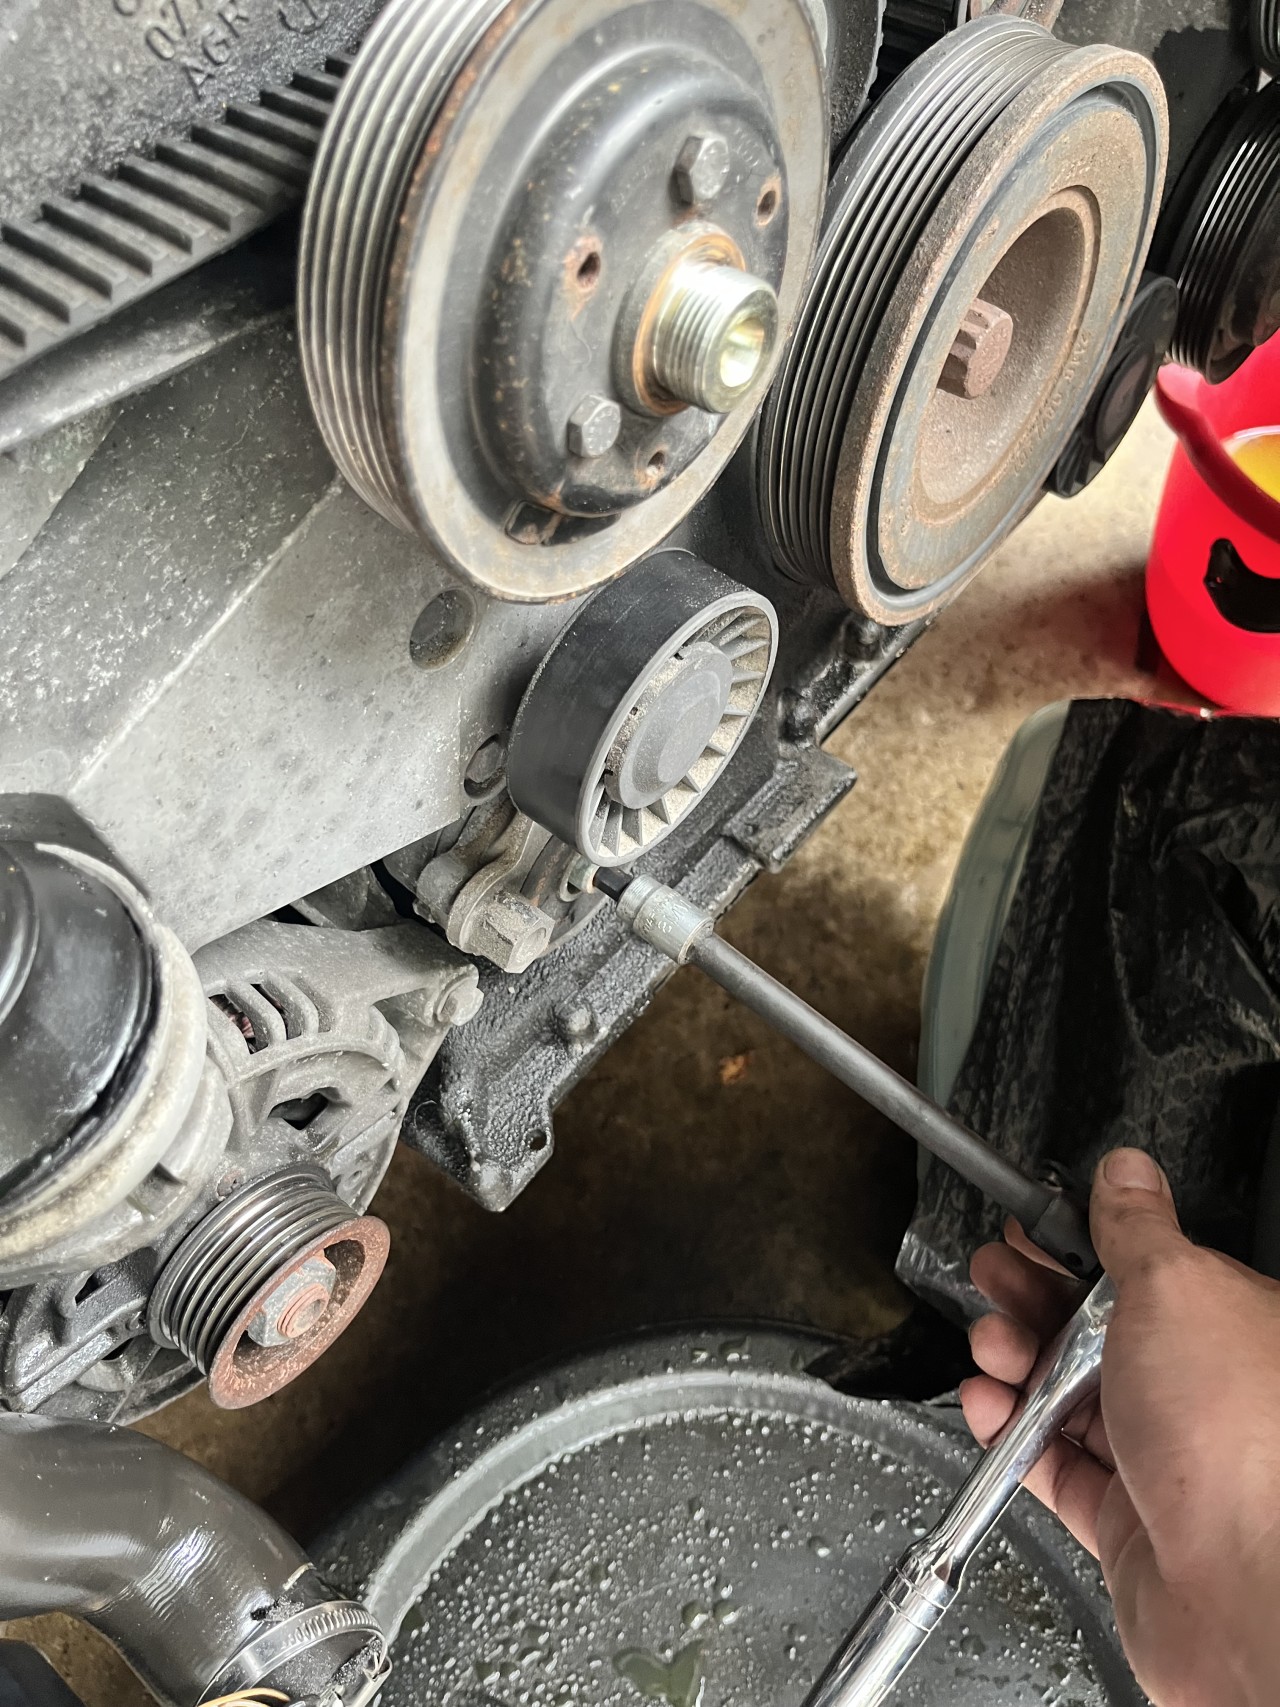
Remove accessory belt and tensioner
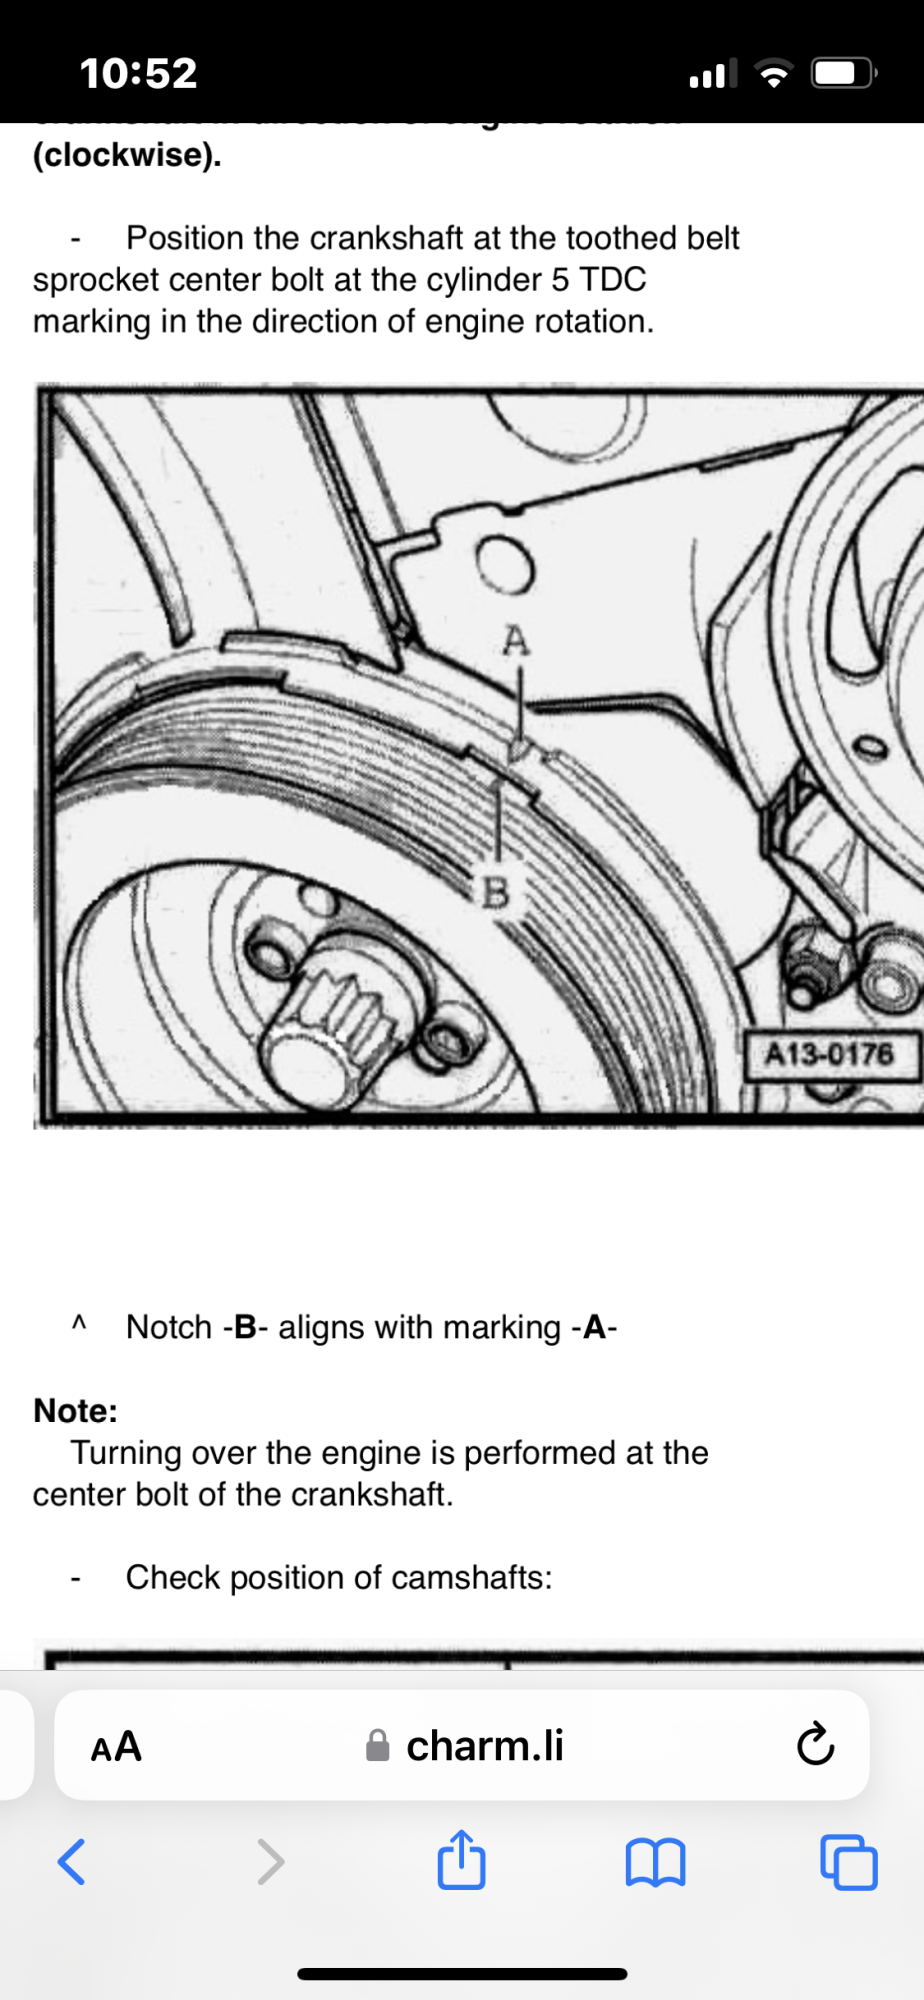
Rotate engine to proper position
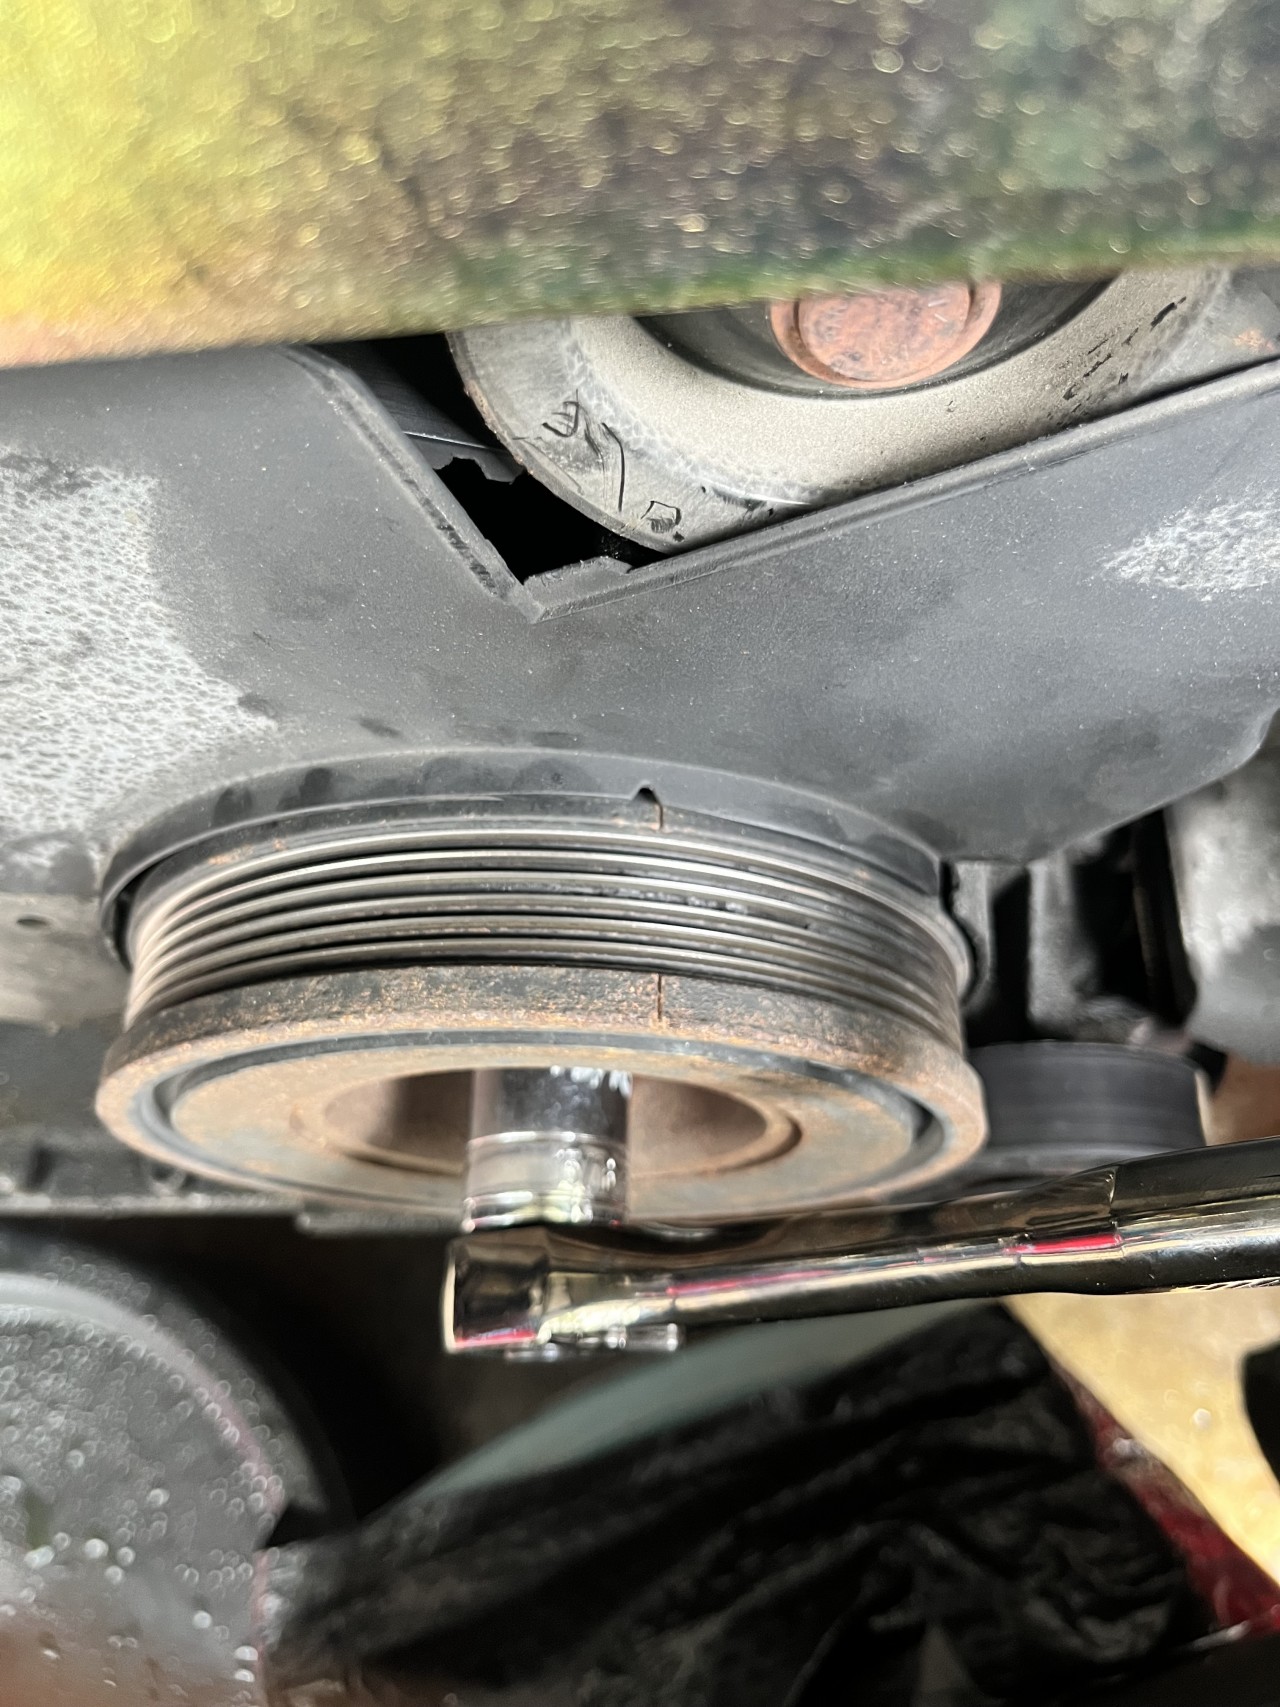
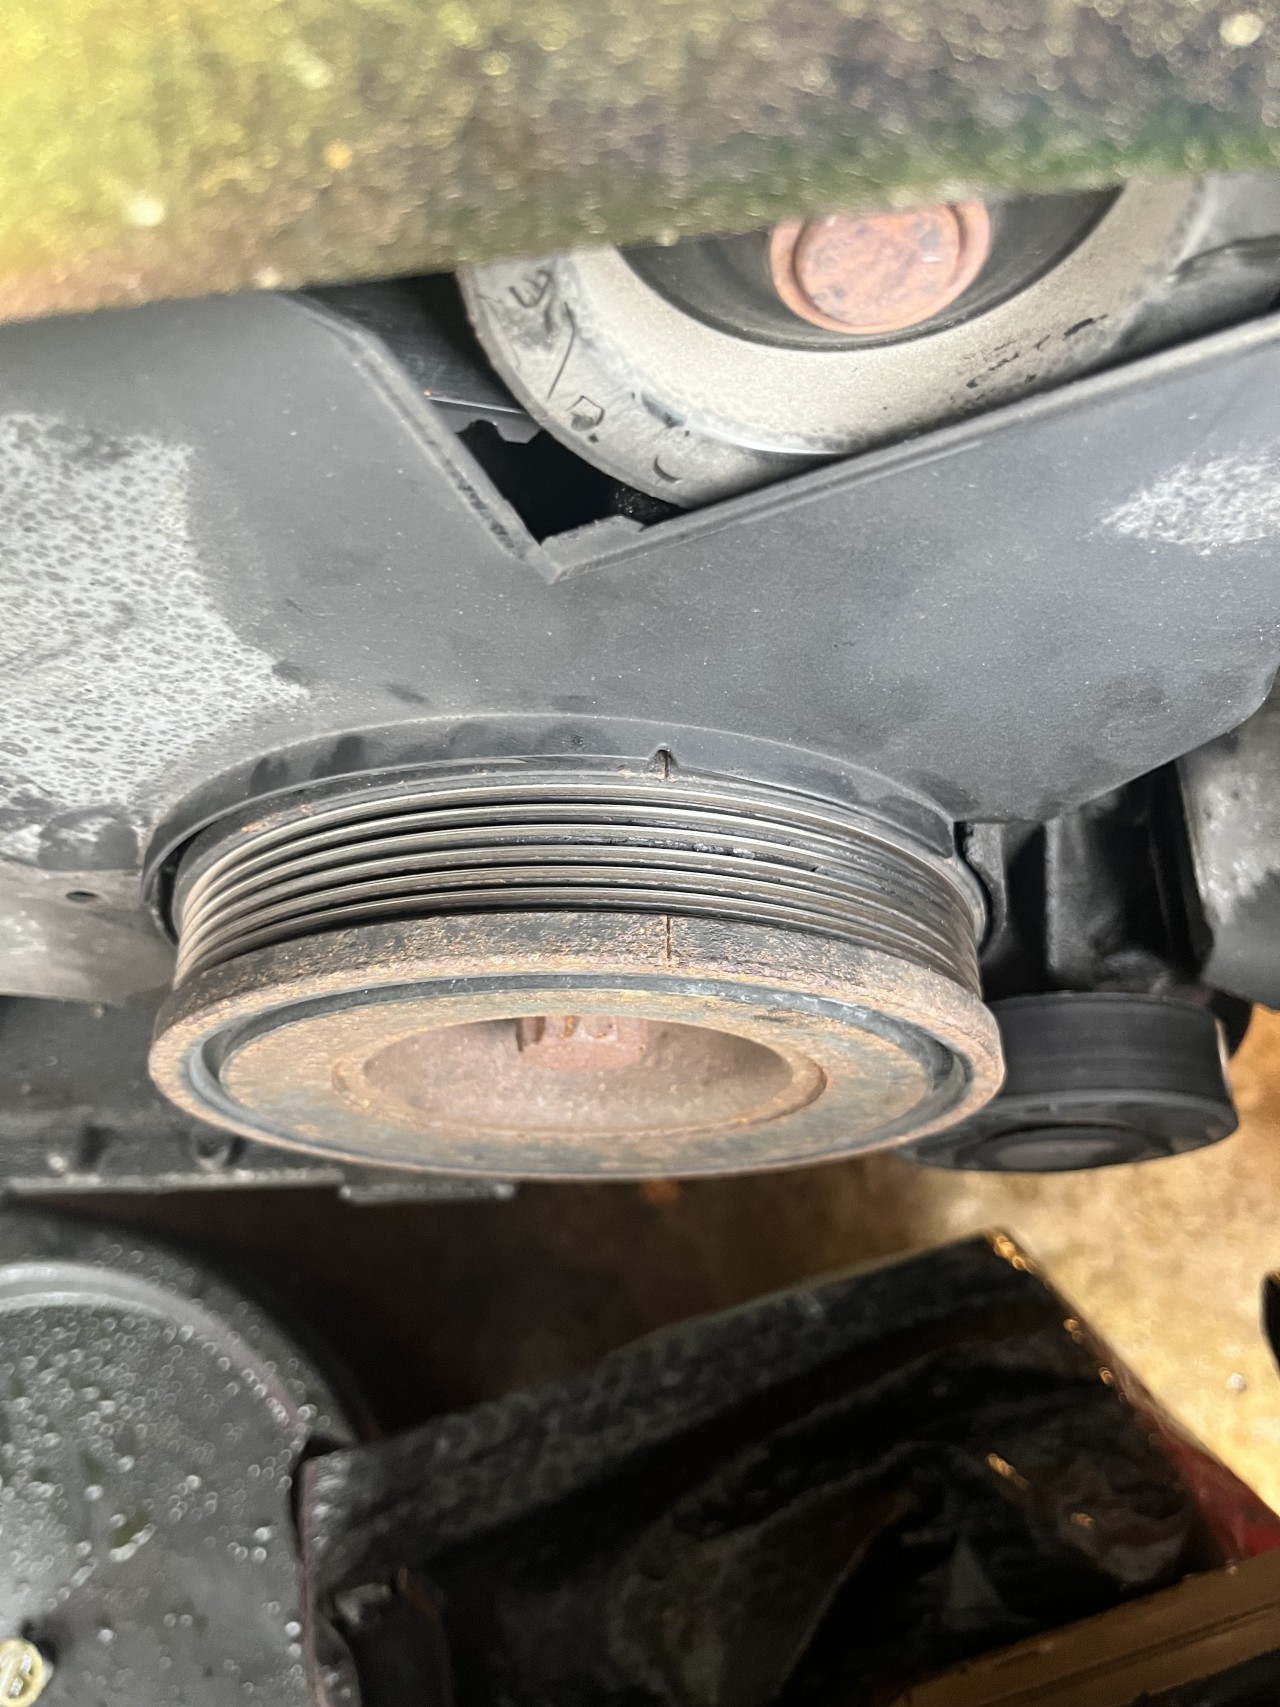
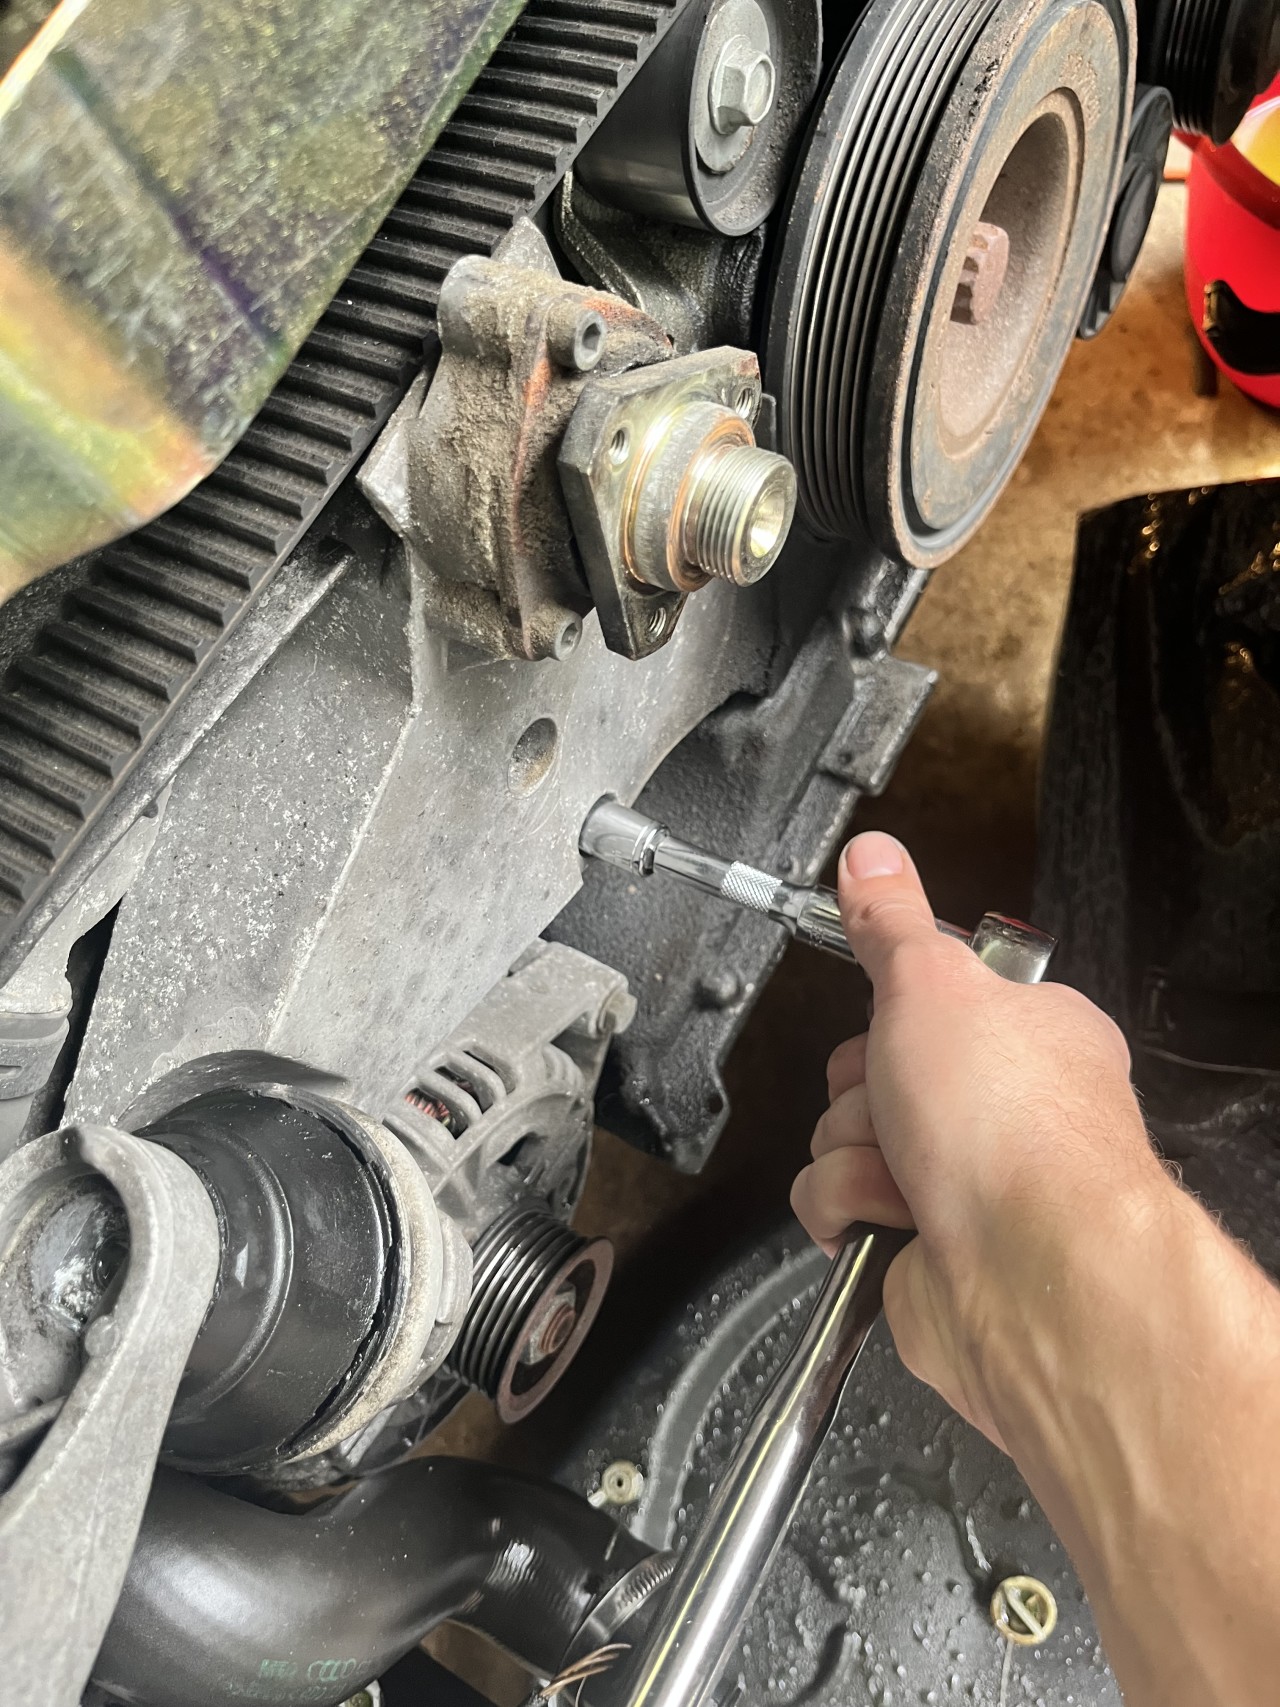
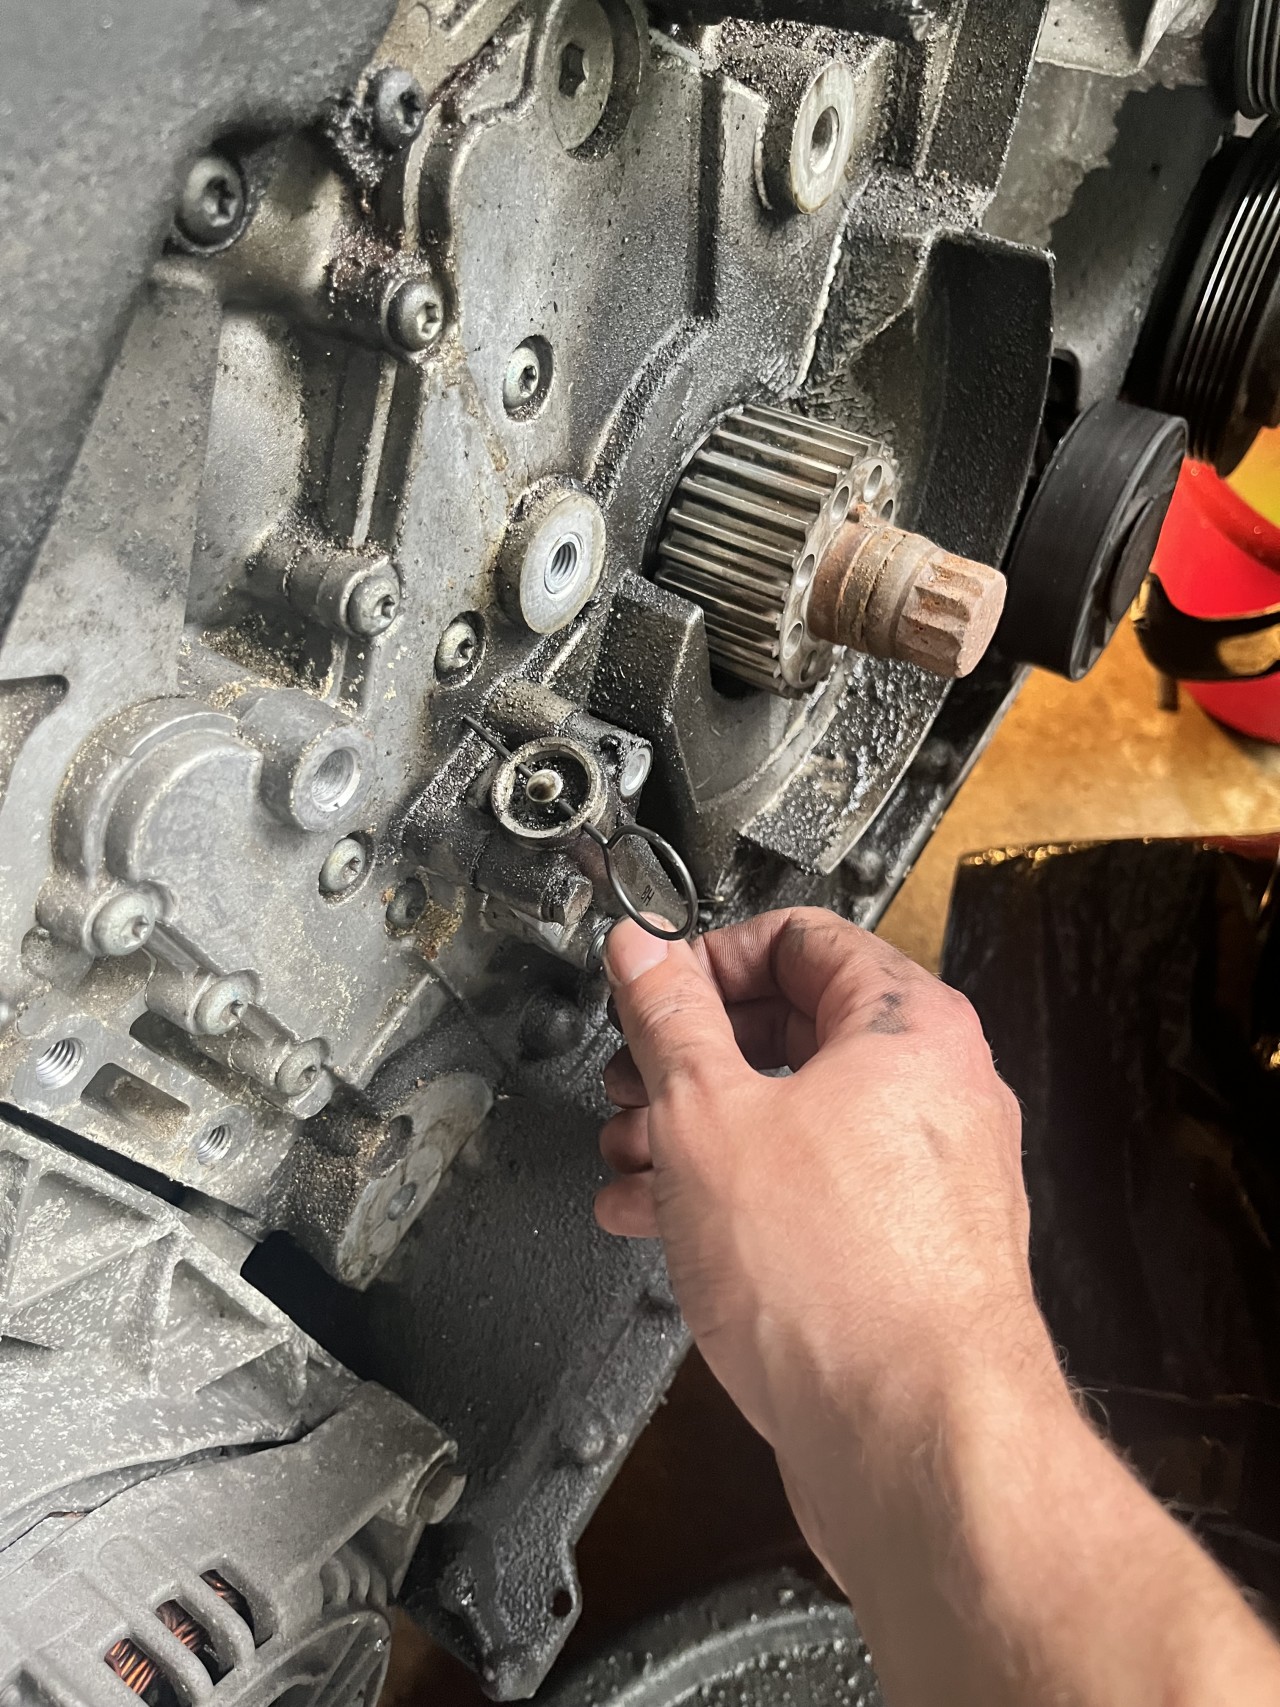
Remove crankshaft plug on the lower driver side of the engine and replace with camshaft locking tool. You’ll need a few extensions. Removing the wheel well liner makes this easier.
Bung removed
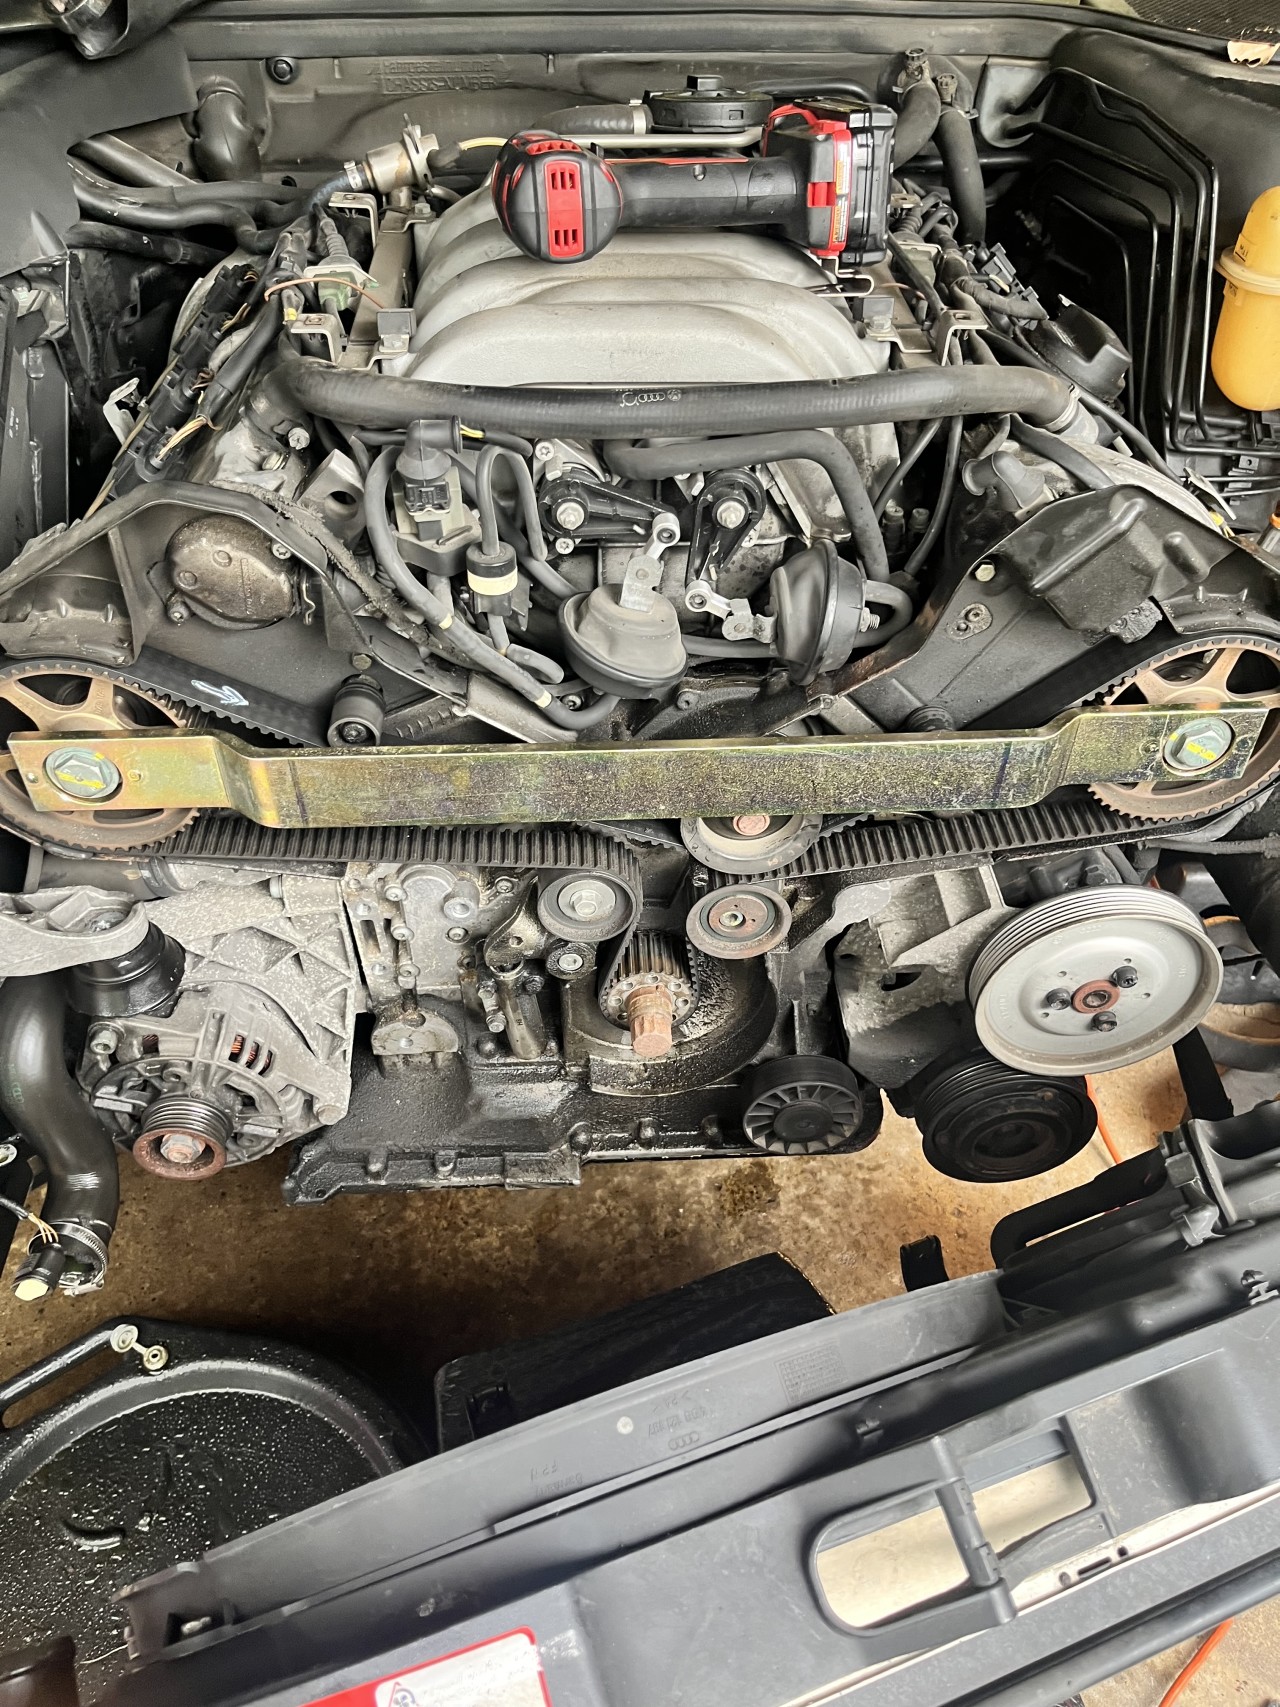
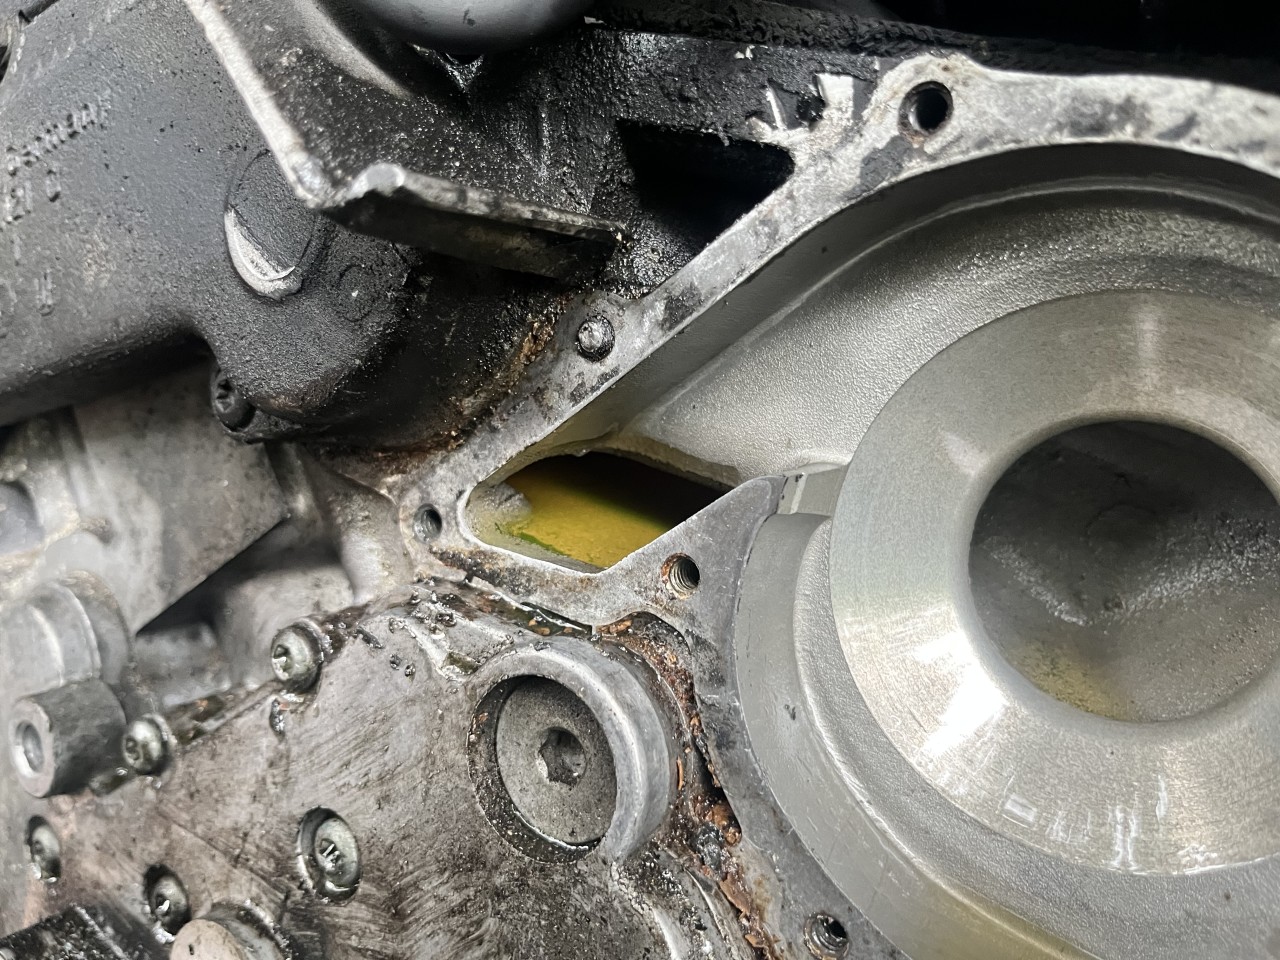
Lined up. Confirm position with cam locking bar. Leave in place for now.
Remove engine front mount bolt and the bolts holding the mount to the engine.
Here’s the cam-locking tool
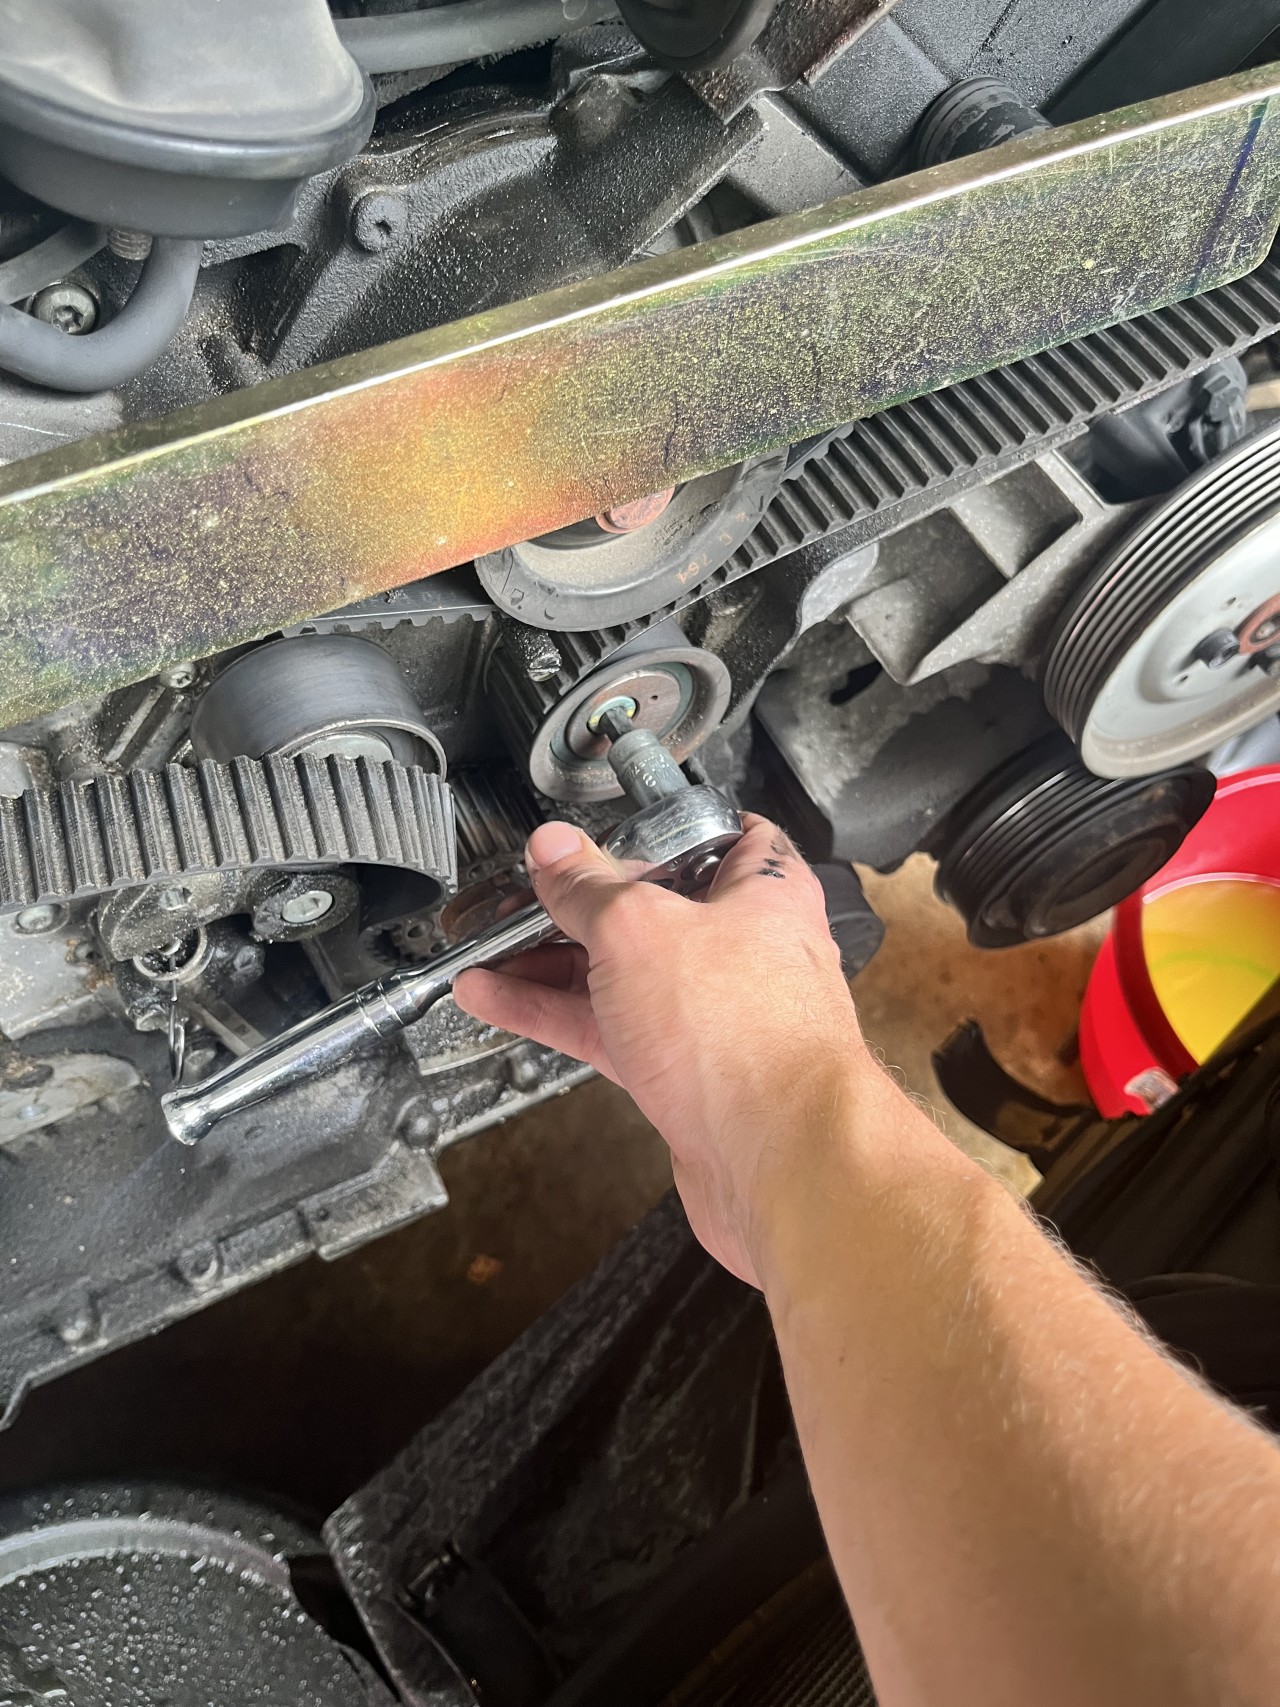
Loosen the tensioner pulley
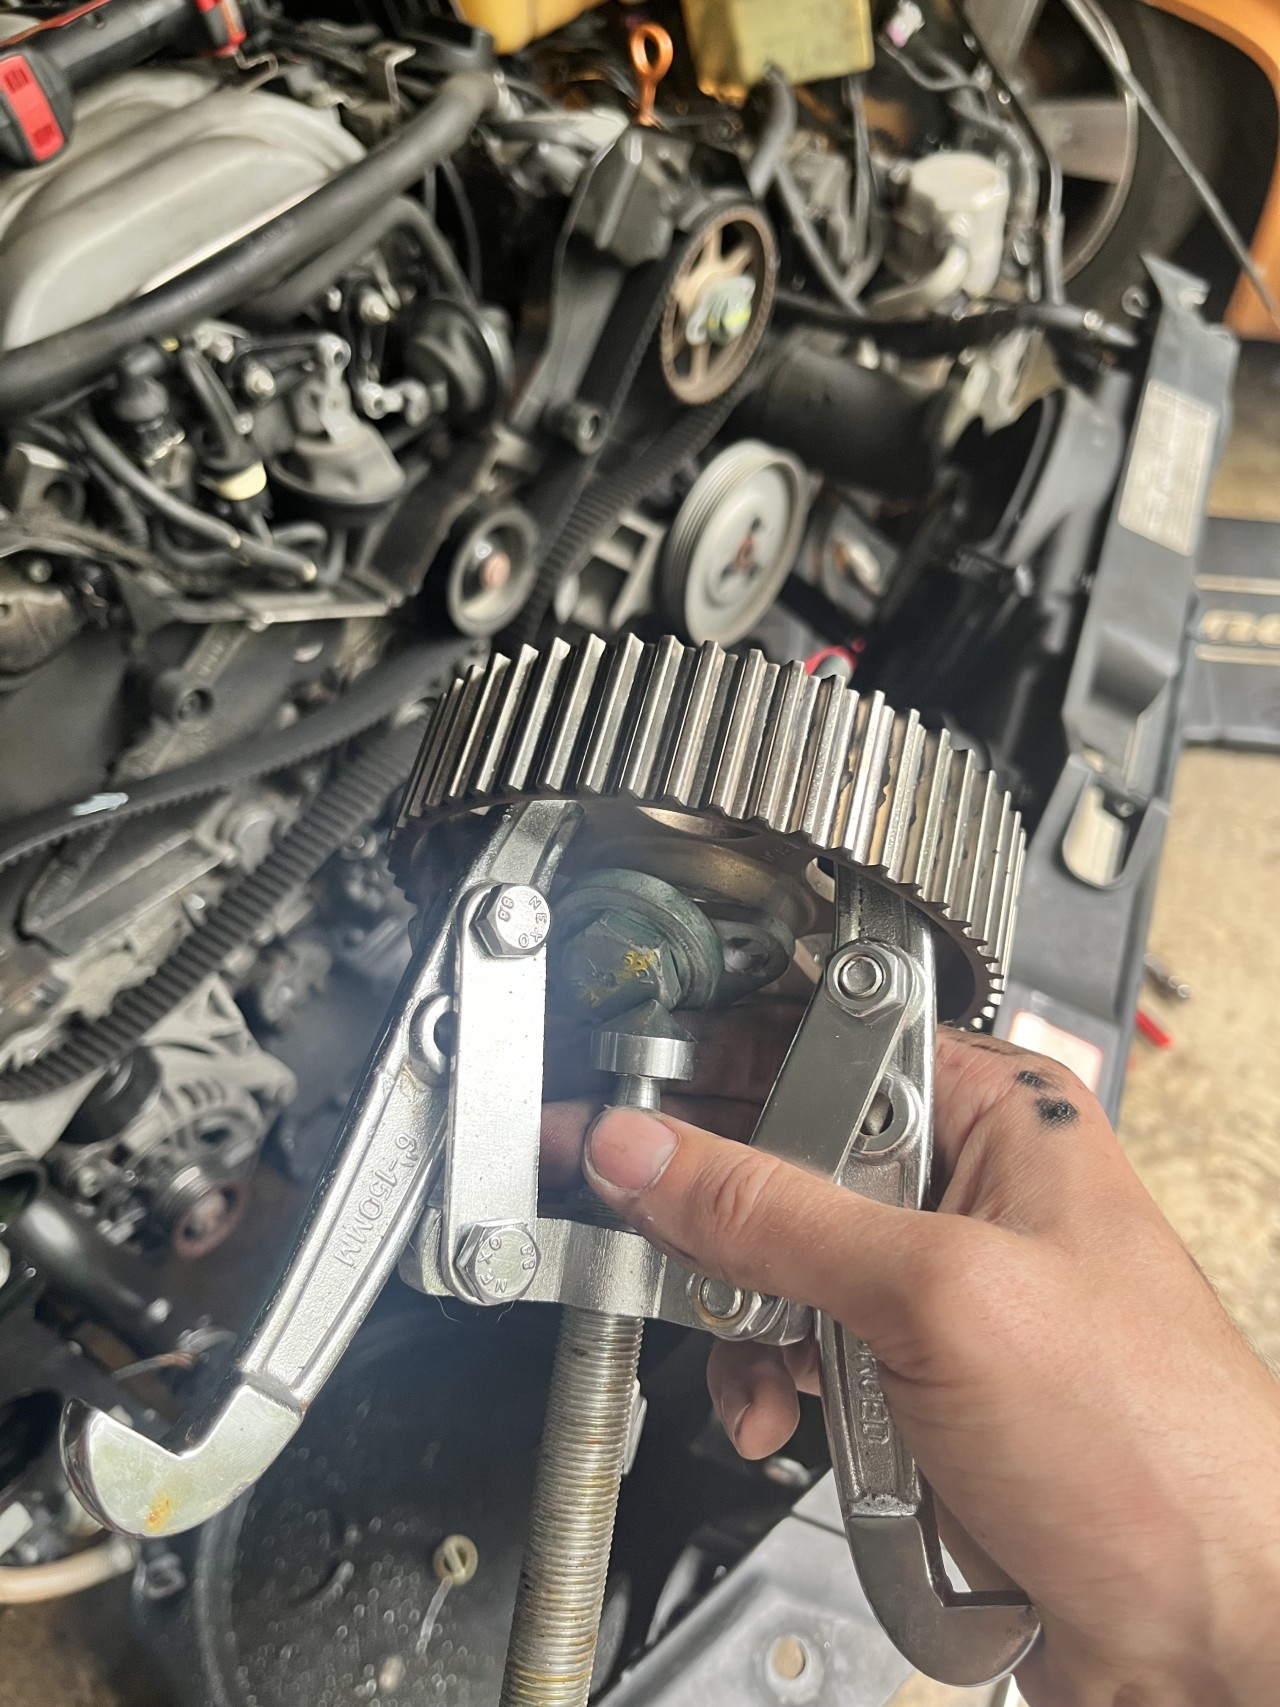
Remove your cam pulleys after removing the cam bolts. Leave the cam locking tool in when loosening the cam pulley bolts.
Remove water pump bolts if replacing the water pump. Remove timing belt tensioner.
Remove idler pulleys.
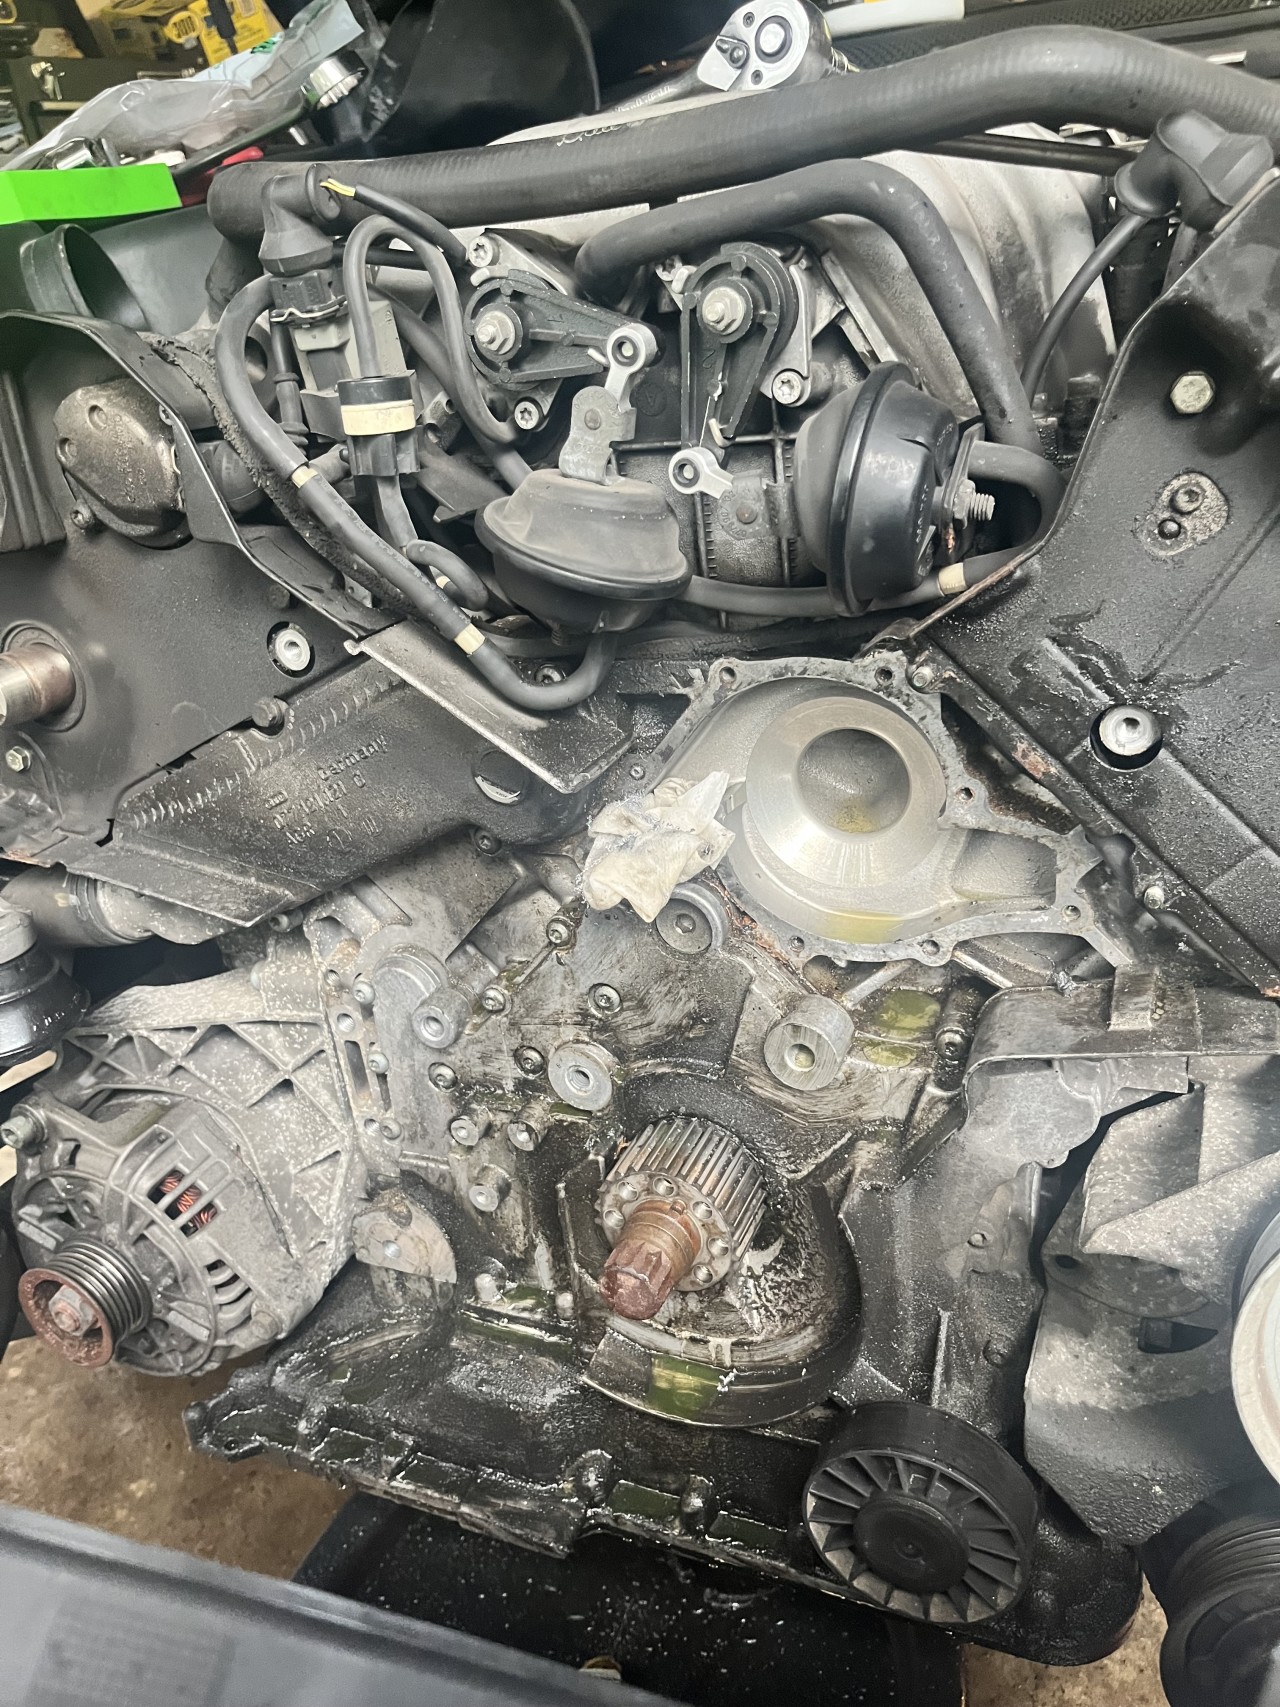
Cleaning her up
Reassembly can be seen on our video below:
If you are having trouble seeing this video, watch on YouTube