You must be logged in to rate content!
4 minute(s) of a 366 minute read
11-12-2020
-----------------
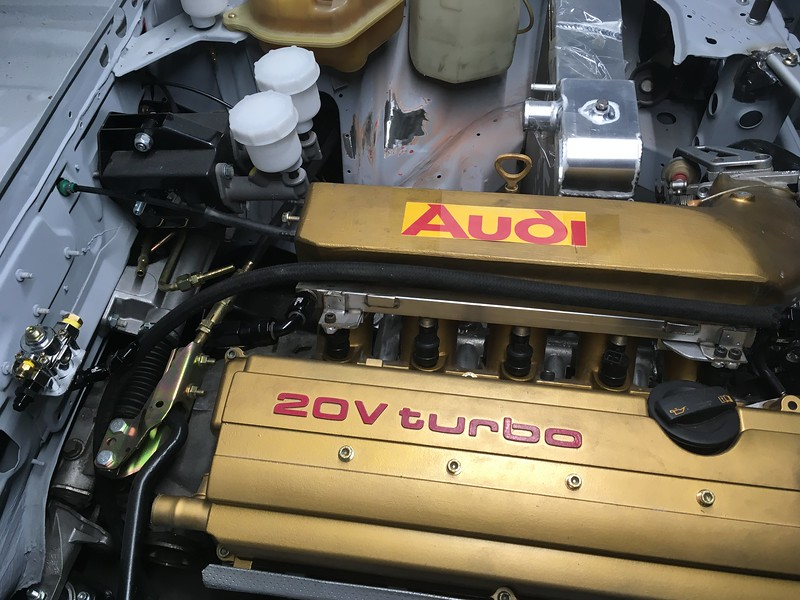
Just a reminder: we are still in the "dry build" phase of this project. That means the shell is prepped but not painted. Everything else is going to be essentially test fitted before the car is disassembled for paint. Once it's cured we'll start bolting things on for good. That way we don't have to do any cutting, grinding and welding on a painted shell, hopefully. We mention this again now because you are about to see some weird stuff.
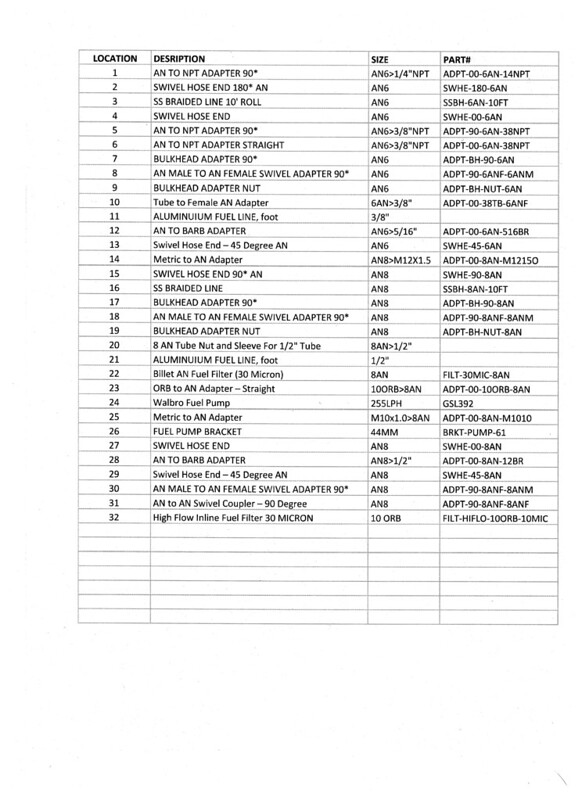
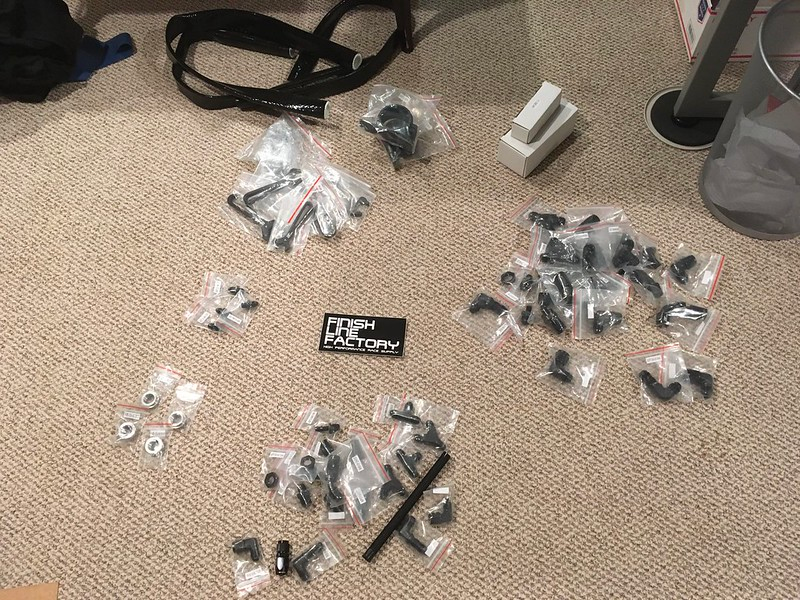
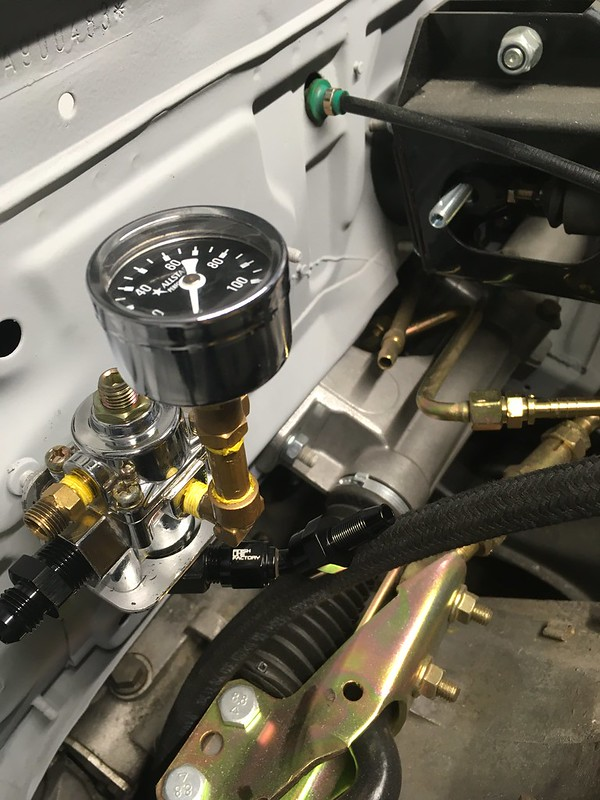
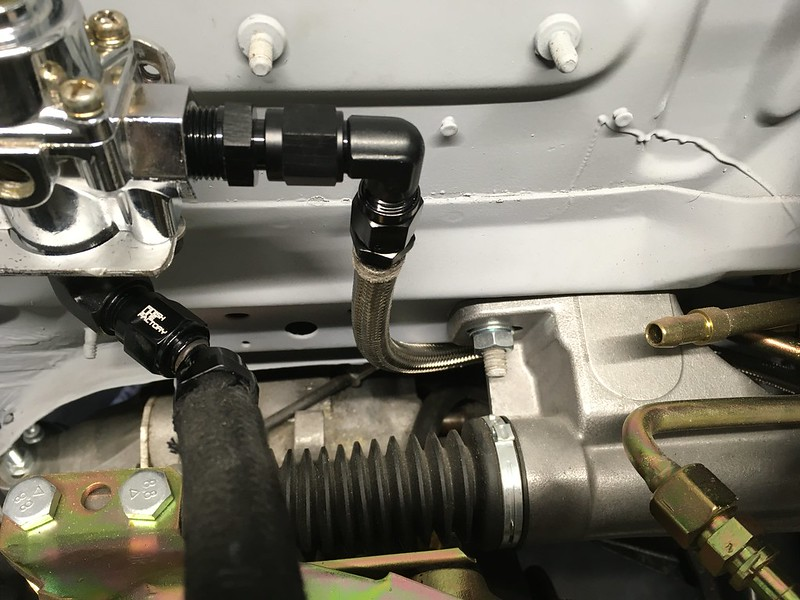
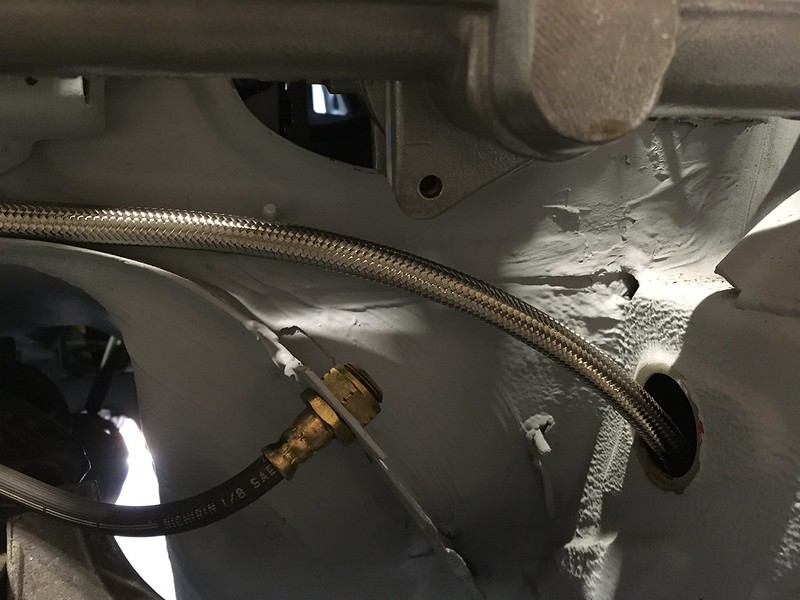
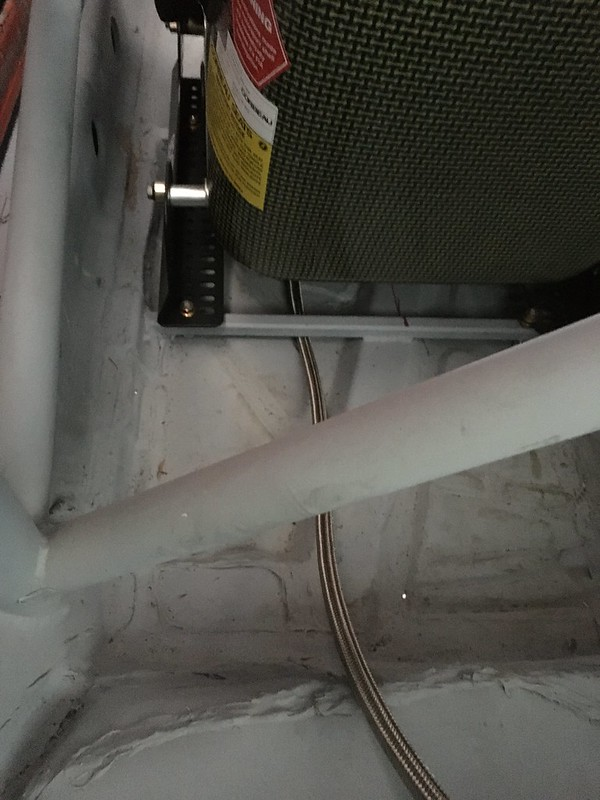
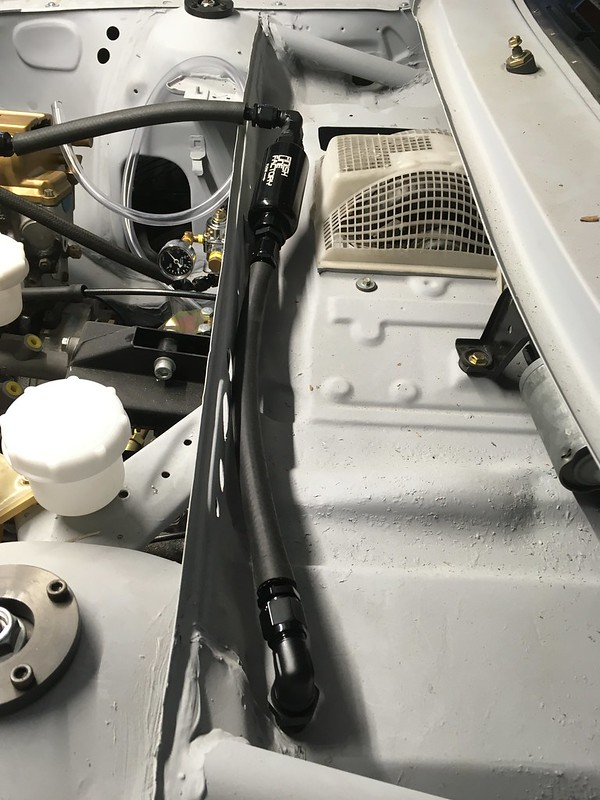
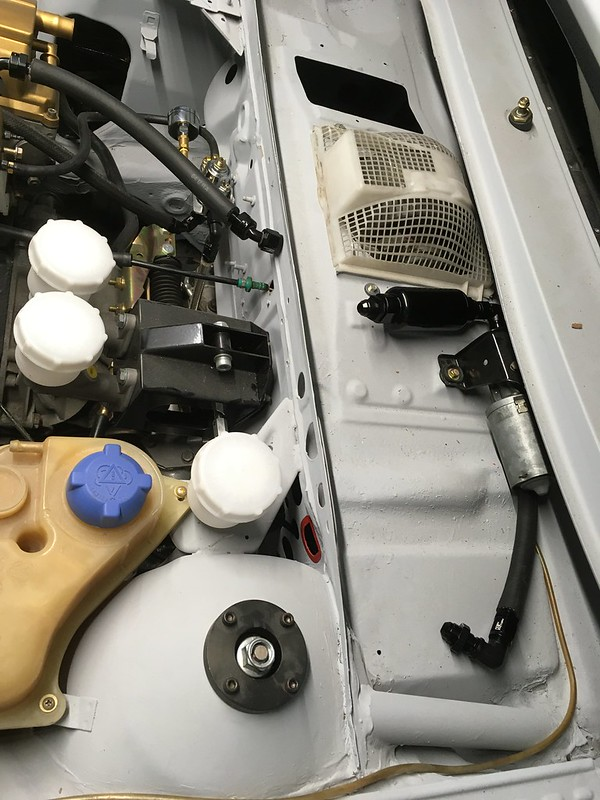
So, we thought we could probably manage to install the fuel system as we are using AN lines and fittings and they just need to be cut to length and screwed together. How hard could it be? We are using fittings from Finish Line Factory as we sell these and we don't like to sell things we haven't use. We also want to preface this part of the build by saying "We have never used AN fittings before" but we had a plan, drew up a parts list and then parts showed up so we thought we'd dive in.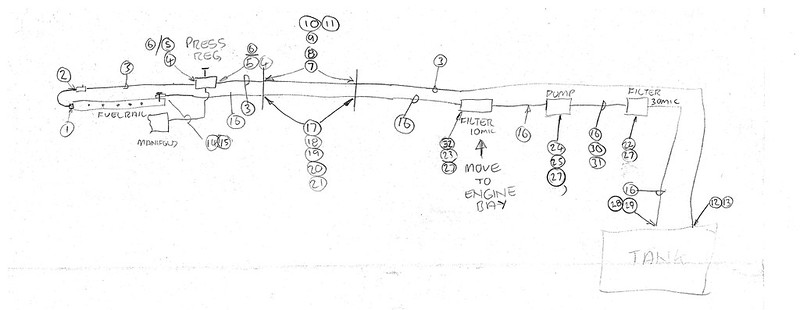

Comments

Great update!
Posted by Diggymart on 10/10/21 @ 10:31:32 PM

Great build
Posted by tmprod on 3/4/21 @ 6:44:07 PM
Thanks for updating Paul! Ill have to check out your new shop soon!
Posted by diyauto on 12/24/20 @ 5:08:37 PM

Anytime.
Posted by team illuminata on 12/24/20 @ 6:34:09 PM

This will be a beast when finished, looking forward to it.
Posted by MPower on 10/12/20 @ 2:15:11 PM

Great build!
Posted by DIYauto_Admin on 9/9/20 @ 12:08:22 AM

Hey hi Sue!
Posted by Diggymart on 2/14/20 @ 4:12:57 PM

Looks like it’s coming together!
Posted by Diggymart on 11/21/19 @ 2:49:00 PM

Those stands look nice!
Posted by diyauto on 11/21/19 @ 2:47:08 PM

Incredible build! Love the photo's
Posted by MoonpieMagic on 11/8/19 @ 8:00:45 AM

Thank goodness for friends carrying precious cargo!
Posted by Diggymart on 10/10/19 @ 11:40:08 PM

Woo! Excited to check this thing out soon :)
Posted by diyauto on 9/13/19 @ 1:37:14 PM

Great teamwork!
Posted by Diggymart on 7/29/19 @ 3:11:58 PM

Great build!
Posted by Diggymart on 1/17/19 @ 7:24:29 PM

Thanks
Posted by team illuminata on 3/4/21 @ 10:30:06 PM

Lookin good. Pride in work and attention to detail
Posted by Cyphercrash on 3/5/23 @ 8:59:32 PM