You must be logged in to rate content!
10 minute(s) of a 211 minute read
4-2-2016
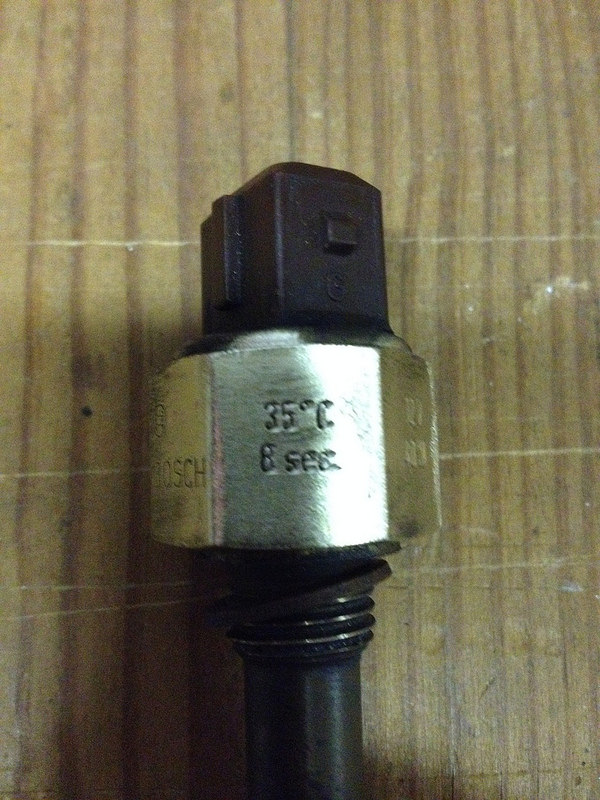
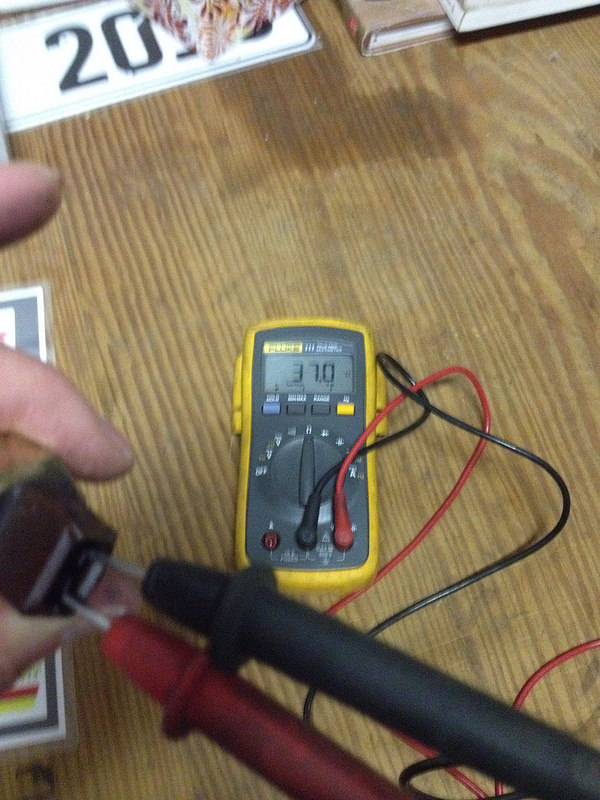
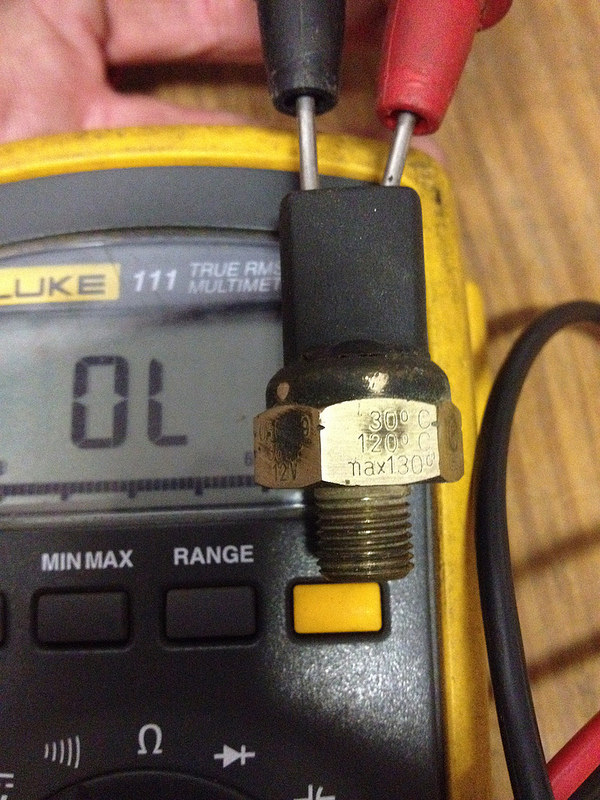
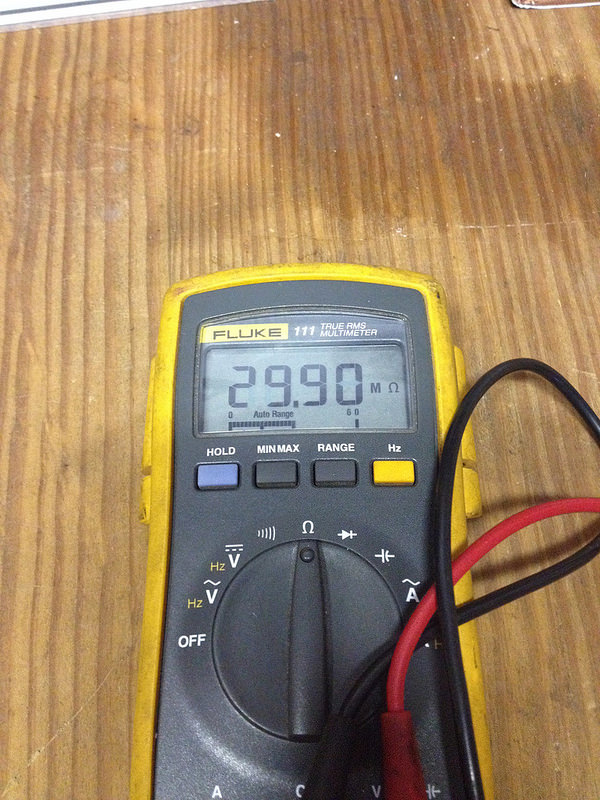
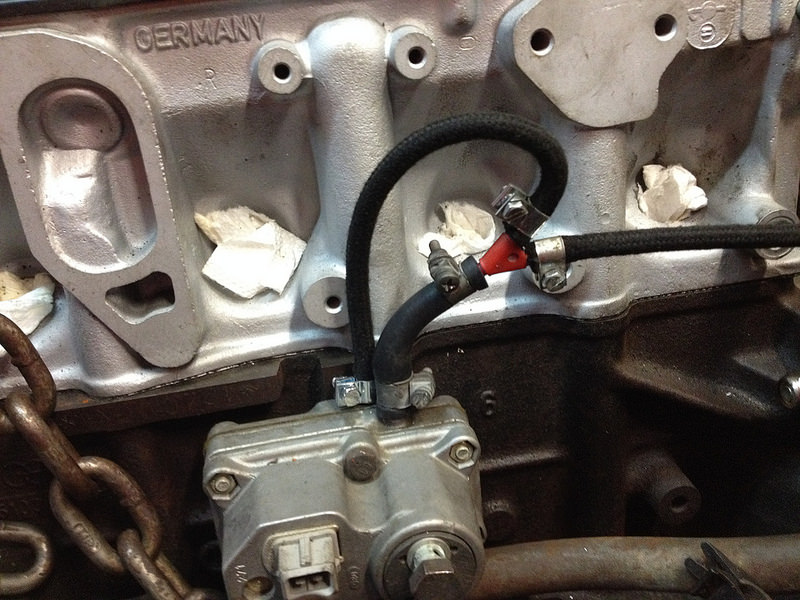
I thought I'd check as many sensors as I could before popping the engine back in. Seems like a reasonable plan. There are like twenty separate temperature sensors on this engine! OK, there's six but still........
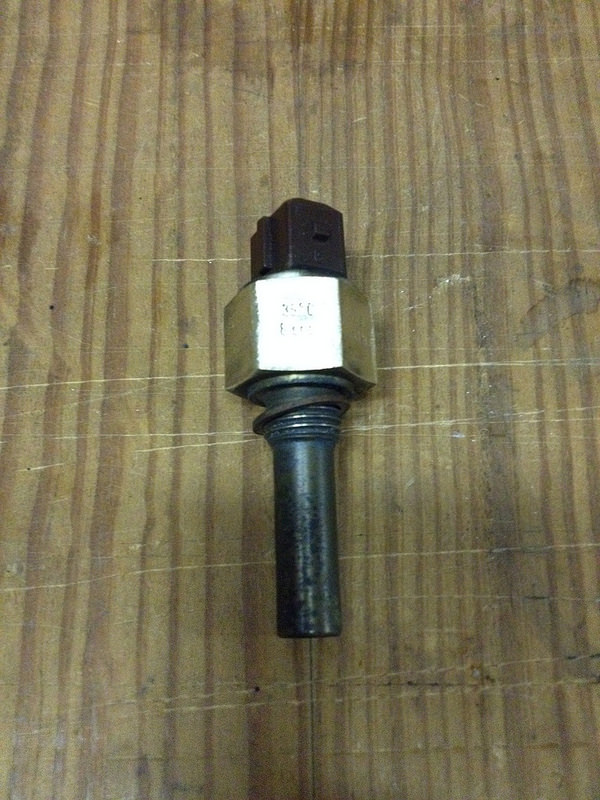
Fortunately Audi stamped the range or trigger point on them. Well, most of them.
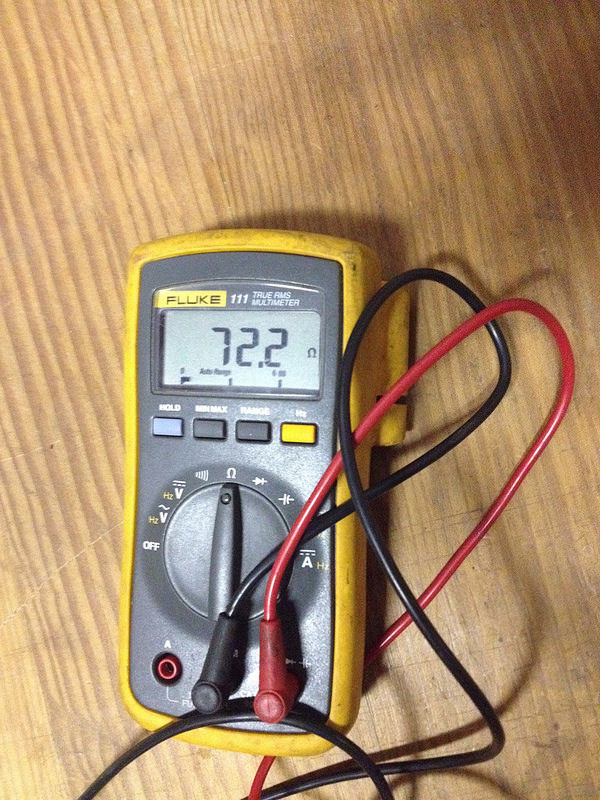
I didn't check change over temperature. I just had hot water or no water but I think I proved they all do something so I'm going with that.
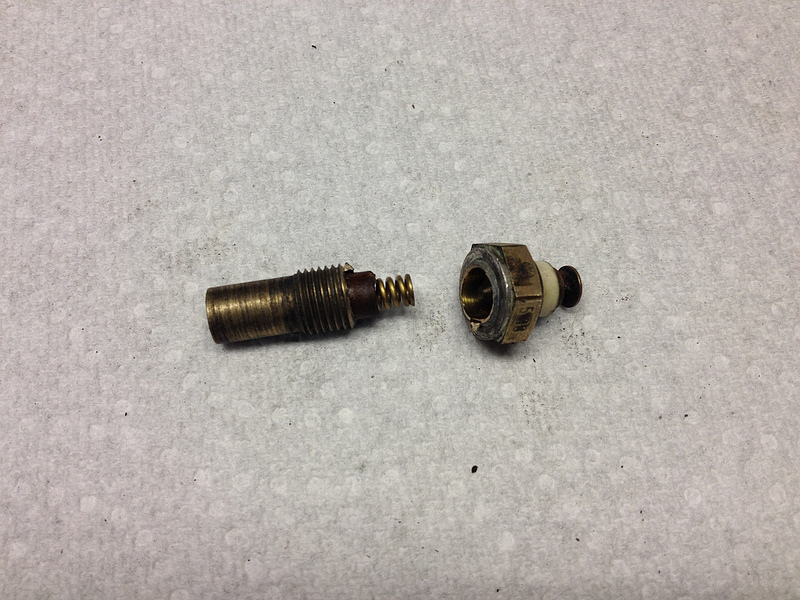
This one tested good too but didn't want to go home
Need to find a seal washer for this one. How hard could that be?
4-24-2016
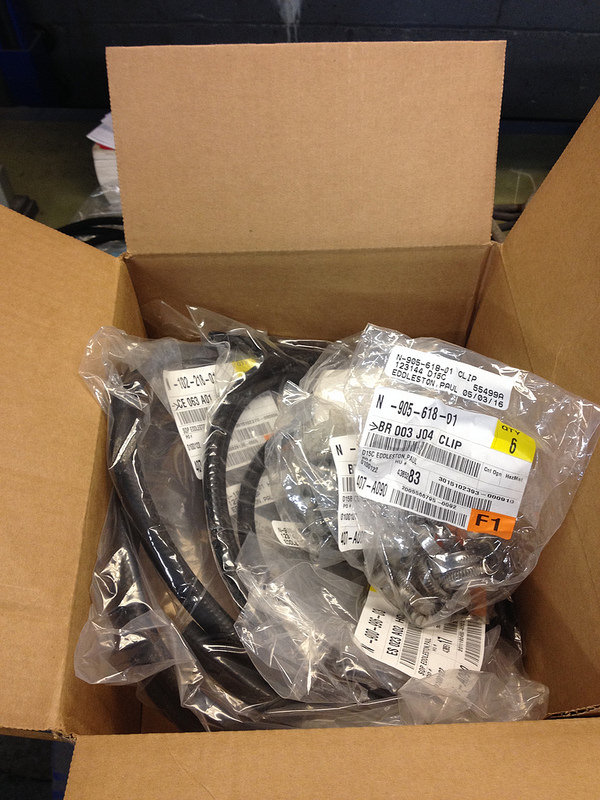
It's the little things that take the most time. I thought I hadn't made a lot of progress but when I looked at all the photos I've taken lately I realise I've done a lot of small things including spending hundreds of Dollars on tiny pipe clips, vacuum hose and aluminium sealing washers! But first...
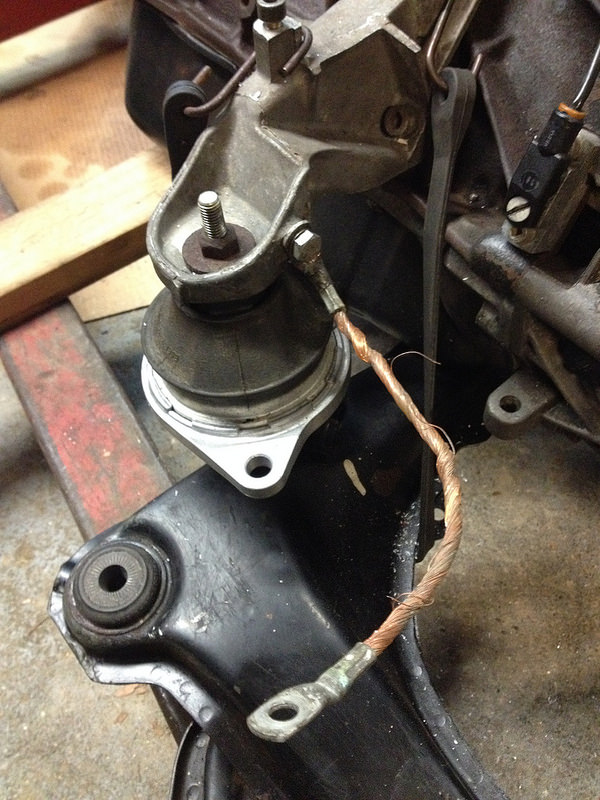
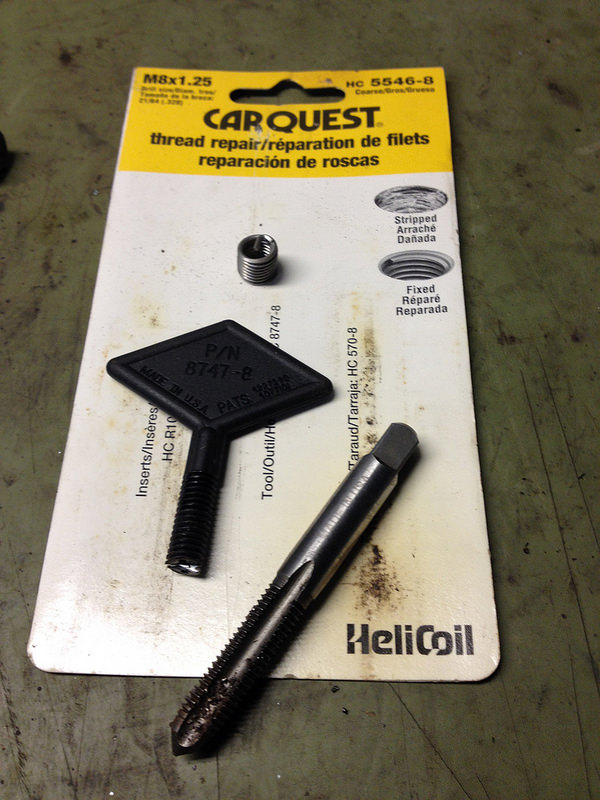
I installed the ground cable after stripping the threads and fixing with a Helicoil
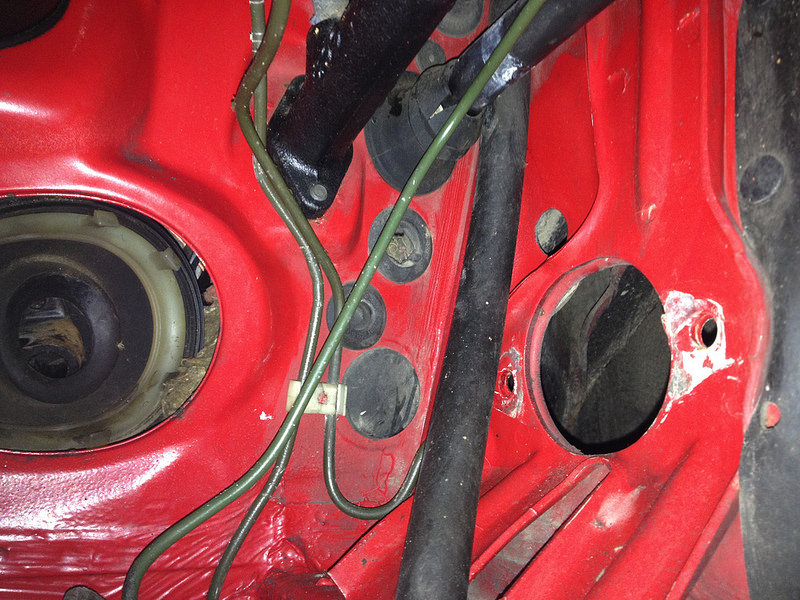
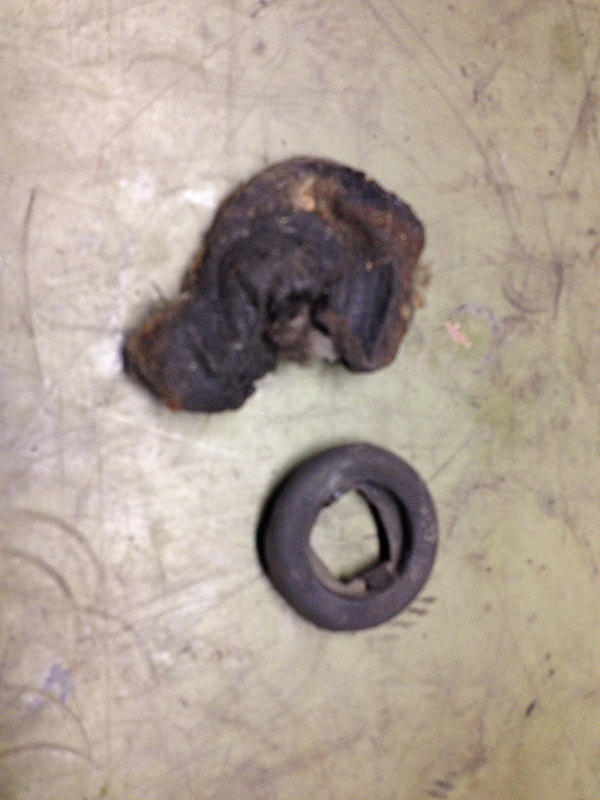
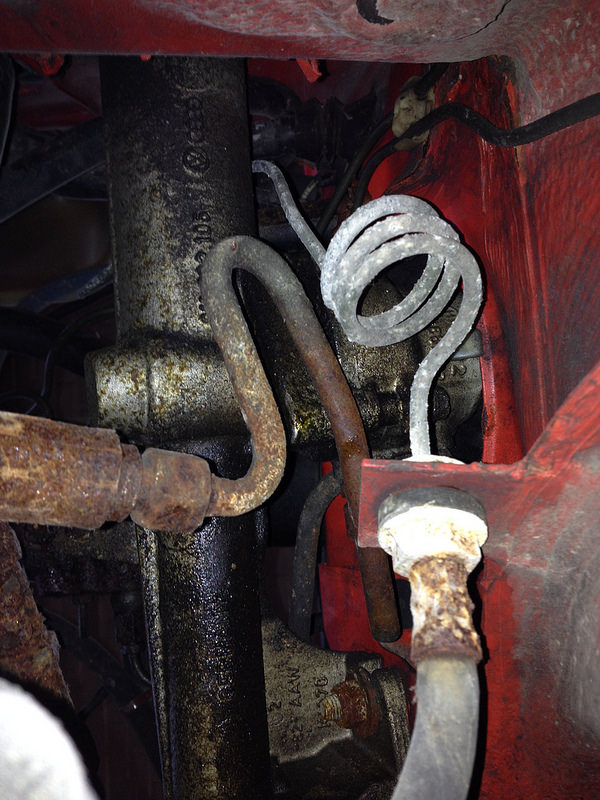
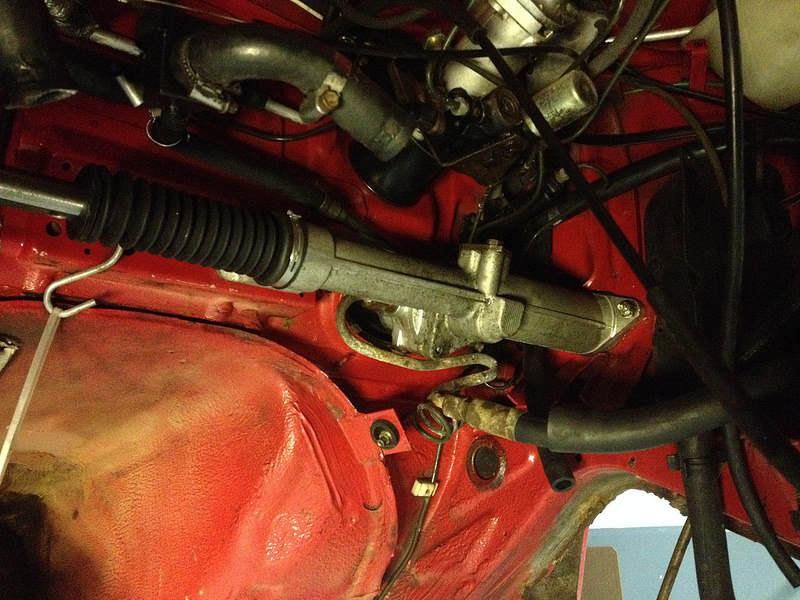
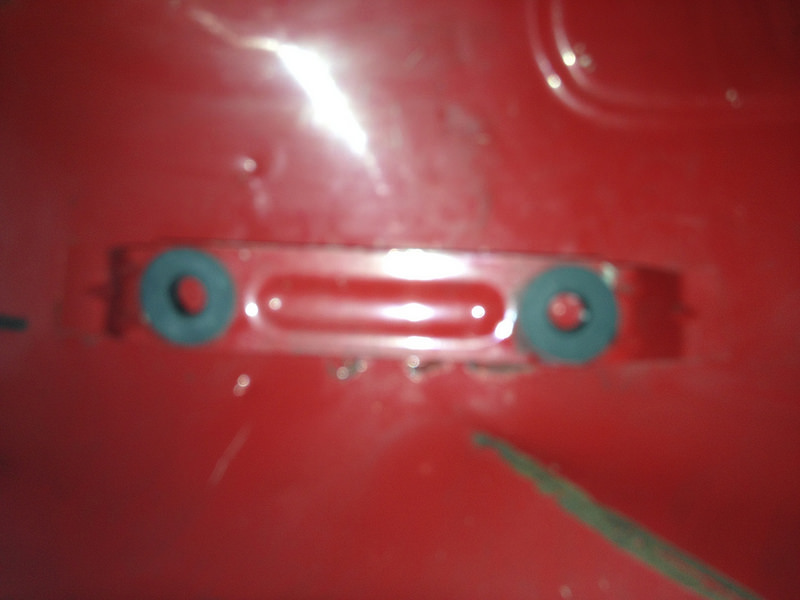
Then went to install the steering rack but found one of the bulkhead plugs (top one of the three) and previously been pierced and bunged up with some sort of putty!
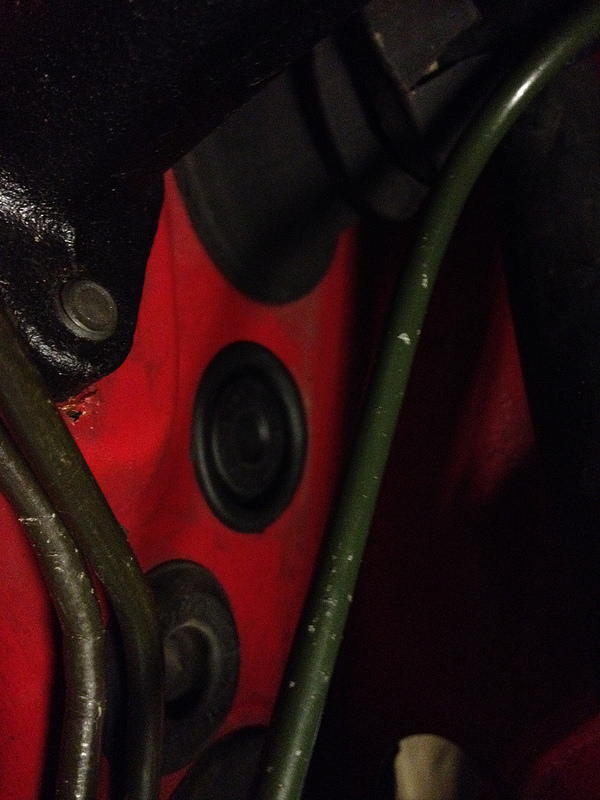
So I had to source a new one. Thankfully they are still available as Audi still use them.
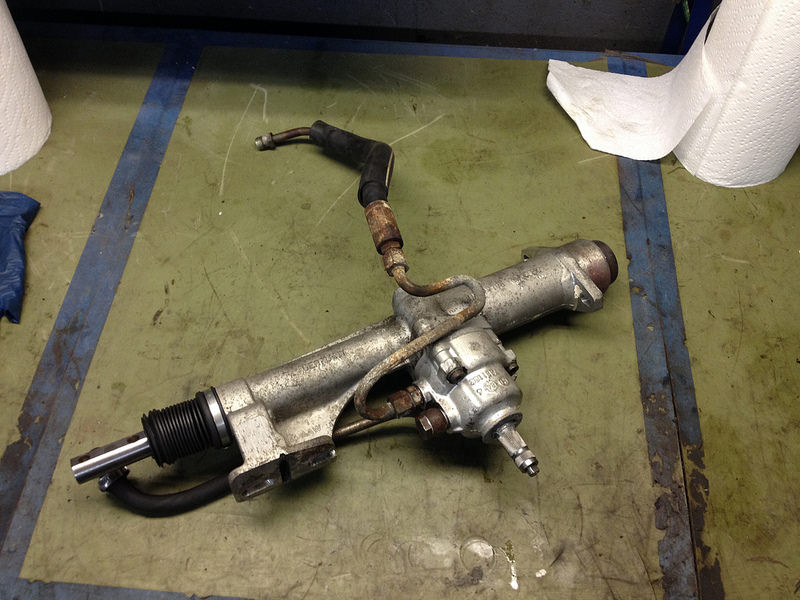
I realized it would be a lot easier to attach the hoses to the steering rack on the bench but how to determine the orientation so they line up later? It helps to have a 83 quattro project in the other bay to reference!
Then hooked up the steering column inside the footwell. I think I may have got the steering wheel 180 degrees off but it was always going to need re-clocking anyway.
I think the next job is to replace all the vacuum hoses and clips but maybe I can find something else to do.
4-29-2016
Replacing the vacuum hoses and clips is a PITA so I found something else to do. I replaced the air box mounts.
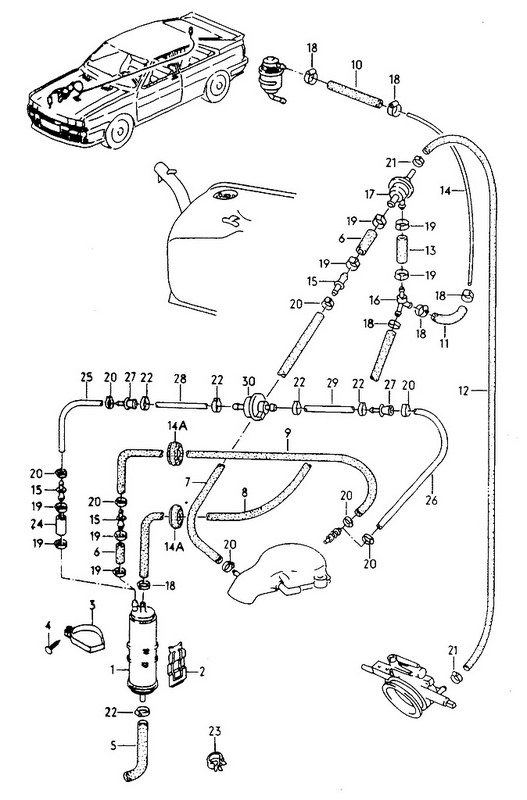
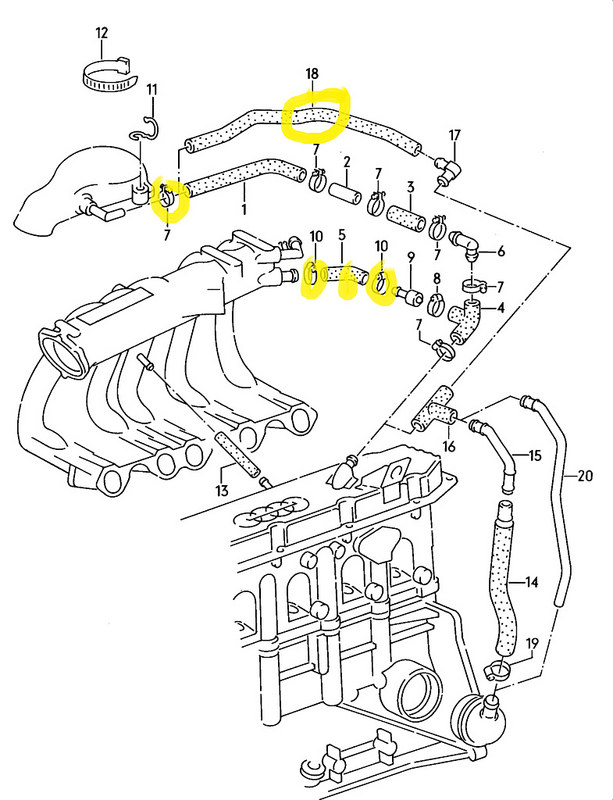
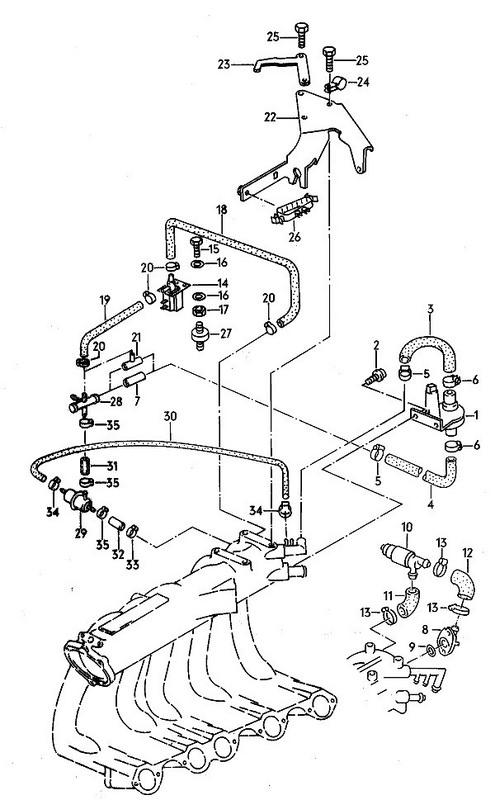
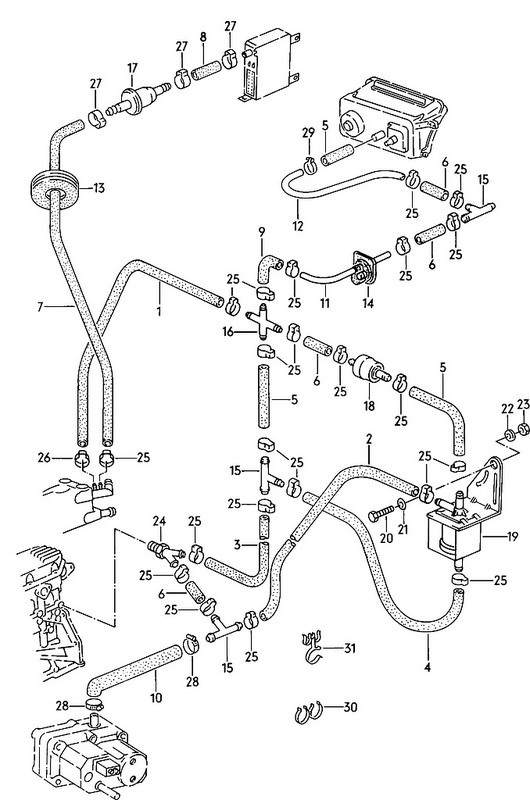
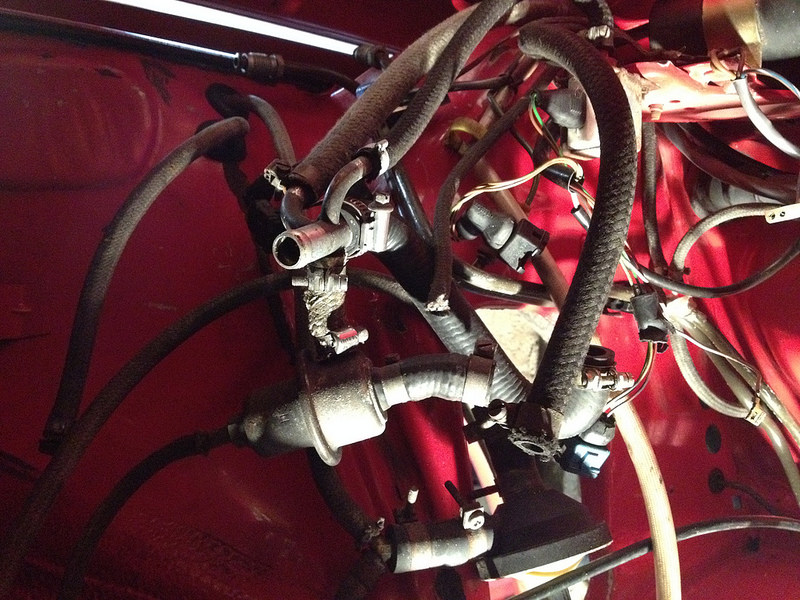
Of course that didn't take very long so it was back to replacing vacuum hoses and clips. Step one, I think. Is to figure what hoses and clips to buy from Audi. Just look at the parts diagrams and the car and figure out what applies. How hard could it be? How about "Bloody impossible!"? OK, not that bad but quite a lot does not match my car. I think I'm going to order as much vacuum line and hose clips as I think I need and just start replacing what physically matches. Of course allof the shaped rubber hose are NLA.
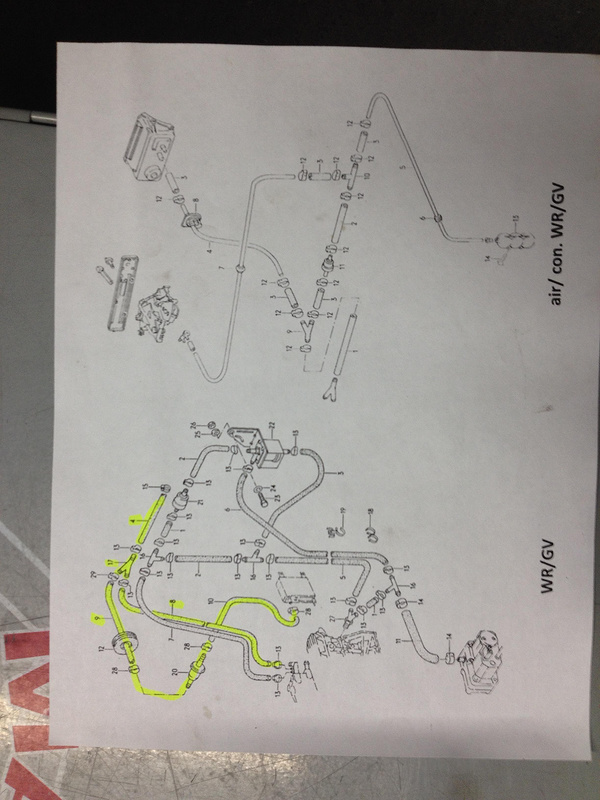
The parts diagrams:
and the car:
This should be interesting.
5-2-2016
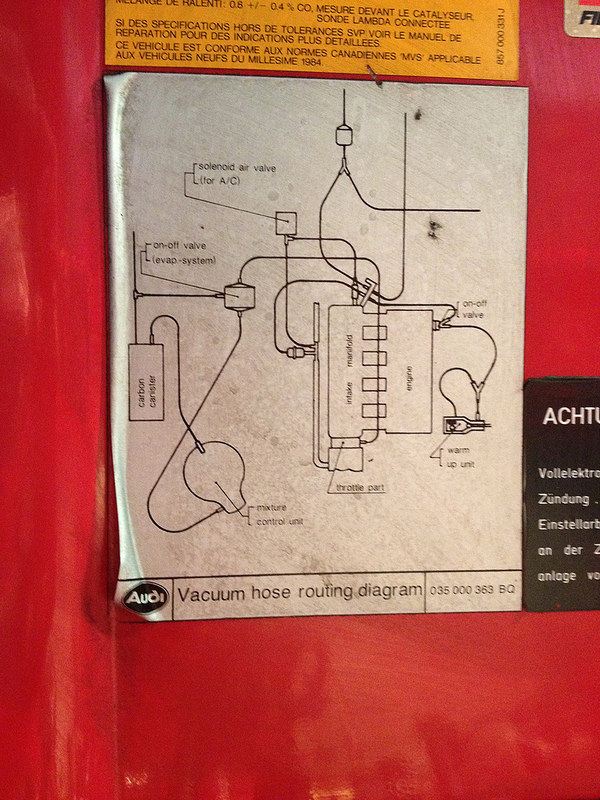
In a moment of inspiration I found this on the underside of the hood. Doesn't help.
I marked up the parts of the diagrams that resemble my car and went for it.
The approach is going to be to reinstate everything that's missing in line with the parts diagrams, replace everything thats still there in line with the diagrams and just replace everything that's not in line with the diagrams with the best guess parts and assume it's right as it worked before.
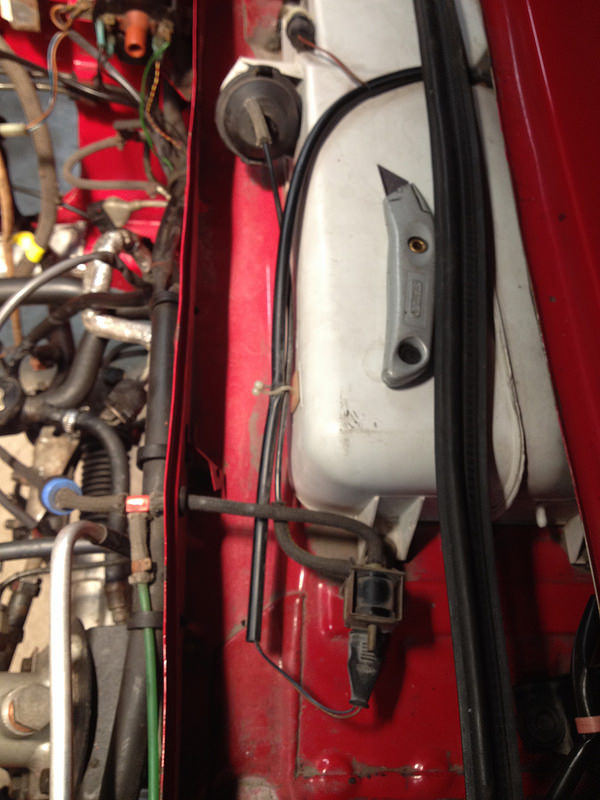
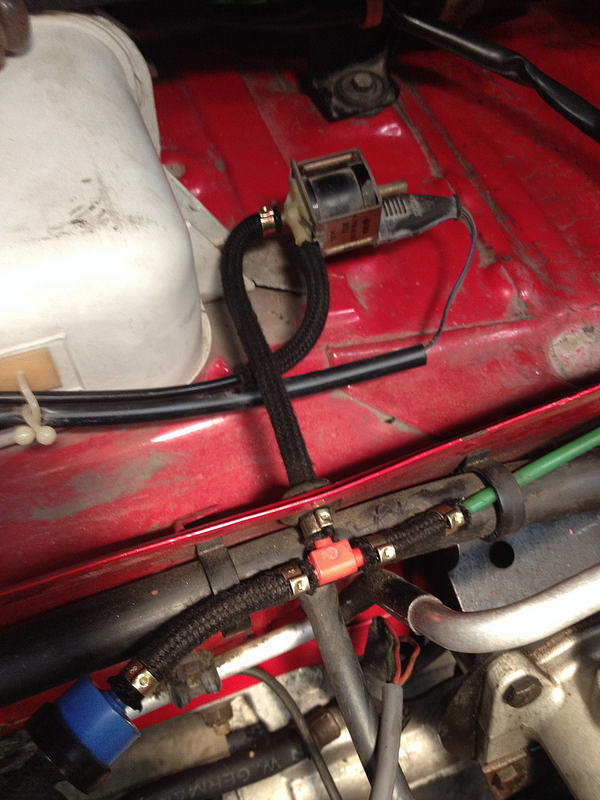
Started with the vent flap as it was the most accessible and matches a diagram. The adjacent lines I tackled next do not match anything. It seems to help disconnecting them if you first cut the old tube along its length to free it from the fragile plastic connectors.
Et voila! Piece of cake.
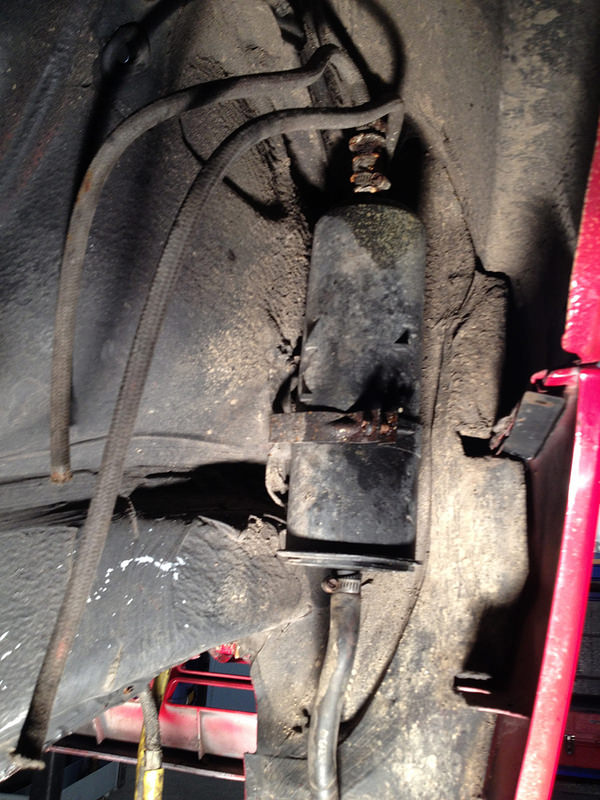
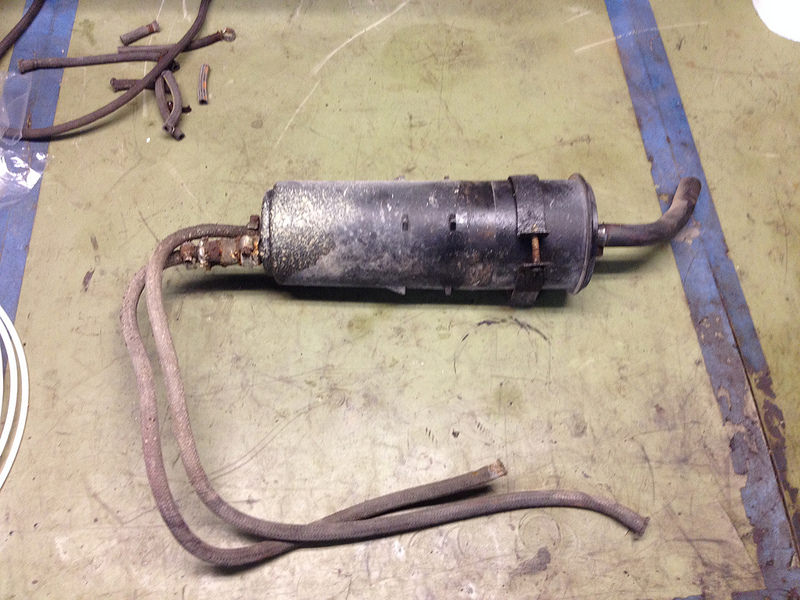
Inspired by my success and the fact that I appear to only have purchased a fraction of what is needed I decided to tackle the charcoal canister. This appeared to want to be on the bench though so, not wanting to annoy it I obliged.
of course I'm missing the clamps so progress has halted, again.
5-18-2016
More tubes, more clamps, more money, more time. The four rings of (old) Audi ownership.
Still, I think we are done with vacuum hoses
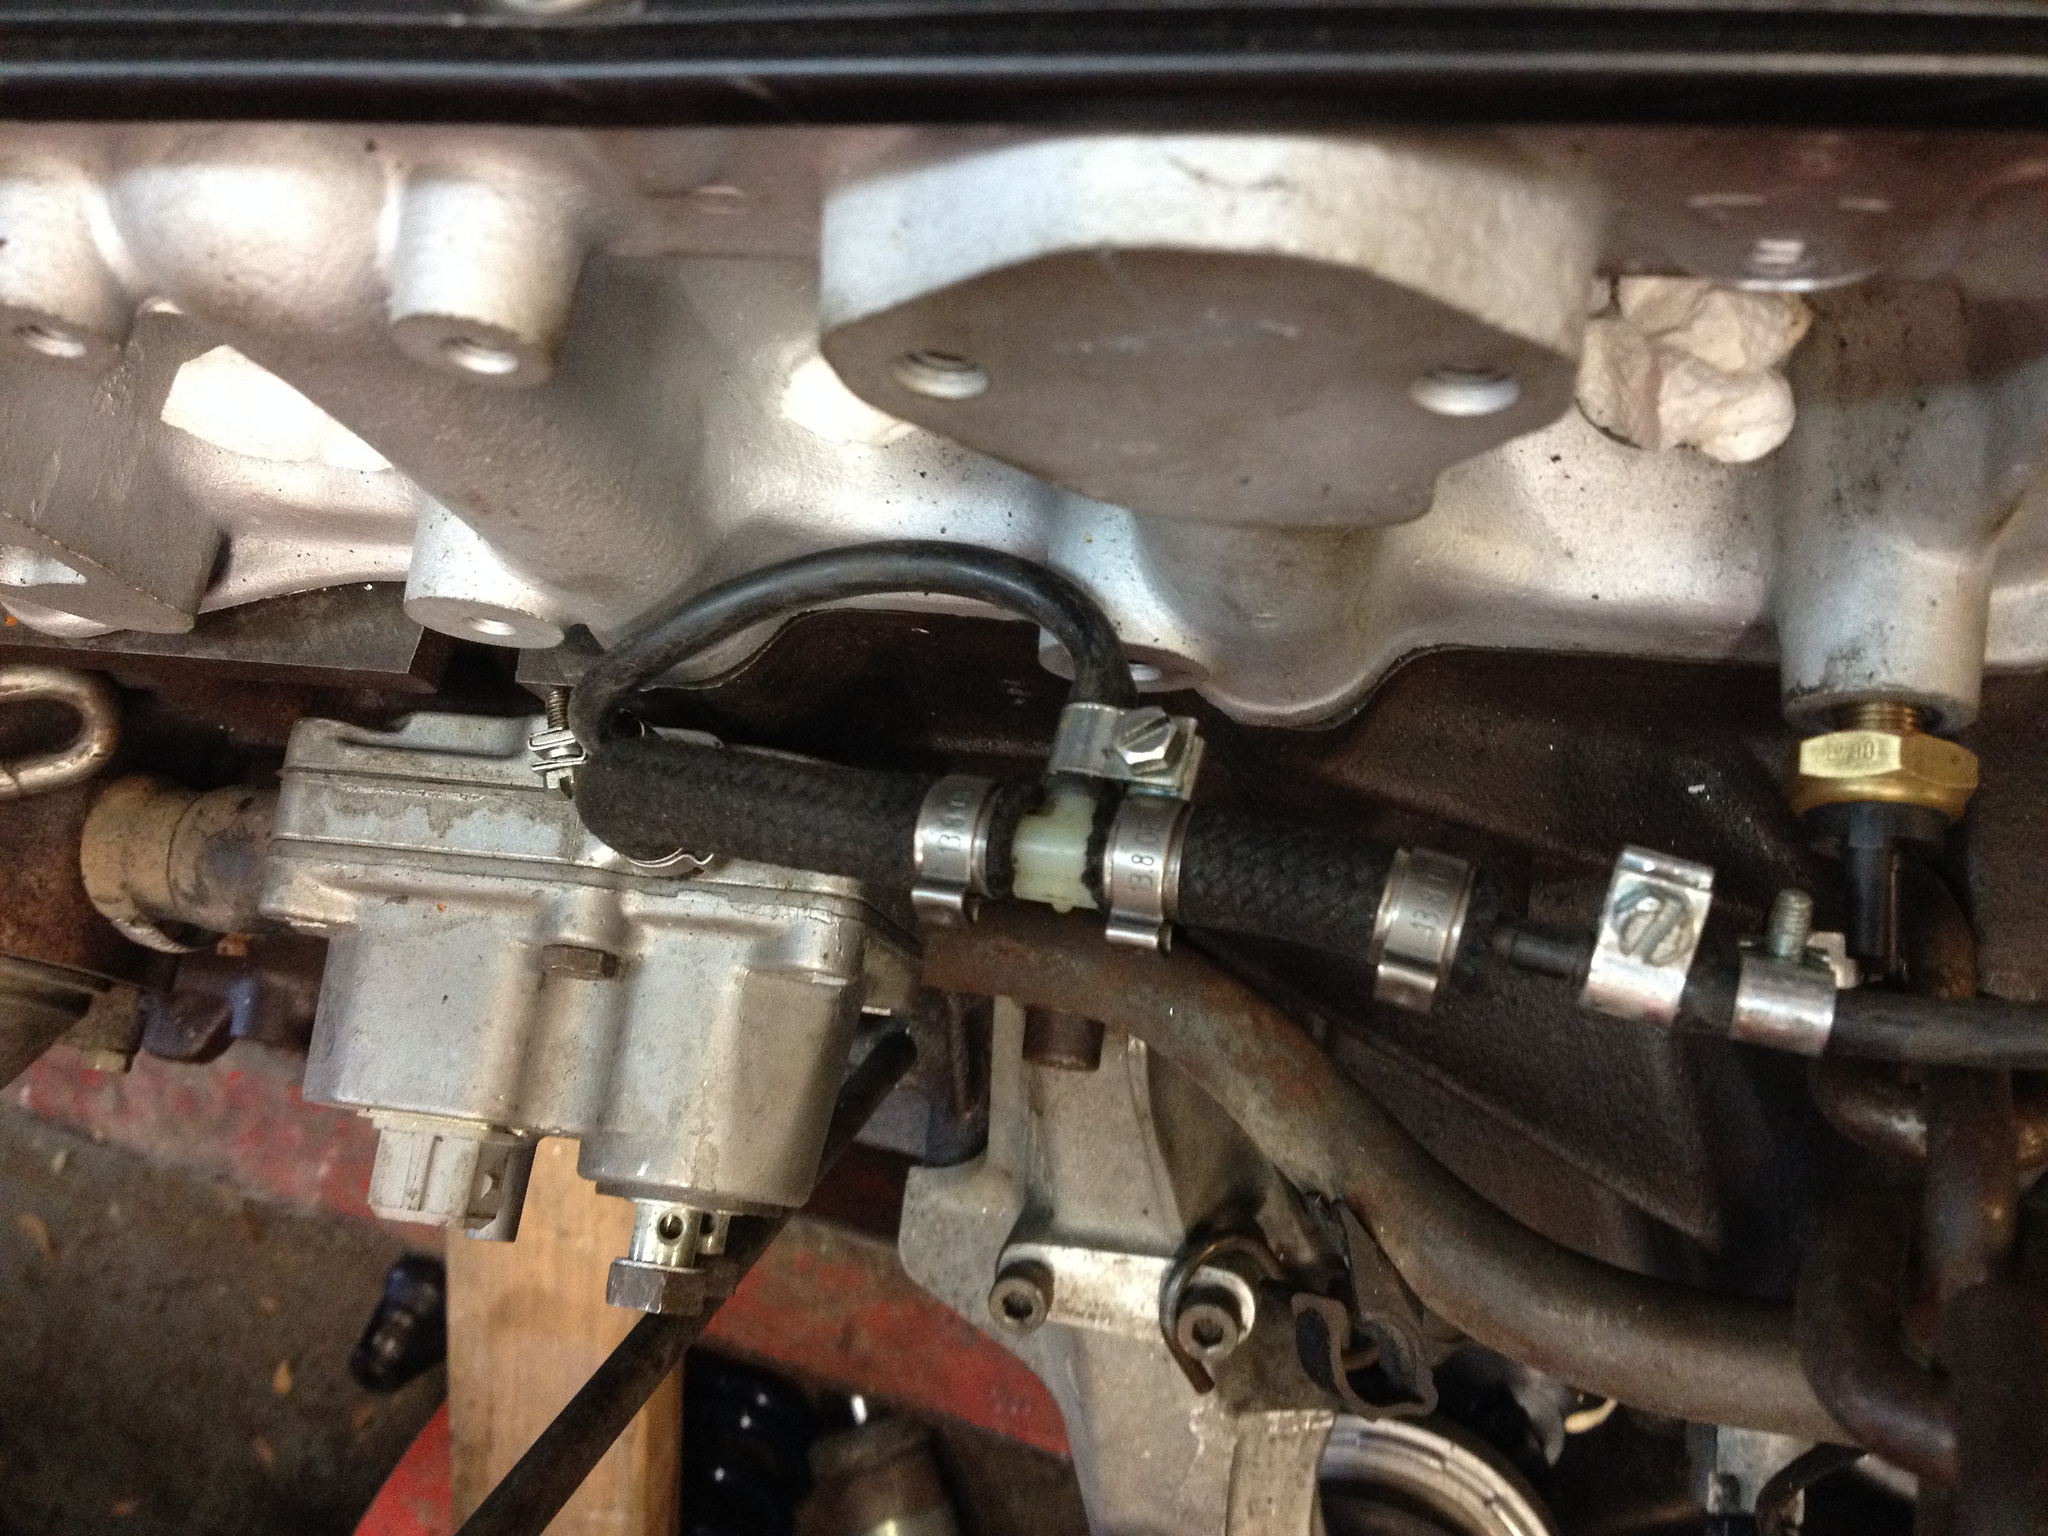
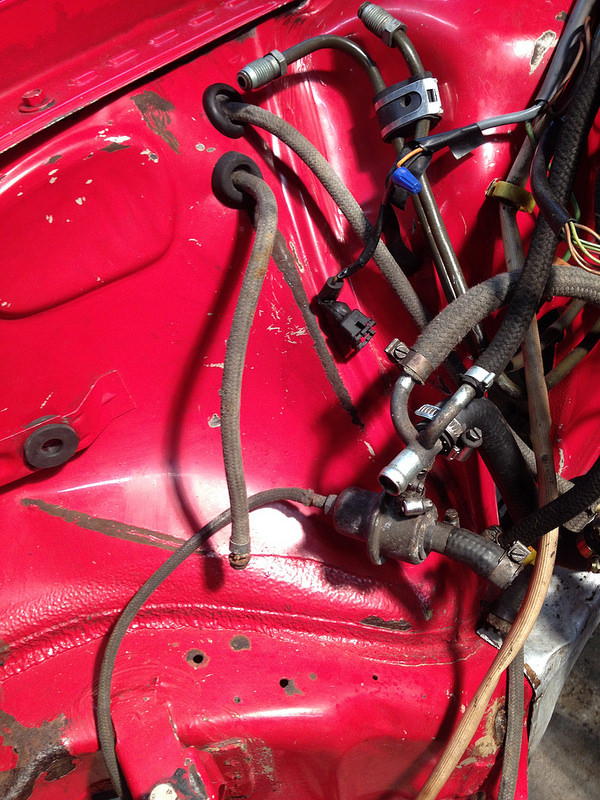
Charcoal canister is back on/in the car and replaced most of this:
The "S" shaped hose is NLA as is the little stubby that's actually a reducer, so I left those in place.
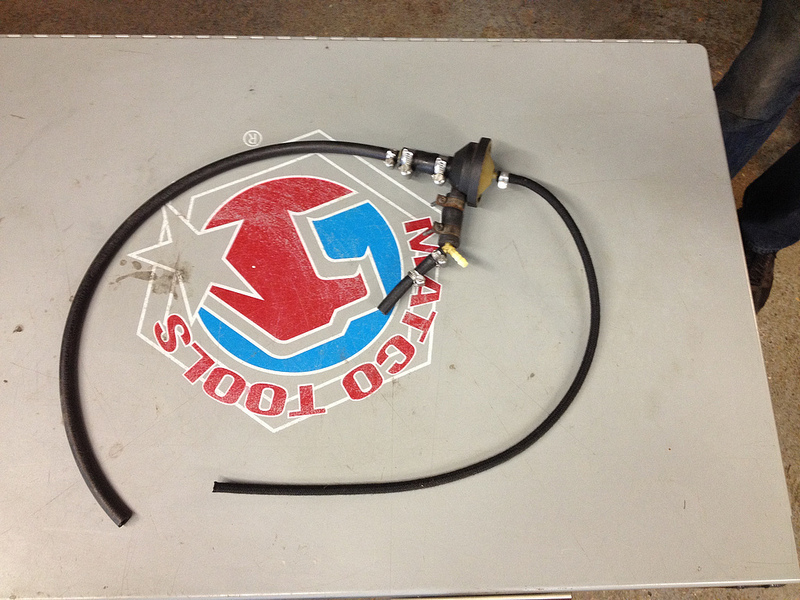
This section is all done too:
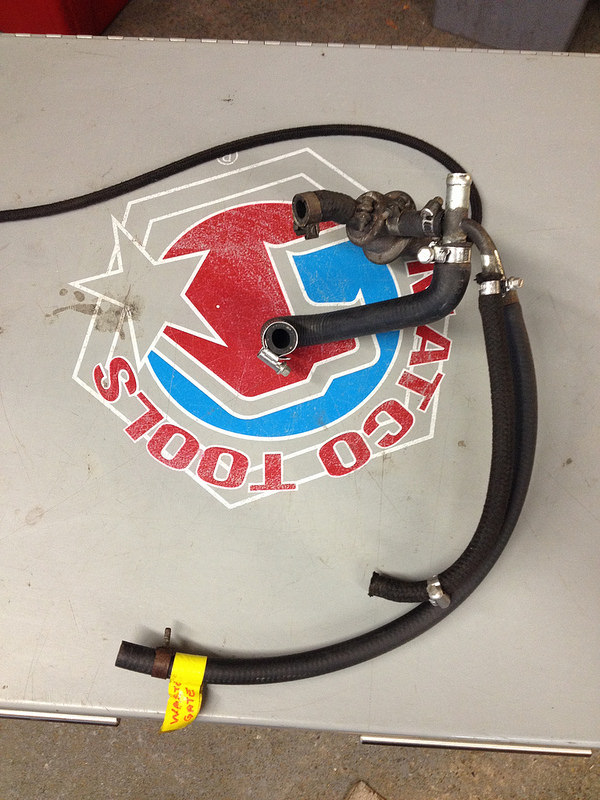
And I finally figured out the arrangement for the warm-up regulator after referring to and stealing some from my 83. Not sure why I didn't think of this before.
What shall we do next; put the engine back in maybe?
5-24-2016
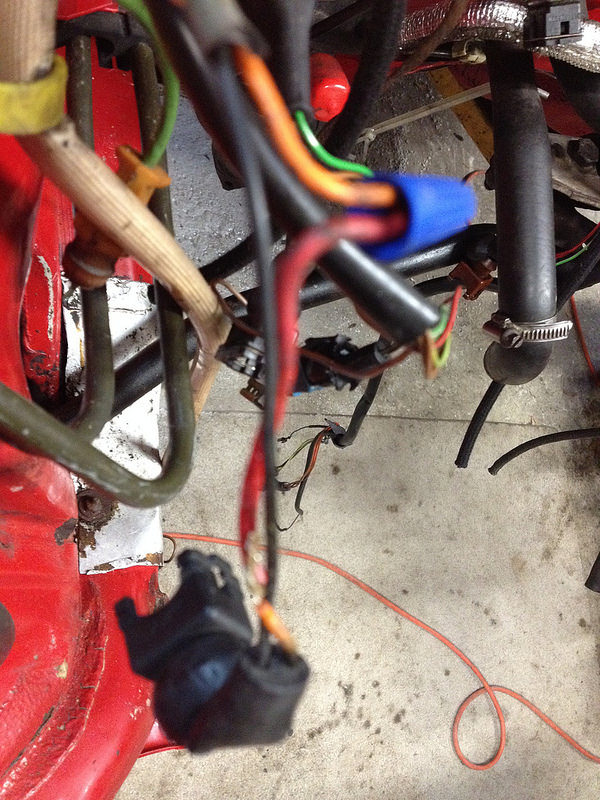
Decided to curb my enthusiasm and fix a few more things before impetuously throwing the engine back in. Someone had spliced in a new piece of wire at some point; quite poorly.
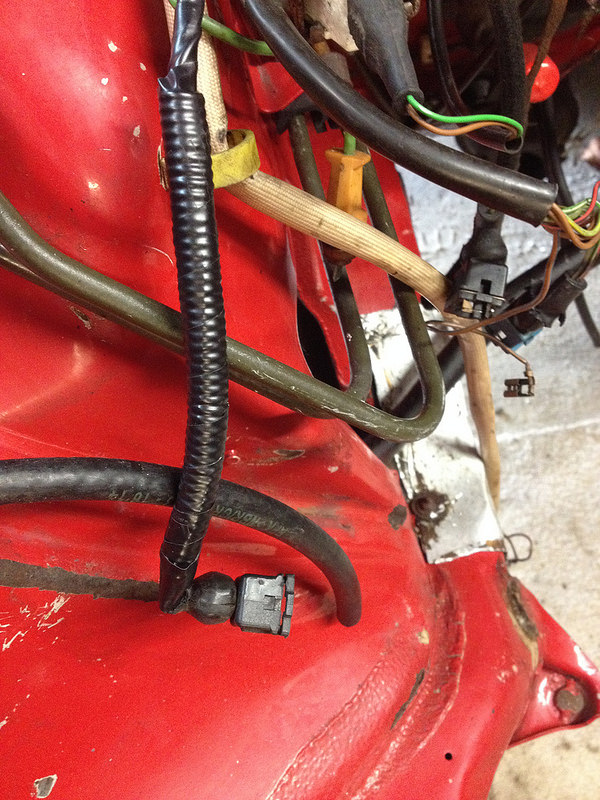
Fixed that.
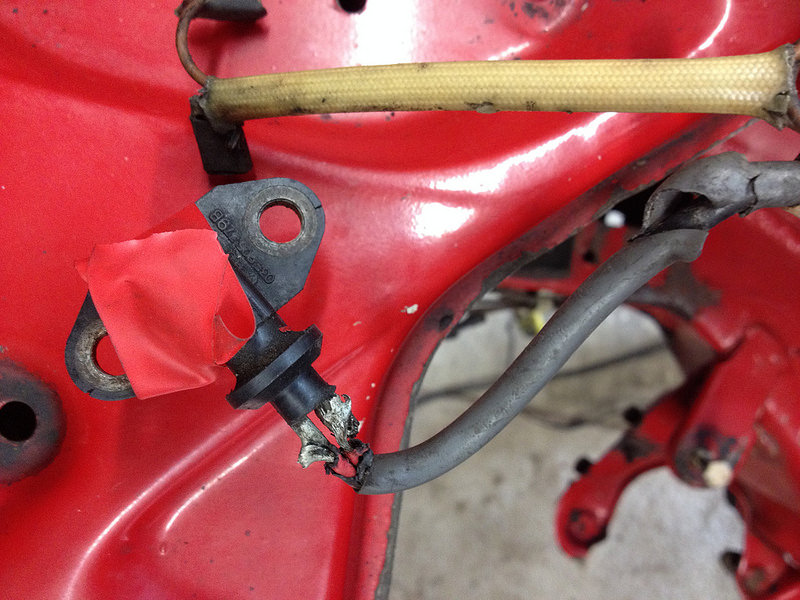
This, however, can wait. It sits on top of the intake which makes it easier to repair in situ.
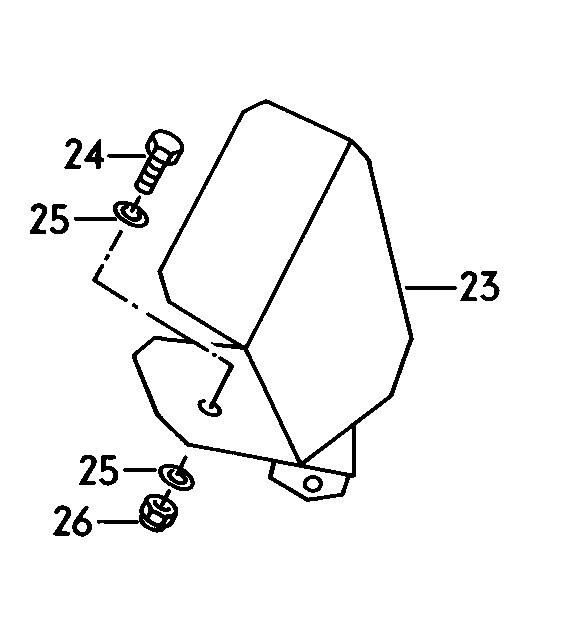
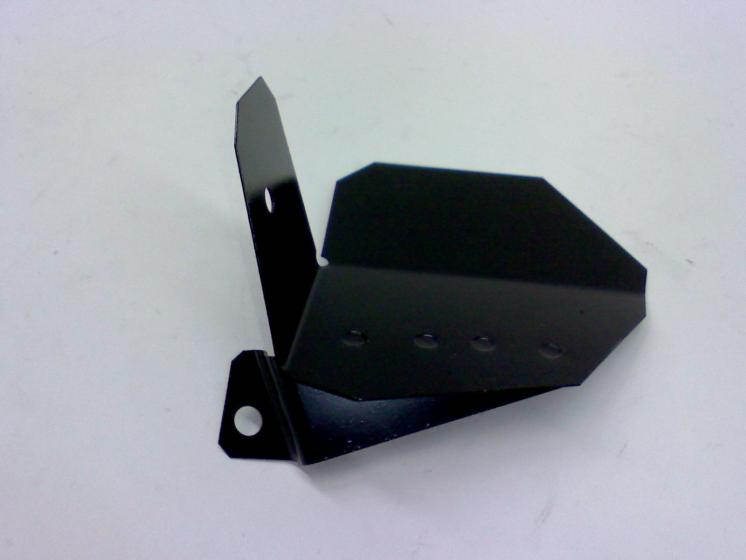
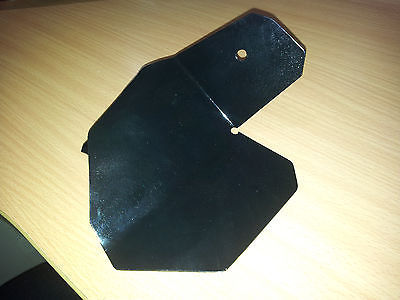
Found we are missing the heat shield over the right engine mount; the one that had failed. Of course its No Longer Available.
This is what it looks like in the flesh; OK on Google.
The we had a great idea; let's steal the one off the 83 in the corner. It was impossible to see but we managed to removing the mounting hardware, surprisingly. Even more surprisingly we managed to extract it without having to remove anything else!
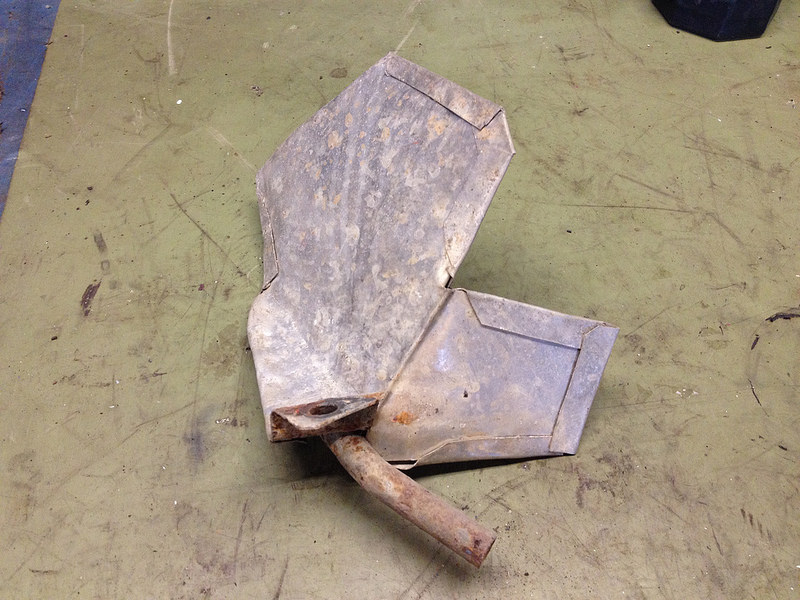
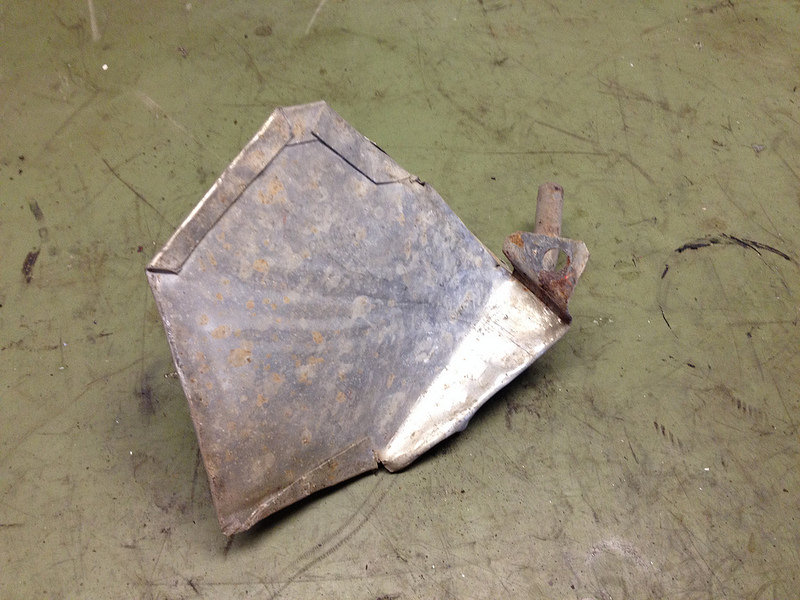
Then, even, even more surprisingly it looked like this!
Obviously a cobbled together facsimile. What is odd, beside the strange tube is the fact that what's left of the original is still encased within. Obviously not going to work on the 85. Off to Audi Tradition to get reamed again.

Thanks for sharing. I've owned two Audi's and they were great cars!
Posted by Diggymart on 12/10/18 @ 8:20:16 PM