You must be logged in to rate content!
11 minute(s) of a 211 minute read
12-29-2015
I didn't test the headlight relay kit today as I thought better of it. With so many wires detached from there things I didn't think it a good idea to introduce some live electrons. I did put back the lower console hiding the relays etc. and lubed the hood/bonnet pull handle so it no longer makes that awful noise.
What I next was take stock of what's left to do and what I need to do it. I'm actually close to the point where I will be stopped for lack of parts, some of them apparently hard to find. Here's what's still to do:
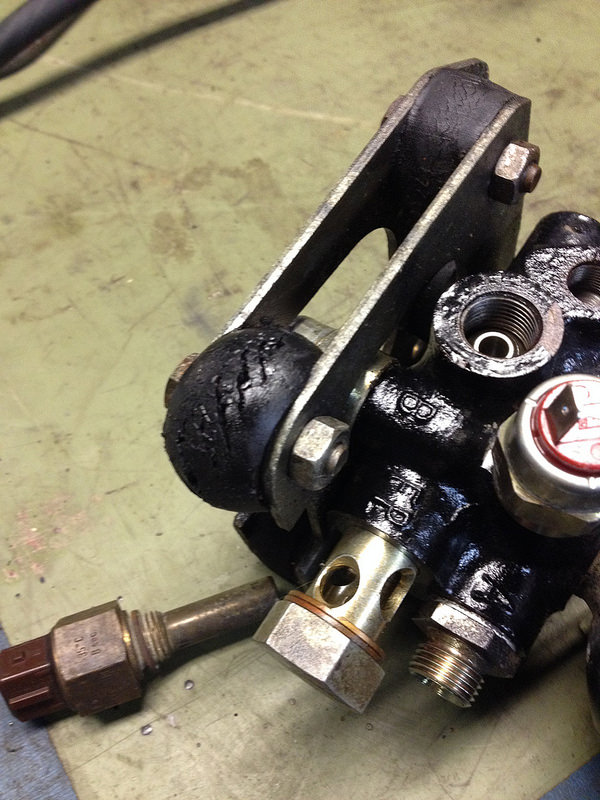
28Refurbish CIS
29Refurbish hydraulic system
31Refurbish front struts tops, bellows
32Install down pipe and turbo
33Engine Oil
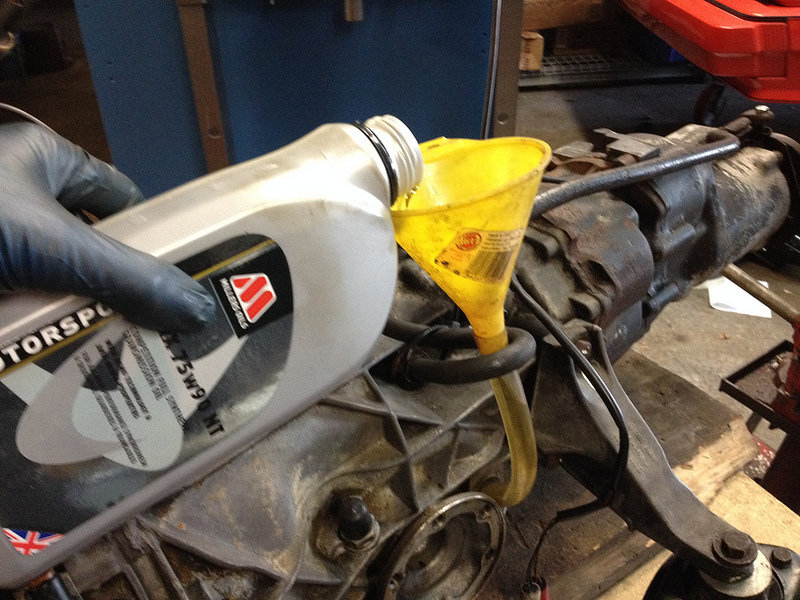
34Transmission oil
35Compression test
36Attach sub-frame to transmission
37Torque crank bolt
38Clutch slave cylinder line
39Install engine, trans, sub frame
40Reconnect ancillaries
41Bleed brakes
42Hydraulic fluid
43Fire up
44Test drive
45Alignment
and what I'm still missing:
CIS vacuum lines and god knows what else
Hydraulic lines, being remade by a friend
Strut Bellows2431412135
clutch slave cylinder hose 1431721465 NLA
subframe bushings rear 2857199419Bdiscontinued
belt alternator 1055903137G 9.5x850
front brake line 2433837400A
any suggestions on where to get this stuff? Would prefer original Audi.
1-8-2016
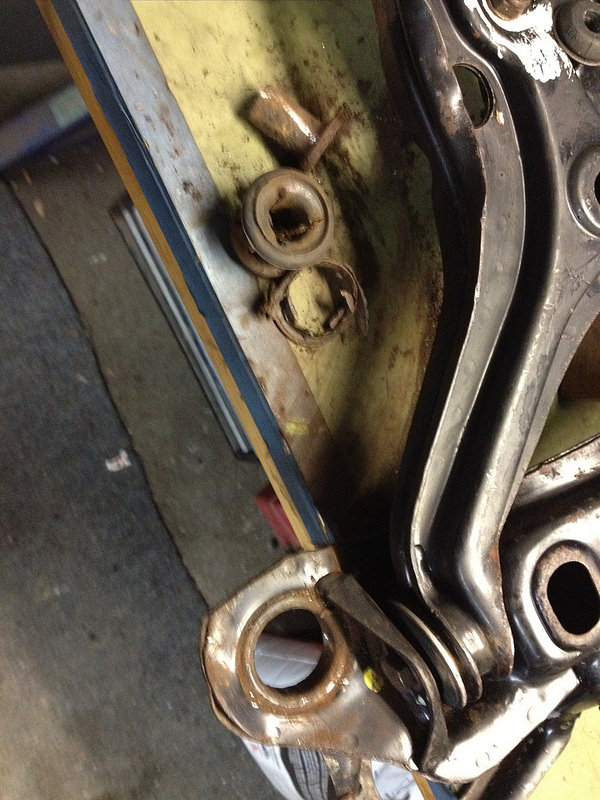
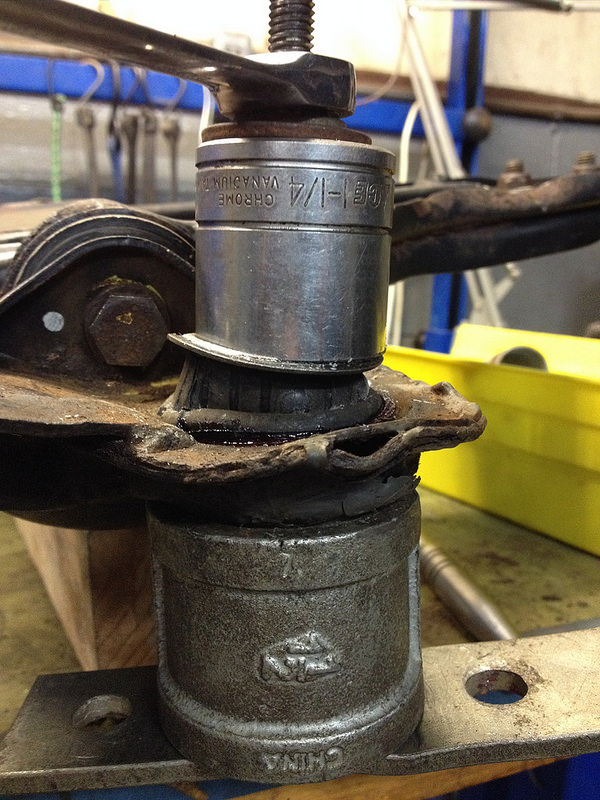
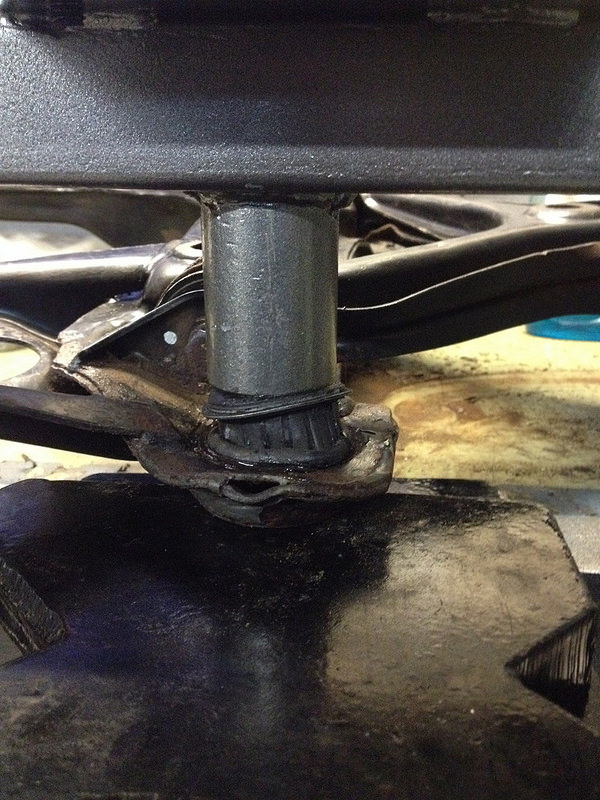
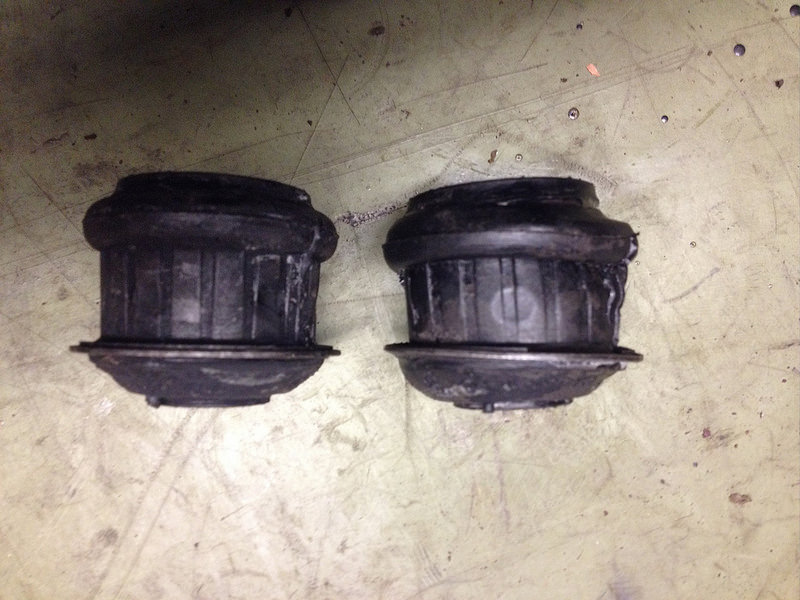
As I'm starting to run out of chronologically logical tasks I'm going to be jumping around a bit. First such worm hole leap: sub-frame bushings. Not all four though, just the front two. The rears are NLA and I haven't sourced an alternative yet. So here we go.....
Drill
Cut
Pry
Succeed
Sleeve still in
More cut and pry
Squeeze
Fail
Succeed a bit then fail
Win
Repeat.
After lots of back and forth and soul searching (as well as part searching) we made some part-ial progress:
CIS vacuum lines and god knows what else
I printed out four parts diagrams from vagpart.com and marched them up to the shop with the plan that I would go through each one and highlight (with a hiliter) everything that I wanted to replace. This would mostly be vacuum lines and clamps but there are quite a few different sizes and types so I wanted to make sure I got the right ones and didn't miss any. Well, guess what? I could barley even match the diagrams to my car! It's like the car and the diagrams are for two different cars, not even the same manufacturer. I found one common part; a bubble shaped vacuum bottle, and followed it's line back into the engine bay and at the first connector it departed from the parts diagram completely! We are going to have to rethink this approach. This is one of four vacuum line diagrams vs the real world.
Hydraulic lines, being remade by a friend
Still waiting on these. Might be a while.
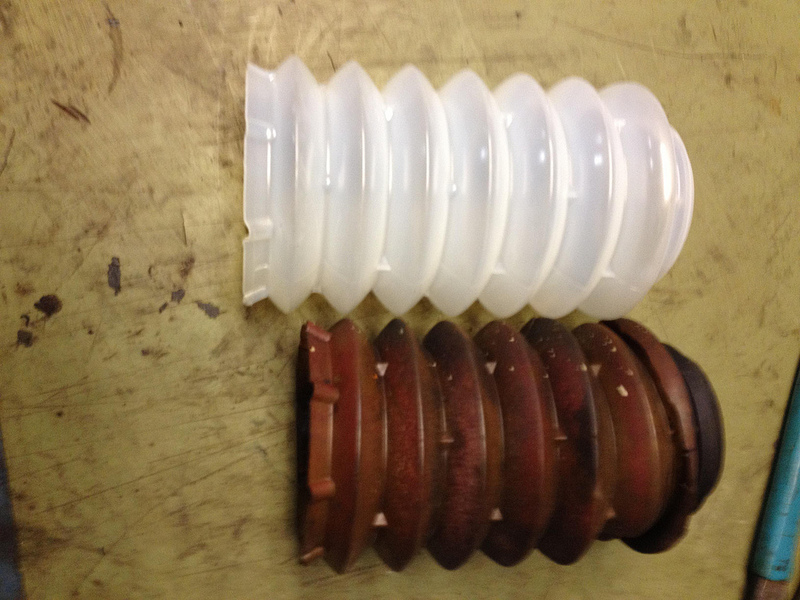
Strut Bellows2431412135
I found they match a Porsche 944 part so ordered a pair from one of our customers: Pelican Parts. Will see next week if Porsche and Audi were on the same planet back in the 80s.
clutch slave cylinder hose 1431721465 NLA
I got close but quit. I found an ATE hose that matched but it proved to be a unicorn. Couldn't find one anywhere. Then I got a quote from our local fancy custom line shop for braided stainless made from my original fittings but baulked at the price ($140) and the lack of originality, then decided the original one was in good enough shape and installed it on the clutch cylinder.
subframe bushings rear 2857199419Bdiscontinued
A friend pointed out that I could used the Audi 80 M12 version with a 10mm sleeve so I went on a quest for those. They proved only marginally less rare than what I need so I orderded two proper ones from Audi Tradition. They have to be shipped to my friend in Germany and then to me so probably 2017 before I see them LOL
belt alternator 1055903137G 9.5x850
This can wait. I'm tired.
front brake line 2433837400A
Hours more research and all I could find were aftermarket braided stainless or some really inexspensive rubber ones from Centric. I've ordered both. The centric ones look like the real deal apart from not having the rubber dongles on though it does have two mounting grommets. The OE mounting grommet should slide off over the ends if one of these doesn't work but there's no way the big rubber dongles will. I have a few spares from our 83 so will cut one and see if it is possible to glue them back together over the Centric lines.
2-3-2016
Finally got chance to install the rear subframe bushings. To be fair I did have to wait for them to come from Germany. I might havre to wait for another one now. Read on.........
Easily removed the old bushings and cleaned up the holes.
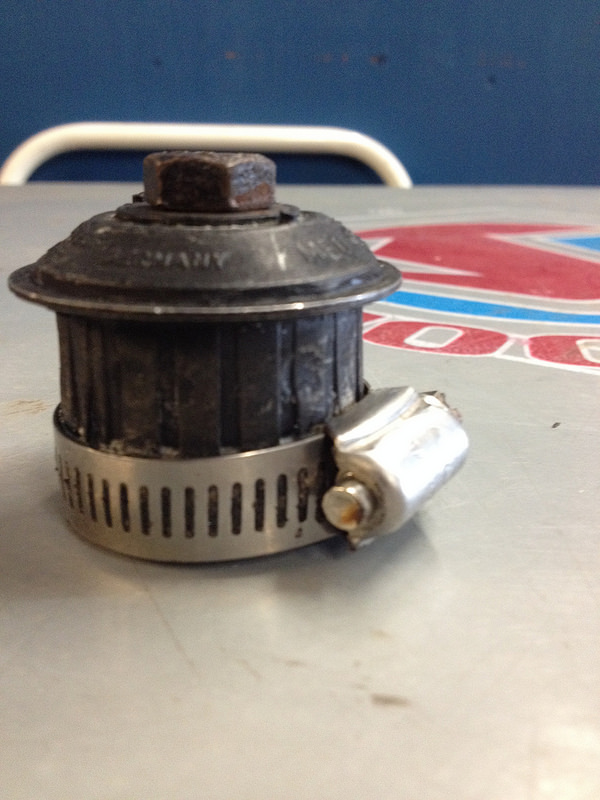
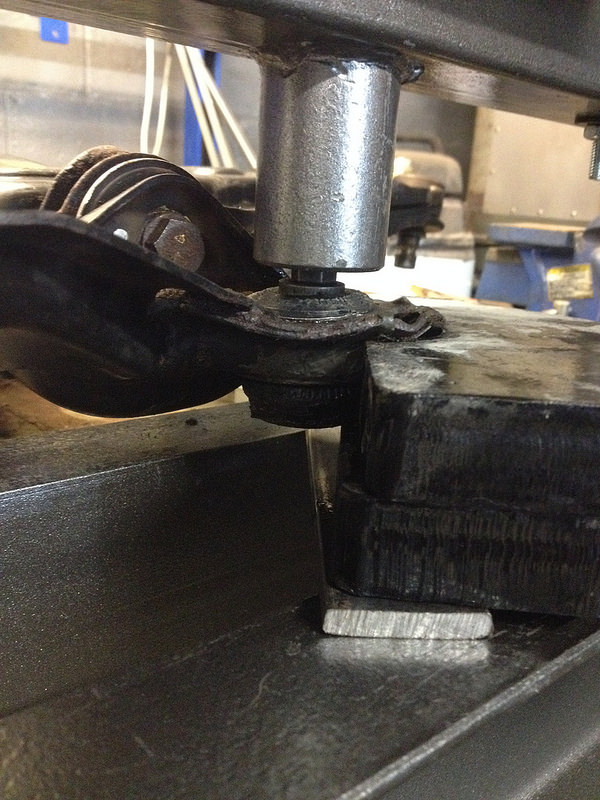
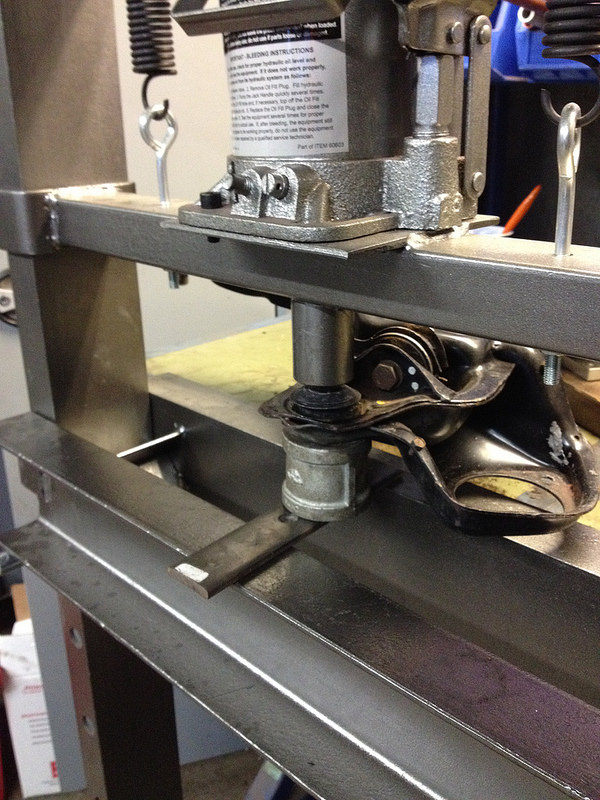
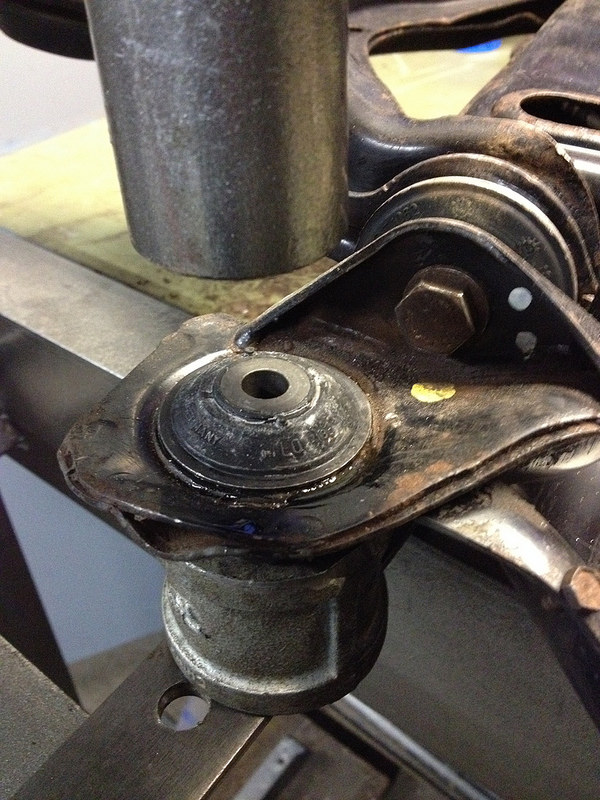
But my previous method of pressing them in failed
So got the press out but that didn't help
Now the bushing is all squished
It seems that a) these bushing won't squeeze into a hole the same diameter as the body and b) why did the front ones press in so easily?
2-8-2016
This didn't help
But this did
Now I just need to order another one from Germany
3-18-2016
It's been over a month since I updated this thread so, even though not much has happened I will document it anyway. Actually, looking at my Flickr album there's been quite a lot of little incremental progress
First off I received a new and spare bushing from Germany and wasted no time pressing the last one home. You just have to make sure it is being pressed true then squeeze with confidence, after first lubing the sh*t out of it.
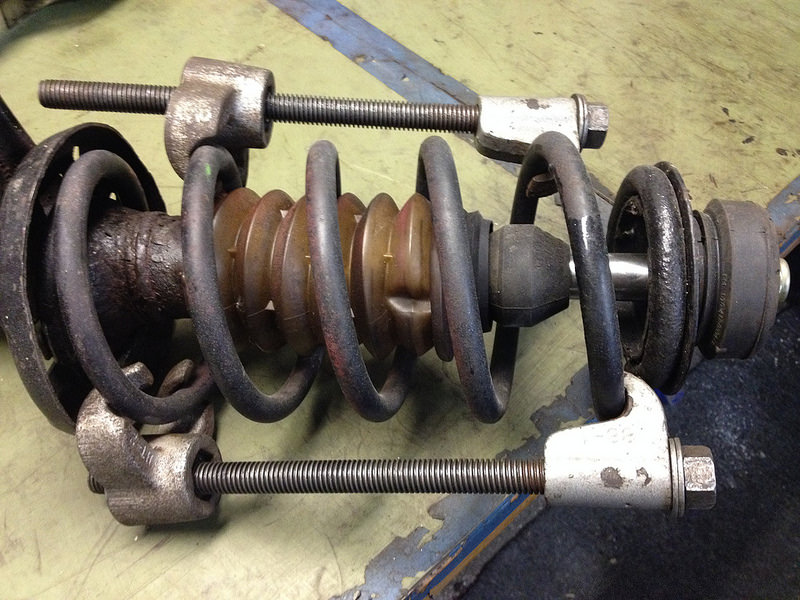
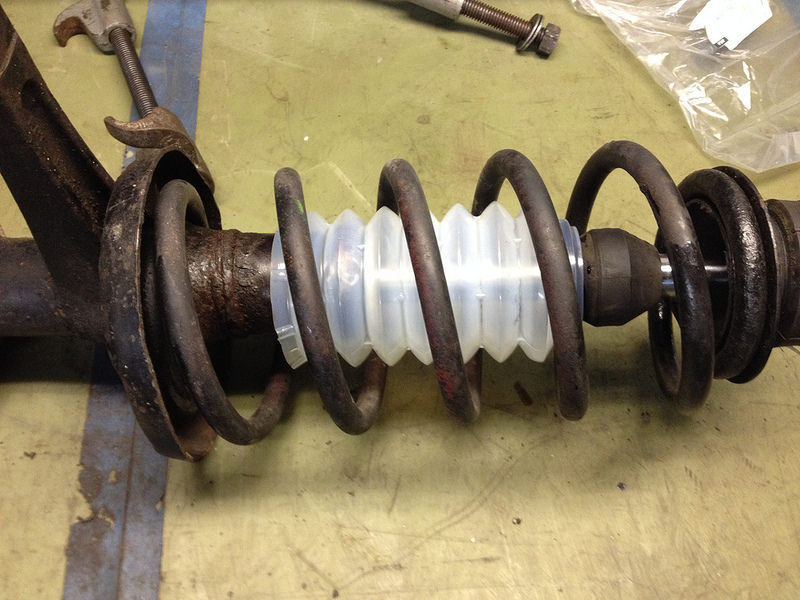
Then I replace the front strut bellows which arrived the same day as the bushings. Incidentally these are for a Porsche 944! Same part though.
More bloody squeezing. GGRRR
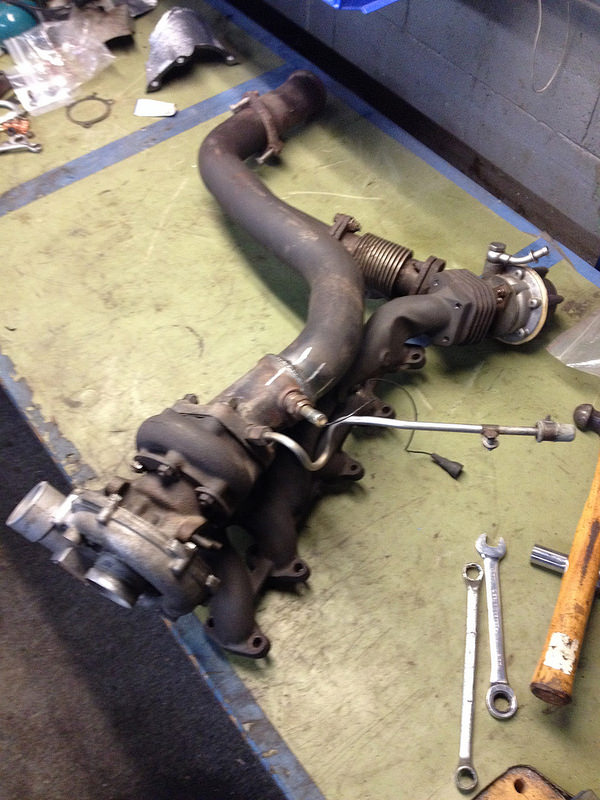
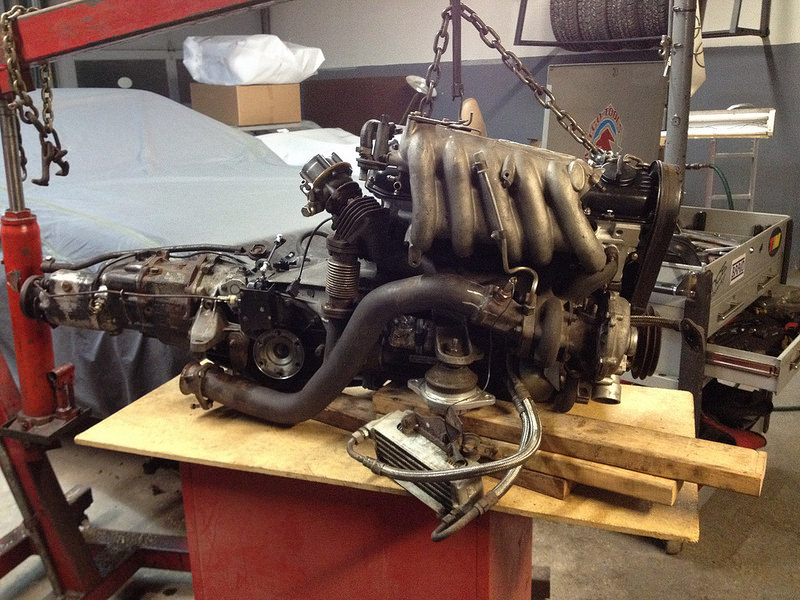
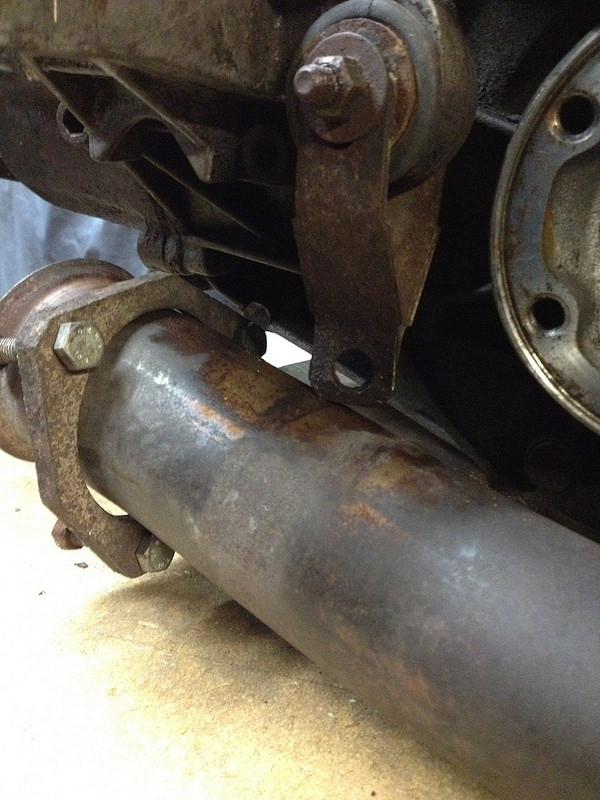
Then I installed the turbo, manifold and down pipe.
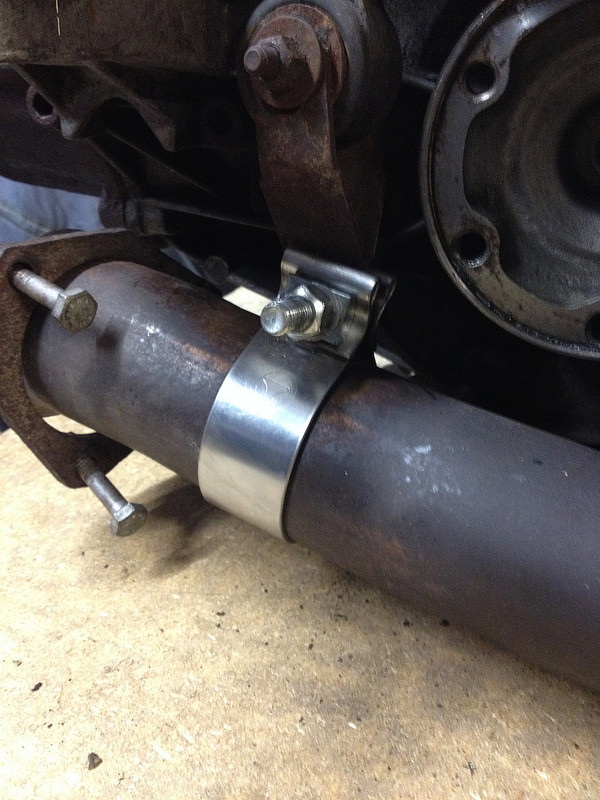
Need to find a suitable hanger for here.
This stainless steel beauty from Vibrant should do the trick.
Next job is to attache the subframe then it's ready to go back in the engine bay. However, the engine bay is not yet ready to accept it as I still need to reinstall the steering rack and refurbish the CIS system. I may reuse the existing hydraulic lines as my supplier's are not in production yet and I want to be driving this in April.
3-26-2016
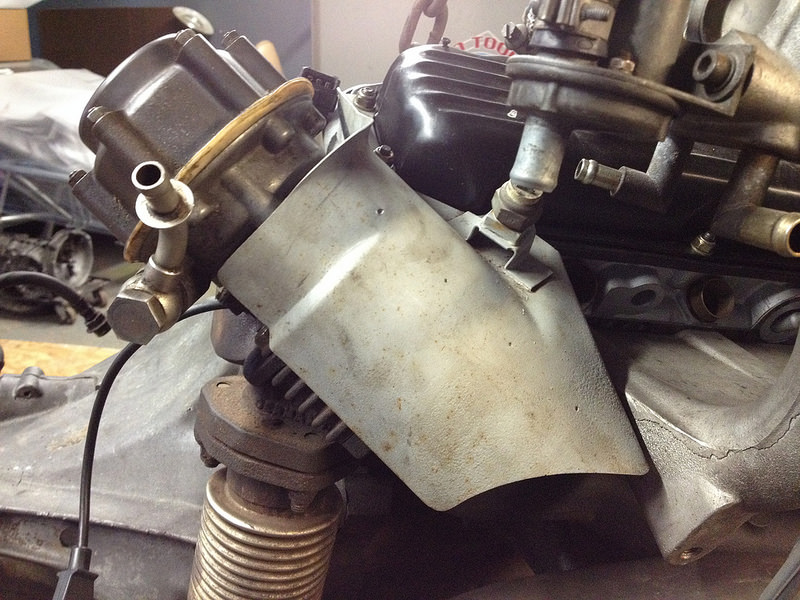
I went through my parts bin to see what still needs to bolt on the engine before it goes back in the car. I was worried I might miss something and I was right. Found this heat shield
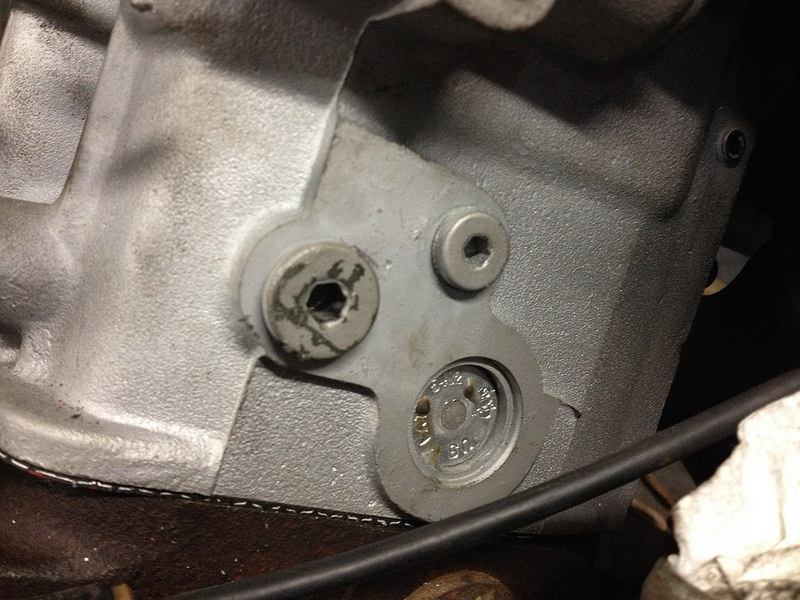
and a temperature sensor that goes in the back of the refurbished head but this plug won't come out and I'm afraid of rounding out the Allen socket. Worst case I have to drill it out and retap it but then the head would have to come off!
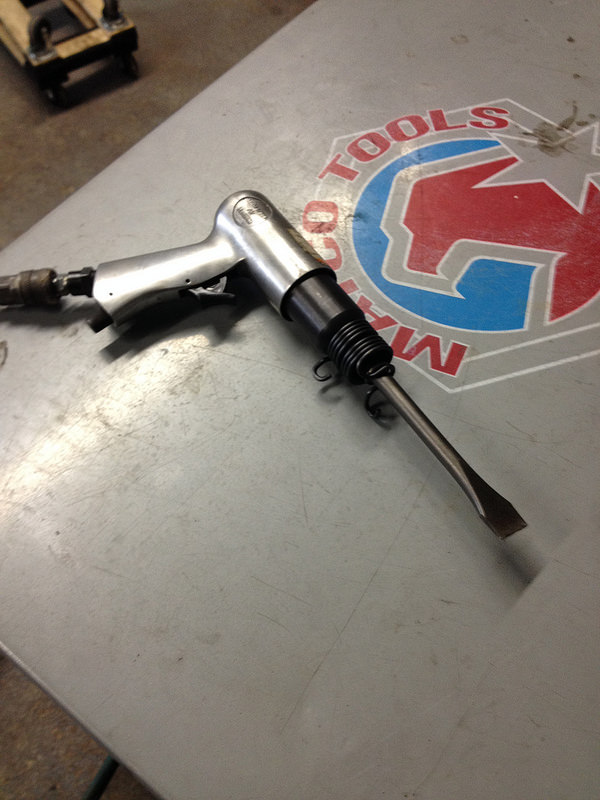
Tried this to no avail
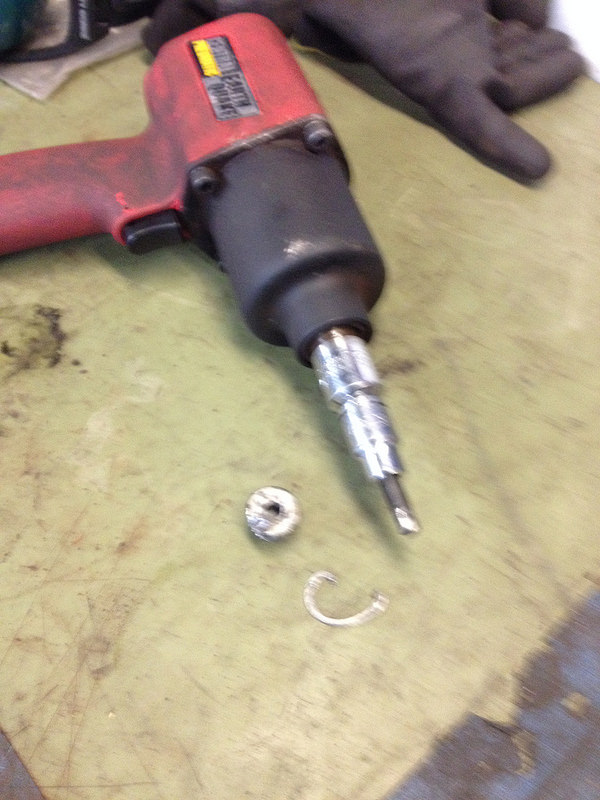
So resorted the the impact gun which thankfully worked. I forget how effective they can be.
Then I celebrated by reinstalling the subframe.
3-28-2016
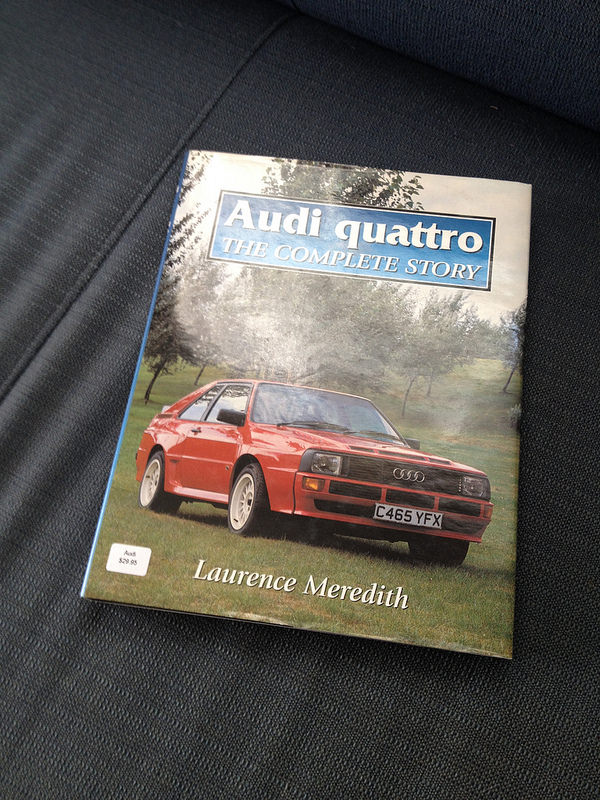
Bought some inspiration over the weekend.
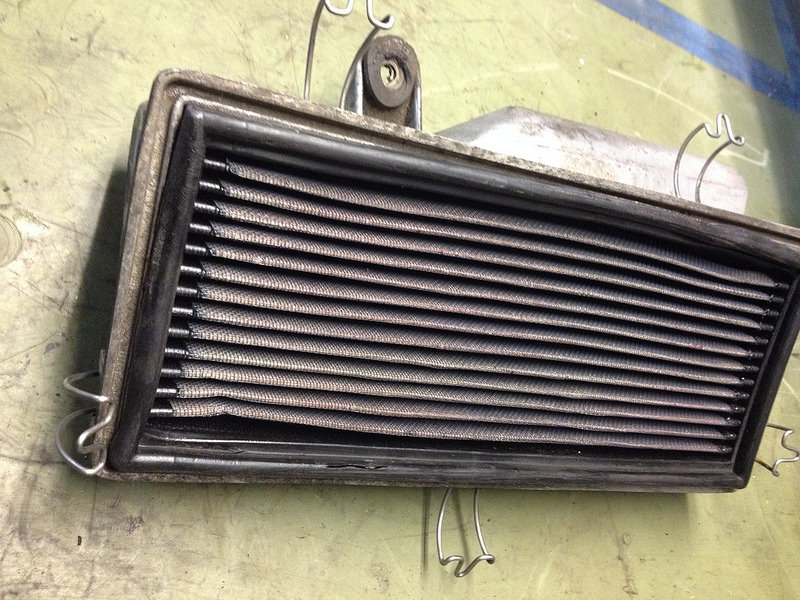
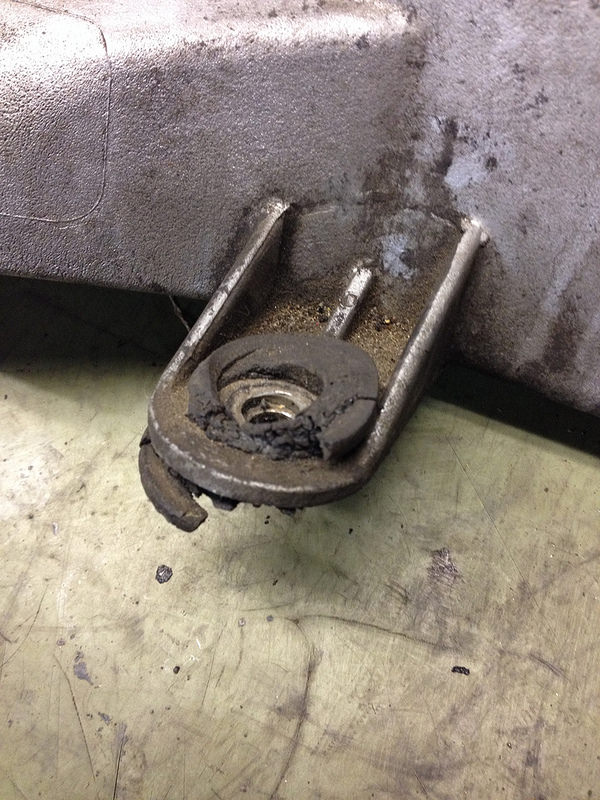
It inspired me to go on a spending spree. Ordered air box grommets/mounts and filter.
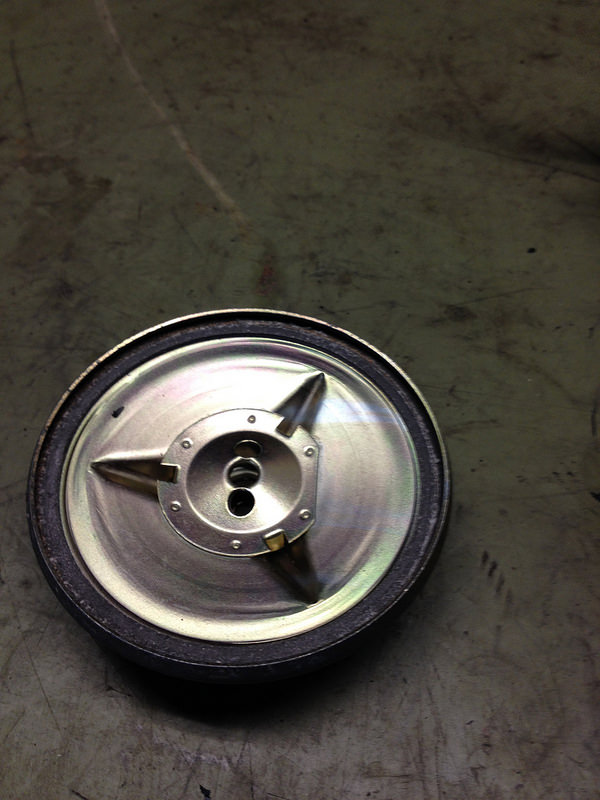
Oil can gasket
Bomb mounts
Trans oil
and about $300 worth of vacuum hose, clips and copper washers!
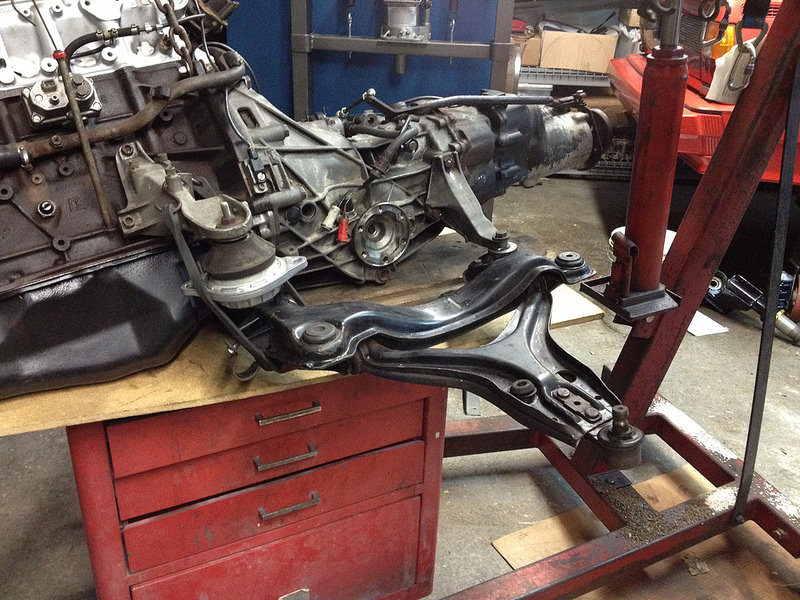
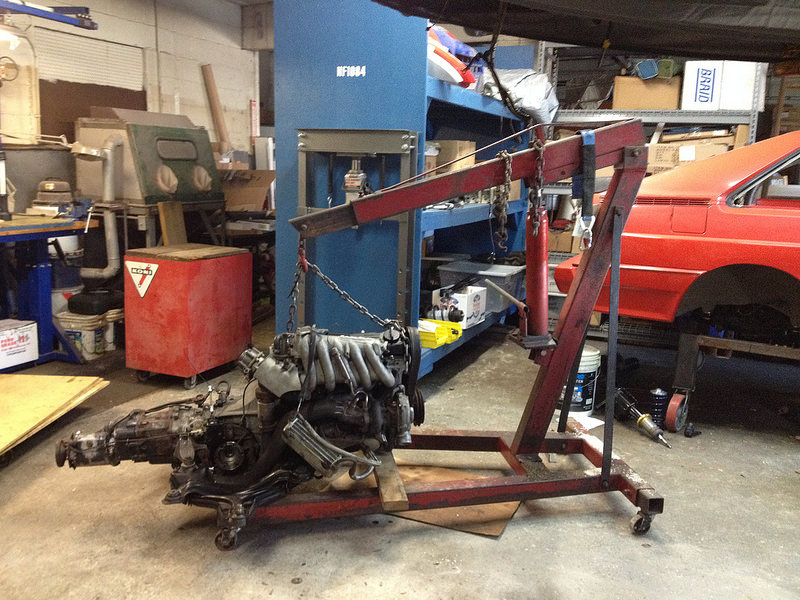
As I can now see light at the end of the tunnel I also turned the engine round on the hoist so it's ready to go in. A little optimistic perhaps?

Thanks for sharing. I've owned two Audi's and they were great cars!
Posted by Diggymart on 12/10/18 @ 8:20:16 PM