You must be logged in to rate content!
9 minute(s) of a 211 minute read
8-9-2014
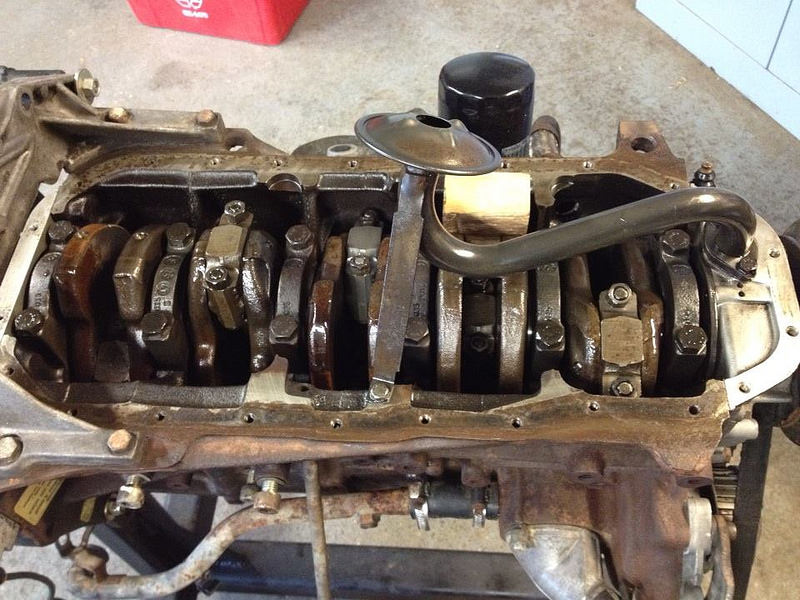
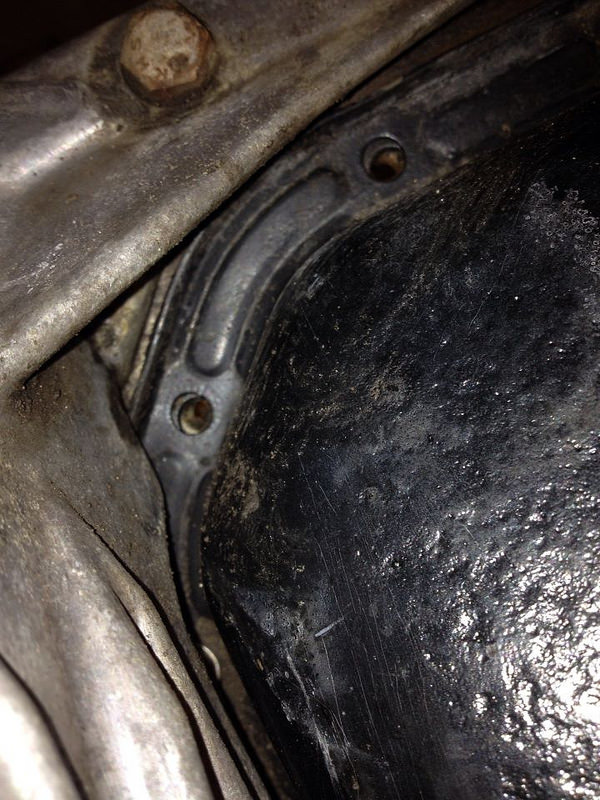
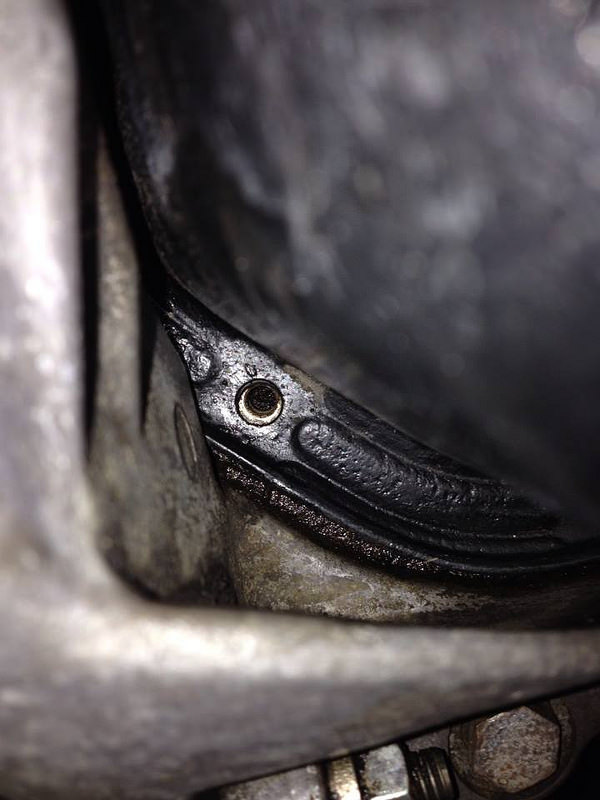
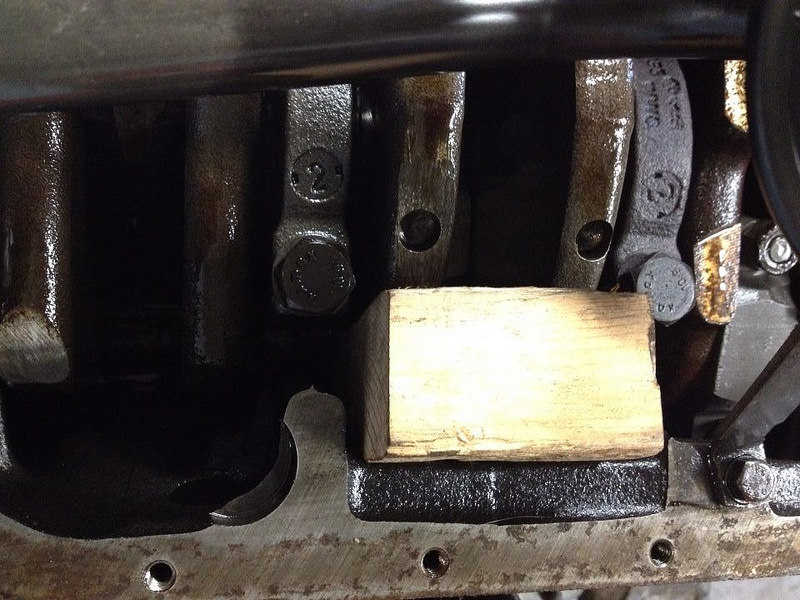
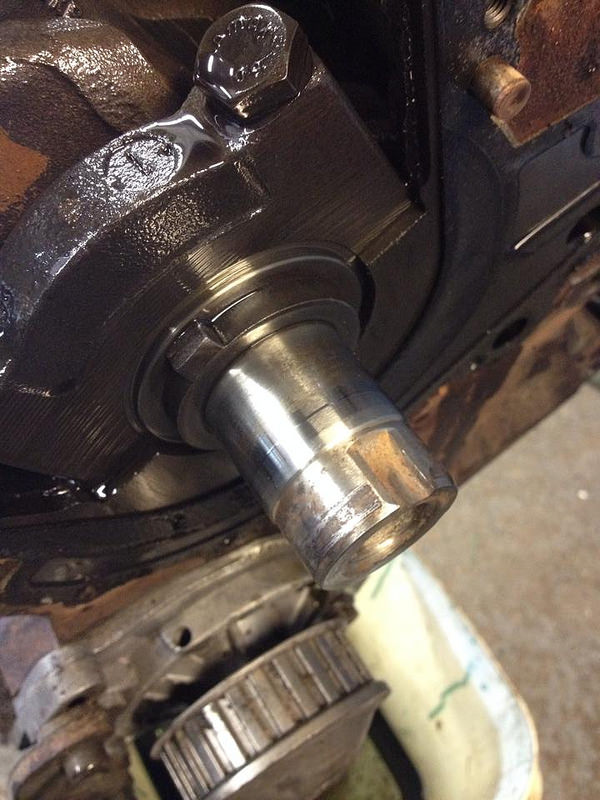
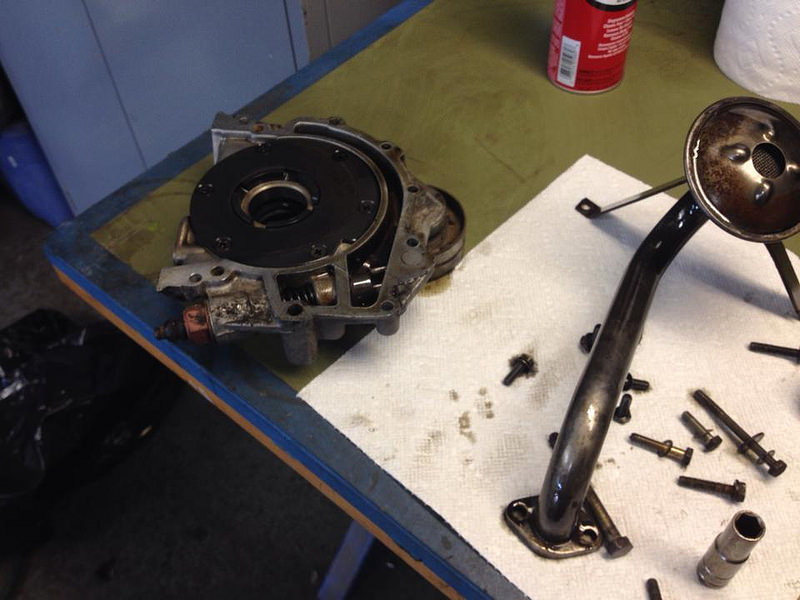
Took the oil pan off yesterday. All the screws were very loose. That's been a feature of this project so far. Hope it extends to the crank bolt. Some screws were even missing!
While it will be nice to check the bottom end out the main reason for taking off the oil pan was to wedge the crank in preparation for the dreaded crank bolt extraction.
So I tooled up and crossed my fingers.
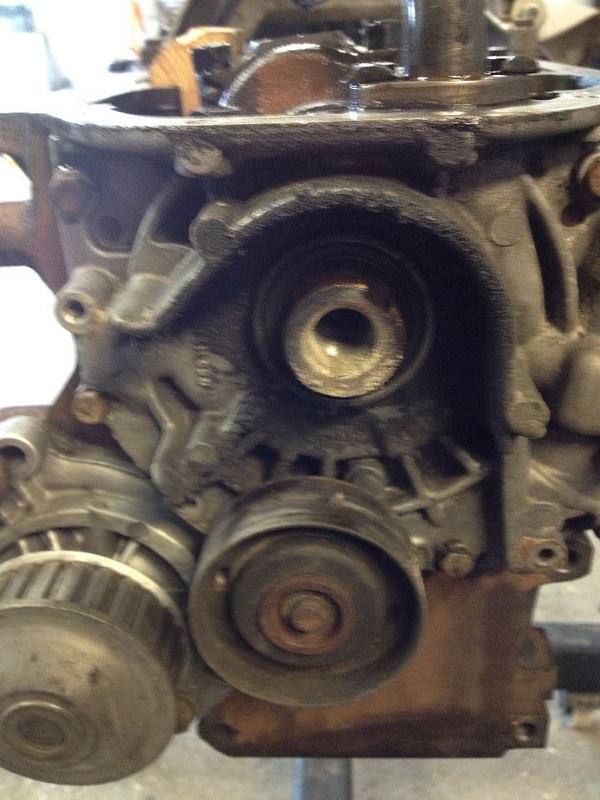
I needn't have worried. Came off like butter.
It certainly wasn't loose but I doubt it was fully torqued.
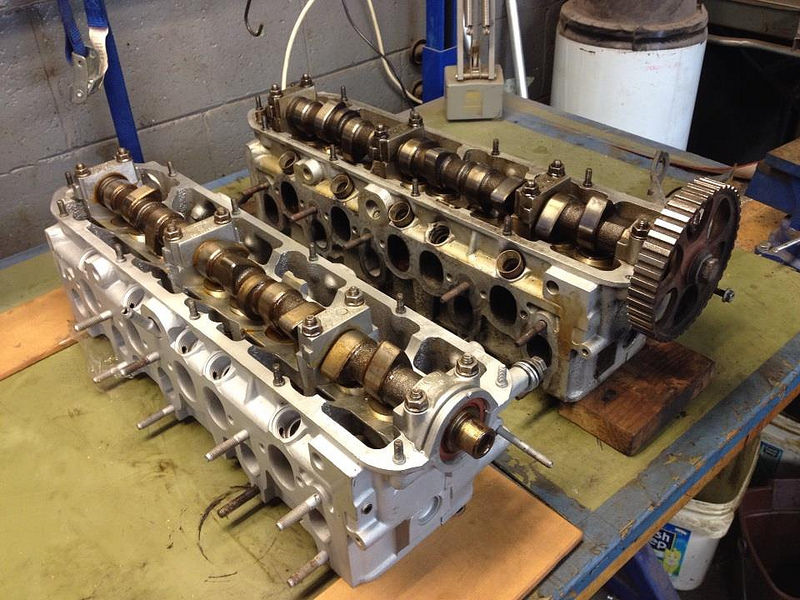
So, relieved, I put the kettle on for a well earned brew and then dug through my boxes of spares and pulled the reconditioned head I bought earlier in the year to see if it matched the old one.
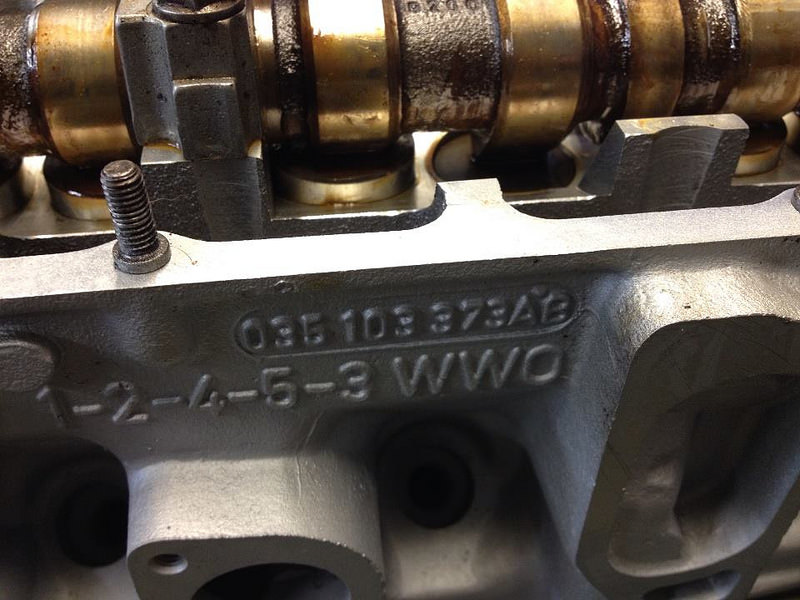
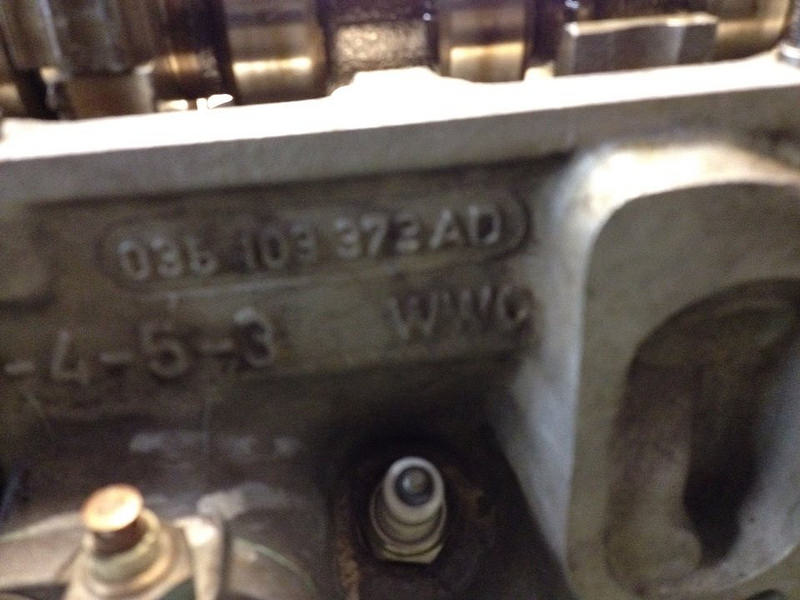
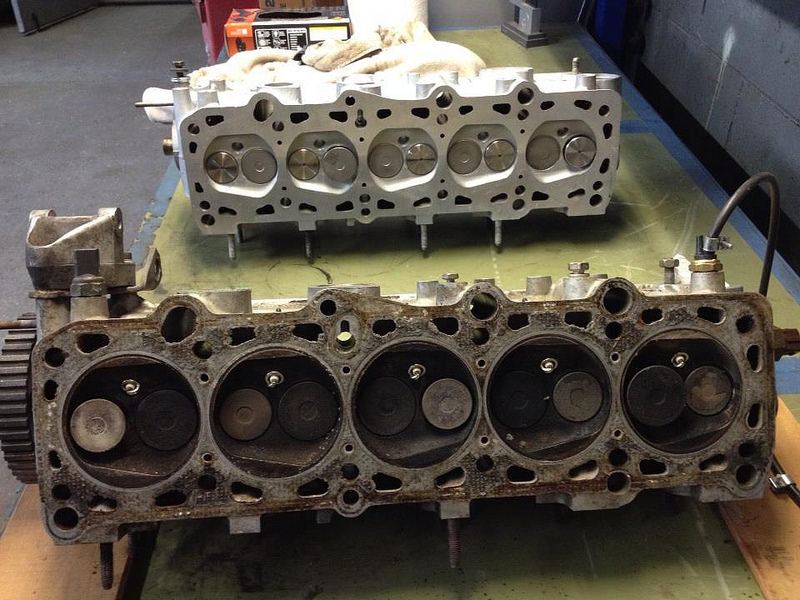
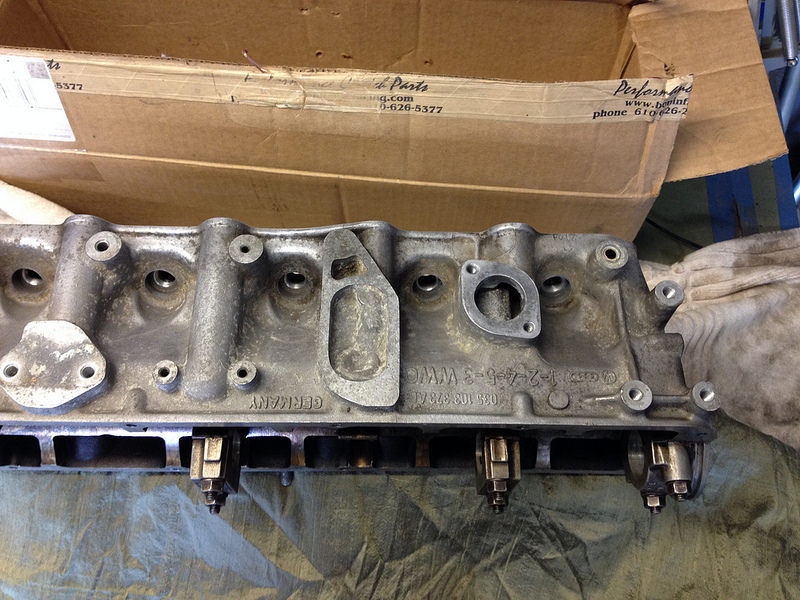
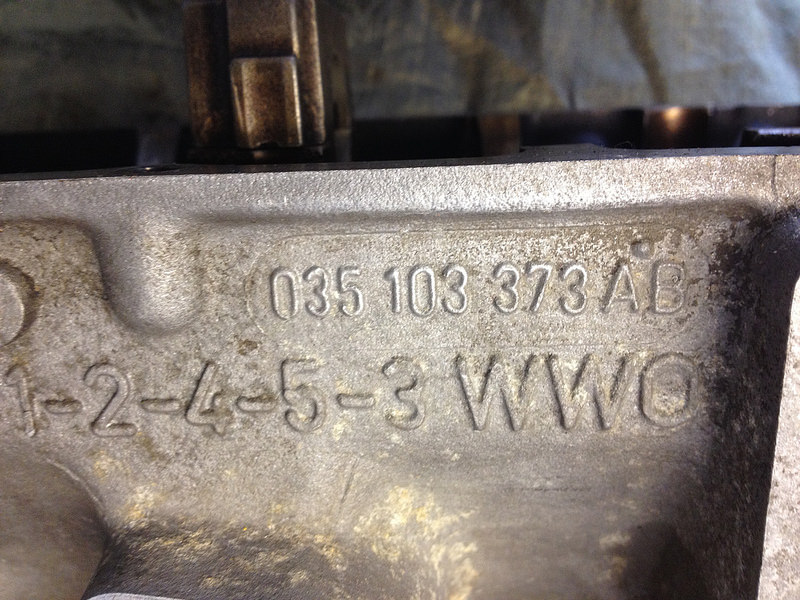
Slightly different part numbers:
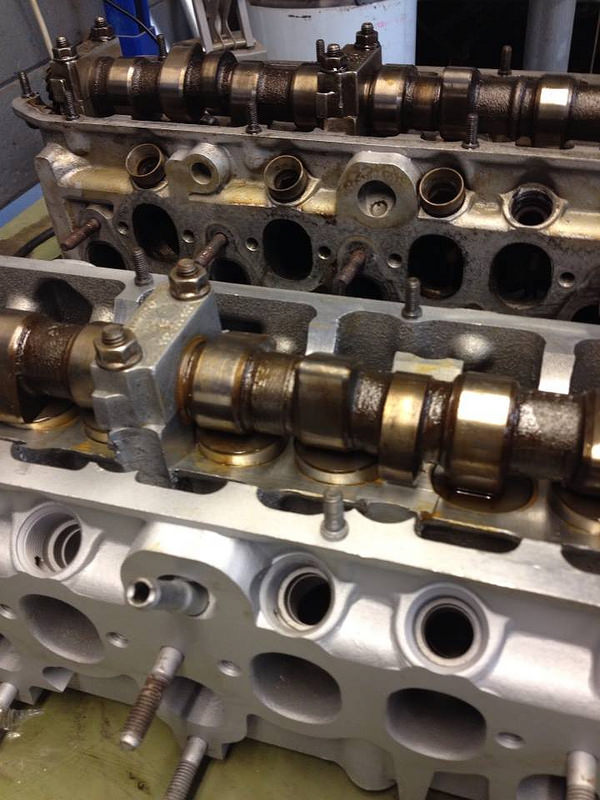
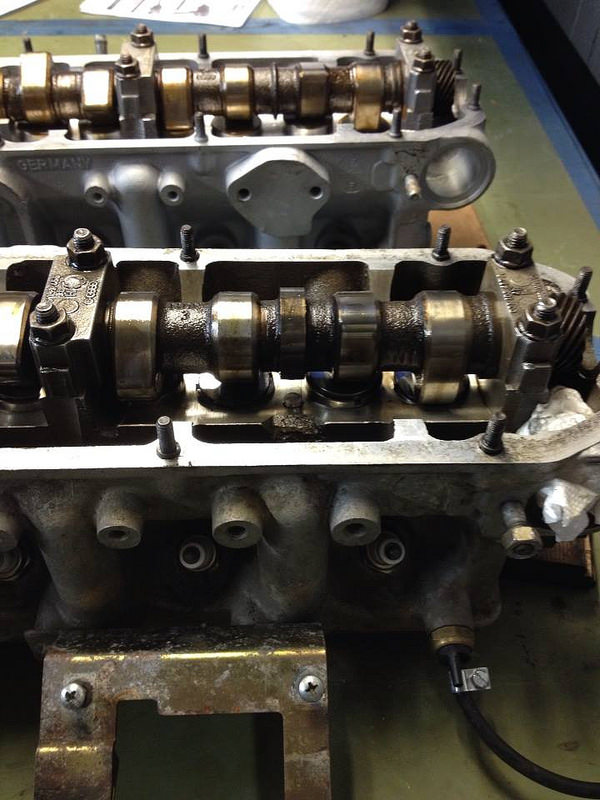
What's this tube sticking out of the side for?
Different boss arrangement on the left side. Problem?
And the cam lobes look smaller in the refurb head.
Shall I use this one of fix the old one?
8-14-2014
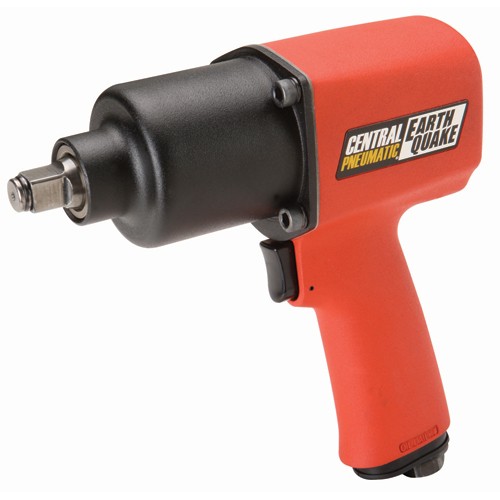
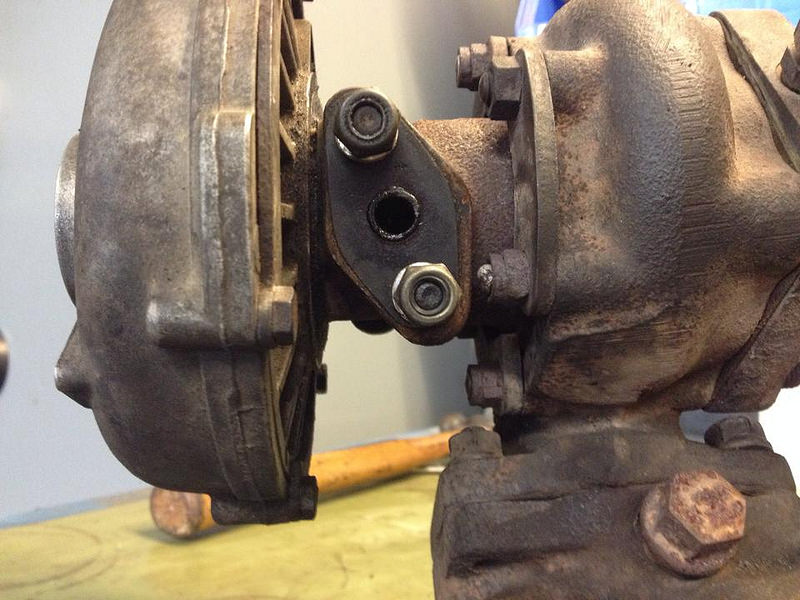
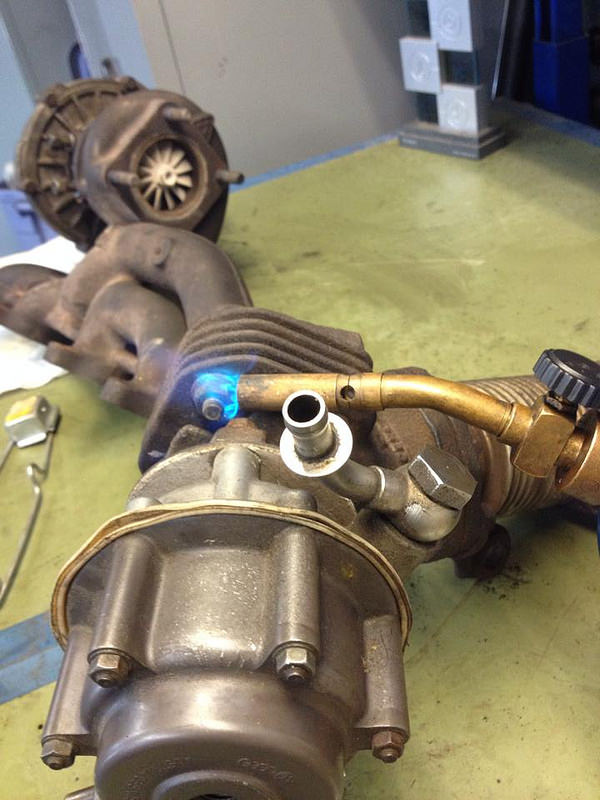
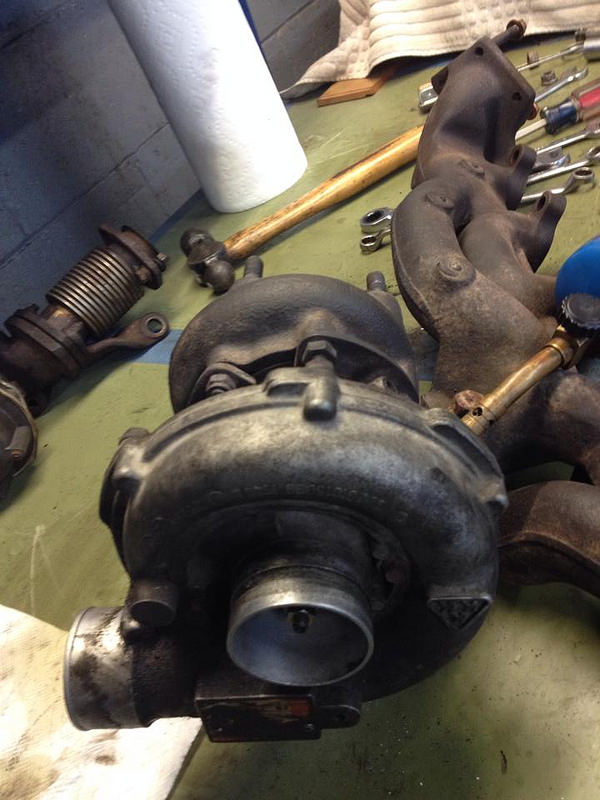
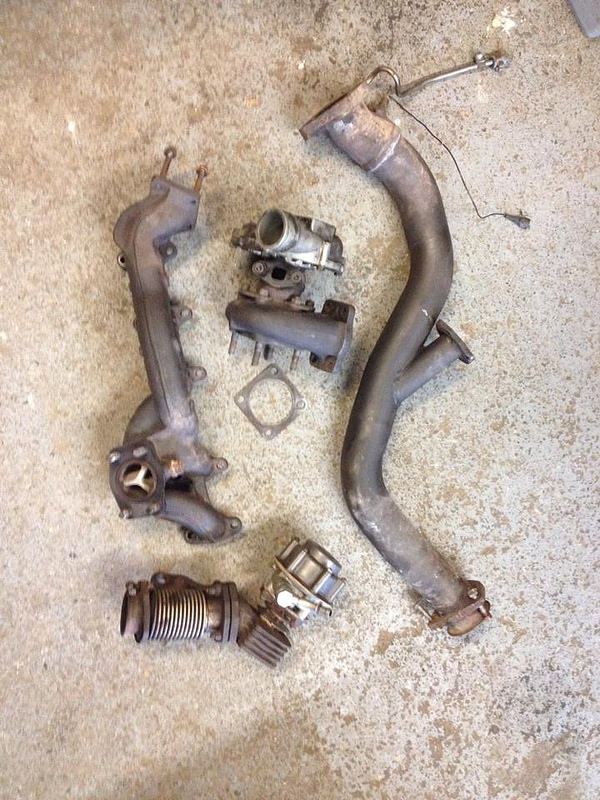
I disassembled the turbo, manifold, down pipe and waste gate over the weekend. It put up a bit of a fight but nothing a bit of heat and an impact gun couldn't handle.
The manifold is cracked. Need to decide whether to repair it or install the later Audi "fix" manifold.
There is a little play in the turbo bearings so I think I should have it rebuilt. Any recommendations for a rebuilder?
Should I rebuild the waste gate too? I've been told they wear over time and bleed off boost.
8-15-2014
Progress is slow. Please stop ordering wheels so I can work on this car more LOL. Oh, I meant "Please order more wheels so I can afford parts for this car".
Today is brought to you by the letter Oil Pump.
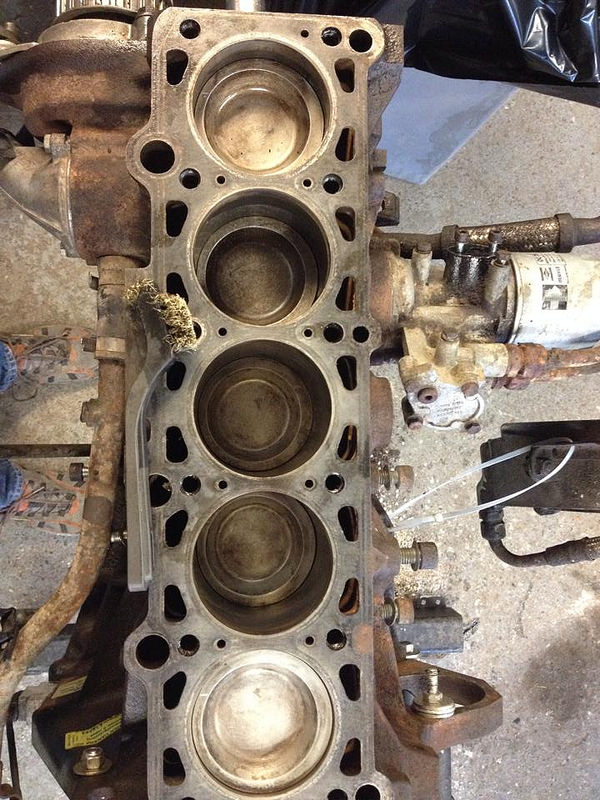
and Cleaning pistons. I used gasoline and a soft wire brush. A lot of grease from my elbows helped too.
8-19-2014
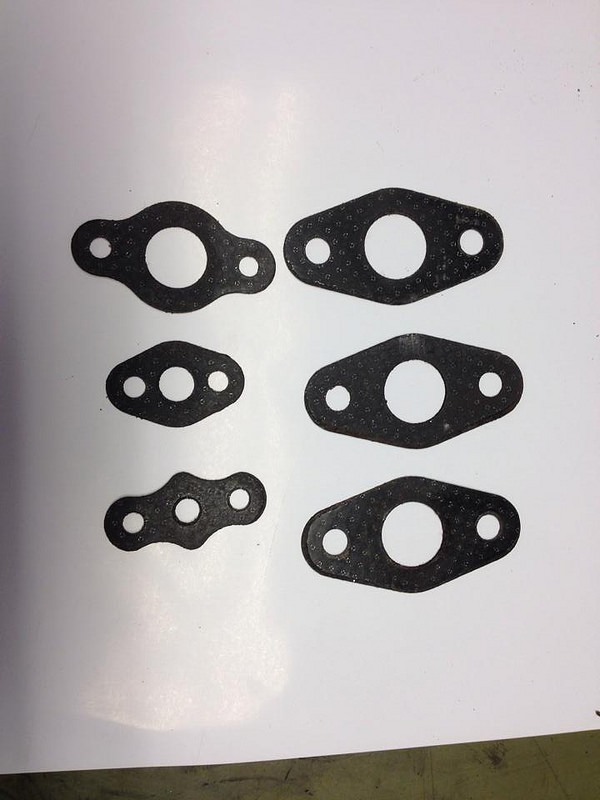
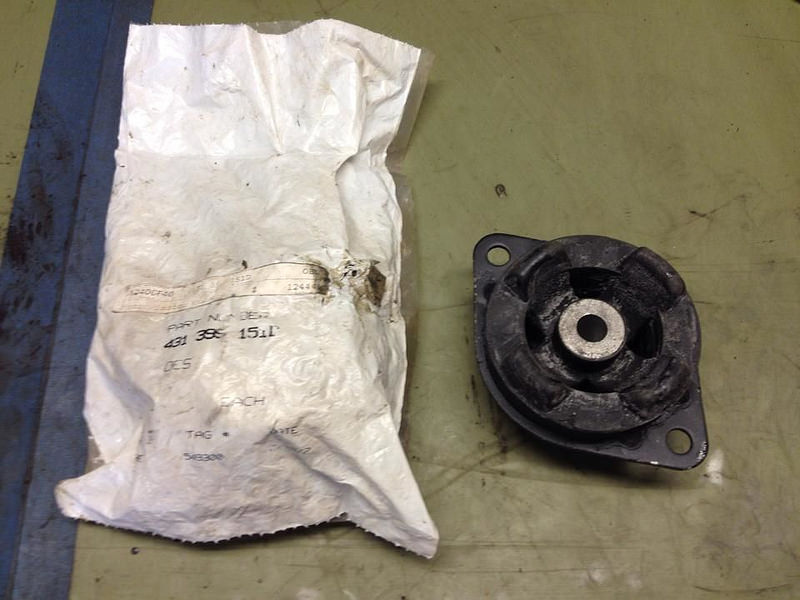
I went through my parts stash over the weekend. It's amazing what I have. Am I missing anything though?
8-22-2014
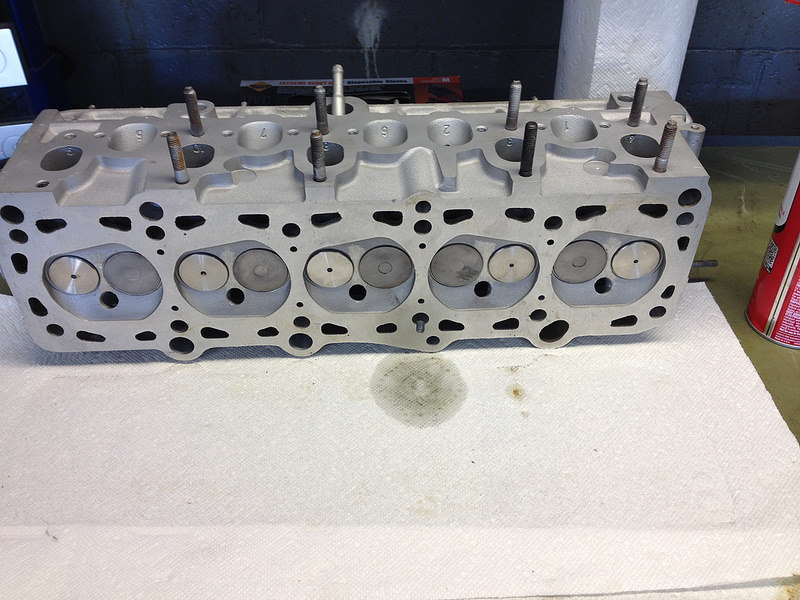
So I'm ready to start putting this engine back together but I'm still not 100% convinced my refurbished head is correct for the WX engine. Are the 38mm intake valves and slightly smaller cam lobes stock for the WX?
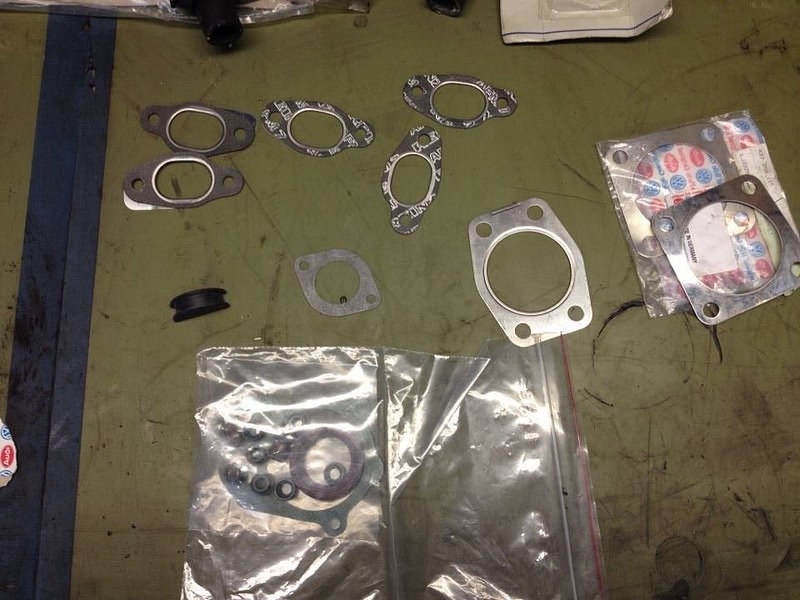
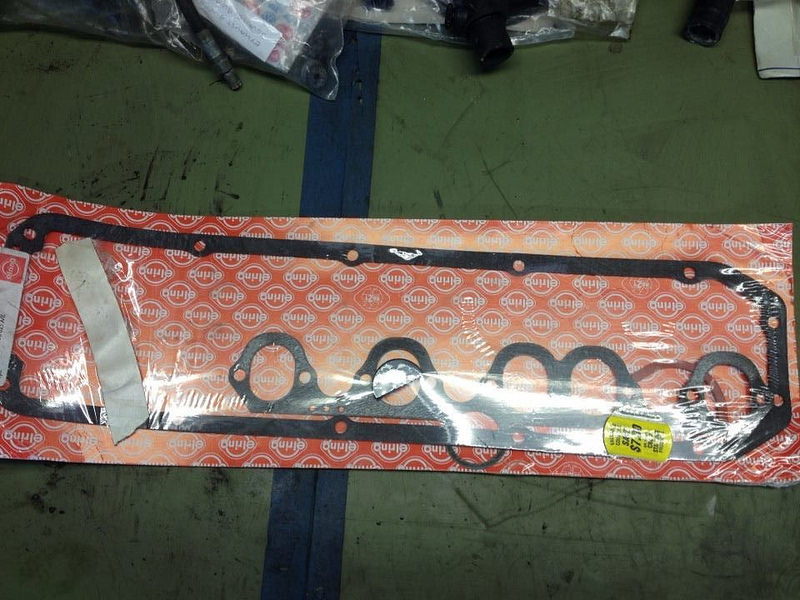
Of course I will need a head gasket and apparently new head bolts for this job. I assume these should all be OE right? Any suggestions where to buy (USA preferably). I'll obviously need a few other seals and gaskets but I might have them in my parts stash already. If you noticed anything that wasn't pictured above let me know.
Time to turn the corner on this project.
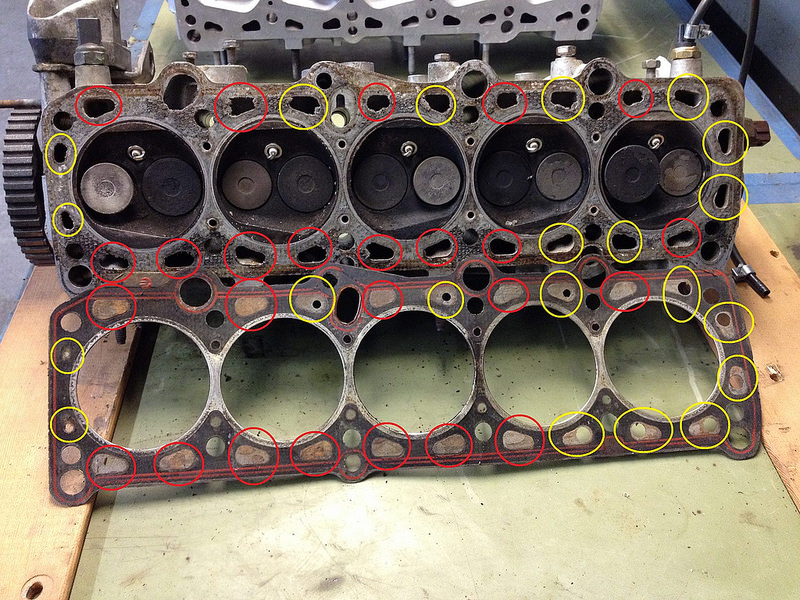
Oops, sorry. I forgot to post these two pictures. First one shows the oil and coolant passages on both heads, To me they seem identical.
I'm a bit concerned about how some of the oil and coolant passages were seemingly blocked (red) or partially blocked (yellow) by the old head gasket. Is this normal?
8-24-2014
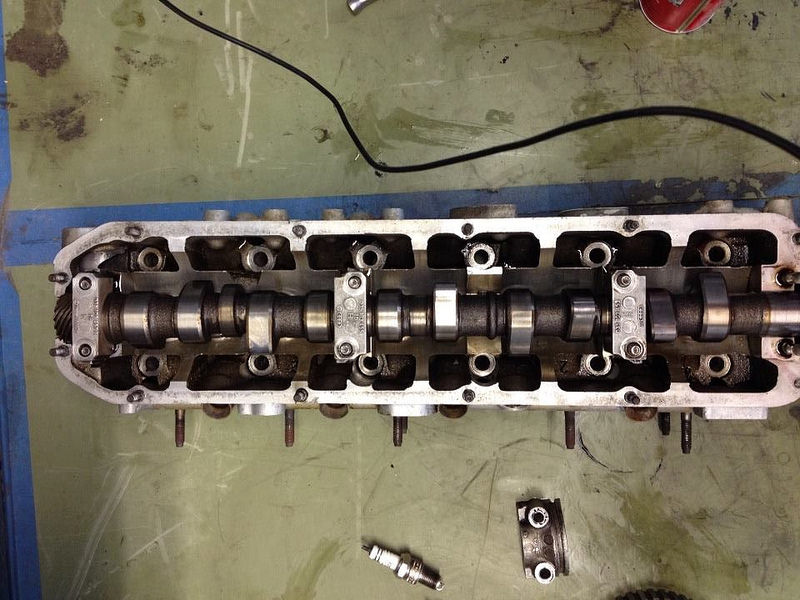
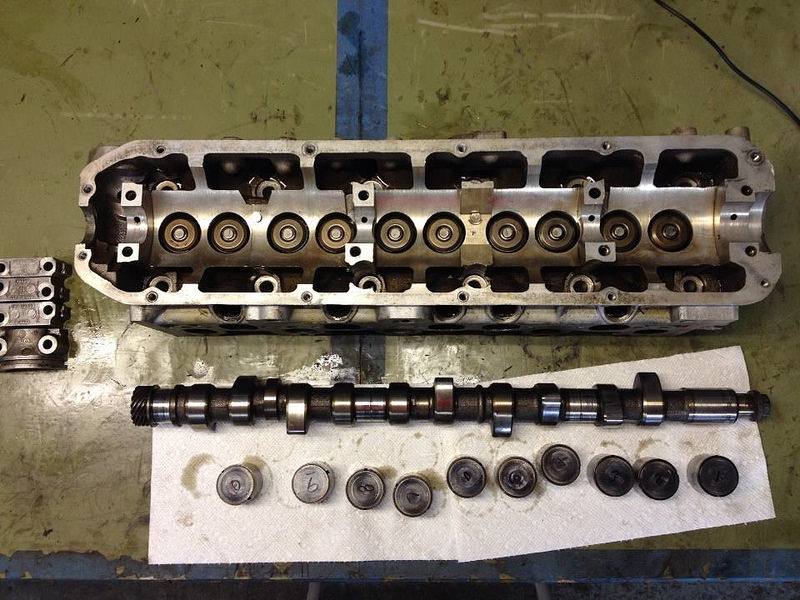
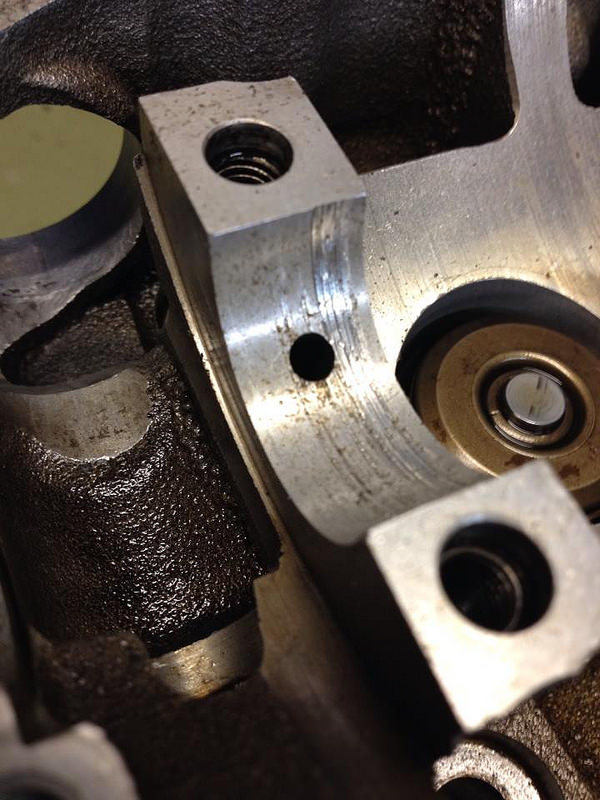
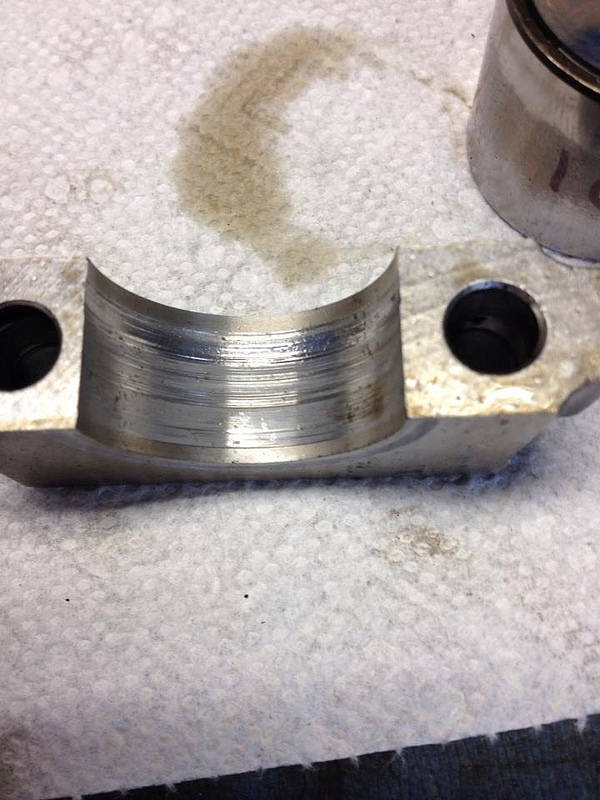
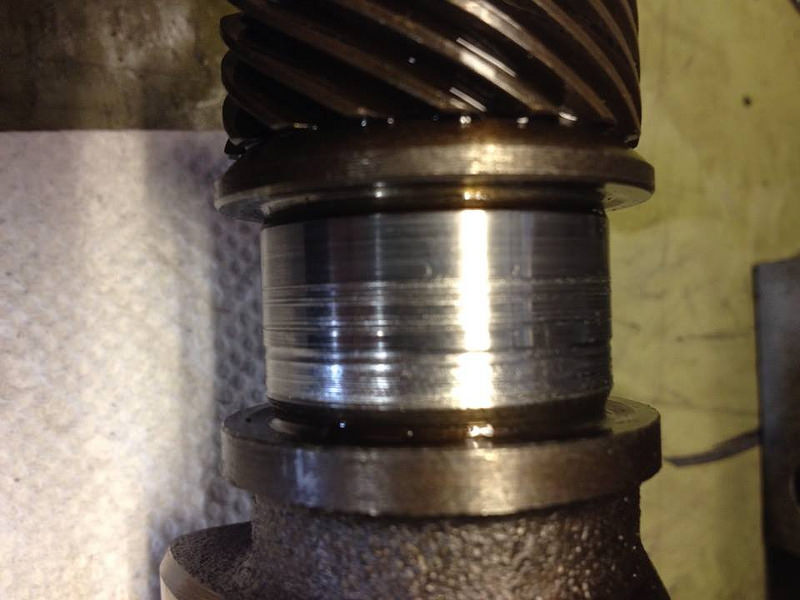
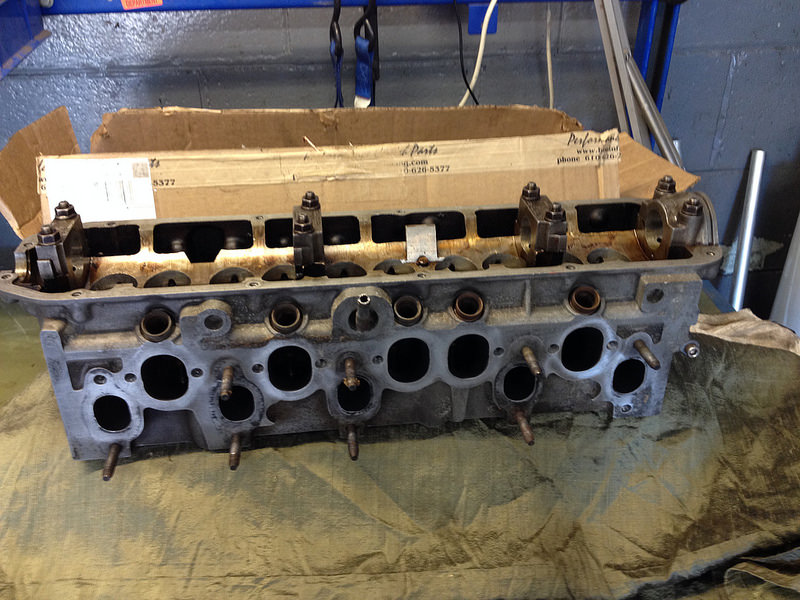
It looks like my refurbished head has hydraulic valves after all so it was decided to refurbish the head that came off. To that end I ripped into it. Not sure it's going to work out though.
Can it be salvaged?
8-27-2014
So I've been thinking about using this hydraulic lifter head in place of the mechanical lifter head and what might happen. The way I see it everything needed to make the hydraulic head function should be contained within the head especially as it is exactly the same physical shape as the old head. It should bolt right up. The only thing it needs to function is oil pressure to operate the tappets but almost everything else in there needs oil too. There's going to be oil regardless. So then it occurred to me that this oil may get to the tappets via an oil passageway that was blocked off by the mechanical head's gasket and if I just use the same configuration gasket I could be blocking off that oil supply that it will now need. So I thought, if I place the head on some paper towels and squirt a little brake cleaner down the oil feed hole for each tappet I will be able to see which passage way through the gasket it flows through, right? I'll try it today if I get to the shop.
Now for some progress because there has to be progress, no matter how small. It's important. As it looks like this project is going to take waaaaay longer than I'd hoped I thought it wise to at least free up the hoist by bolting the sub-frame back on. Should be easy to push without an engine and transmission but impossible without a sub-frame.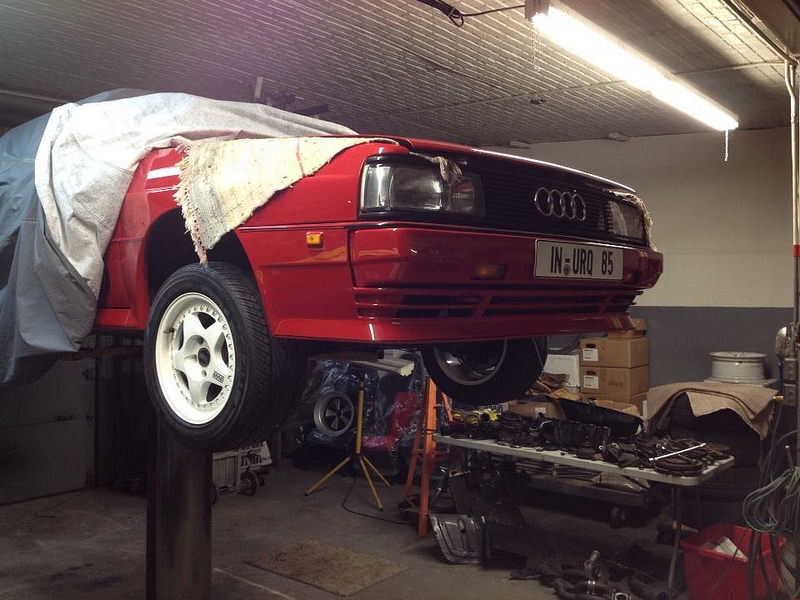
8-29-2014
More head research. I wanted to make sure the rebuilt head would get it's required oil feed if I just bolted it on to the block to I back-fed brake cleaner through a few of the lifter oil supply holes and guess what? It feeds through an existing port which is common to the cam bearings. Therefore it should get the oil feed it needs, right?
Now I just need a gasket and bolts. I checked the head thickness by the way: same as my old head.
I also acquired a third head for the sake of research. This was bought by a friend for use on a "10 valve turbo" engine but of unknown origin. He had it rebuilt but it doesn't have a cam. Intake valves are 38mm for what it's worth.
The part number (casting number) and in fact the head itself are exactly the same as my rebuilt head. Researching the part/casting number produced a few hits suggesting it belongs to an Audi 5000 turbo. Interesting no?
So I think I'm ready to commit my rebuilt head to the block. I guess I should check that first though eh?

Thanks for sharing. I've owned two Audi's and they were great cars!
Posted by Diggymart on 12/10/18 @ 8:20:16 PM