You must be logged in to rate content!
7 minute(s) of a 758 minute read
12-28-2012
I am thinking that I should get plenty of exhaust vibration insulation by running the pictured flex joints below.. The mufflers, tail pipes, and tips will be rigidly mounted to the body, but will still be mounted on a very dense rubber bushing, so they should be very solid.. 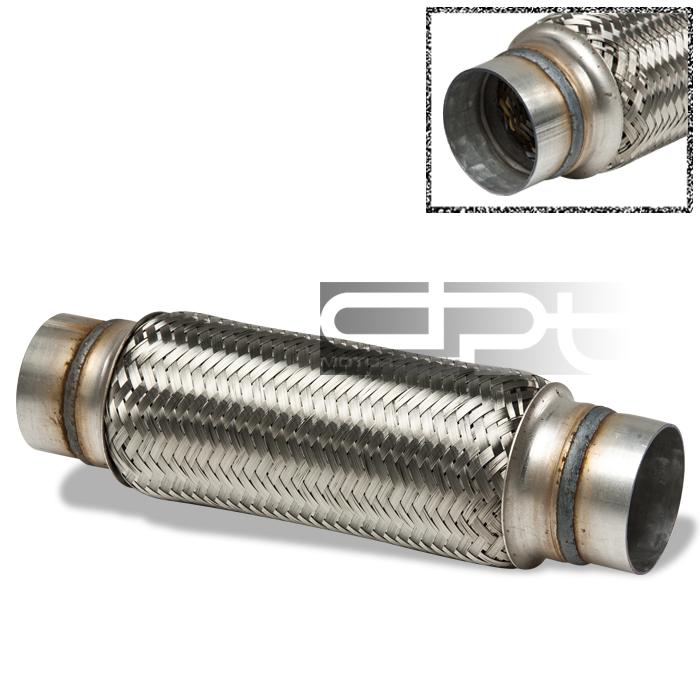
The exhaust pipe coming off the headers will go into the x-pipe pictured below, which will let me keep the header pipes running tightly down the center of the car, between the floor pans for a tight ground clearance fit. The Flex joints will be mounted between the x-pipe and mufflers, and this should allow me to get an extreme body hugging exhaust, and not have to worry about tolerances and rattling..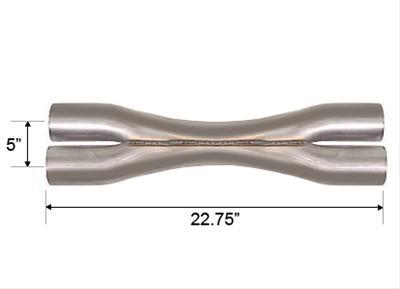
10/31/2012
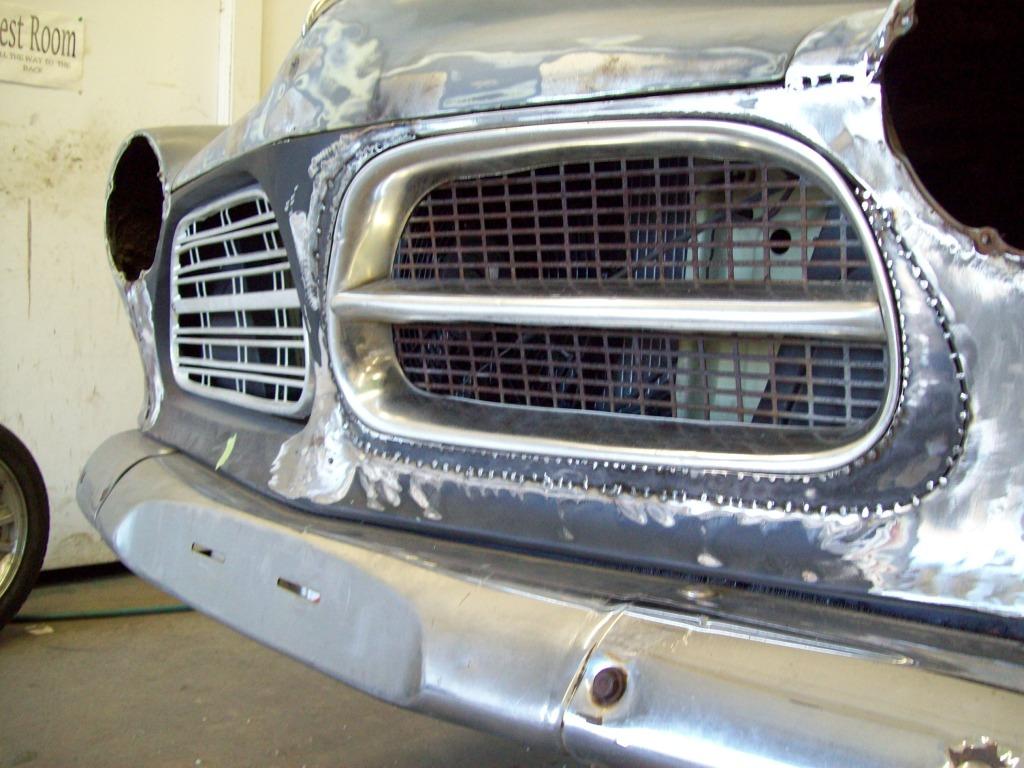
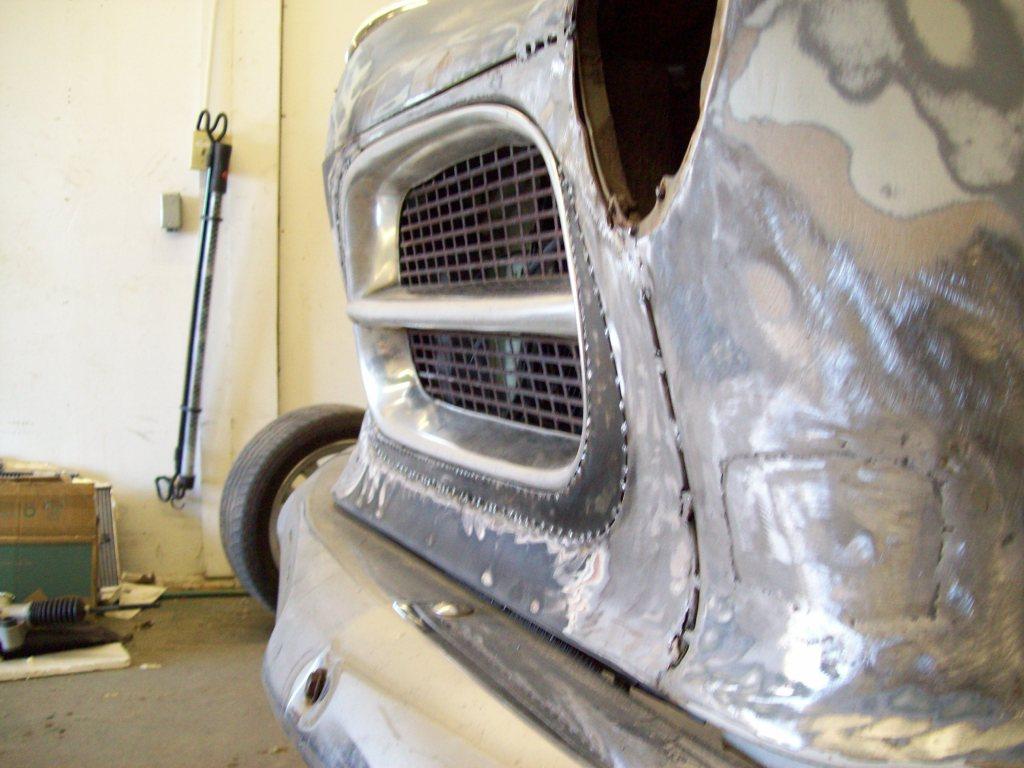
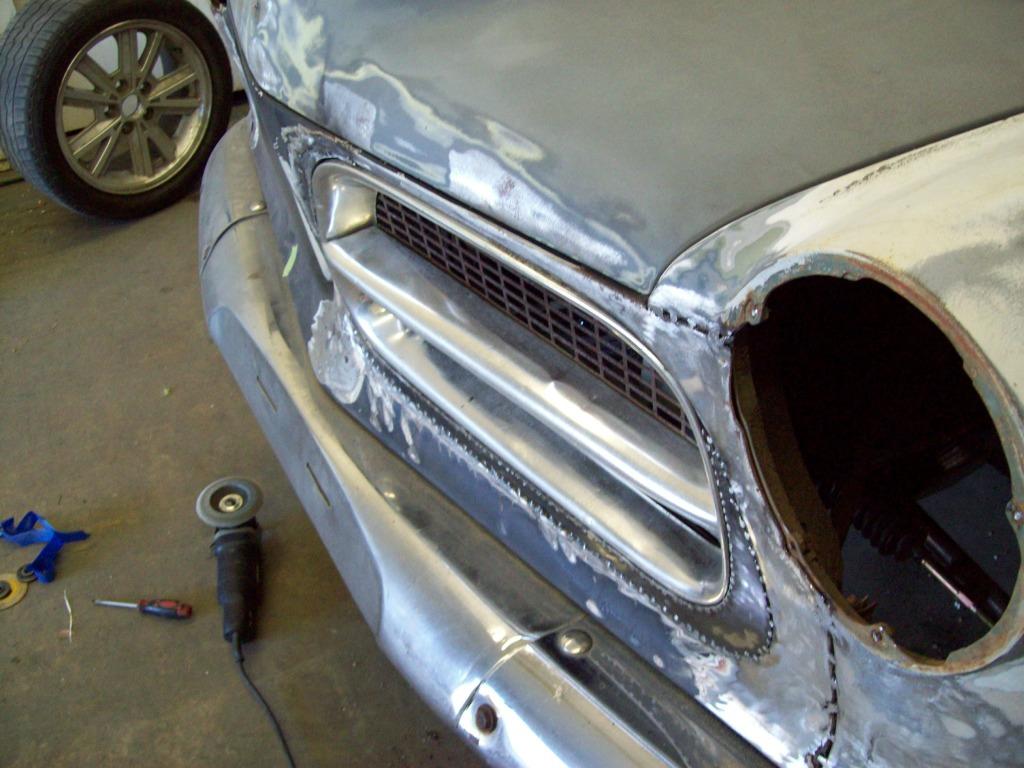
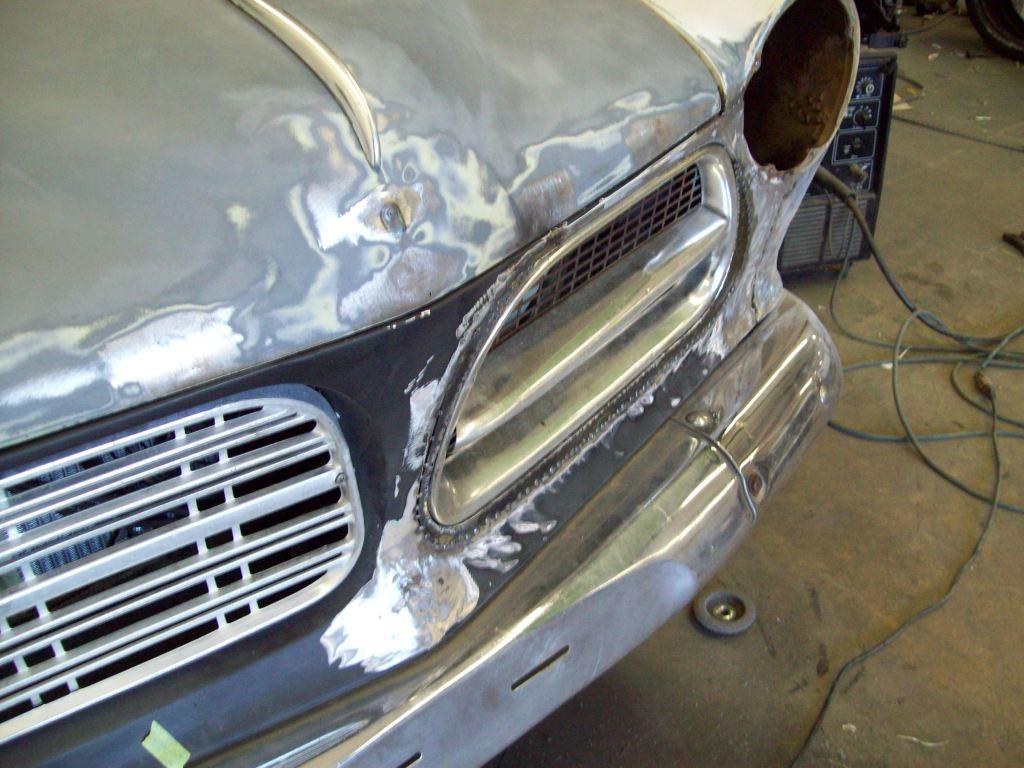
I couldnt take leaving the later grilles in this build, and I didnt have the best of luck sourcing a new facia, so this is what I came up for a solution.. I had some old style grilles that I bought off Ebay about a year ago, and it was bugging me that I couldnt use them, because they look so much better than the later grilles. Here is what I came up with, so I will show the relatively inexpensive and simple alternative, and hope this helps someone else in the same situation..
The first thing I did, was to make a poster board template of the later grille shell hole.. I had a donor grille shell, but it could be done on the car, so you dont have to take the facia off the car.
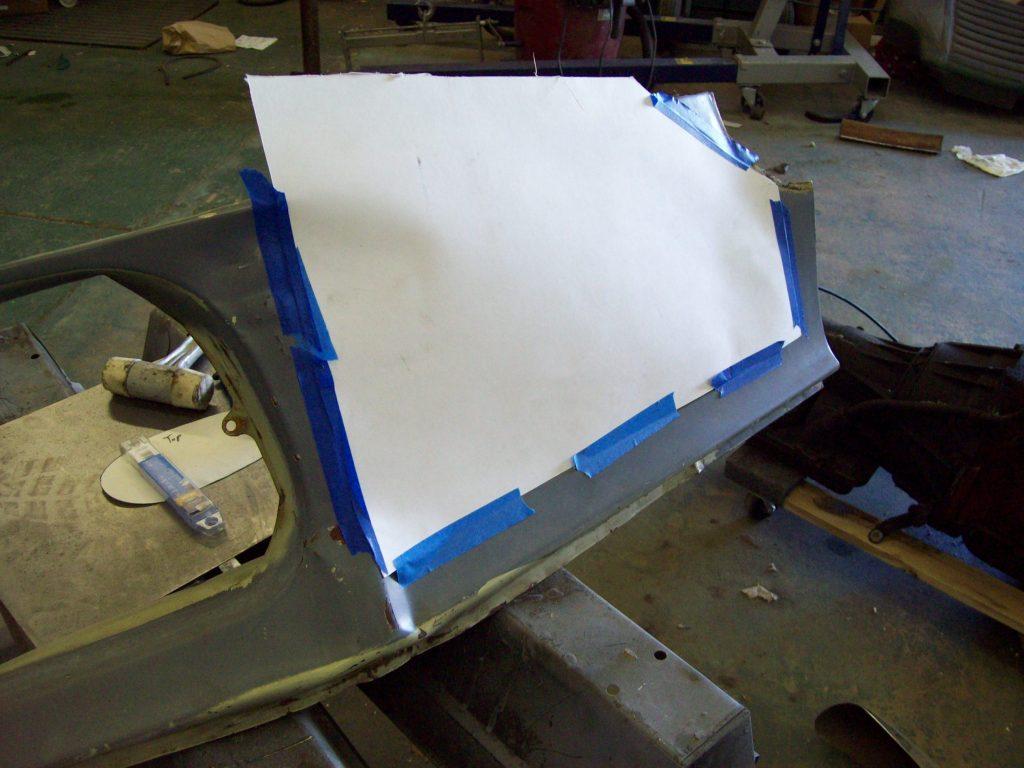
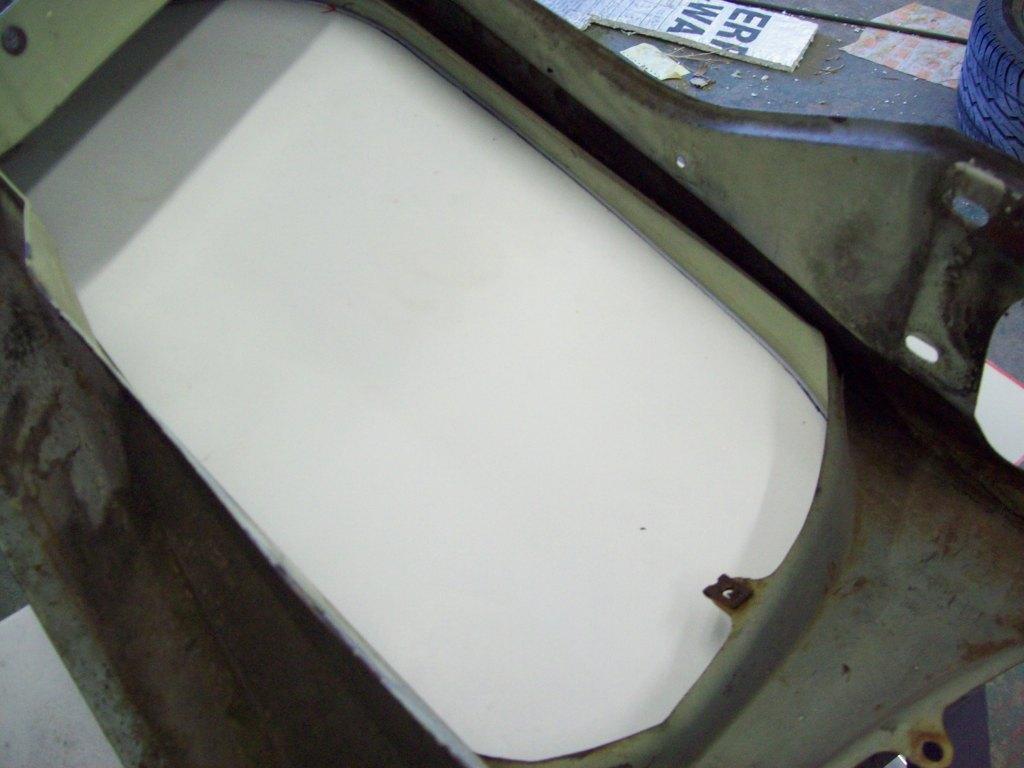
After you use a marker to outline the hole, you will cut out the template of the later grille shell hole, which you will then be able to use the early grille to mark the new hole position, which will leave the actual piece of metal that you need to weld in the later facia.
If you flip the grill upside down on the template, you can then find the grilles reference position on the the later hole template.. This is relatively simple, because most of the upper and bottom of the early and late hole is the same.
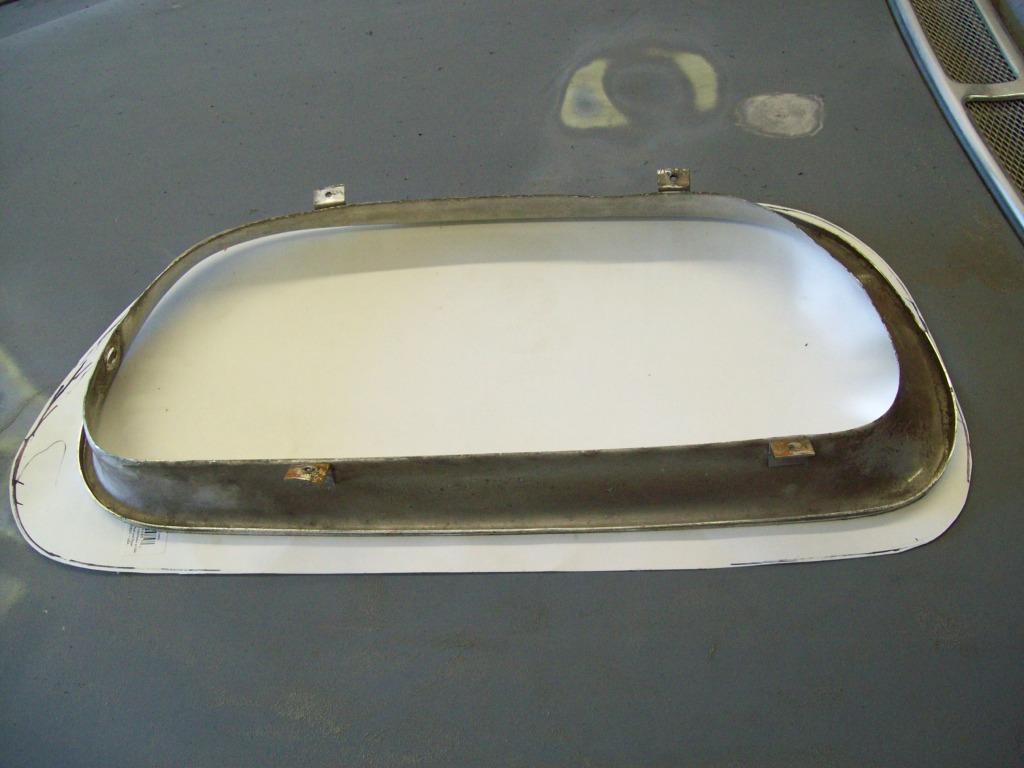
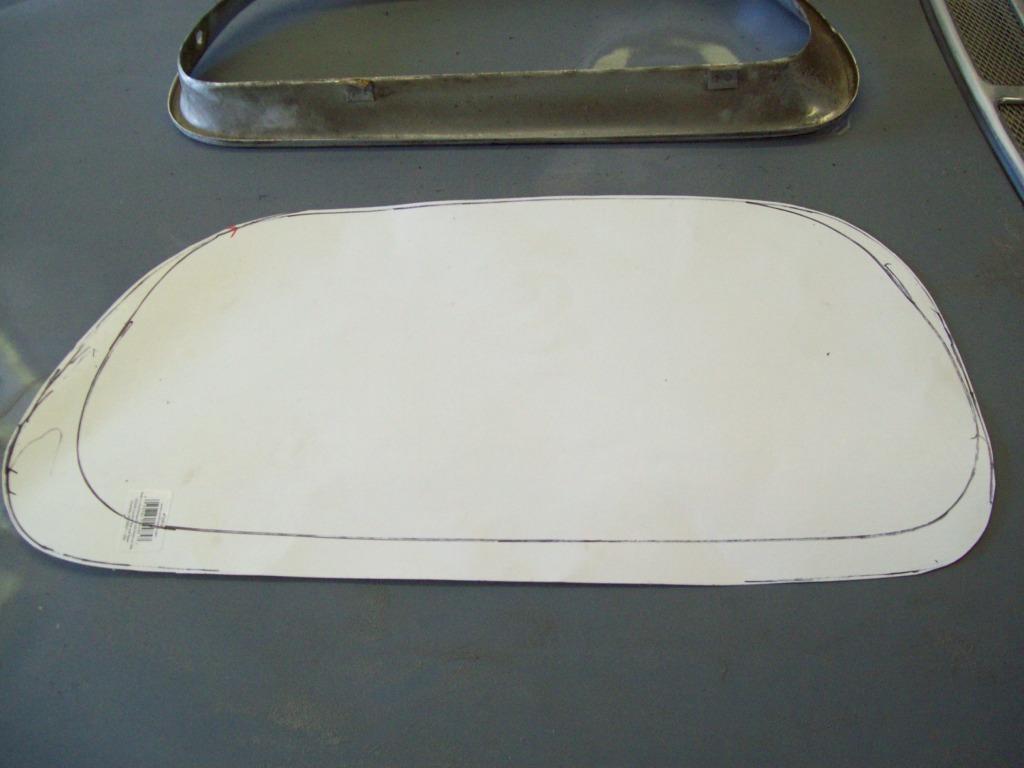
I used a 4.5in angle grinder with a cut off wheel to cut out the piece from the sheet steel.
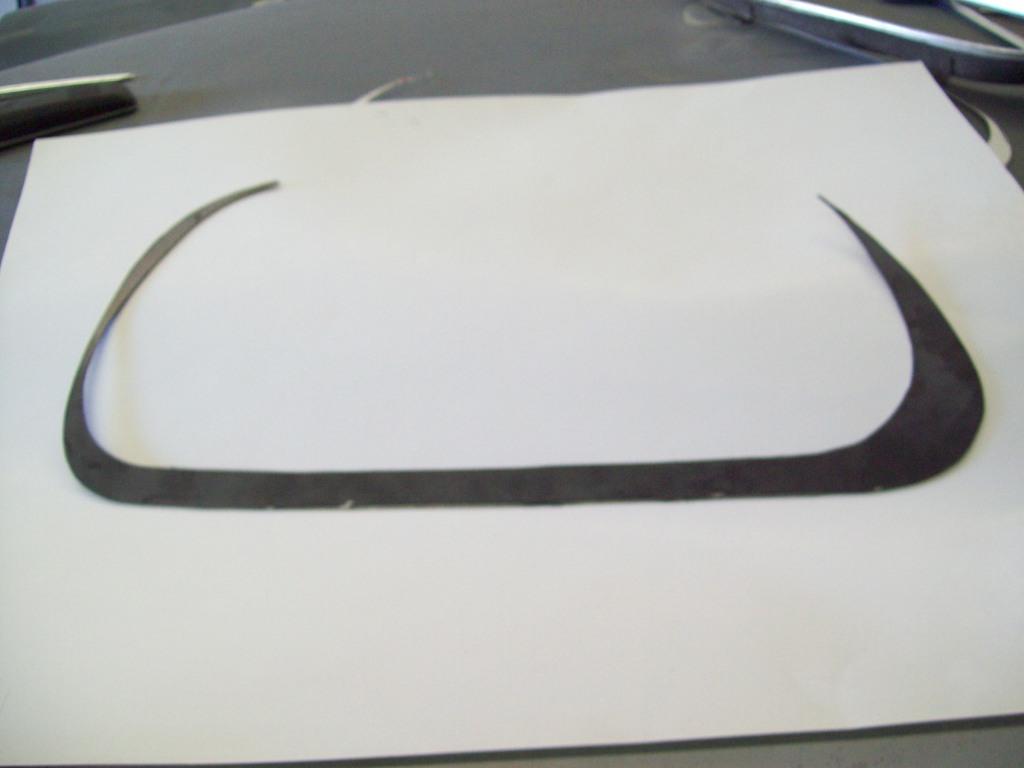
After that, you can put the new filler piece in place, and then you will have a bit of grinding to fine tune the fit. Once that is done, you can tack weld it all in place, and then do some finish grinding to make sure your new grille opening is the right size and contour.
Once you are satisfied with that, you can then add the inside boxing sheet metal, by rolling it and tacking as your continue around the new opening.
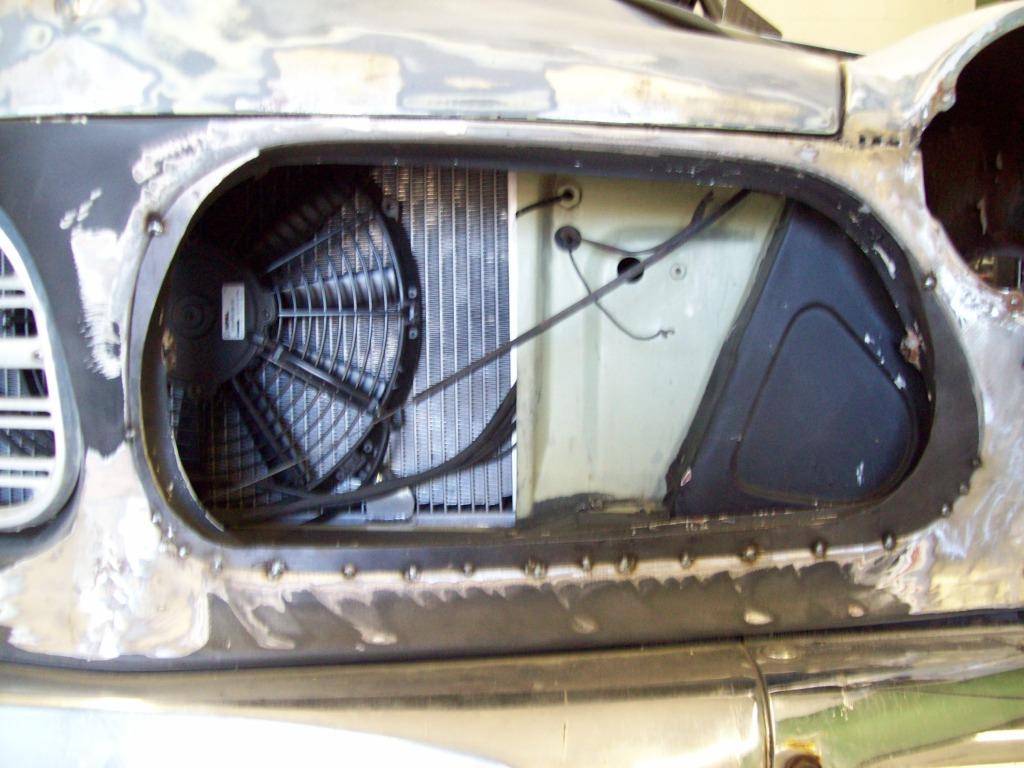
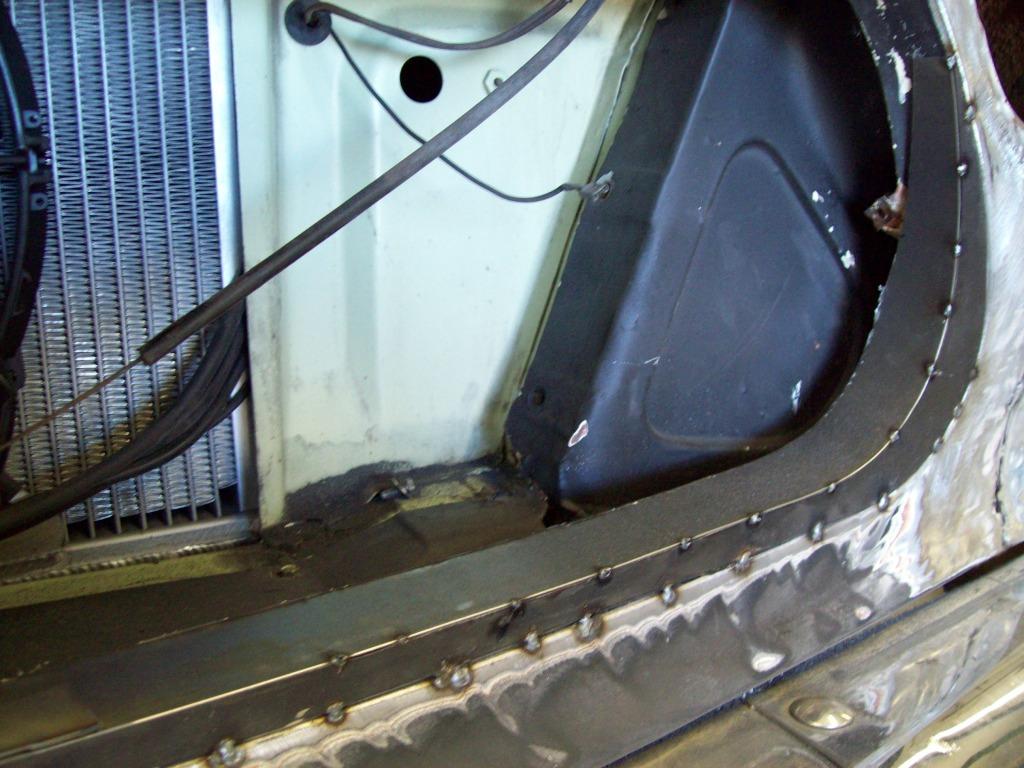
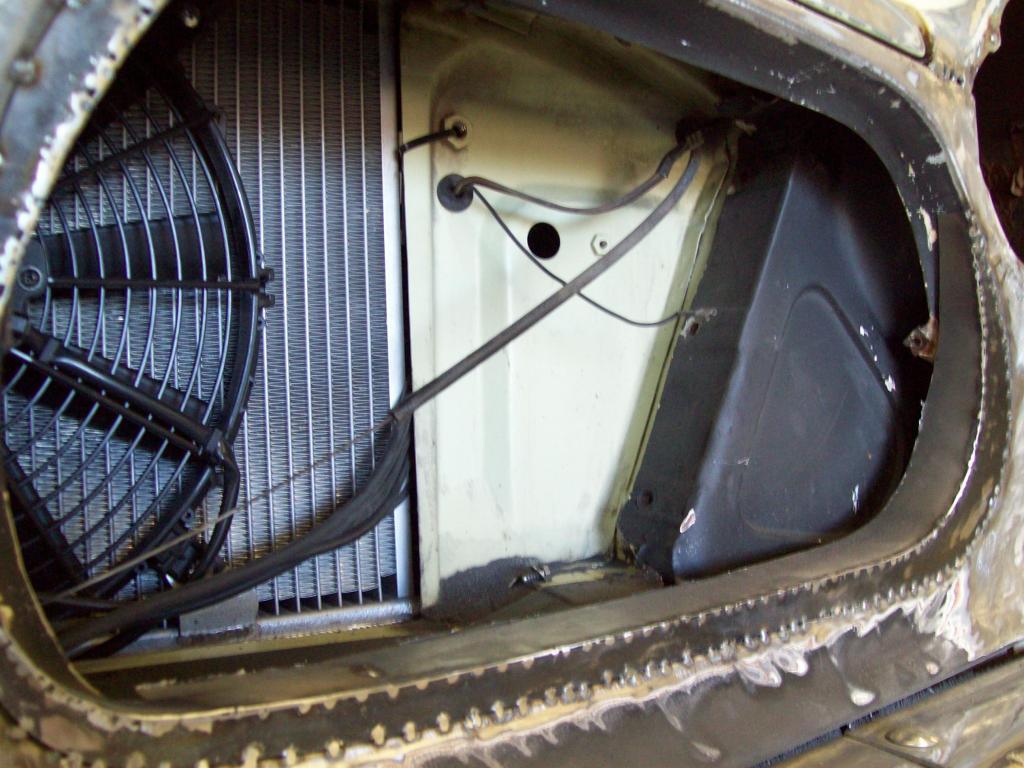
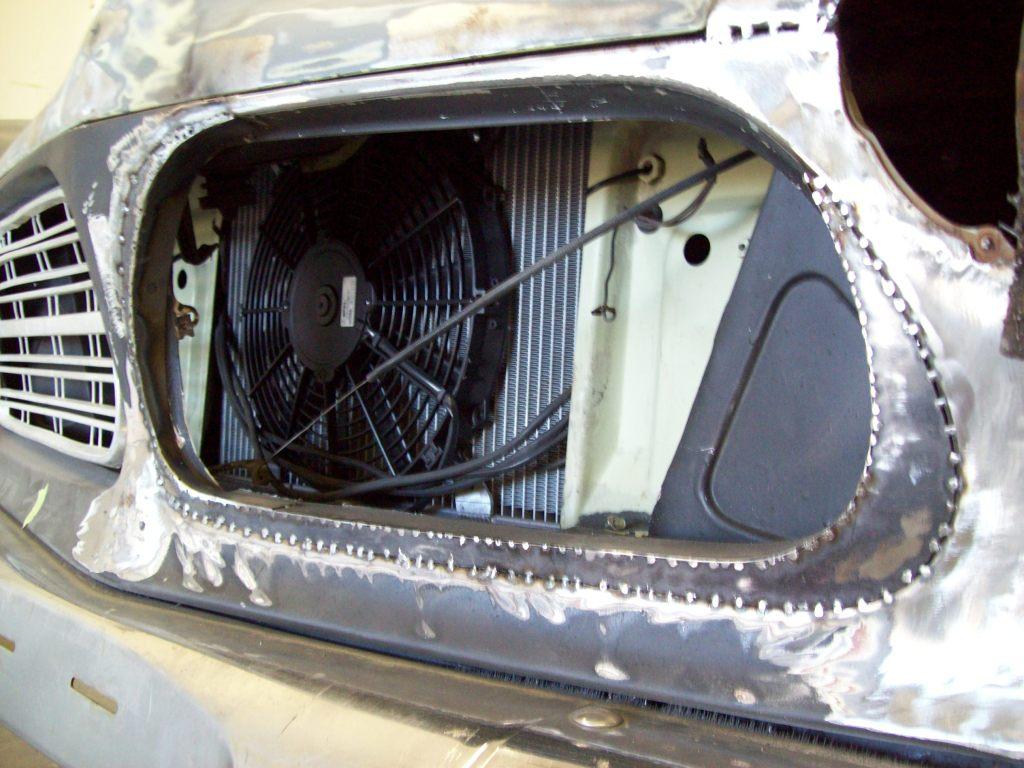
After all that is tacked in, keep checking your new grill opening, so you can make sure nothing has change during the postioning and tacking procedure. After you are insure the fit is where you want it, you can then do the finish welding, which is where I need to continue from the pics seen.
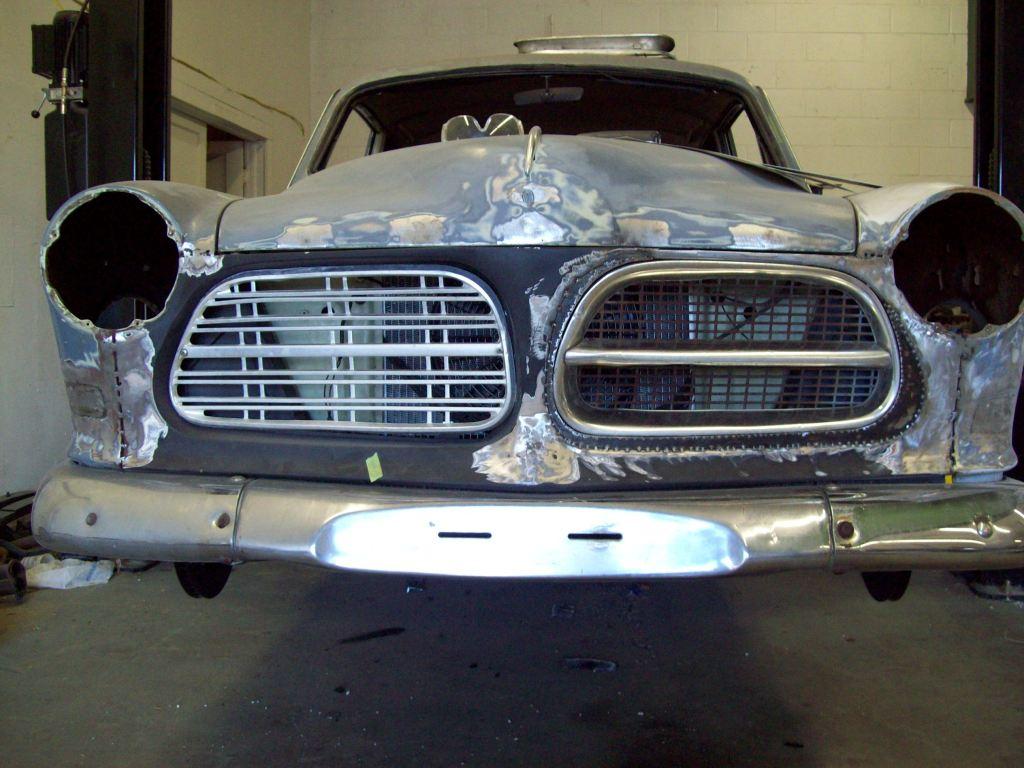
It appears with just a bit of hammering and grinding, along with just a bit of filler, the early grilles will fit nicely. I still have to make the mount tabs at a later date, but I will wait until I get the new opening finished out nicely, because that could change something if I made the tabs now.
My grilles are not the straightest at this moment, so I will need to locate some better ones to work with for the final fitment.
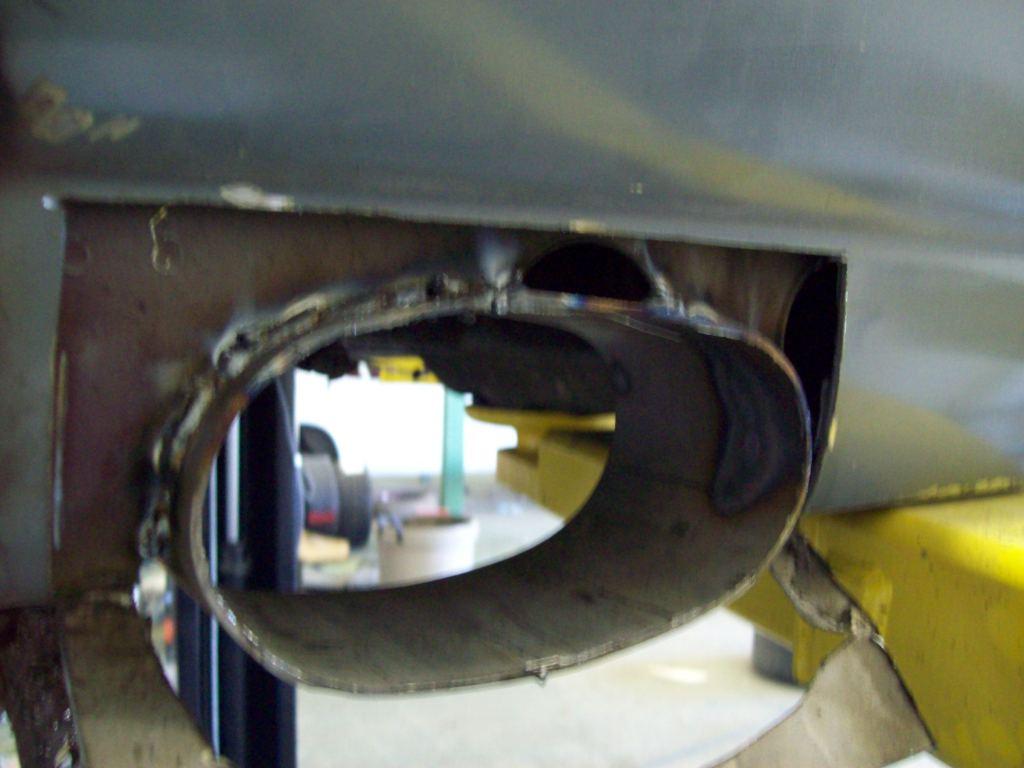
For the guys that have asked for the side exit exhuast, here are a few pictures of what I had done.. I apologize for them being grainy, but I didnt realize it, until I had things buttoned up..
It is very important to make sure that you open the rocker panel skin up to a larger hole, so you have access to weld the new exhuast loop to the inner rocker structure, otherwise you will only be welding to the weaker outside rocker skin..
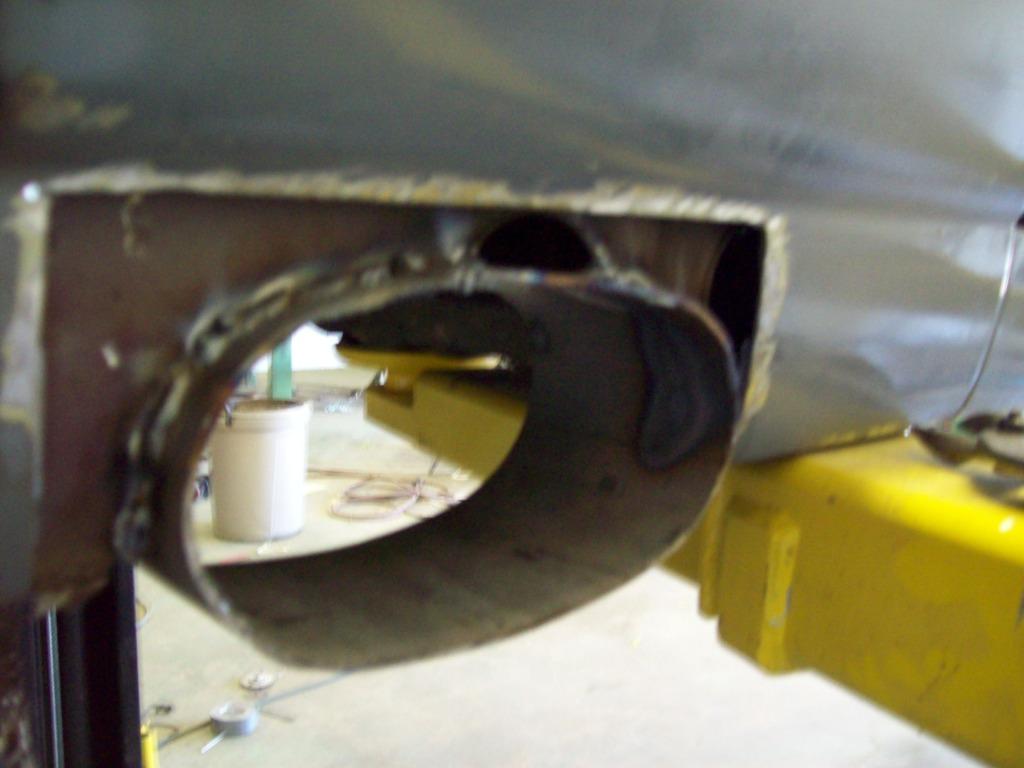
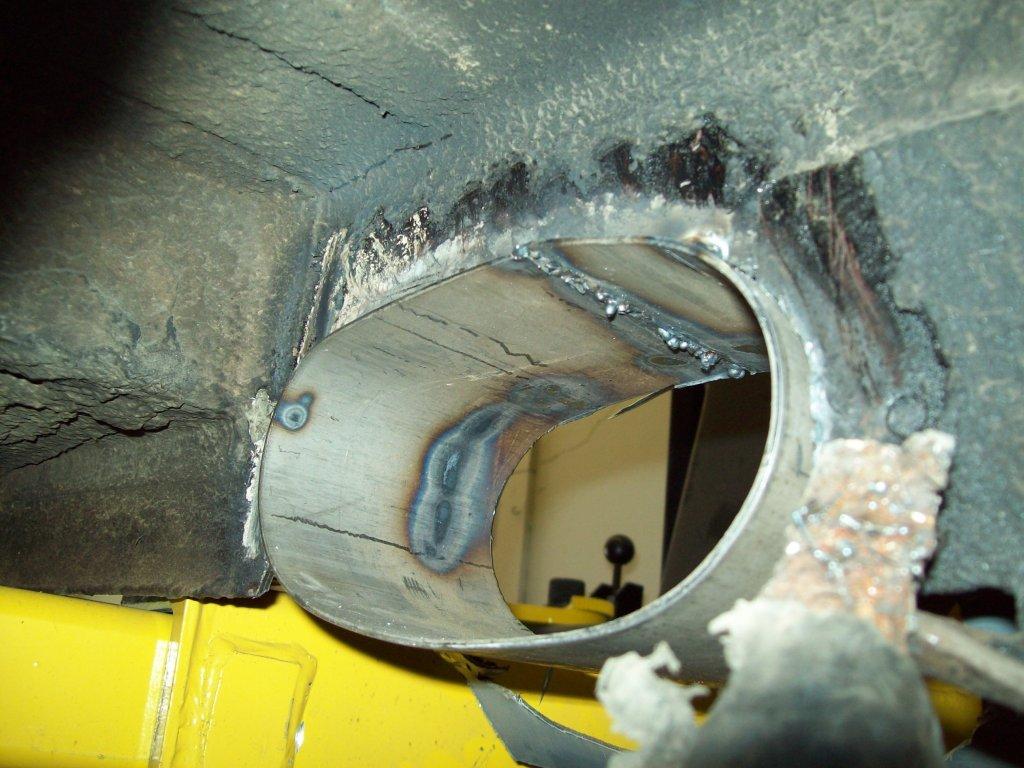
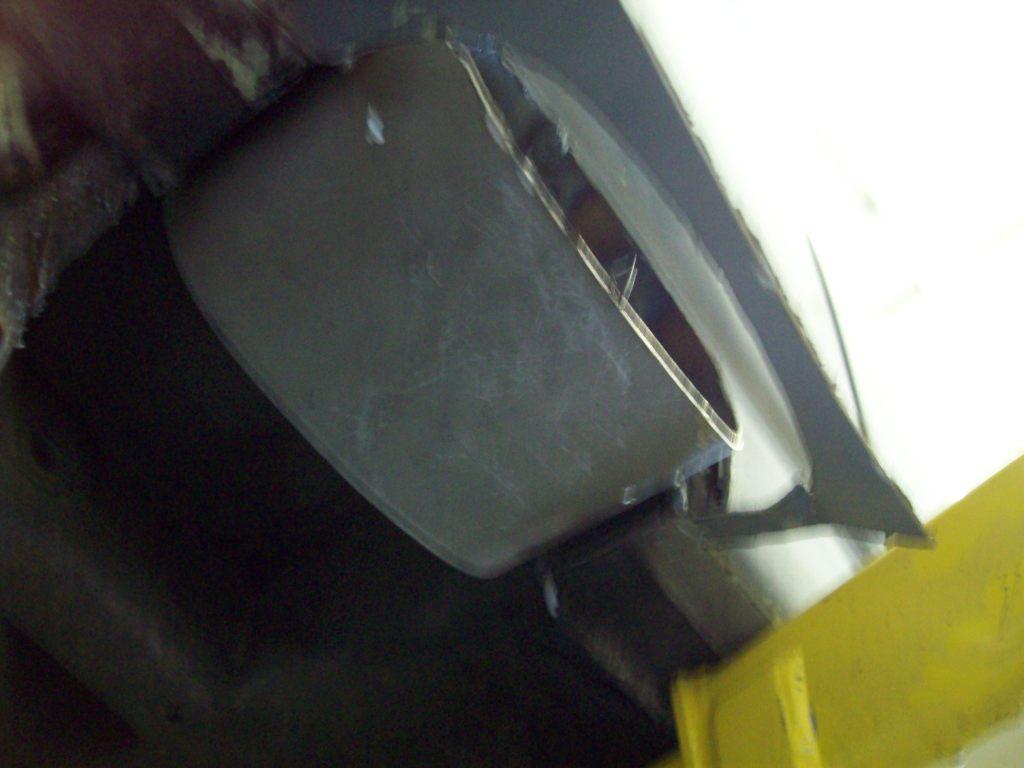
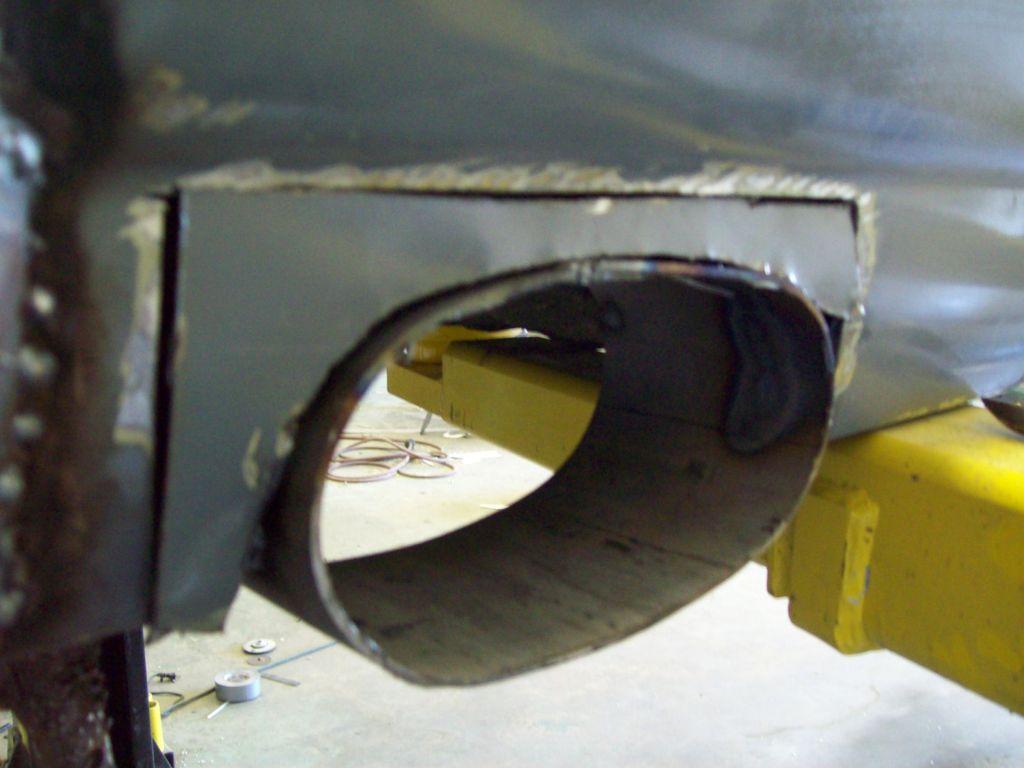
Not trying to pull over anything on anybody, but I did forget to point something out about this procedure, and I was reminded by another viewer that I need to disclose this information..
The grilles are actually on the opposite side, which isnt really that noticable, unless you have a trained eye. (Derek) LOL The early grilles fit better in the later facia, if they are on the opposite side, because you dont have to actually cut into the later facia panel. The early grilles dont level out correctly in the later facia, unless you drop them down too far, or you do some structural cutting to the later facia.
I had intented on mounting them in the OEM position, but in laying them out in their opposite positions, I noticed that the deeper ring side of the grille, actually complimented the center point/bulge of the hood and grille facia, because it added an additional appearance of depth to the center extension of the facia.. It may not be that noticable in the pictures, but it does make a difference in person.
Nice details!
Posted by Diggymart on 7/15/19 @ 1:21:16 PM