You must be logged in to rate content!
5 minute(s) of a 386 minute read
4-17-2009
I considered it, but as it is, it is already in the car and installed. maybe its just spite, but I dont want to have to remove it to "fix" a part that should be perfect from the factory.
oh well. I delt with a leaky manifold for this long already, Im sure I will be fine.
4-19-2009
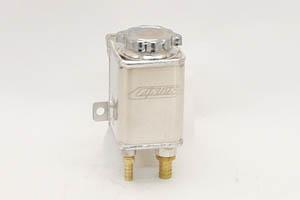
got the power steering all installed yesterday. used that other alluminum bottle I got from Canton Performance for the PS overflow. I had to modify it a bit and build a bracket so I could mount it up under the passenger side blinker.
no pics yet of it installed, but here is the bottle:
also got the AC installed, but I stil need to pull a vacccum on it to check for leaks.
Hopefully Ill think to take more pics today.
right on bro. hopefully it will be running by them. hahhahahahh
no seriously...
anyway, doesnt feel like I got much accomplished today. I got the flexalite fan installed, as well as the alternator... Oh yeah, I found out that purple stuff disolves alluminum. I dropped my dirty throttle body in the bucket of purple stuff the toher day and forgot about it. when I fished it out today it was covered in these nasty white crystals. I tried cleaning it up, but it was too far gone.
so I took apart two different TB's, the one I melted had some parts I needed on the TB with the throttle position sensor. since the stock TB was drivers side mounted, and the TB with sensor was PS mounted, the track for the cable was wrong. it took some heavy modification to both the body and the attachments to make it work, but I am happy with the result.
no pics because my wife took the camera with her to some baby shower. ![]()
4-21-2009
hahaah. that would be like rocking a pep boys sticker accross the windshield of your NEON.
here is what I have my eyes on:
if Im going for show, that one looks pretty sick. but a simpler solution would probably be the BBM serial killa.
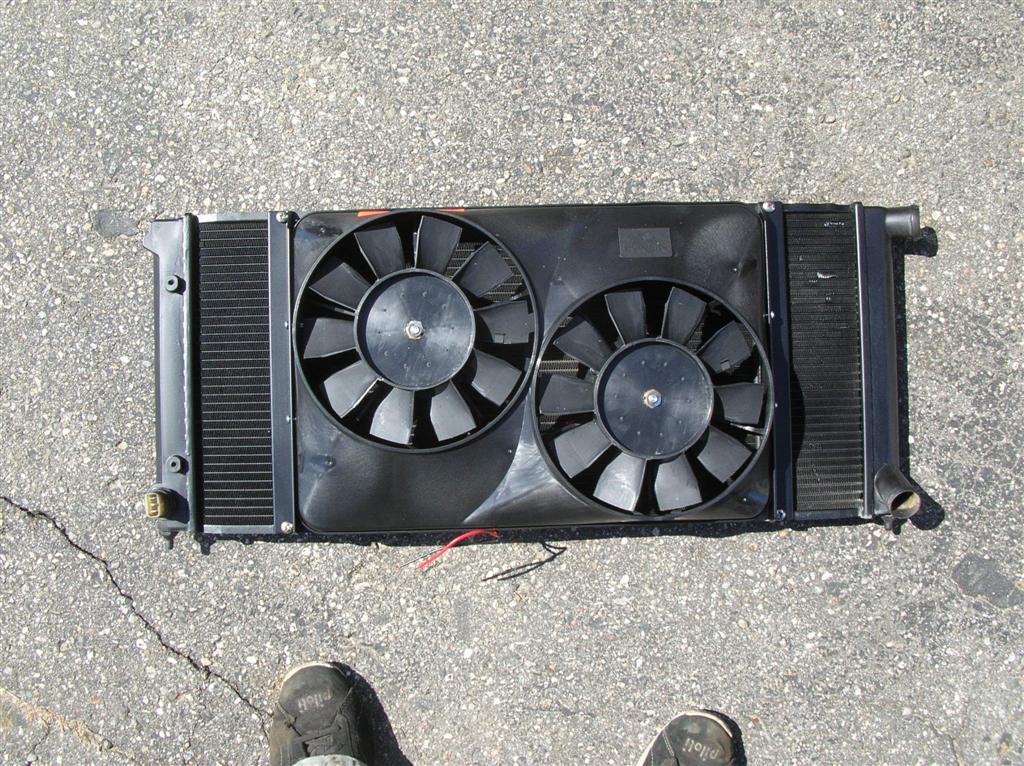
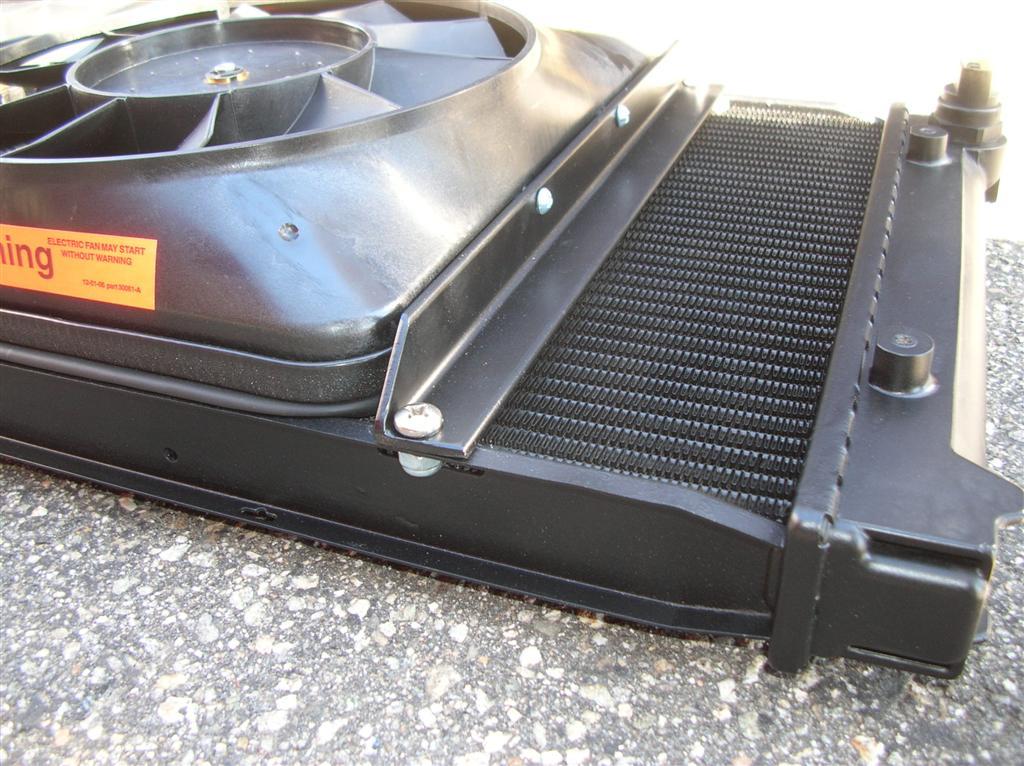
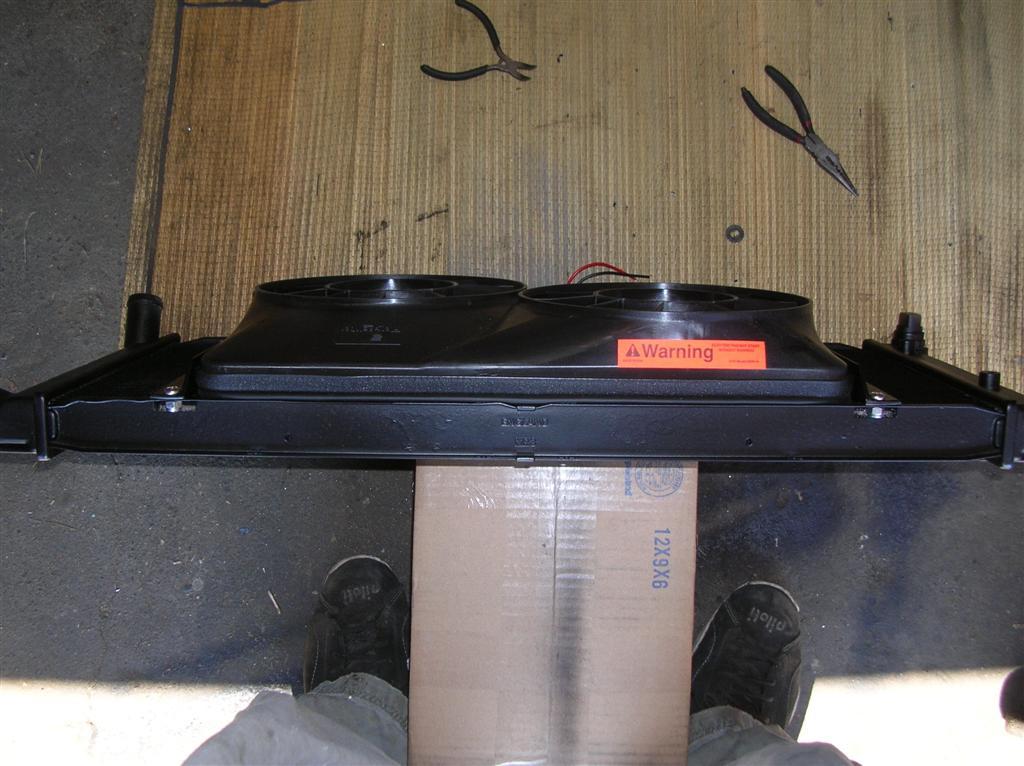
but thats for another day. for now here is some pics of the latest progress. first I wanted to show off the flexalight fan mounting bracket.
I took some 1" alluminum "L" bar stuff and cut it to two 12.625" lengths. then shaped it a little for looks, and drilled some holes. then painted it black and bolsted it up. REALLY EASY. I was going to be more descriptive, but I am tired.

next up, I had to redo my intake manifold because the GTI one wouldnt fit.
so I powder coated another one and then polished the up to 2000 grit wet sand before masking it all off and painting the lettering.
working my way up through each different grit till I ended up at 2000. I used a sanding block to make life easier.
you polisgh it first because polishing it after will much up the paint. until it has fully cured it is very sticky and sanding dust will ruin it.
next step: masking. Cover the whole surface with masking taope and use an exacto knife to cut out the letters. take your time, do this right.
now take some trusty ole rattle canned ly3d and get to work.
Napa rattle cans go on really thin and tkae a long time to dry. I had to lay on about 6 or 7 coats before I saw the opacity I needed..
I taped over the parts I wanted to be black, and now I can unmask them and put the mask over the red
some black spray:
and there you have it.
a closer view...
installed...
also got my wheels installed today, and Ill be starting the wiring process tomorrow. ![]()