You must be logged in to rate content!
12 minute(s) of a 341 minute read
6-13-2009
While figuring out the brakes, I made progress in other areas. The pump arrived from Hydroholics.net These guys are a new company, specializing in slow lift/lay hydraulic systems in midsize and fullsize cars. They're big into the VIP scene, they've even done a B7 Passat in Texas, some Lexus cars and a few SUVs and trucks. I decided to use their pump to run my custom hydraulic cylinders, as well as their 5-dump manifold. More on that later, but the pump arrived! I ordered it first so I would have it handy when building the trunk floor, just so I had every measurement I needed. It's a pretty nice piece!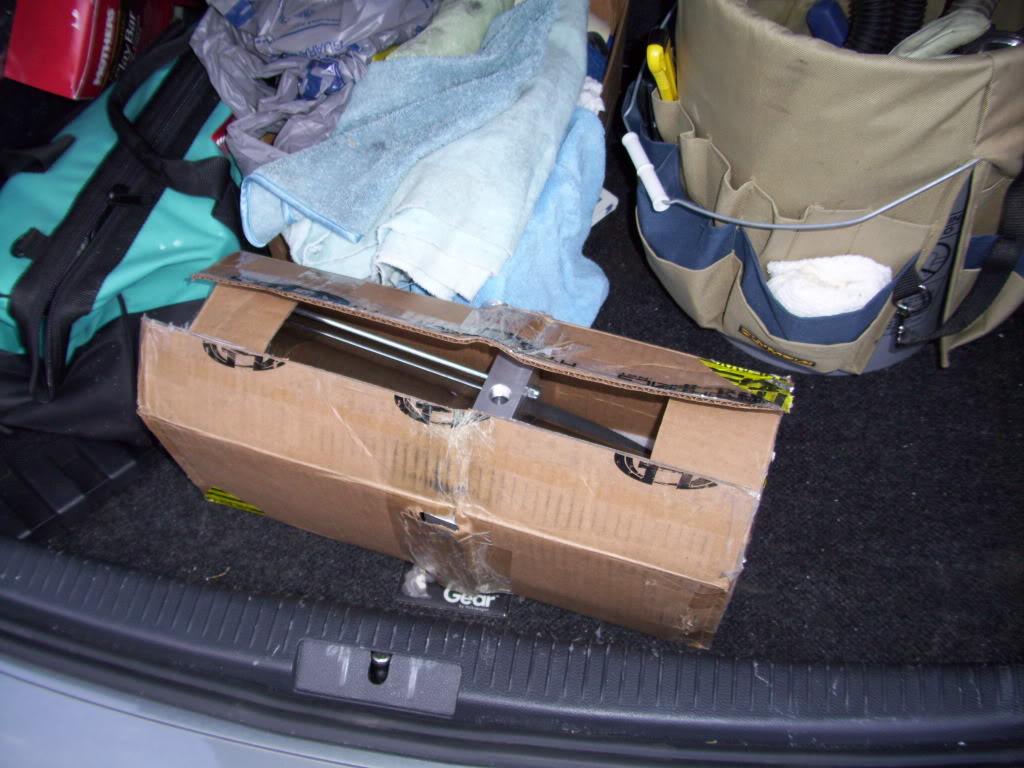
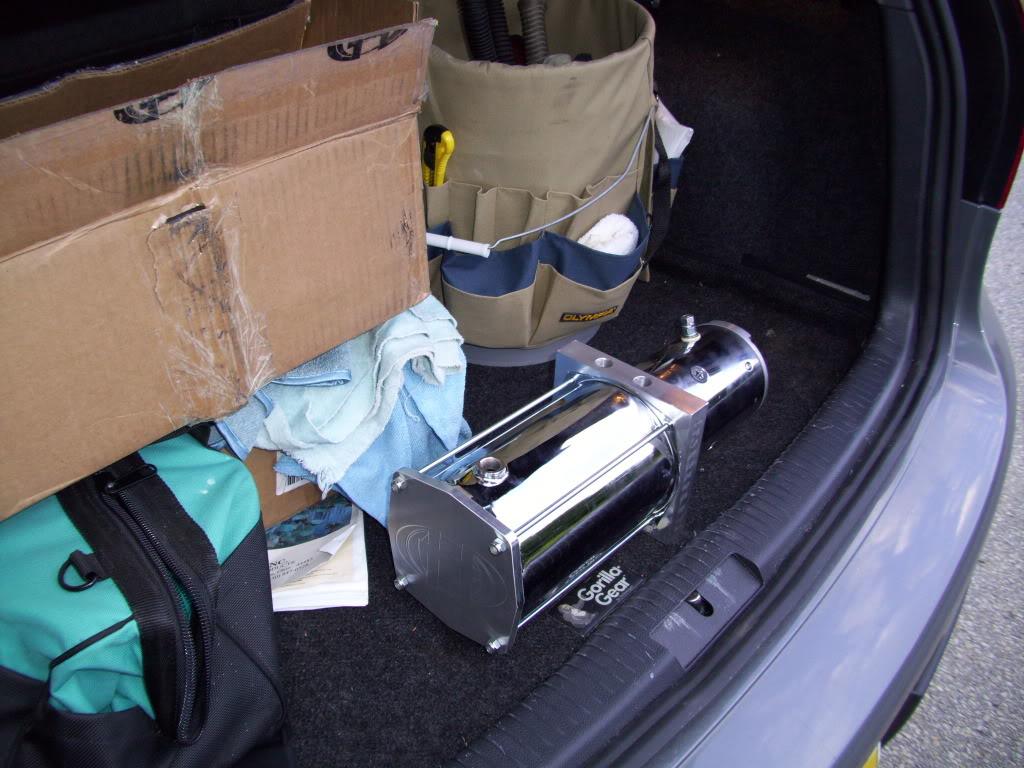
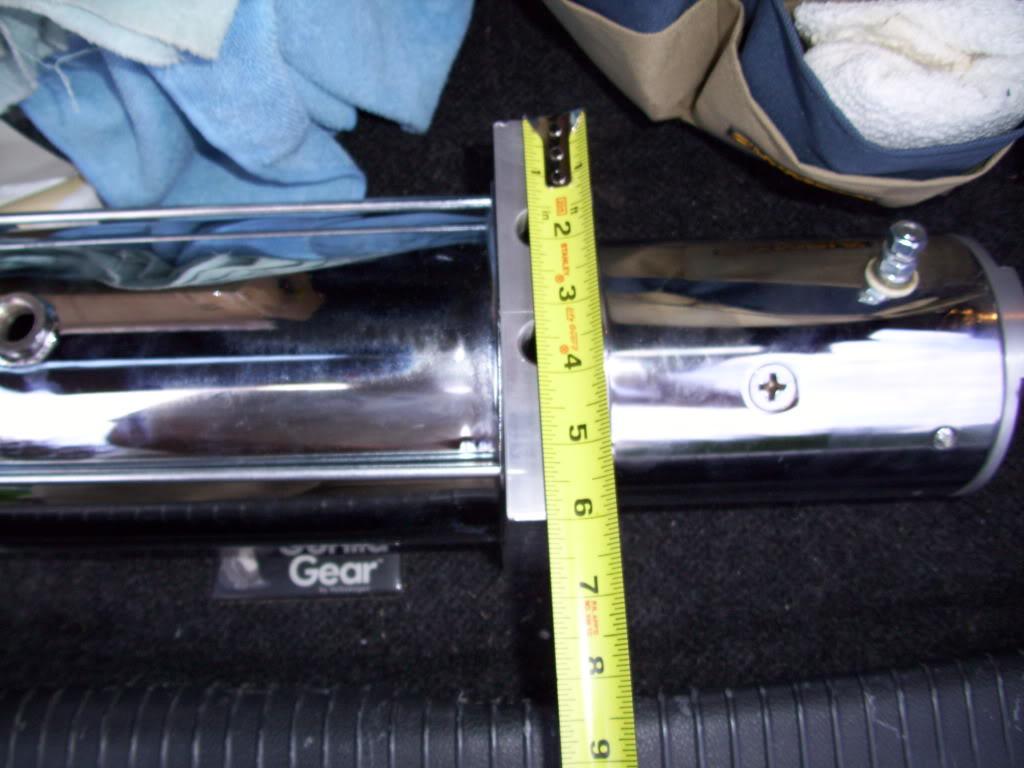
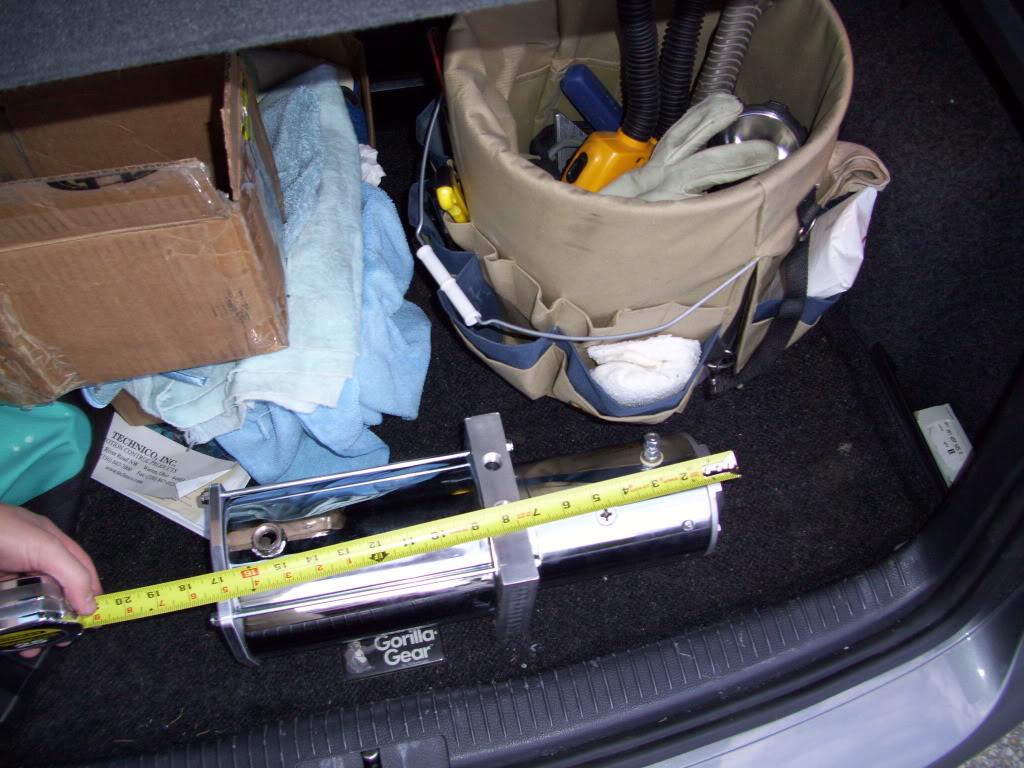
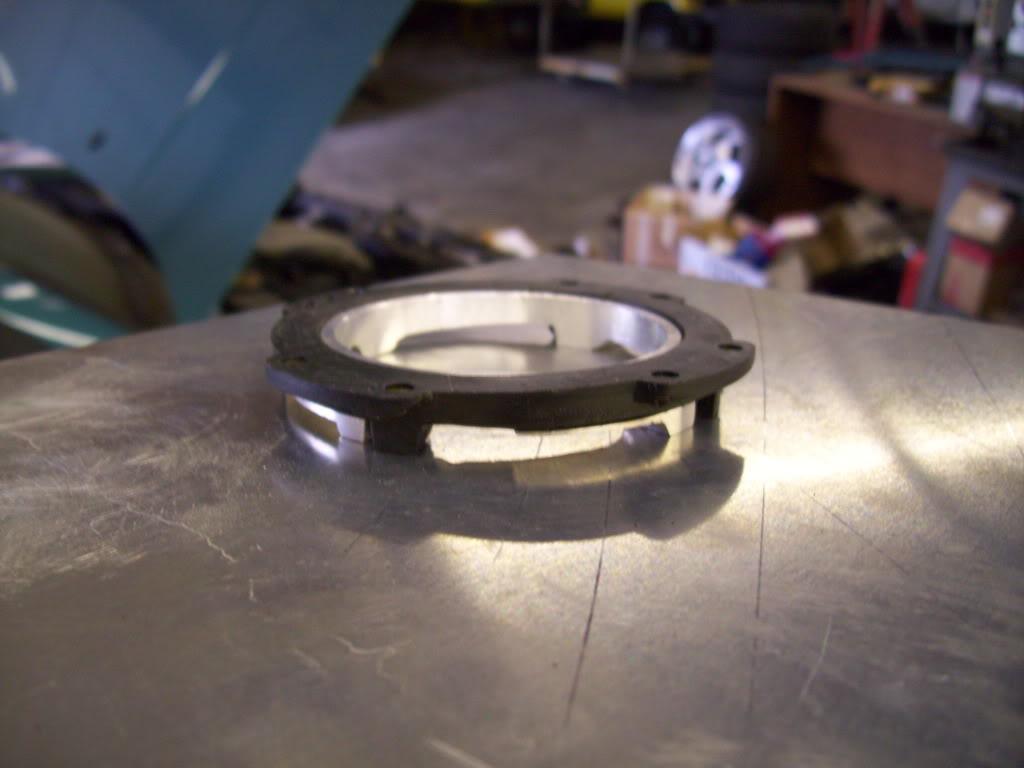
Remember that ring that was bonded down inside the stock tank? I needed to make a mount for it. I decided to make an Aluminum ring which would be welded to the bottom of the tank, with plenty of surface area to epoxy the stock plastic piece onto it. Then the two plastic pieces could lock together and the pump would be mounted to the bottom of the tank. I didn't come up with this idea entirely on my own, some dude building an MG used a stock mk3 jetta fuel pump and did this to mount it inside his steel tank. I stumbled into his build thread while google image searching for a picture of the fuel pump a few months prior to this. Great idea buddy if you ever read this lol!http://www.britishv8.org/MG/ScottCostanzo.htm I did it a lot differently, but he had some inspiring ideas.
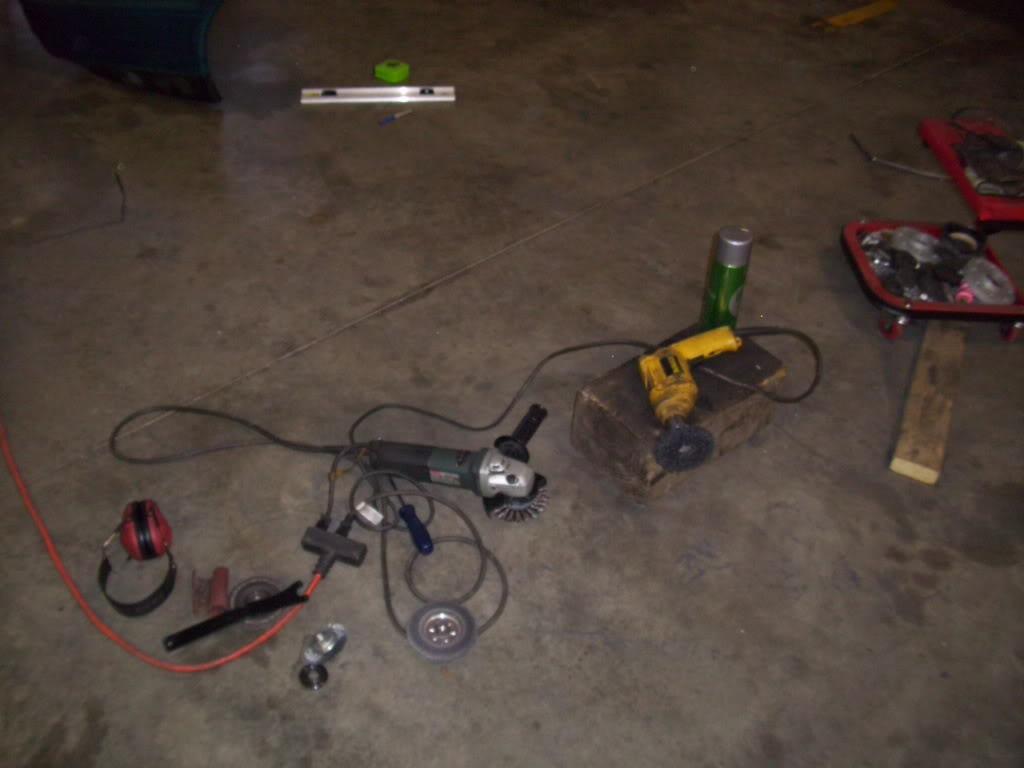
I turned this piece on my lathe
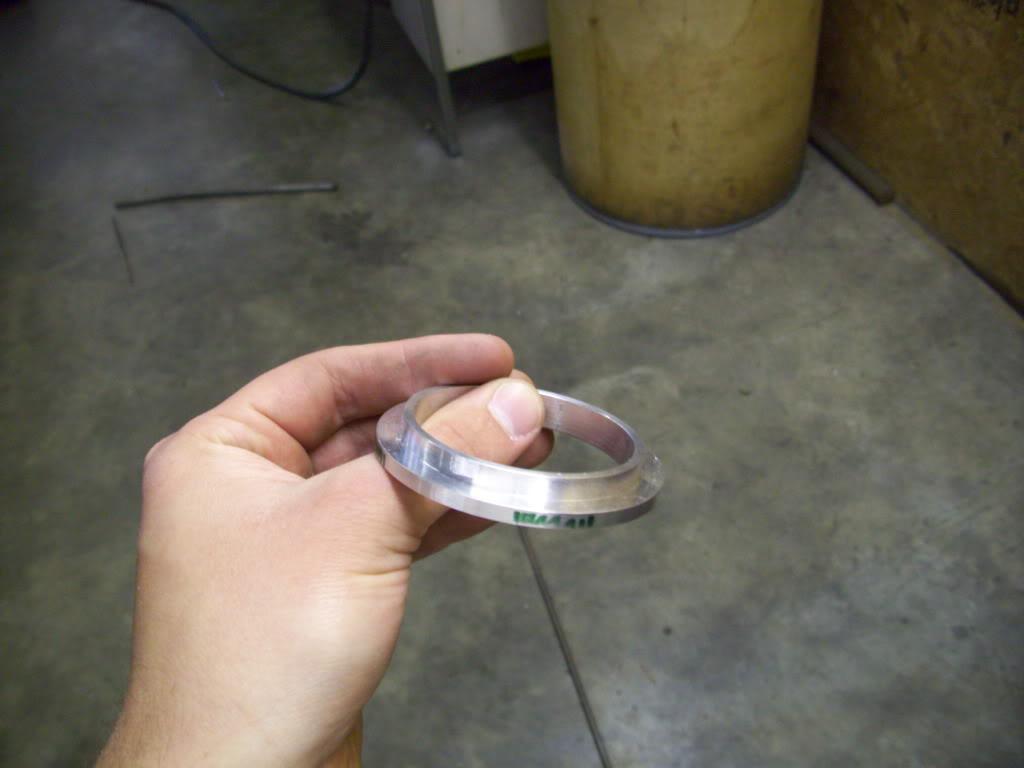
Then, believe it or not, I did the rest of this with a series of files. It took a few hours, but I didnt' have access to a mill and I wanted it done that evening. Not the most effecient or pretty way to do it, but it worked!
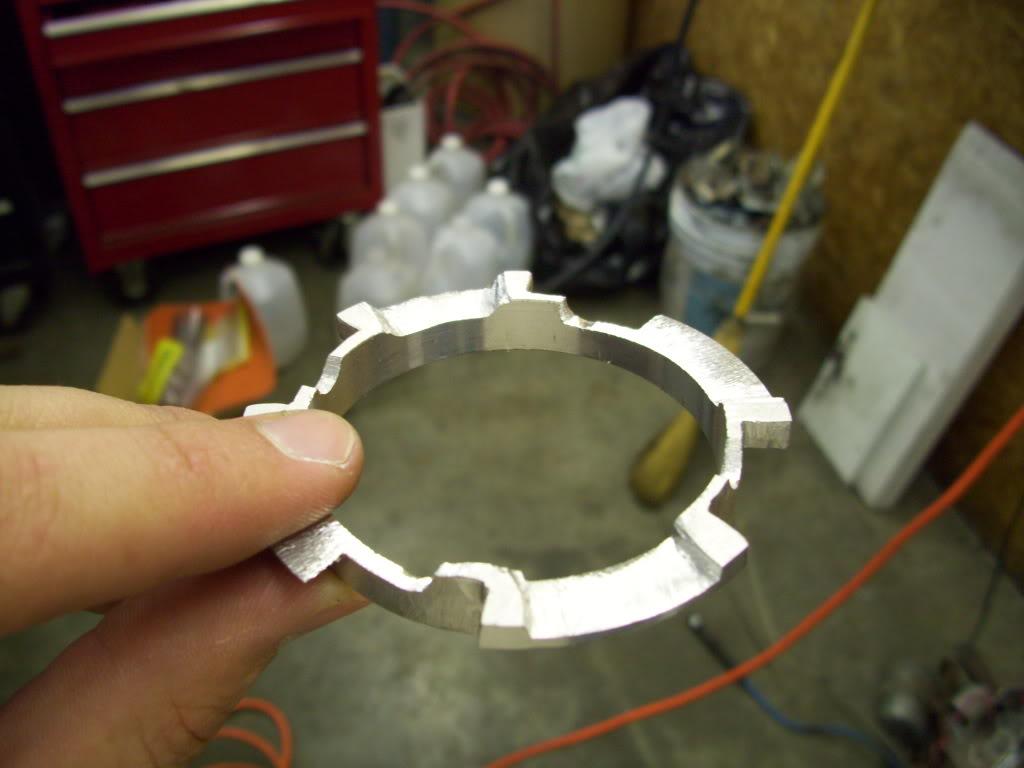
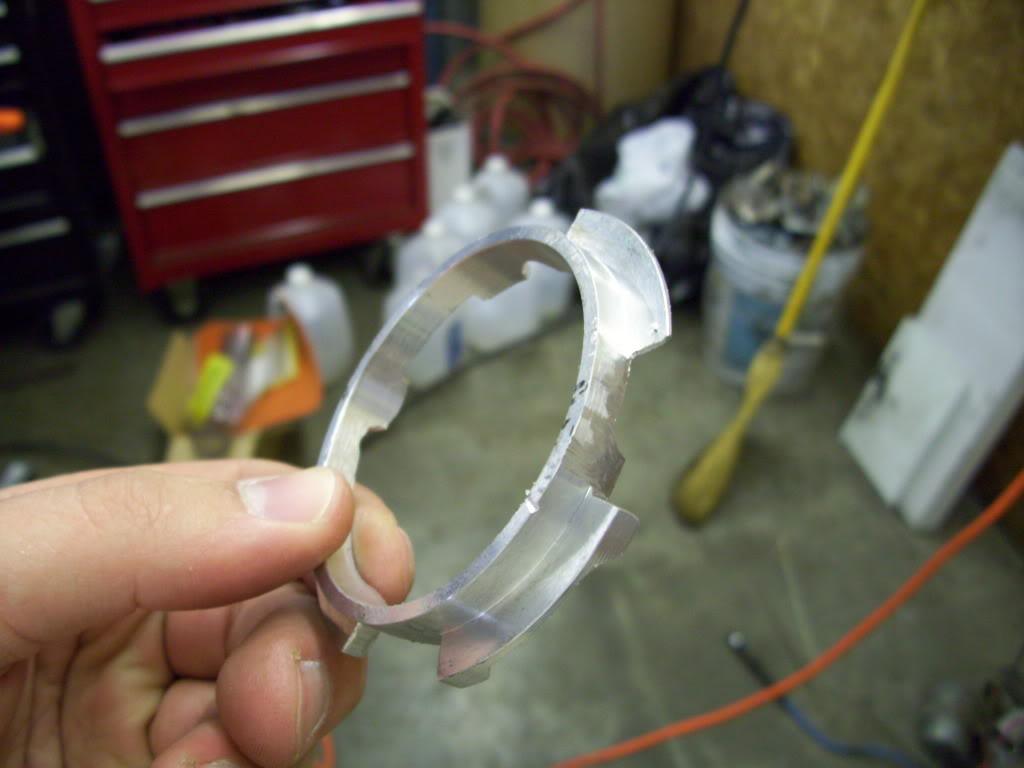
It fit snug down inside the plastic lock ring which was cut from the bottom of the stock fuel tank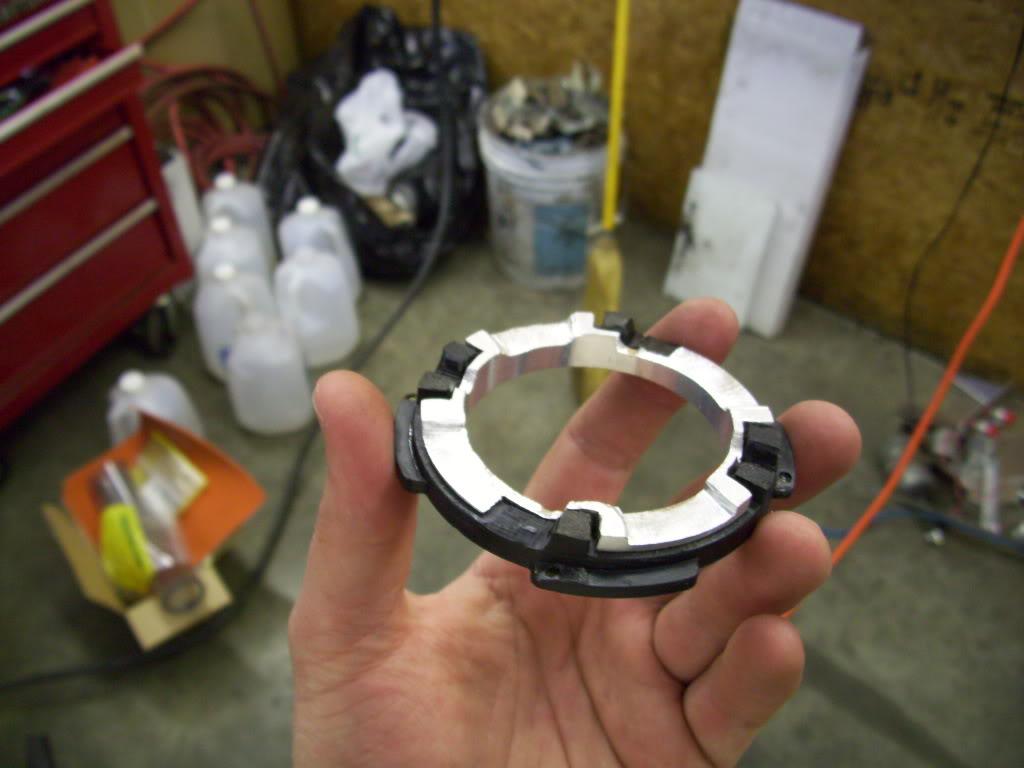
This is how it will sit in the bottom of the tank. I left some area to weld and it clears the fuel pump just fine, with proper spacing off the bottom of the tank floor. I even checked the flow capabilities on my highly technical flow bench, which some people call the "sink." Yay Science!!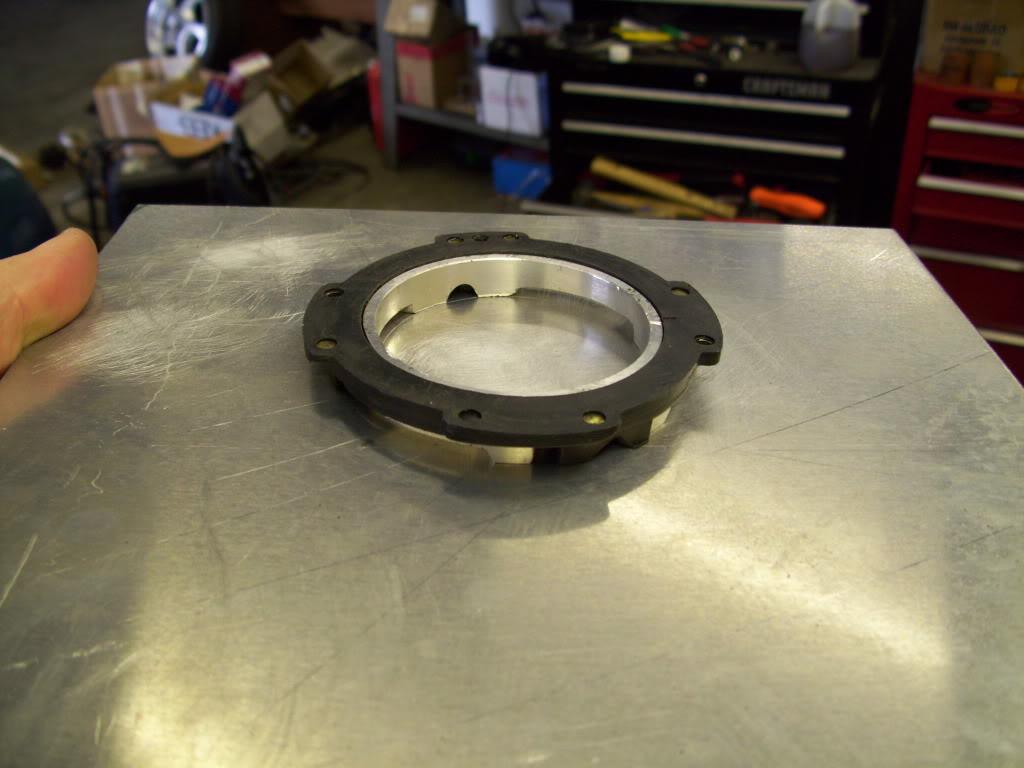
June 14, 2009
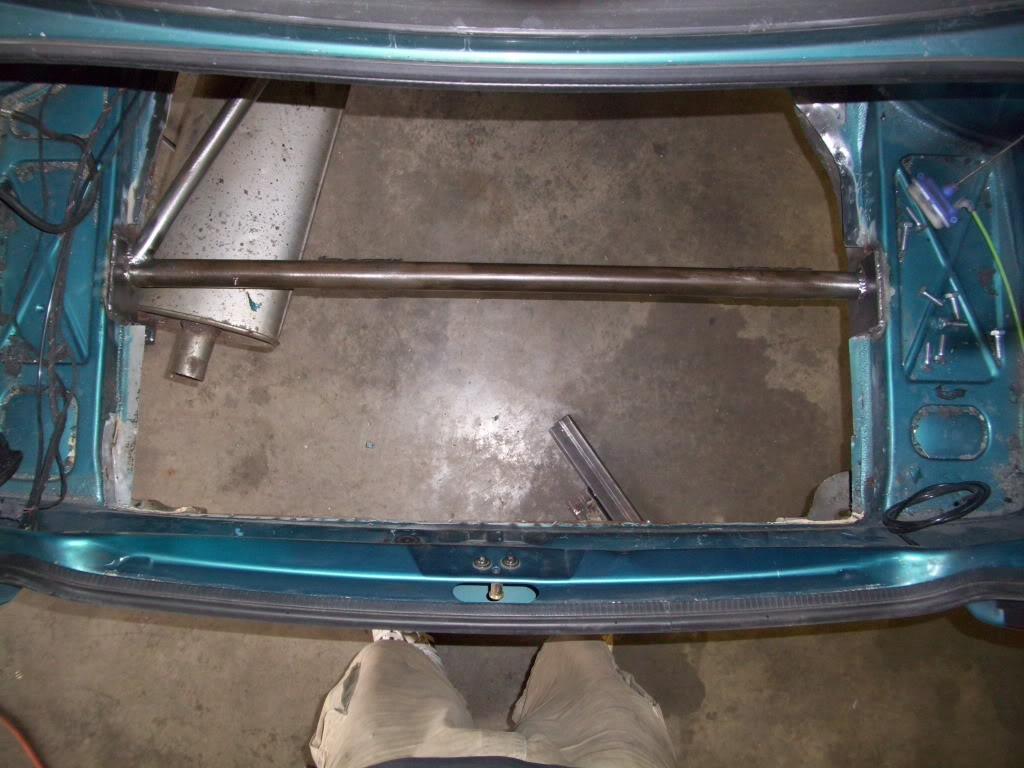
I needed to cut out the remainder of the stock trunk floor so I could start building the new sheet metal trunk floor and hydraulic pump mounts. Before I did this, I wanted to add one final cross member back near the rear bumper mounts.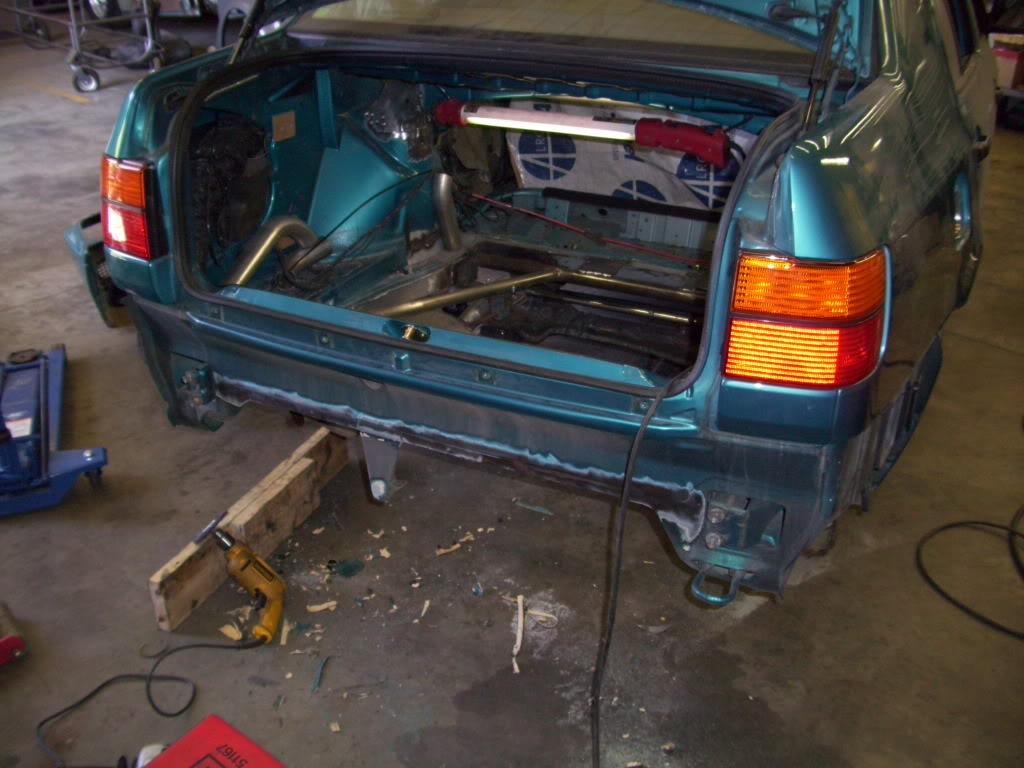
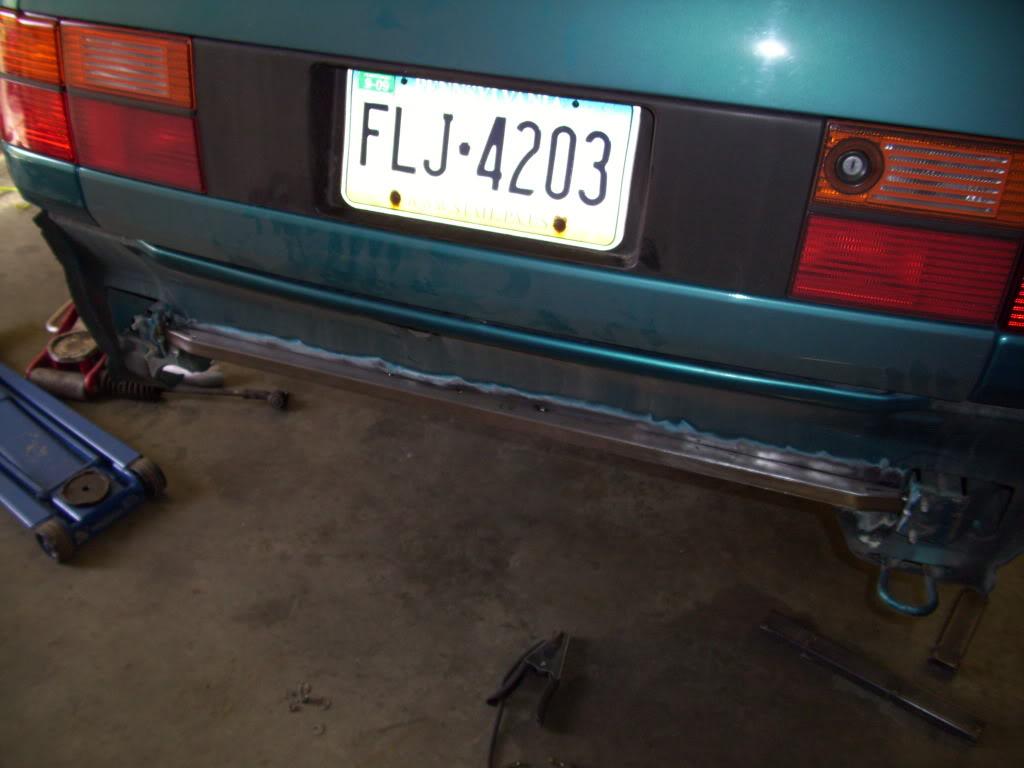
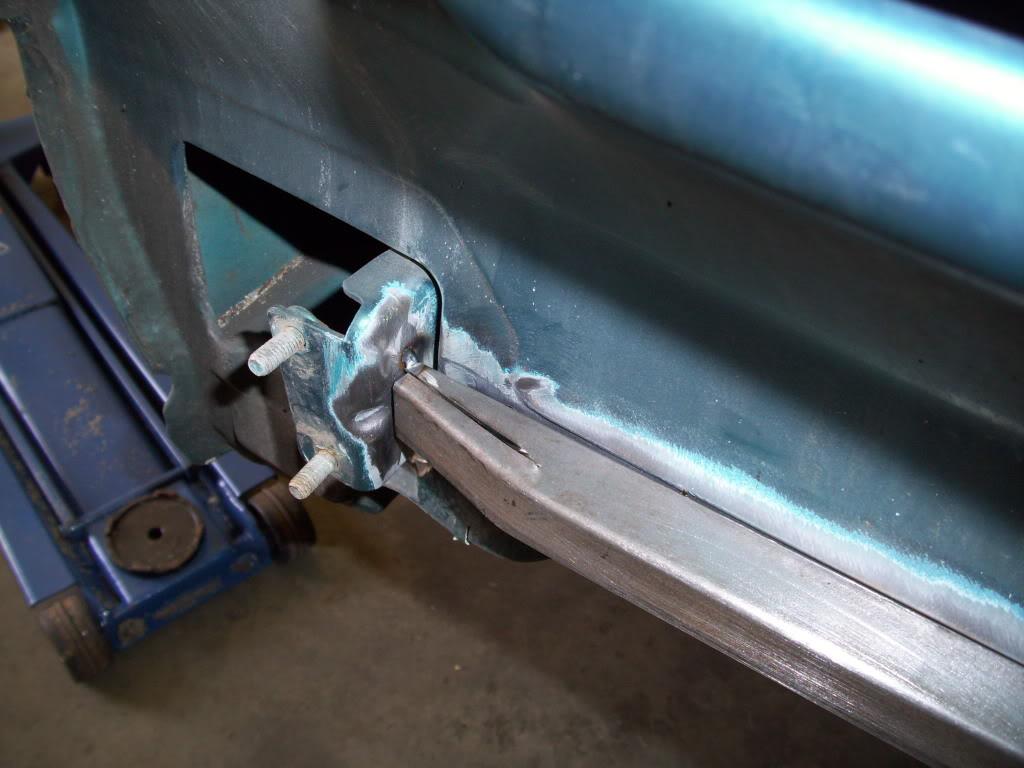
The stock center bumper bracket will be preserved, but later on.
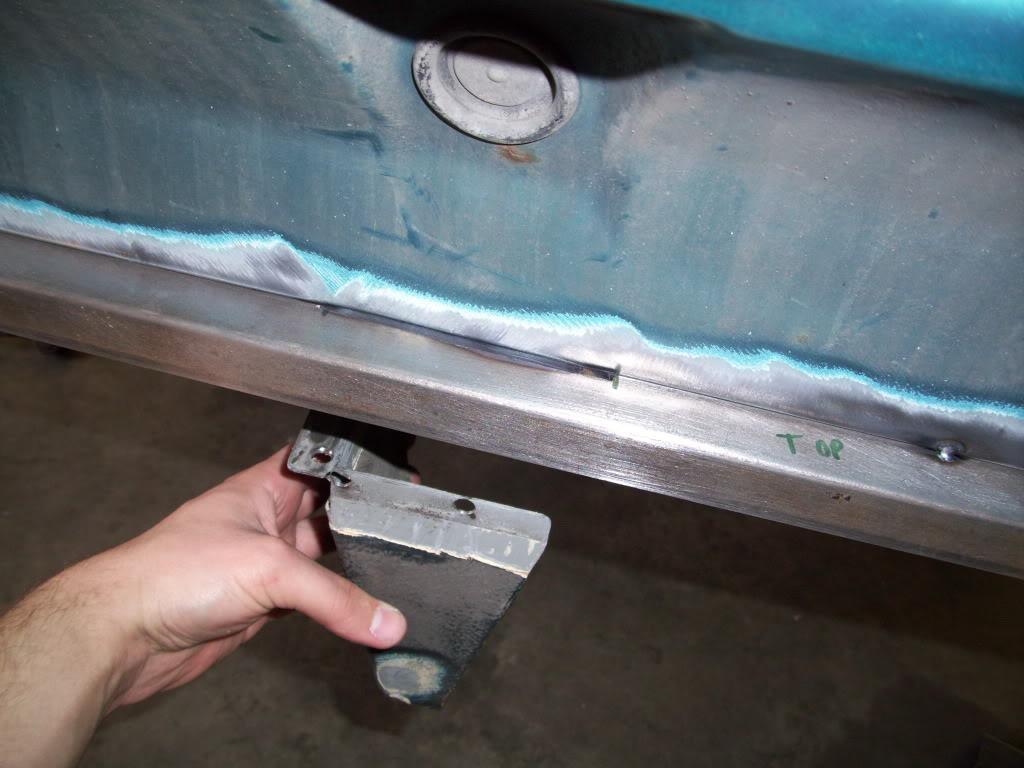
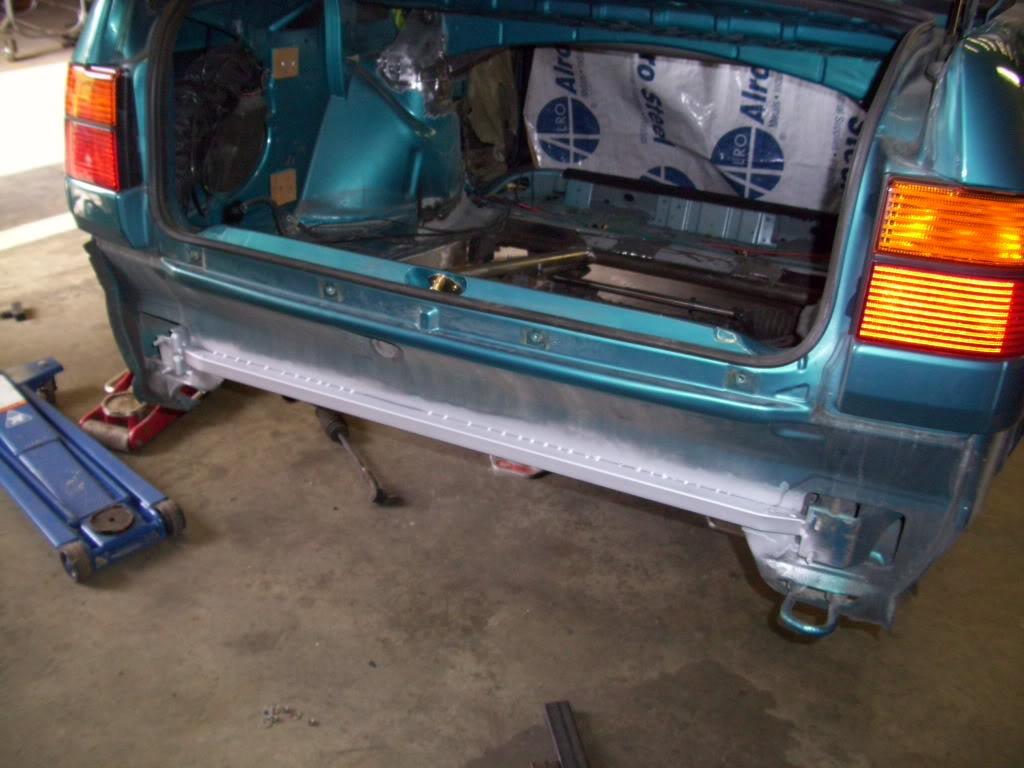
Then I chopped out the remaining metal
June 15, 2009
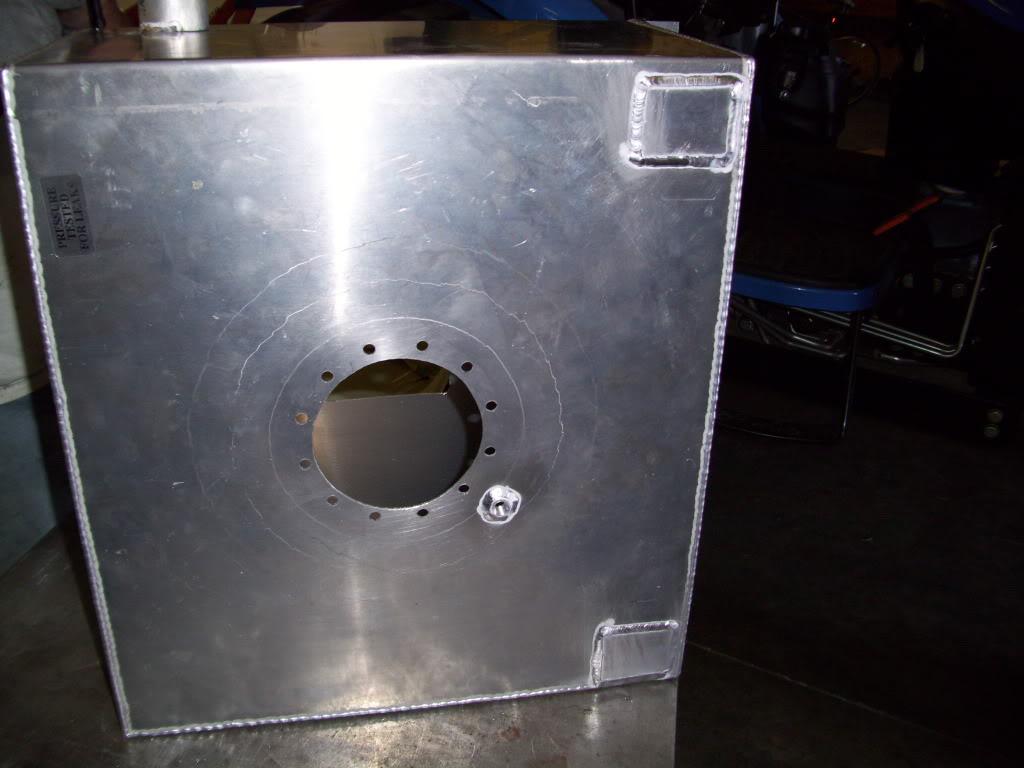
I got my friend Woody to weld up the fuel cell for me. He's the same guy that has been doing the AL TIG welding for me, he's pretty good! It was hard to weld the tank without warping, so it ended up warping a little bit, but still good enough and still sealed.
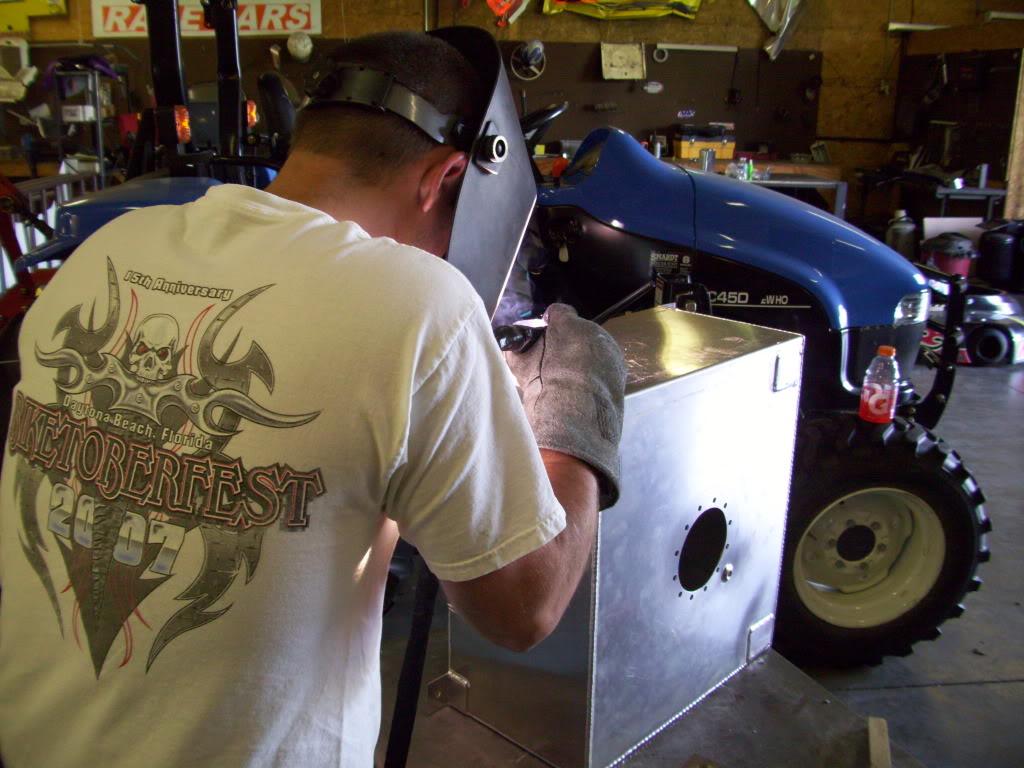
Mind if I try real quick?
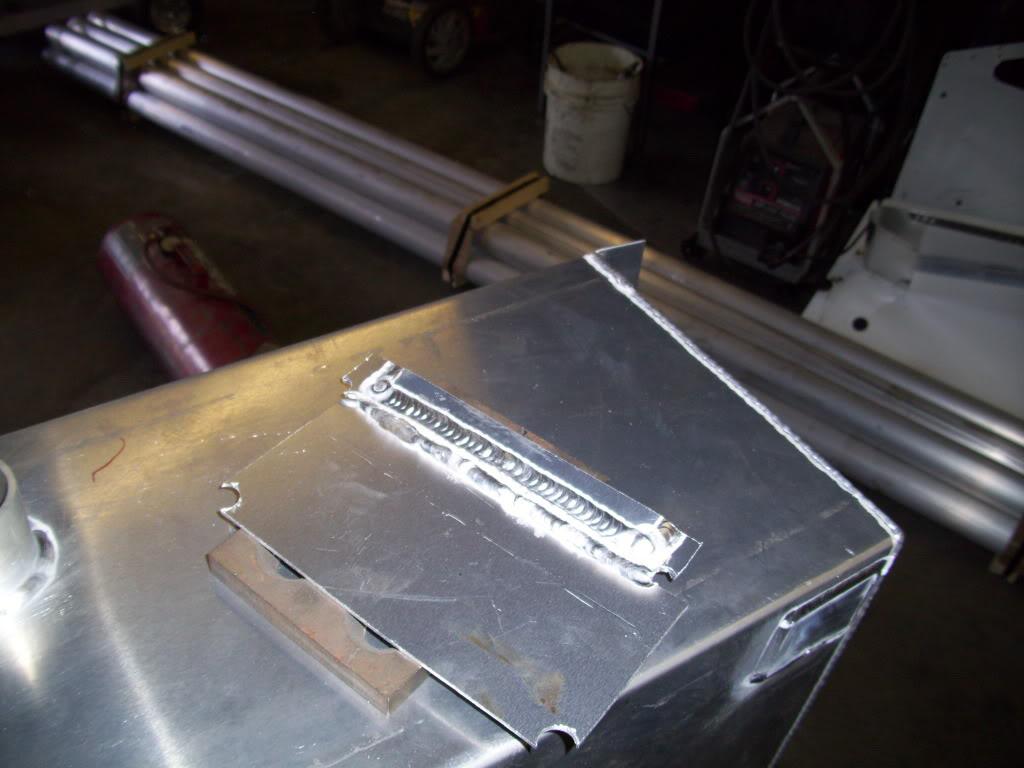
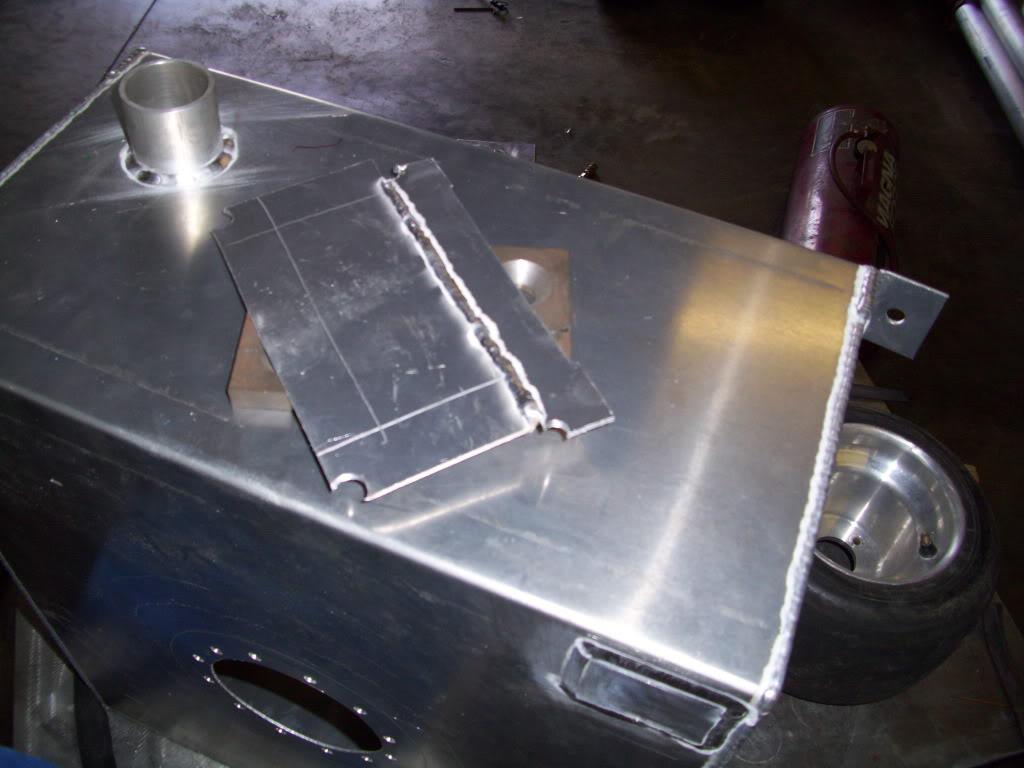
Not too shabby for a beginner like myself. But these were only practice pieces, I stayed away from the actual tank!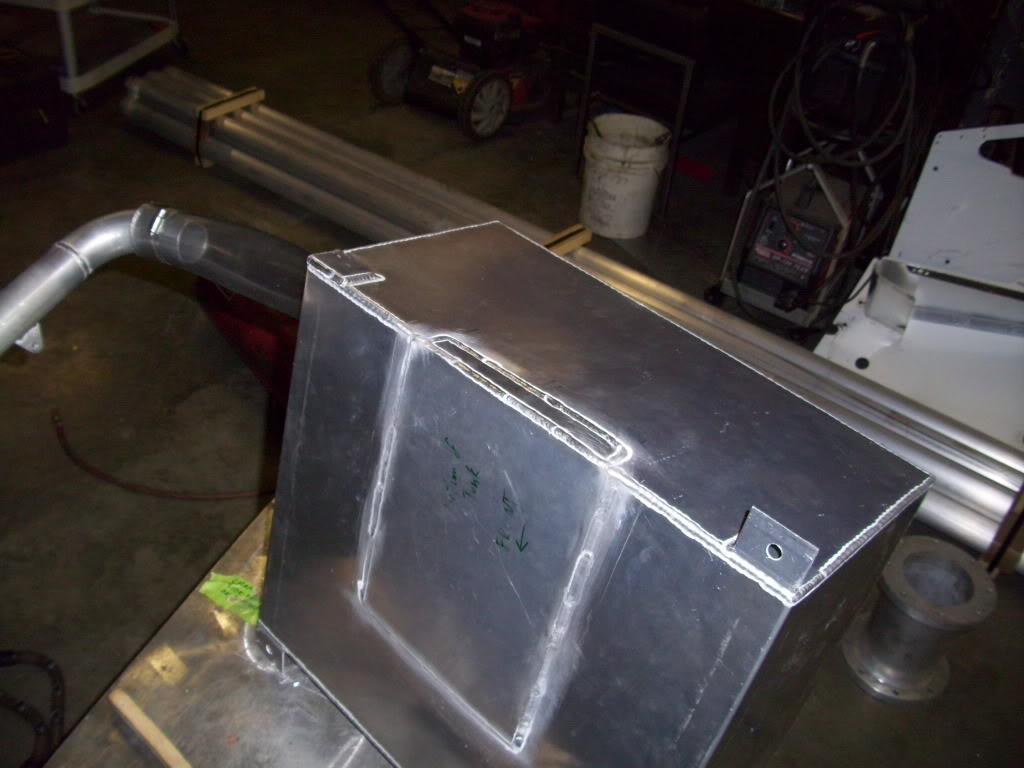
Pressure tested it, pass!
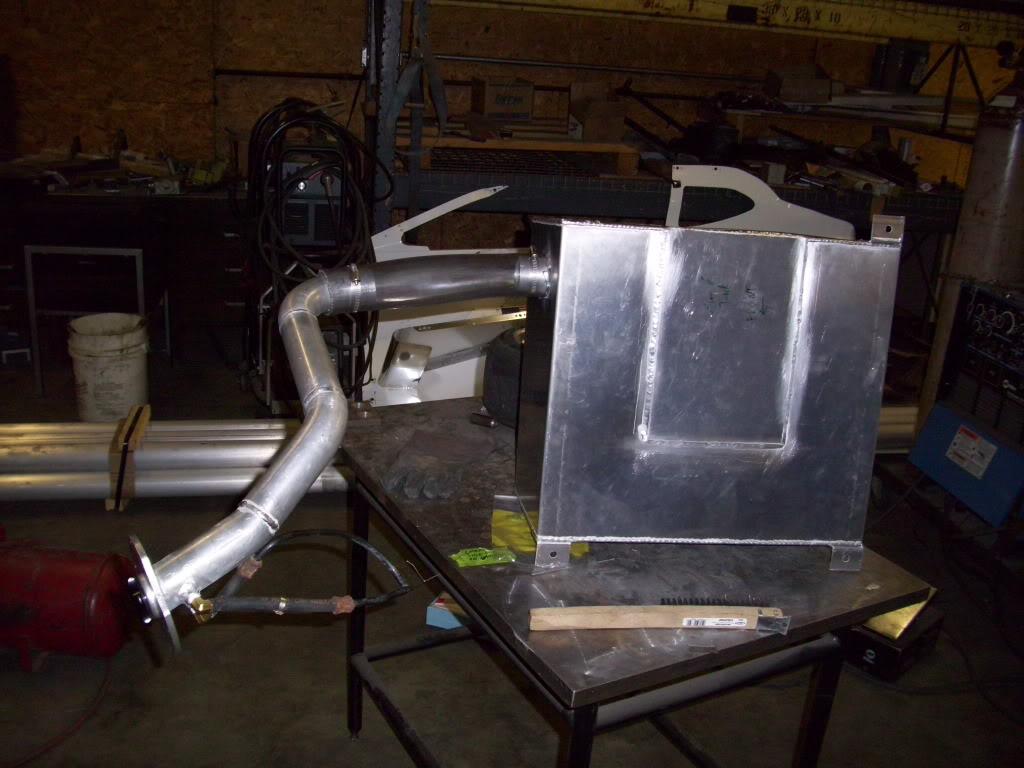
Then I did some planning about how the exhaust would be routed. Remember the funky shape in the left-side fuel tank support? That was for exhaust clearance and was planned in advance. I took a bunch of boring pictures like these so I could study them later and figure out the exact routing, and where each tube would go.
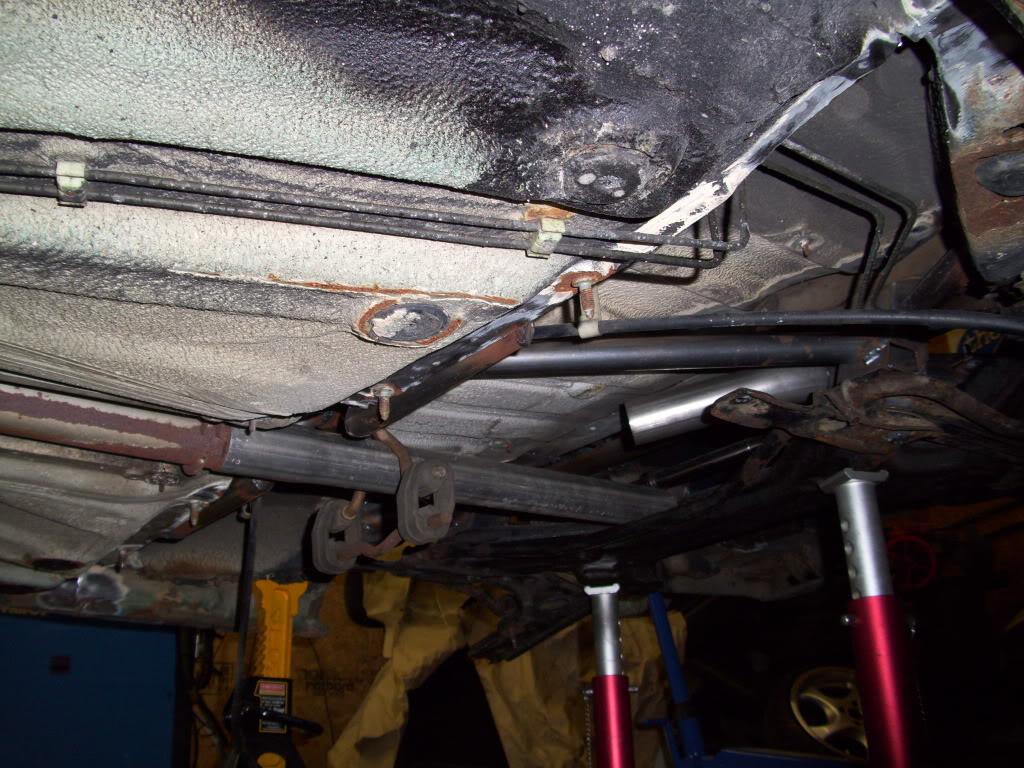
June 16, 2009
Exhaust is done! I absolutely hate working with exhaust. The only reason I did this myself is because the car couldn't drive under its own power to a professional exhaust shop. This will be redone in stainless sometime next spring, it is absolutely not up to my standards and one of my lest favorite parts of the build.
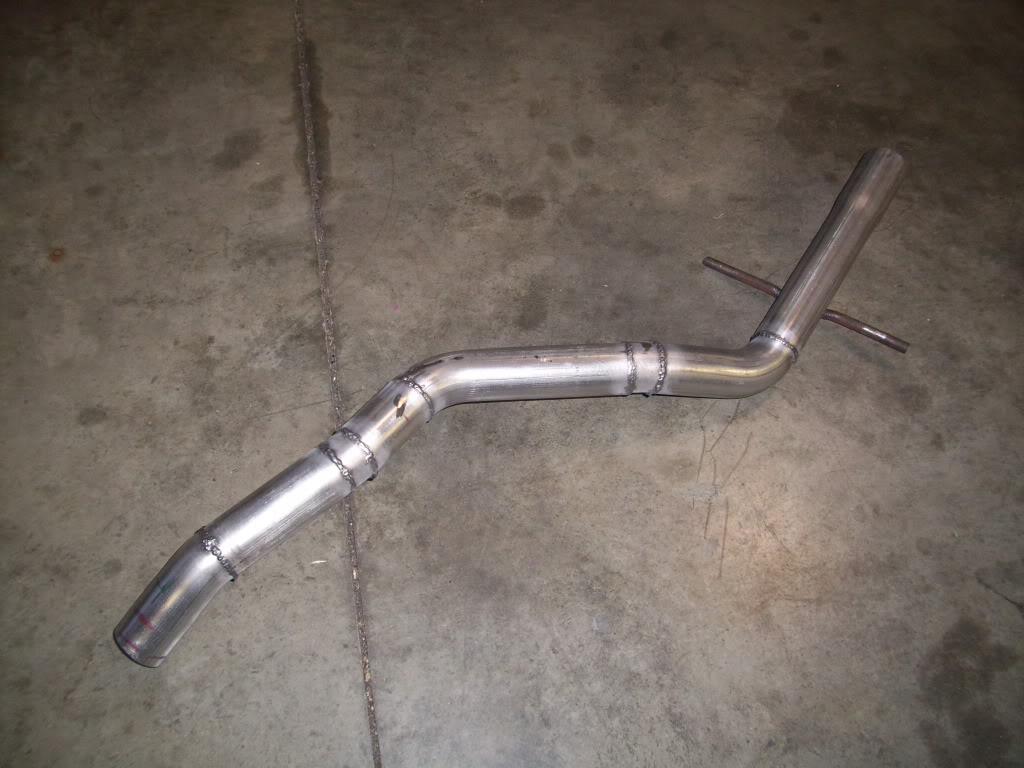
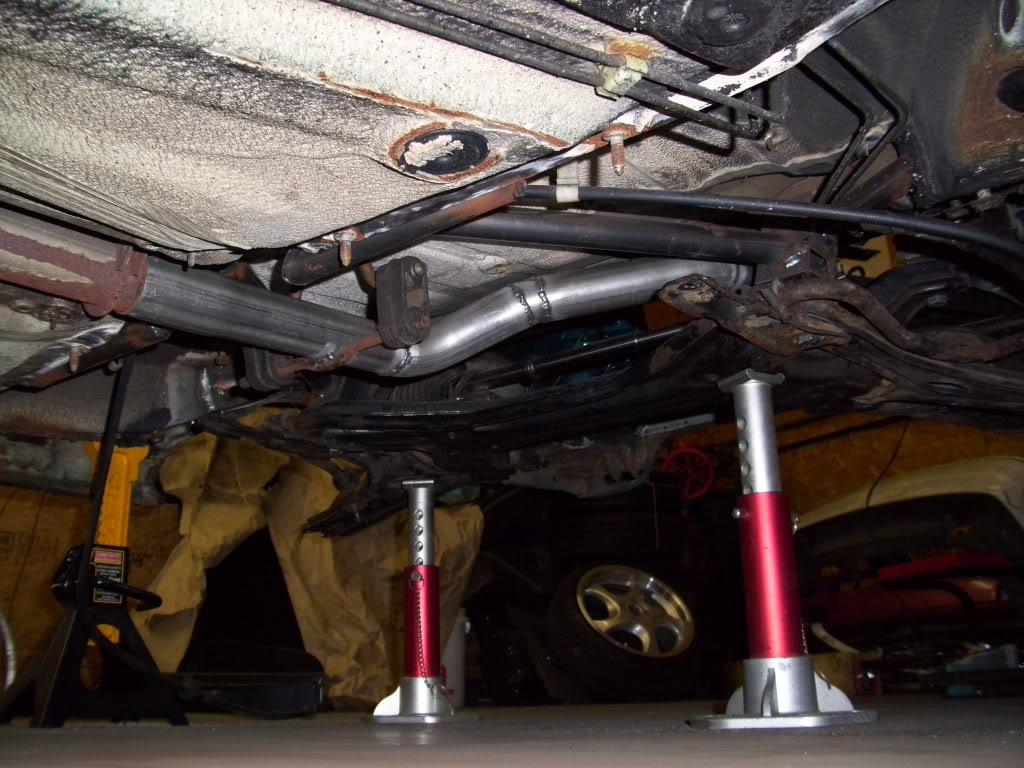
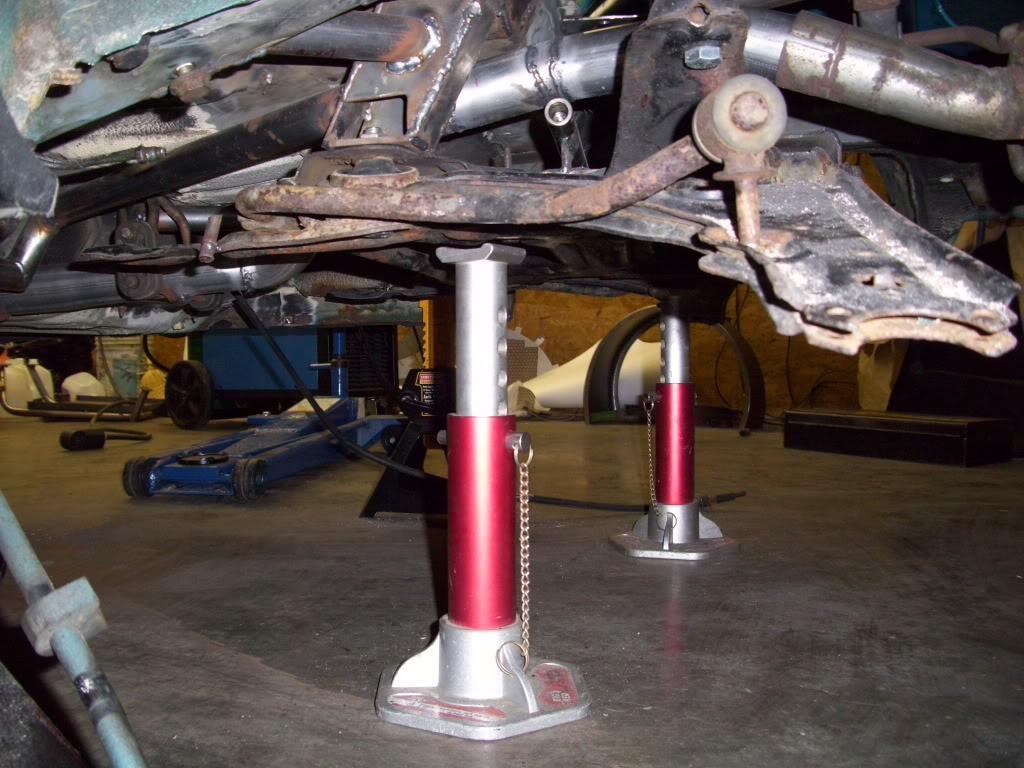
June 17, 2009
I painted the exhaust and strut tower brace.
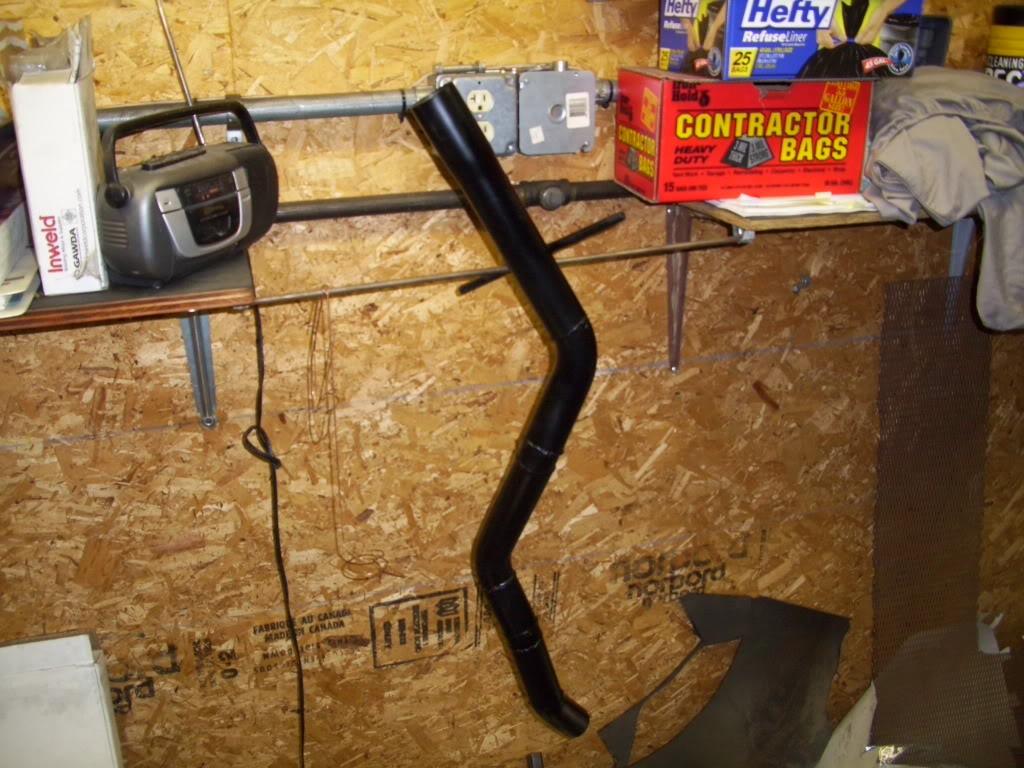
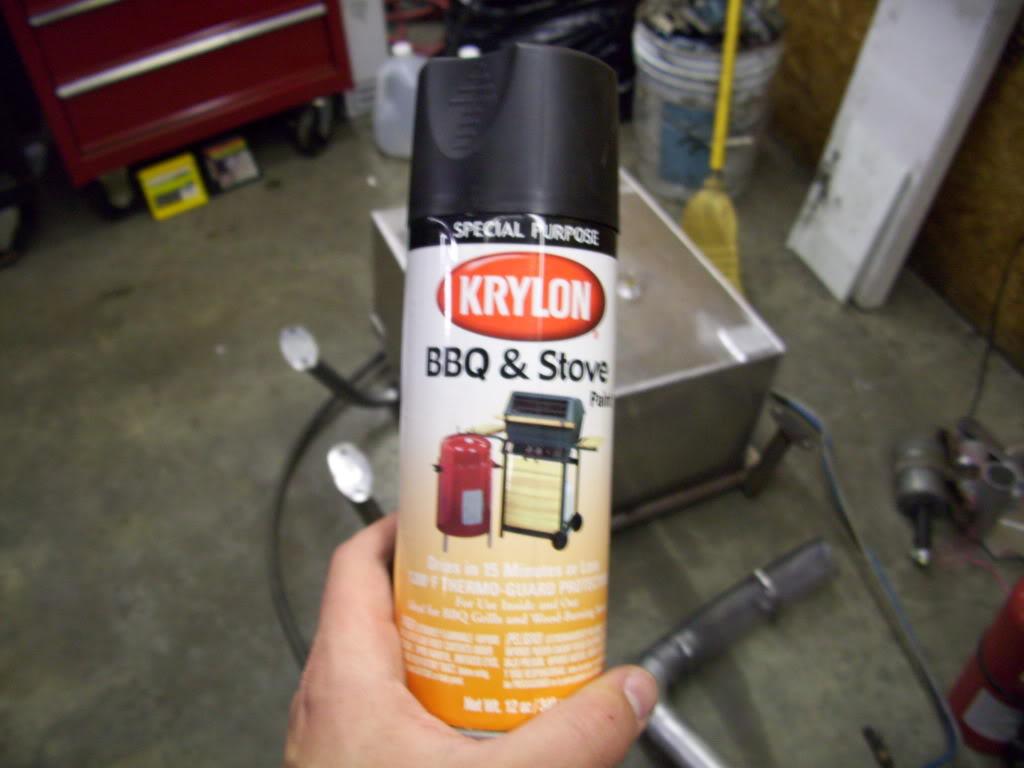
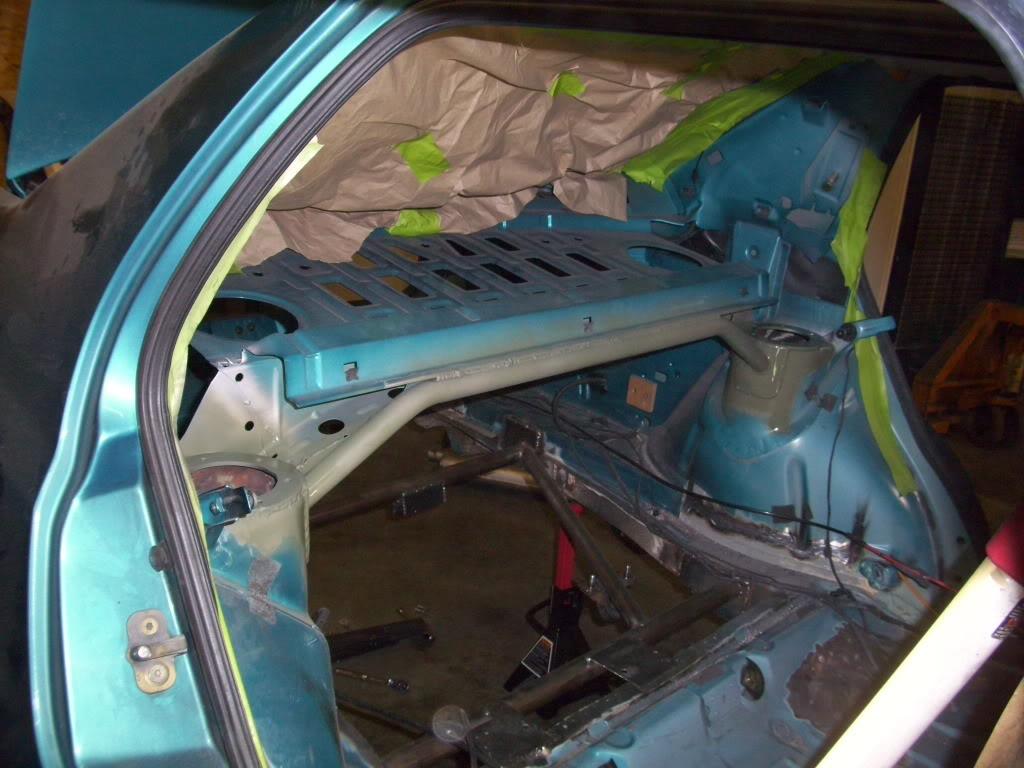
June 18, 2009
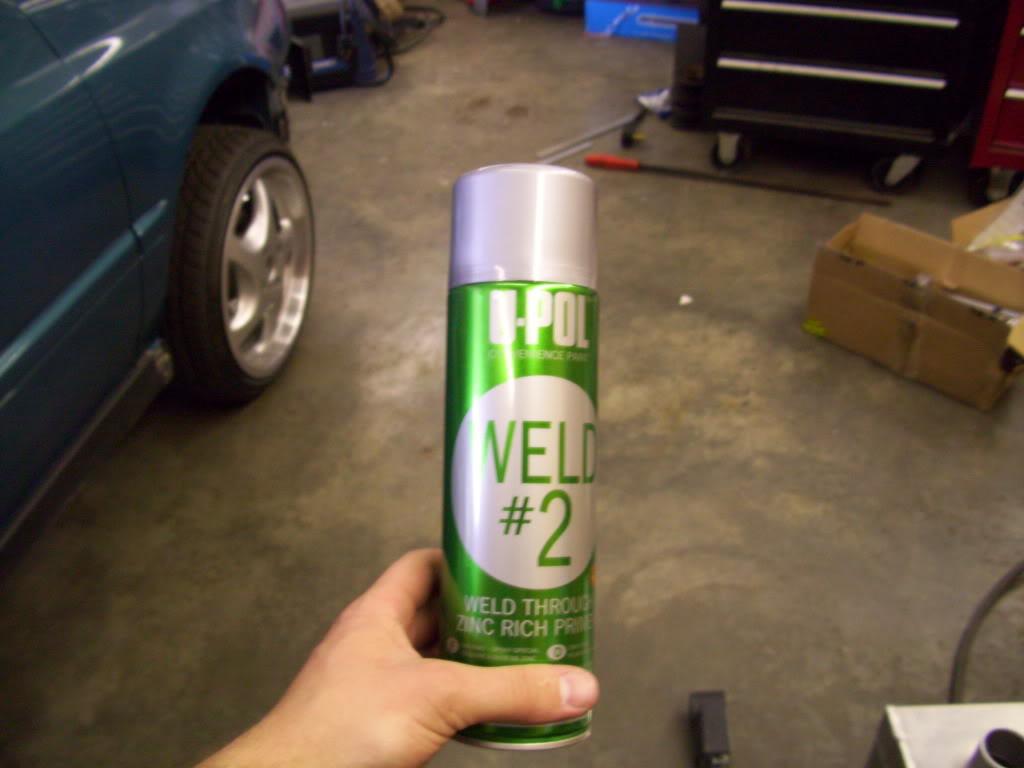
I got the floor in primer. The silver is UPOL Weld-through primer, the green is an etching primer. I selectively sprayed it depending on which areas would need to be welded over afterwards. I spent all night cleaning welds and finishing areas I forgot to weld, the paint was only the last 5 minutes!
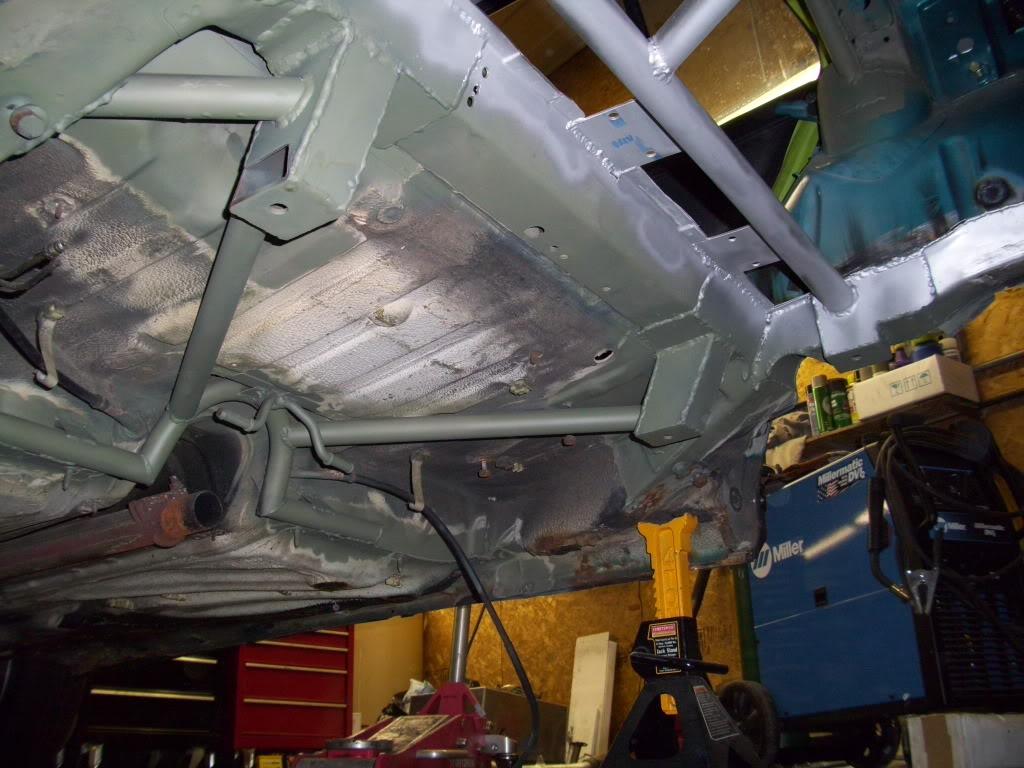
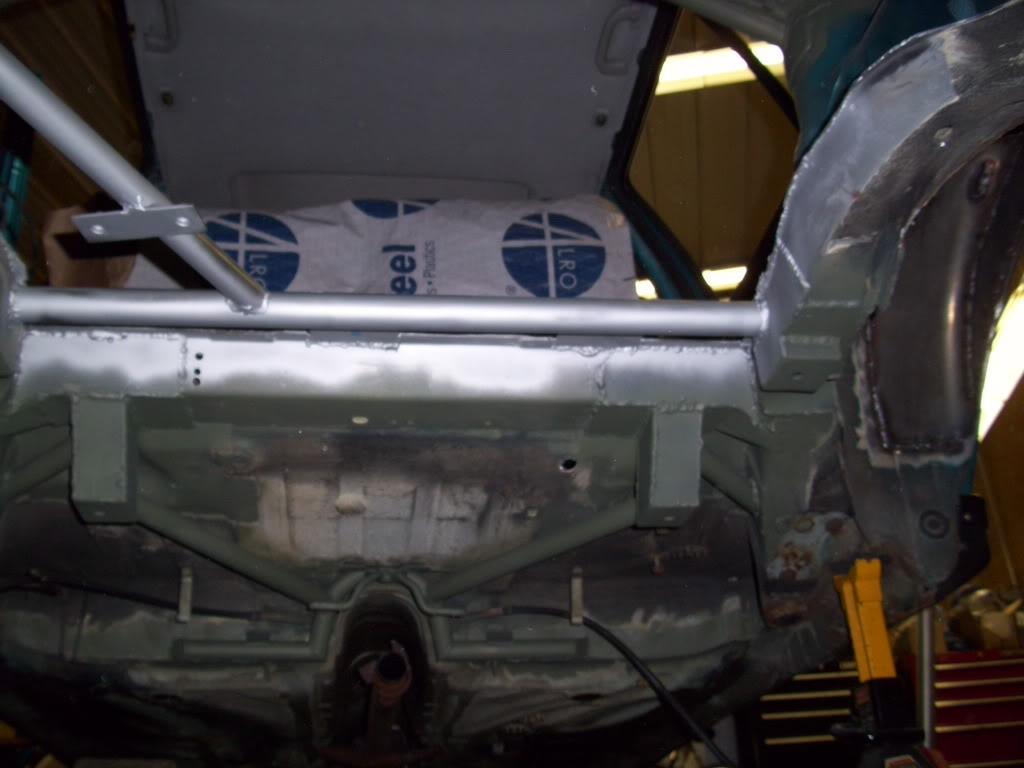
June 20, 2009
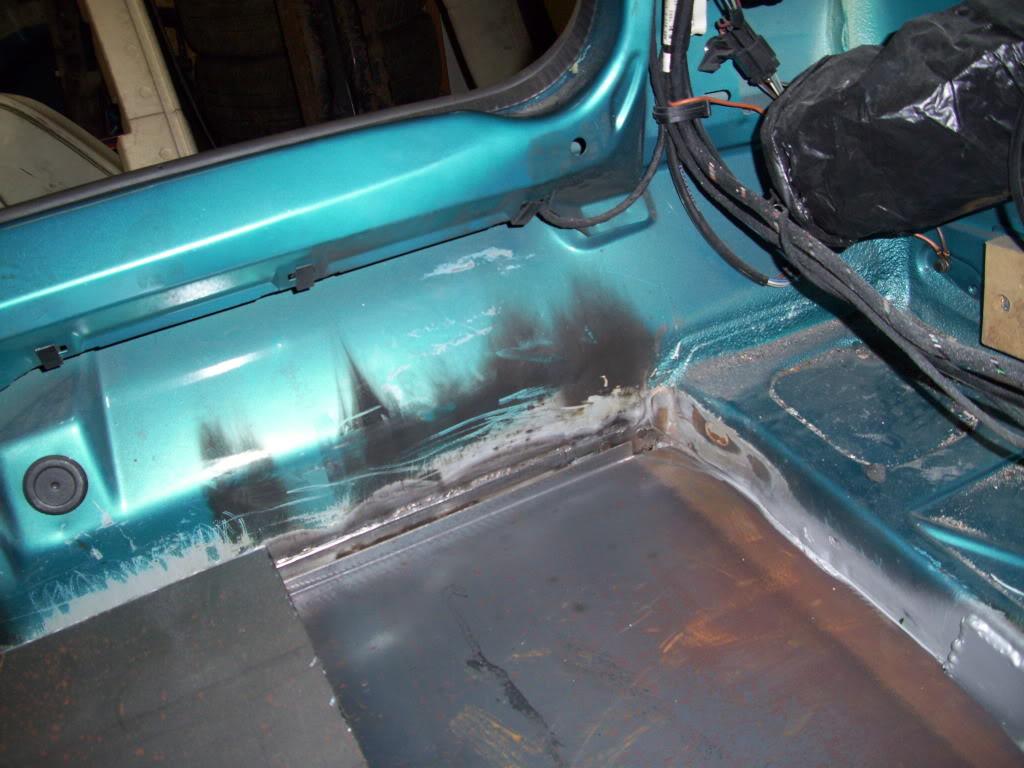
I started making templates and did the first cuts for the new sheetmetal trunk floor. These pictures are horrible, I took them myself and can hardly tell what they're trying to portray. It will be more clear later.
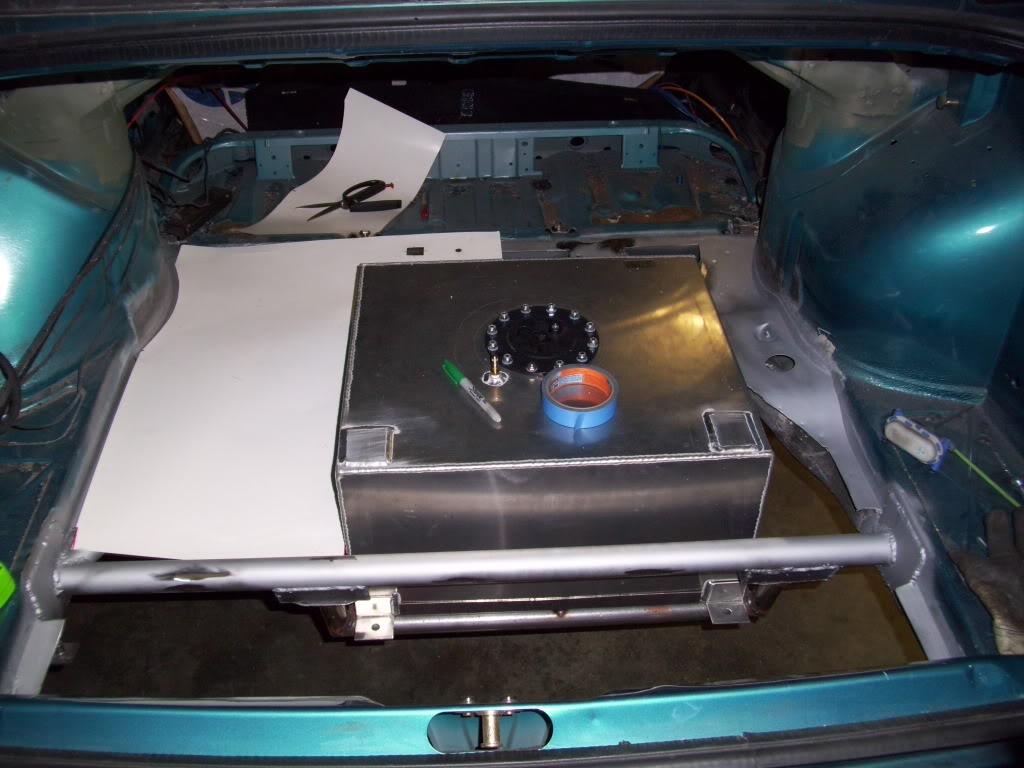
This one is looking from the front drivers seat back toward the passenger rear taillight.
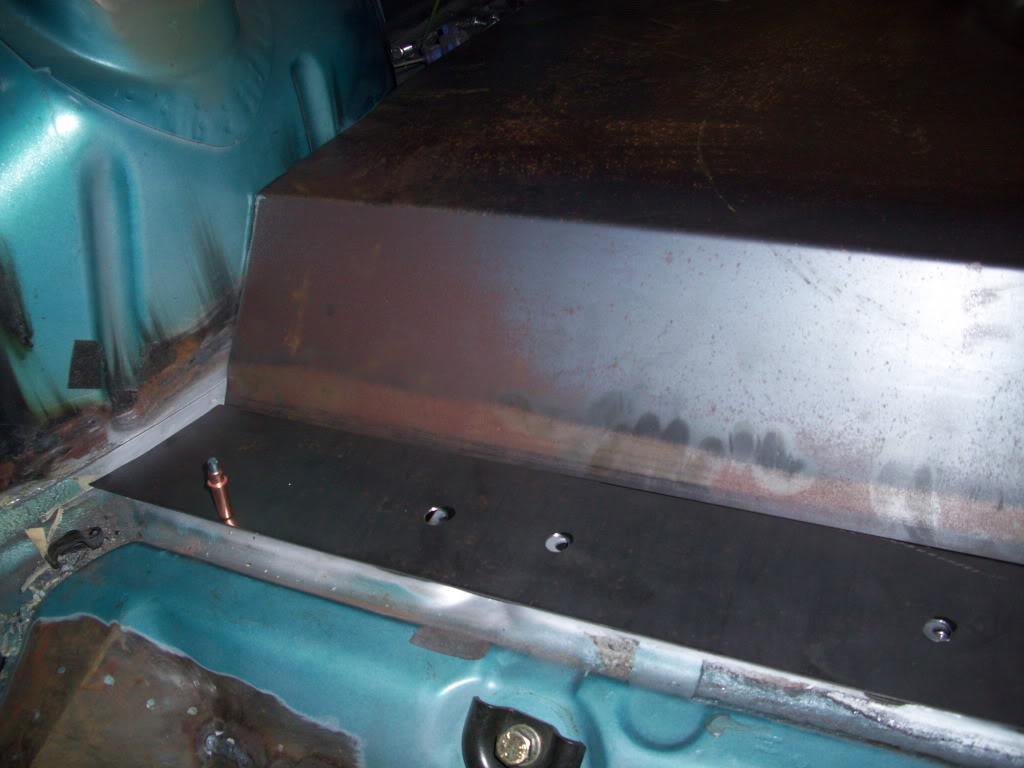
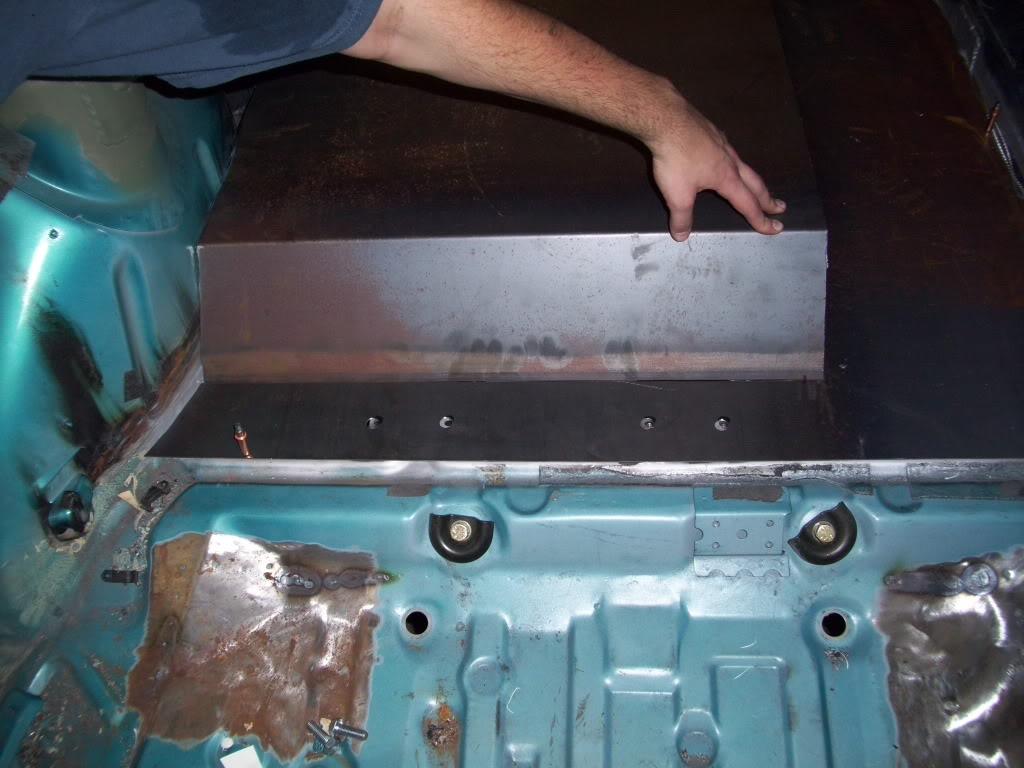
Here is where the flat section meets up with the new rear bumper crossmember
June 25, 2009
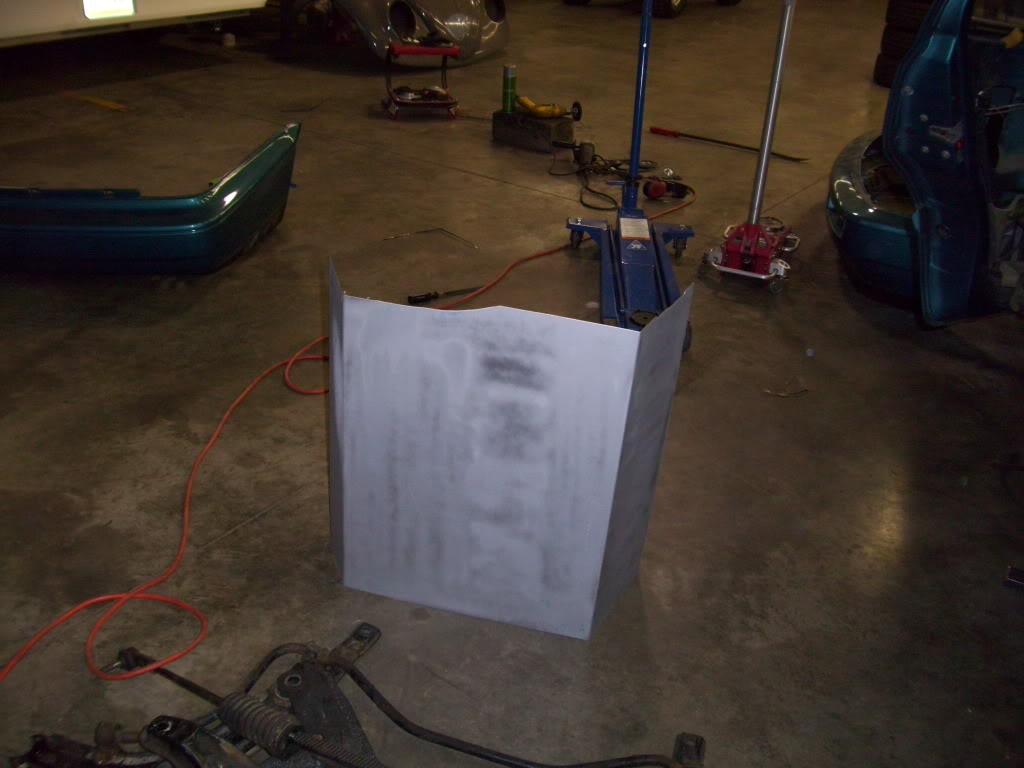
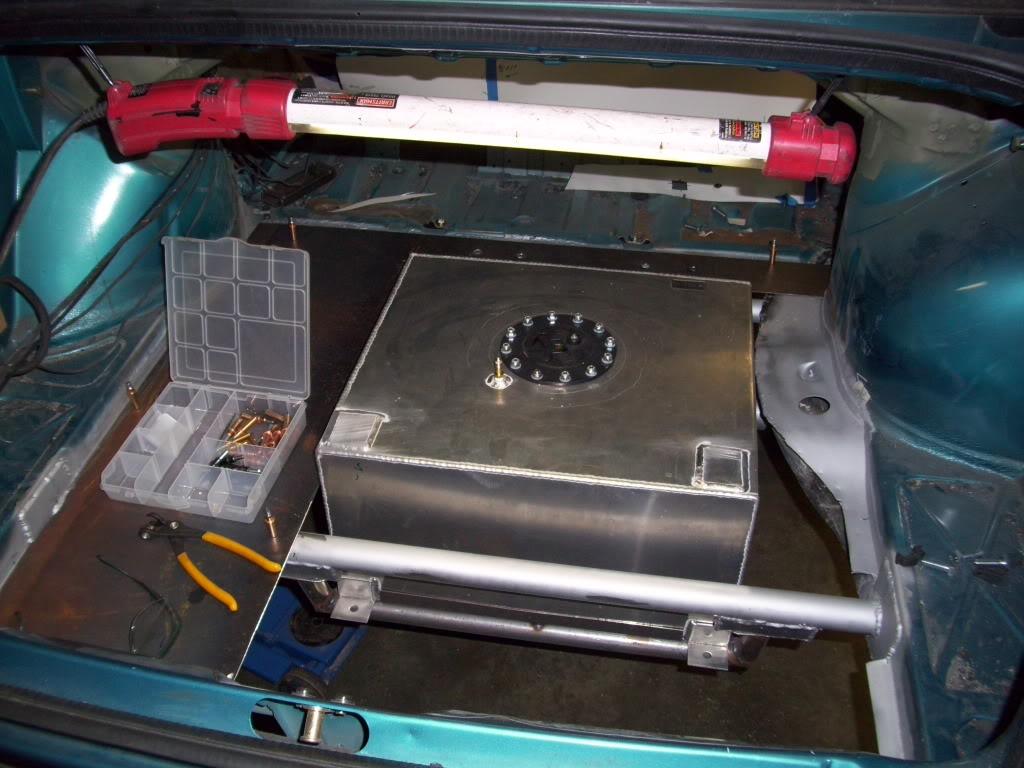
Trunk floor is starting to take shape! More sheet metal and primer

June 26, 2009
I made the tray where the hydraulic pump and valve assemblies will mount. This is behind the fuel cell, just in front of the rear bumper.
The plasma cutter really helped out when making these long cuts
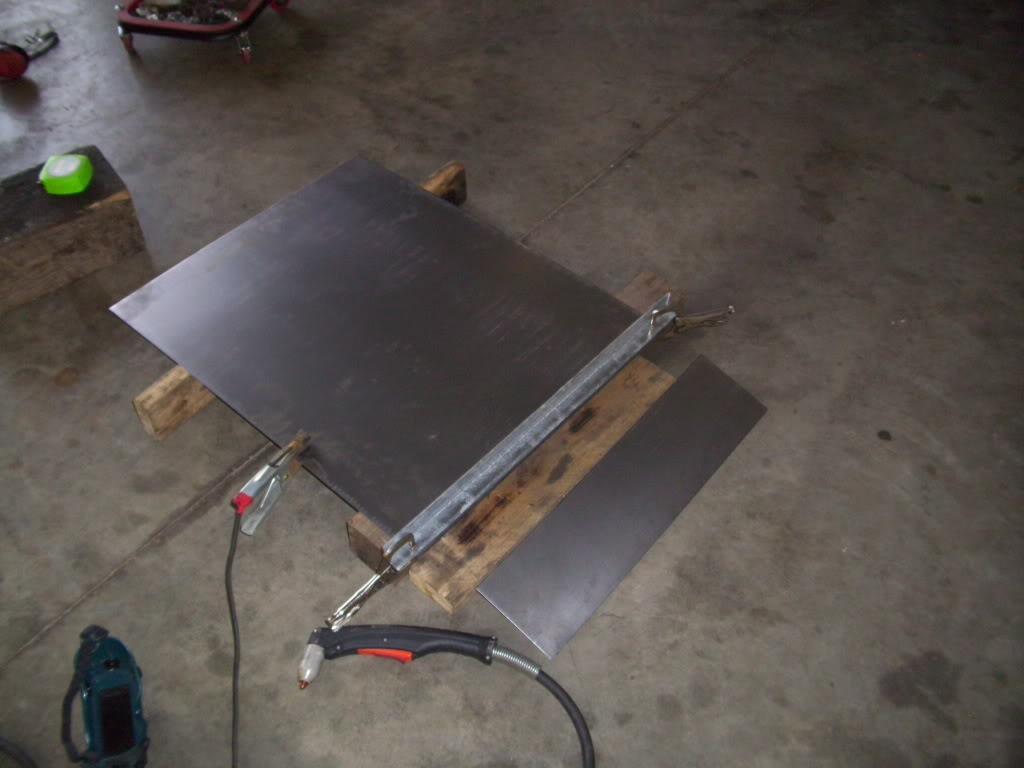
Here's the brake I have been using. It's not mine, but it's badass! I think it's 6' long so if I ever want to build a mk3 limo or something I can.
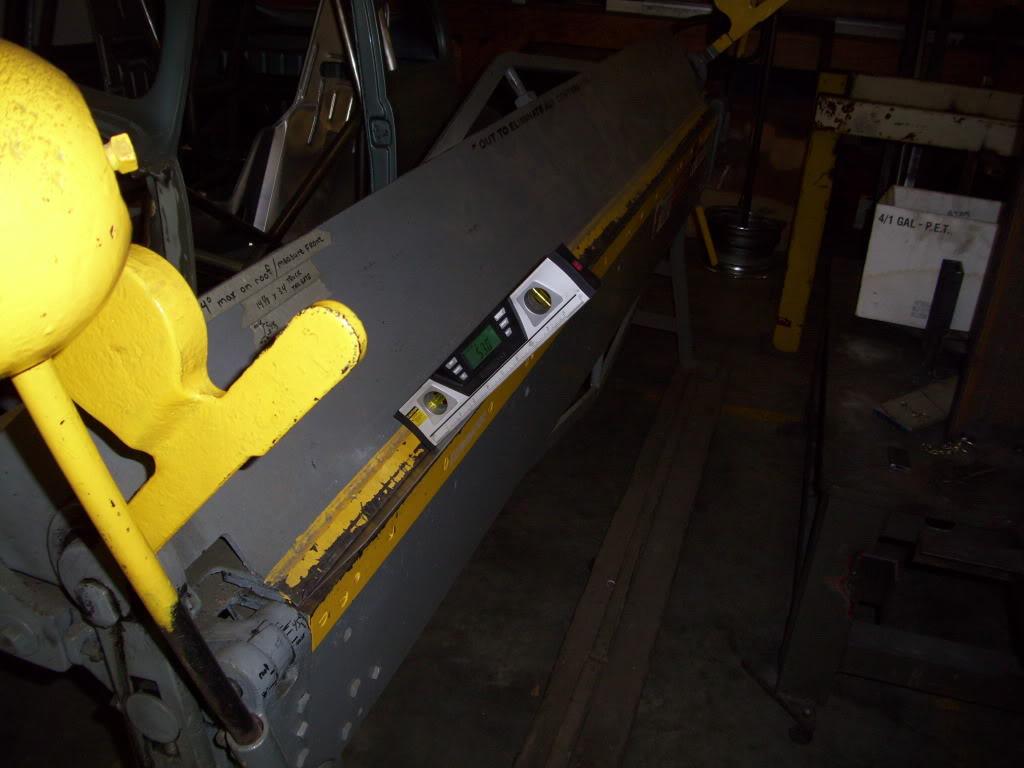
The digital angle finder is helping out. This is also what I use to measure camber when doing alignments, in case I forget to mention that later.
I was happy with all the bends.
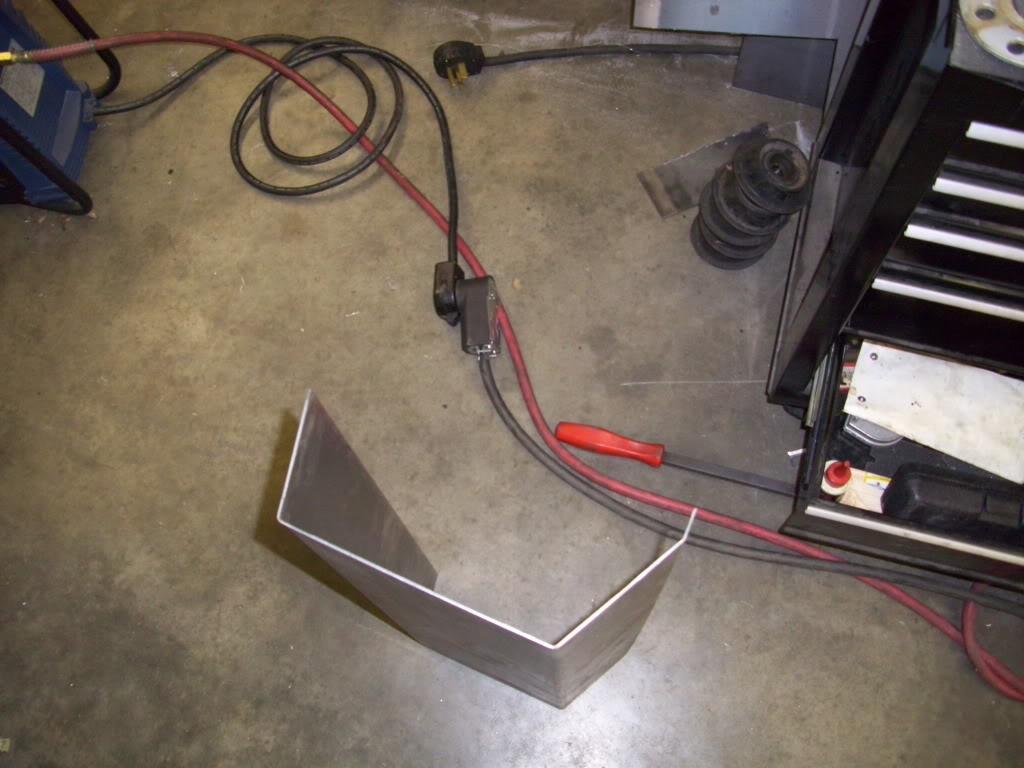
In position
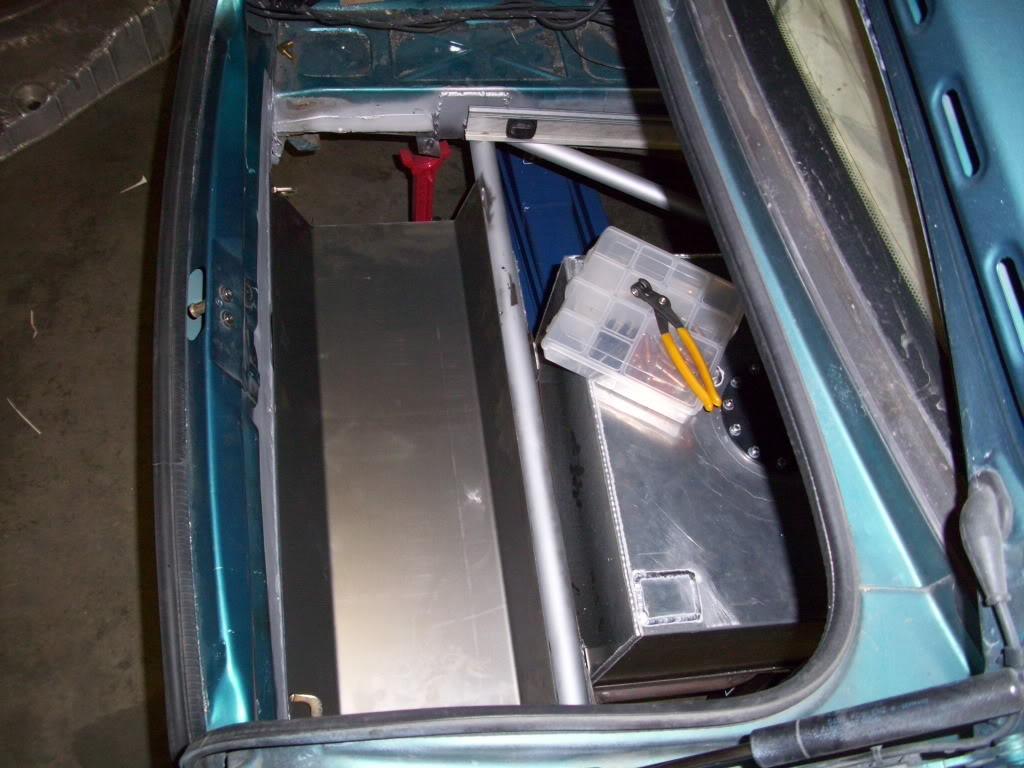
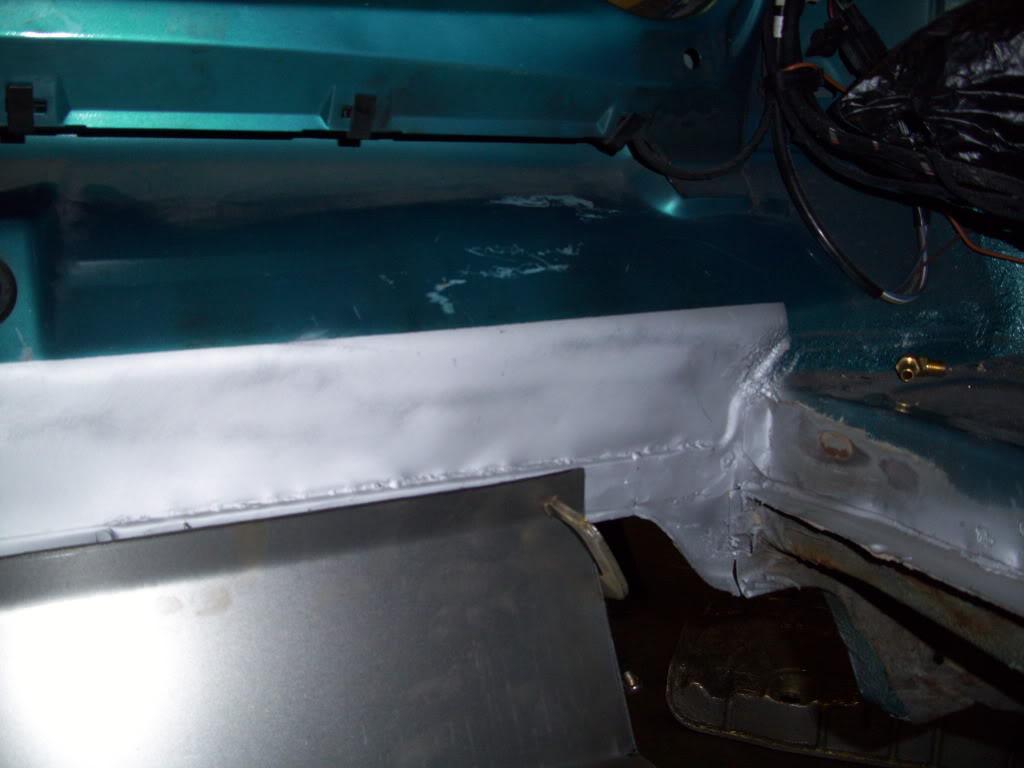
It will be welded to the rear bumper crossmember, this is looking toward the rear of the car
June 30, 2009
I decided to add a bunch of threaded holes in the trunk floor, just for future use to mount things down. That way I will never have to drill through the trunk to mount stuff, there will already be holes ready to go. I used M6 threaded weld-nuts from Mcmaster, drillled a bunch of holes on predetermined spacing, and welded them down to the bottom side of the panels.
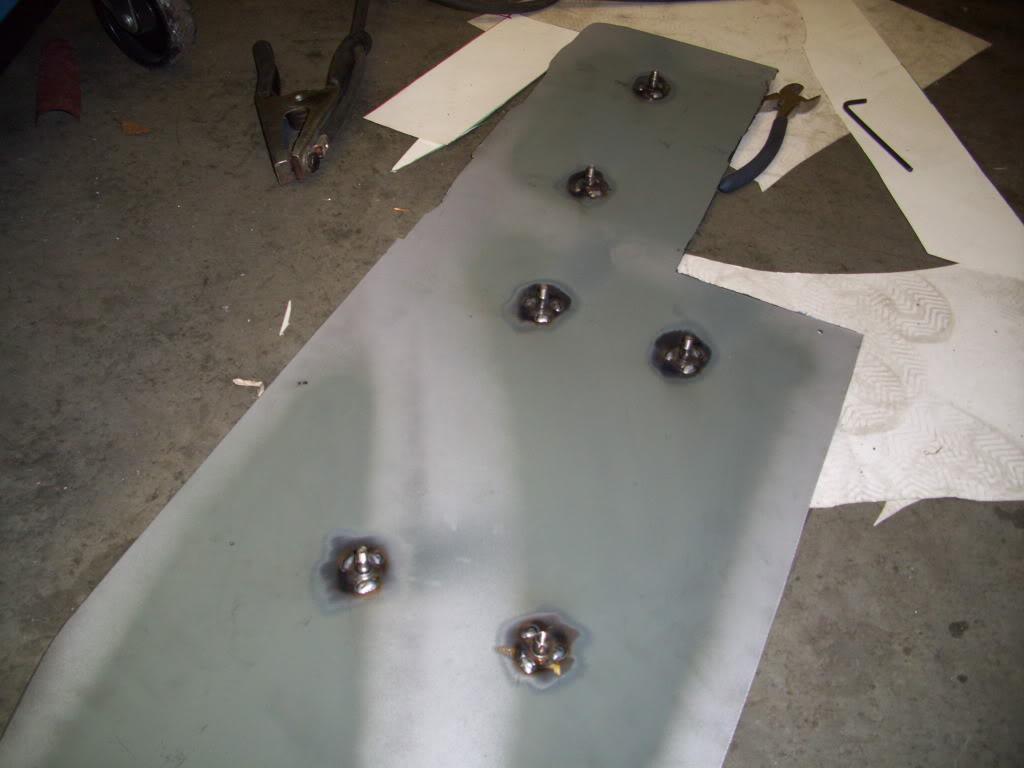
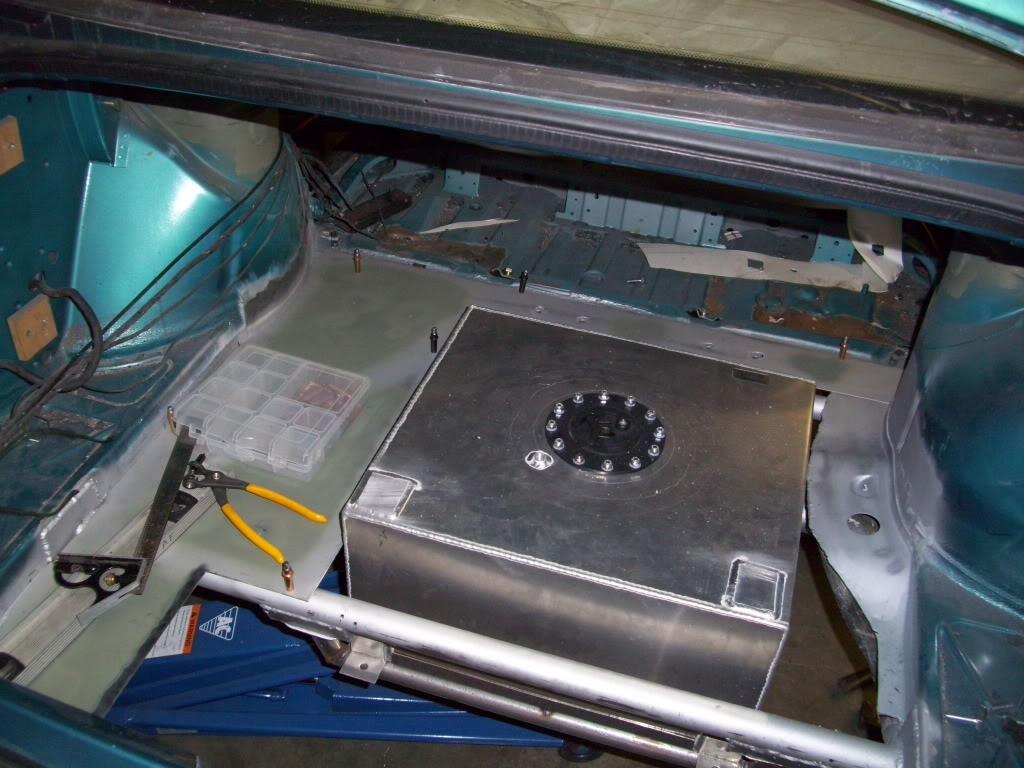
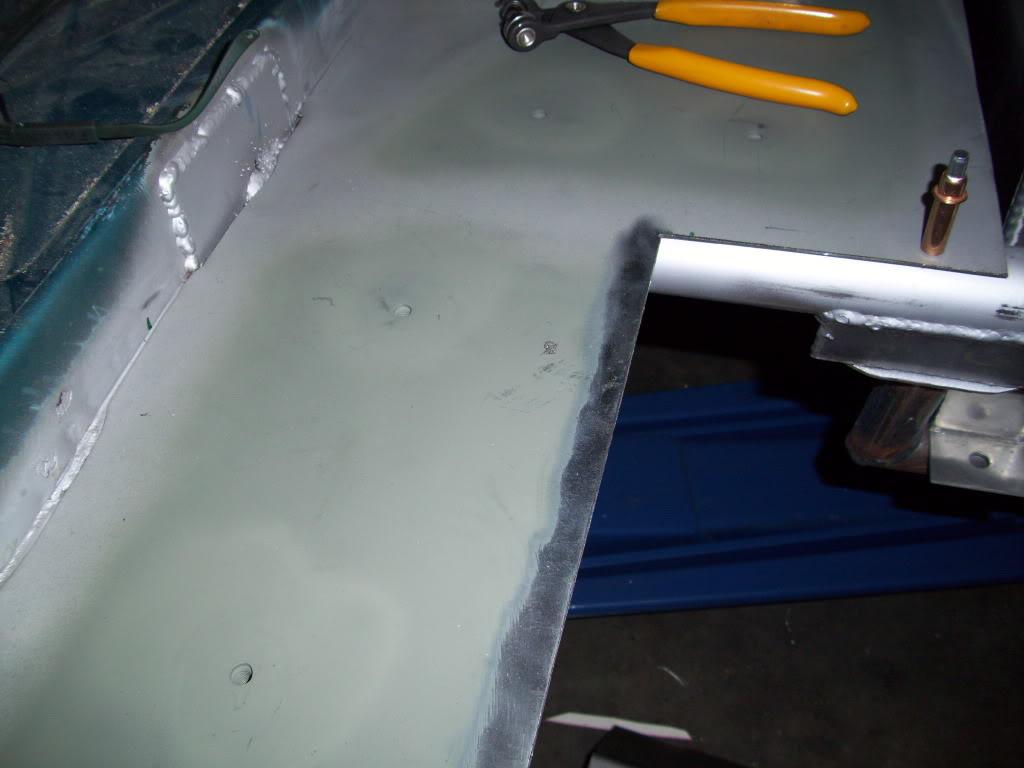
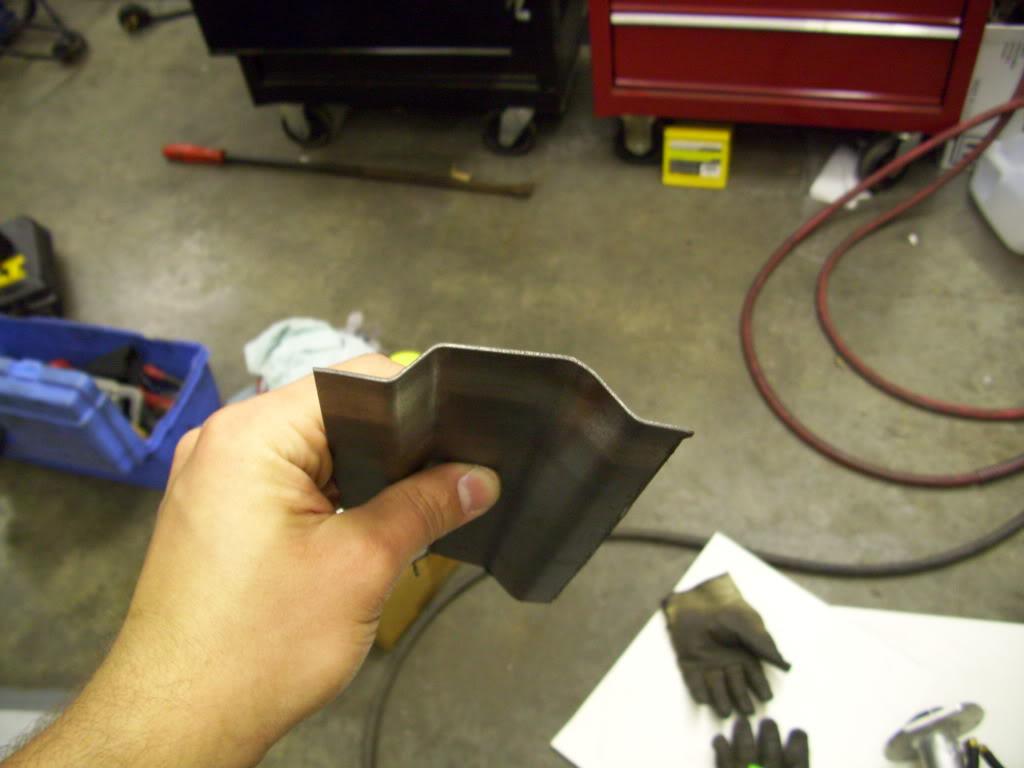
I also did a test bend on the stiffening ribs I'm planning to reinforce the parts of the floor where I can't or didn't add tubular supports underneath.
July 1, 2009
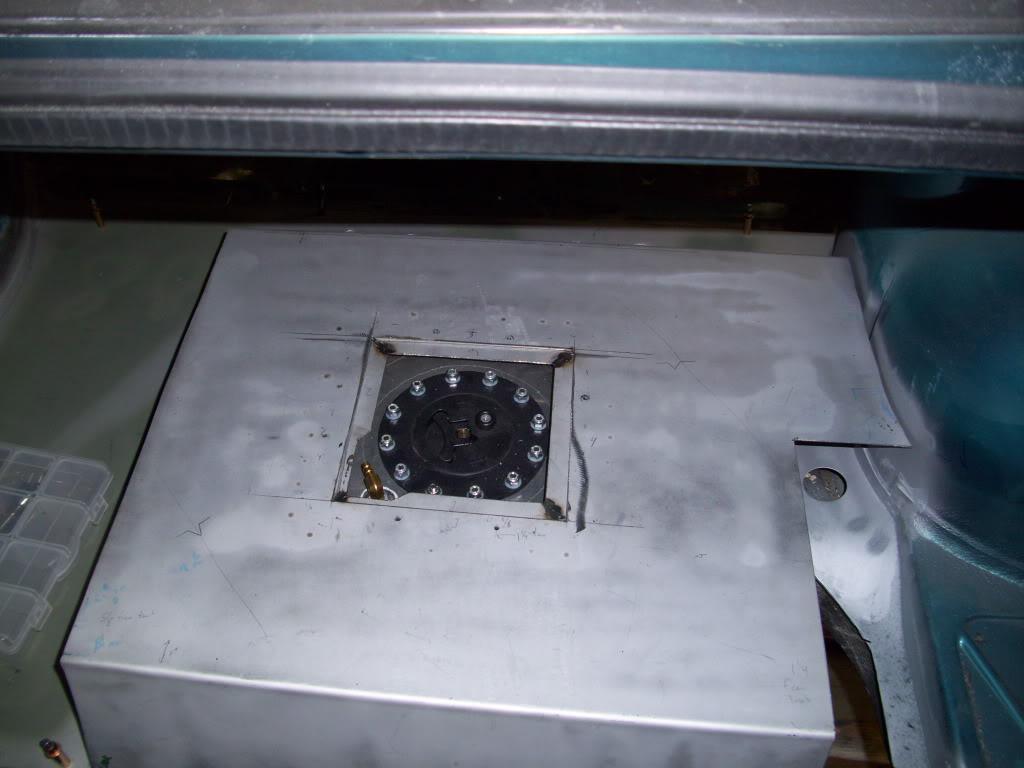
I started making the access panel for the fuel pump. Since the cell is below the floor, I dont' want to have to drop the tank to change or modify or unplug the fuel pump. Despite how easy it will be to drop the tank, if I don't have to I don't want to.
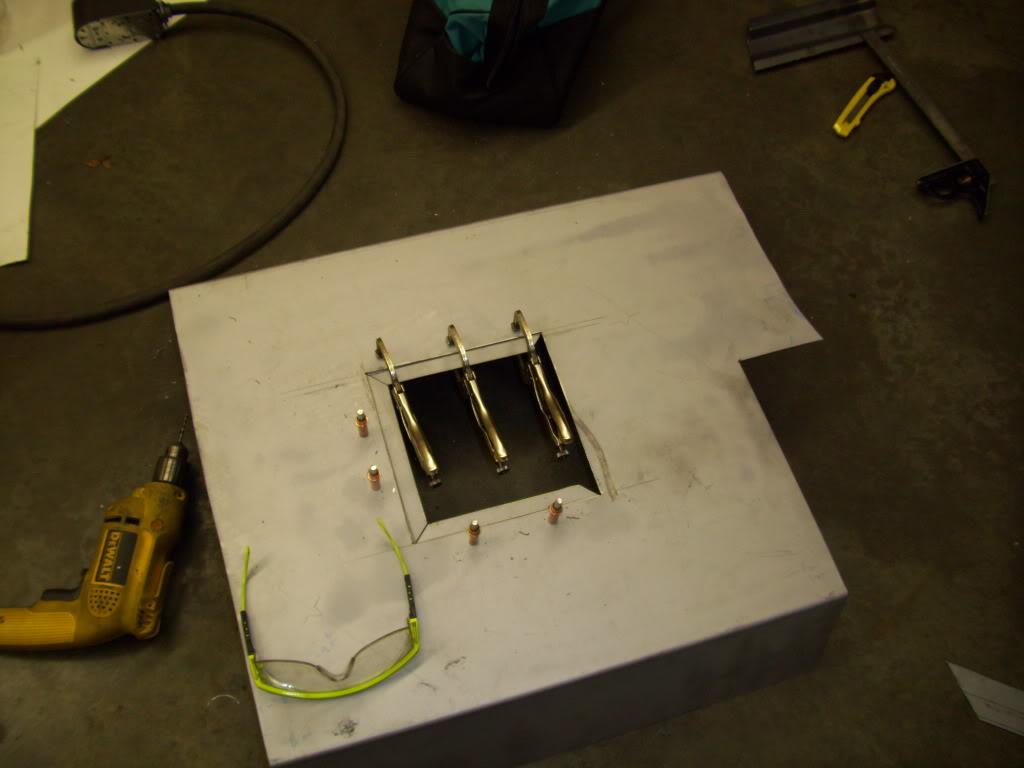
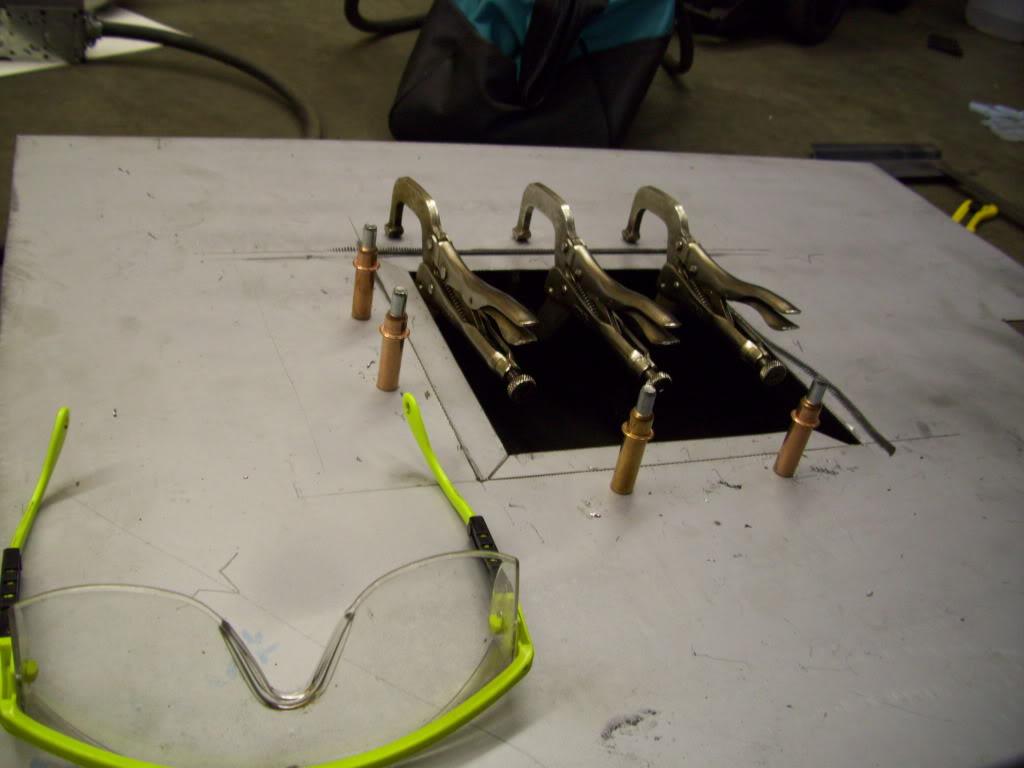
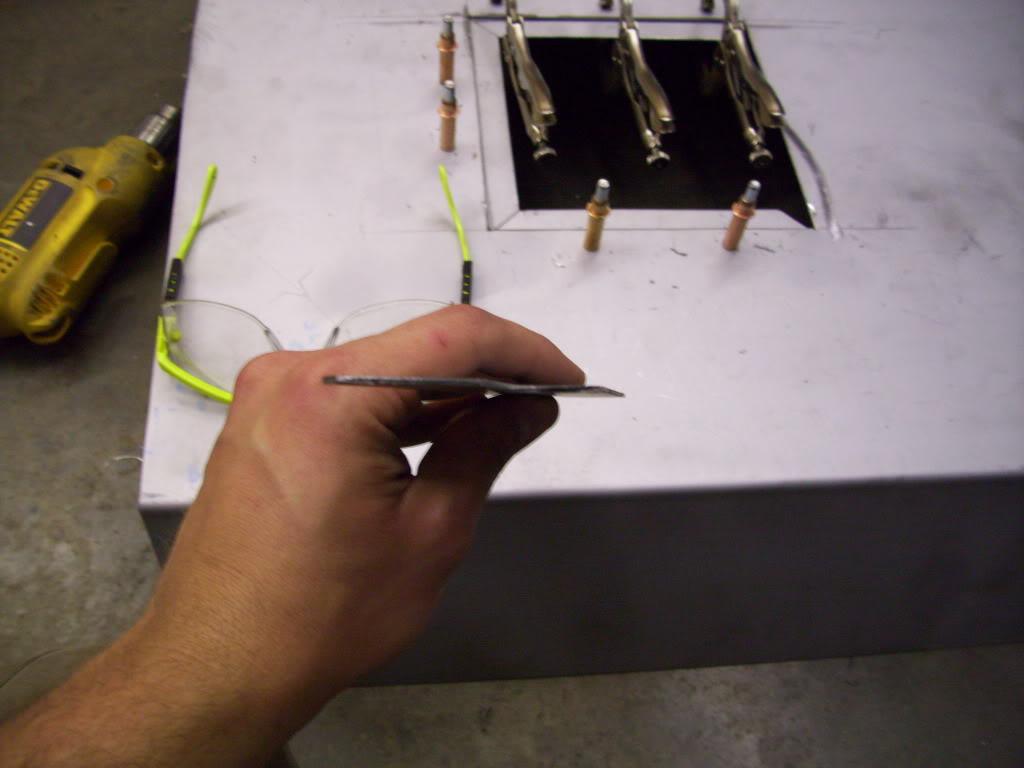
Those are Cleco clamps, for those who have never seen them. You drill a 1/8" hole and insert them through, and they're a temporary holding system.
Aligns perfectly with the fuel cell access port
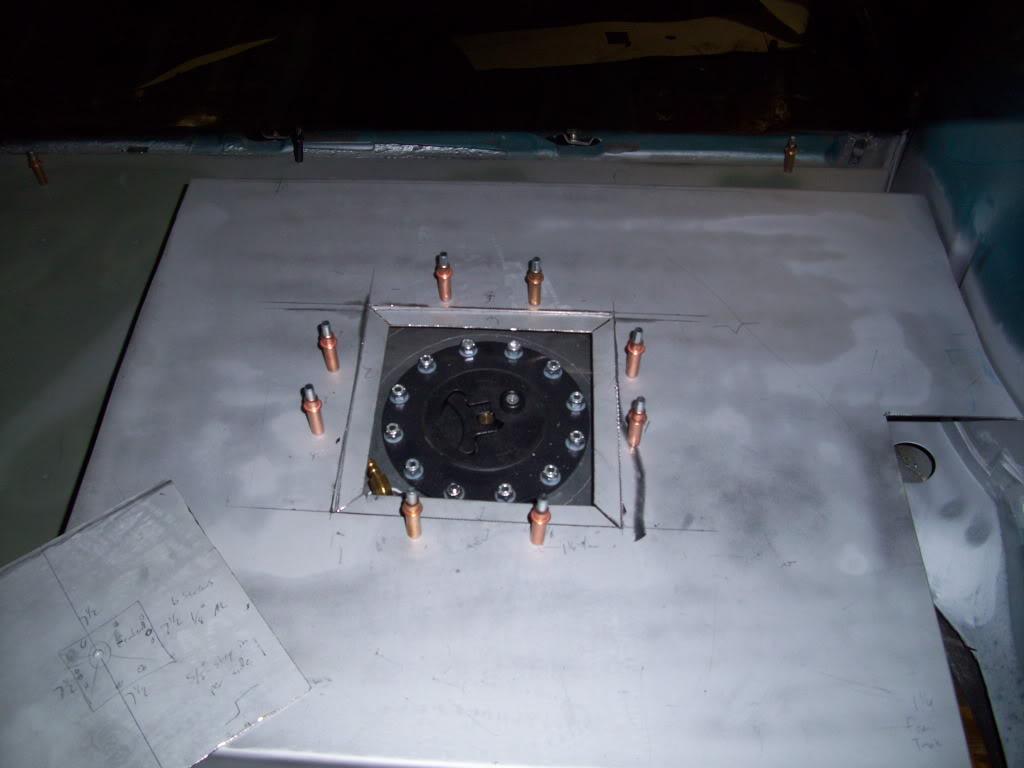
Tack welded it all together and removed the Clecos
Nice build! Great photos and detail ????
Posted by Diggymart on 4/23/19 @ 12:52:48 PM