You must be logged in to rate content!
11 minute(s) of a 270 minute read
10-22-2009
Hey Tomi, thanks for your feedback. I think that the air would flow like the picture and here's my thinking as to why it would.
Here are some pictures below of the original air cooled setup.
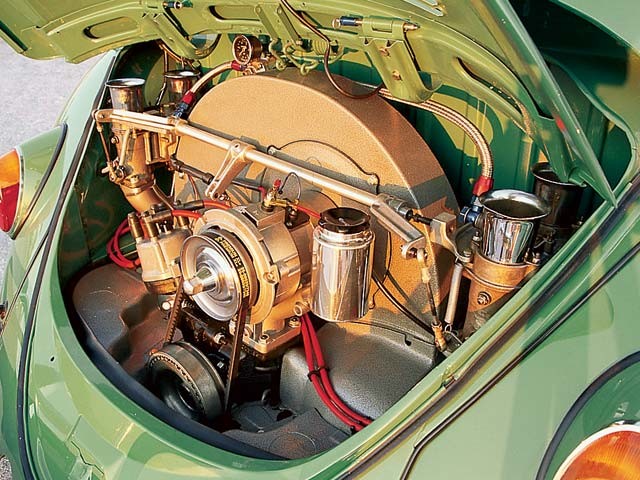
You'll notice a dog house which has a fan inside that's connected to the back of the alternator. The engine has tin that completely seals the upper portion of the engine off from the hot lower portion. At the back of the dog house is the fan that sucks in cool air. The tin work is made so it blows the cool air down on the heads and the hot air exits out from under the car. So basically I'll be creating the same effect but with a radiator in place of the engine.
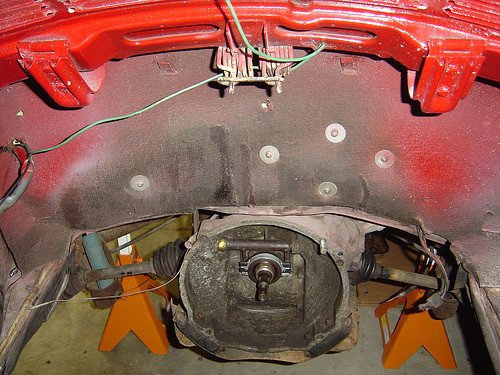
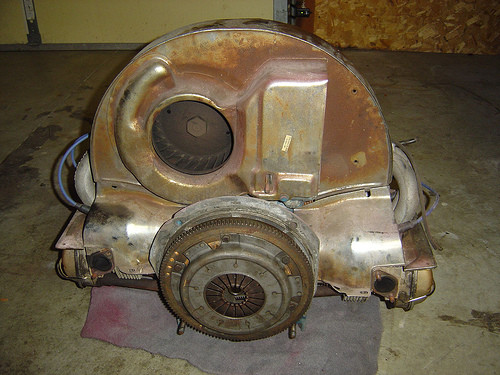
That's why the deck lid stand offs help pull more cool air into the compartment. Right?
10-26-2009
Thanks for all the help guys!
I got some progress done this weekend. Not as much as I would've liked. I had my 10 year high school reunion on Friday night and I had a gig the following night. I was nursing a hangover most of the weekend. Ugh...good fun though.
Any who, here were are. Got the subframe for the radiator made.
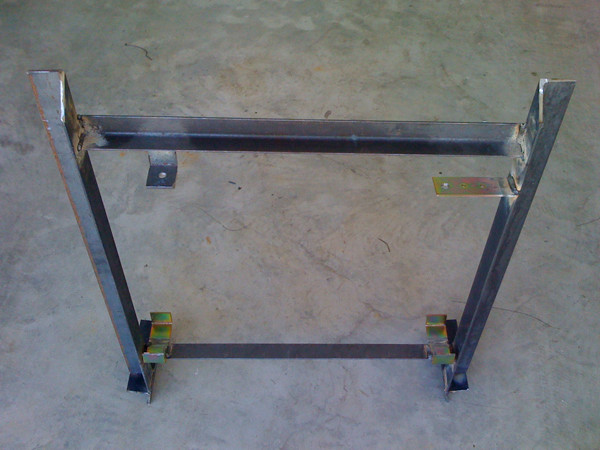
Here you can see how the rad bolts in. Fairly simple.
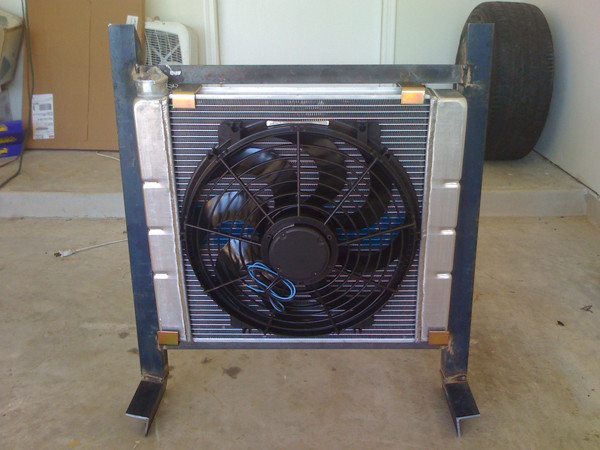
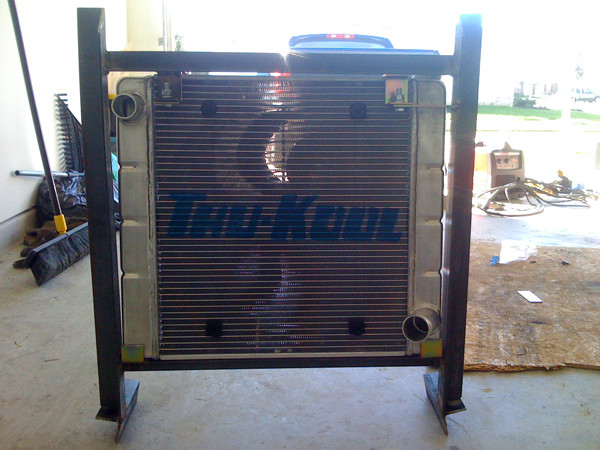
I then welded it into the body. Notice the penetration on the rear clip.
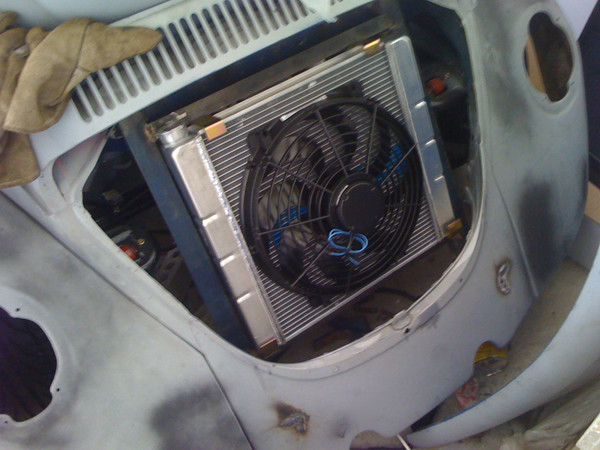
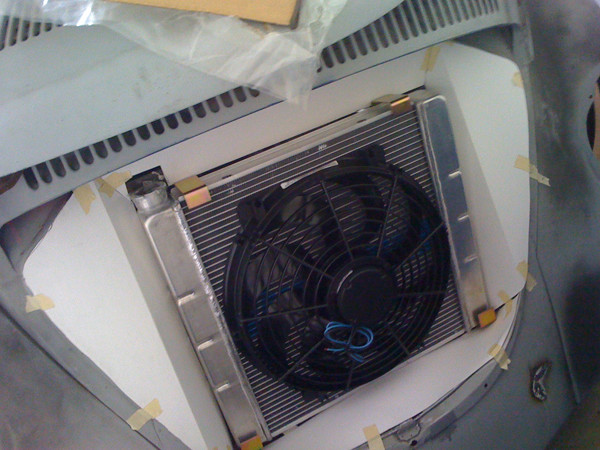
I then made a template for the ductwork? Basically it'll keep the hot air from recirculating with the cold air. Next I just need to make a duct to direct the air out the back of the car and which will also help to keep hot engine air from reaching the rad.
Setting up the radiator leaned back rather than flat filled the area better and will be less sheet metal work that I have to do.
11-16-2009
Some updates.
Well, it's been a nice long week off. Saturday, Nov. 7th I got married and I took the week off following the wedding. So I really didn't do too much to the bug, but I did manage to get some work done.
Some of the small things I did that weren't worth photographing are things like moving the tranny crossmember forward and torquing the tranny mount bolts, the crossmember bolts, bell housing, bolts, etc.
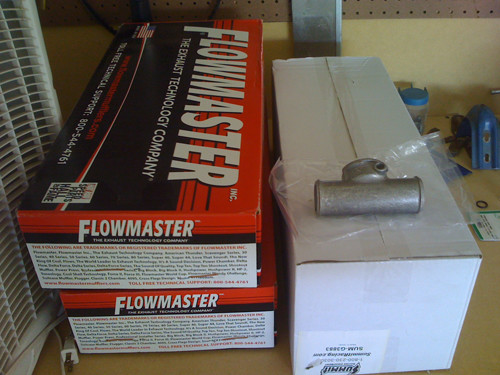
Few things I ordered came in. FlowMaster 40 series 2.5" mufflers, flexplate / tranny dust cover, inline water filler neck, and an overflow plug for the radiator. I plan to have the overflow come from the inline neck rather than from the radiator.
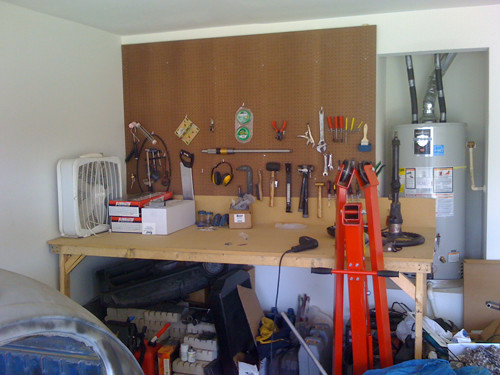
The garage was getting a little out of control so I felt the need to get it organized. That and I got tired of working off of the floor. So I built a table, a tool organizer and cleaned up the garage.
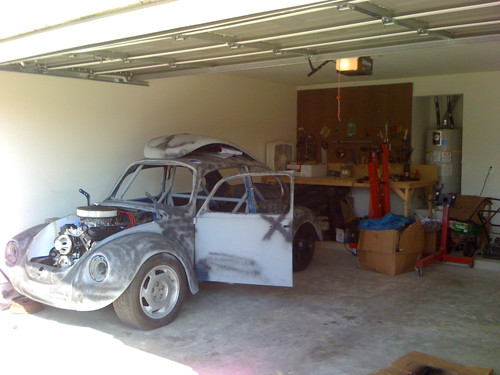
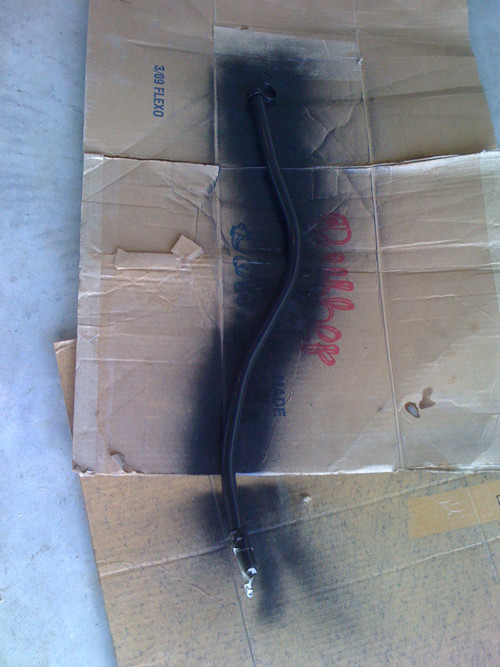
Painted and installed the tranny dipstick, as mentioned.
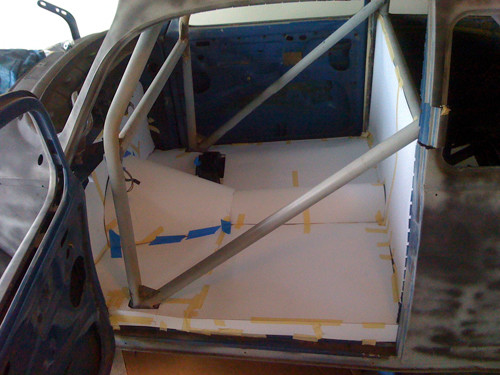
I started making the firewall, engine bay, and floor patterns. I'm almost finished with the patterns. All that's left is the section that'll go behind me. There's a few 4' x 8' sheets of 14 gauge steel I plan to use because it's free and it should be plenty strong for the flooring.
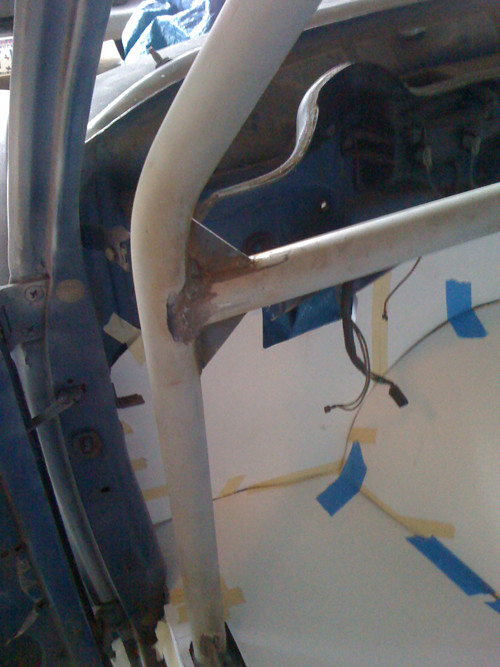
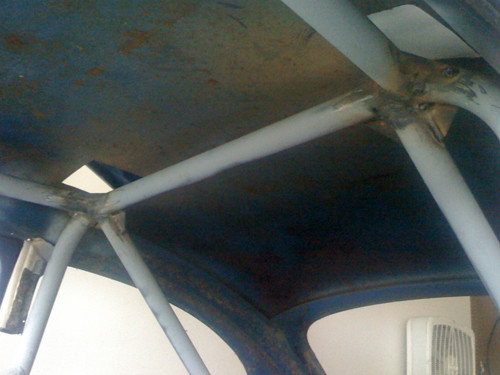
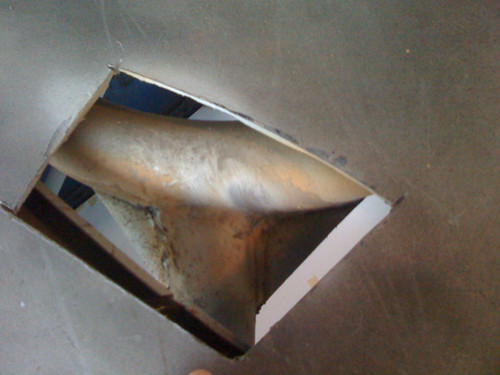
Last but not least, I cut out some 2" reinforcement triangles out of the 1/8" plates that came with my cage and welded them into the top of the cage, the dash bar, the lateral bars, and the main hoop outriggers. The pics look like crap and the flux doesn't help, but they came out really well. I also redid a couple of the cage welds so they would nicer. I'm getting better at this overhead welding business.
By the end of this week I hope to at least have the flooring on it's way to being finished. Once that's done I'll take it to the muffler shop and have the exhaustand plumbing work done.
More soon...
12-21-2009
Hey guys, got an update. I borrowed the wifey's camera for this set of photos.
Before I begin, I just wanted to let everyone know I found out last weekend that my wife is pregnant!!! We're both very excited and now I need to really kick this project into overdrive. I want to have it finished before the baby comes, because quite frankly, my project funds will be reduced to just about nothing. I can finish it in 8 months. No problem. I did joke with my wife, after making sure she knew I was happy and all about the baby, and I said, "OK, who's baby is it?" Comments like that is why she married me.
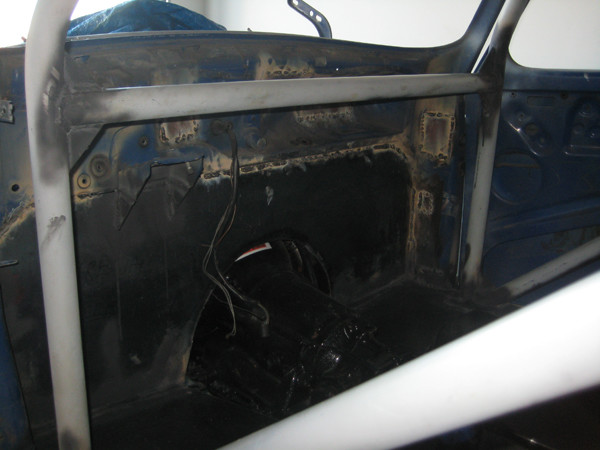
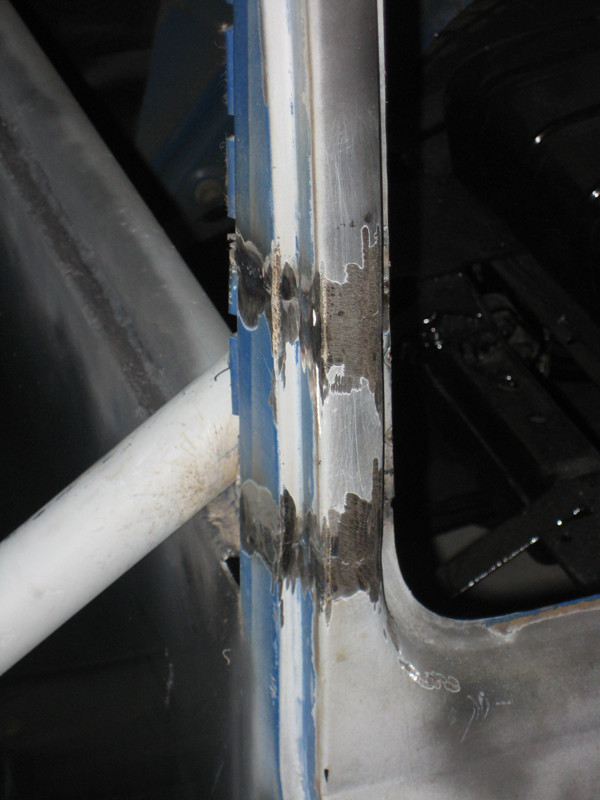
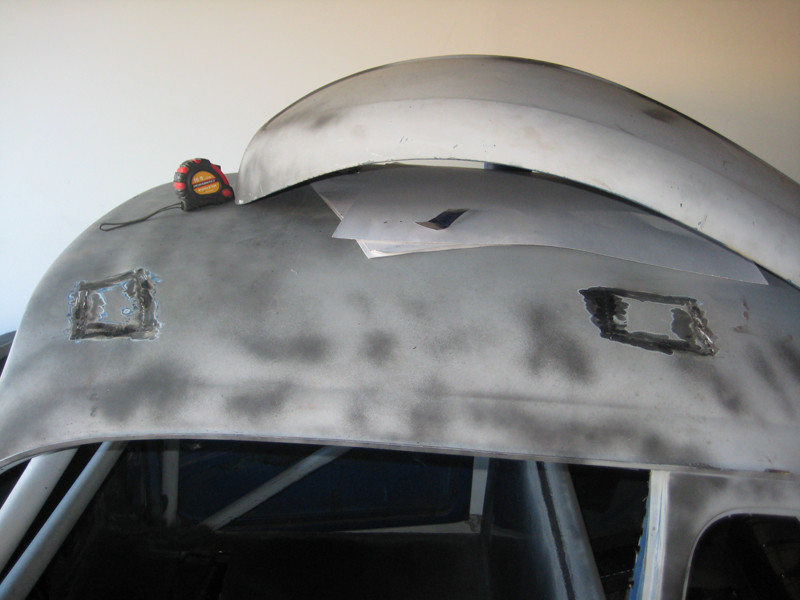
OK, I've finished welding up the firewall, floor, rear firewall, the floor support under the tail of the tranny and the steering mount. Also, I welded up and ground down the welds to one side of the roof / b-pillar. I also patched all the holes that were behind the dash in which the A/C / fresh air came through. There were about 5 good sized holes I had to patch.
It might not look like much but it was a ton of work.
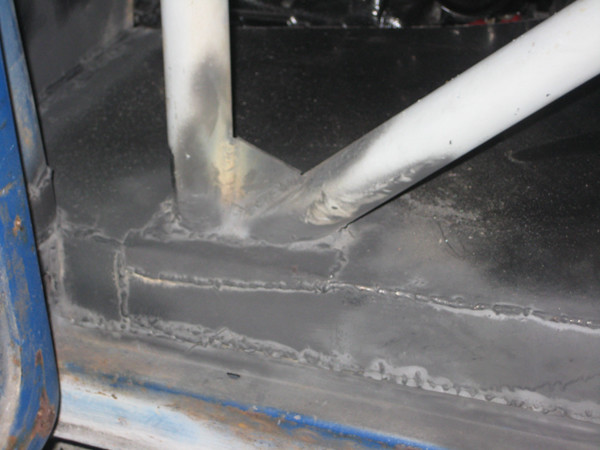
The dash bar is kinda in the way, but you can see some of the patches. I plan to grind them smooth and I'll use some bondo to give it a clean appearance. I don't plan to put the dash back in. I'll mount my gauges to the dash bar for that racey look.
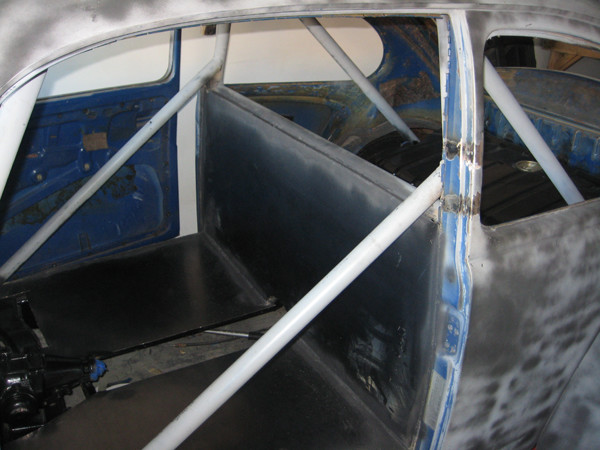
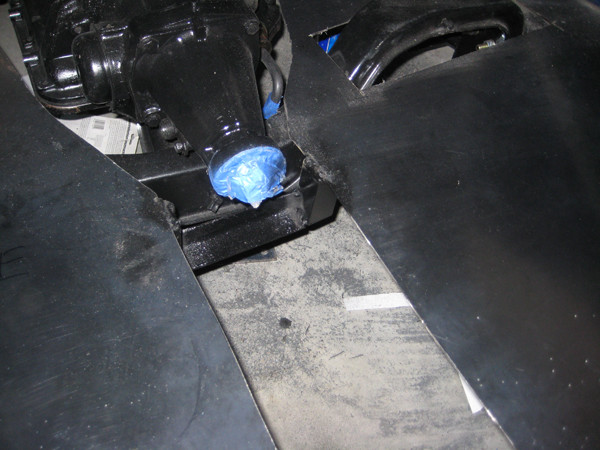
Here's part of the floor support that I had to cut out so the tail of the tranny would have room. A lot of this project I've kinda guestimated how things will fit and have prayed it works out once I go to put the part in. So far I've done a decent job at guessing. Here I had to make a small adjustment. I basically cut it out and exstentded it down. Obviously...
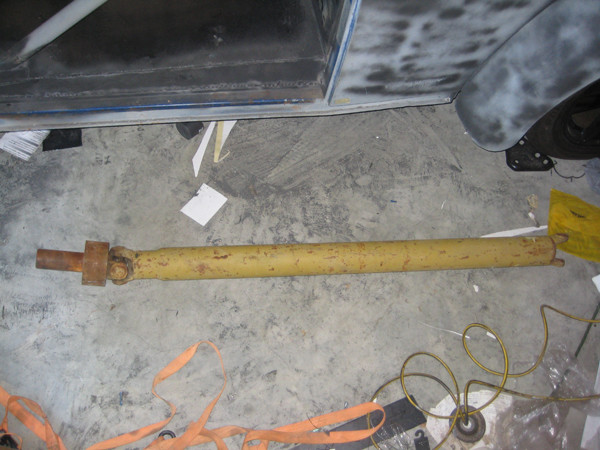
I also got a good used balanced drive shaft. I'm going to see if our engineer / machinist can put it on his lath and help me shorten it in exchange for some graphics. He likes fooling with remote controled airplanes so he always needs some sort of decals made up.
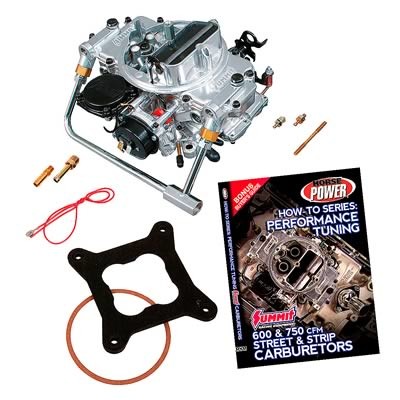
I got a some extra spending money, after paying all those lovely property and homeowner association taxes, and bought a few things. I bought some starter bolts so I can finally put in my starter, a new fuel pump because I got the wrong one (I need one that doesn't have the fuel return line just to simply things), and last but not least I bought a new 750 cfm carb to replace the rebuilt 600 cfm edelbrock carb. The 600 cfm I originally got when I thought I was going to run the 283. Well, with an extra 100 ci I needed more carb. I did opt to buy a Summit Racing brand carb because I've read some good reviews about it and I like how it has black accented parts instead of chrome / gold.
Also, I have the funding to take the car to get the exhaust and radiator plumbing done. So hopefully I have time to do it this coming up weekend. That means I'll be able to finally start her up really soon. I still need to run the fuel and brake lines but that's not too big a task or expense.
Last but not least, Santa is bringing me some goodies.
A gas pedal, cable, carb brackets, wilwood brake pedal and master cylinder, a shifter and a racing harness...
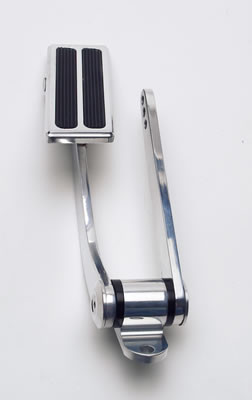
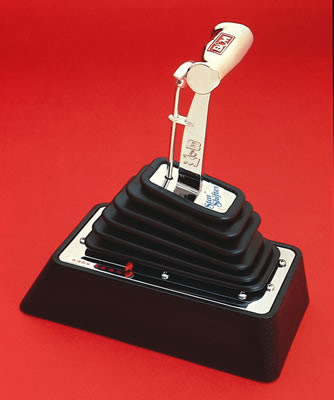
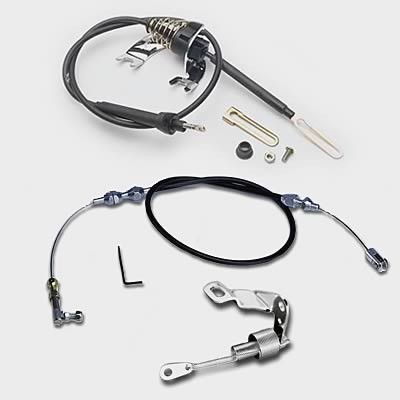
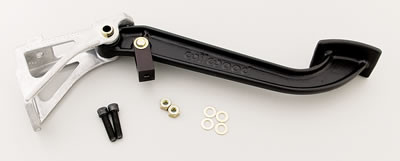
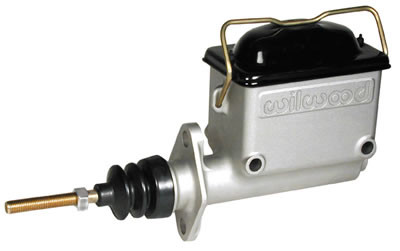
After the holidays I'll be in a pretty good spot. The car will be pretty close to driveable. Here's a brake down of what will be left to be done with the 8 months time.
Things to get:
a sheet of 16 gauge metal $35
Seats $320
Another racing harness $60
tach $125
3 gauges (temp, volt, oil) $25
u-joint for steering $50
u-joint for drive shaft $15
seals for windows and doors $150
wiring harness $150
head lights $15
in light turn signal kit $15
new tail light lens $65
once piece window kit $125
new (to me) front glass $40-$50
brake line $15
fuel line $5
radiator hoses $15
gas tank hose to filler neck $5
tires $700
alignment $75
carpet $50
paint for the car body and wheels $400
Total to finish = $2435
Things to do:
run gas line
run brake lines
finish trans and drive shaft tunnel
finish radiator duct work
finish engine bay
finish back / gas tank firewall / flooring
make and weld in seatbelt tabs
mount seats
body work
paint
wire up the car
lay carpet
inspect / register
DRIVE!!!....
There's still a lot to do but I'm pretty sure I can get it all done in time. If you guys have any advice on inexpensive paint for the car body or find any deals feel free to let me know what you find. With the baby on the way I'm going to have to watching my spending. So I can't exactly get PPG or HOK paint. The pricing above is all for new stuff, but some of these parts used wont hurt either.
More soon...hopefully after the weekend...

Impressive!
Posted by Diggymart on 4/27/20 @ 2:40:48 PM