You must be logged in to rate content!
5 minute(s) of a 643 minute read
4-13-2012
Here is the plot:
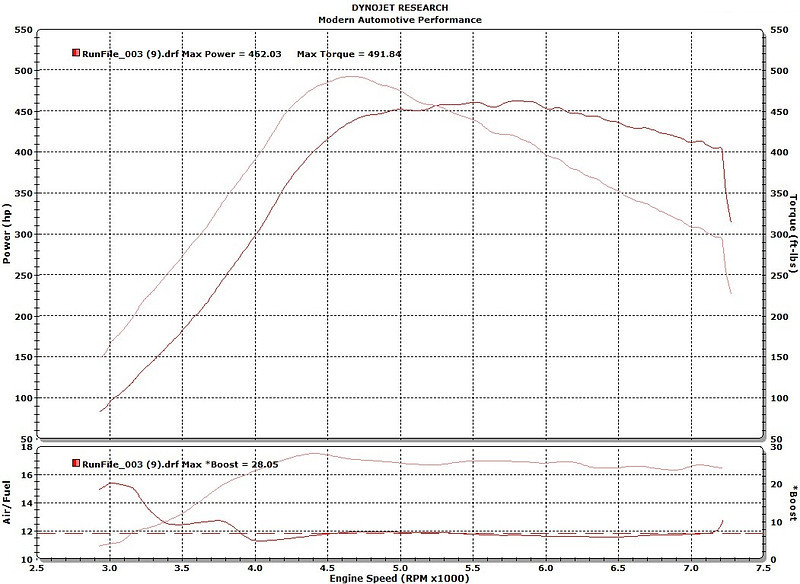
Here are the numbers from all 3 pulls.
- 468WHP / 498WTQ @ 27.6psi
- 462WHP / 492WTQ @ 28.0psi
- 463WHP / 494WTQ @ 27.4psi
4-14-2012
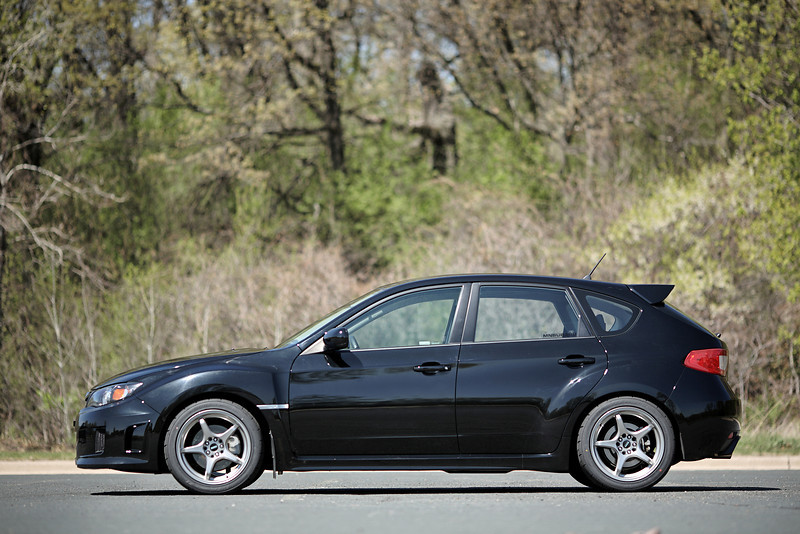
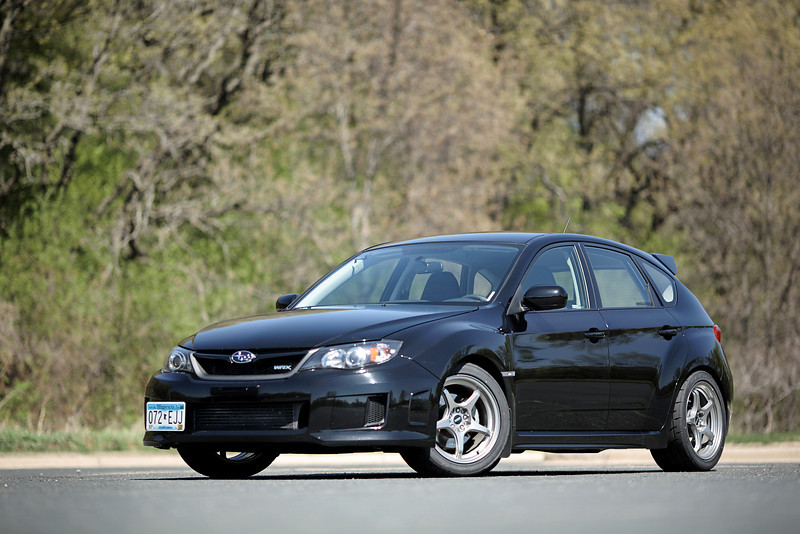
A few shots from today: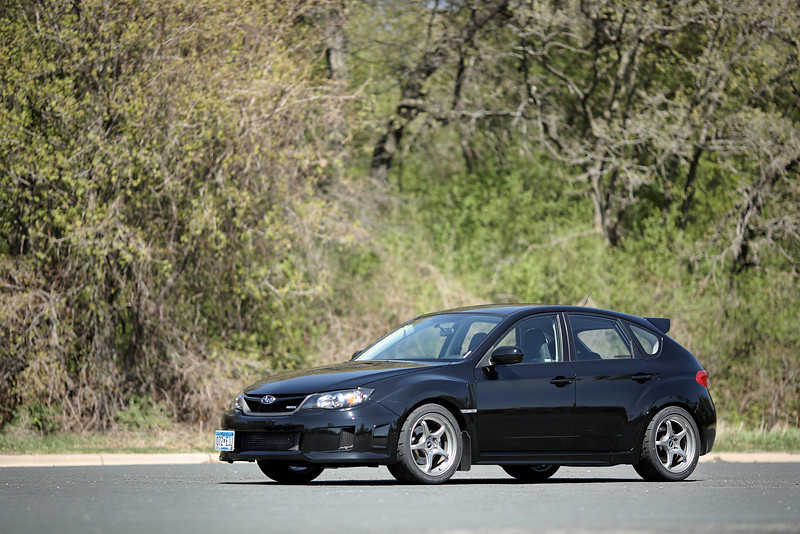
4-21-2012
Yeah, I'll just go ahead and pretend that never happened....
Here's a shot of my car from today: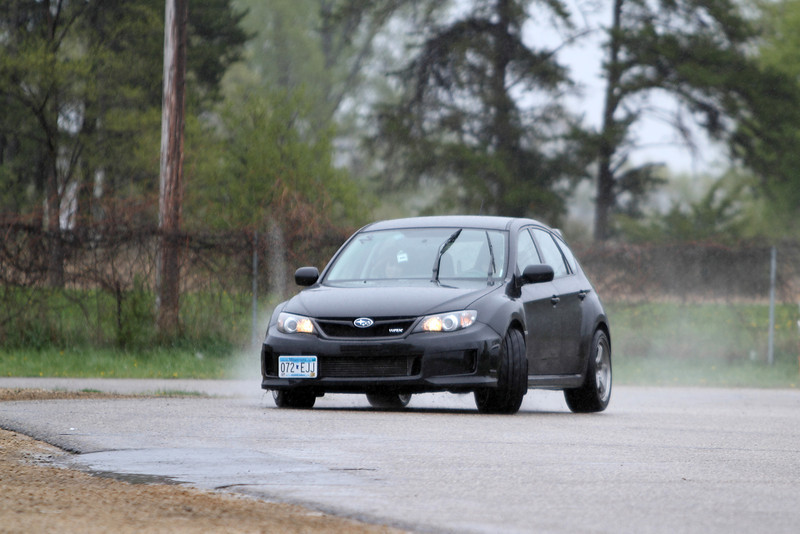
4-26-2012
Installed Koni Adjustable Dampers, rears only, today. Here are some photos.
Donor struts (09 WRX) and Koni's (in boxes).
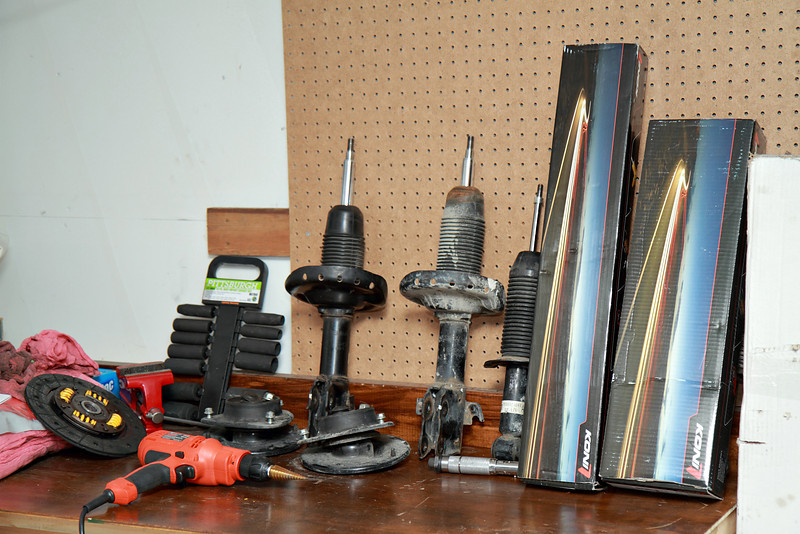
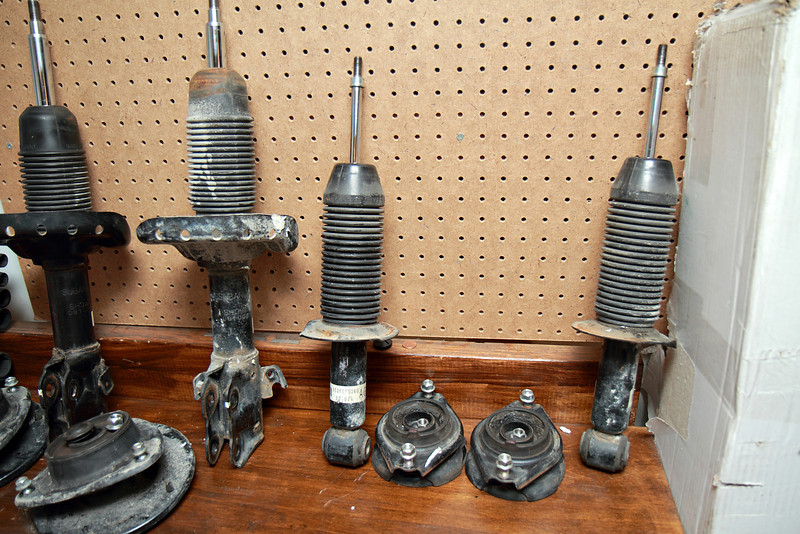
Close up of the donors. Only using the rear top hats for this part of the install.
Drilling out the top hats to 1/2" for the Koni's.
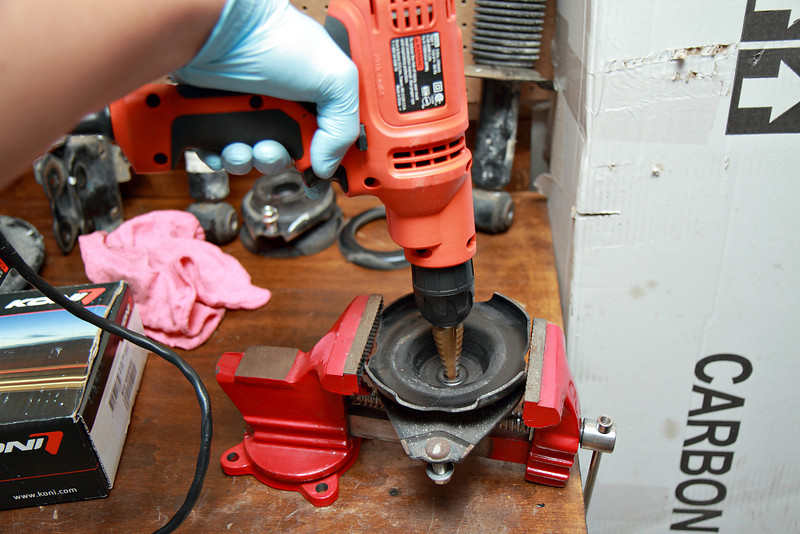
Top hats drilled out, Koni's ready for assembly.
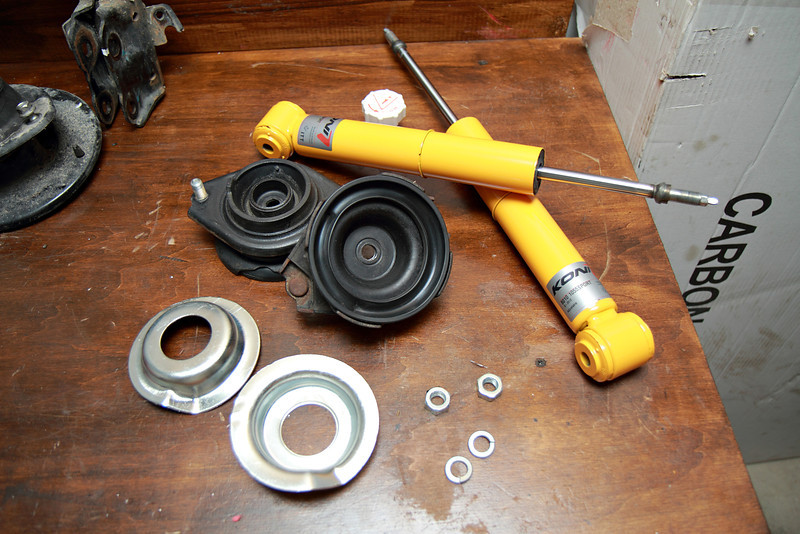
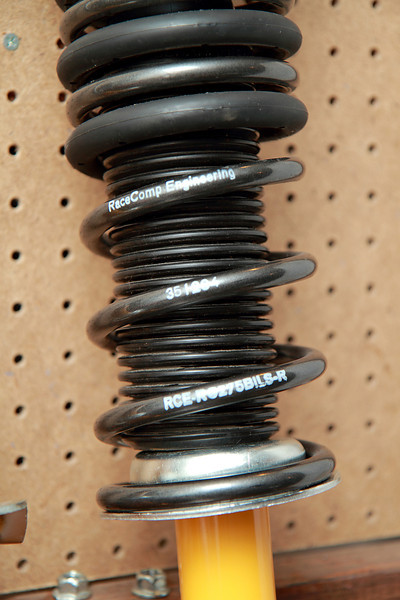
Koni's getting ready, and a close up of the RCE Black spring.
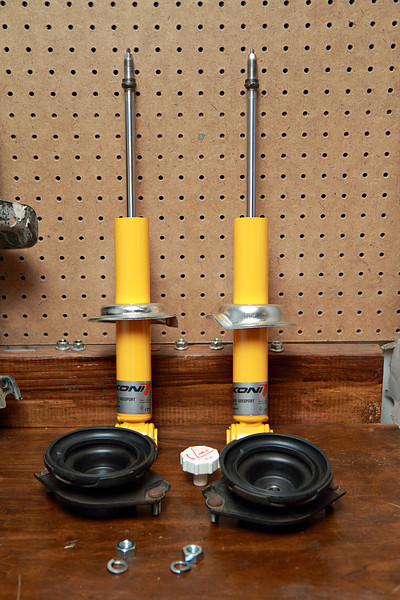
One assembled, and then both assembled.
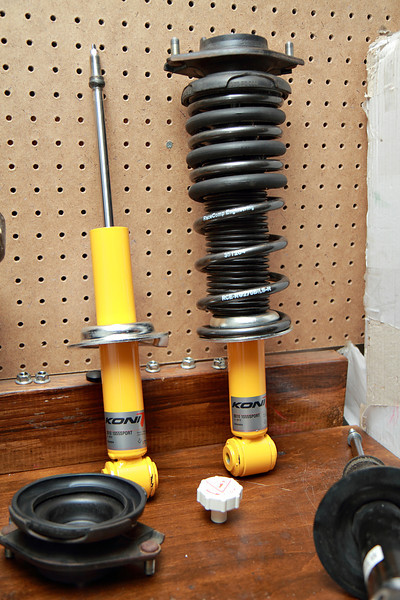
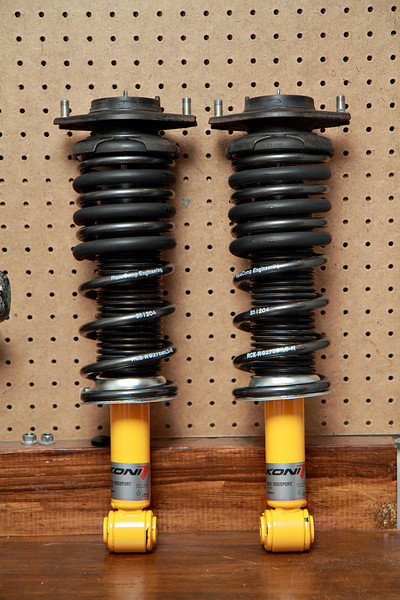
Install went pretty well. I had just installed the RCE blacks on my stock struts a couple weeks ago, so I'd been through this whole process recently. Since I did already have the springs on the car, my first step was pulling the OEM struts and RCE blacks off the car, then taking the springs off and putting them on the Koni's.
I used the 2011 OEM bump stops and cut off the smallest lobe. I was able to get the bump stops on without drilling them out. I just pushed them on far enough to clear the threads on the piston. Then I installed the top hat loosely and used that for leverage to pull the bump stop on. It was very easy. Then I took the top hat back off and put the spring on.
I was able to press down on the springs by hand and get the bolt started onto the piston by myself. Having another person would make this a lot easier. When doing struts one tool you'll definitely want to have around is a go thru socket set. You pretty much need it to remove and install the top hats properly.
Once they were assembled, I put the top bolts through the car and loosely installed the nuts. Then I re-connected the lower control arms. After doing this a couple times recently, I've realized there's really only one order you can do it in that is relatively easy.
- Loosely install nuts on upper mounting points of strut.
- Press down on lower control arm and align lower mounting point of strut.
- Place bolt through lower mounting point of strut.
- Jack up lower control arm until outer hole lines up.
- Place bolt through hole.
- Adjust jack so endlink hole lines up.
- Place bolt through hole.
- Install nuts and tighten.
- Tighten upper mounting point bolts.
Step 4 and 5 are the hard ones. Looking at other guides online, you might not actually have to remove that bolt. It just makes it easier to get the strut in and out. If you leave that bolt connected, you'll have to use some muscle to get the lower control arm low enough to get the strut in/out. I'm not sure how difficult that is. Getting that bolt back in isn't too hard, but can be a little tricky.
Once I got it all back together and tightened down I went for a drive. The car feels great. I'll definitely need to wait until I get the fronts installed and drive around a while before making any final decisions though. But so far, so good!