You must be logged in to rate content!
5 minute(s) of a 643 minute read
1-8-2013
Tonight I fixed up the clutch linkage for good (I hope). First, I went out and bought a new shoulder bolt that was the correct length (and a new nylon locking nut). 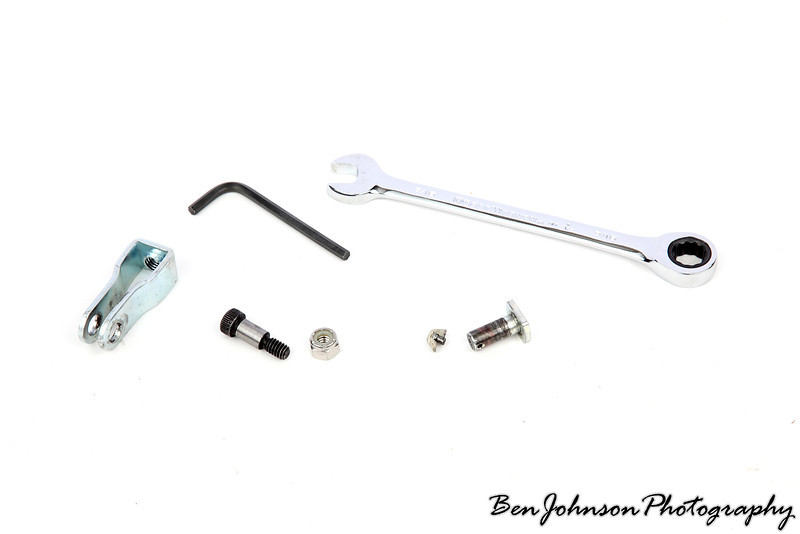
It is a 1/2" long shoulder with a 5/16" shoulder diameter and the size is perfect for this application. It actually works better than the OEM rod. The OEM rod is 3/4" long and about 5/16" OD (actually seems a hair smaller). The cotter pin reduces the working length of the rod to 5/8". This results in about 1/8" of side-to-side slop in the linkage. 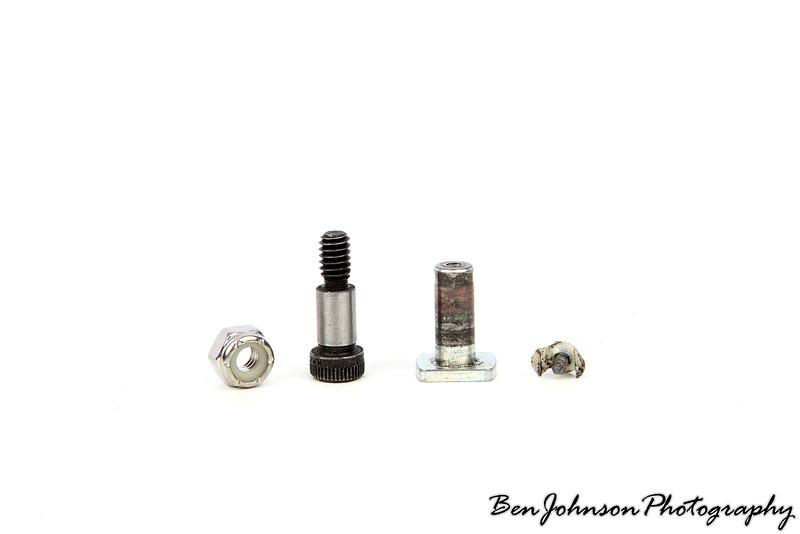
And after looking at the OEM design a little more, I have determined that the cotter pin holds the rod in place, and the plastic piece (shown in the photo above) acts as a secondary attachment method in case the cotter pin fails. I have a feeling that my cotter pin broke long ago, and this little piece of plastic has been holding it together since then.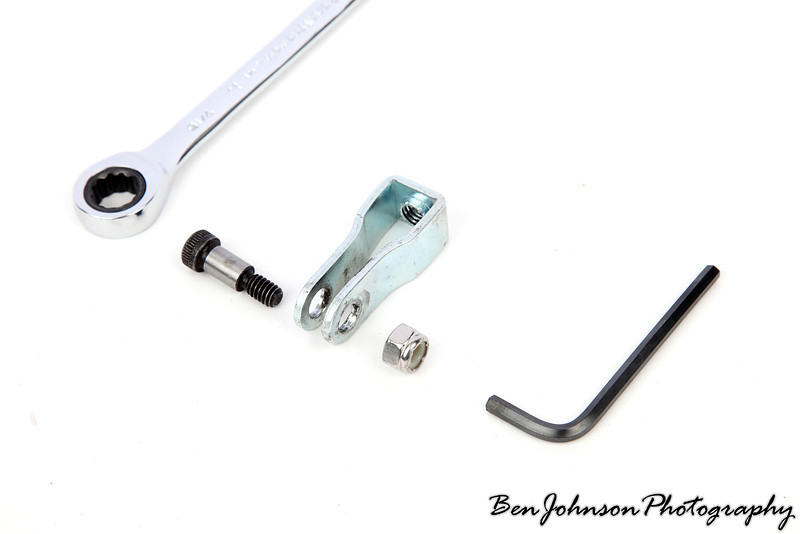
^(I just realized I put the wrench and allen key on the wrong sides in this photo. Oops)
I found that the width of the linkage in the car (non removable) is basically identical to the open end of the 7/16" wrench I was using. I used a table vice and this wrench to bend the U bracket back into the correct shape/width and straighten it out.
As seen in the pictures from yesterday it used to be much, much wider than it needed to be, and it was also quite crooked (even after straightening it a bit). Before I straightened it at all (when it failed) it had a severe bend (close to 45 degrees) and was spread apart even wider than yesterday's photos.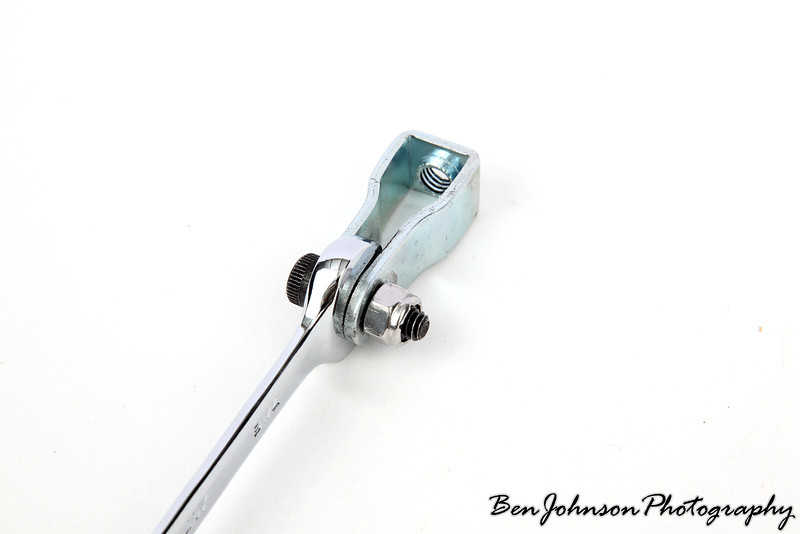
The 1/2" length of the new shoulder bolt is basically perfect. The nut tightens down onto the shoulder of the bolt without actually putting any tension on the linkage, so there is zero binding. But there is very minimal free space (much less than OEM), so much less side-to-side movement is possible.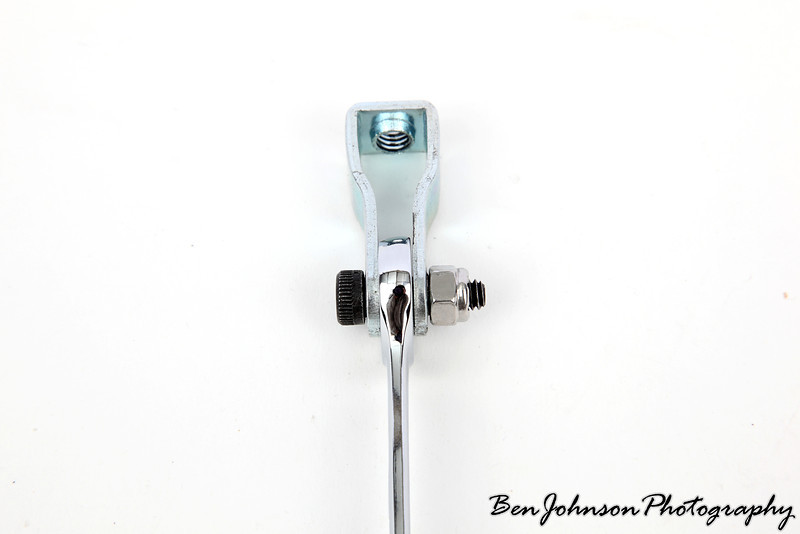
Once I had it all straightened out the way I wanted I put it back in the car. I threaded the U joint on until the holes in the U joint and the hole in the linkage lined up if the clutch was fully released, and the MC rod was fully extended. This puts the clutch engagement point near the middle of the pedal travel. Much better than near the floor like it had been.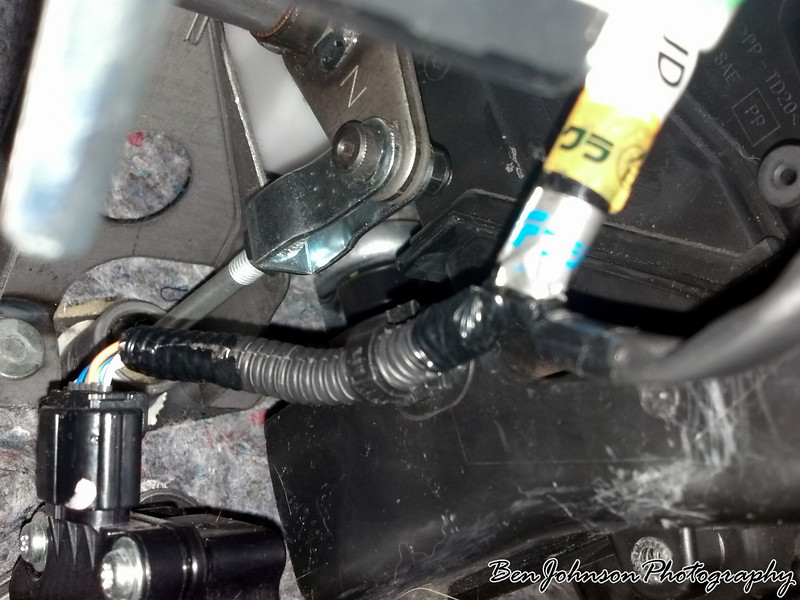
Getting the locking nut tightened down onto the back of the U bracket was quite a task. With very little room to work with I ended up using a 13mm crow's foot, 2" extension, universal swivel joint, 8" extension, and 3/8" drive ratchet all connected together. This did work and it should be locked in place now. Locking this down would be much easier to do with the MC removed from the car.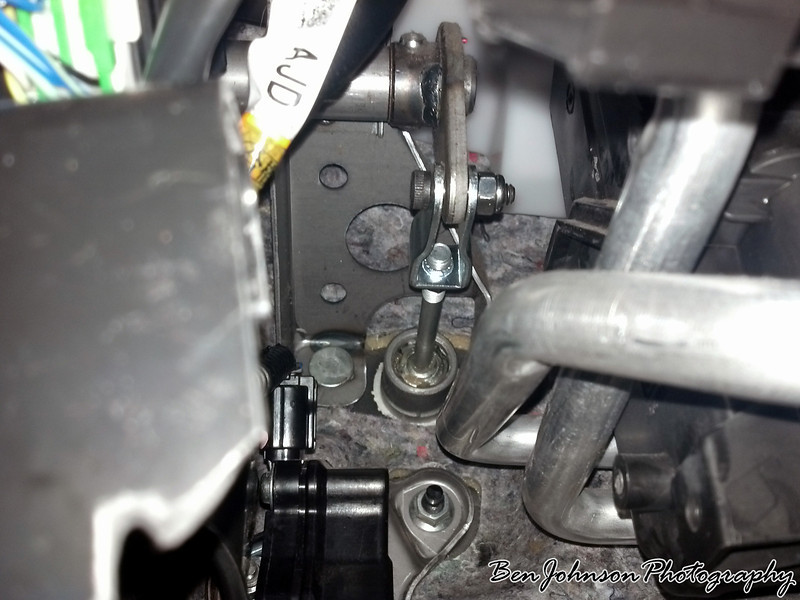
You can see that it is all very straight and there is barely any room for side to side motion. In the photos the nut is tightened down on to the shoulder of the bolt, but there is still a tiny bit of room on either side of the linkages, so that they don't bind at all.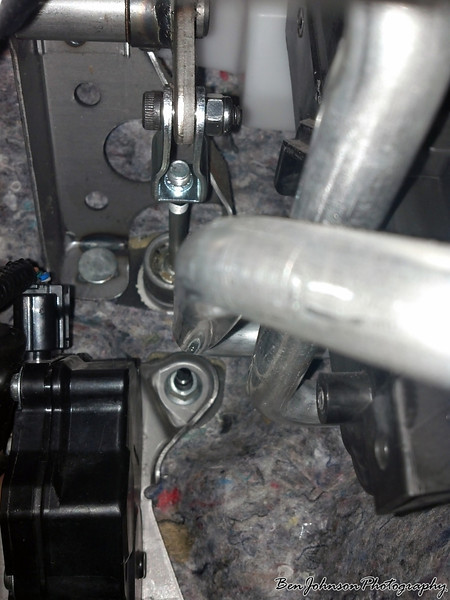
This is how this linkage should have been connected from the factory. It has much less side-to-side movement possible and won't fail like the OEM cotter pin and plastic nub did. Subaru just wanted to save a few dollars and went with the cheaper, and easier to assemble method of connecting the linkage. I happened to look over and see that the brake uses the same connection...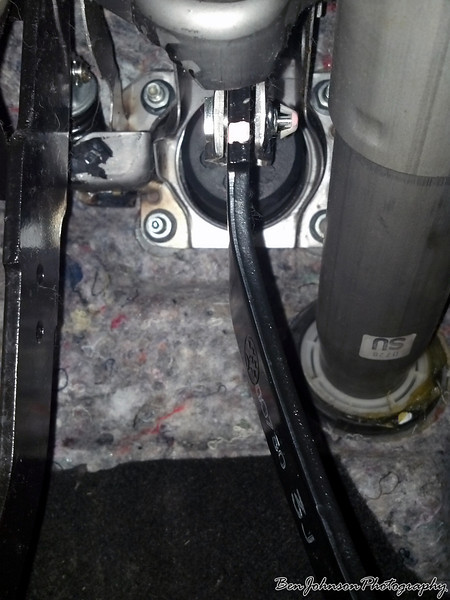
The rod and cotter pin setup is identical to the clutch linkage. You can see the side-to-side slop that is possible here. I may want to preemptively replace this at some point. Right now it still looks fine. I honestly don't think it's likely to fail unless it is assembled incorrectly (as the clutch could have been since the dealer replaced the MC). I did notice that the U bracket on the brake appears to be hardened vs. the softer clutch U bracket, so it should be a lot less likely to bend.
Parts Used: 5/16" OD Shoulder Bolt with 1/2" Shoulder Length and Accompanying Nylon Locking Nut