You must be logged in to rate content!
9 minute(s) of a 643 minute read
2-17-2011
I got the GrimmSpeed Master Cylinder Brace today. 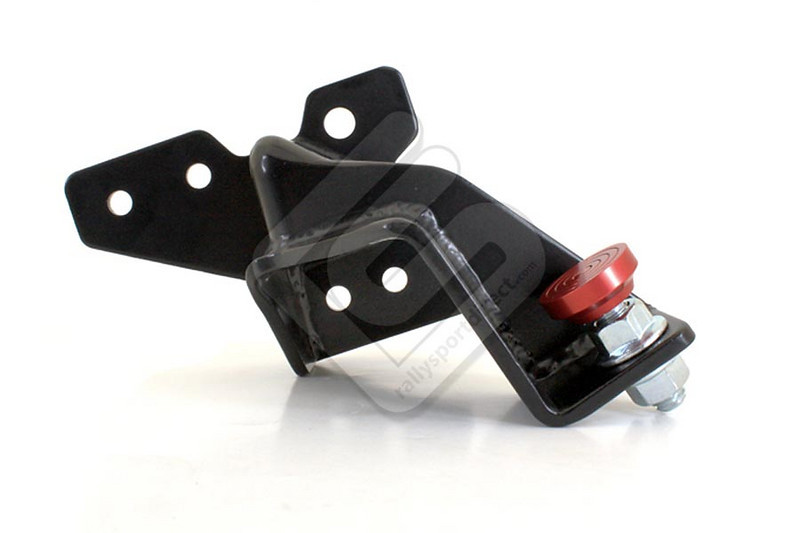
The brace looks great. Very high quality (like all of GrimmSpeed's products). It is really beefy, and can take all of the brake stomping you can throw at it. The brace itself does exactly what you would expect. The brake goes from mushy and inconsistent to firm and repeatable. When you press on the brakes you get the feel you expect, and the stopping power you need. Very happy with it so far.
Also received and installed today was the Defi Oil Pressure Gauge: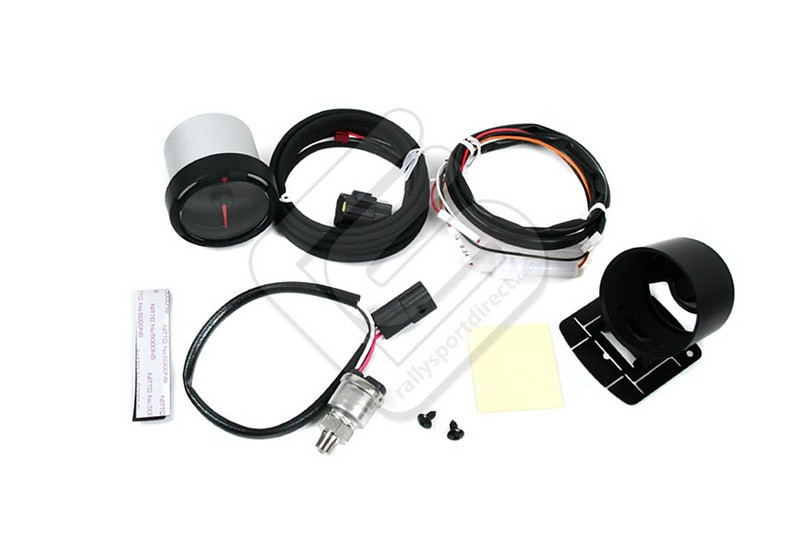
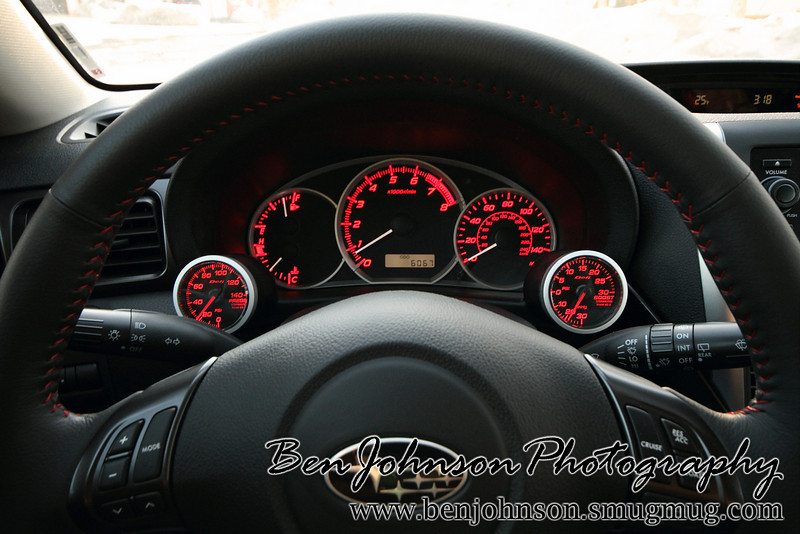
If you've been following this thread, you'll know that I have the SMY ClusterMaker Dual Gauge Pod. It is an amazing piece, but I have been running it with only one gauge (boost), and one gauge blank. I wasn't sure what my second gauge would be, but I eventually decided on oil pressure. There are a lot of useful gauges out there, but I thought the oil pressure seemed the most useful on a day to day basis. Other gauges like EGT and AFR that are good to monitor, but really matter most during tuning, and not as much once you're done. Oil temp also seems like a good option, but oil pressure will allow me to monitor pressure (obviously) as well as get an indication of oil temp indirectly, through pressure readings. Some people may disagree what the best second gauge should be, but this is what I chose, and I am happy with it.
When I was looking into oil pressure gauges my first concern was install. I initially planned on getting a sandwich adapter. Seemed like the easiest solution. But once I researched it more, easiest isn't always best (greater possibility of leaking), and it was also more expensive. After more research, and help from Kirill at RallySportDirect, I eventually confirmed that the Defi oil pressure sender has 1/8PT (metric) threads, just like the galley plug that the OEM oil pressure sensor uses (located under the alternator). And since the Defi unit is so small it would fit into the same spot as the OEM sensor. This meant I could simply remove the OEM oil pressure sensor, and install the Defi sender unit. No extra parts to buy (sandwich plate, thread adapter, relocation kit, etc).
To do the install you need to remove the alternator cover (1 bolt), and the alternator itself (2 bolts + 1 bolt connecting the power wire). Once the alternator is out of the way you can pull the wire off of the OEM oil pressure sensor. To remove the OEM sensor you will need a 24mm socket. I highly recommend using the socket instead of some other method. I attempted using a large, adjustable, open ended wrench for about 5 minutes, then went and bought a 24mm deep socket and a 10" extension for my 1/2" drive ratchet. With the socket and extension the OEM sensor literally took 5 seconds to unscrew. The Defi sender unit is larger on top, so you cannot use a socket. It is 17mm so I had the open ended wrench to fit. I put on a few wraps of teflon tape and tightened it down with the wrench. Took a while, but was not difficult.
Once the sender is in place, re-install the alternator and cover, and move on to wiring the gauge. I went through the same procedure as my boost gauge, so it was all pretty straightforward. I removed the fender liner on the driver's side and put the wire through the boot underneath. I didn't remove the wheel this time, and it was tighter work, but not an issue. Wired it up to the same fuses as the boost gauge and installed the gauge into the pod. I did pull off all of the driver's side trim (and the OEM gauge cluster) in order to get all the wires situated properly. It is not difficult to do, and makes things much easier to work with.
Once that was all done I reassembled the dash and turned on the car. The gauges both work perfectly. Oil pressure was around 100psi at idle (cold start). Dropped to just over 20psi at idle once the car was warm. Not quite sure of the pressure when cruising, but I think it was closer to 100psi, and maybe even more when in the high rpm range. Overall I am extremely happy with how the Defi gauges look in the SMY gauge pod. Spending the extra money on the Defi's was definitely worth it in my book. They look perfect, and function just as well. The response is instant, and very smooth. Installing the oil pressure gauge was not hard at all, and I definitely recommend using the galley plug that the OEM oil pressure sensor uses. If you're doing two gauges it would definitely save some time to do them both at once, and get them both through the firewall at the same time.
2-18-2011
Here's a picture of the gauge pod with both gauges installed:
2-20-2011
To anyone who did not get the foam tape or rubber bands for installing the gauges, this is what you can pick up to use. Should be 1/2" wide and it is made of foam which is about 1/16" thick. Leave the backing on the outside of the tape so it is a friction fit (non-adhesive, makes for easier adjustment and removal, and will still stay in place perfectly).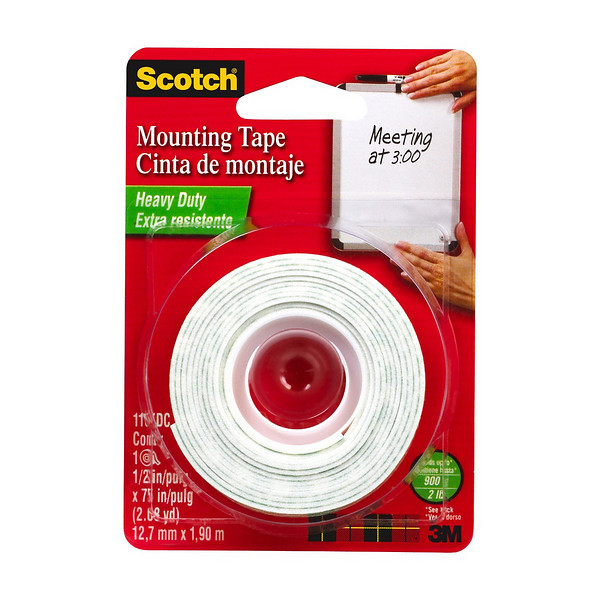
I had been using two rubber bands on each gauge, and the fit was good, but not perfect. The gauges stayed in place fine, but if you grabbed them you could wiggle them around in the pod. I took the bands off, and installed one wrap of the foam tape. The gauges slid right back in and it was a PERFECT fit. Very tight, and no wiggle at all. Just loose enough you can still turn them to align the gauge without forcing anything, but tight enough that they feel rock solid. Highly recommended for mounting.
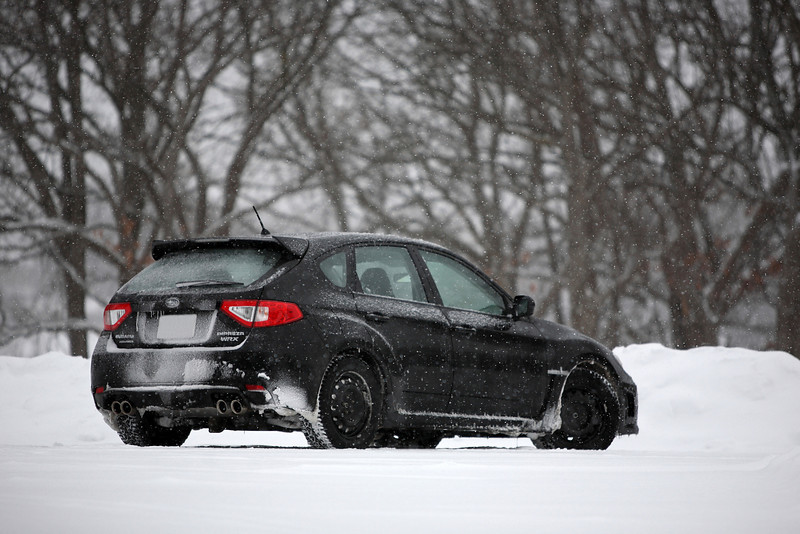
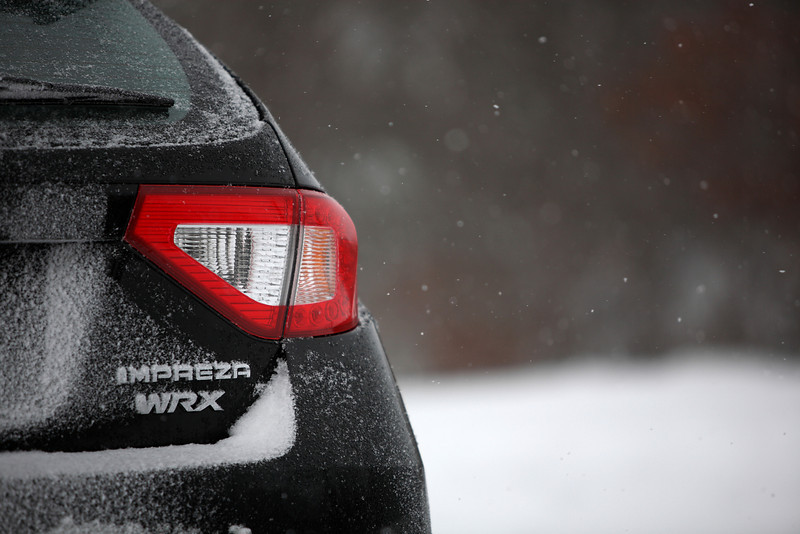
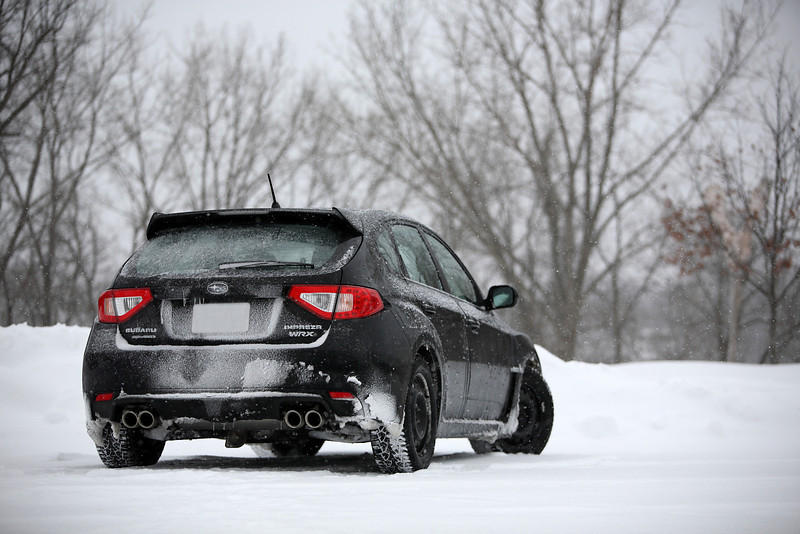
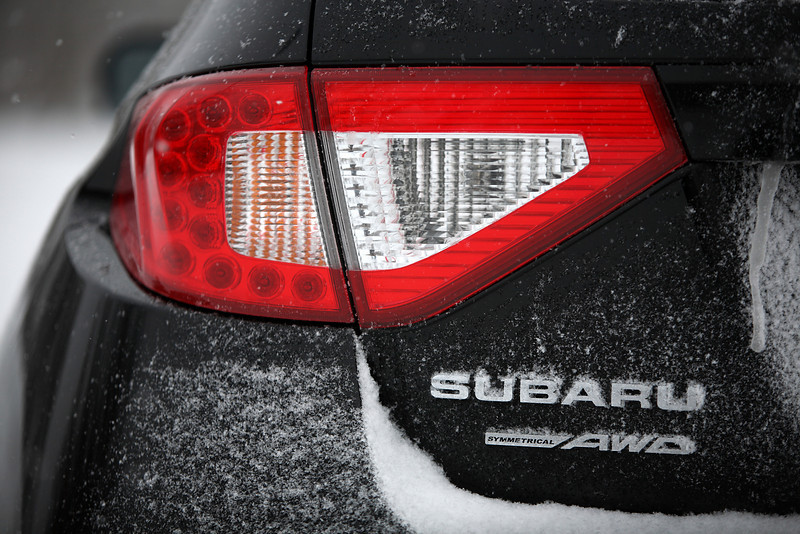
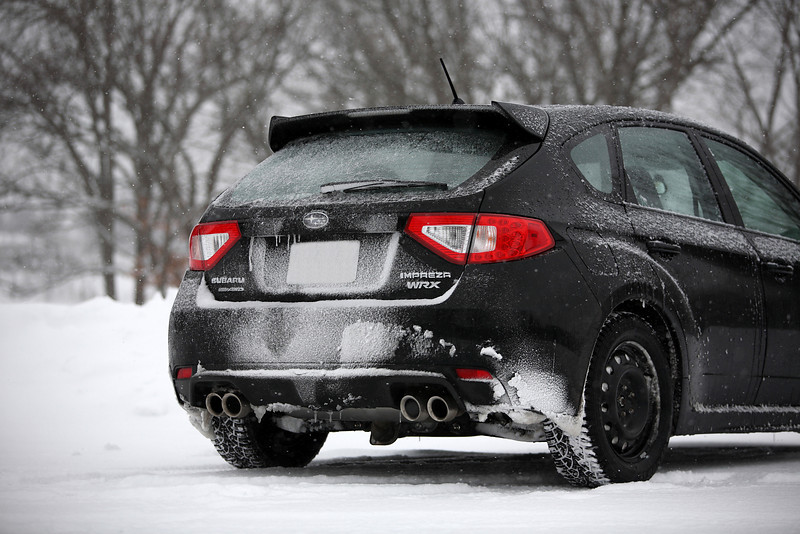
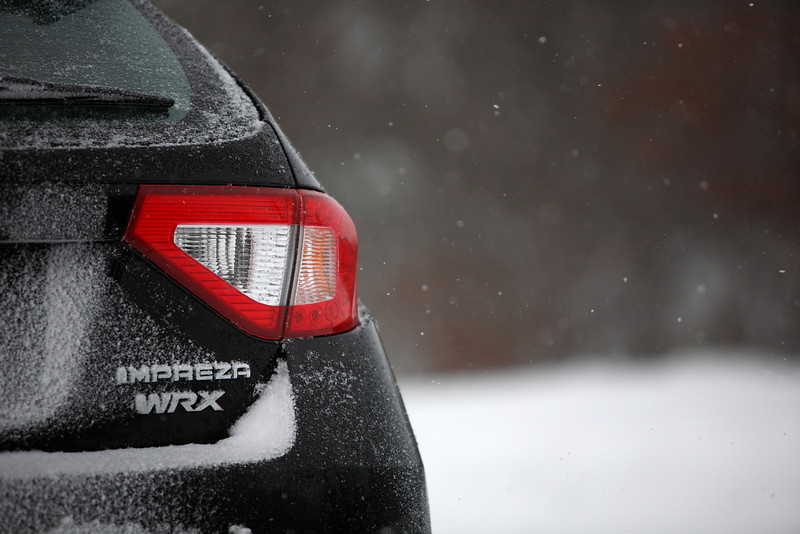
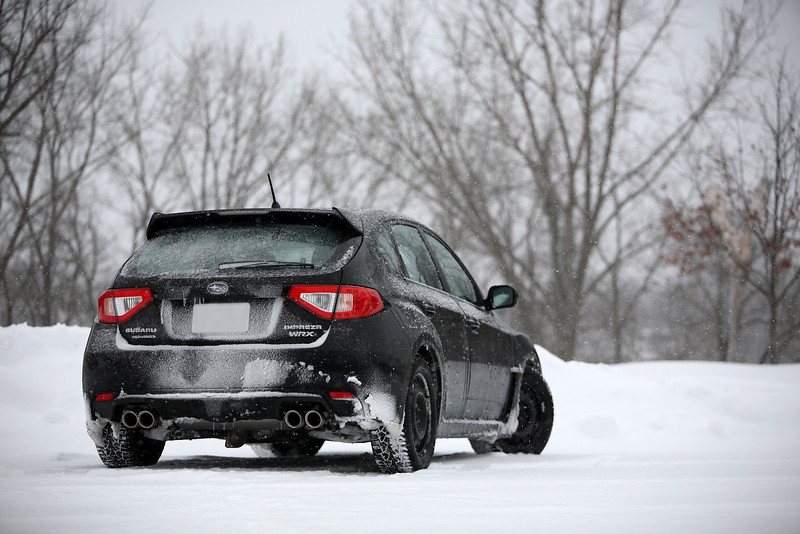
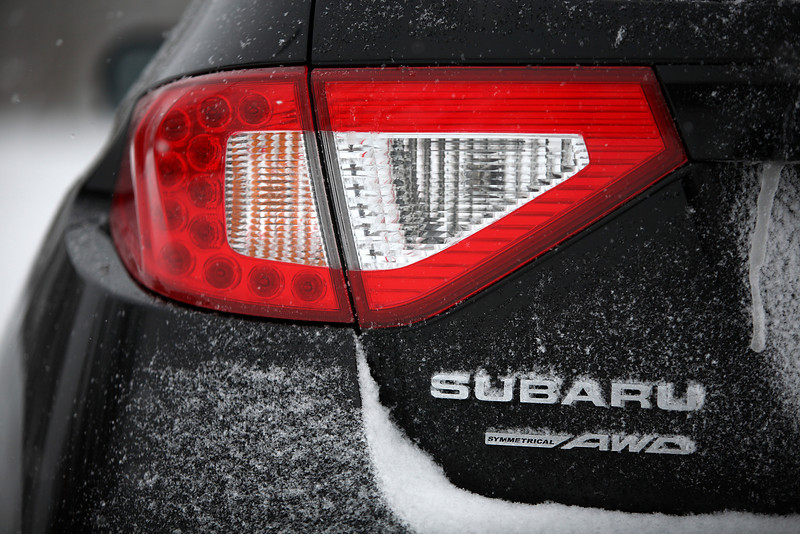
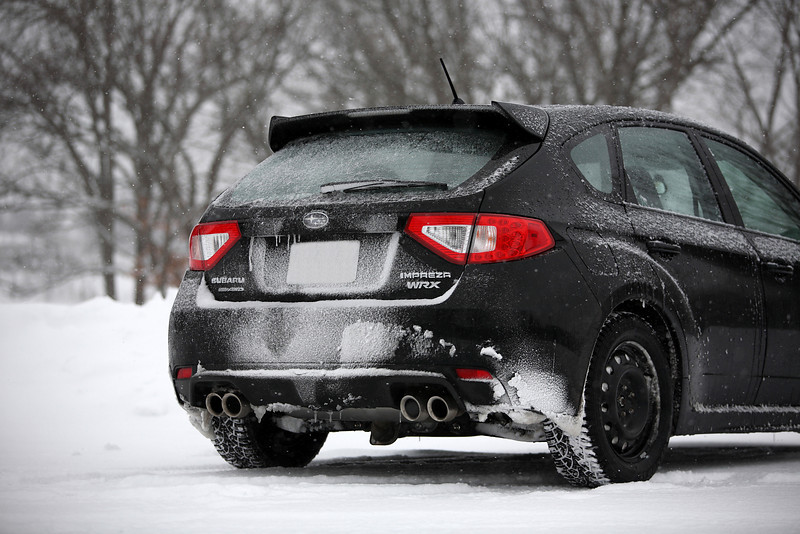
Today I finally got the red overlays on my tail lights done by Chris @ Flawless Front Ends. I got the classic red with turn signal and reverse light cutouts. Chris was great, and the work ended up looking excellent. I will try to get some photos in the next few days, but the forecast is a foot (or more) of snow tomorrow so it might be a while before the car is photo-ready again 
The tail light tint has been something I have wanted to get done since the day I got the car (and even before I got it, LOL). I went back and forth many, many times between DIY paint, DIY overlays, or a professional overlay installation. I even bought paint and had the lights off the paint them before I changed my mind. In the end I'm really glad I went with Chris. They look amazing, surely much better than if I had tried to put overlays on myself, and I think they will hold up better than paint, but only time will tell.
EDIT: Photos!
Before: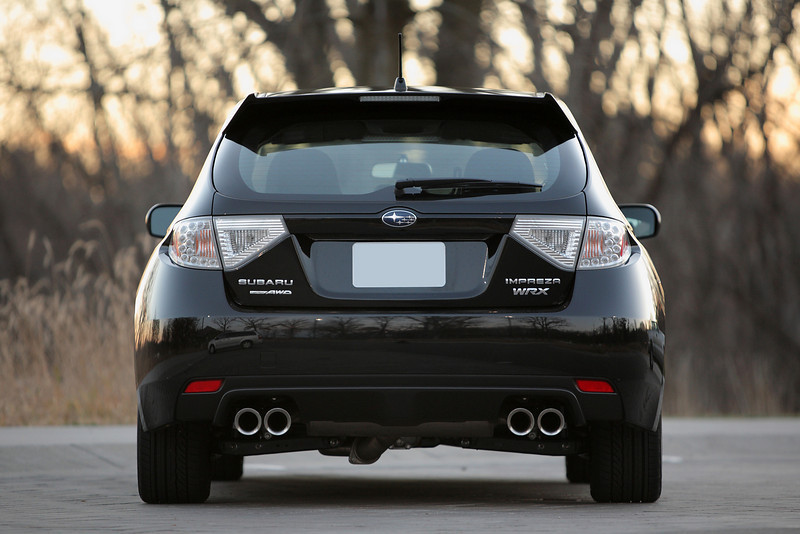
After: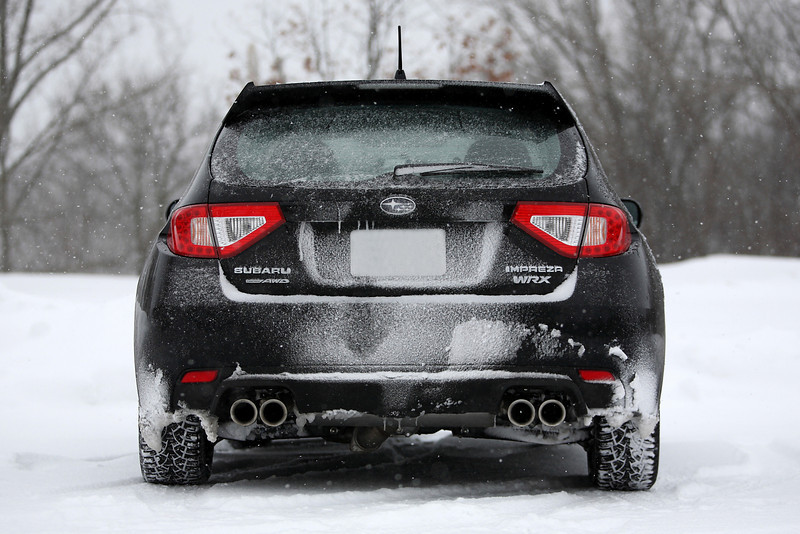
Some more shots: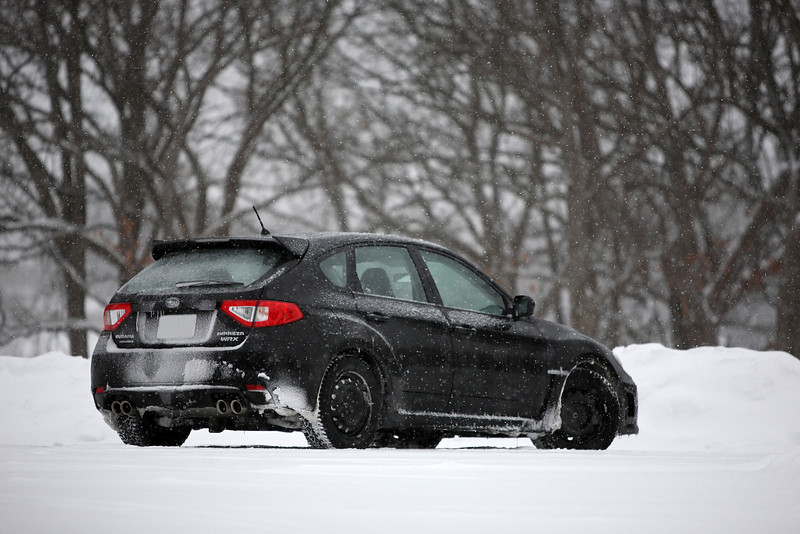
2-21-2011
I saw your shots on MN Subaru. They look really good.
The steel wheels have the same problem with snow. I have to clean them out all the time.
Here are the shots of the overlays. Like I said before, I LOVE how they turned out!
Before: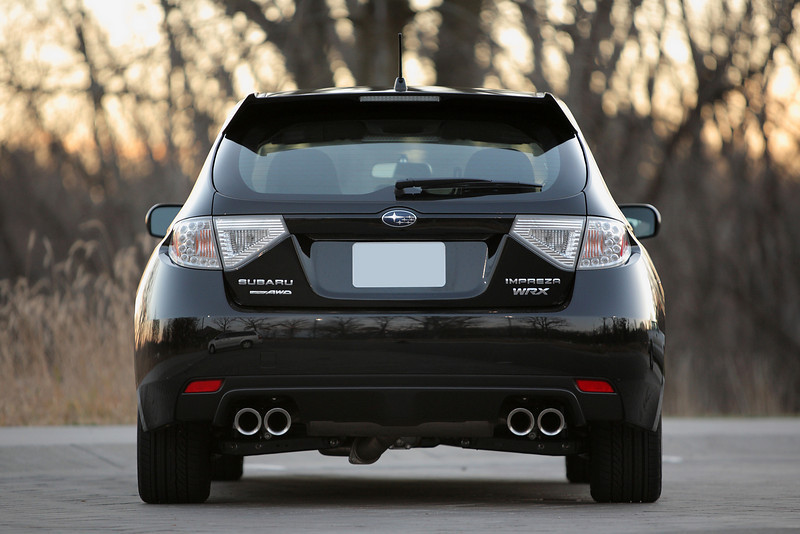
After: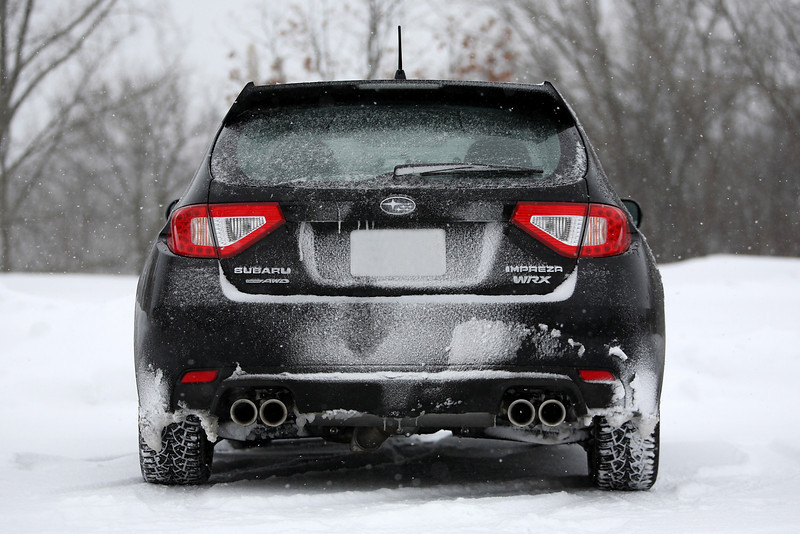
Some more shots: