You must be logged in to rate content!
4 minute(s) of a 643 minute read
2-10-2011
I did the "DIY Seat Mod" from IWSTI on Monday. Here is the link:
http://www.iwsti.com/forums/gr-inter...ing-needs.html
Basically just unhook or remove the spring/wire/mesh from behind the back of the seat. It takes about 5 minutes to do. I completely removed the mesh from both front seats. You could also use "S" hooks to simply extend the mesh.
With the mesh completely removed you are able to sink about an inch further into the seat. This makes the seat bolsters hold you quite a bit more tightly. I never thought the WRX had enough bolstering, and this simple mod makes a big difference. Highly recommended!
Sorry no pictures. The seats look exactly the same afterward.
2-16-2011
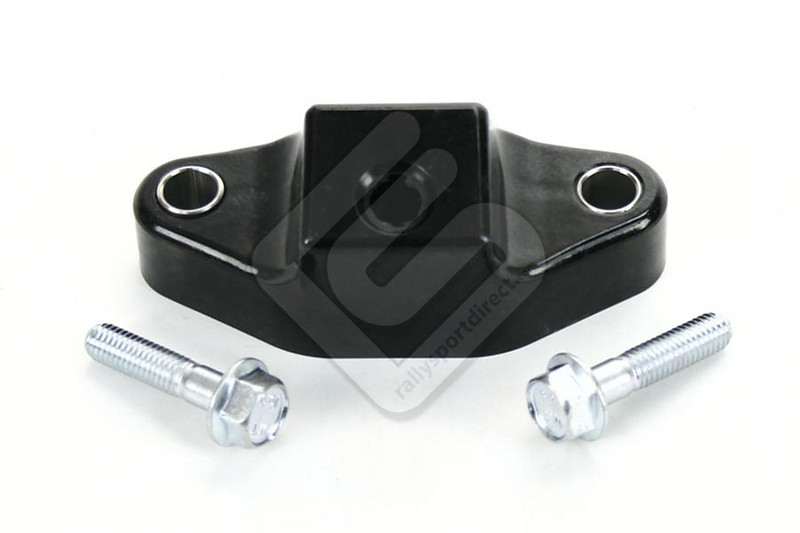
After the install of the front Kartboy Shifter Bushings went so well, I decided to grab the rear bushing when I saw one come up for sale locally.
Definitely recommend doing both at once. To install the rear one, I literally had to completely re-do the front install. For the rear bushing you have to take off the rear tranny cross brace as well as the heat shield on the midpipe. Pretty much the same amount of work as doing just the front bushing, but you will have to remove 2 additional 12mm bolts. Once you have all the bolts off, I wiggled the tranny brace out (it take some twisting and turning to get it aligned correctly to be removed). I then partially removed the midpipe heat shield. To remove it completely you would have to unscrew the O2 sensor. I just turned the heat shield 90 degrees, and there was plenty of room to work.
Some people have mentioned doing this whole install without removing the things I just mentioned. While this may be possible, I don't recommend it at all. Removing the brace and heat shield will take 10 minutes extra (and 10 more to put them back on), but it is totally worth it. It is 10 minutes of easy work, and makes everything way easier with them out of the way. Then unbolt the front bushing (and slide the linkage off the bolt), and the two 12mm bolts holding on the OEM rear bushing. Then the fun begins. I just tugged and pulled and eventually that rear bushing came off. It is really squishy and terrible. I have a new car, and it already looked like it was in poor condition.
Next is getting the new bushing on. Not much fun either. This one is much firmer, so it takes a lot more pressure. Get whatever leverage you can, but make sure you pop the bushing fully in place. You will know when you have it all the way on. After that, I got the passenger side rear bushing bolt started (just a few turns). Then I reattached the front bushing. This helped line up the rear bushing, to install the second bolt. Some people have noted this as being very difficult, but it really didn't take much work and both bolts were started. The bolts didn't turn easily, so I had to use a ratchet and basically go 1 click at a time until they were tightened down. Took a while, but wasn't hard. Once you have both the front and rear bushings in place, re-install the heat shield, and then re-install the rear tranny brace.
Sounds like a lot of work, but I had it all done in under 45 minutes. Even for a first timer, you should be able to install both the front and rear bushings in under and hour fairly easily. I do highly recommend removing the tranny brace, and the heat shield. It gives you a lot more room to work. After I installed this bushing, I also decided to lengthen my MODE shifter. All I did was increase the overall height, I did not adjust the pivot point. This made the shifter less notchy, but with both bushings installed it is very crisp. It feels like a whole new car with both bushings and a short shifter. I would highly recommend doing both of the bushings. The fronts do make most of the difference, but the feel is even better with the rear bushings installed as well.