You must be logged in to rate content!
5 minute(s) of a 127 minute read
6-7-2011
Kartboy Rear Endlink Install:
This was my first install that went as planned actually. I was hoping that I could do one... and then the other, but I did have to take both off at once to rotate the sway bar around a bit. I got these slightly discounted off of the super shifter group buy, so I thought I'd put them on the stock bar for now. It will be upgraded in a bit when I get more cash. Apparently sway bars are significantly more expensive than driveline bushings.
Make sure you keep the suspension loaded when doing this. I used my ramps, which I use whenever possible over jack stands. I feel more secure, and I feel its easier on the car.
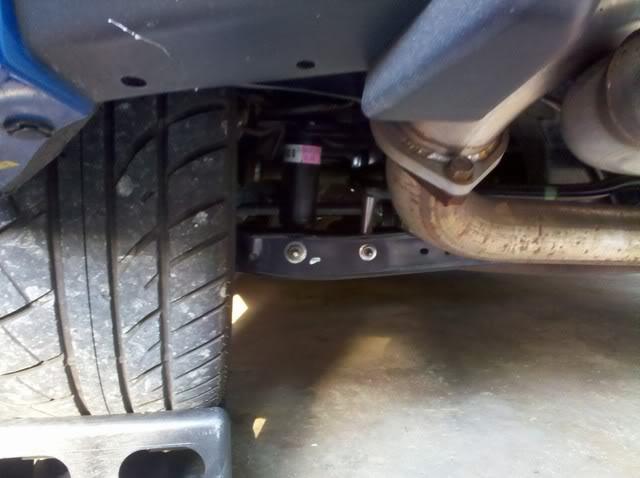
I couldn't get them to line up perfectly vertical with the stock bar. You can see the best I could get in the pictures. I would be concerned about them not being vertical, but the bushings aren't being torqued funny at all, so I am okay with it. If anybody thinks I should fix them, I will just buy a sway bar this time.
Biggest problem was getting the bolt on the top on. Not much clearance back there, and the locking bolt that I got with the end links was not kidding around. That sucker was exhausting.
Only two pictures for this one.
Final product to view orientation on ramps:

...and a comparison shot. Note how the stock ones are spherical... These are not:

Impressions:
Back end seems to be better planted. Still rolls, but the tires seem to want to stick better. Hard to explain. Better. Not perfect still. A larger sway bar will help a lot. Overall, I was gonna do it anyhow, might as well enjoy it until I get the bars =)
Kartboy Rear Differential Inserts/Bushings Install:
Install:
Went as planned. Somehow.
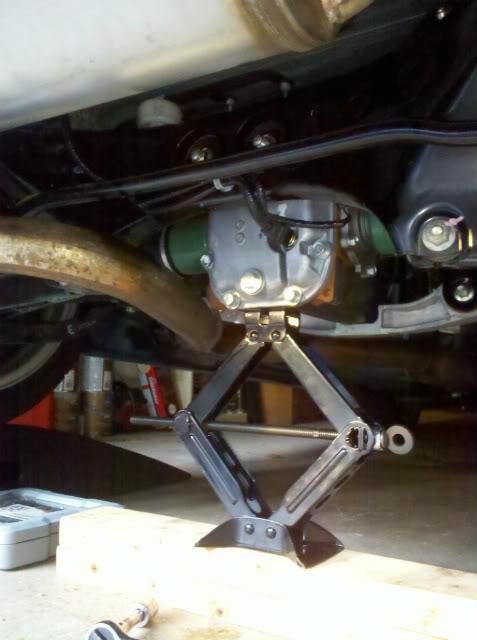
The ones in the front member (the bar that goes under the diff) went very smoothly. Much smoother than planned. First, busted out my high quality jack to support the differential. I only took the bolt out of the left one - looking at the car from the rear - and the two ones that are vertical through it. I pulled it down enough to slip the bushings in. Supporting the diff with the jack (close to the member itself) was key here.
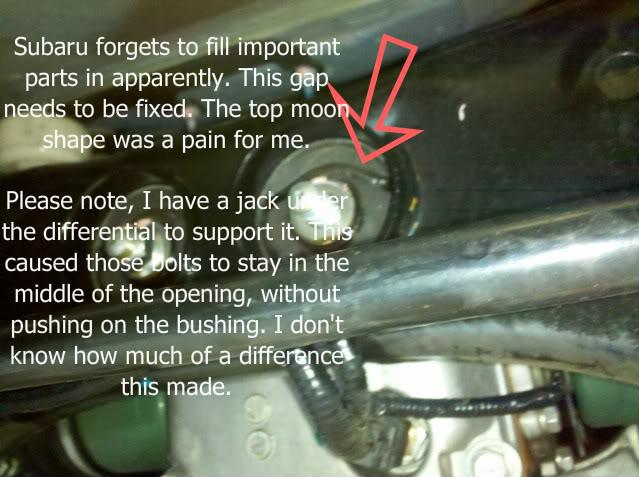
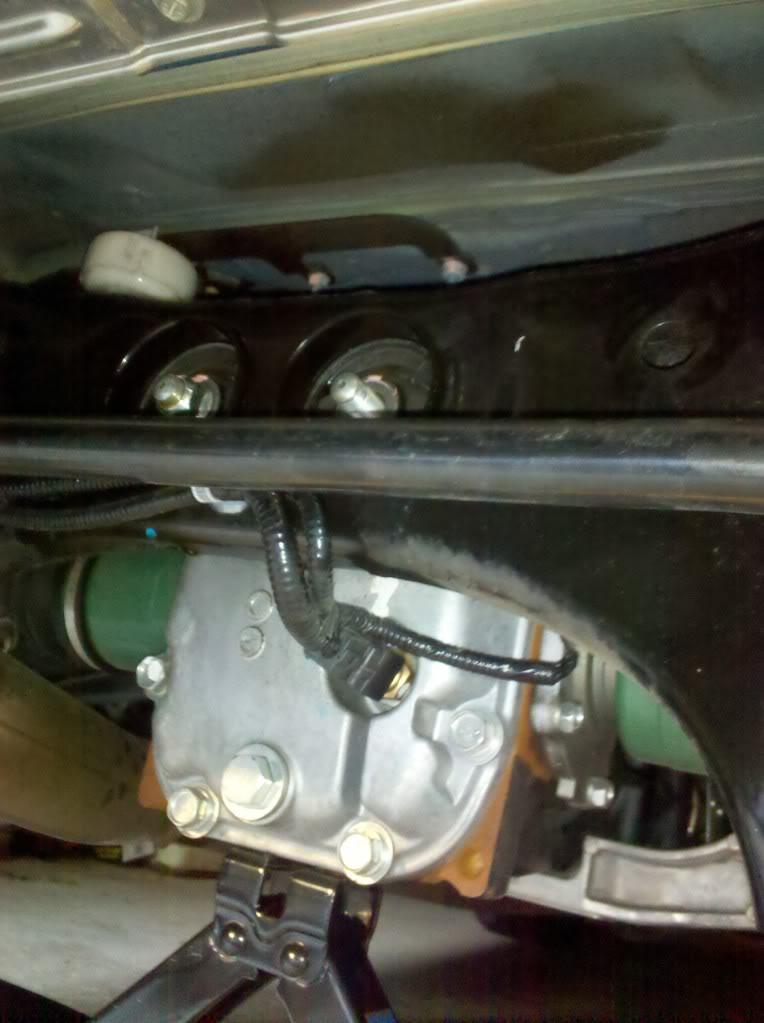
The ones in the back are kind of a pain. I used c-clamps to slowly and smoothly press the tops of them in enough to get the washer/bolt threaded. The double sided bolts stayed in the diff for me. I turned the jack up just enough so that I could see the bushings start to distort, then lowered it. I assumed that was a good compromise. In my pictures, you can see the slight ring around the bolt created from raising/lowering the diff.
I dunno if that was according to book, but it worked pretty smoothly. I included a shot of the tech manual for torque specs as well.
In the package:

Torque Specs for bolts in question:

End targets. Keep in mind both bushings on the support go in the left side looking at the rear of the car. One faces front, one faces rear. It's weird. I know.

Voids on the top/back two bushings:

A big picture of my set up to get those top ones in. I just used a c clamp to gently squeeze from the back of that top member to the top of the bushing. Note my awesome high quality jack.

Just another so you can get a good idea of what you are working with. The more pictures for me the better normally:

Impressions:
Wow. Similar to the rear sub frame bushings, only a much more dramatic effect. Shifting is a bit less audible, and the power goes to the ground. No 'spring action' Subaru anymore =). I really feel that the car is easier to drive, and 'rowing the boat' is even more enjoyable now.
I am pretty stoked to get the Xmember bushings, Group N Tranny mount, and all of the shifter bushings/KB lever in. Just need my 1/2" larger breaker bar from harbor freight. Darn Xmember spline 17mm. Those suckers are evil.
