You must be logged in to rate content!
13 minute(s) of a 245 minute read
2-4-2016
Last week we talked about prepping the car for Sno*Drift rally, even though it wasn't competing. Well now we feel obliged to let you know how it all went.
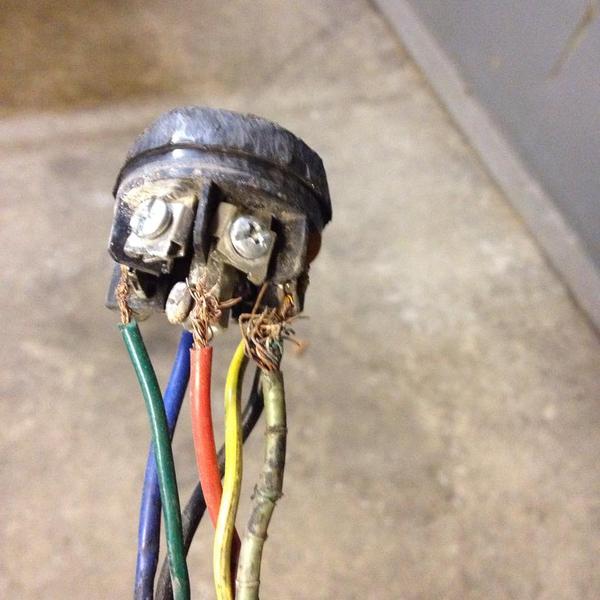
Of course it wouldn't be rally unless you were burning the midnight oil just before you left and that's exactly what we did though, of course, it wasn't planned that way. When we moved the trailer into position to load the car the next morning we found the lights only worked if we jiggled the trailer plug back and forth. Uh oh! We carefully removed the plugs cover and promptly three loose wires came out of their terminals with no clue as to which terminals they were.
We have no documentation of what terminal does what and the interweb wasn't forthcoming so we dashed out to Autozone before they closed to purchase another plug so we'd at least have a diagram and, if needed, a spare plug. The issue soon became that there were three loose wires and only two loose terminal screws. This was compounded by a wiring diagram that had the plug notch 180 degrees out of position which suggested our plug was always wired wrrong. But it wasn't as it always worked before. Oh, and the wire colors were all different too! It took a few hours to realize all these but when accounted for we got it back together. The extra wire? That turned out to be the trailer brake ground so we twinned it up with the trailer ground. PHEW! still Wednesday; just.
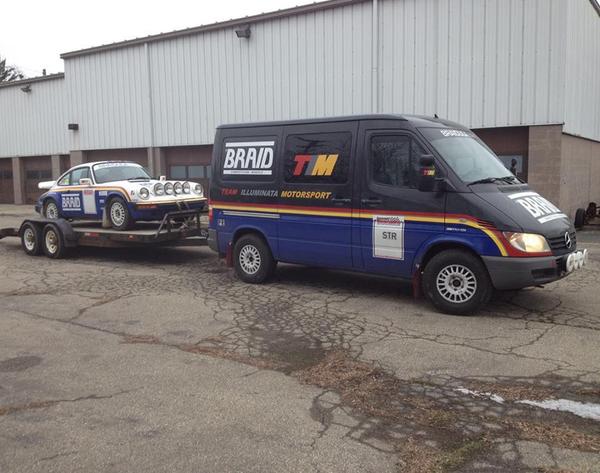
Loading up the car and trailer next afternoon was unefentful, thankfully, and the weather wasn't too bad with just some light snow forecast for later. Piece of cake.
So it was an easy drive to Lewiston and some logistical jiggery pokery soon saw the 911 parked at the rental house and the RALIVAN and trailer locked up in the local hardware store's yard (same owner). Then a quick jaunt over to race HQ in Atlanta via the snow covered "scenic route" had us registered, acredited and smiling. The Nokian tires proving more than adequate for the snow covered ice encrusted back roads. Back to the rental. Drinks, dinner and rally banter ensued.
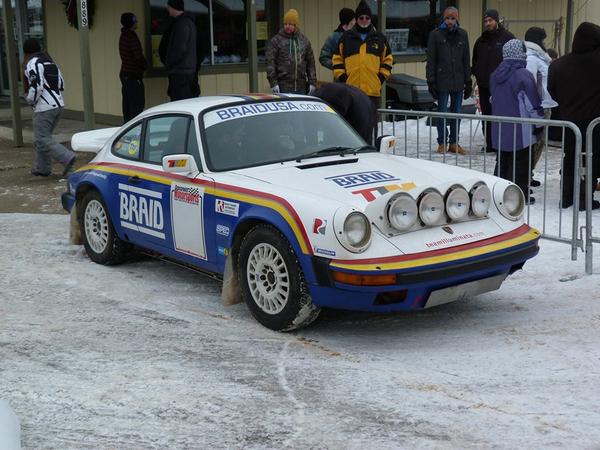
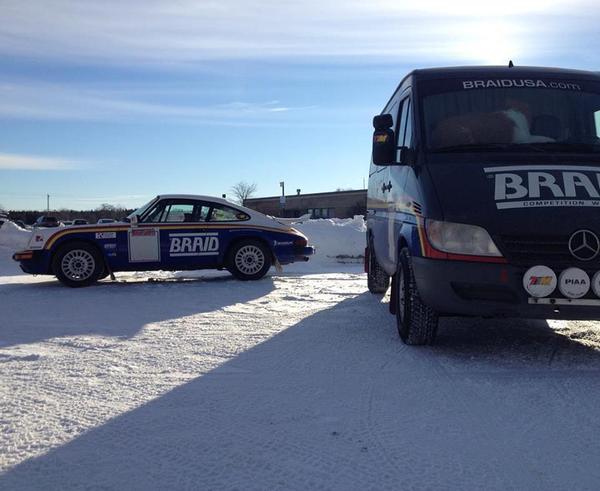
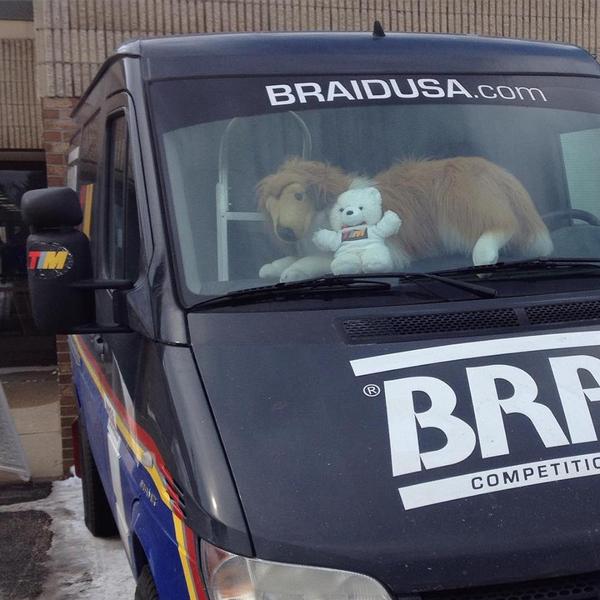
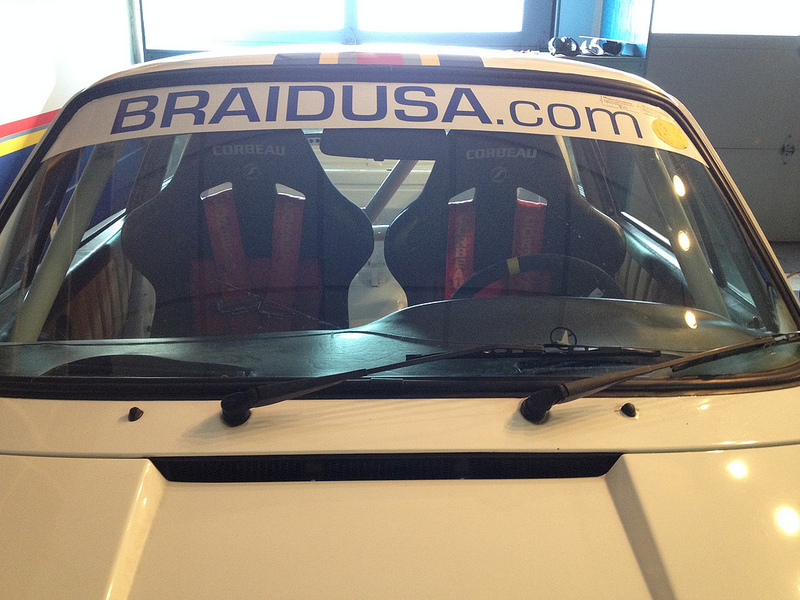
The next two days were a blur of spectating and hob nobbing with participants and rally enthusiasts at our vendor booth and both parc exposes. The car really is a massive hit, even getting more attention on local TV than the rally cars. (see below) The car ran flawlessly all weekend and proved more than adequate for the conditions. There's just so much grip! After sitting in Atlanta service for two cold days the RALIVAN sputtuered into life Sunday morning to drag us all back down state without a hiccup. All said a thouroughly enjoyable but exausting weekend.
Video:
2-12-2016
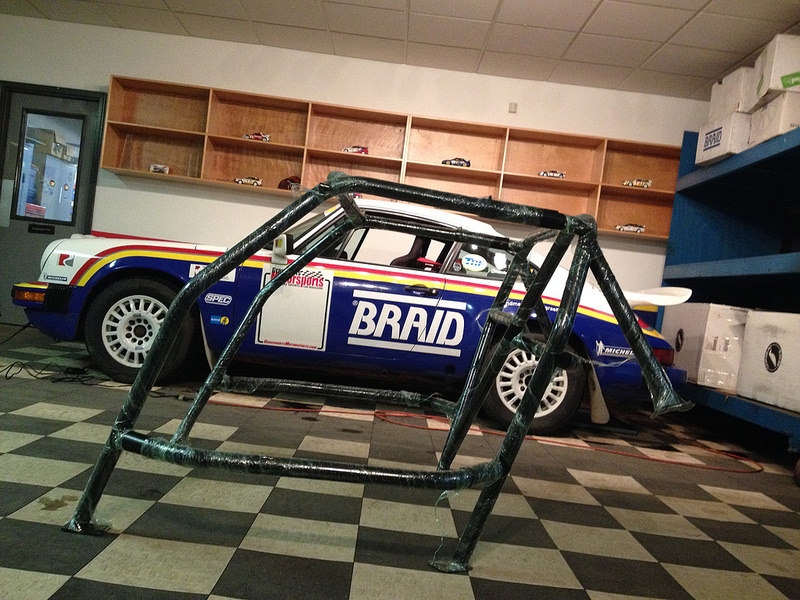
That's right, our little 911 is getting a roll cage. Does this mean we are going racing? Maybe. Motivations for this are three-fold: 1) safety during track days etc. 2) Race car credibility generally. We are showing the car a lot more these days. 3) This six point bolt in cage is SCCA time-trial approved and should allow us to run the Empire Hill Climb later this year!
We picked it up from a chap in Cincinnati who was selling for "Local pickup only" as a few of the bolt on sleeves had been welded "for additional safety" which rendered it less easy to ship.
Fortunately that allowed us to win the auction for a great price as it really narrowed the market for it and, although we were willing to drive down to Cincinnati for it a good friend of the shop, Nick Clute very kindly volunteered to pick it up for us on his way back from Florida. SWEET!
We would prefer a white cage and will probably paint it before final installation but first we have to make sure it fits and that we can still install two seats with harnesses as only the driver's side harness bar is looped for extra clearance. So first thing was to remove the seat and harness bar from the car.


The rear hoop was a bugger to muscle into place unassisted but we managed and immediately a problem presented itself: we had assumed that the bolt holes in each sleeve and bar were factory drilled thus making the sleeve locations universal. WRONG. Every sleeve must have been drilled in the car as none of the holes would match up. So we wrestled the rear hoop back out and started to put this jigsaw puzzle of a cage back together in a way that rendered it somewhat 911 shaped. Eventually we had it figured out and marked everything so it could be reassembled the same way in the car. PHEW what a job.
Three hours later the cage was fully assembled in the car but it was tight and even though all the bolts were loose it had very little flexibility. It seems it is going to mount exactly where it is now and nowhere else.
Again, a few issues presented themselves; non of which are insurmountable. Firstly, the sun visors are clearly never going to work with this cage in place. I guess they are coming out.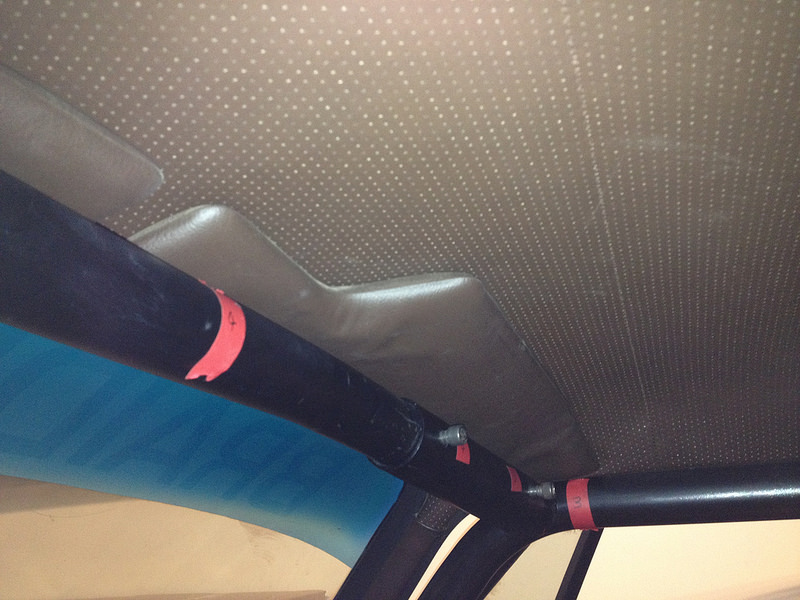
And secondly, the door pockets line up perfectly with the door bars. Either they go or the door bars go.
I think we'll source some RS door cards from RENNLINE to tidy this issue up.
So next job is putting the seats and harnesses back in to see if they still work then adjusting the feet locations, if we can and marking bolt holes. Then taking it all back out, drilling holes (gulp), painting it and finally throwing it back in. Stay tuned, it's about to get interesting.
2-19-2016

That's right, our little 911 is getting a roll cage. Does this mean we are going racing? Maybe. Motivations for this are three-fold: 1) safety during track days etc. 2) Race car credibility generally. We are showing the car a lot more these days. 3) This six point bolt in cage is SCCA time-trial approved and should allow us to run the Empire Hill Climb later this year!
We picked it up from a chap in Cincinnati who was selling for "Local pickup only" as a few of the bolt on sleeves had been welded "for additional safety" which rendered it less easy to ship.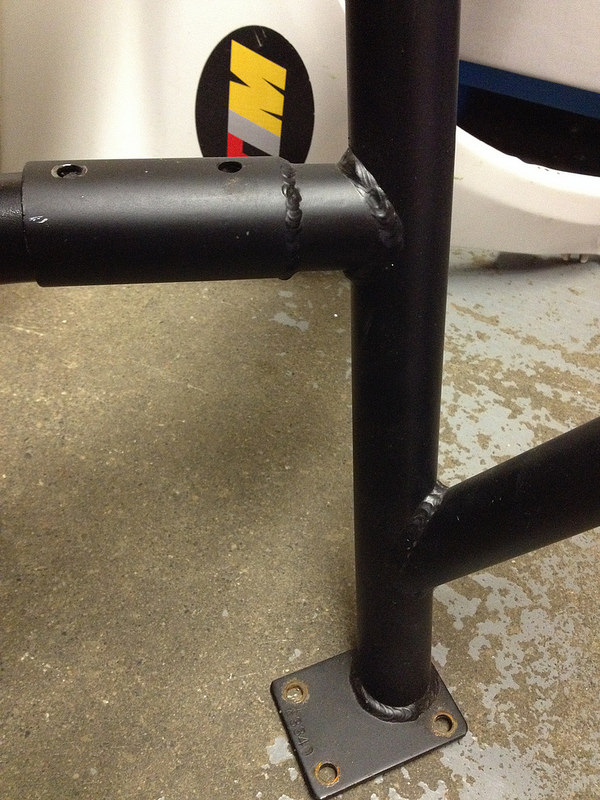
Fortunately that allowed us to win the auction for a great price as it really narrowed the market for it and, although we were willing to drive down to Cincinnati for it a good friend of the shop, Nick Clute very kindly volunteered to pick it up for us on his way back from Florida. SWEET!
We would prefer a white cage and will probably paint it before final installation but first we have to make sure it fits and that we can still install two seats with harnesses as only the driver's side harness bar is looped for extra clearance. So first thing was to remove the seat and harness bar from the car.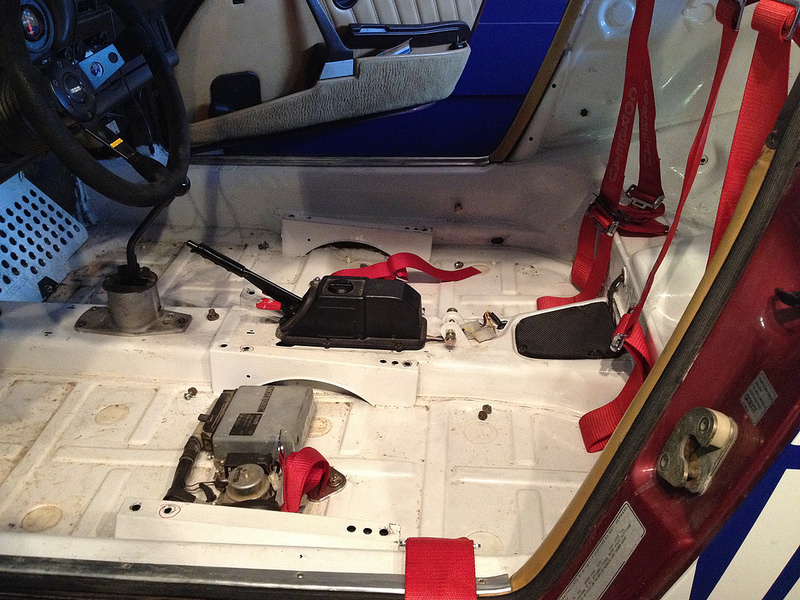
The rear hoop was a bugger to muscle into place unassisted but we managed and immediately a problem presented itself: we had assumed that the bolt holes in each sleeve and bar were factory drilled thus making the sleeve locations universal. WRONG. Every sleeve must have been drilled in the car as none of the holes would match up. So we wrestled the rear hoop back out and started to put this jigsaw puzzle of a cage back together in a way that rendered it somewhat 911 shaped. Eventually we had it figured out and marked everything so it could be reassembled the same way in the car. PHEW what a job.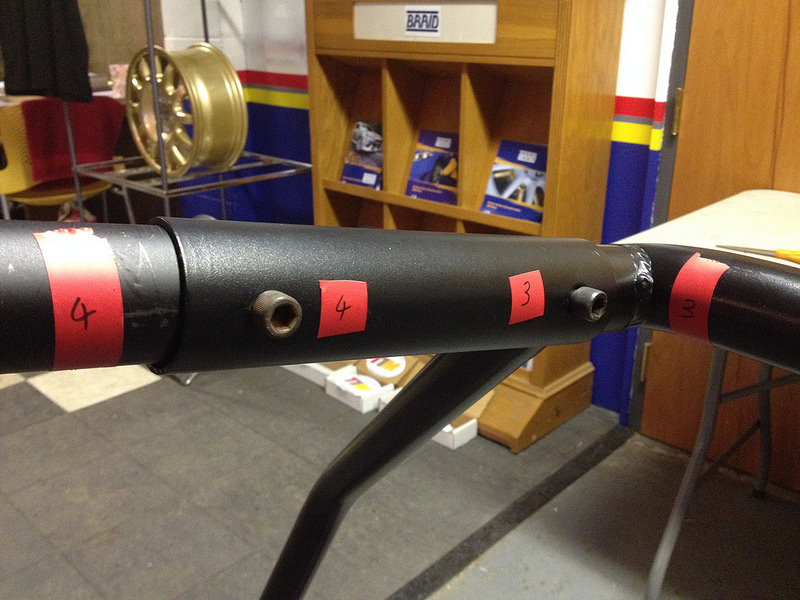
Three hours later the cage was fully assembled in the car but it was tight and even though all the bolts were loose it had very little flexibility. It seems it is going to mount exactly where it is now and nowhere else.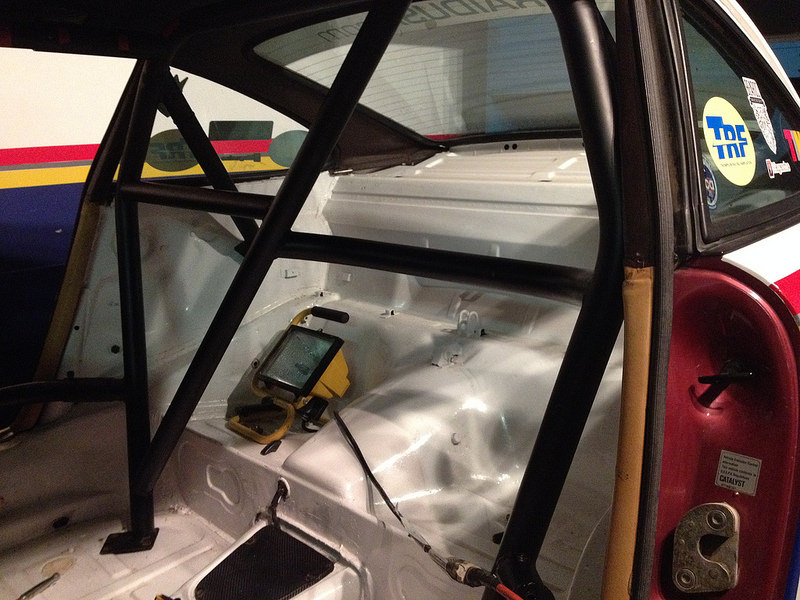
Again, a few issues presented themselves; non of which are insurmountable. Firstly, the sun visors are clearly never going to work with this cage in place. I guess they are coming out.
And secondly, the door pockets line up perfectly with the door bars. Either they go or the door bars go.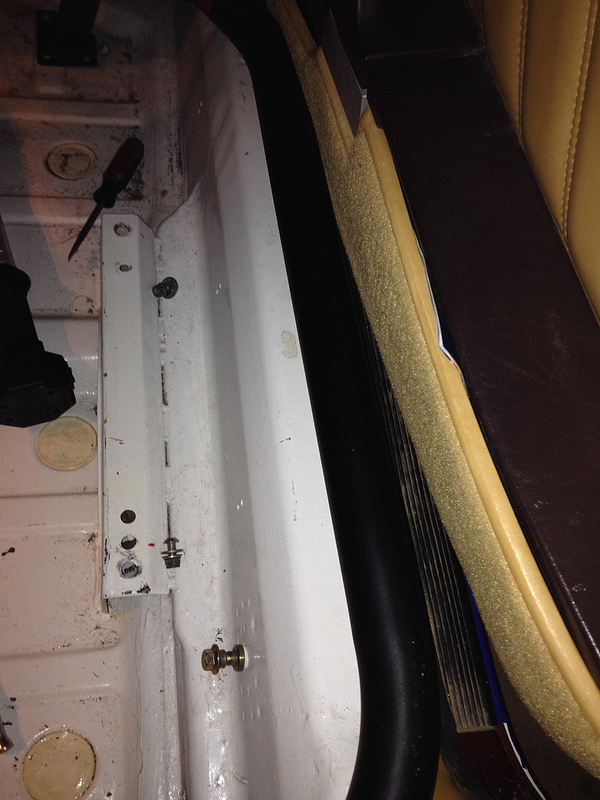
I think we'll source some RS door cards from RENNLINE to tidy this issue up.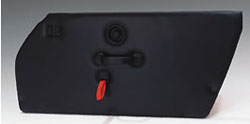
So next job is putting the seats and harnesses back in to see if they still work then adjusting the feet locations, if we can and marking bolt holes. Then taking it all back out, drilling holes (gulp), painting it and finally throwing it back in. Stay tuned, it's about to get interesting.
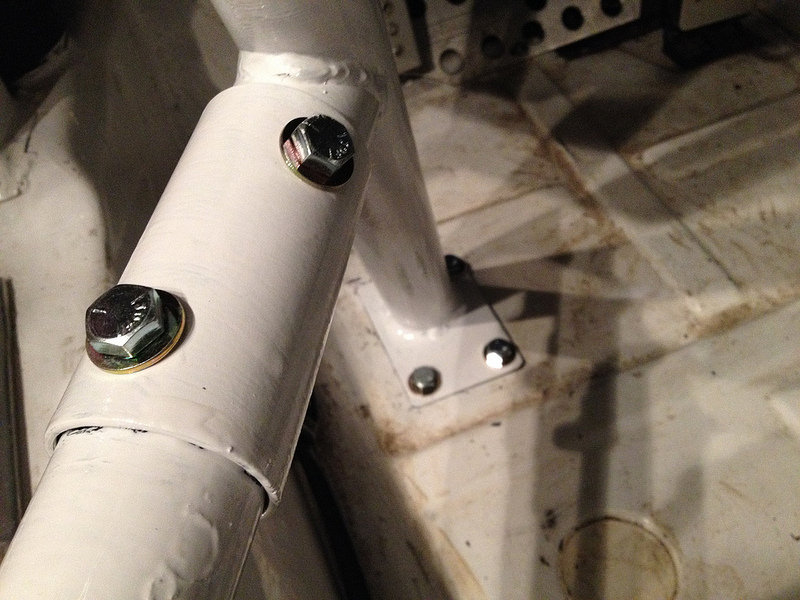
Now everything was falling where it should it was time to drill holes and commit to this cage!!!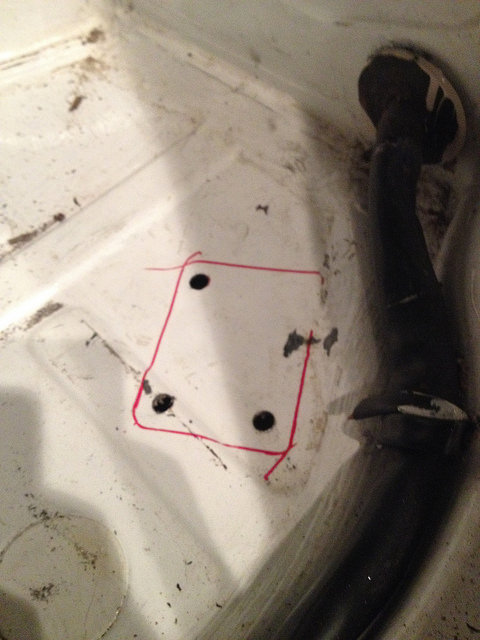
and then take the whole thing out and reassemble it again so we can paint it.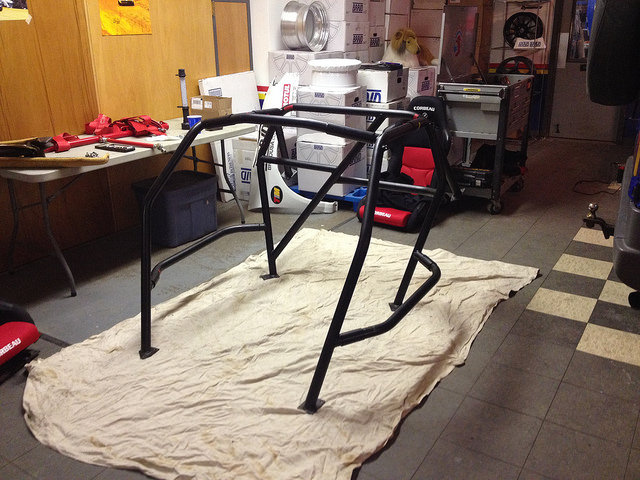
BTW the seat cushions turned out lovely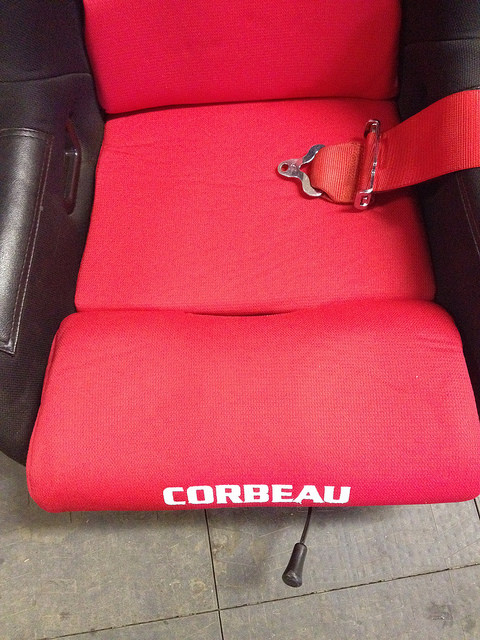
In Part #3 we will finish this project once and for all.
2-29-2016
OK, part #3. Final part? Read on..................
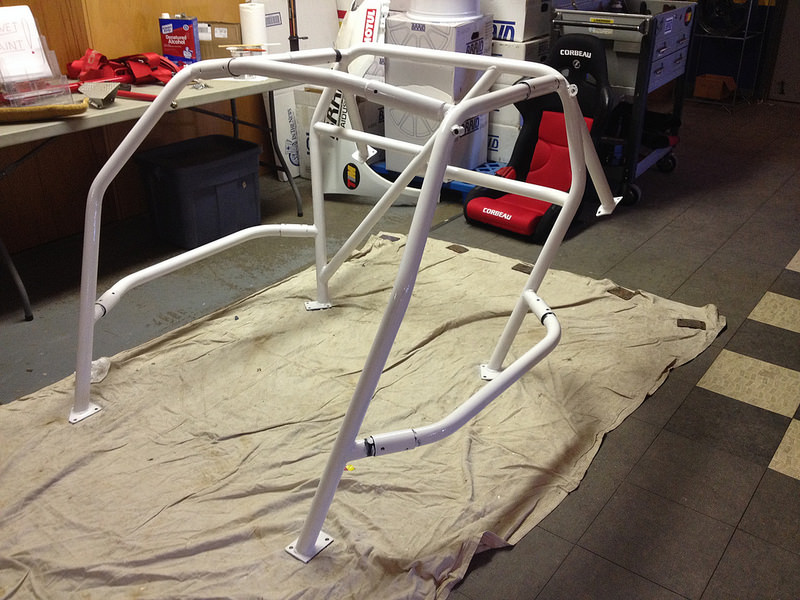
Painting took just two coats of brushed on Rustoleum; the same and left over paint we used for the interior. It was a bit of chore having to paint all round each tube and, because we didn't want to remove the sleeves again, required a bit of touch up later. But it is done and we think looks cracking!
While it was drying we ran to Fastenall to get some new hardware. We didn't like the black allen screws that came with the kit and wanted new nylock nuts too.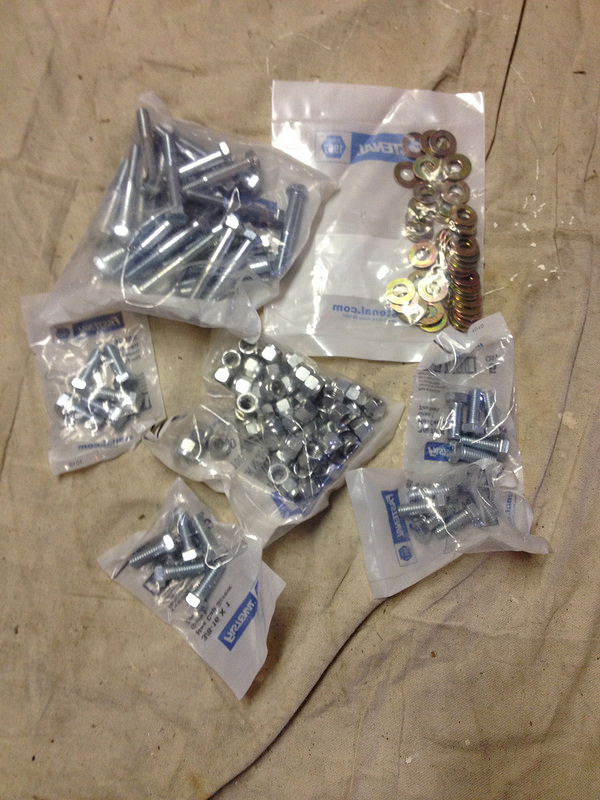
Then we threw it back in the car. cinched everything down and it fit perfectly.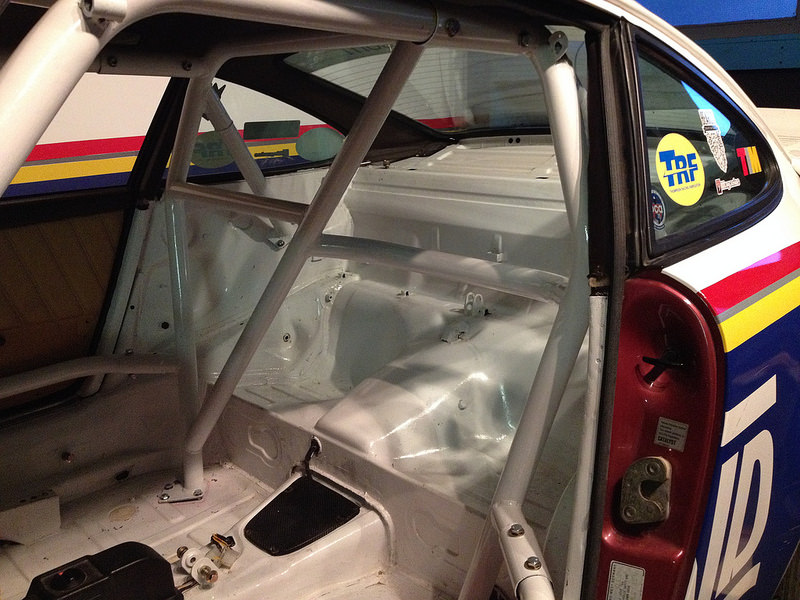
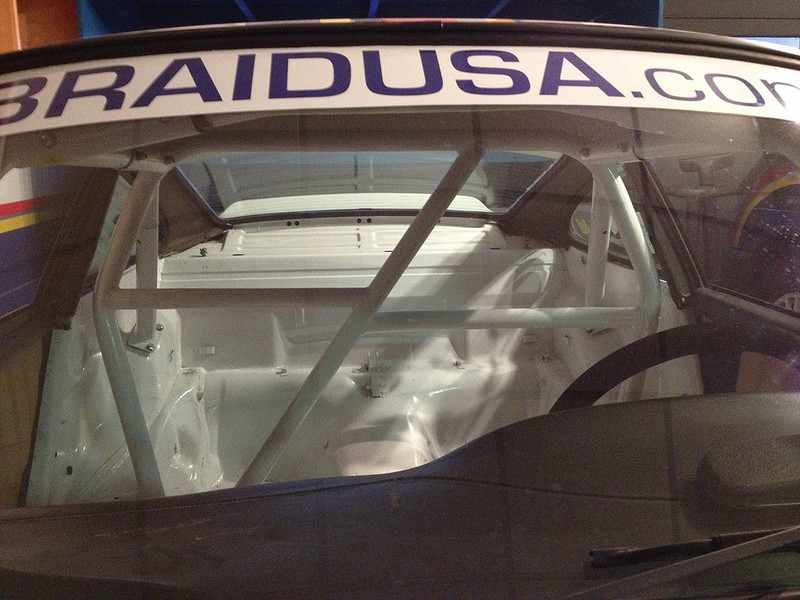
Then we put the seats and belts back in to complete the project. Well, so we thought.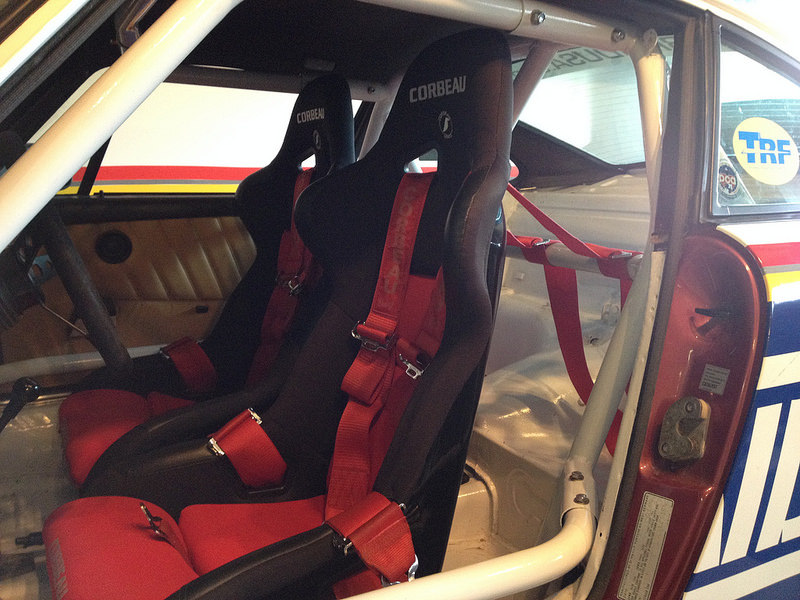
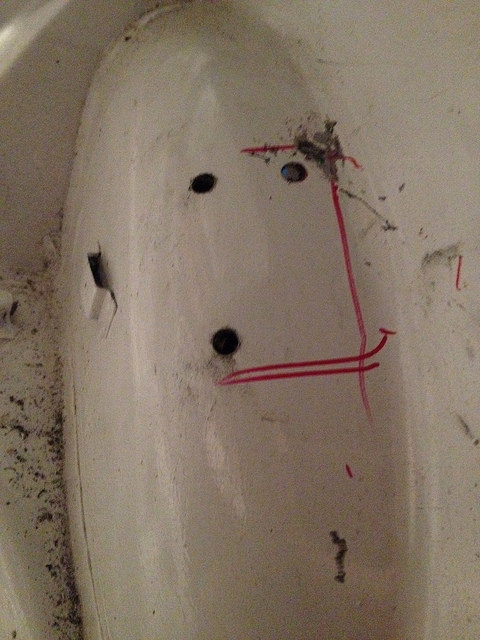
As you can probably see the seats sit too high; both for shoulder belt angle and head to cage relationship. Unfortunately we don't see any way to get them lower without cutting the existing mounting pads away and fabricating new ones and that is definitely another project so this one is done.
Wow what a build! Thanks for sharing!
Posted by Diggymart on 1/7/19 @ 3:39:29 PM