You must be logged in to rate content!
7 minute(s) of a 286 minute read
2-2-2014
Thanks, Ryan! I have been out of the country for 5 weeks partly traveling, partly for work. I made one big trip out of it, but it hurts the progress.
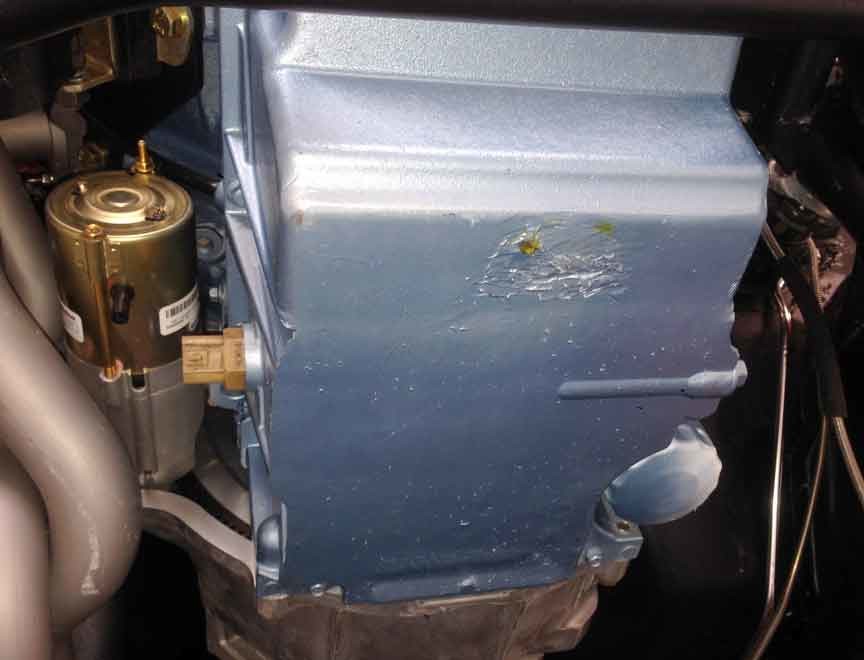
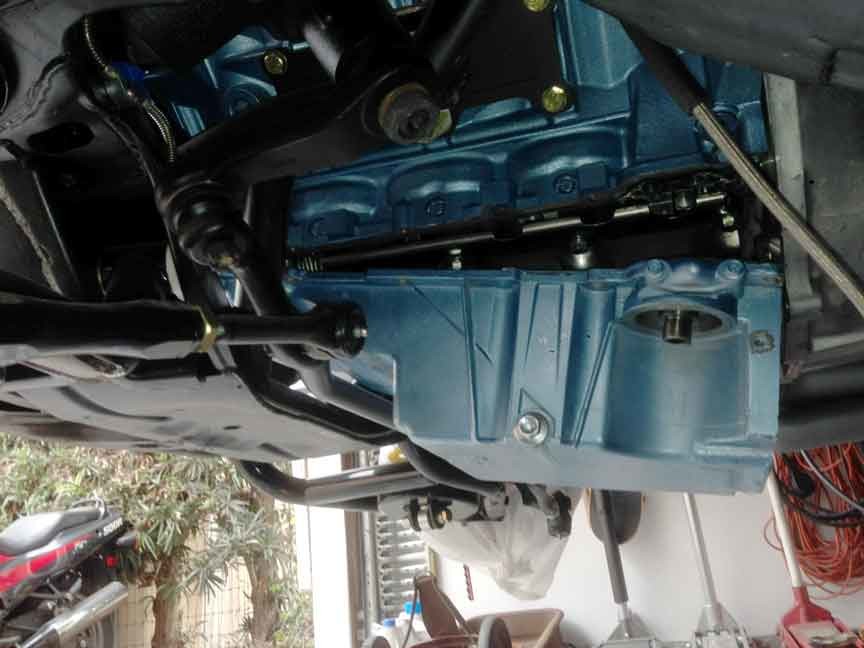
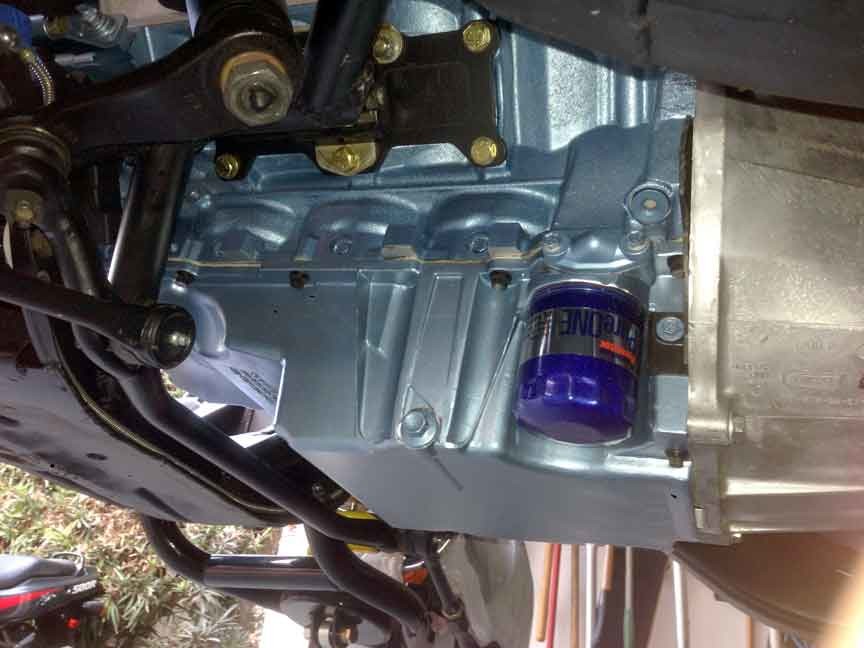
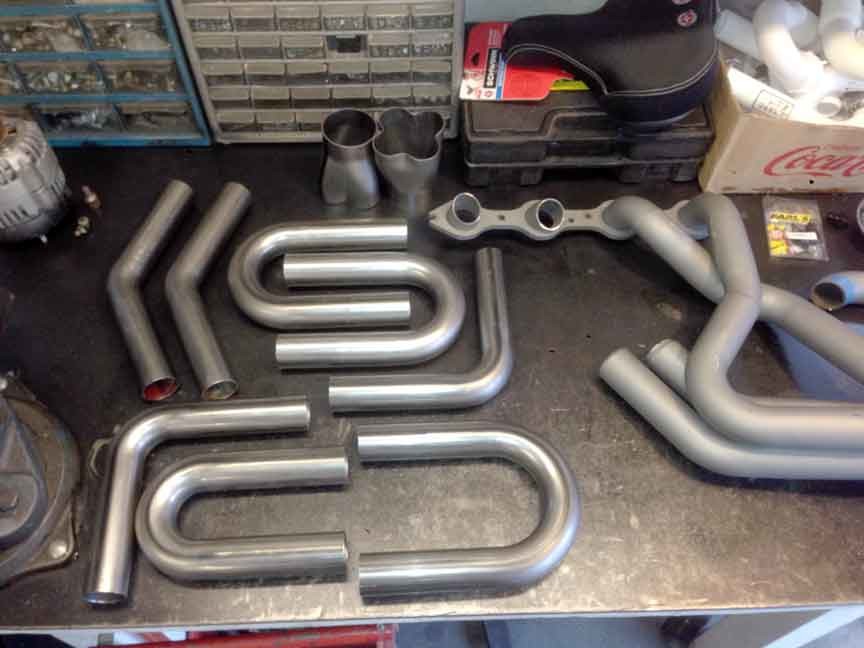
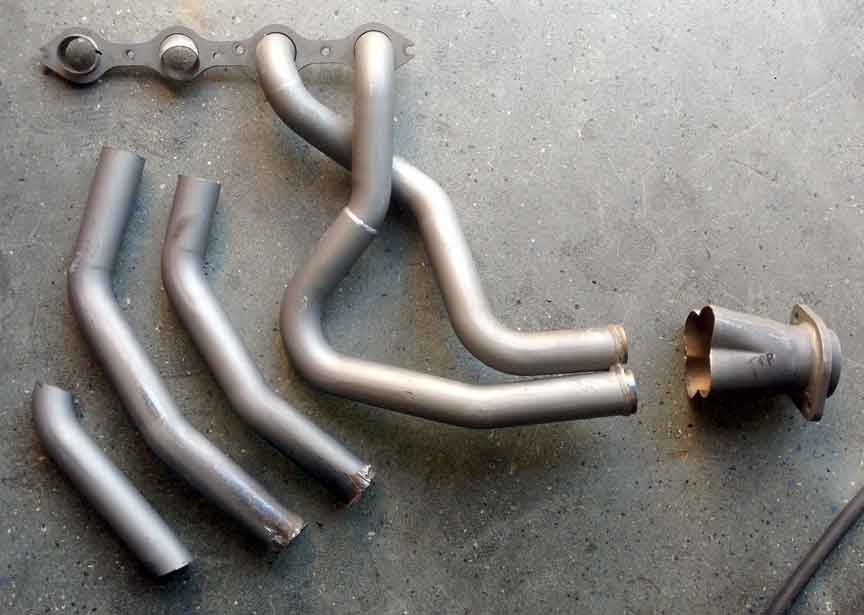
I'm back now, and today I was able to get back out there. I stopped by PTB in Irwindale, CA, and picked up some very nice mandrel bent tubing sections so I can work on getting my driver side header fabbed up. I also replaced my oil pan as I unfortunately had a broken one and it was wicking oil out of an epoxied area. Stupid me, I should have replaced the pan before I had my engine built. Live and learn... So I got a new one and swapped that in. No more leaks, the way it should have been...
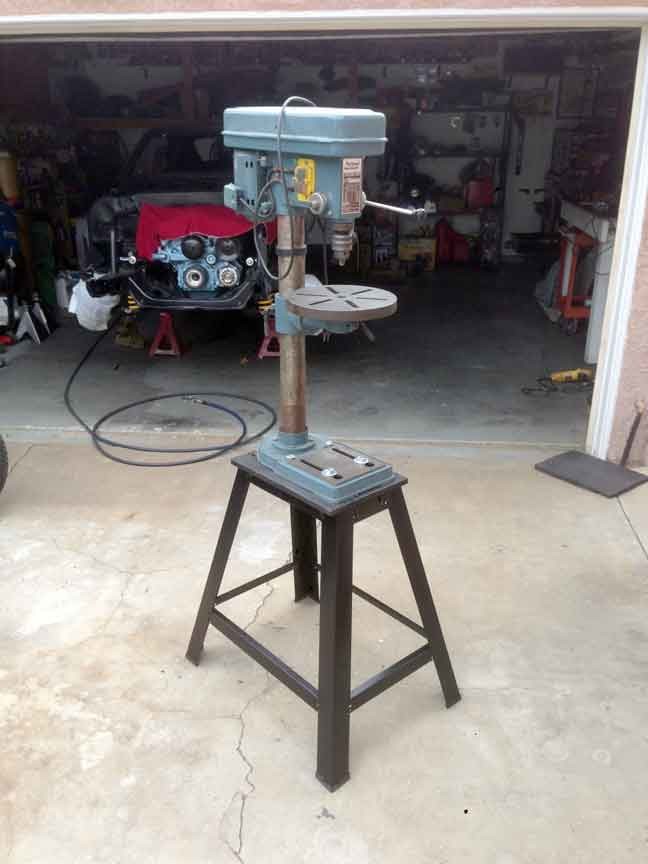
And I was the lucky recipient of a drill press- thank you, Brett!! I bought a stand and await some metal to drill...
2-2-2014
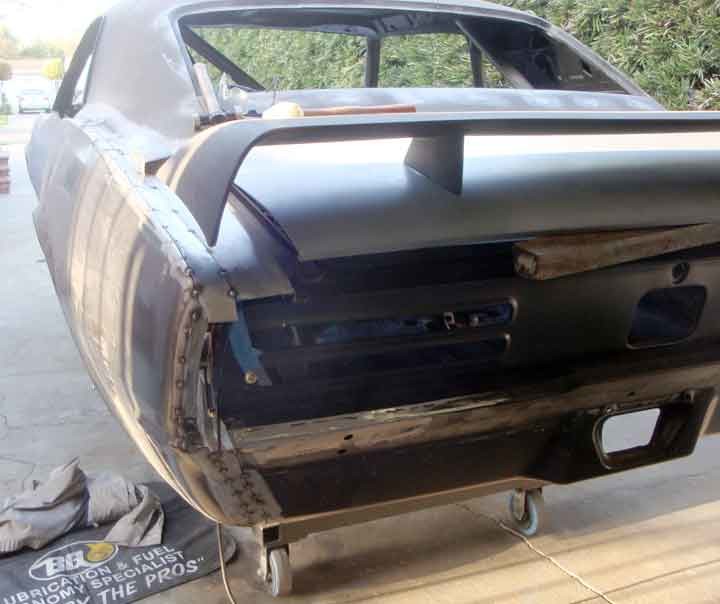
OK, I went back and I have a few pics I didn't use in my post on the quarter panel here:
http://www.lateral-g.net/forums/show...&postcount=179
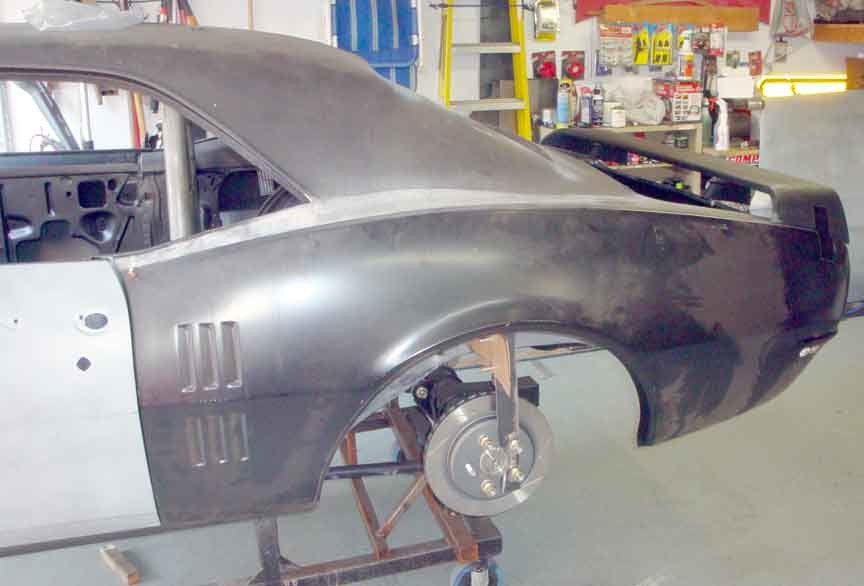
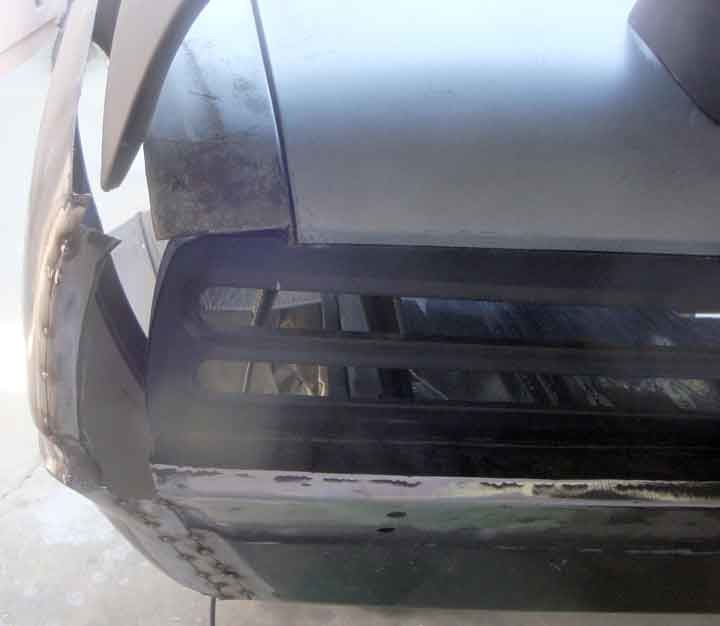
The basic premise of what I did was to align the front of the quarter panel into the car- same as if I were going to replace it stock. I had trimmed the old quarter off up about .25" after the edge of the door jamb. from that I used the spoiler to determine the width of the rear, and, in the one pic you can see a clecko holding the front, and black duct tape holding the back. From this I used the crease of the body line and did my best to align it with the door to keep the car looking straight also making sure it met up wit hthe back of the tail panel. I then made a cardboard template for the top- which was a long thin crescent shaped wedge. I had to do a little trimming along the way but did my best to keep a smooth transition along the top. I then made the smaller pieces to fill in the back tail panel, and lastly filled in the wheel well.
To make the right side I did this all over again, and measured the driver side for reference to make it as symmetrical as possible.
I hope this is helpful..
2-9-2014
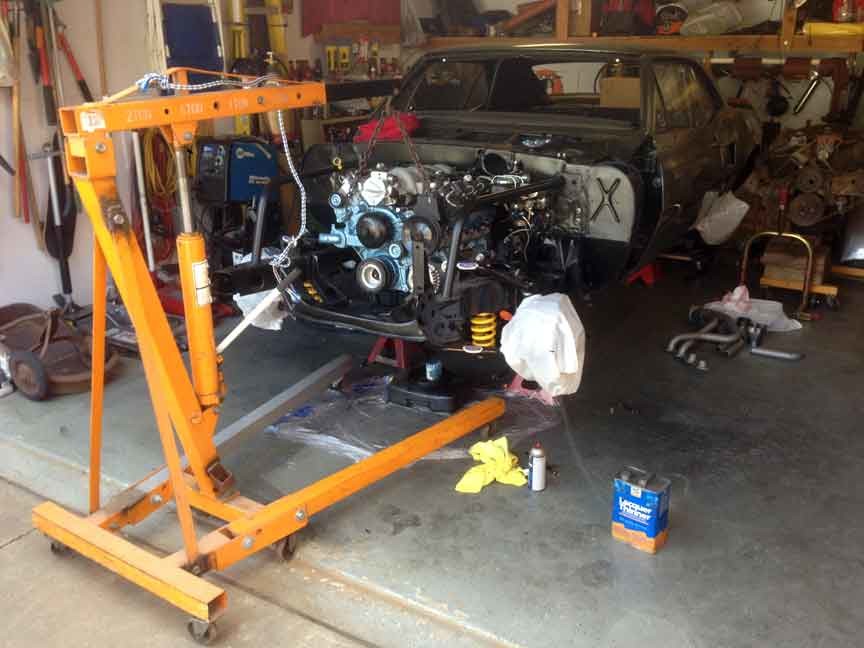
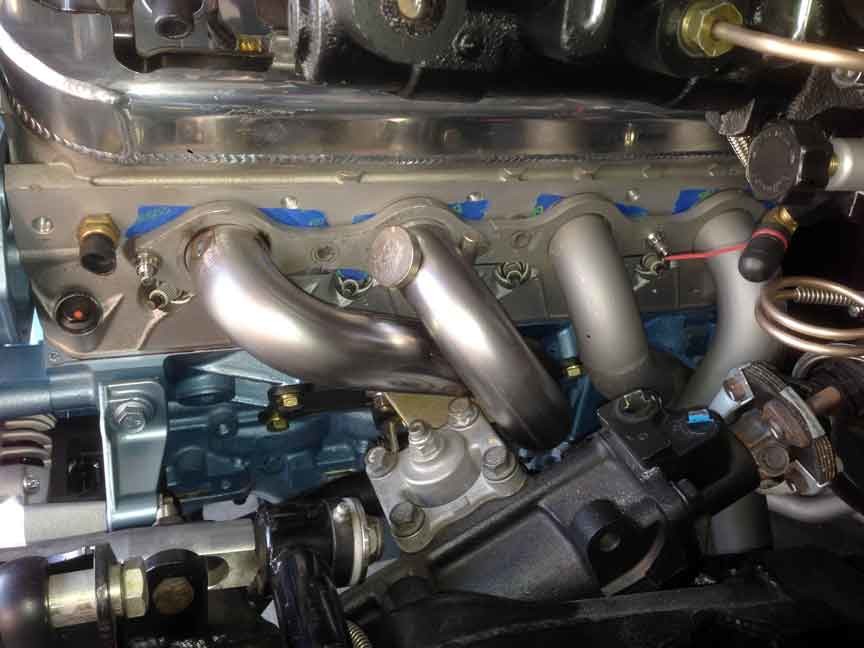
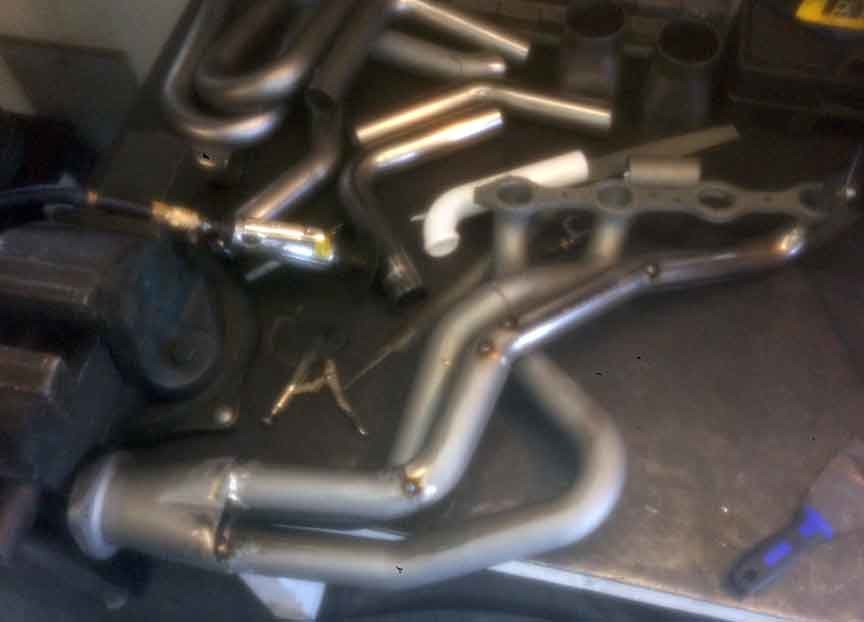
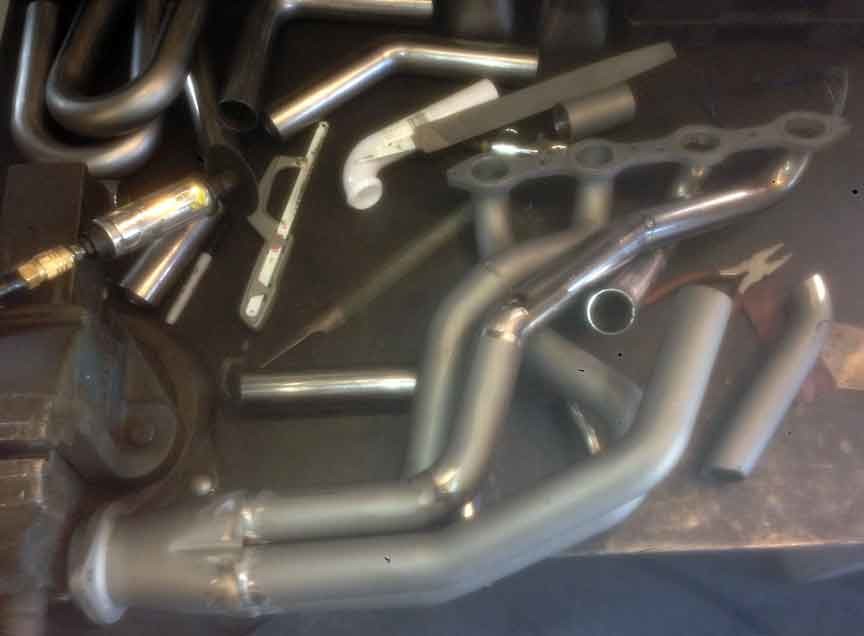
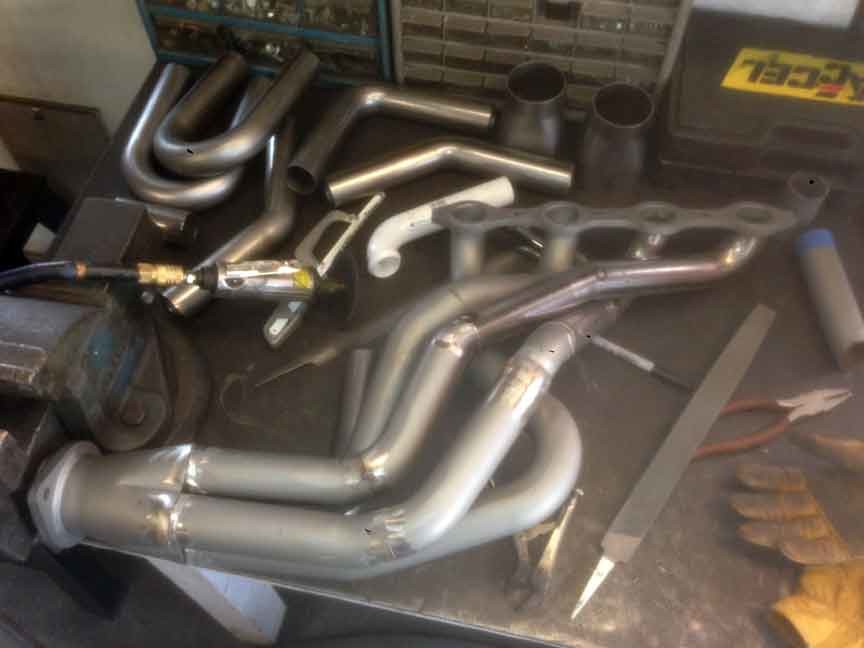
OK, I made a mess in my garage this weekend, I mean I did a lot of cutting, sanding/ grinding/ trimming to rebuild the driver side header to fit my car. Man, these things are a lot of work. Of course, I'm sure there are some tricks to doing this that I wish I knew about. I just need to put the collector back on, do some clean up work and send these out for coating.

2-16-2014
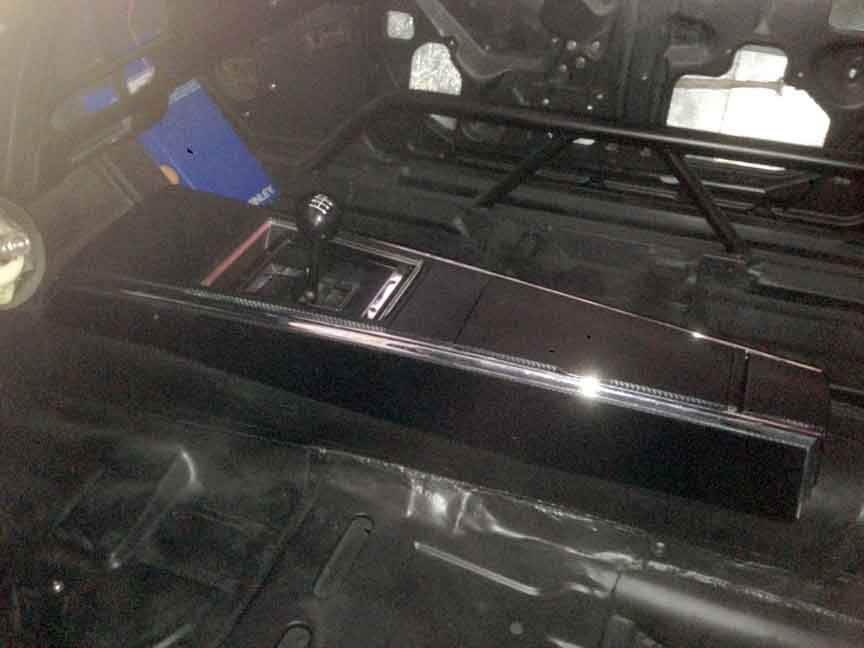
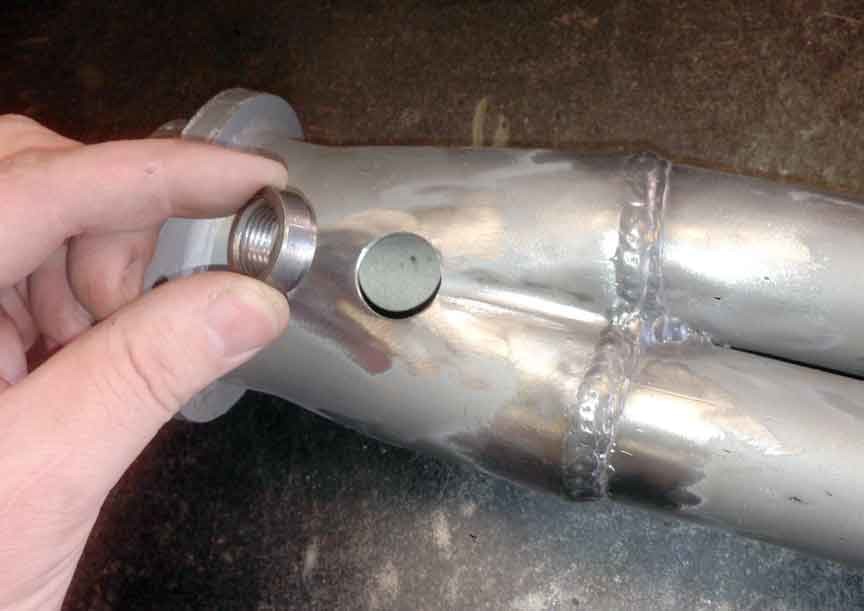
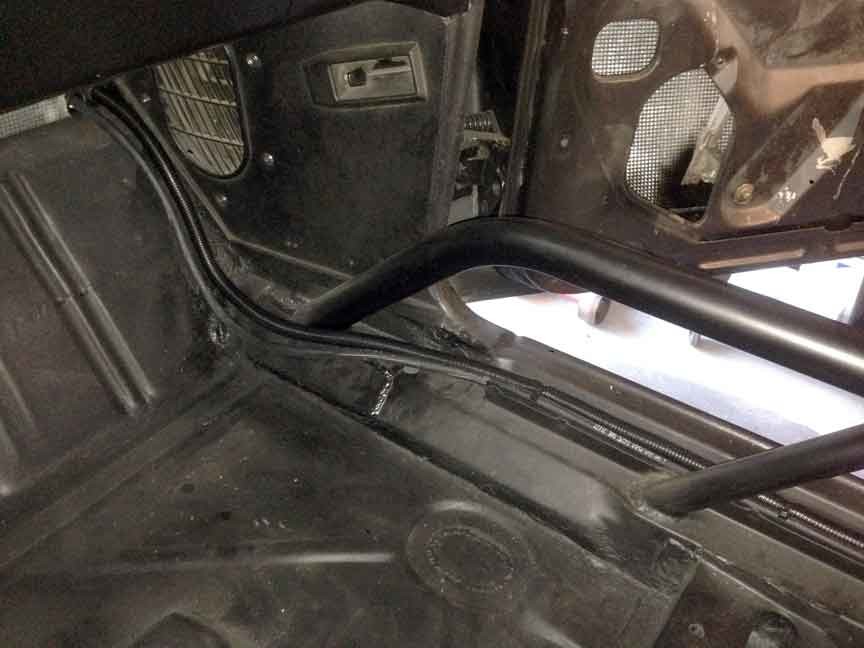
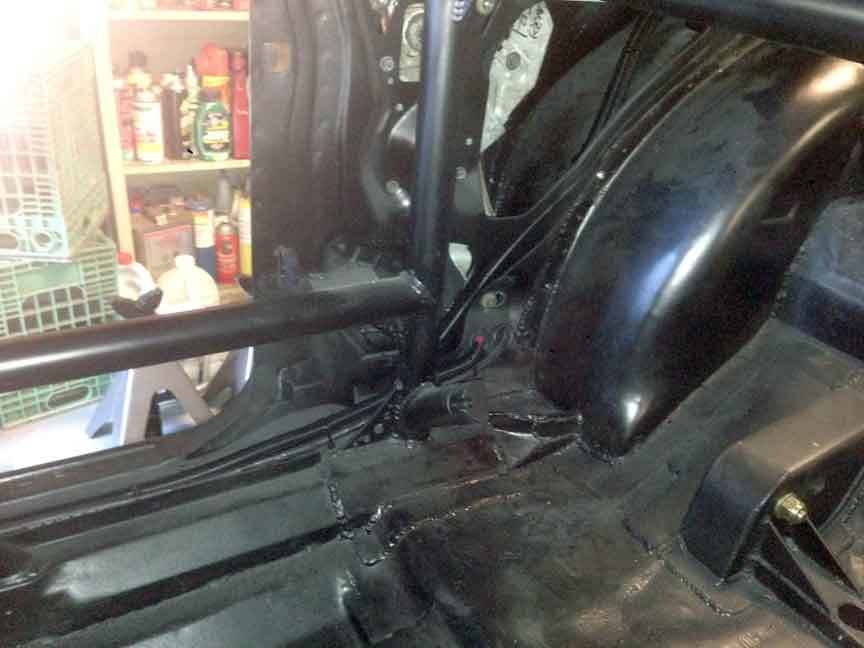
This weekend was a bunch of little projects. I got the collector back on, as well as O2 bungs, and added fasteners to my trans tunnel for the center console and rubber shifter boot. I also attached a few more clamps for my fuel/ brake lines.
My wiring showed up so I can start to work on that, too. I need to get my headers coated now so I can get them installed and then start reinstalling the front end sheet metal.


2-23-2014
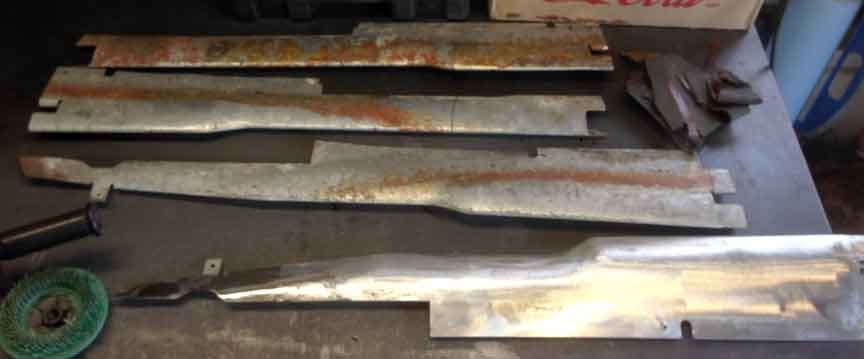
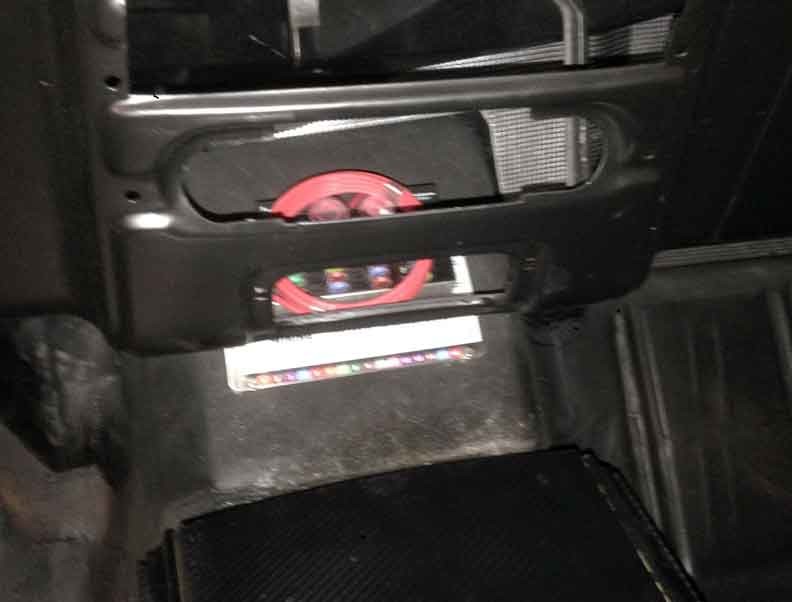
This was one of those weekends where I did many little projects. I dropped my headers off for ceramic coating, installed two grounds to the engine block (with the frame ties welded into the car body, there is little point to grounding the body to sub frame), cleaned up and painted the galvanized metal panels that run alongside the rocker panels (then remembered that, oh yeah, I should have test fit these. oops...) mounted the fuse box on my trans tunnel (absolutely no room on the firewall). I did insulate the back side w/ header wrap so the fuse panel doesn't soak up the heat from the engine/ trans. I'll need to build a box now to help hide this. I also laid out my battery cables and started to mount those in place. The ground wire is just long enough. I don't think I'll be trimming that one at all. I drilled some holes and installed grommets anywhere they passed through metal, and I insulated the positive side with that plastic loom for extra protection. I'll get some heat insulation for the engine compartment to help fight against voltage drop.
Wow excellent!
Posted by Diggymart on 9/23/19 @ 1:21:32 PM