You must be logged in to rate content!
9 minute(s) of a 286 minute read
9-23-2012
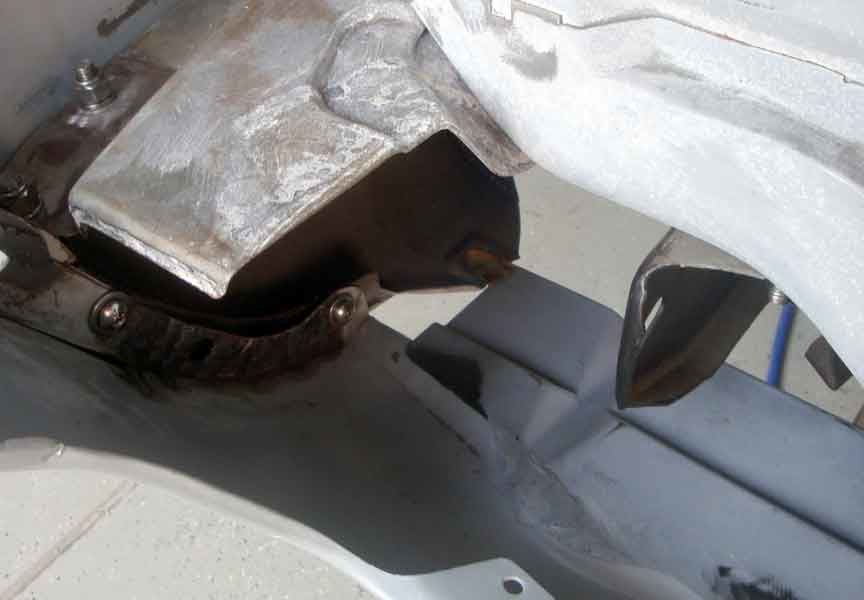
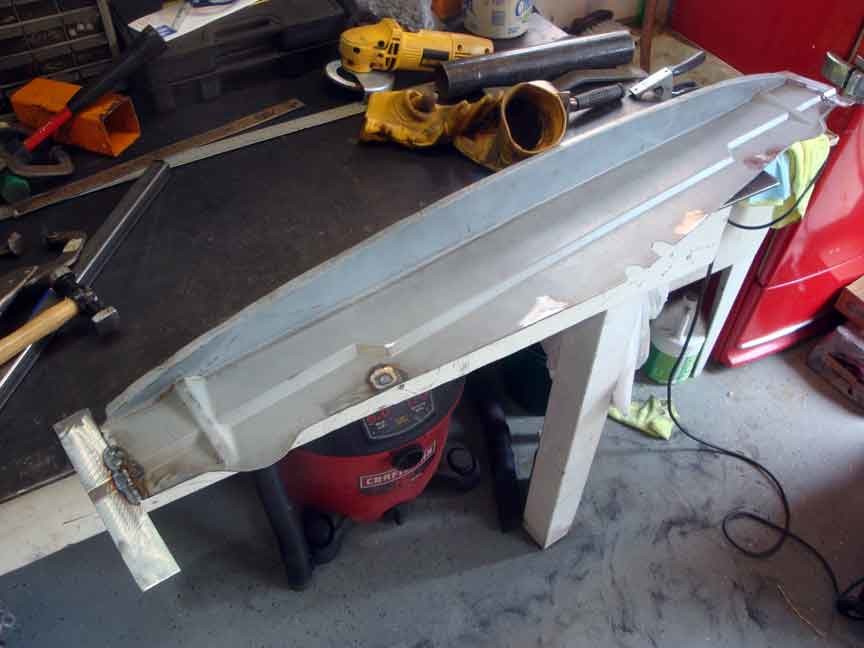
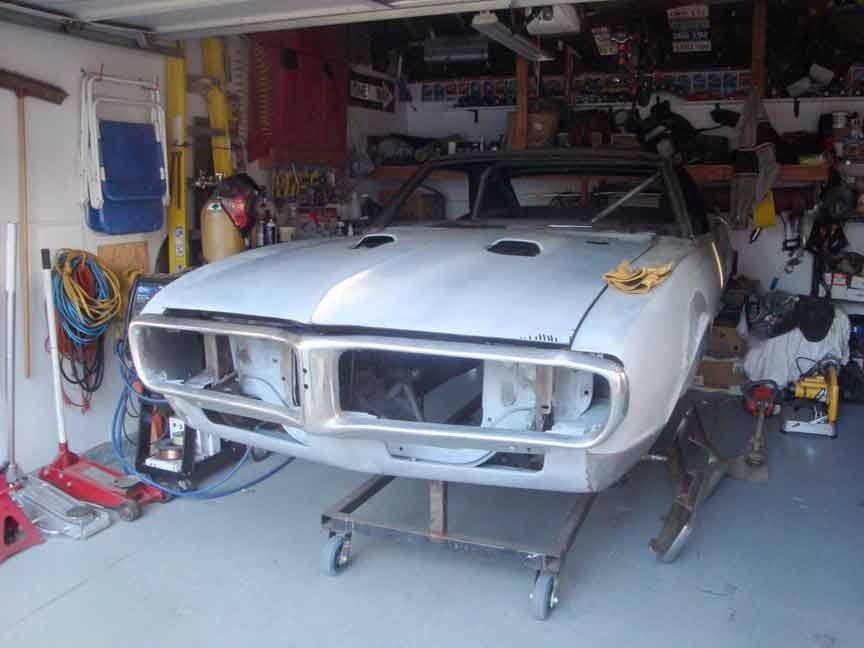
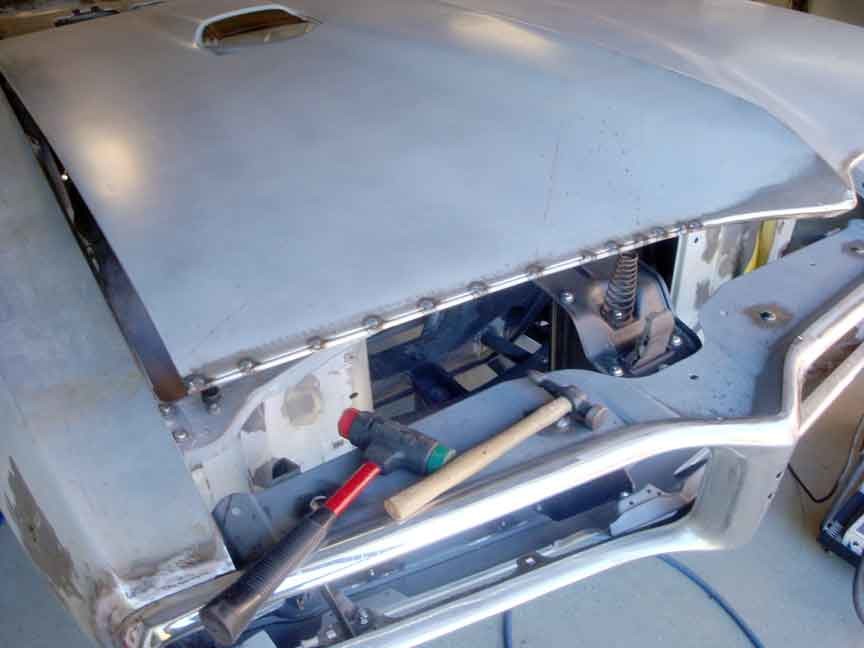
This weekend I made a little more progress- I was able to finish up trimming my cowl panel by lowering the middle section. It sits pretty well now, and I also installed my bottom most panel (not exactly sure of the name) I didn't like how the factory had it attach on the outside of the lower valence, so I re-engineered it to install on the inside. I also filled in the original bolt holes & redrilled them to fit, as well as widened the panel to fill in the triangular shaped gaps that were there. Then I added a flange to fit along the inner edge and finally welded some nuts on the panel for ease of installation.
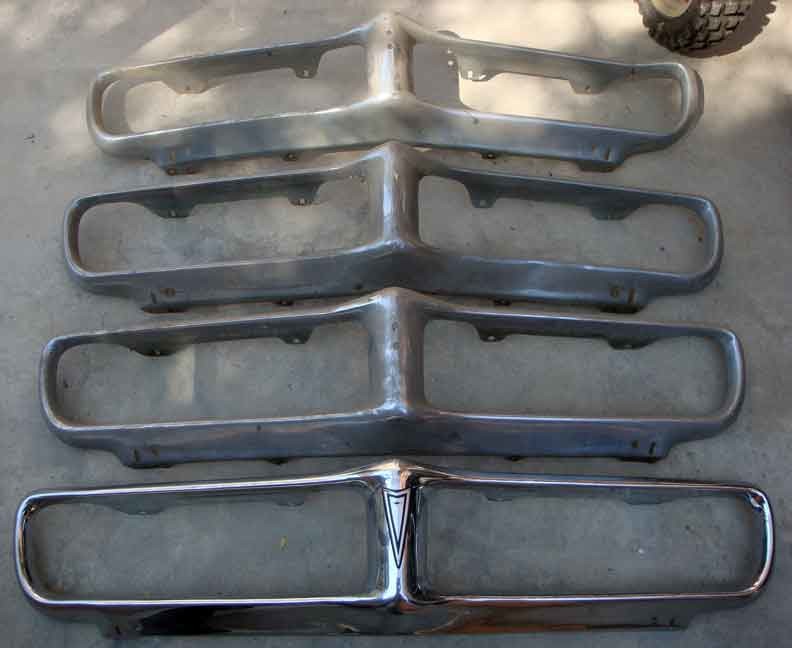
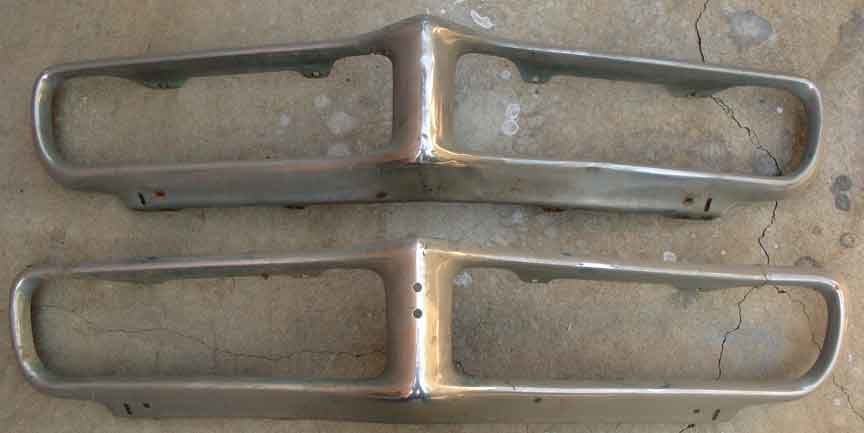
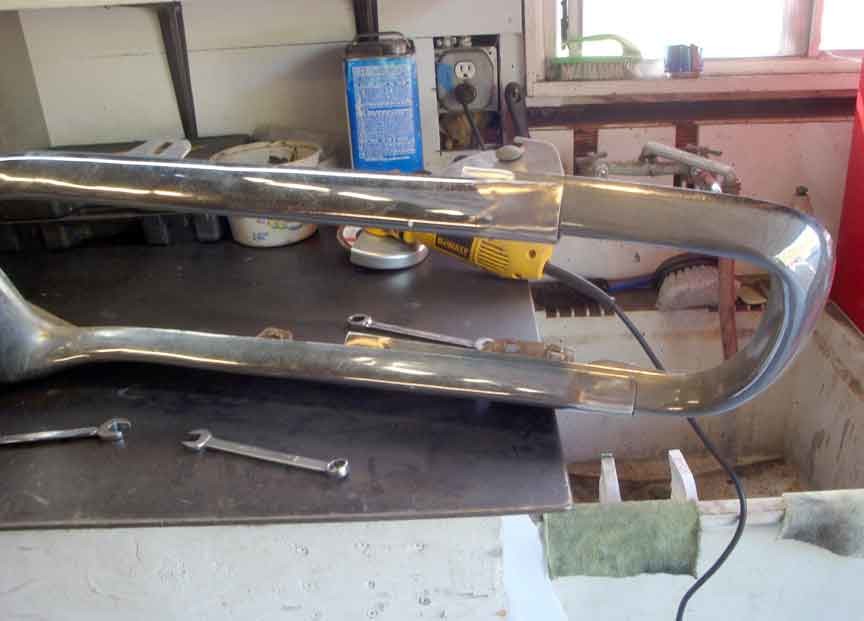
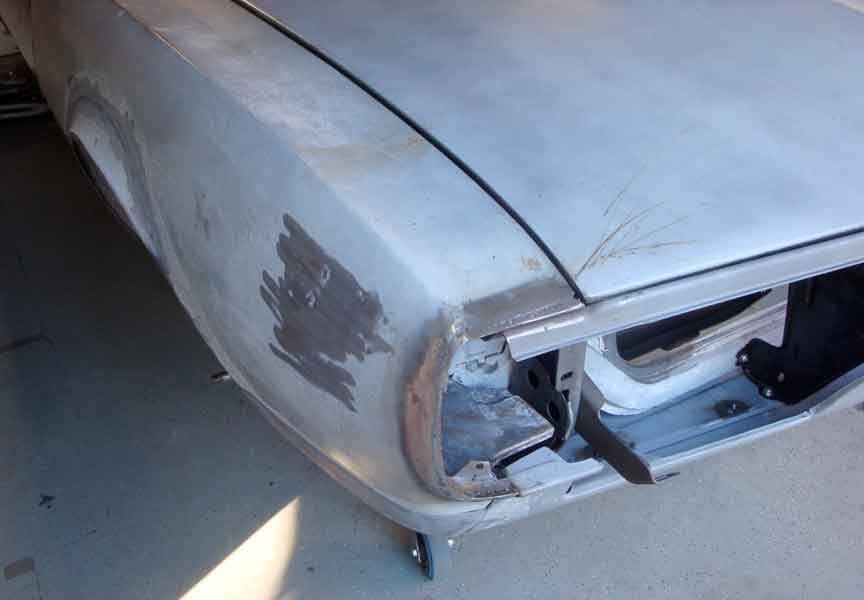
I also had a little time this afternoon so I started to install more of the front end. I also got out my "stash" of front bumpers and decided that I'd try combining the two damaged ones I have to make the one I want, as opposed to cutting up a good usable one. I can always use one of them if I fail in my attempt to combine the two. 2 of them are original 400 bumpers, the other two aren't, but they are original non 400 bumpers. The one has been rechromed and has been drilled out to hold a 400 bumper. The shame is without removing the arrowhead emblem one would never know. Original 400 bumpers have two stamped holes in them for the arrowhead emblem.
I started to assemble the bumper and parts- and will need to modify the holes to make them fit further back so I can get a flush fit.

9-30-2012
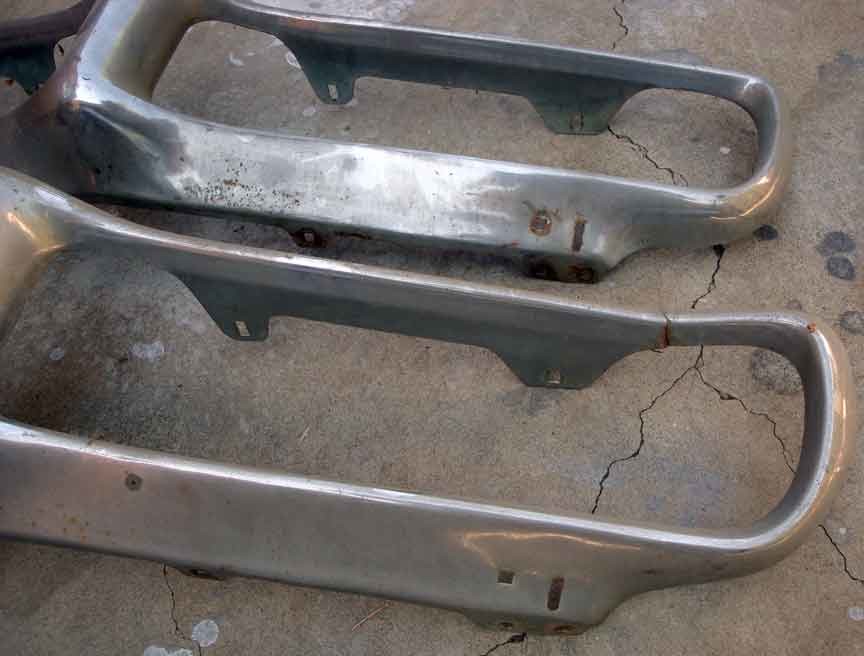
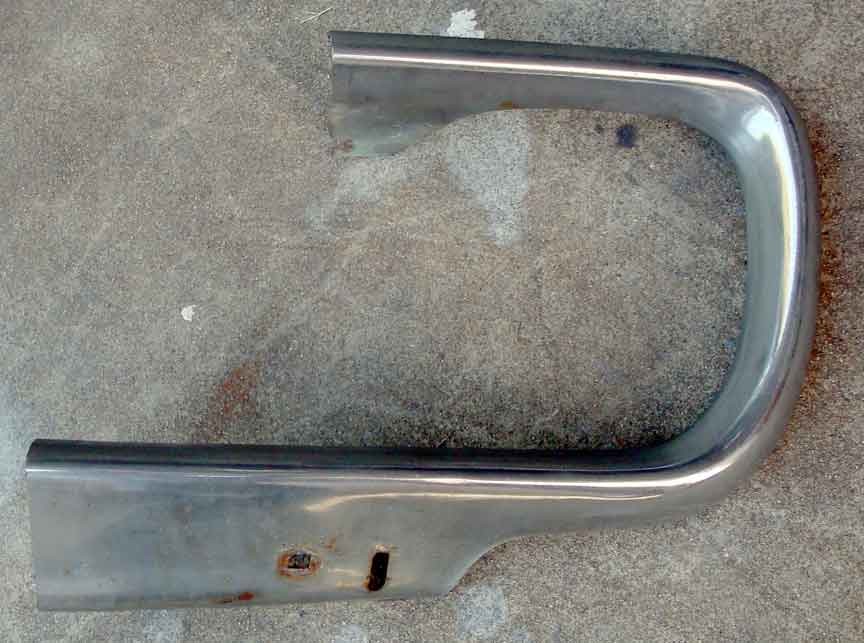
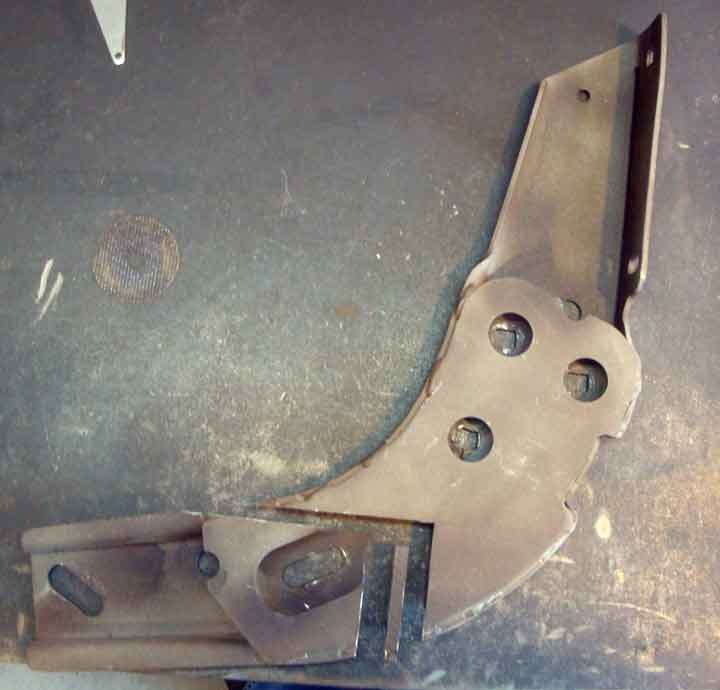
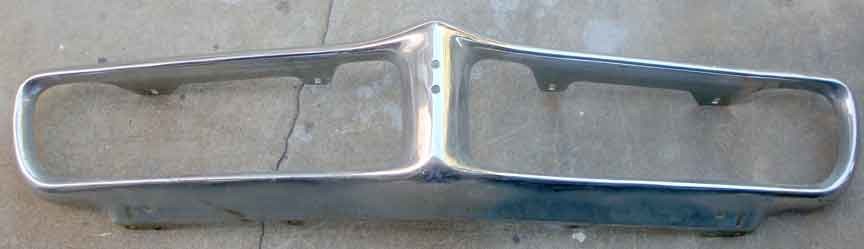
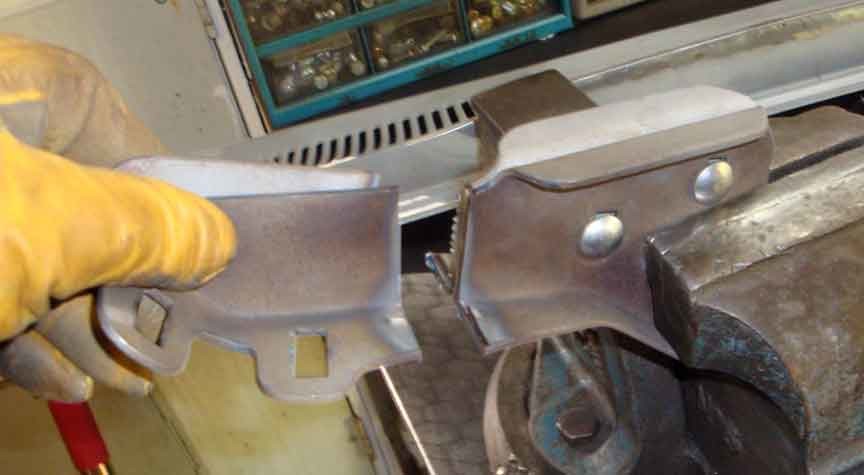
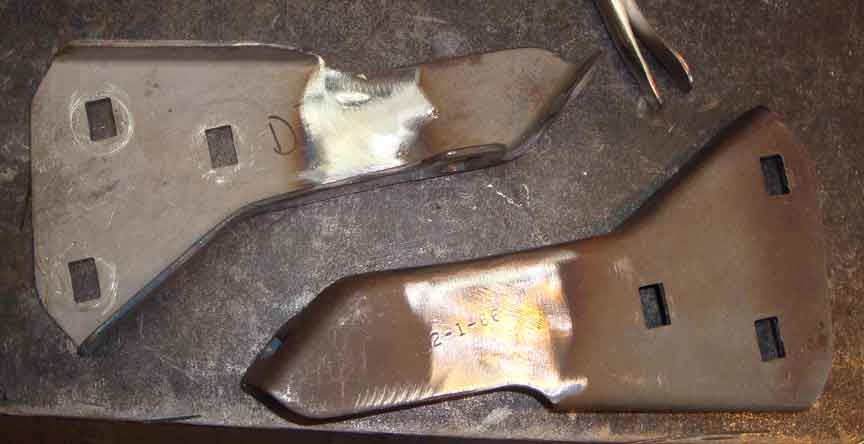
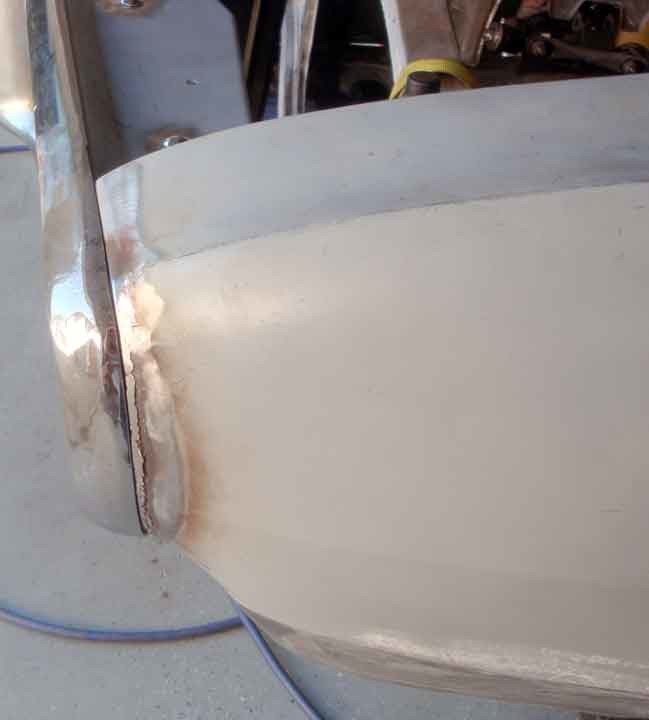
A little more progress on my bird this weekend. I chopped off the damaged area of the bumper and welded on the new section, as well as shortened my bumper brackets. I found that I couldn't move the bumper back far enough to where I want it to be, so I shortened it.
Next weekend I'll be at the Hot Wheels collectors convention- let me know if you're going.
10-21-2012
Yep, still alive. Between attending/ working at the Hot wheels convention, wife's birthday and installing a stove, and general car maintenance (fuel pump replacement, oil changes, etc time sure flies)
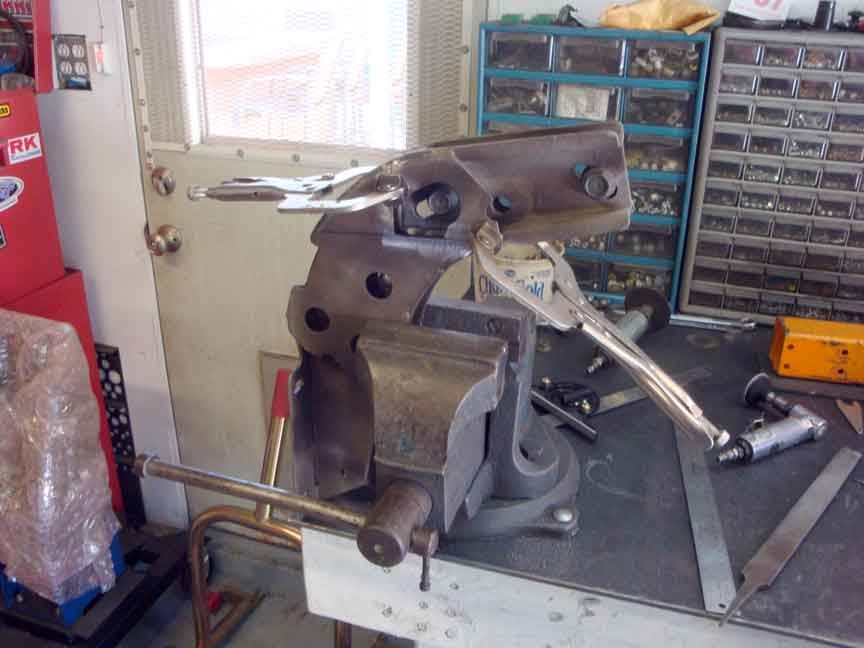
I got a little work done today- I spent most of it trimming and adjusting trying to get the bumper to fit. I had to bend it a little, and trim it some, as well as move my hood back a little. I also need to add some material to the front passenger area, and next I will need to slice it and tweak the shape to get it more like the driver side.
Shortening the bumper brackets did help get the bumper closer.
So that's it. Just a little update. Hopefully more next weekend.
10-28-2012
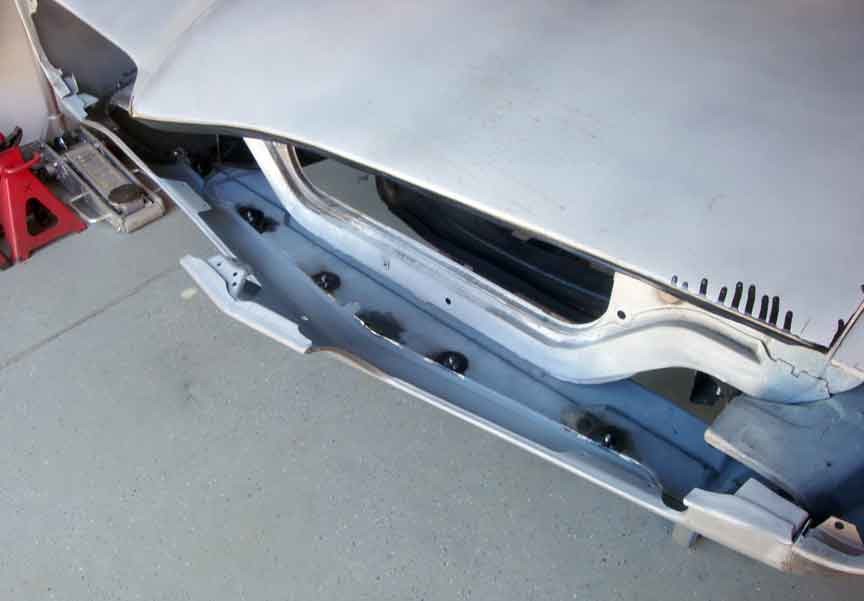
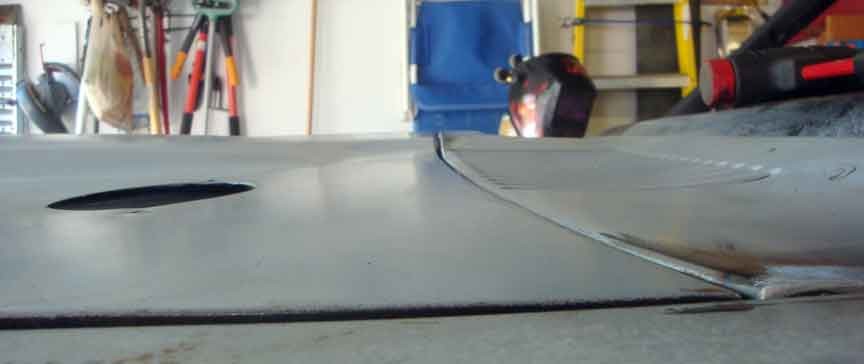
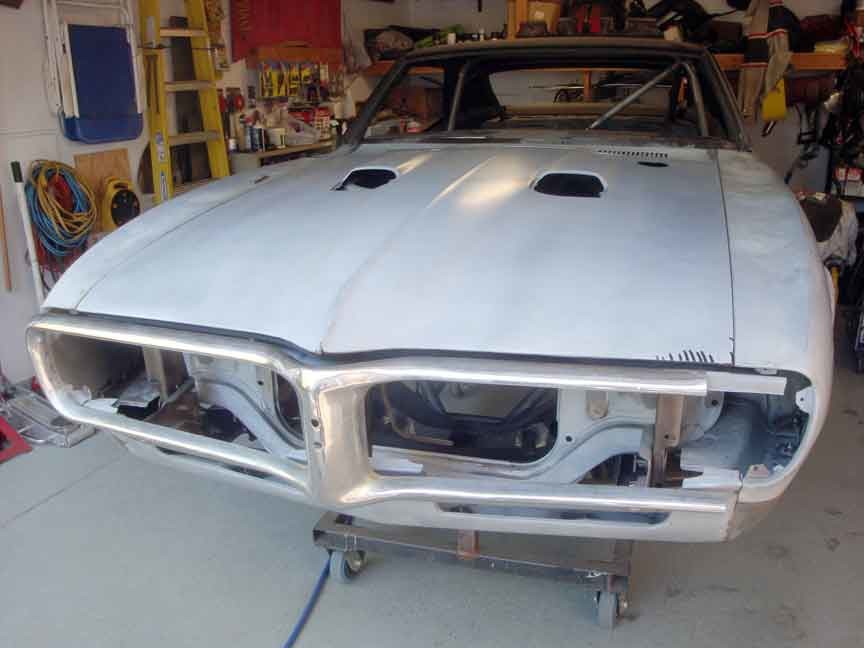
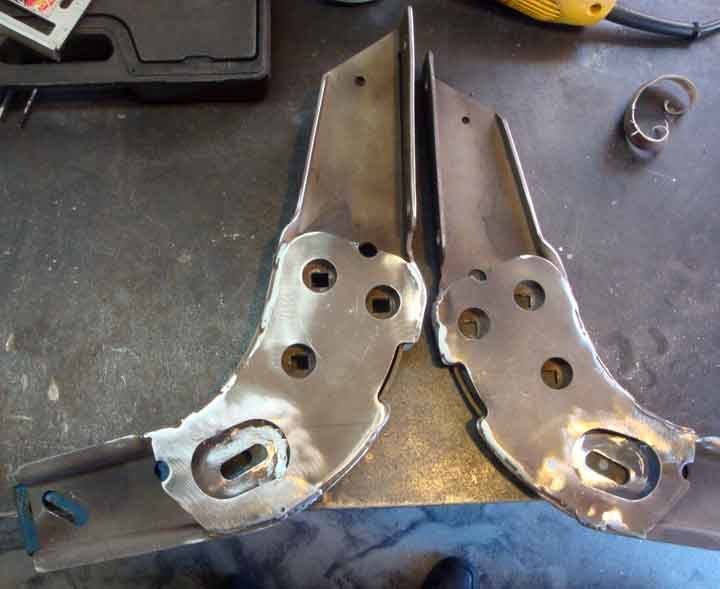
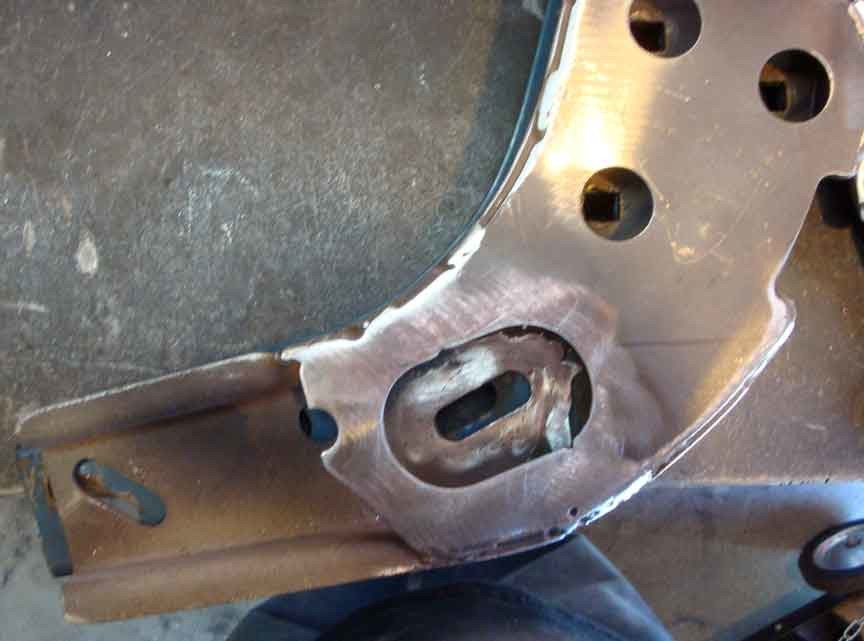
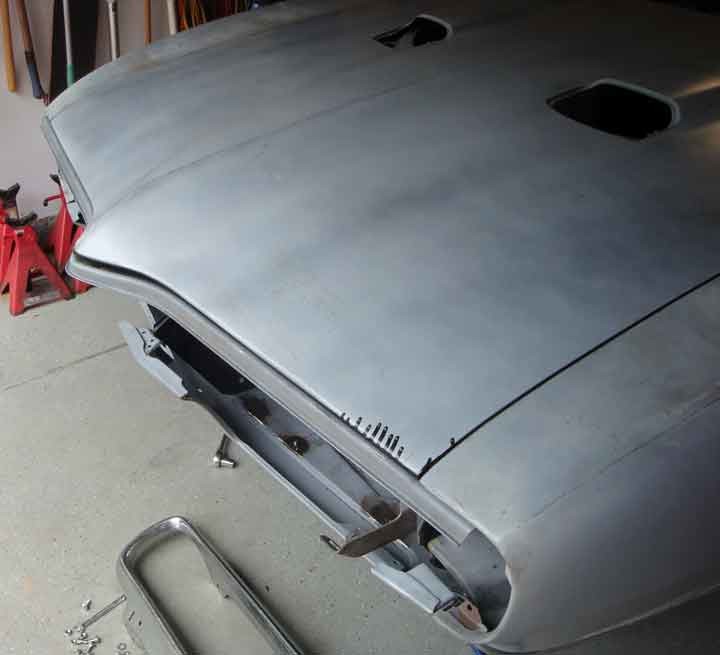
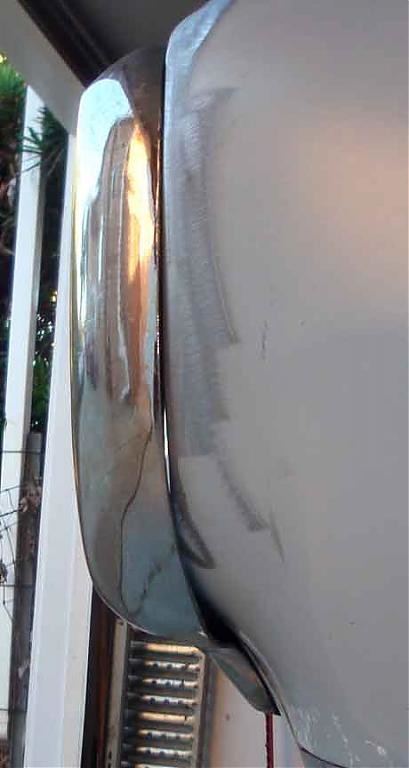
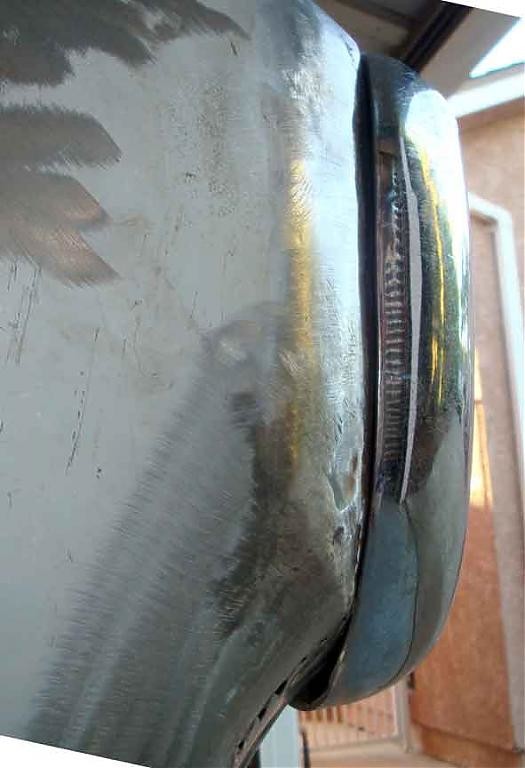
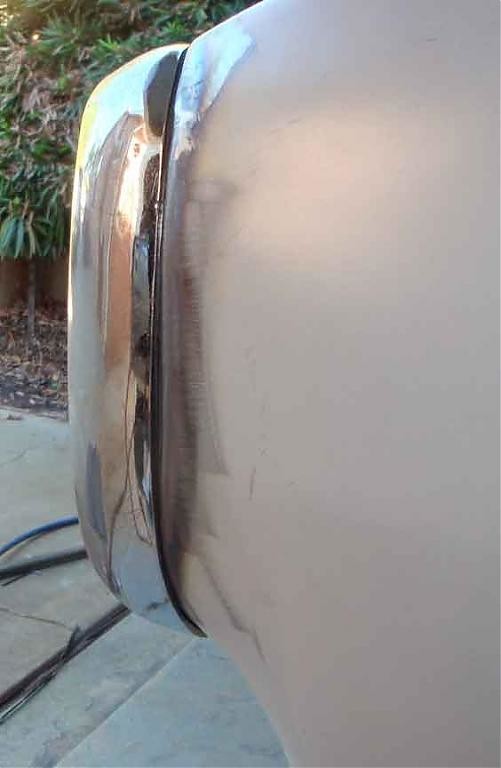
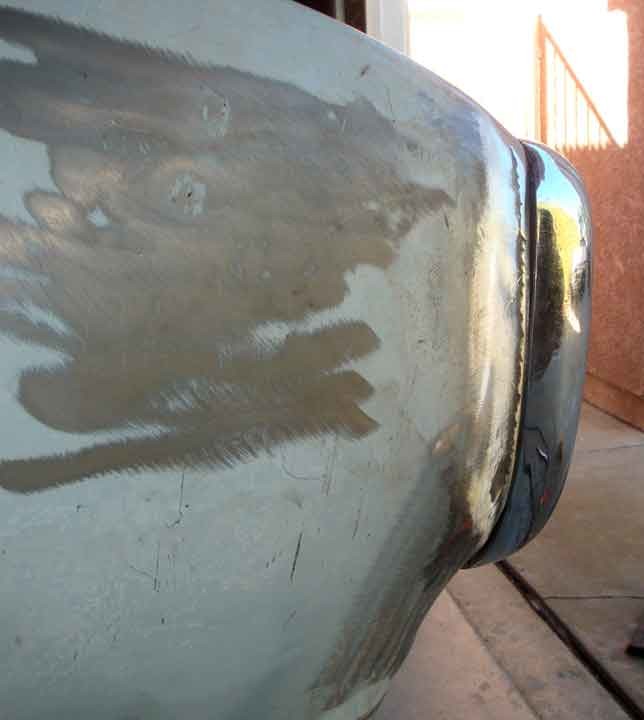
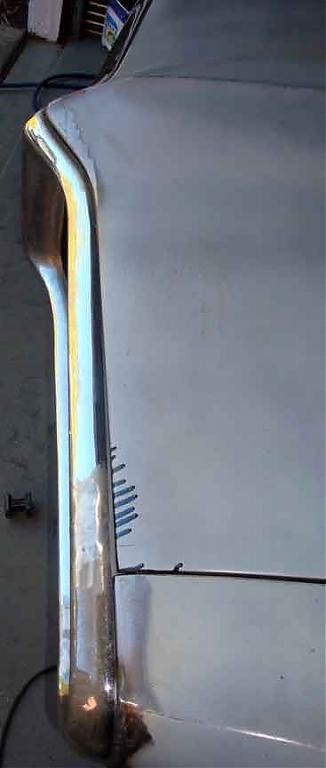
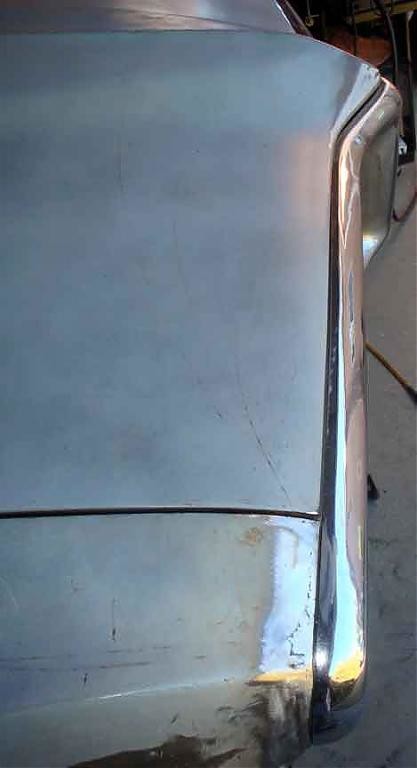
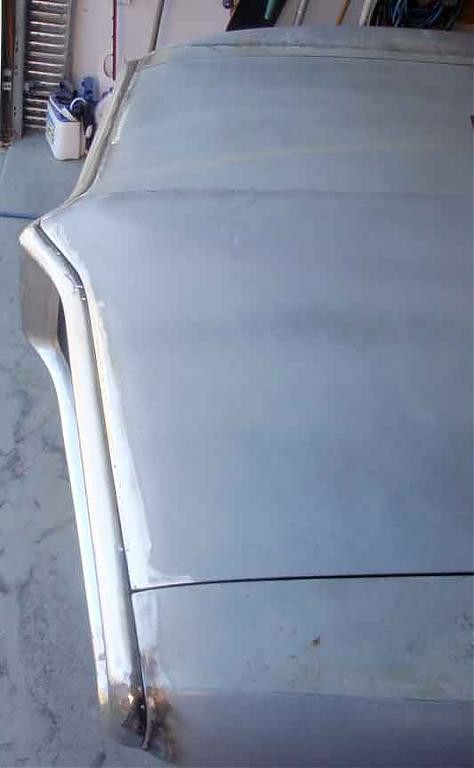
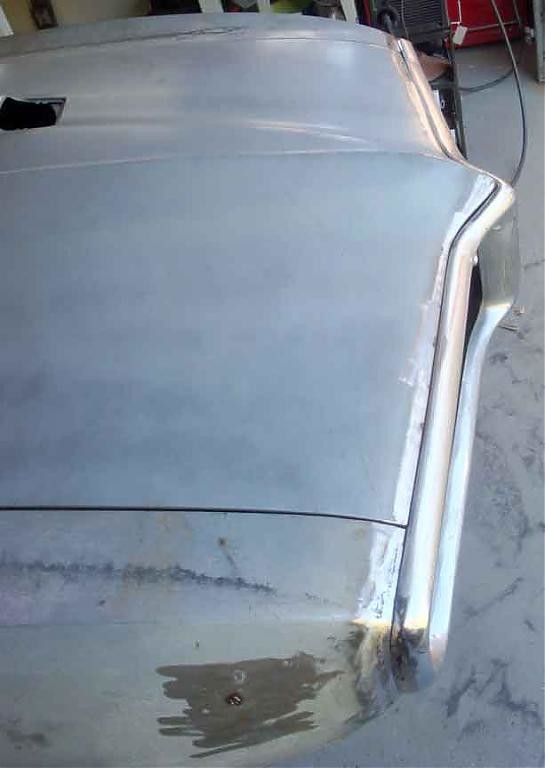
The front bumper is still a work in progress. I also had to shorten the lower bumper brackets to get the bumper to sit closer to the body. I spent most of the weekend aligning the body to the ends of the bumper. I also added flanges on the inner edge to help eliminate visible gaps and light shining through. I also had to push some of the fenders out along the bottom edge to sit closer to the bumper. I have some "before" and "after" pics. you cna see the improvements. From that I now need to reposition the header panel as it's causing interference with the hood shutting fully. It got pulled inward as I attempted to get the bumper to sit where I wanted it. After that I need to add some material along the edges of the hood itself and the bumper to get those gaps right. They just don't align to my satisfaction.
Tomorrow I'm off to SEMA, yay!!

11-4-2012
I went to the site- lots of cool renderings for sure
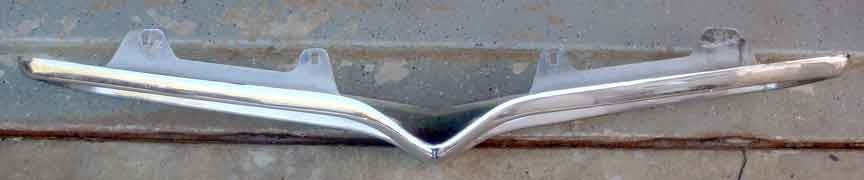
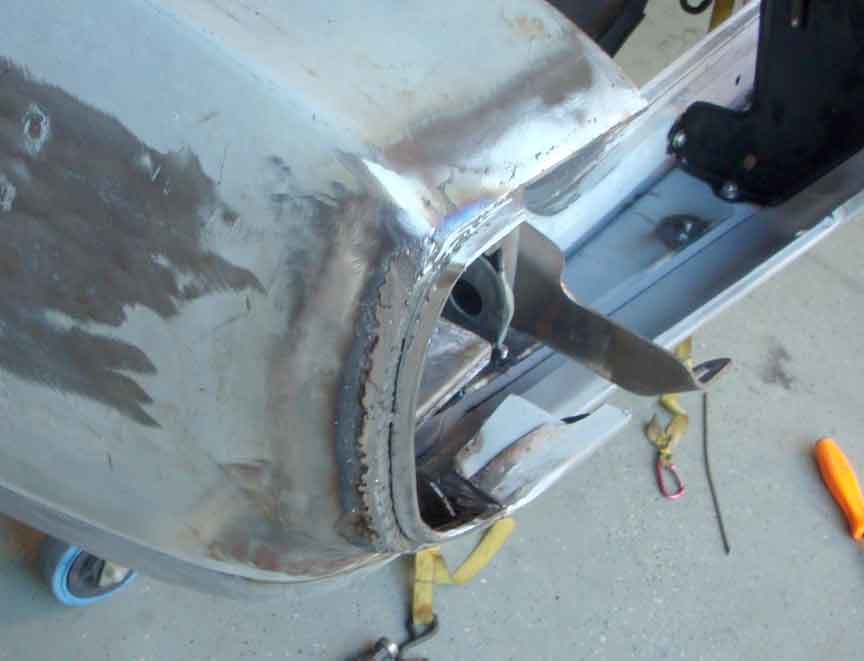
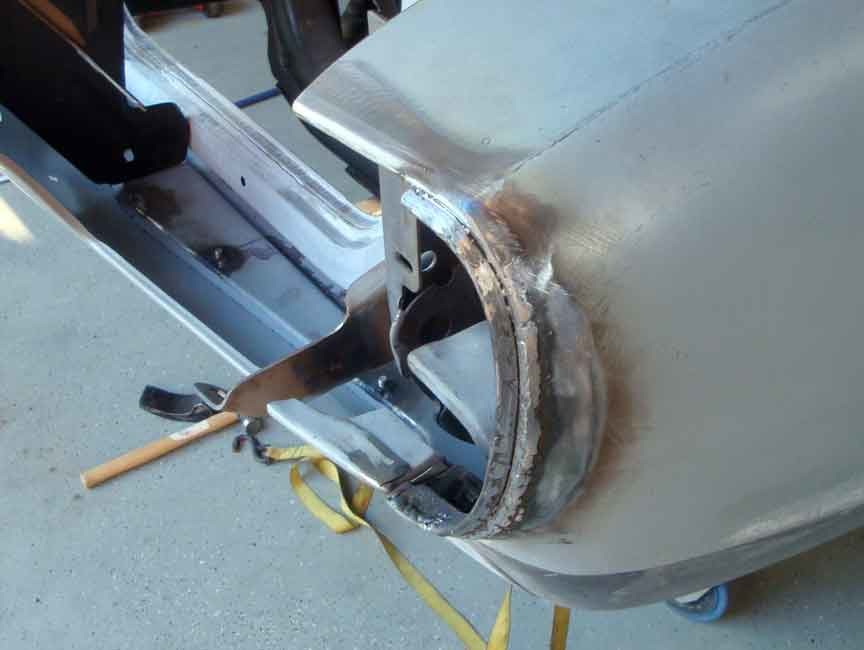
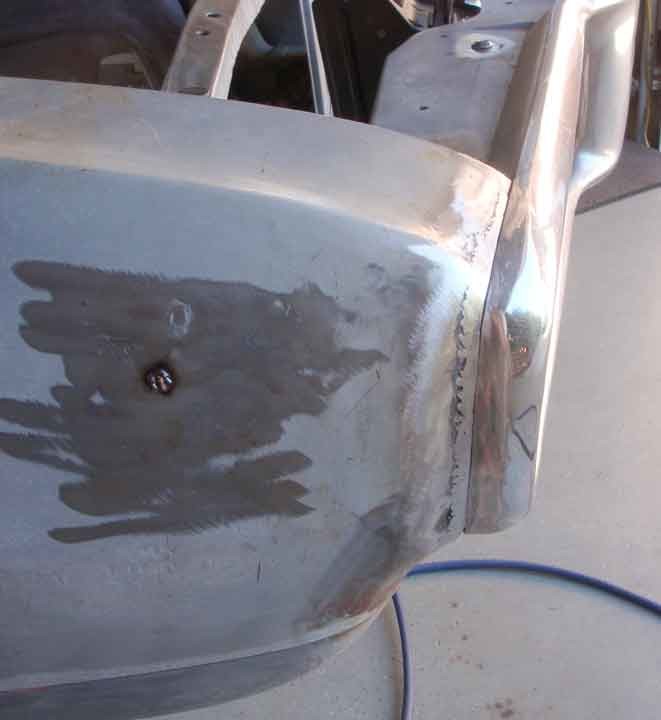
I had some time on Sat to work on the front bumper fitment more. Not done yet, it still needs tweaking. Attached are images of the flanges I'm making to help the front bumper stay put and not let light through as I'm not using those rubber gaskets anymore.
11-12-2012
got one more day in this weekend- am getting closer to getting this to fit right. I have the bumper sitting nice against the fenders, and the top view gap with the hood aligned with the bumper, but now the hood itself appears warped as there are high spots when looking at it from the front. So I have a few options. 1- leave it (yeah, right) 2- add metal to adjust the leading edge to make it appear less warped. 3- slice the under structure and bend the hood out/ re weld the underside back. I think I'll go with #2, then #3 if needed.

Wow excellent!
Posted by Diggymart on 9/23/19 @ 1:21:32 PM