You must be logged in to rate content!
5 minute(s) of a 82 minute read
6-28-2011
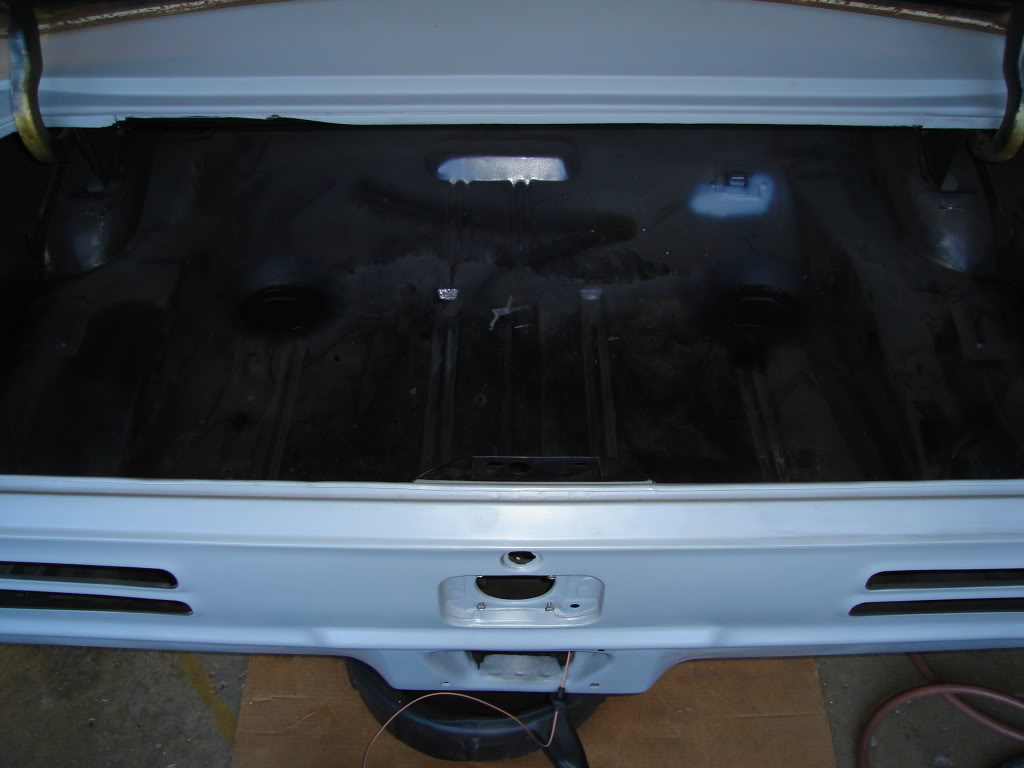
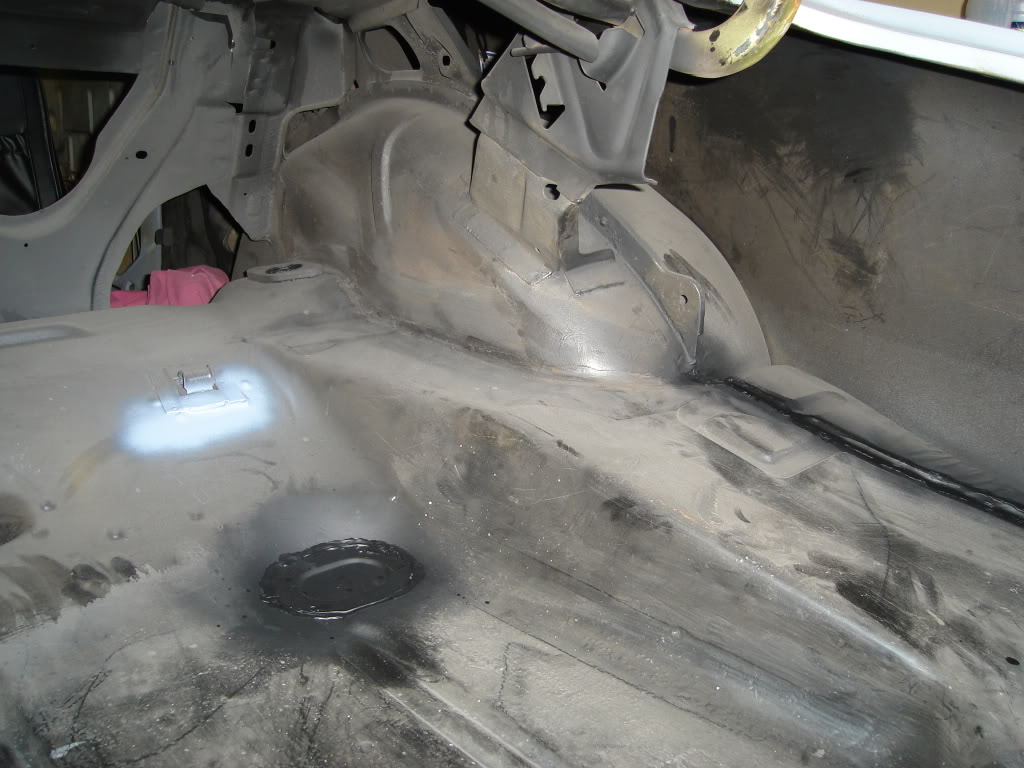
6-27 Started the clean up of the trunk area. Taped everything off,light scuff and on to spatter paint. Here are a couple of before pictures.
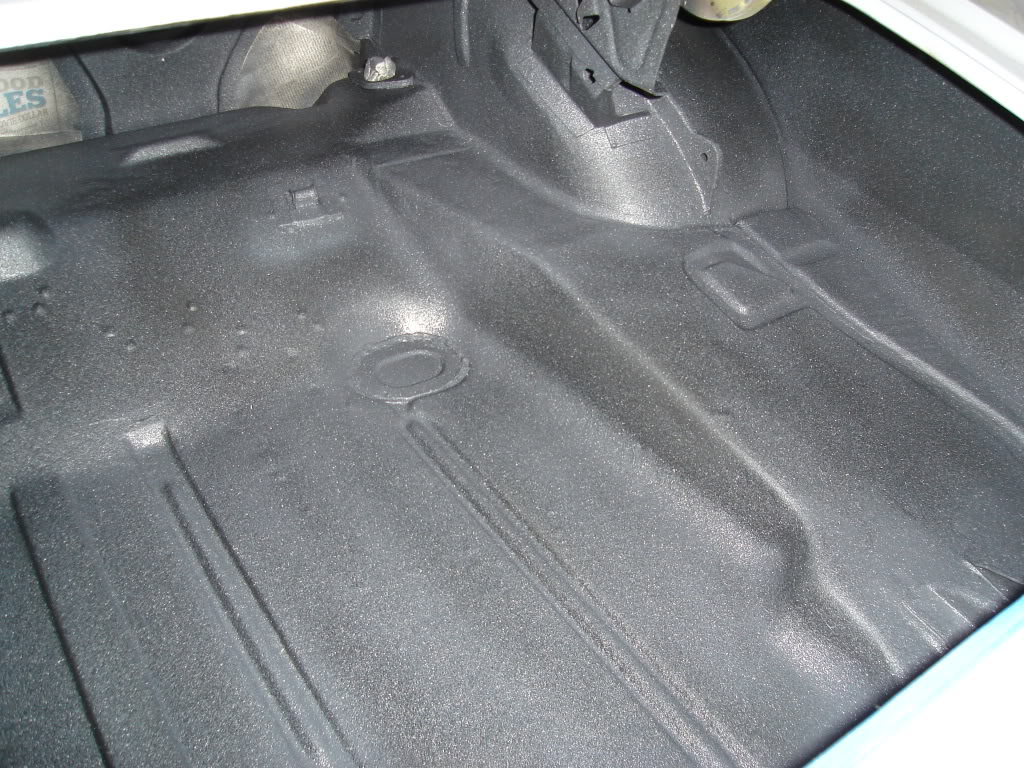
After pictures. I still need to lay down the satin clear topcoat.


8-31-2011
I used Dupli-Color black/gray with their top coat clear coat.
http://www.summitracing.com/parts/SHW-DM102/
I had a hard time getting the clear to not look foggy or dry looking. The over spray would just hang in the trunk area and leave a dry look. I ended up giving a the whole trunk one caot of satin clear that I had in a can. I used a brush to apply it and it turned out fine with no brush marks. It is a little more semi gloss than satin but I'm ok with how it looks.
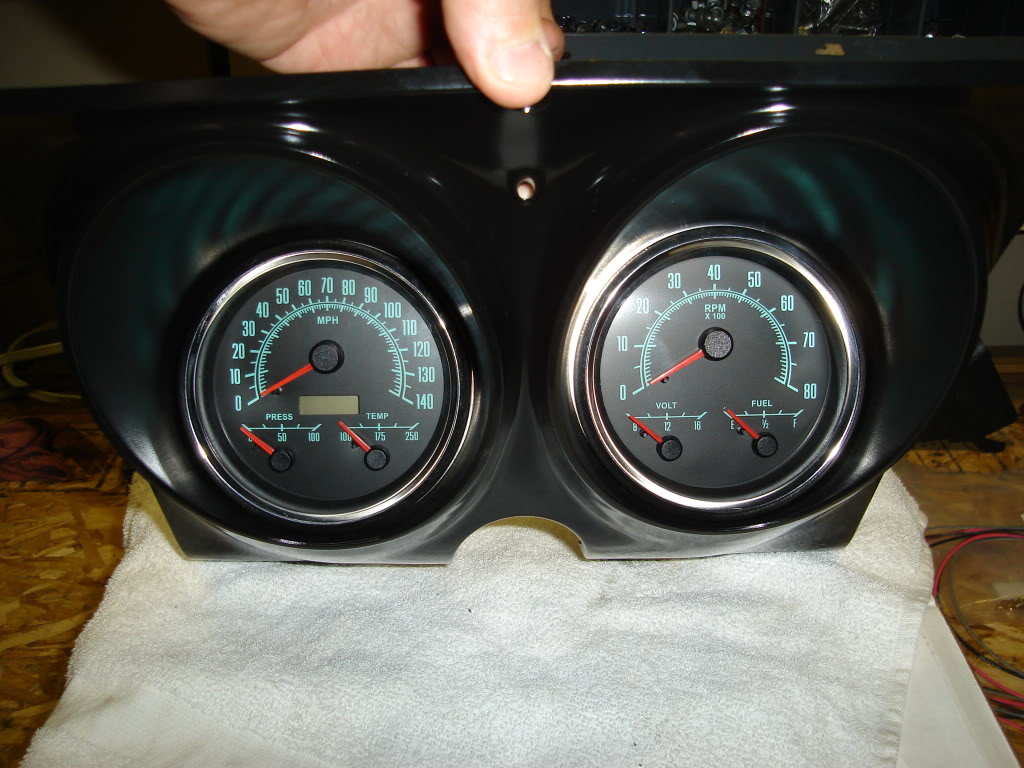
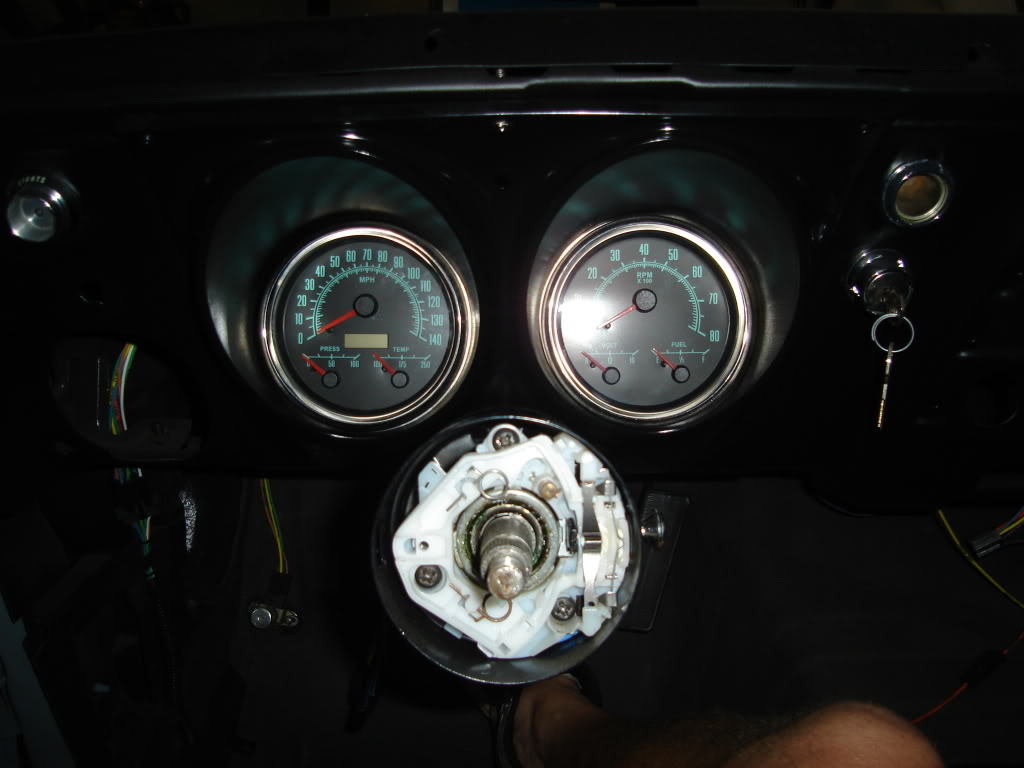
The guages are all wired. I gave AAW a call and they sent me a handful of connectors so I could wire my guage harness right into their bulk head.
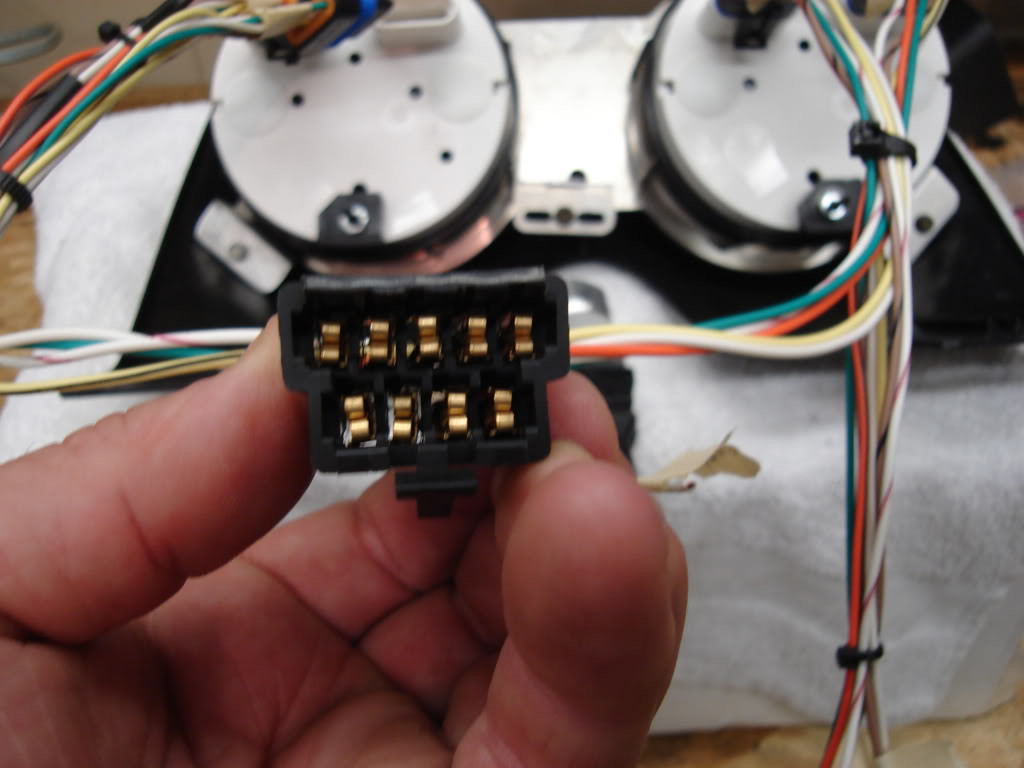
Wiring is almost complete.

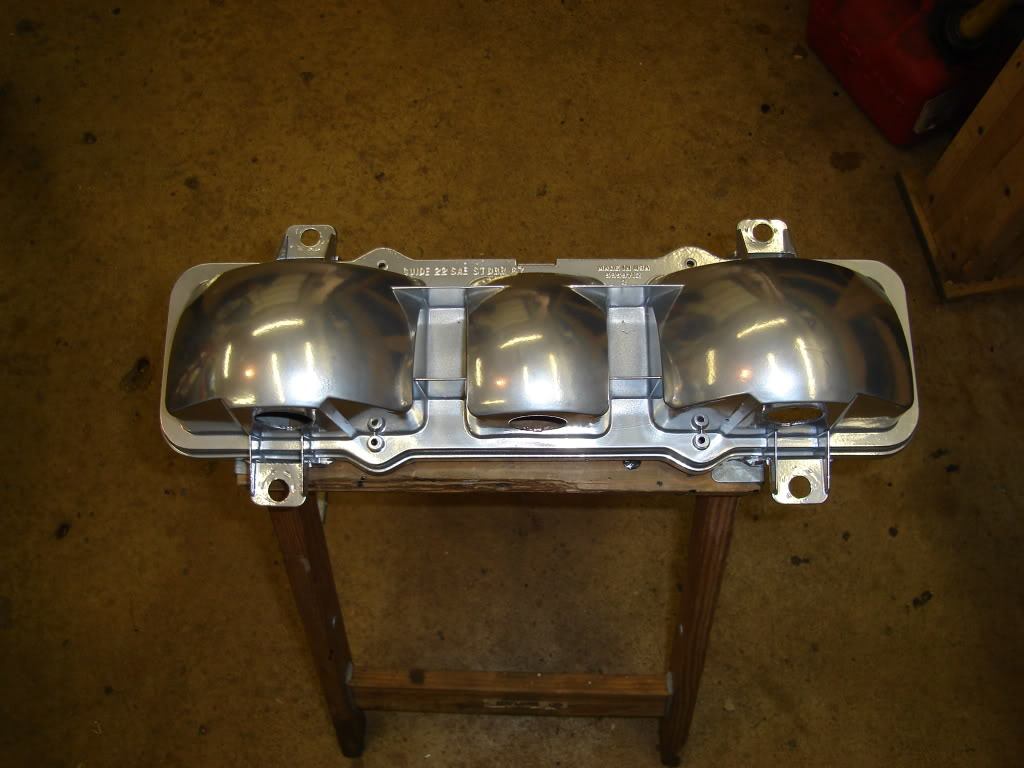
I sanded down the bezel and sprayed it with some satin black plastic paint.
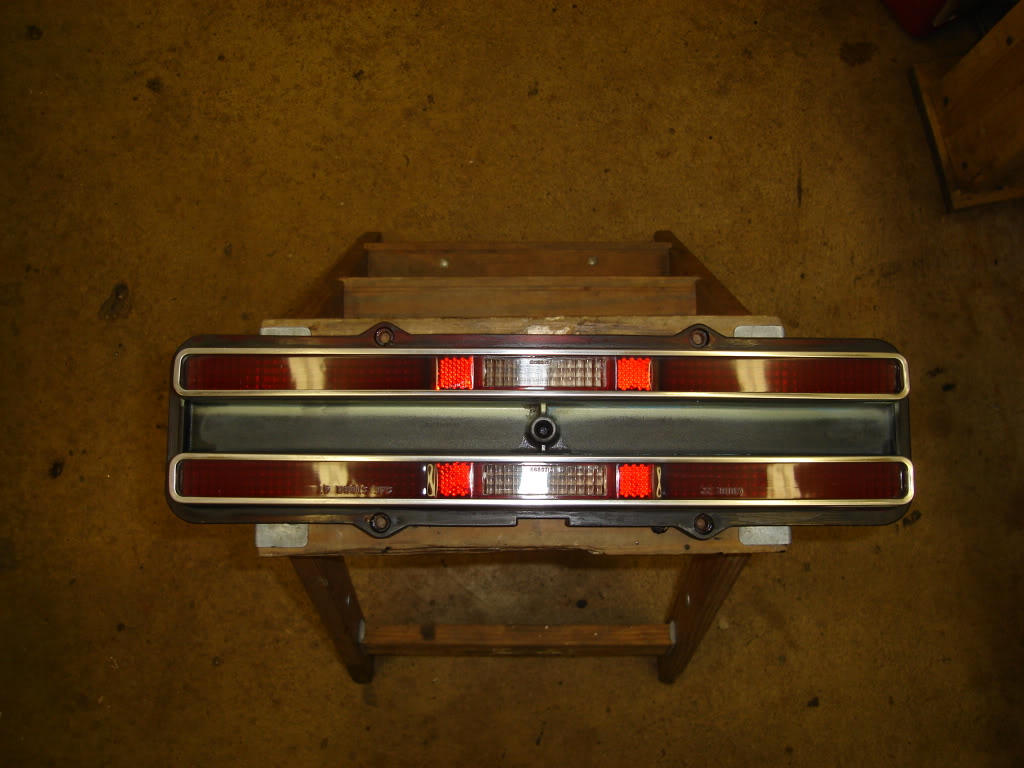
Next up were the tail lights. This is what I started with.
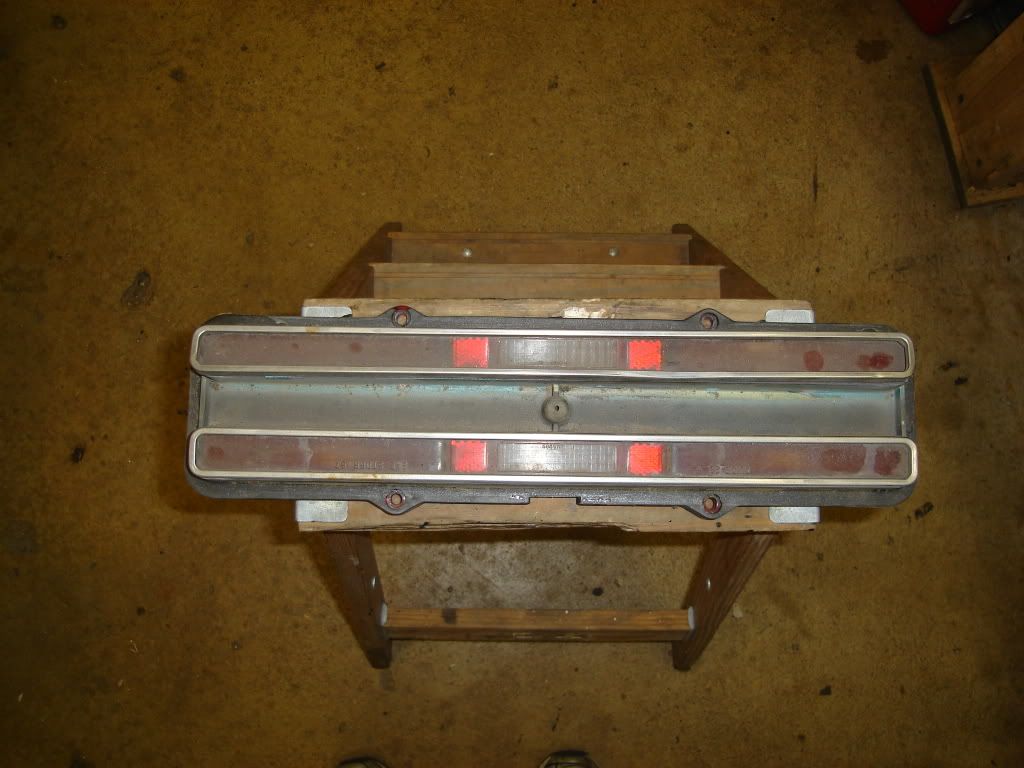
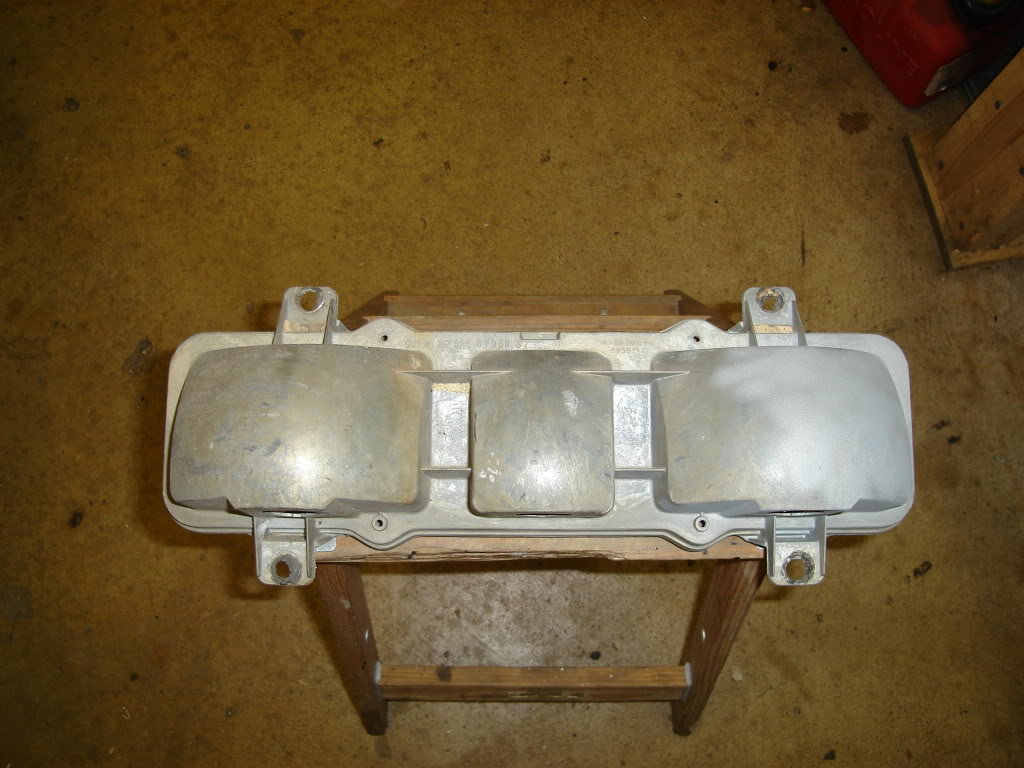
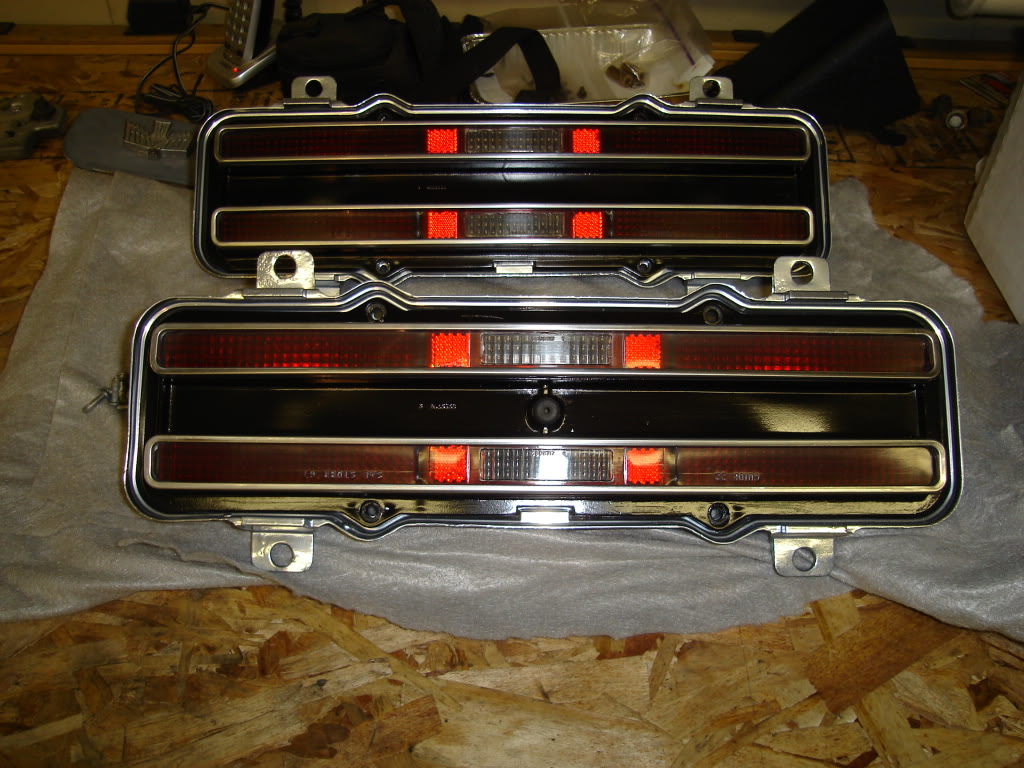
Started with getting the tail light housings powdercoated in gloss silver.
Polished the lenses with a buffing wheel and 3M compound.
Sanded down and reapinted the areas around the tail lights.
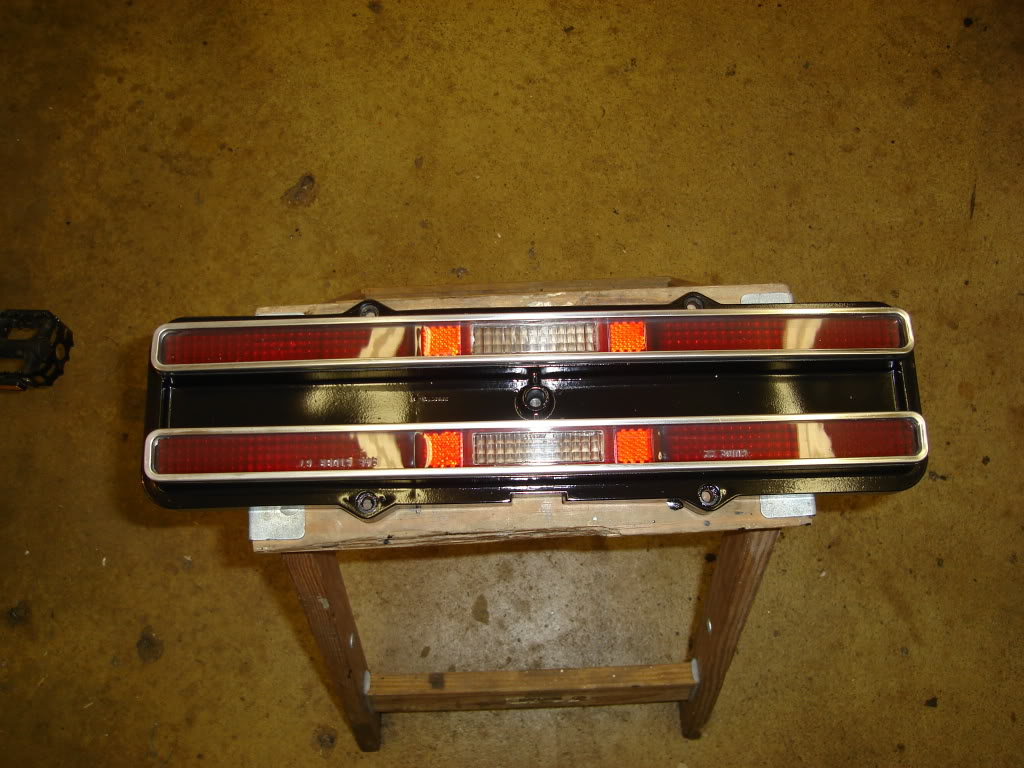
Installed in the housings.
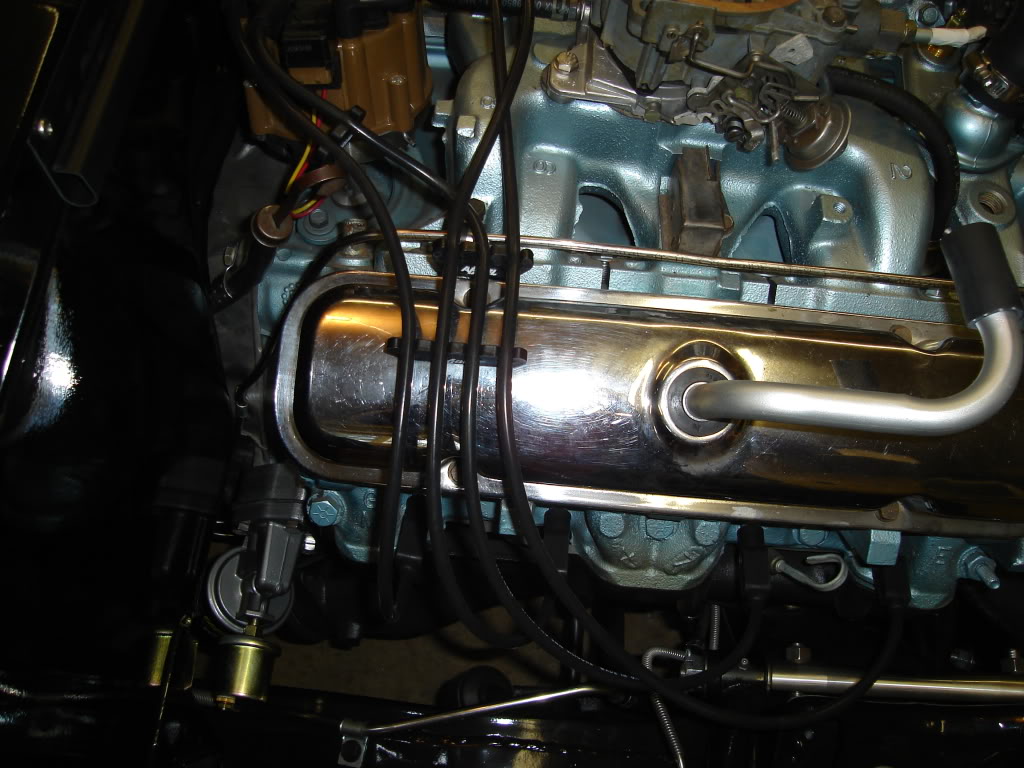
I started on trying to finish up on all the lines that were still missing on the engine and transmission. Mocked up a few lines so I knew what to order and how long the lines needed to be. I also added a new Holley fuel pump for a little more fuel pressure than the stock unit.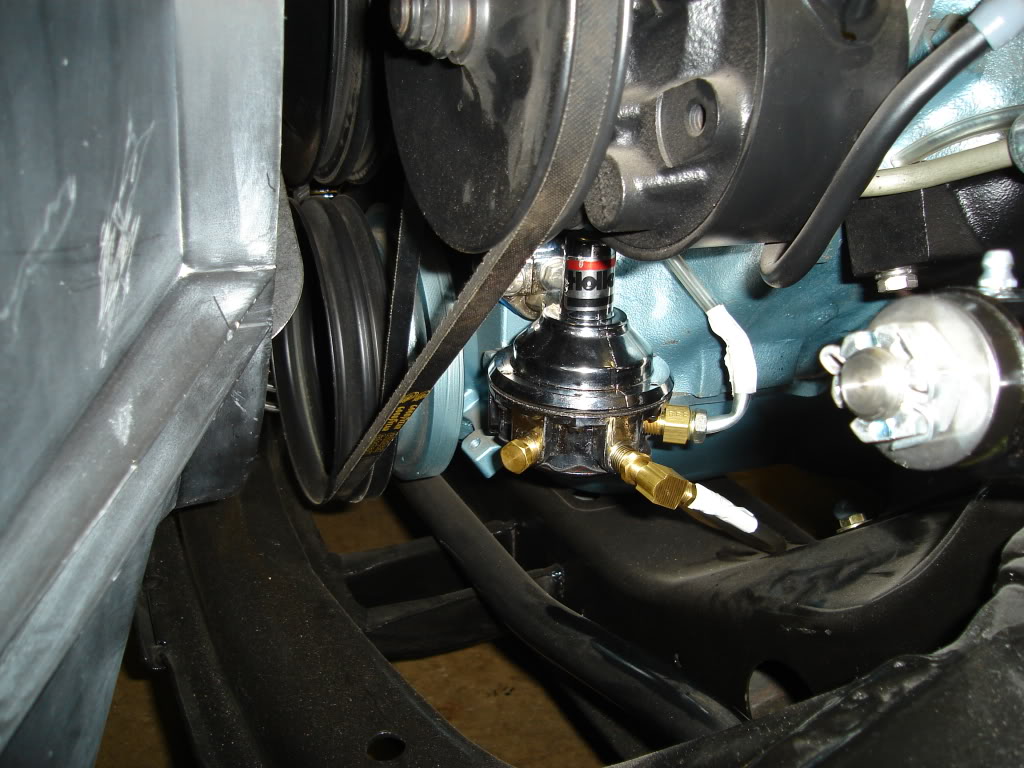
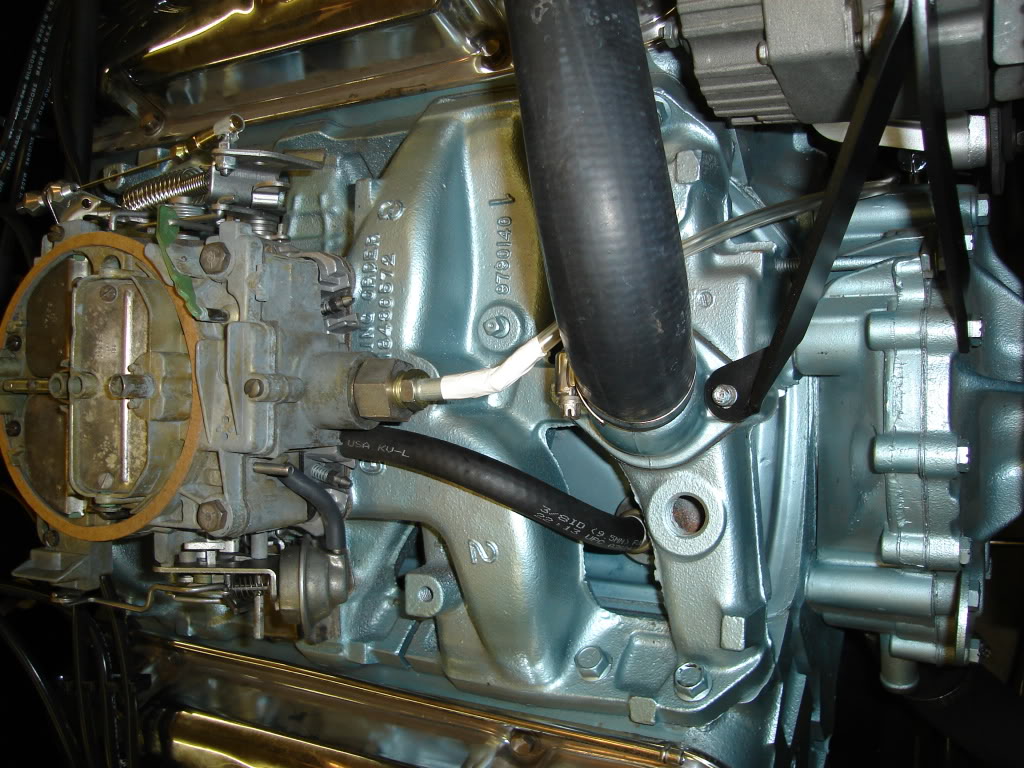

New fuel lines.
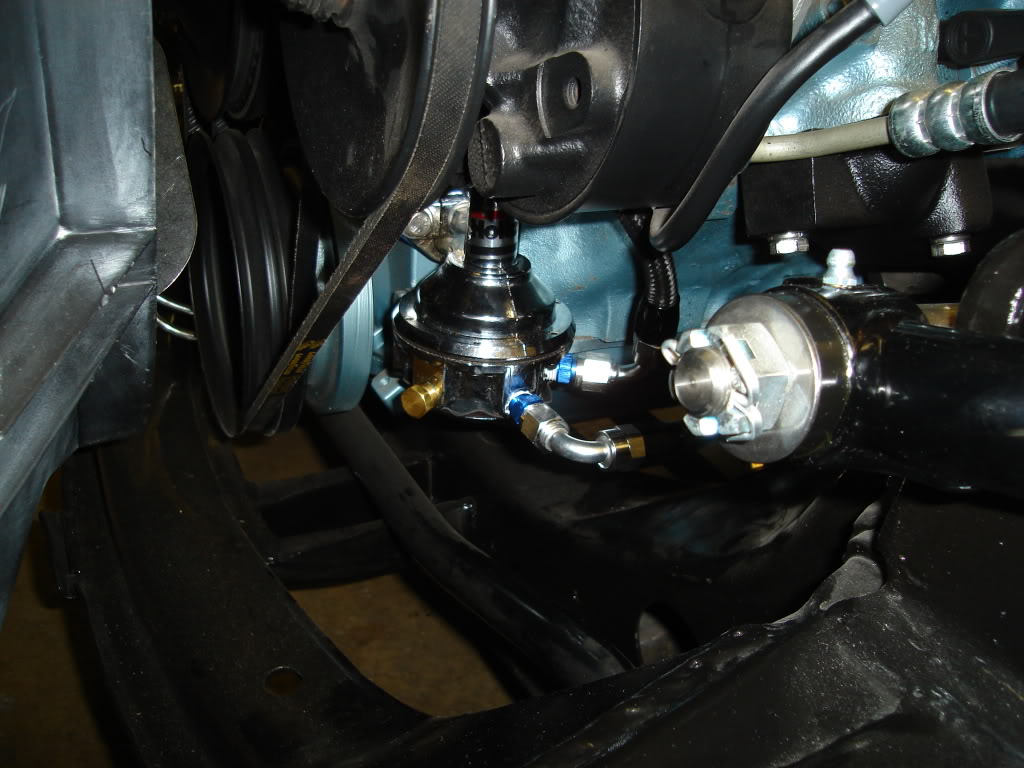
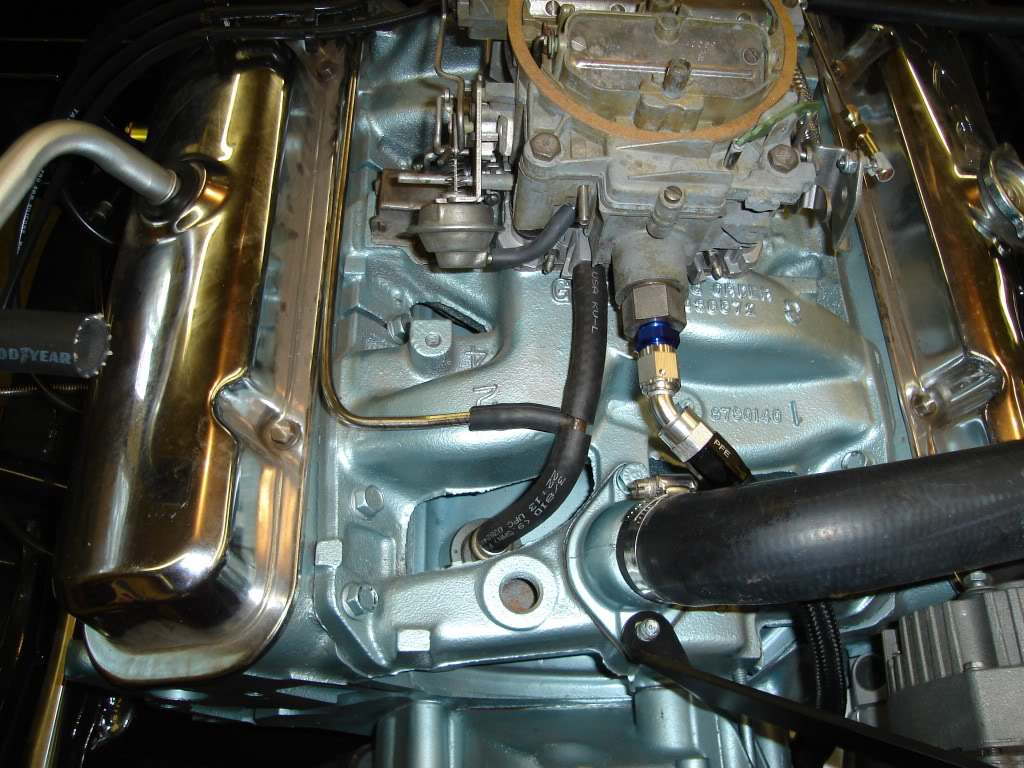
New transmission lines and vacuum line.
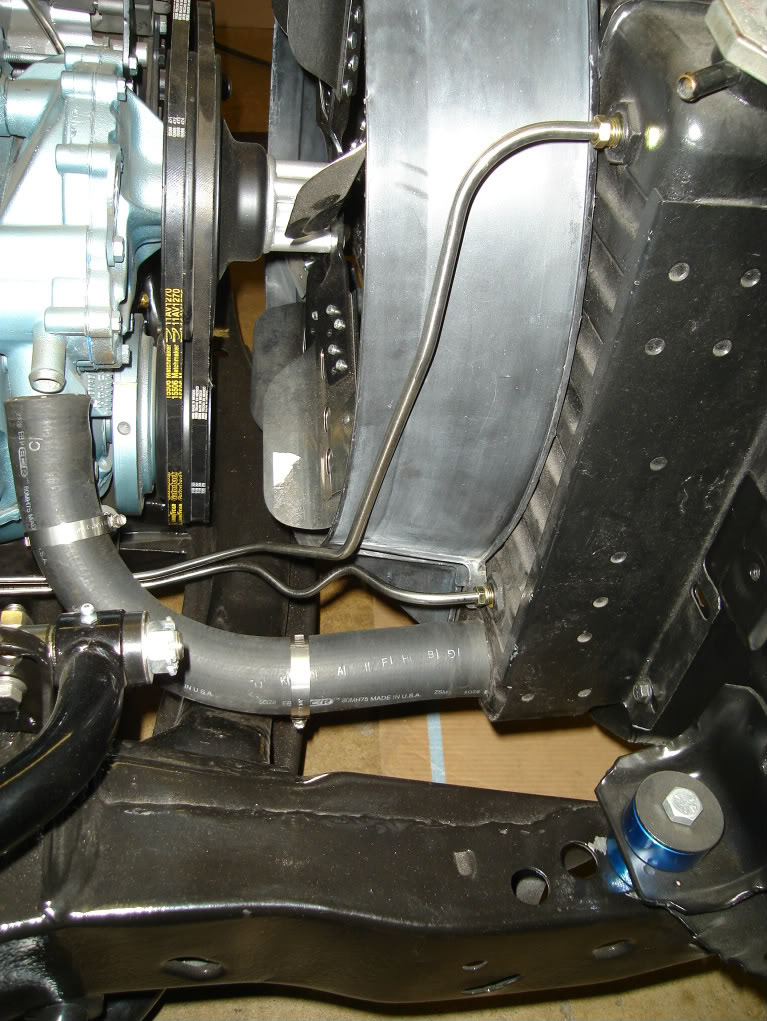
Power steering line return line has been made and installed but no pictures.
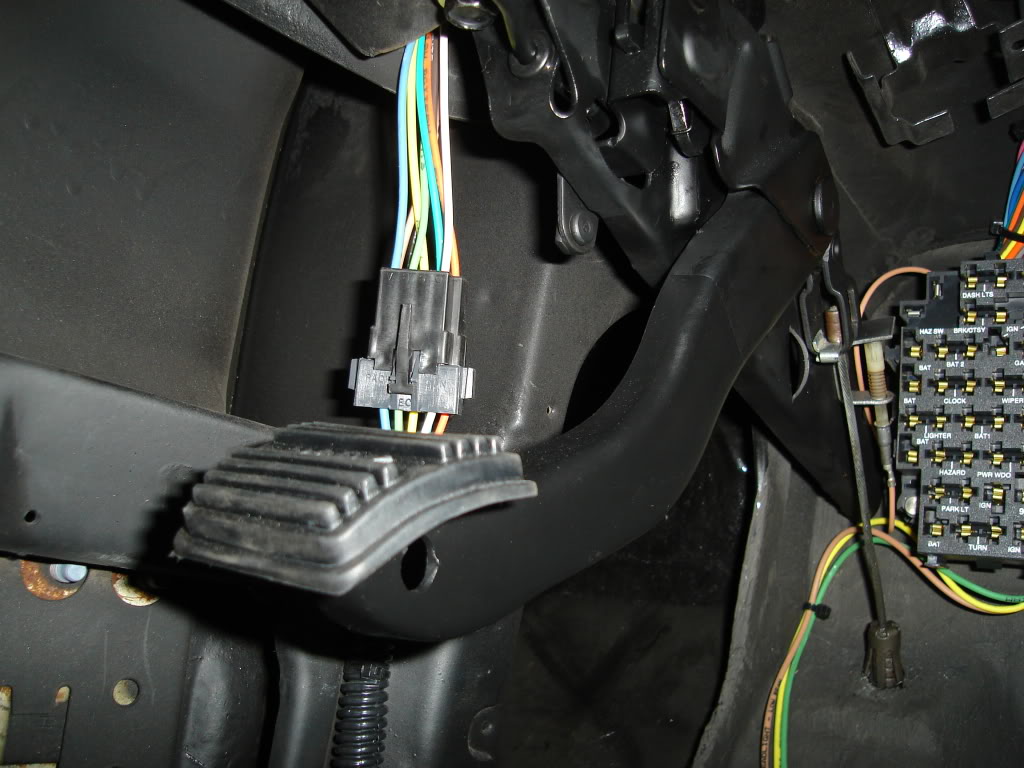
Installed the parking brake assembly and front parking brake line. The parking brake switch was hitting the AAW fuse box. I had to grind a small block off of the fuse panel to make clearance for the switch to work properly.
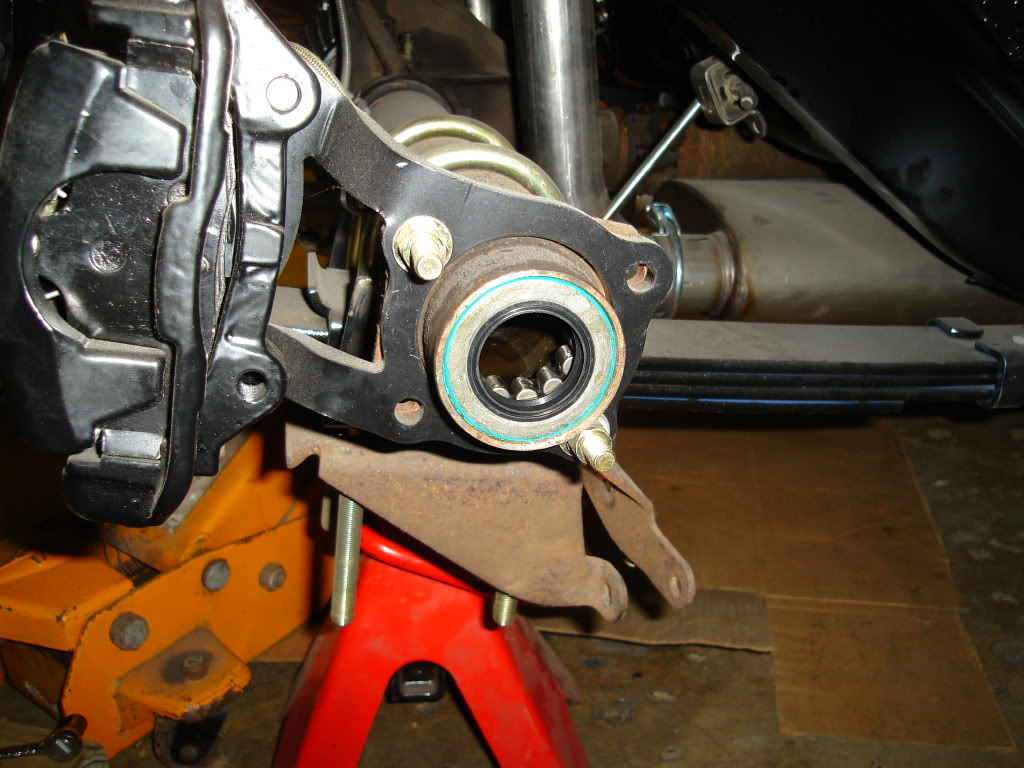
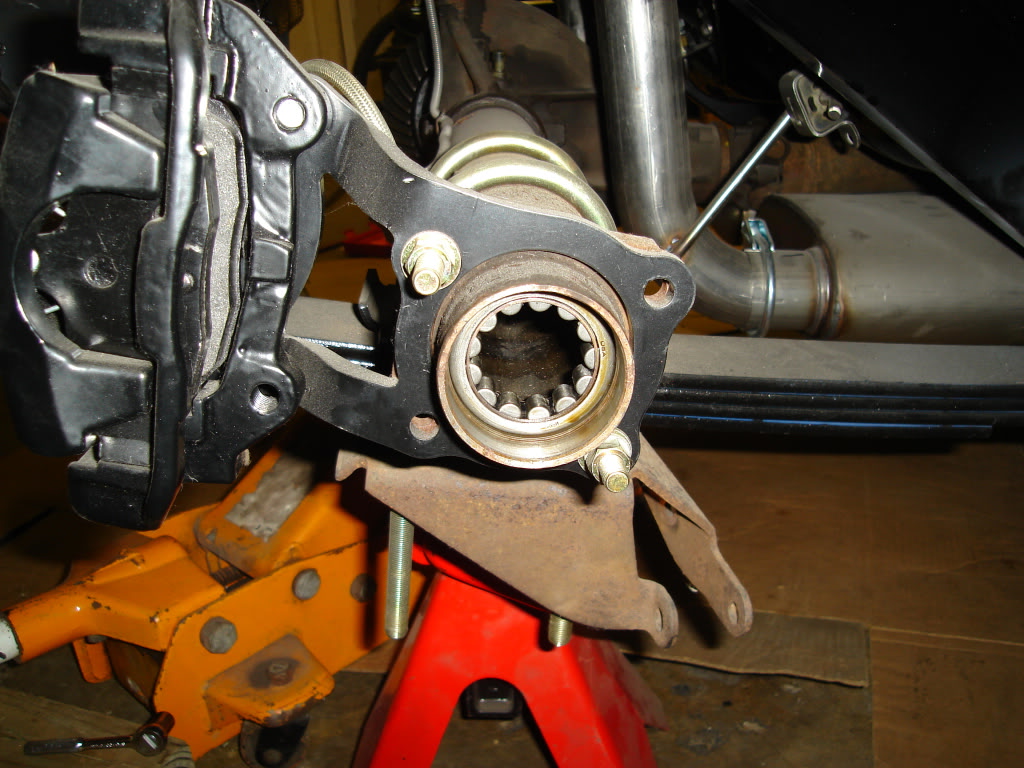
I replaced the rear axles a few months ago. I knew the seals and bearings also needed to be changed. I had bought a bearing removal kit a few years ago so removing the bearings was real simple.
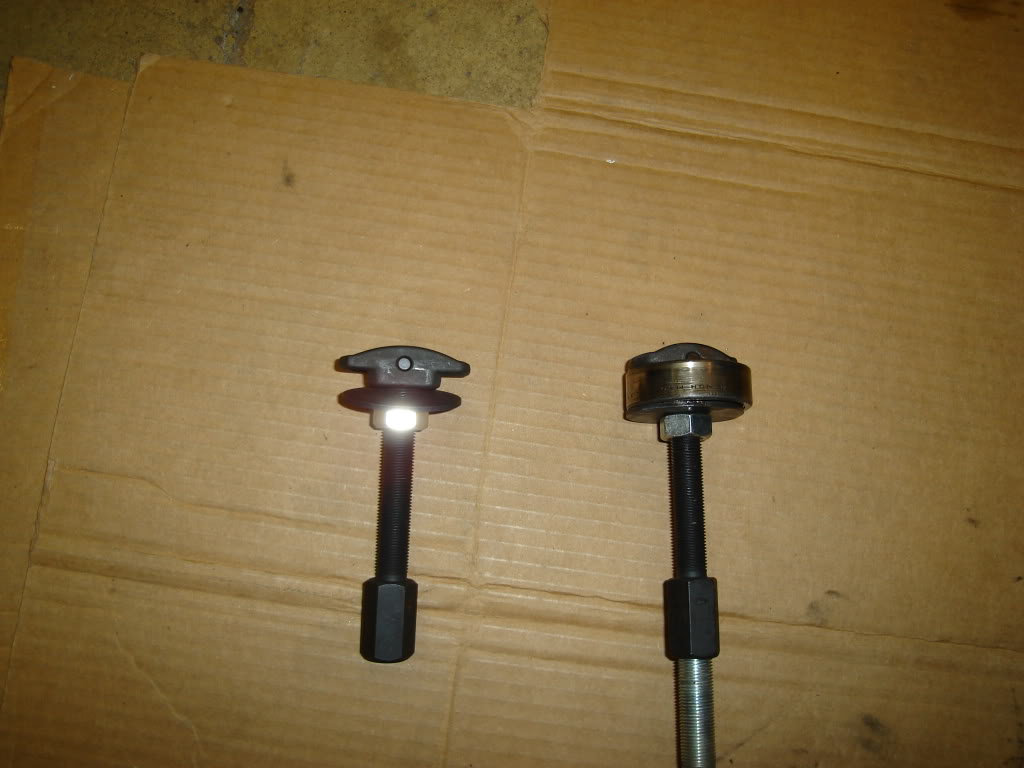
New seals and bearings.
Comments

Great car!
Posted by Diggymart on 1/23/21 @ 2:12:47 AM

Beautiful car and I loved the documented build from start to finish.
Posted by [email protected] on 9/5/16 @ 12:41:07 AM
Great car!
Posted by Diggymart on 1/23/21 @ 2:12:48 AM