You must be logged in to rate content!
6 minute(s) of a 255 minute read
5-18-2021
..speaking of Motul, today I bought a couple of containers of Motul DOT 5.1 for the braking system. Also, 2 litres Lucas 20W50 racing oil for the gearbox. Coming up is a four day weekend so I'll do the brakes, assuming my vacuum bleeding apparatus arrives on Friday as promised. If I get lucky and the new lower rad hoses and thermostat arrive from Germany, the coolant will go in too. I'll fill the gearbox with the 20W50 of course.
The remaining question in my mind is the injection pump. Many people use engine oil in there and it's considered OK by some places that service Kugelfischer pumps. But the original recommendation of Esso Uniflo 40EP or Univis 40; the latter changes up to Mobil Univis N22 and that is available.....in 19 litre drums for about a hundred bucks. The injection pump takes 0.4 L. I'm thinking of using the leftover 20W50 instead.
5-19-2021
I finally got around to riveting the aluminium rear plate holder onto the steel mount tonight. The black paint and finish of the centre of the holder was a bit sketchy so I decided to put the "404 COUPE" plate I had made up in France back in 1984 back on. But this time I drilled it through so the BC plate can go on top. I have two more (really!) - one front and one rear. This plate holder is not really suitable for Canadian plates but it's what the car came with. So....

Normally, the plate holder is riveted in 4 spots but it turns out that the rivets have the same spacing as the slots in a BC plate so I only riveted the top two on and the lower two will have thin bolts through the plate, the plate holder and steel mount. Previously when this car had a plate, I drilled holes in the extreme left and right sides, which was kind of gross.
5-20-2021
The brake bleeding tool arrived today and it's about 100 times better than the one I bought nearly 30 years ago. That one had a cube-shaped bottle that collapsed under vacuum! Haha.
5-21-2021
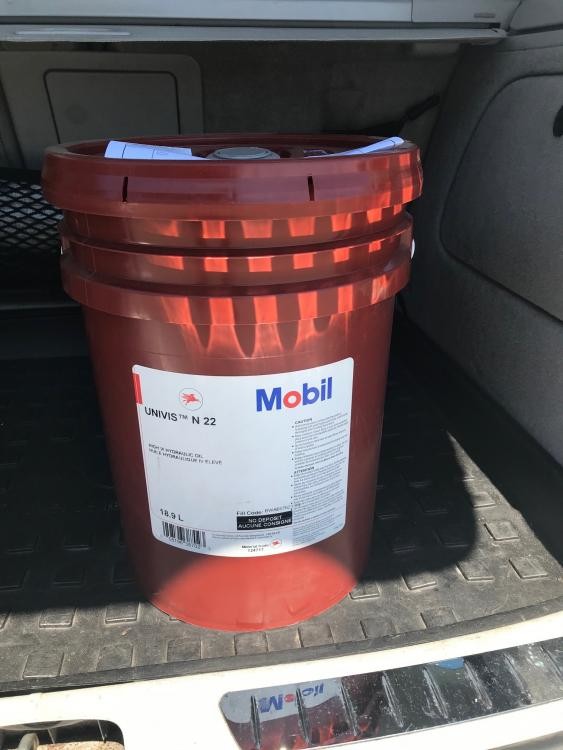
So the smallest quantity one can buy Mobil Univis N22 in is 18.9 litres....
The Injection Pump takes 0.4 L, so this is enough for a fill and 46 oil changes...
It's the straight modern equivalent of Esso Univis 40.
I'll be giving my friend Tim in Victoria a litre for his 404C.
I put the oil in and it's super thin, and I understand it's usable in the Peugeot branded dampers too.
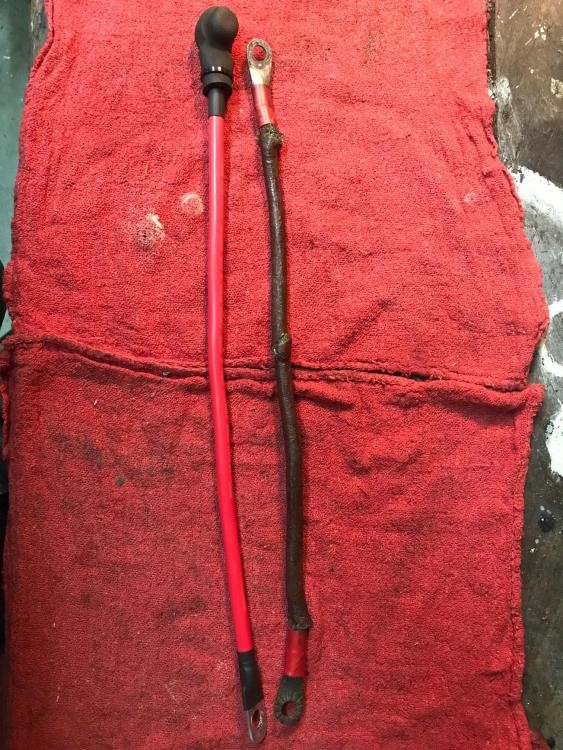
And then installed the new starter-battery cable. The 55 year old original was a bit off. Although the cap was good and so I reused it.
5-22-2021
Today was one for doing the first three of five Injection pump settings using the Peugeot-Fenwick factory tool kit.
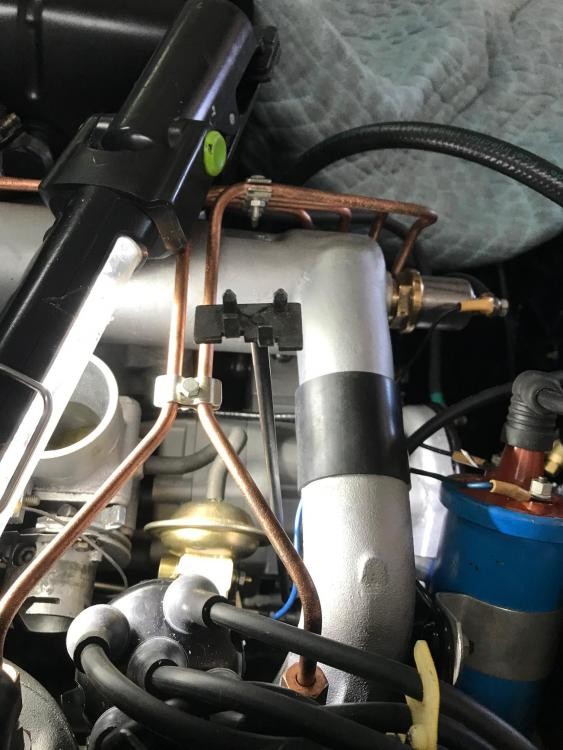
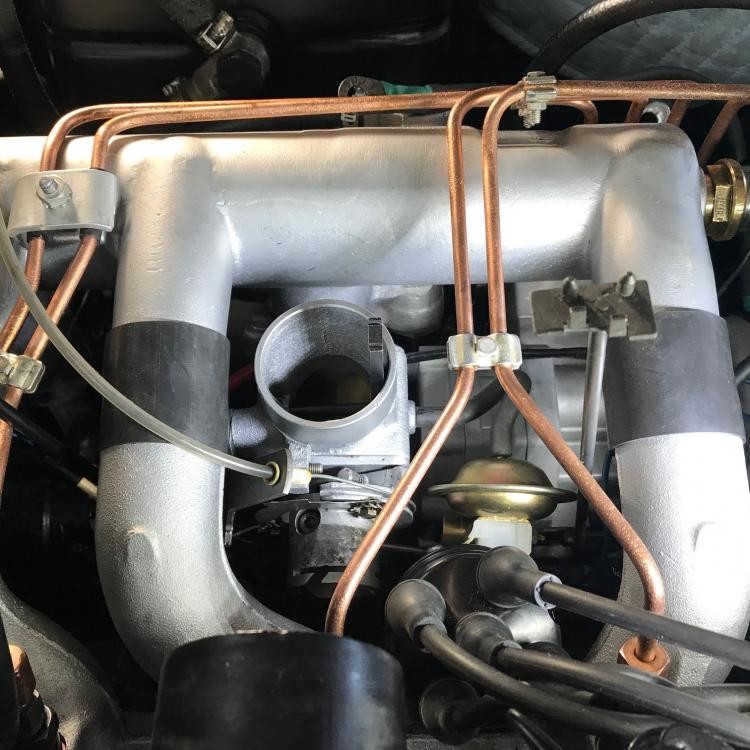
Step 1: Not a great view, but the tool you see sticking up by Cylinder 4 has a hook on the other end that sticks into the richness lever and locks into a slot on the throttle body:
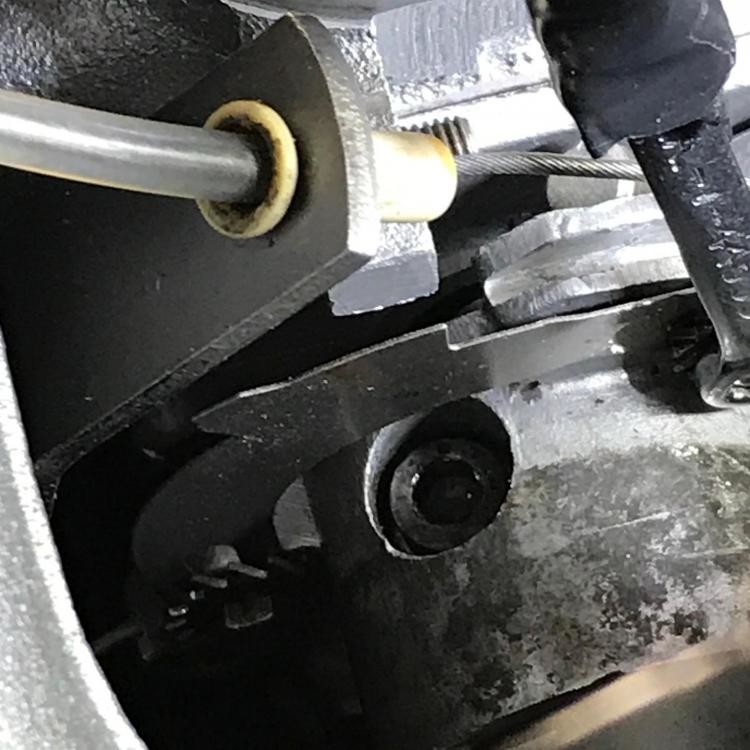
Step 2: The first pre-adjustment is to the clearance between the throttle body and the throttle body drum: 1 mm (adjusted by a 5 mm Allen key as you can see) with a special tool inserted into the throttle body and the tool shown above in Step 1 still in place:
![]()
Step 3: In this step - Adjustment I (the precursor to Adjustments II and III of course!) with the injection pump richness lever locked in position and the throttle butterfly also locked in place, the two bolts (with jagged lockwashers) holding the thin metal "sector" plate to the throttle drum are slackened and it's moved until the forward flat mark lines up with the boss on the throttle body, then the bolts are tightened down again.
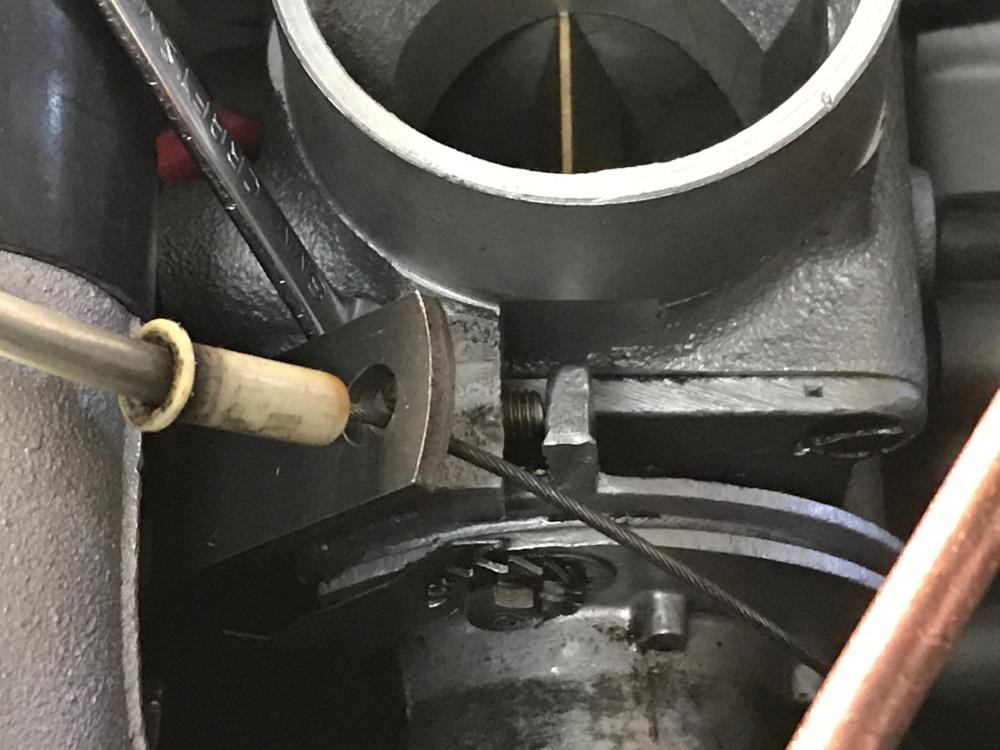
Step 4: Another view of the special tool that locks the injection pump richness lever into a slot on the pump body while the throttle position is set by another tool:
Step 5: Inside the throttle body is the tool that holds the throttle plate in a set position relative to the injection pump, which also has a special tool in it (the top of which is visible at the bottom of the photo). This essentially registers the throttle body position with that of the injection pump:
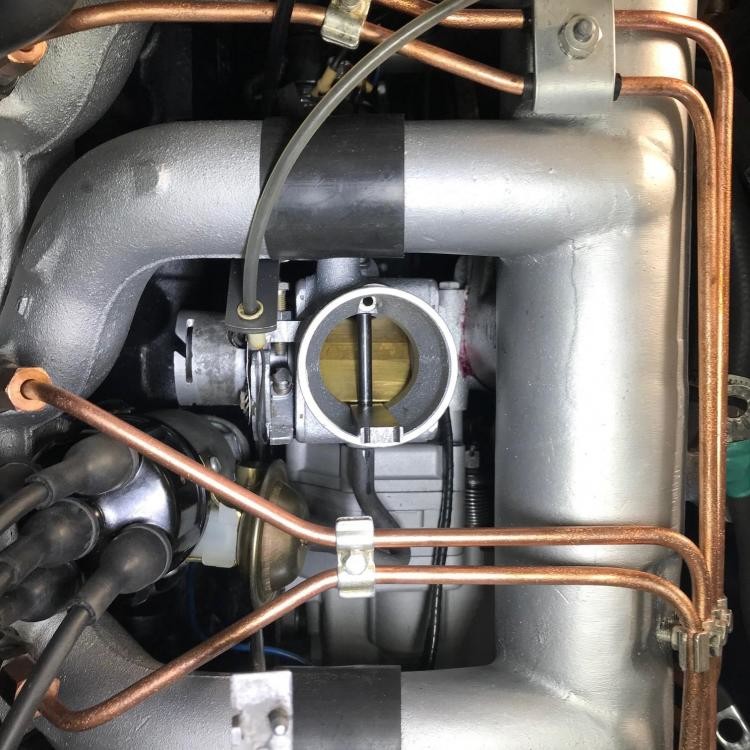
Step 6: Adjustment II: this is the maximum throttle opening (you can see the vertical throttle plate in the photo), and it's set by lining up the notch on the thin metal plate that's bolted to the throttle drum with the jagged lockwasher with the front face of the boss on the throttle body. The adjustment is achieved by rotating the screw whose threading you can see just above the cable.
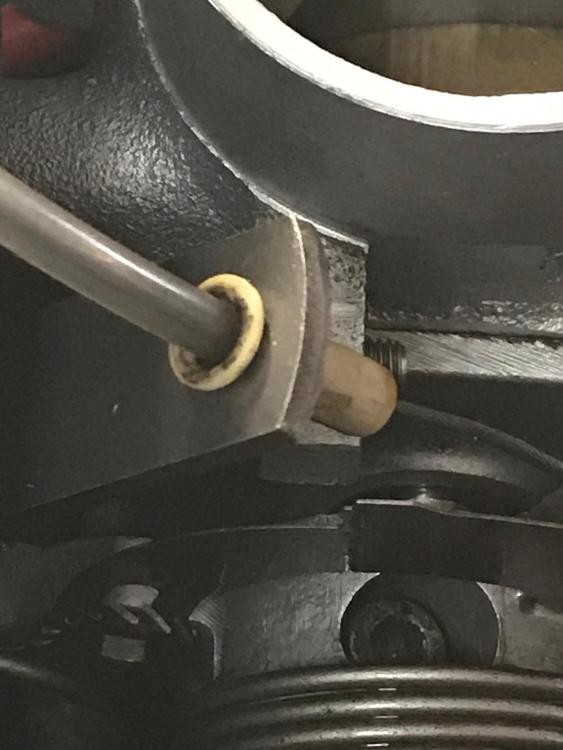
Step 7: Final check (Adjustment III): Minimum throttle opening. Here the higher notch on the thin plate bolted to the throttle drum must line up with the flat boss on the throttle body. Lower centre right of the photo. You adjust it by adjusting the minimum throttle stop screw. Once the engine's running, the adjustment can range between where it is in this photo (12°) and the lower notch to the left (10°).
Step 8: put air filter etc back on. Battery cables are ready to be connected:

The last two adjustments of the injection system are done with the engine running - basically, the thermostatic richness lever on the intake manifold is set at 60°C by adjusting a screw (more special tools!) and also adjusting the supplementary air valve at the same time.
Wow a labor of love. Great!!
Posted by Diggymart on 9/7/19 @ 4:02:23 PM