You must be logged in to rate content!
4 minute(s) of a 255 minute read
2-9-2021
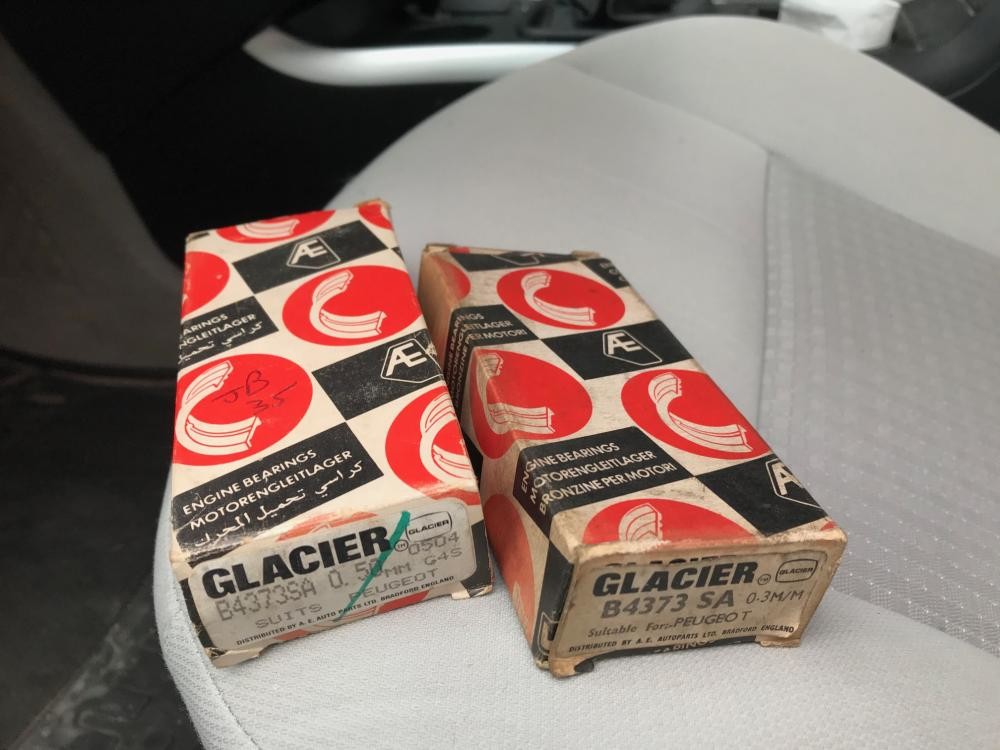
I've ordered from Britain two sets of AE-Glacier rod bearings, one in 0.3 mm and one in 0.5 mm oversize. Should arrive soon I hope. I got the larger size in case I need them in the future.
2-20-2021
Rod bearings arrived and I'll run them down to the shop on Friday the 26th.
2-21-2021
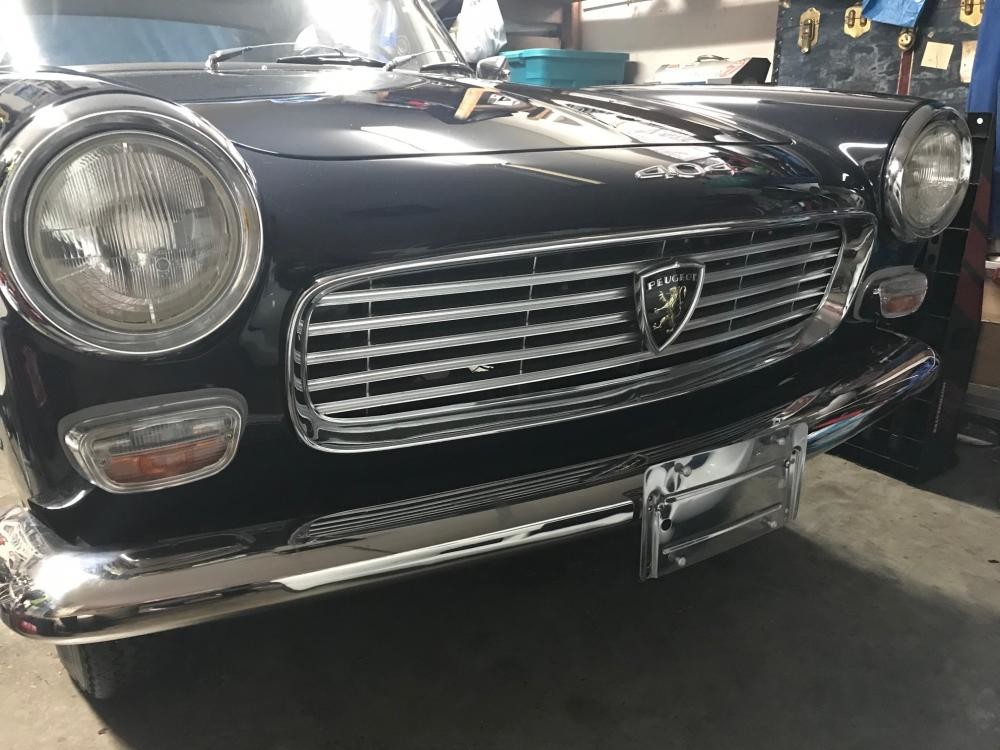
So meanwhile, I decided that the stainless steel license plate mount on the back of my Mercedes is very nice, heavy gauge and ideal for the 404C. It will prevent the front plate from bending if it gets a "light kiss" in a parking lot, for example. So I bought on from a wrecker, had to drill two holes to match the 404C bumper holes and mounted it.
This is much nicer than the original rusted one that I threw out some years back..which I later regretted.... but now I don't!
2-26-2021
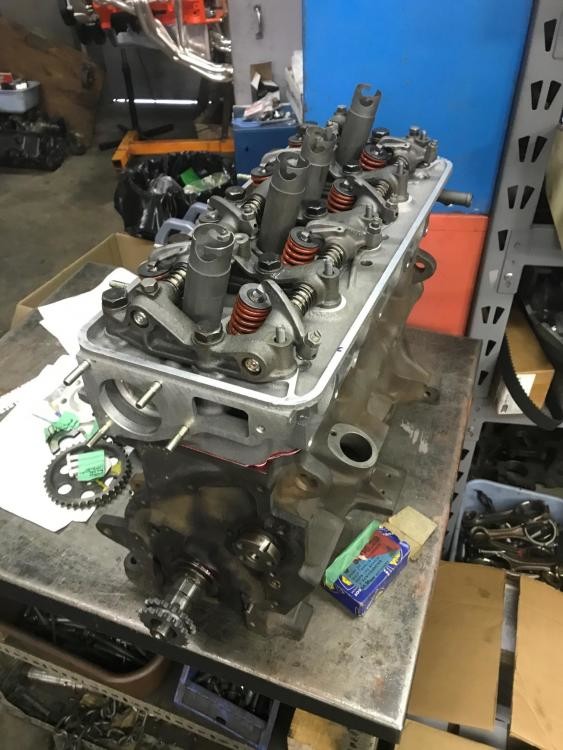
Dropped the rod bearings off at Anderson Precision Engines this afternoon. She's coming together nicely.
3-2-2021
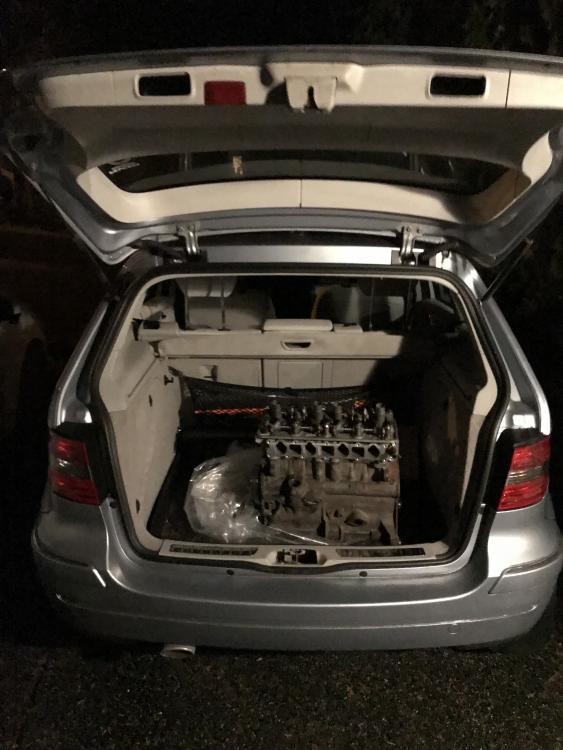
Long block comes home Thursday PM. Of course one of the sets of rod bearings I dropped off there 5 days ago did the trick........
They slightly refinished a few, likely extreme polishing - they were not bad in that respect - and all were re-bushed in house.
Plan is to get her running soonish and do some road trials whenever I can. I expect the brake booster (NOS but it was on the car for 28 years) needs a rebuild but I'll probably try it as is for this stage of work. Maybe I'll get lucky. If not, it'll go to White Post in the eastern USA for a rebuild later this year. It's nice to be winding down the costs of all this work, at this point.....
3-5-2021
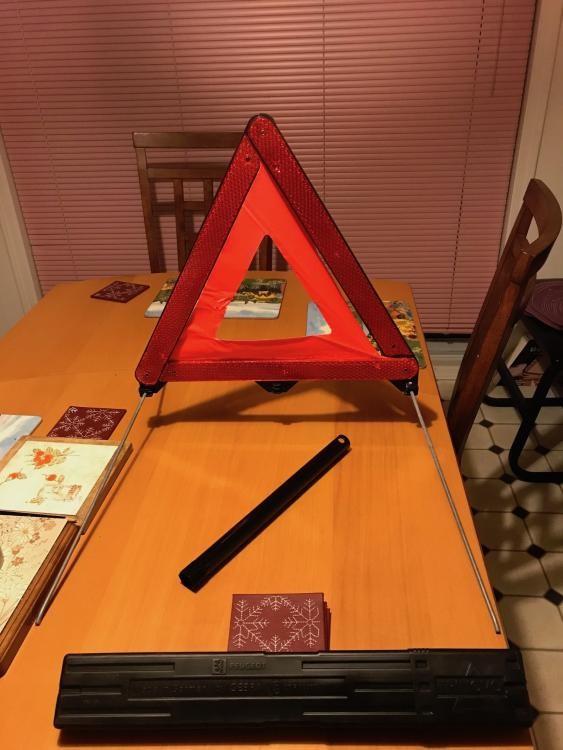
Next step now that it's home is to paint the block after getting the flash rust off it. Also got from Peugeot Classic a Peugeot branded warning triangle and a plug wrench to carry in the car.
3-6-2021
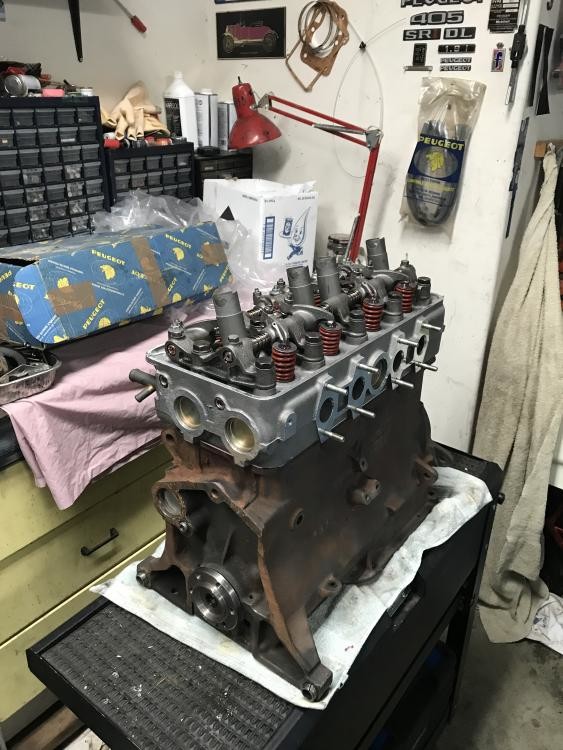
So far the only part of the block that was painted, after a good wire brushing, is the orangest part you can see in that photo. I painted it before mounting the external oil line that feeds pressurized oil to the head, which would have made painting it pretty difficult after. The tube itself needed painting and the insides were cleaned out first.
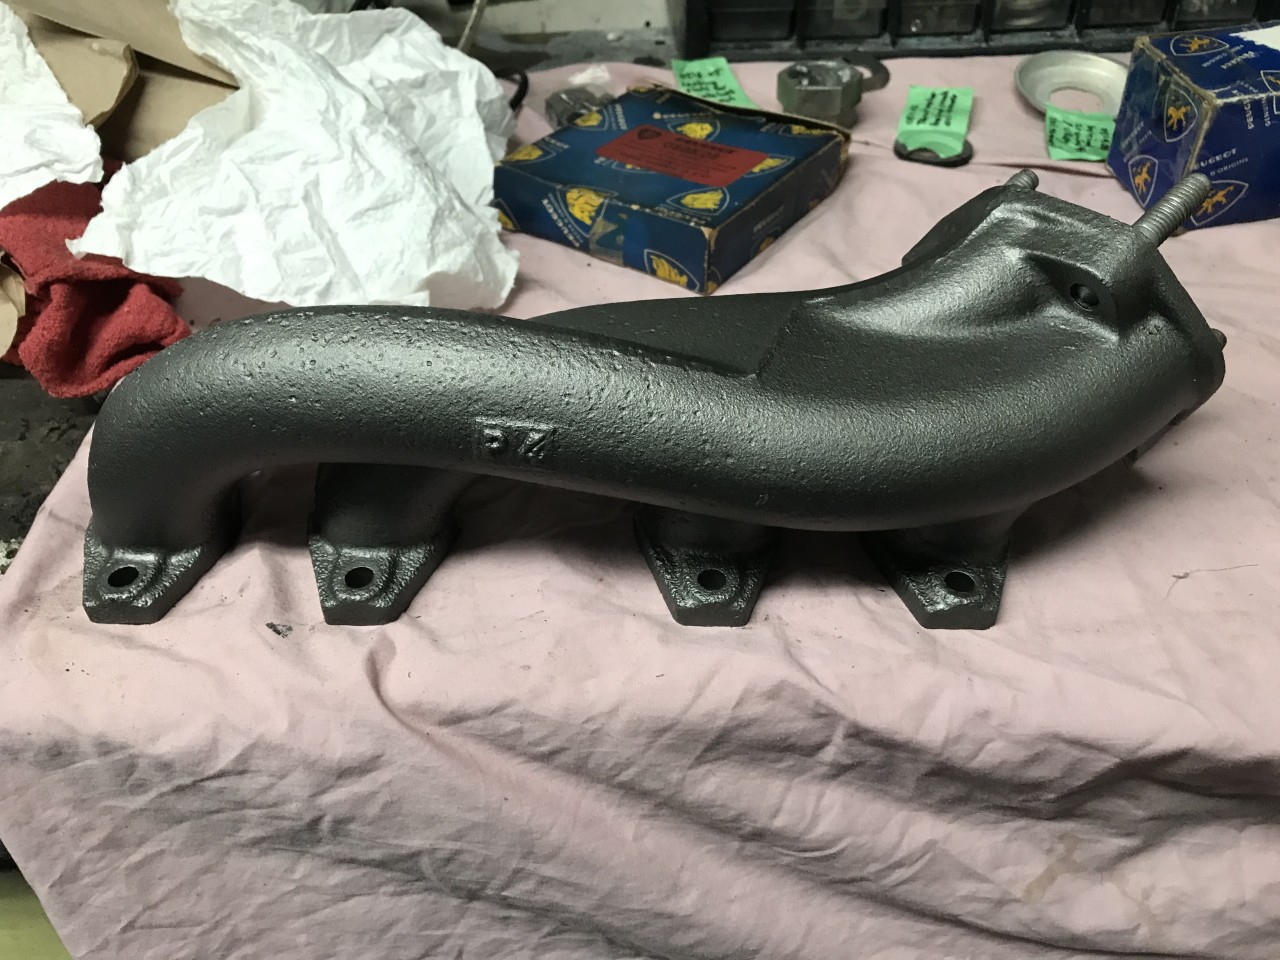
Ceramic paint good to 600°C on the cast iron manifold, which was perfectly rust free and clean beforehand. Hope it lasts a while!
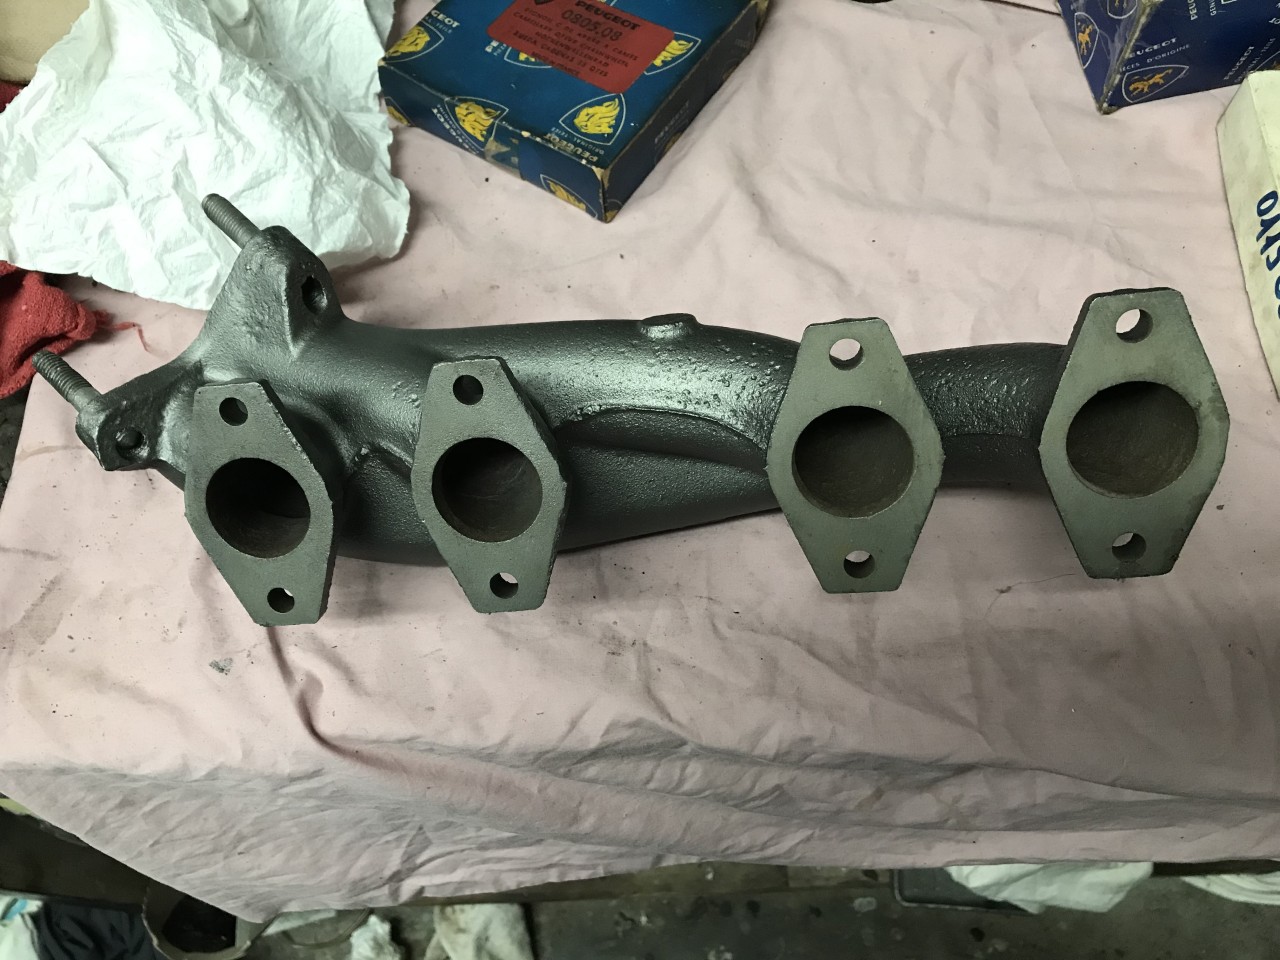
The other side. The shop rectified the faces of the 4 ports on the manifold so it lost its mild pitting from the past 55 years and should fit the new head beautifully!
I also cleaned the clutch fan switch sensor that screws into the radiator and mounted it, cleaned out the oil supply tube between the block and head, mounted it with new copper washers after painting the block behind the tube first, then painted the tube once mounted.
Wow a labor of love. Great!!
Posted by Diggymart on 9/7/19 @ 4:02:23 PM