You must be logged in to rate content!
6 minute(s) of a 255 minute read
11-29-2020
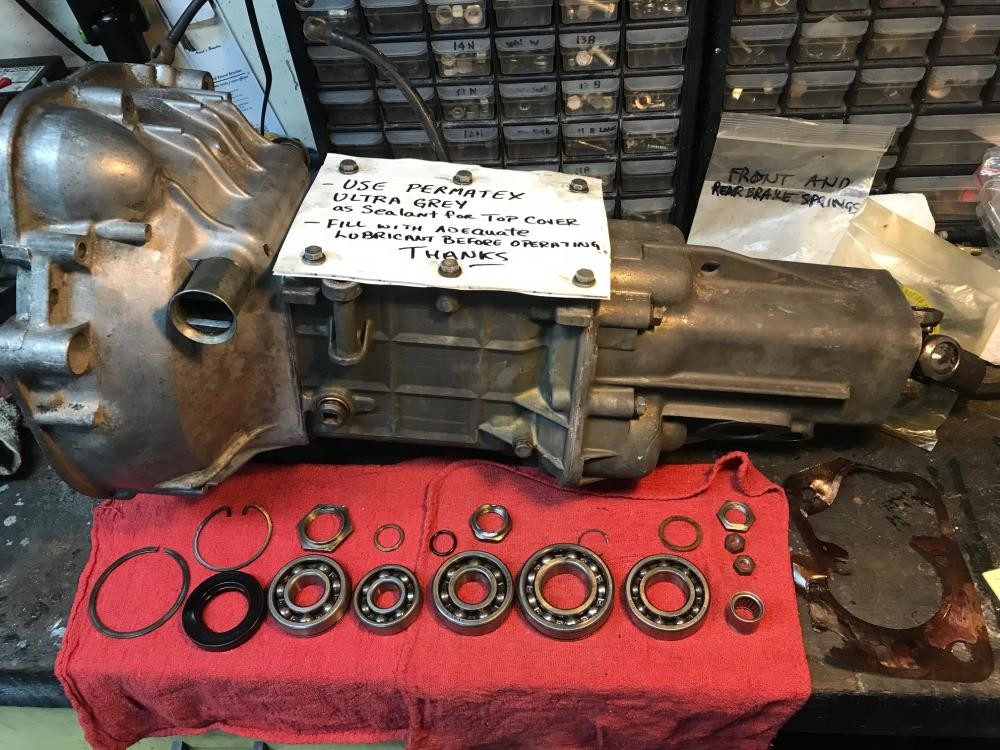
Eldest daughter Jennifer brought the rebuilt gearbox home. Personalized note on the top cover!
If you're wondering, the Nardi shifter can only be bolted on from inside the cabin, once the gearbox is in position below the car. There is no other way to install it. So I leave the corrugated plastic in place until I'm ready to install the shifter.
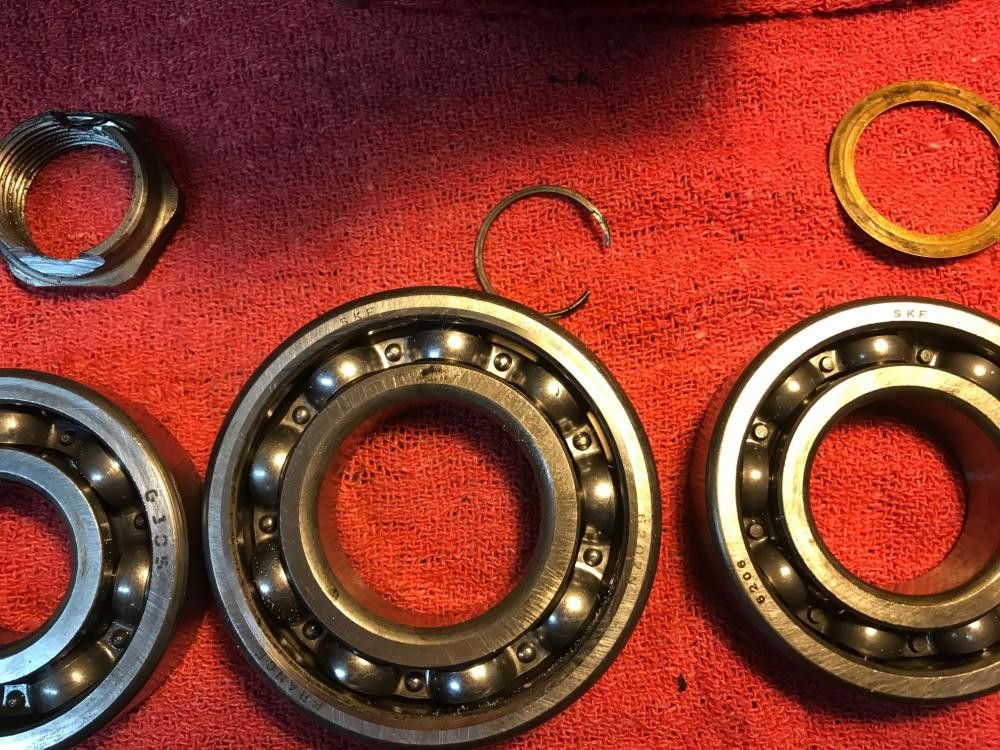
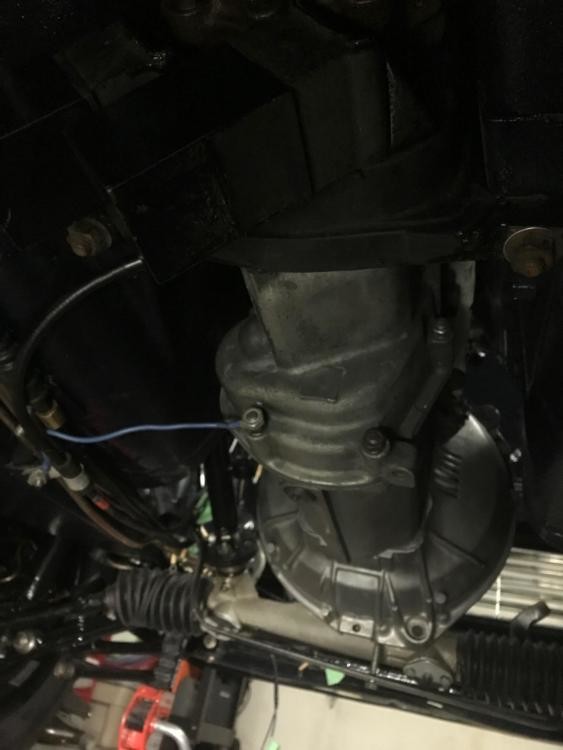
The bearing near the centre of the closeup photo is the main input shaft bearing, SKF 6207N. This is the one that generally gets noisy in the 404 C3 gearbox as it ages, with the engine idling and clutch pedal released (input shaft spinning). Even loose in my hand it made a significant noise, which none of the others did.
I'll see about installing it tomorrow after I fashion some sort of front support out of a steel strap I bought, to simulate the factory tool, and then put the shifter on....
What was supposed to be a quick removal and cleaning of the clutch release bearing shaft and the installation of new bushings and carbon bearing ended up being a 5 hour nightmare.
The clutch release shaft is usually easy to remove with the steps being to remove the bolt from the fork (the head is behind, facing the gearbox), push the release bearing fork along the shaft against the spring, release the circlip that holds the fork in a precise location on the shaft, take the circlip off the small end of the shaft and gently tap until it slides off the (splined) fork and then you're done.
Well, the forged aluminum fork was seized to the shaft at a certain point - just would not budge. I decided to drill it full of holes along the shaft to hopefully make it release (destroying it in the process of course) and even full of continuous holes it still was a bear to drive out. In the process, the boss on the bell housing that supports one of the bushings broke a chunk off.
So I went out to the shed to retrieve a spare gearbox, brought it up to the garage, took its bell housing off, removed the cutch shaft without the slightest problem (GRRRR at the first one!), whipped the bell housing off the rebuilt gearbox and cleaned the other one up. That took a while. Then I selected the best clutch release bearing shaft I have and prepared it.
The rest of the job was easy but painstaking, removing the Permatex Grey from the rebuilt gearbox sealing faces and the other bell housing, cleaning them with acetone and then resealing. A brief moment of almost panic ensued when the input shaft would not turn but I figured the shifter forks had just gone into an implausible position (remember, the shifter is not on the gearbox yet) and yes, that was it.
So I was unable to make the tool to support the front of the gearbox, much less, install it!
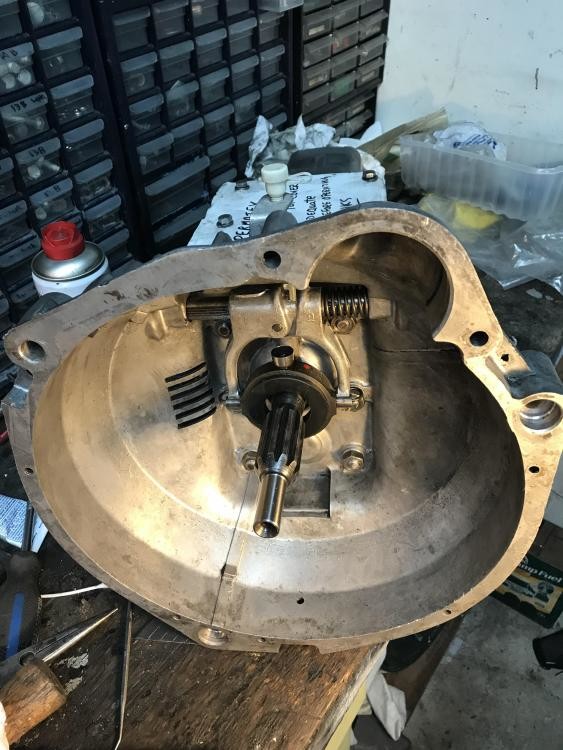
The little tube on the upper part of the release fork is for oiling the carbon bearing from above. Regular maintenance....
11-30-2020
I received the new intake valves, SASIC brand, this afternoon in the mail. They look pretty much exactly like the OE valves. I'll run them down to the engine shop next Monday, or sooner if the shop needs them before then.
12-5-2020
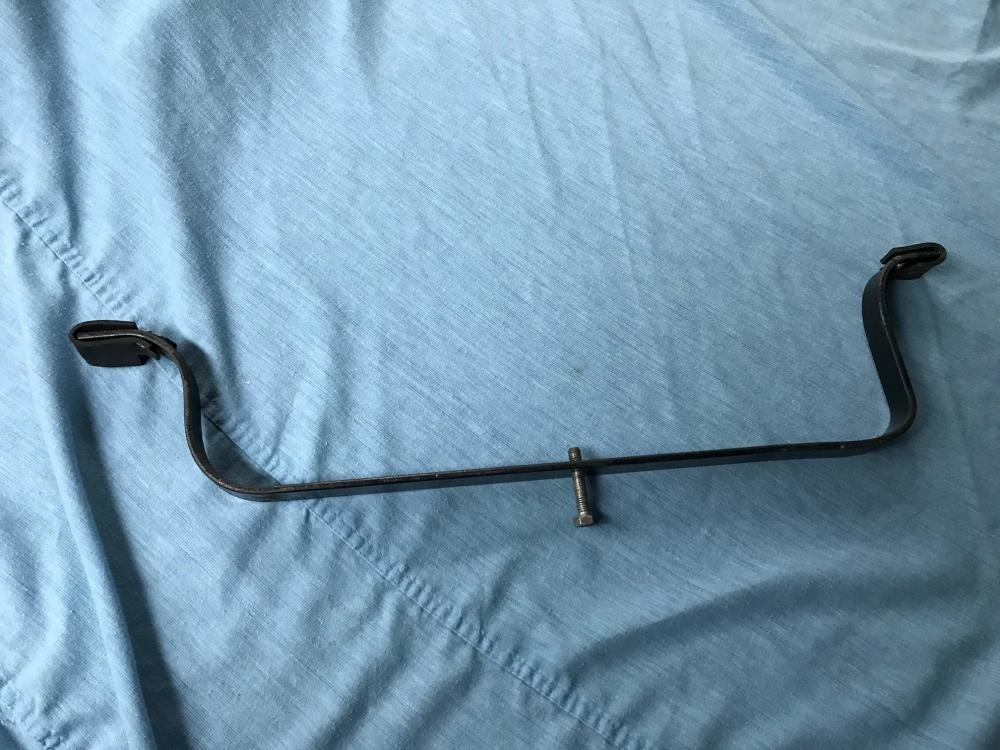
Today I took a few hours to build the tool to support the front of the gearbox when the engine is out and also install the gearbox. The tool was decent but I should get a bit longer bolt or adjust the bends a bit to make the dip a bit shallower. I think a new bolt would be better. I improved on the factory design in one respect at least: mine has rubber ends riveted on so the support won't scratch the chassis rails it sits on, at the bottom of the engine compartment.
The Nardi shifter is not installed yet - I will do that soon, maybe on Monday or during next week or weekend.
12-6-2020
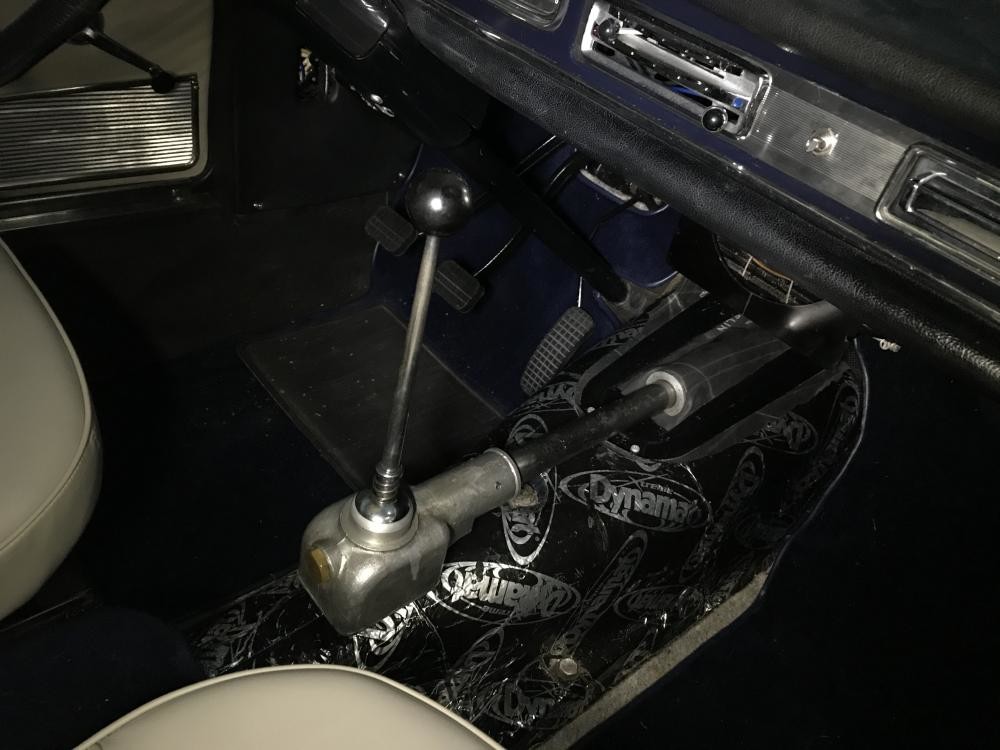
Today I installed the Nardi shifter. It's tight getting in there to tighten the bolts. Shifts nicely. A Michelin inner tube was cut up to make a weatherproof seal between the bodyshell and Nardi, as per the original (but mine is better!).
Next I have to cut up some insulation to fit both under and over the fibreglass Nardi covers, which will take some trial and error, and finally fit the tunnel carpet over all that.
12-8-2020
Slow but steady. I also dropped off the valves and gaskets, head bolts, valve stem seals, new valve springs and a few other "long block" items at Anderson's Precision Engines on Monday and will have to take a few bolts down next week (camshaft, camshaft retaining clamp, couple others). I hope to get the long block back in January and begin final engine assembly by the middle of that month.
12-13-2020
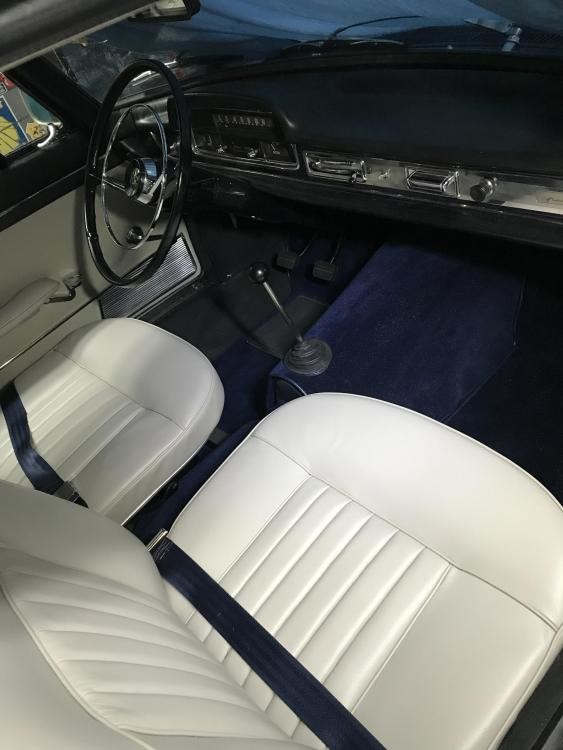
I mounted the carpet on the transmission tunnel after the removable insulation and fibreglass shells were installed.
I think this will be a provisional job because I realize now that the original carpet piece that the new one was modelled on was not the optimal shape for the area behind the shifter. You see the drop-off after the shifter boot, well that is about 7 cm shy of the end of the rear tunnel carpeted section. I guess the original carpet had a separate strip for that area.
So I made one up from the dark blue original tunnel carpet and it looks presentable, but the rigorous solution would be to have it all in one piece, with the lower section being part of the main tunnel carpet but shortened so it fits the radius of the lower tunnel ideally.
So when the car is on the road again and Covid-19 is under control I will visit the guy who made it and have him custom make another one in one piece.
Wow a labor of love. Great!!
Posted by Diggymart on 9/7/19 @ 4:02:23 PM