You must be logged in to rate content!
6 minute(s) of a 255 minute read
12-18-2019
That rubber's a bit too high to latch the hood so I'll have to trim it down a little soon.
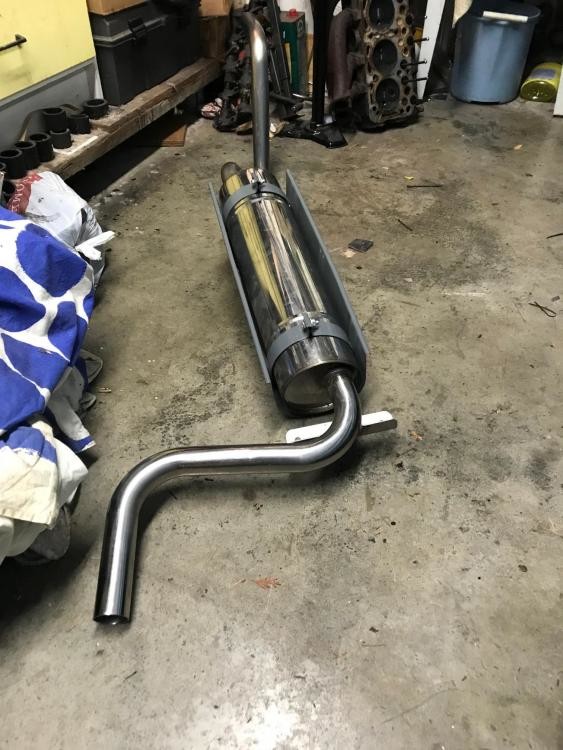
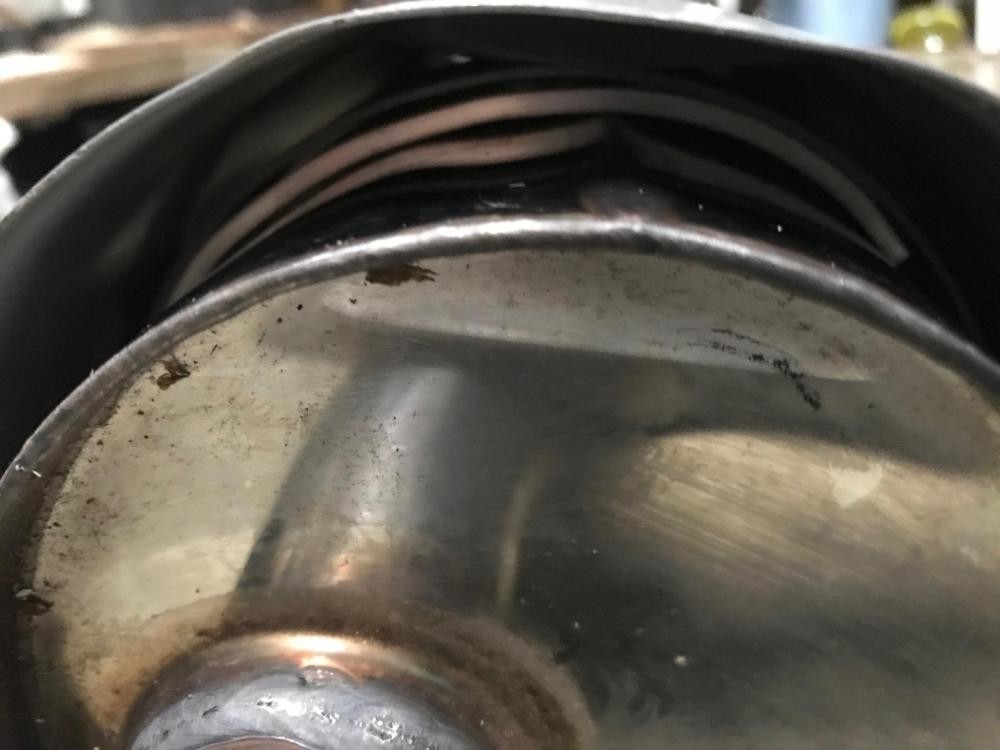
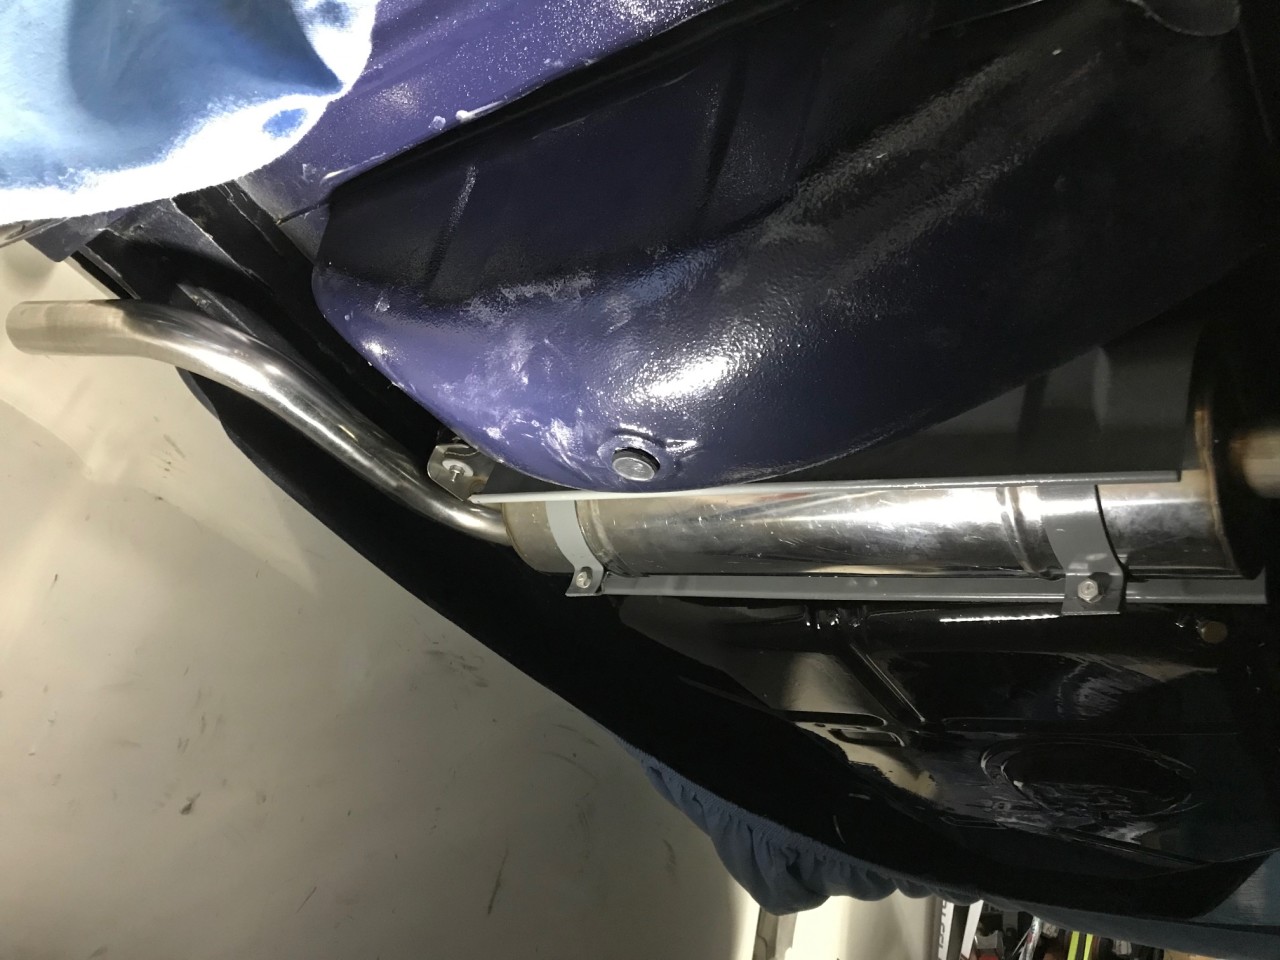
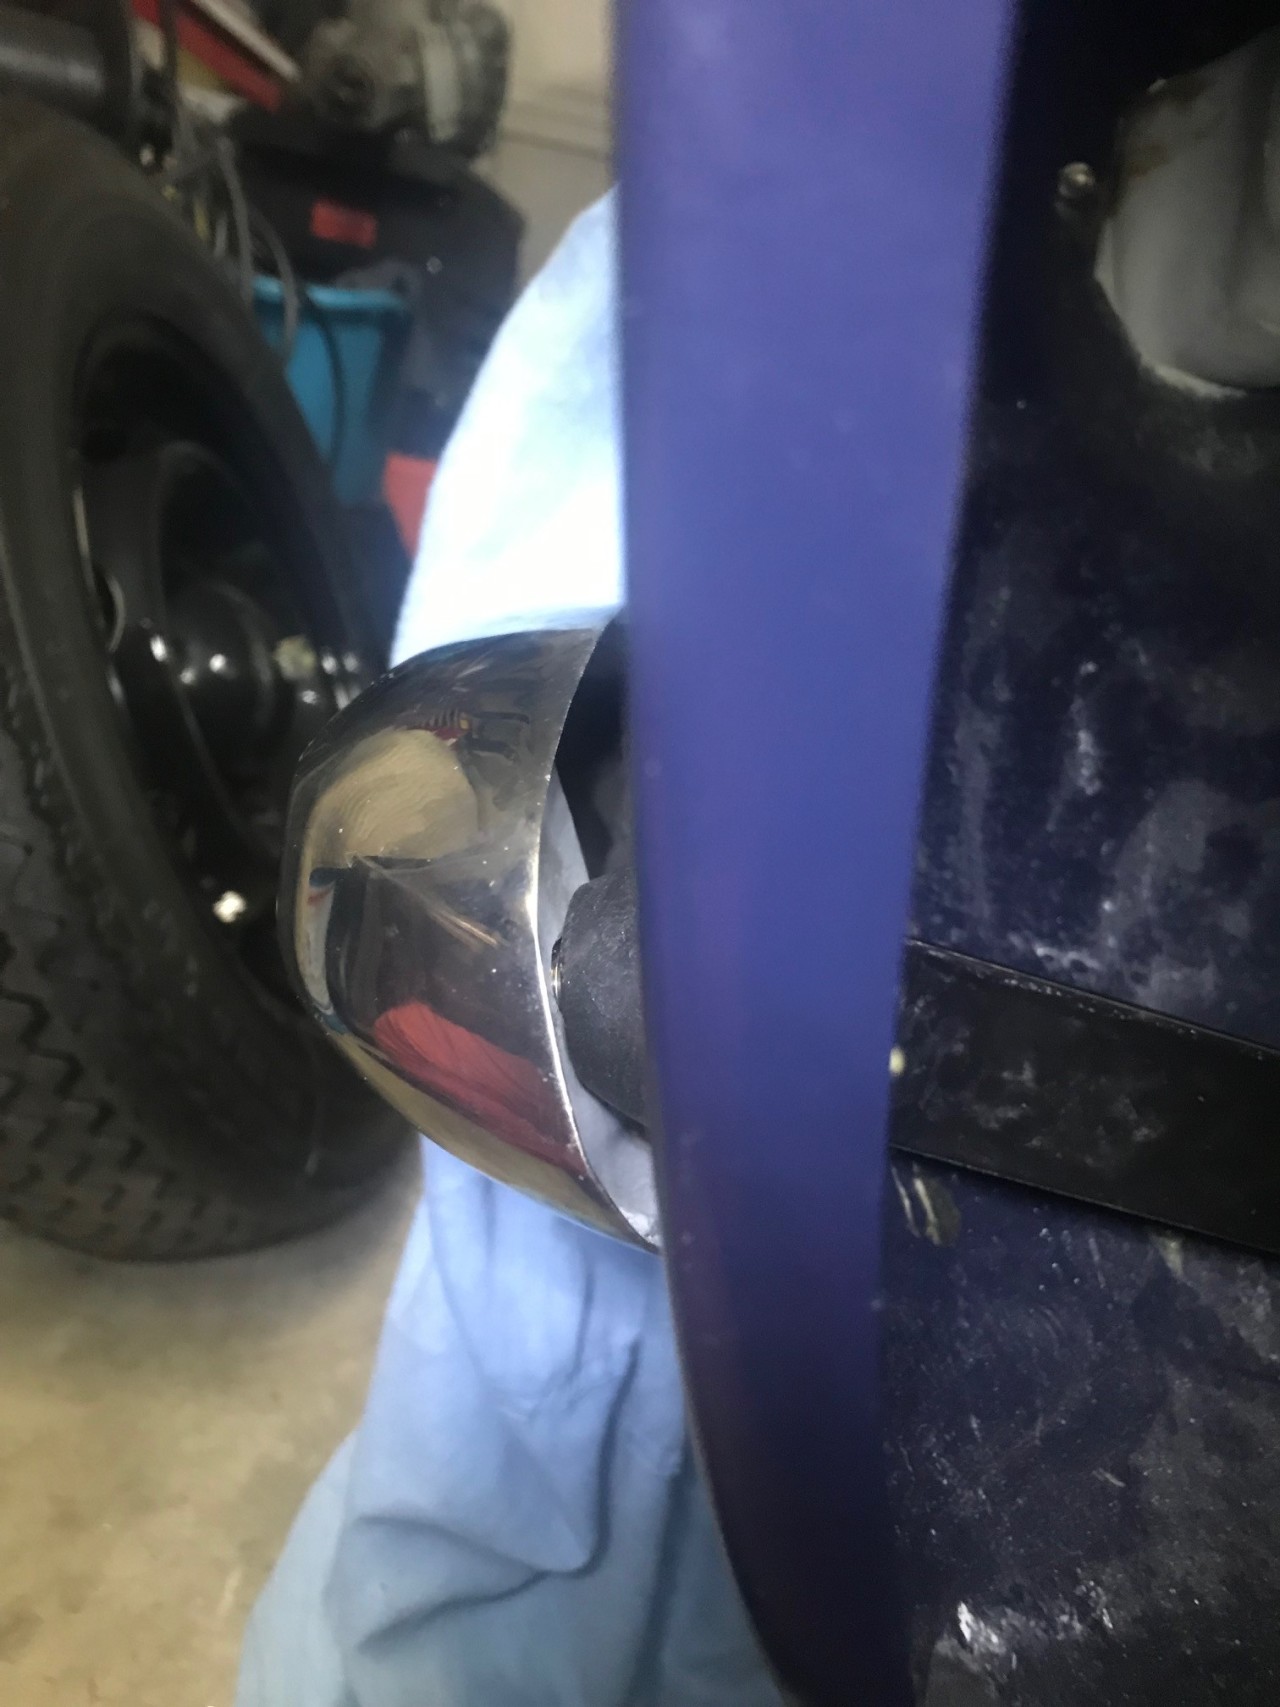
Today, I had a look at Sander May's stainless steel replica exhaust, and installed my NOS Peugeot heat shield . The diameter of the replica resonator is a bit smaller than the original Peugeot resonator in mild steel, so I had to make up a couple of small spacers in aluminium to allow the bands to clamp onto the body. Soon to be mounted on the car using all original Peugeot NOS mounting hardware. The third photo shows one spacer, which is on the upper side of the resonator, so it's not visible from below.

12-21-2019
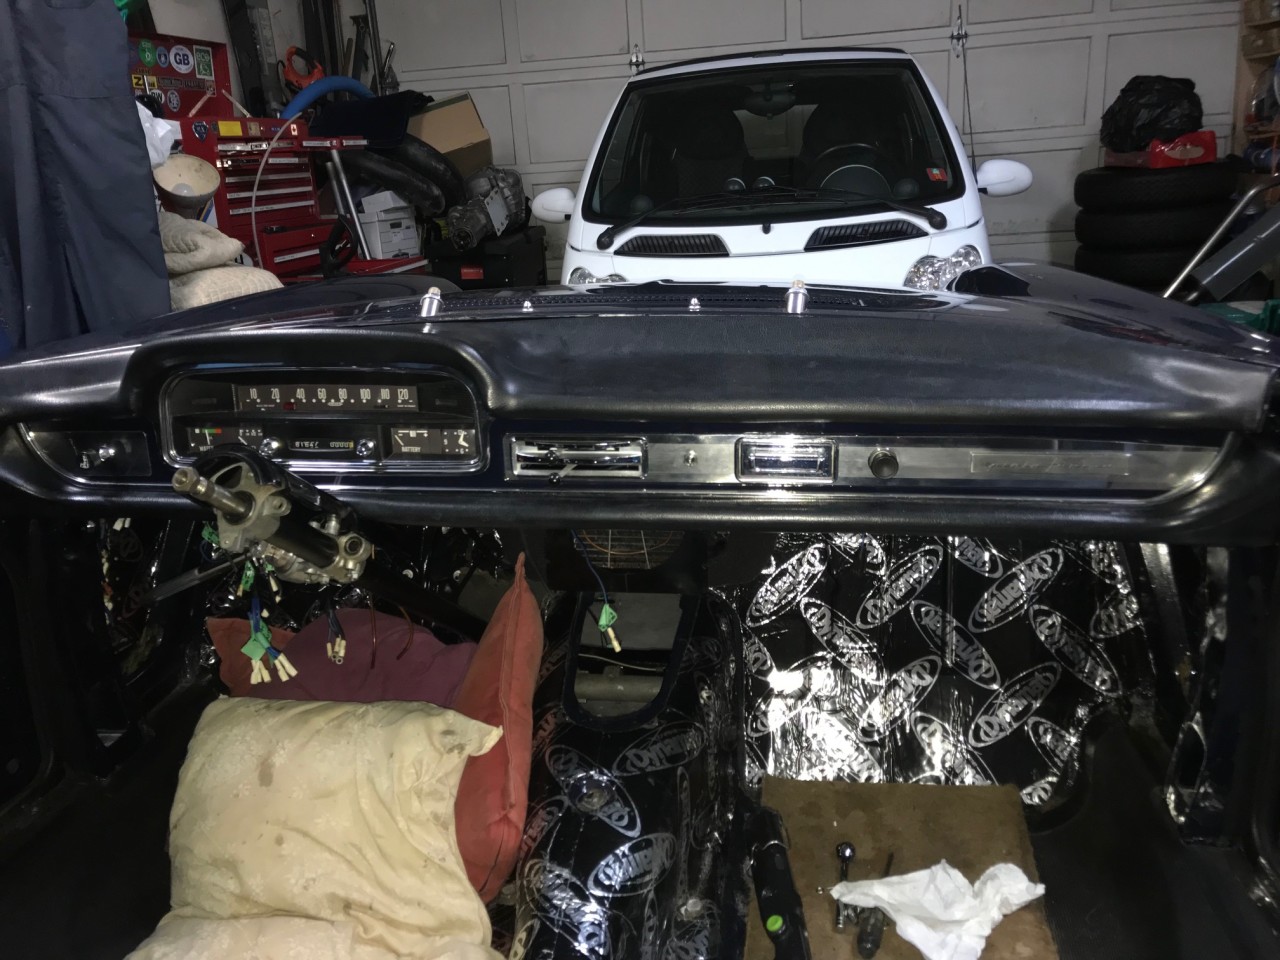
The lower dashboard pad had a rusted captive bolt embedded in the backing foam that I replaced a day earlier...on the far right upper side. After being glued back in place and curing for a day, I mounted it:
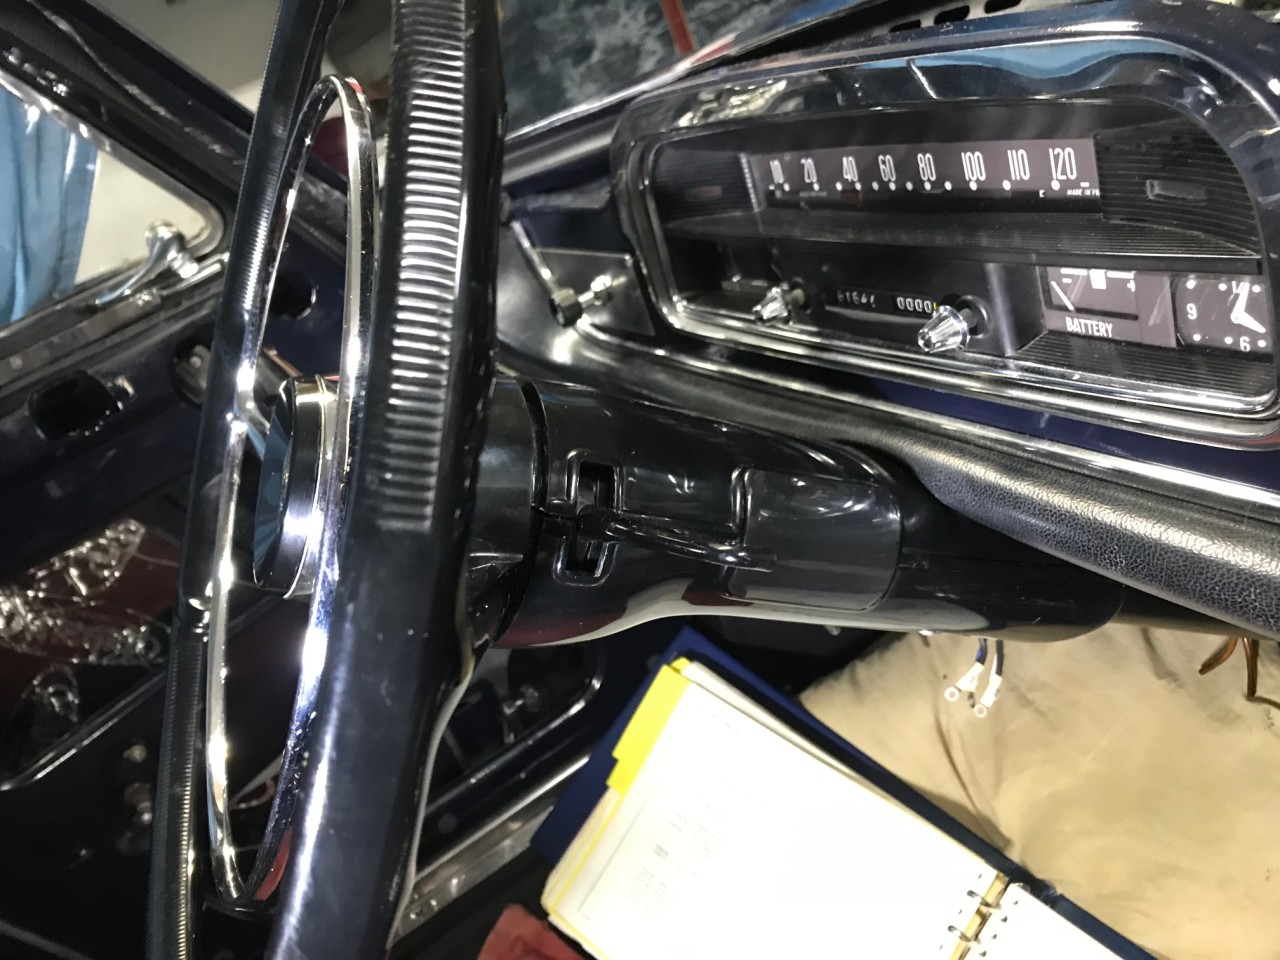
Steering column controls mounted (headlight, turn indicators, wiring to ignition switch):
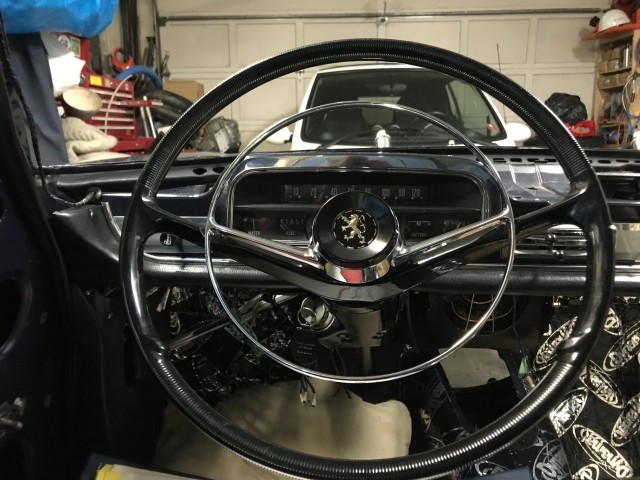
Note the cover for the rectangular hole in the steering column, part of the Nardi floor shifter kit:
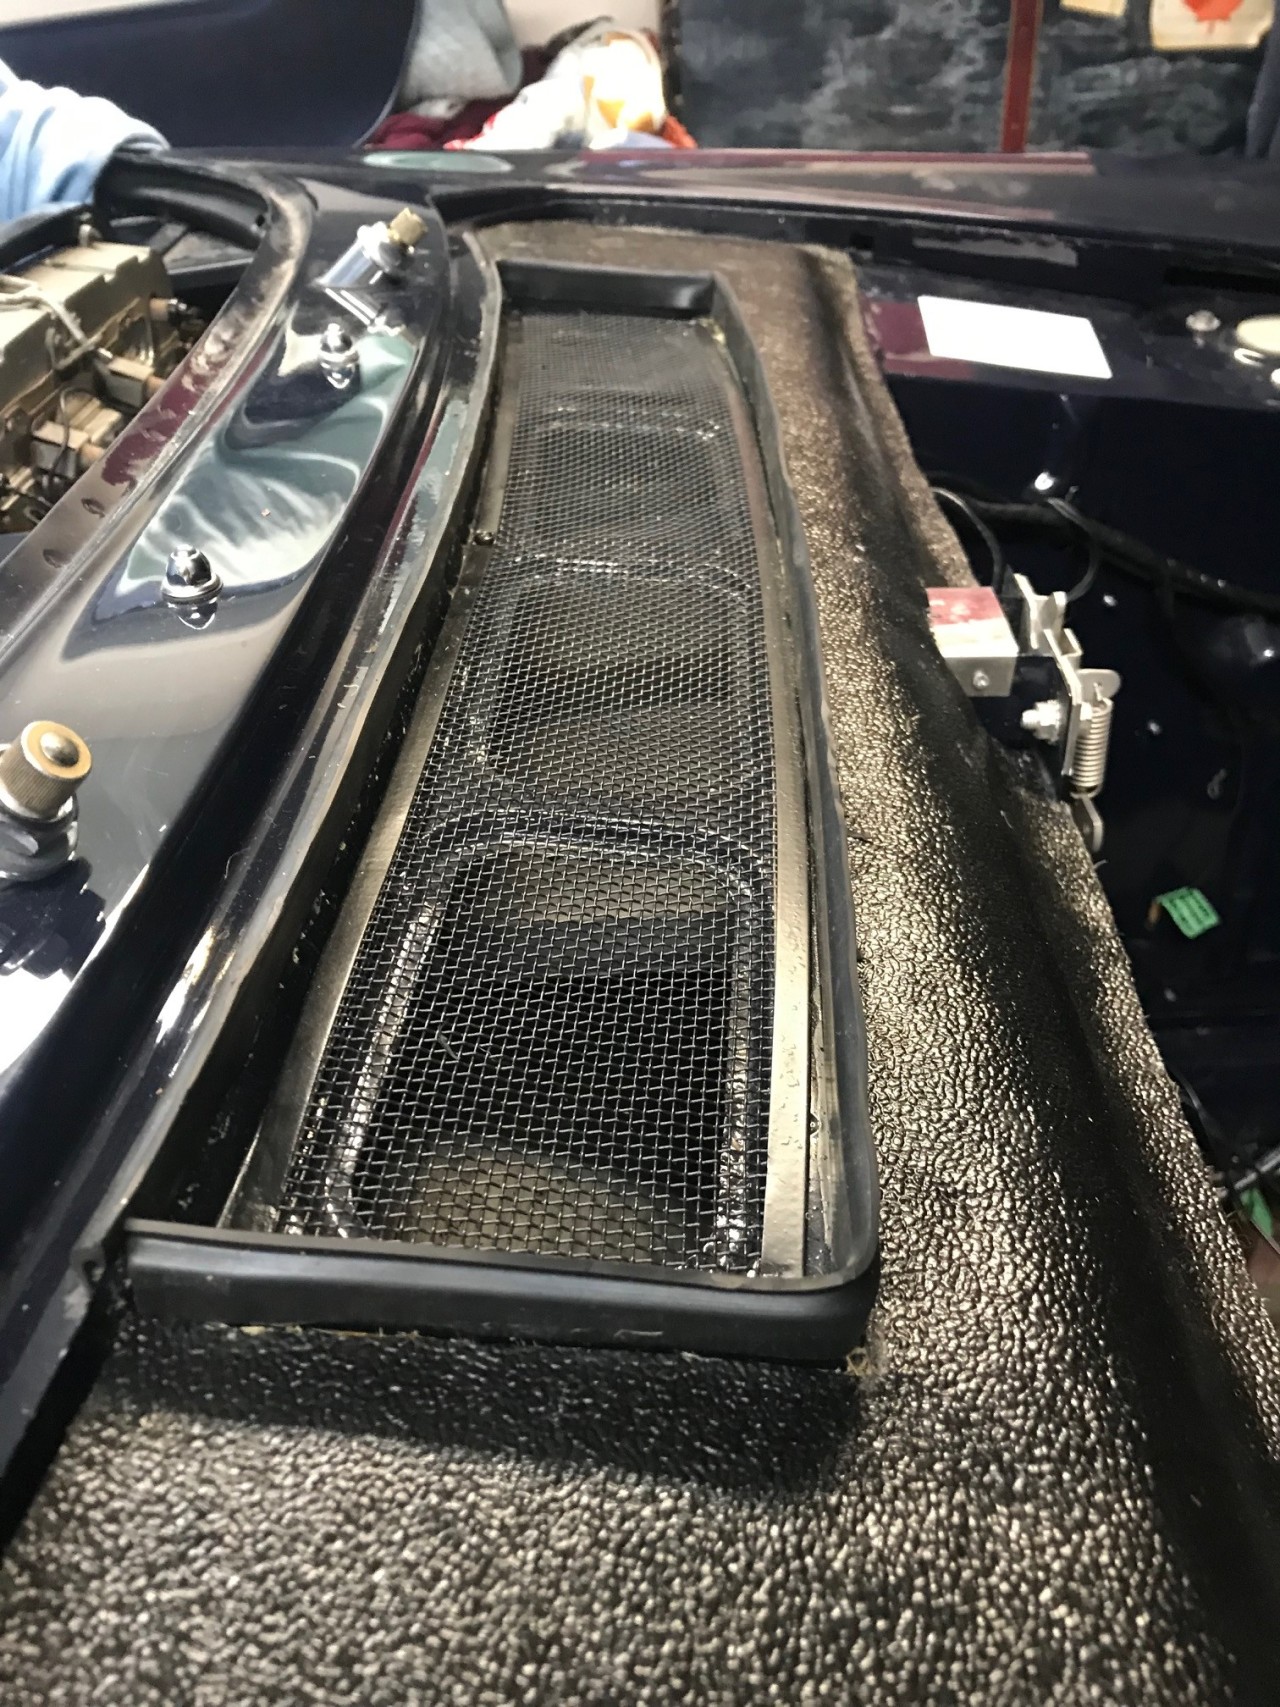
The fresh air intake gasket required a bit of a trim to allow the hood to be latched:
A bit of light work after Christmas on the 27th:
1) wired up the extra interior light so it is a map light only (independent of the ceiling light)...may decide to change that later so it works with the doors too.
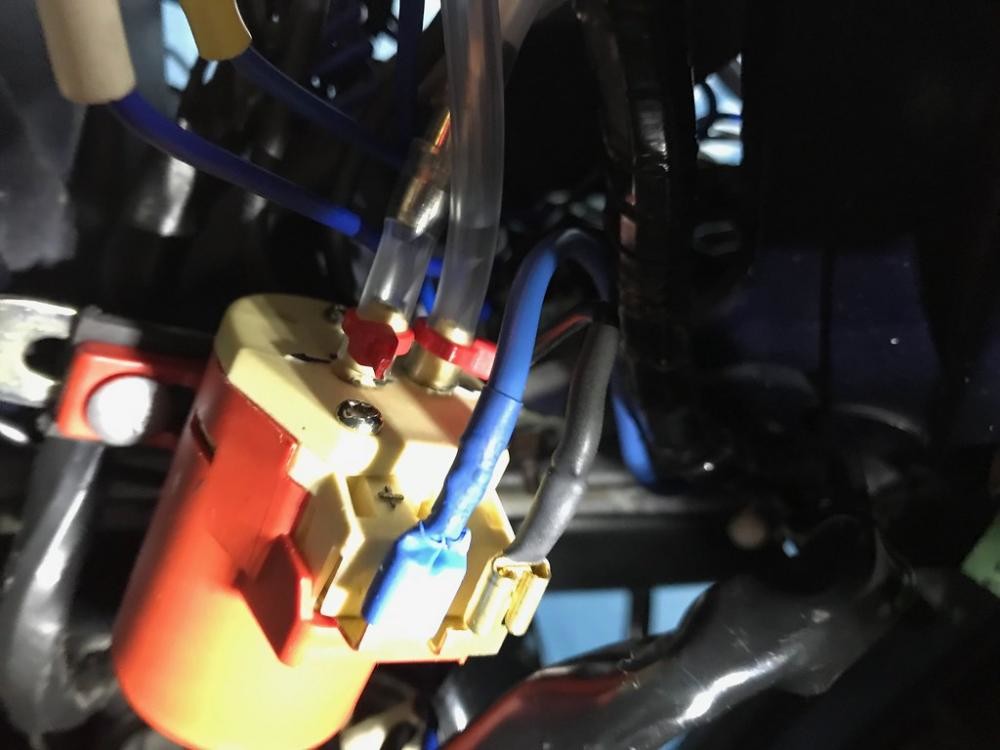
2) mounted the electric screen washer pump behind the steering column and got some new tubing to fit, as well as a new ABS T-fitting. Installed a one way valve so it won't drain back when not in use.
3) developed a wiring diagram to connect the Swedish market two speed rotary wiper switch, which also has a push function to operate the screen washer. The first owner fitted two speed wipers when the car was a few years old but I didn't like the rocker switch he used.
Next I will tackle wiring up the switch or install the driver's door upholstery panel. May even attempt the rear window installation if I get ambitious enough.
On Saturday the 28th of December the driver's door panel got mounted. You might think it's a 10 minute job, but it's not. The replica upper door panel is for a Cabriolet and required a whole lot of modification to fit.
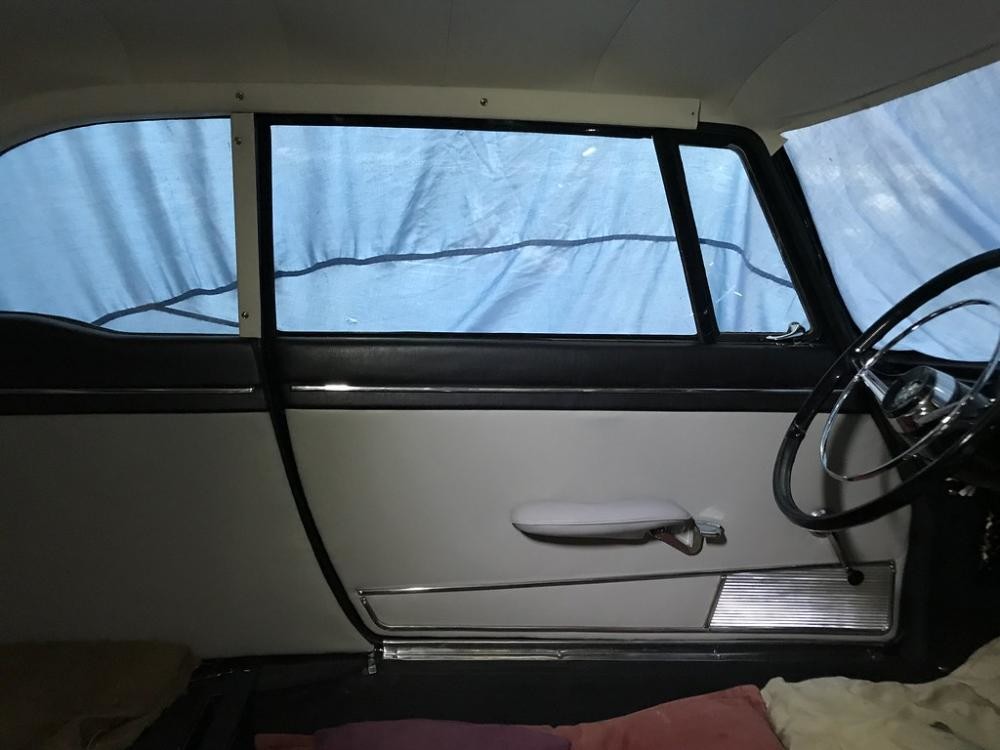
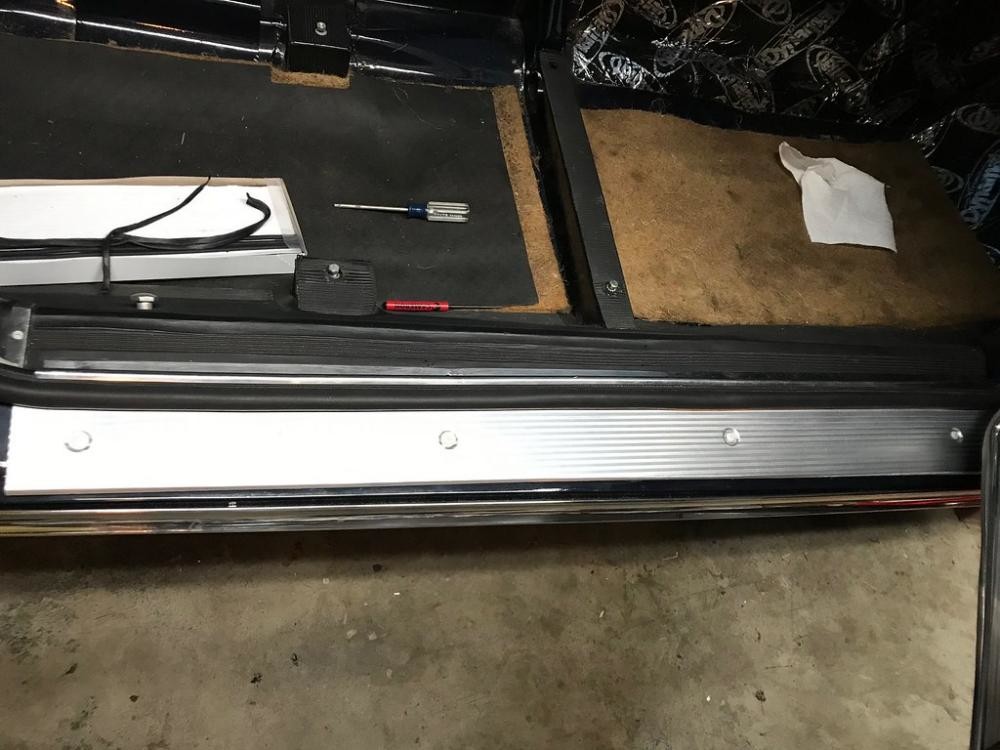
Both sill plates are mounted with the OE plastic rivets.
On December 29th:
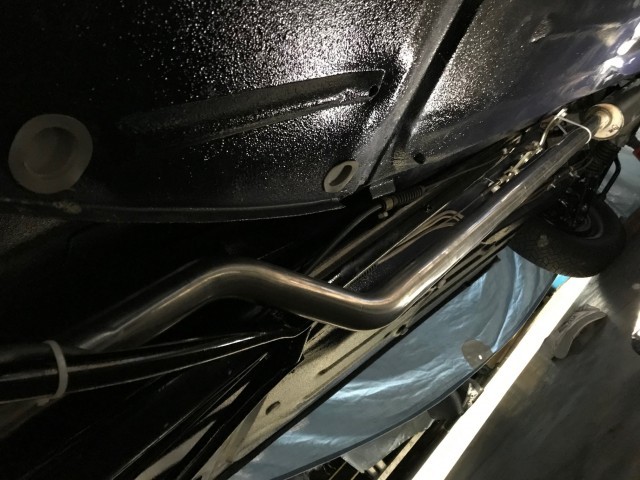
Stainless steel rear exhaust mounted with original Peugeot OE belts/hangers:
And the middle section is mounted too, held in place temporarily with a zap strap:
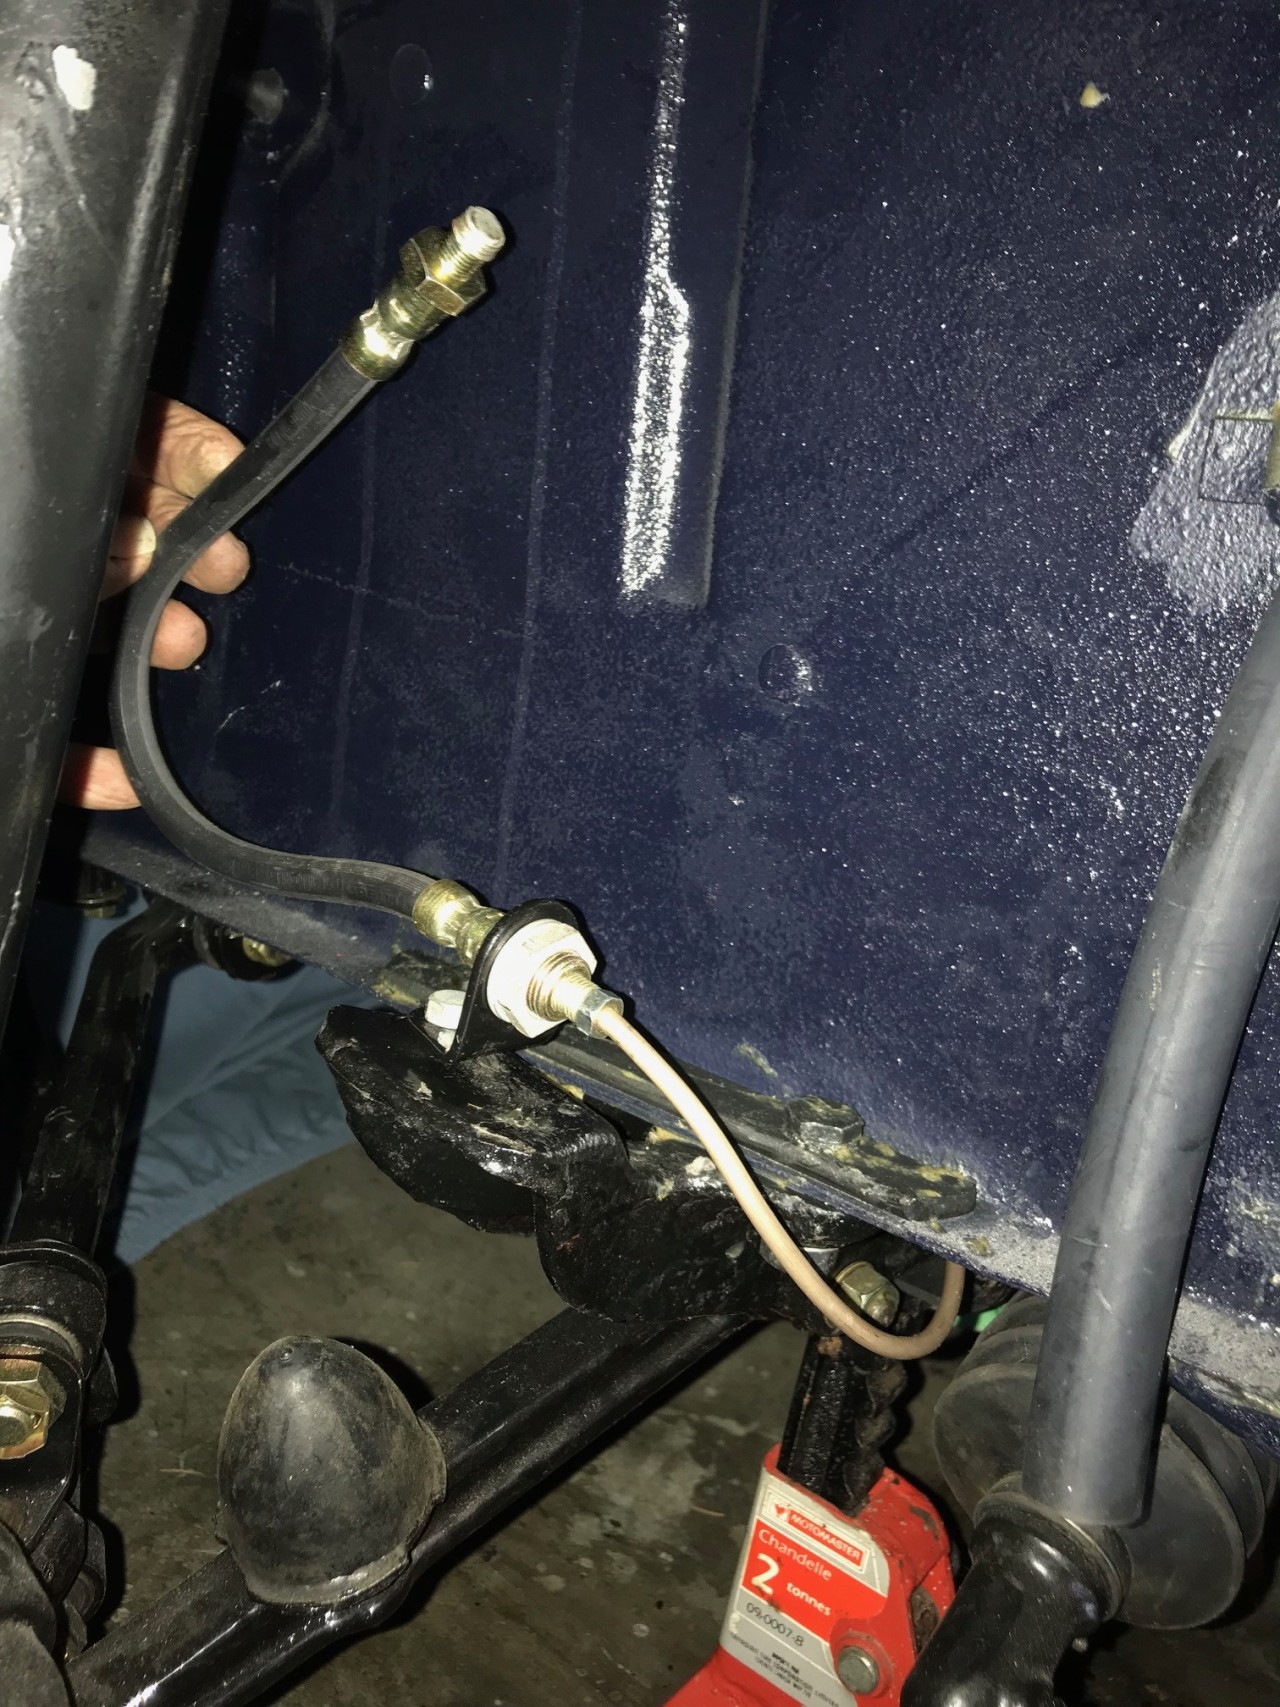
Flexible hose between floor and torque tube mounted to my homemade brake lines:
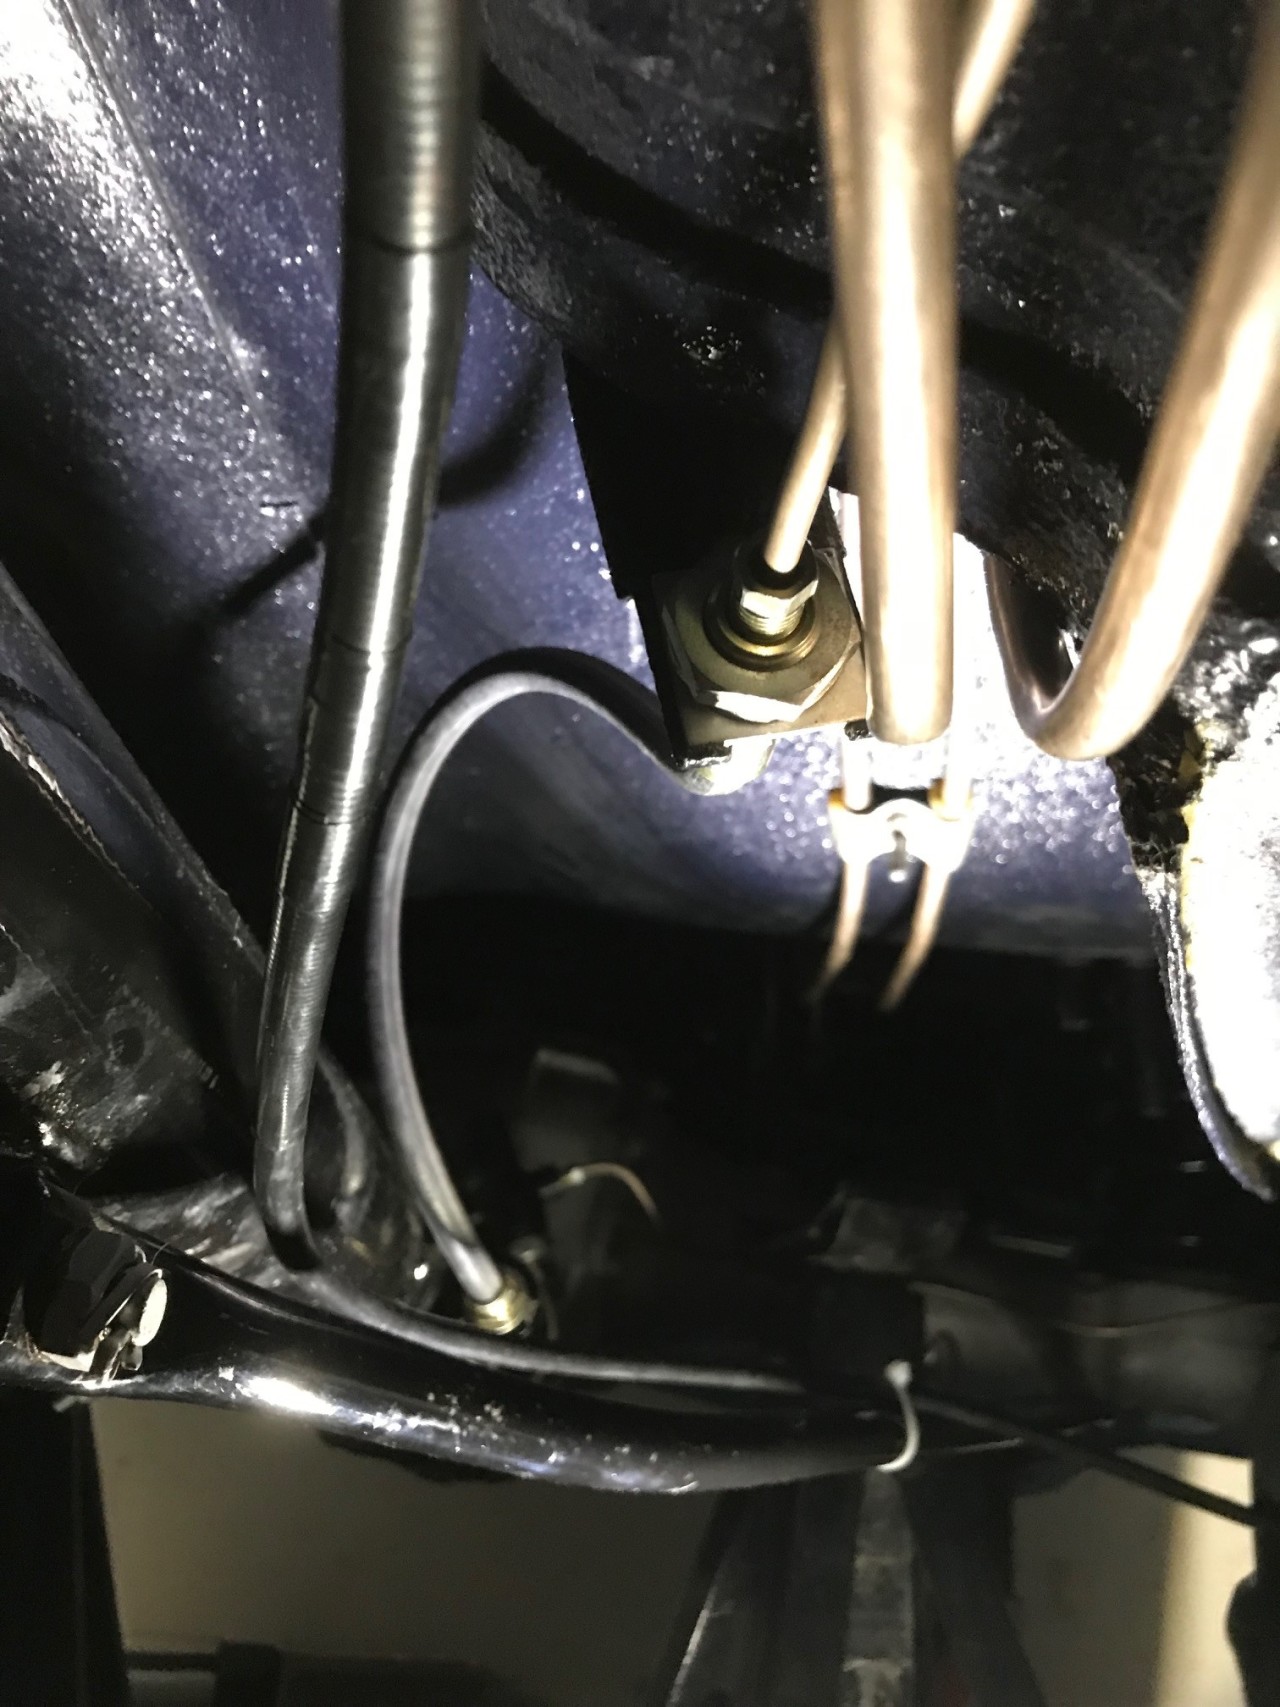
Right front brake hose mounted (the end is capped):
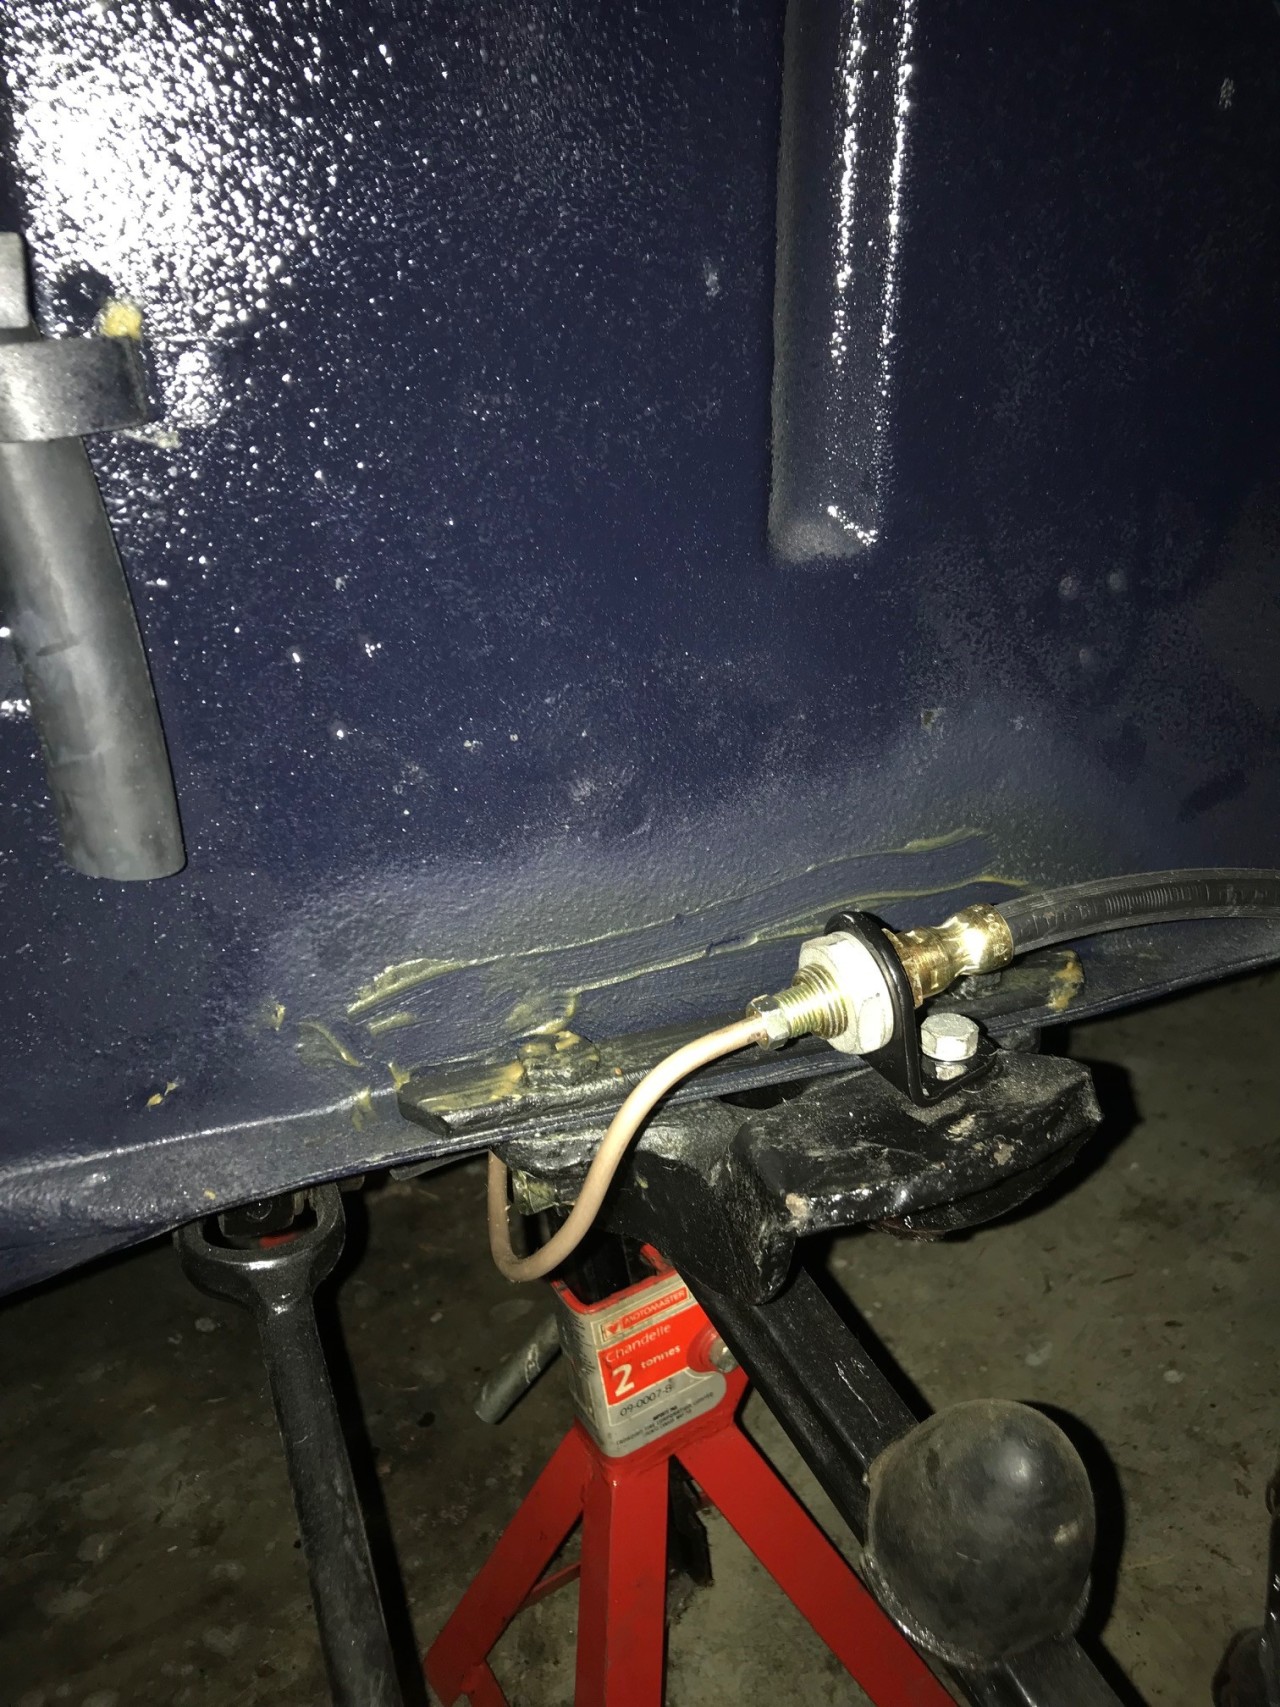
And left front (you can see the cap on the end in this photo):
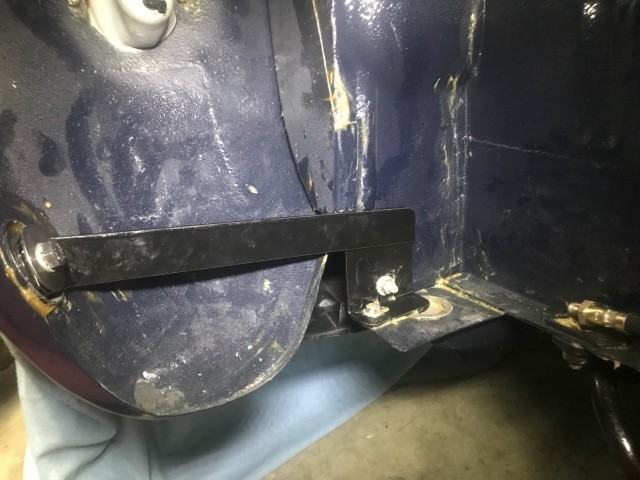
Left front side bumper mount added. The cage nut had flown the coop many years ago and so getting the long bolt started into the nut I was hanging onto with a dab of butyl was a bit of a challenge but it worked better than my attempt with magnets!
In 2020 so far I've degreased the original head, which is in good condition, for storage as well as the valvetrain. The rocker shafts are mega-scored and require replacement. I had three sets and all have some damage. Seems to be a weak point of the 404 engine design (I expect it's because of sludge blockage in the small oil galleries). I will buy two new ones from Germany, VERY expensive but NOS. I managed to put together a set of good rockers from my three valvetrains. I also mounted the right front bumper side support.

Wow a labor of love. Great!!
Posted by Diggymart on 9/7/19 @ 4:02:23 PM