You must be logged in to rate content!
9 minute(s) of a 58 minute read
4-29-2011
A long overdue update on my project, this brings things pretty much up to date 
The past few months have been exciting and frustrating in pretty much equal measure,
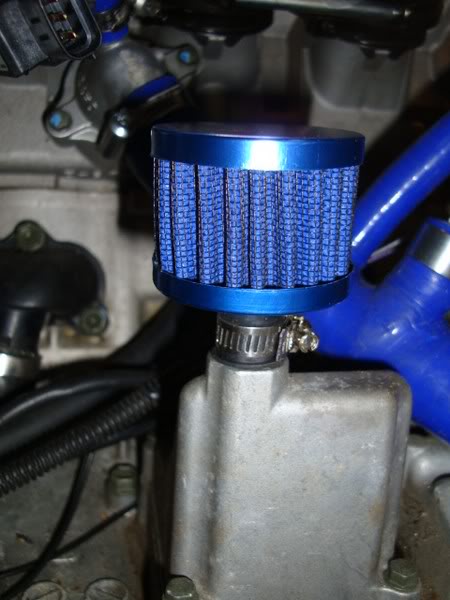
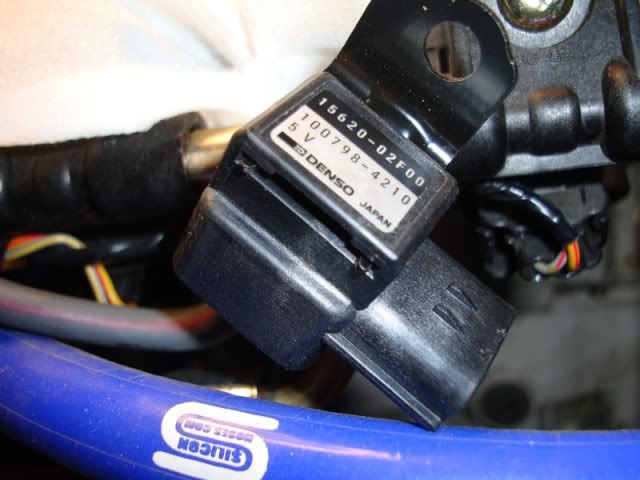
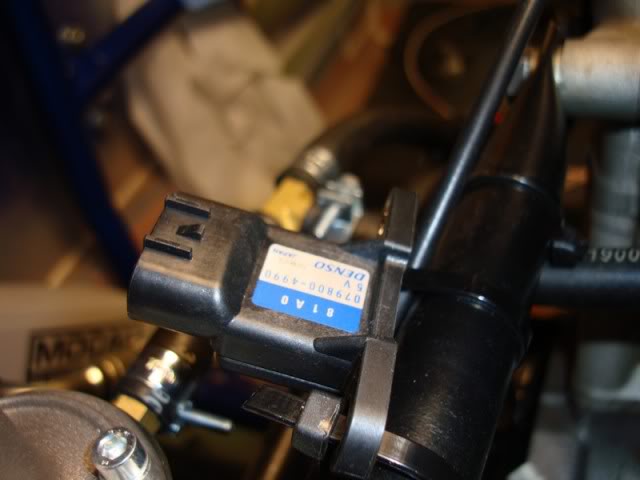
In a fairly concentrated effort to get my engine running I bought lots of bits and pieces including this for a few quid from the far east
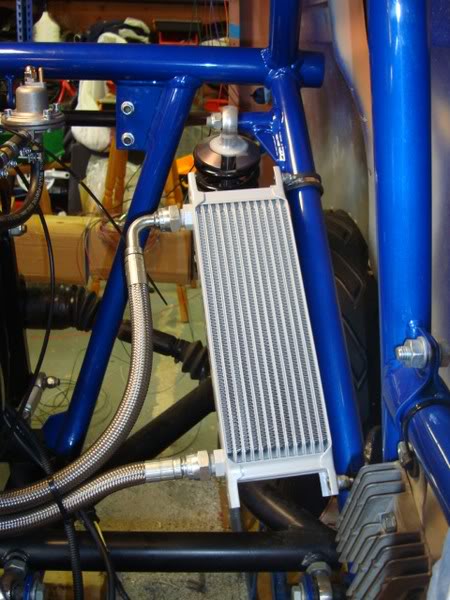
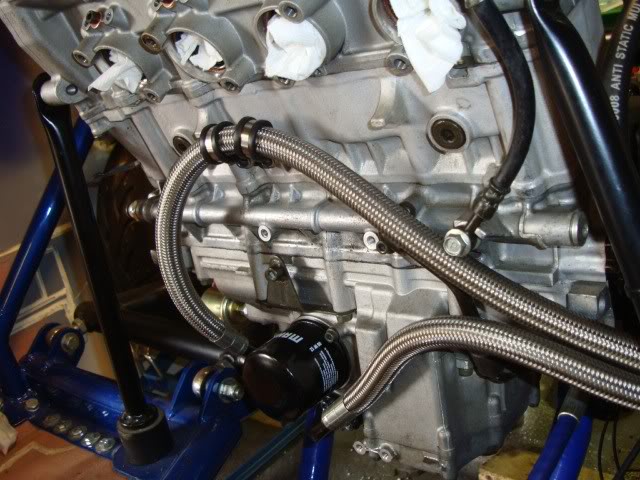
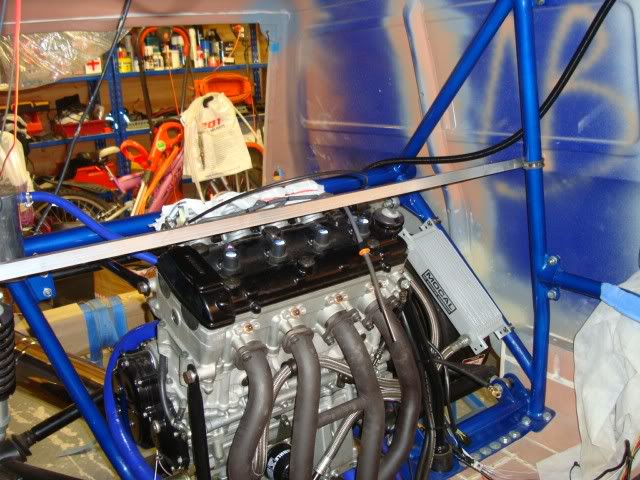
I ordered and fitted my oil cooler and had some nice braided hoses made up by the local PIrtek man.
A sorry saga surrounds the purchase of the two very expensive sensors that were missing from my loom with the Suzuki dealer going bust two days before i could collect my (paid for) sensors
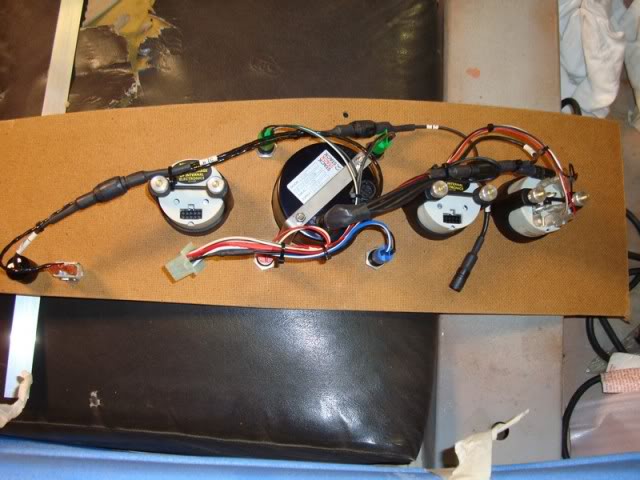
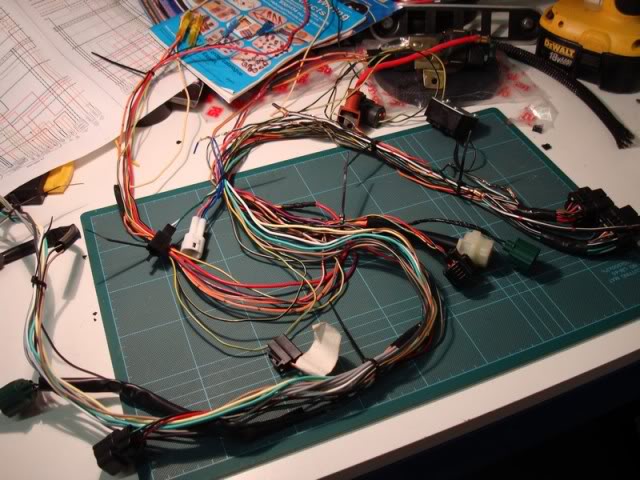
I sent my wiring loom to Chris at Z-Cars for modification and it was duly returned a lot smaller and lighter with nice clear labels on how to connect it up, I made a temporary "engine control panel" with my nice new Stack water temperature and oil pressure gauges and a few switches to control ignition, start and clutch switches.
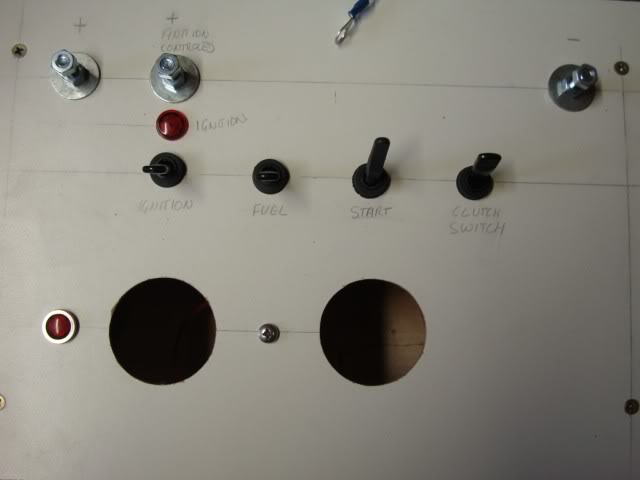
The idea was to turn the engine over to at least put the oil light out before introducing fuel and going for a start up, all went well but we had no fuel pump relay "click" and no spark, time spent pouring over the wiring diagram it could be seen that these two systems share some wiring, a chat to Chris suggested inspection of the resistors that he had installed in the loom, these proved to be in place and the correct value, Chris seemed a little baffled and asked me to return the loom to him, I also found some "pin-out" diagrams for the ECU that he said may help.
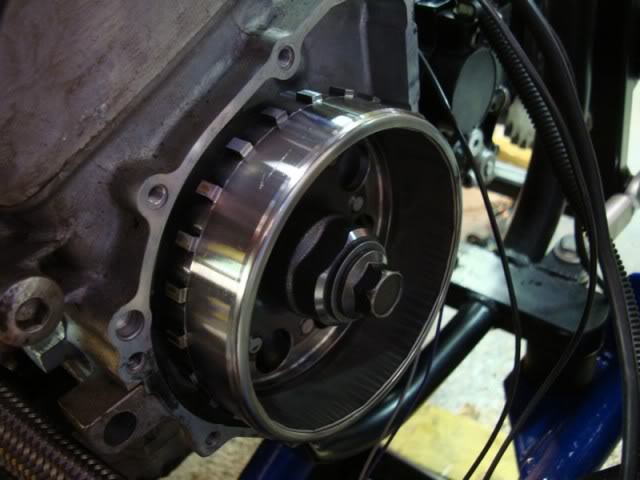
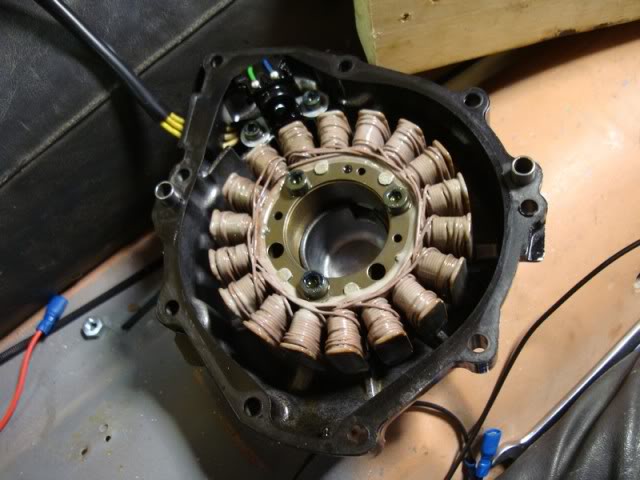
I also removed the engine side cover to help identify the age of the engine.
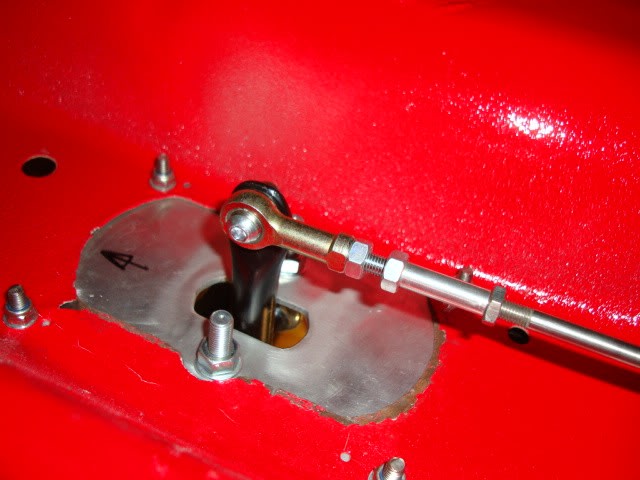
Maybe because this is a van and not a car i had to extend the gear cable, i did this with some threaded spacers, i did not have suitable material to hand so these are just to see if it all works and with the gear cable in position it will allow me to position and fit the coolant, fuel & brake pipes in the tunnel.
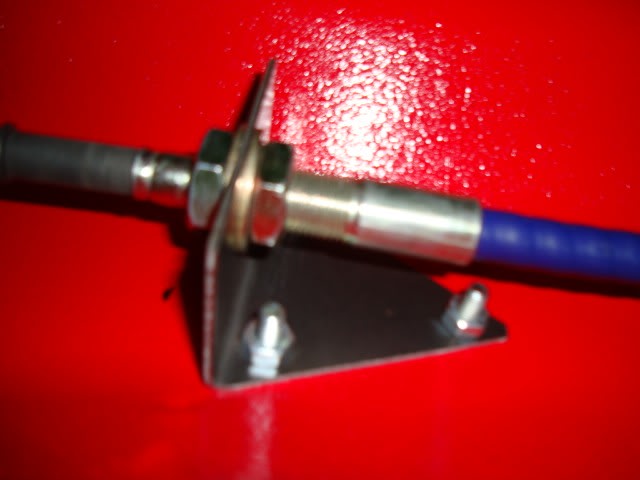
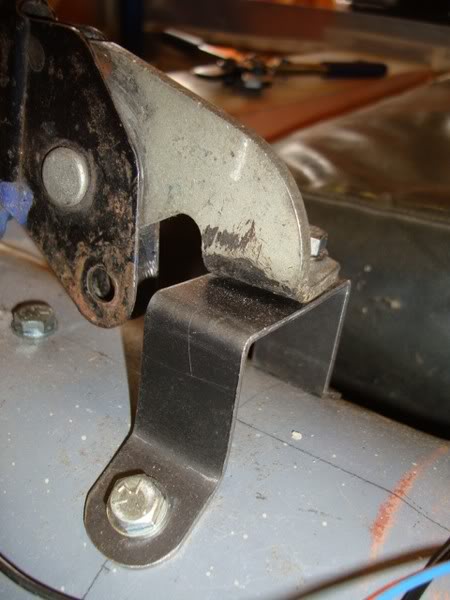
Try as i might i could not get the supplied gear cable bracket to fit, i have no idea why so i made my own, it functions but needs a brace and paint to finish off.
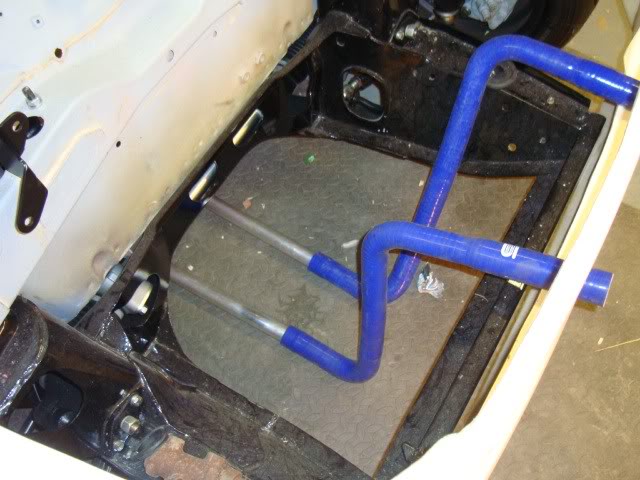
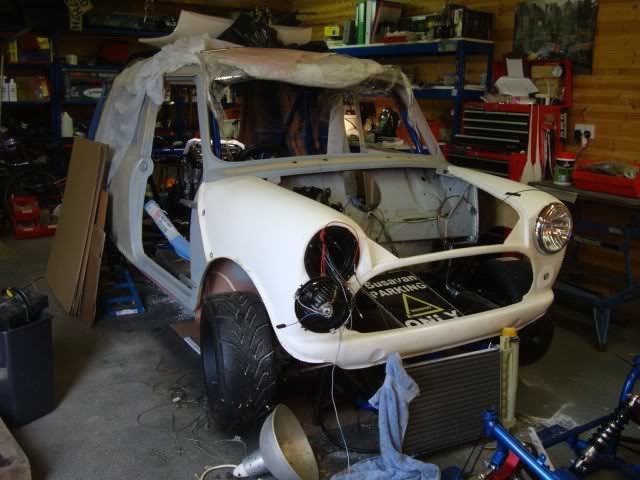
For the initial start up I botched up the cooling and fuel systems with the pipes not yet fitted to the shell and the rad just sat on the floor in front of the van
Made a handbrake bracket as mine was missing
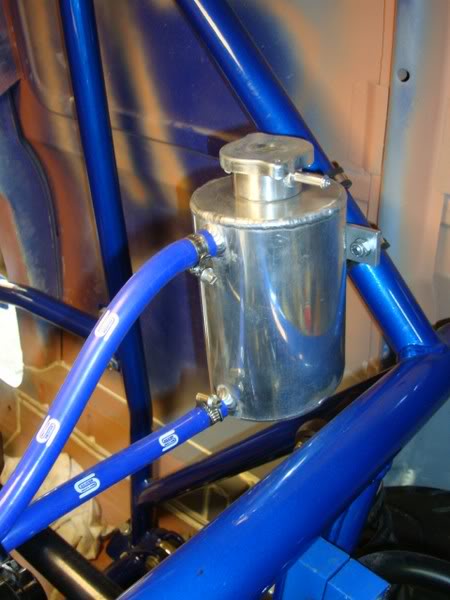
Header tank polished (thanks Mike)
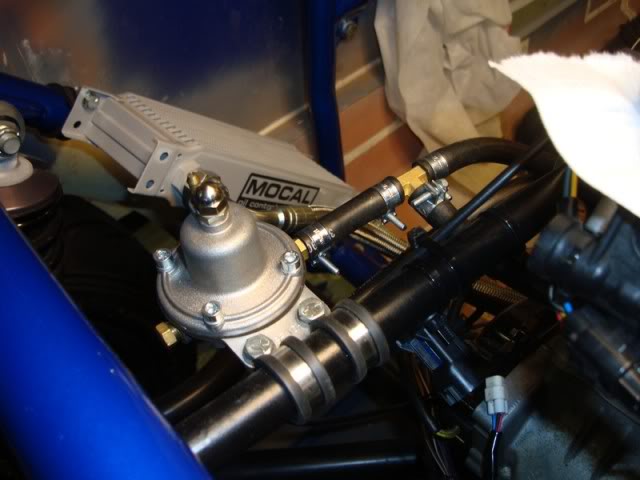
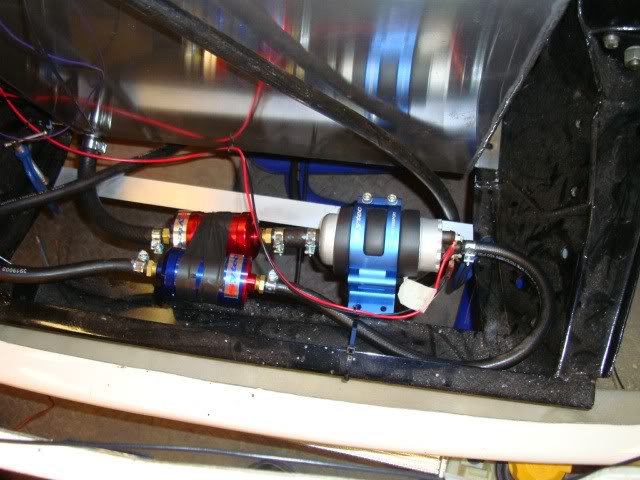
Throttle bodies fitted and fuel pressure regulator fitted.
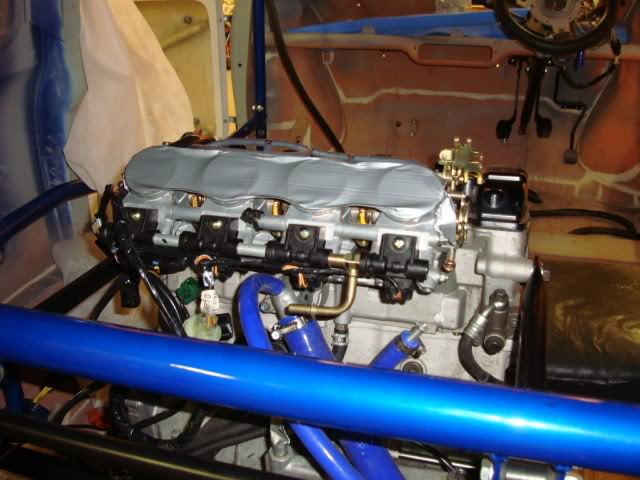
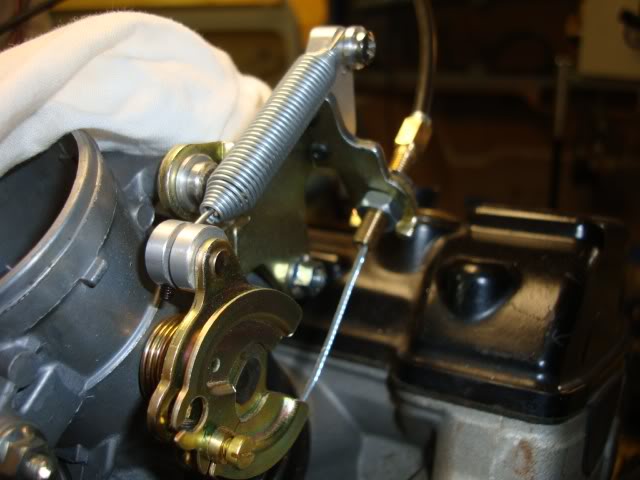
Throttle cable fitted to the throttle bodies with modified bracket to allow the addition of an extra return spring.

While my loom was away being re-worked i cracked on with wiring of the rest of the car, I decided to make my own loom, I fitted the headlights and front indicators and have installed a 12way blade type fusebox on a drop down hinged panel that lives on the passenger side of the dash, the drop down panel idea was copied from someone on here so credit to them for that one.
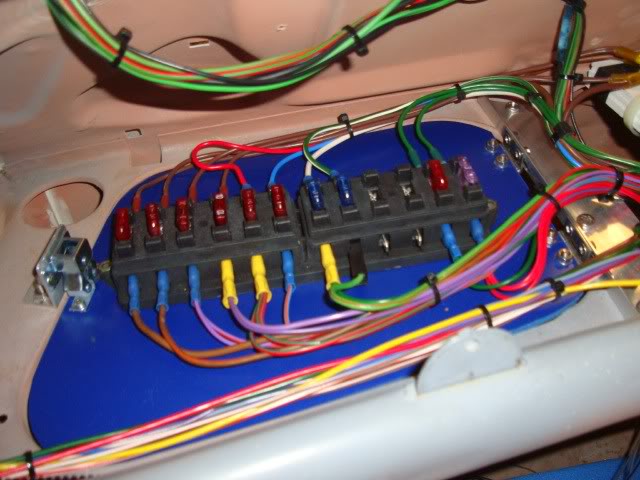
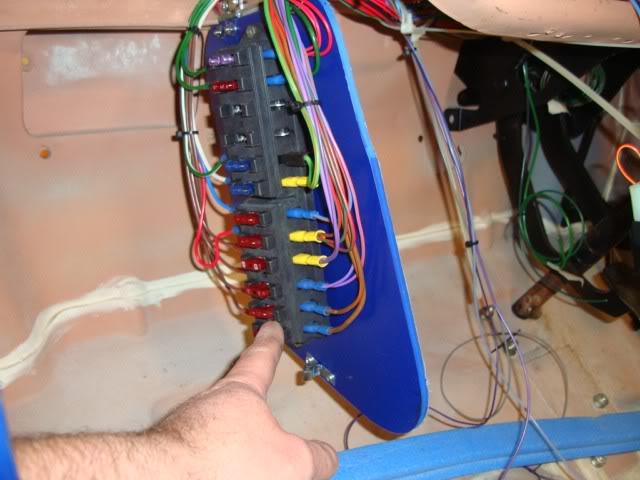
The panel is held up by a cupboard door type catch
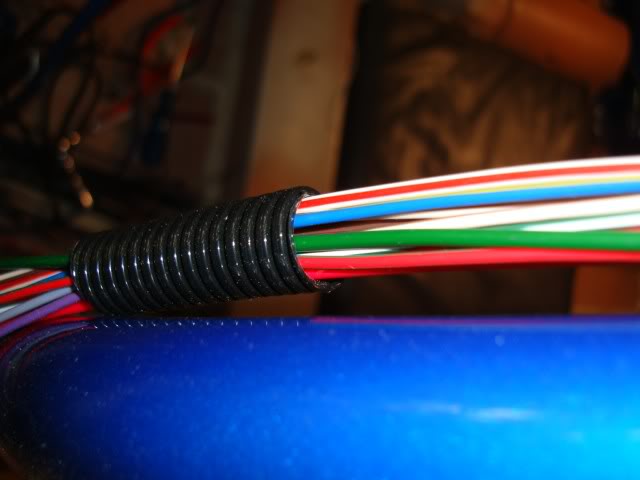
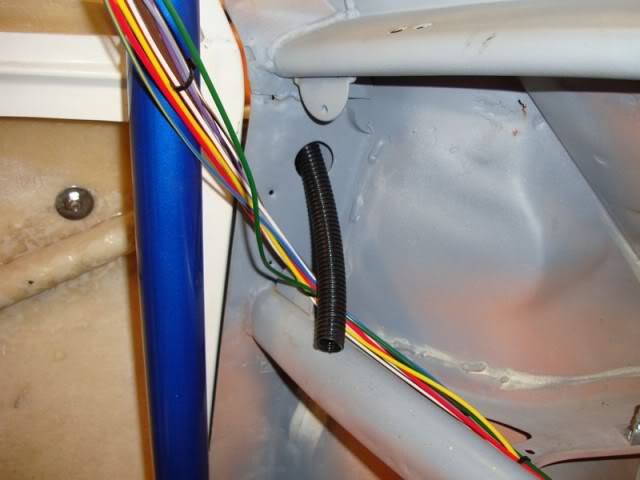
The original idea was to have all the wiring run to the engine and back of the van through cable sleeving up the passenger side windscreen pillar and along the top of the door, as the wiring in the loom grew i have had to split this so that the lighting wires run drivers side
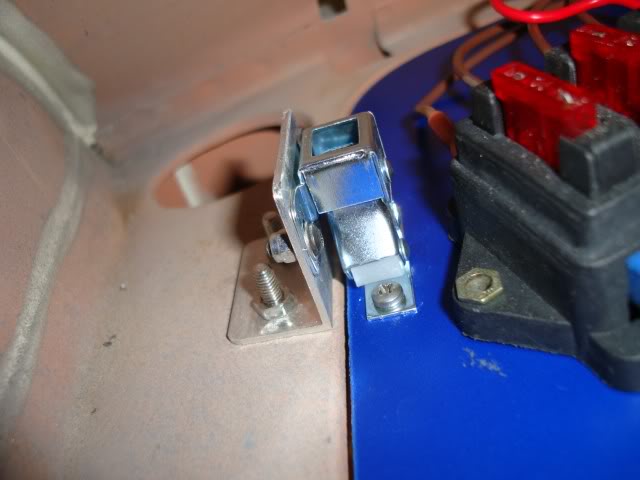
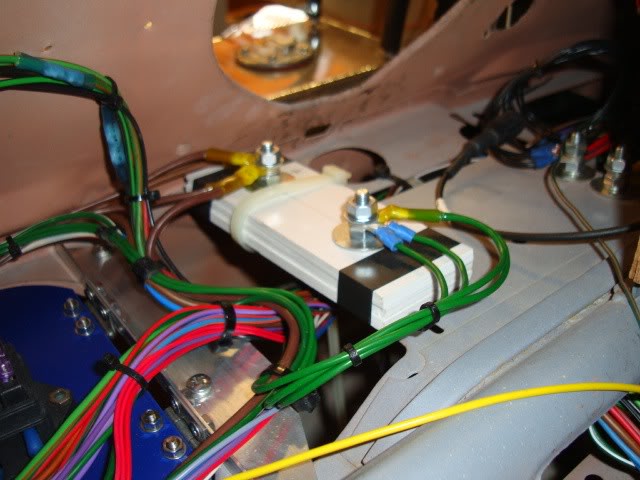
To distribute power have made a insulated block (will be remade properly) one terminal bolt is permanent live and the other is ignition live, this made it easy to add circuits as i built the loom.
Most of the circuits return to a single earth point, there are a number of unfinished areas but most circuits are present and working.
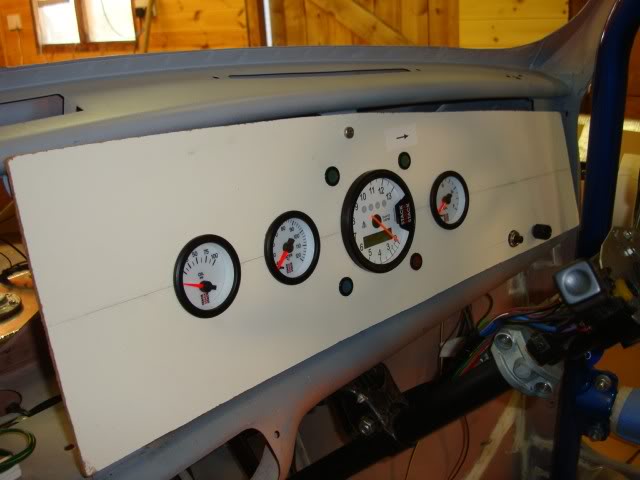
Another temporary thing is my dash installation which was lashed up while waiting for the foamboard that i will use to make the final version, this lash up has allowed me to make the dash loom and its connections to the correct lengths.
With my engine loom back from Z-Cars i was then in a position to start the engine from the key with the warning lights and other instruments working, again i turned the engine over until the oil light went out, connected power to the fuel pump and pipes to my now polished (thanks Mike) fuel tank, the engine took a little time to start but start it did! a massive sigh of relief to hear that!! 
I borrowed a fitting from brother-in-law to direct the exhaust away from the shell
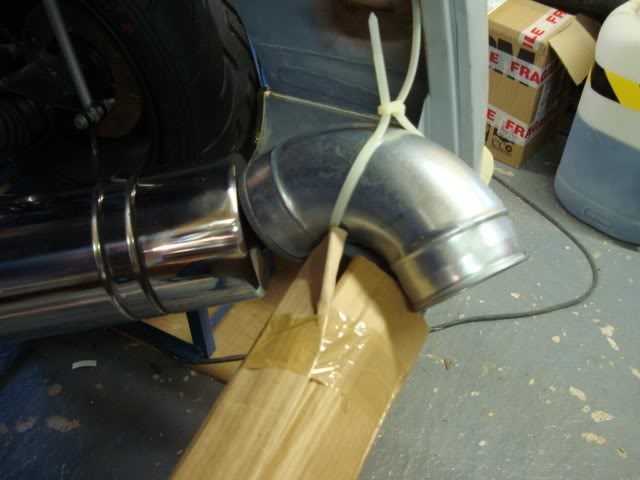
It sounded fantastic! and considering that i only revved it up to 4000 RPM impressively loud...
I have since run the engine up to temperature and everything was fine no leaks or other problems
Now that my engine loom is proven to work i have removed it from the car and stripped it to get some of the wires to exit in different places particularly the crank sensor wires that were particularly tight when installed on the engine.
So work has now started on the bulkhead, again temporary due to limited materials, its going to be a full height effort with a window i have started by attaching a bit of B&Q's finest aluminum to the roll hoop to which i can fasten a sheet of ali to make the passenger side bulkhead panel that will then allow me to layout and fit the engine electrics, ECU and battery in their final places
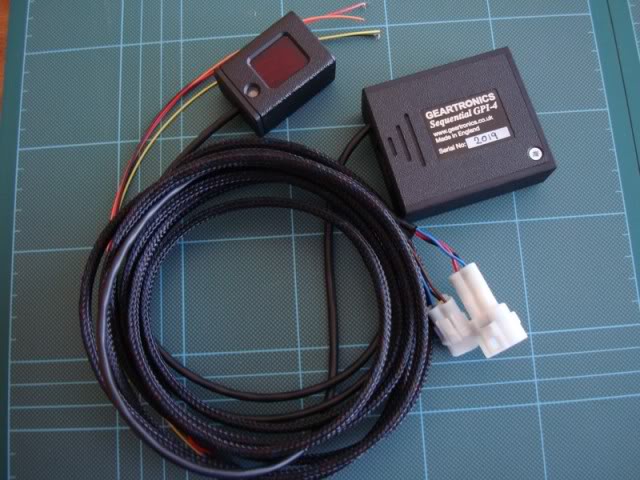
This arrived this week
Thats all for now but i am going to make a effort to update this thread more regularly and therefore reduce the pain of dealing with re-sizing phoits and dealing with photbucket 

This thing is insane!
Posted by MPower on 10/12/20 @ 1:54:15 PM