You must be logged in to rate content!
7 minute(s) of a 377 minute read
4-3-2012
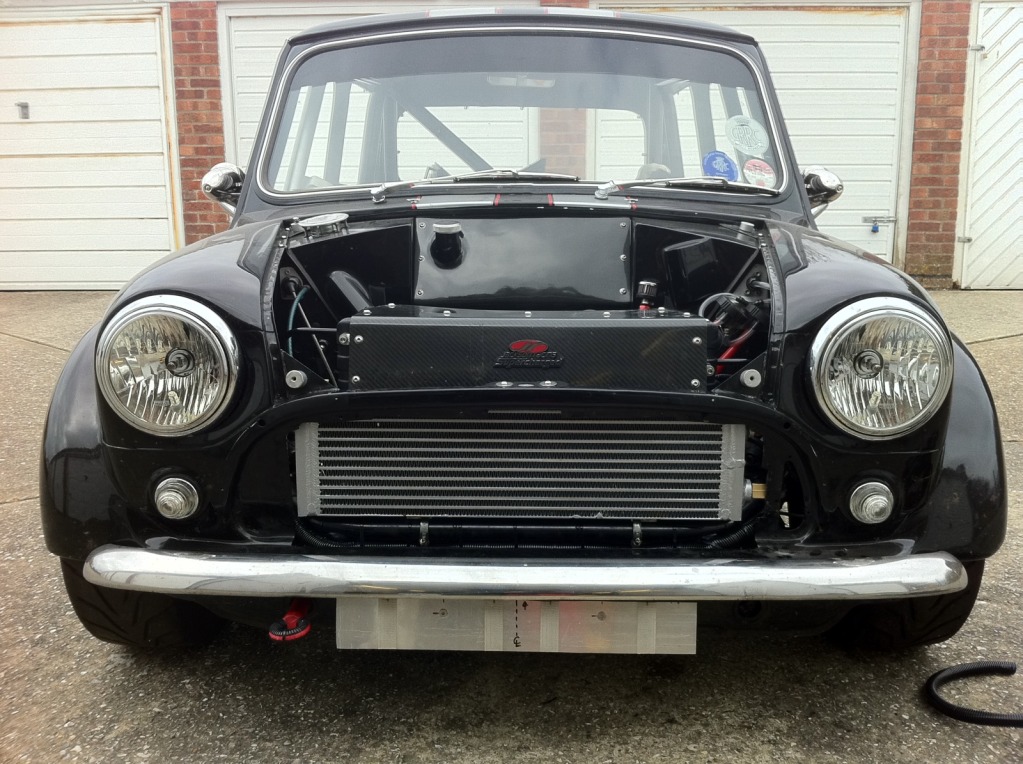
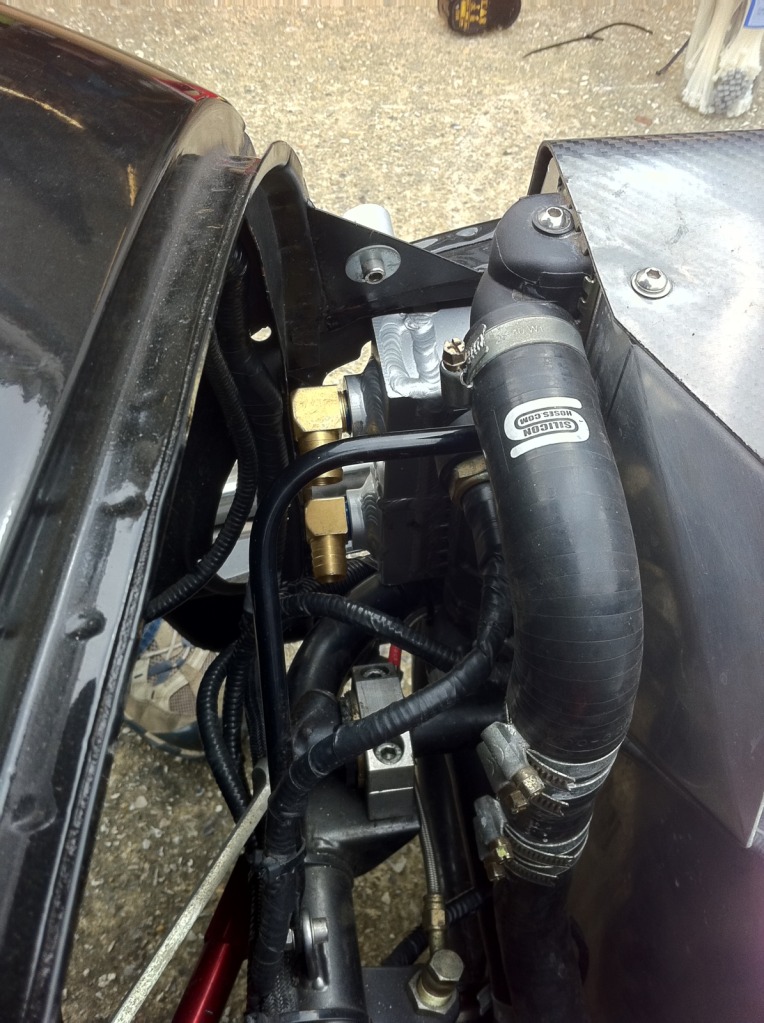
PRE RAD IS FIXED IN PLACE
I got my pre rad fully fitted into place on saturday, proper chuffed with it, I even got the grille back on and it only fouls a tiny amount, not that anyone would ever notice, unfortunately I dint get any with the grille on but I will in the near future.
I am going to see what the engine temps are like before I decide if I need anymore cool air ducting past the pre rad into the engine rad.
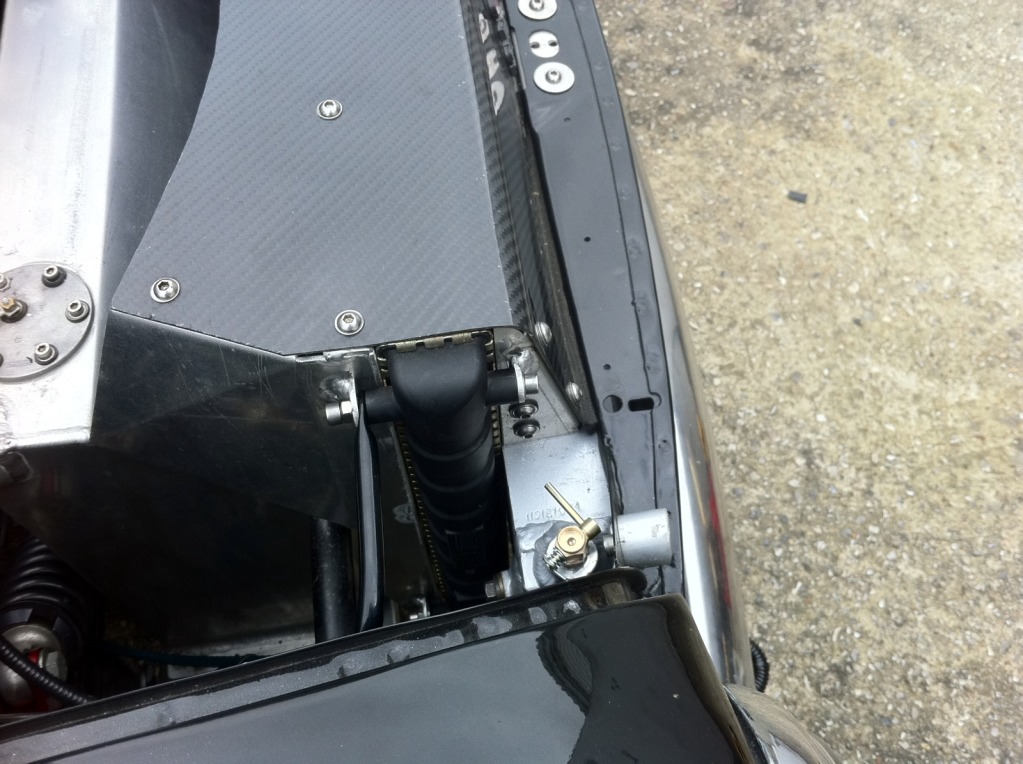
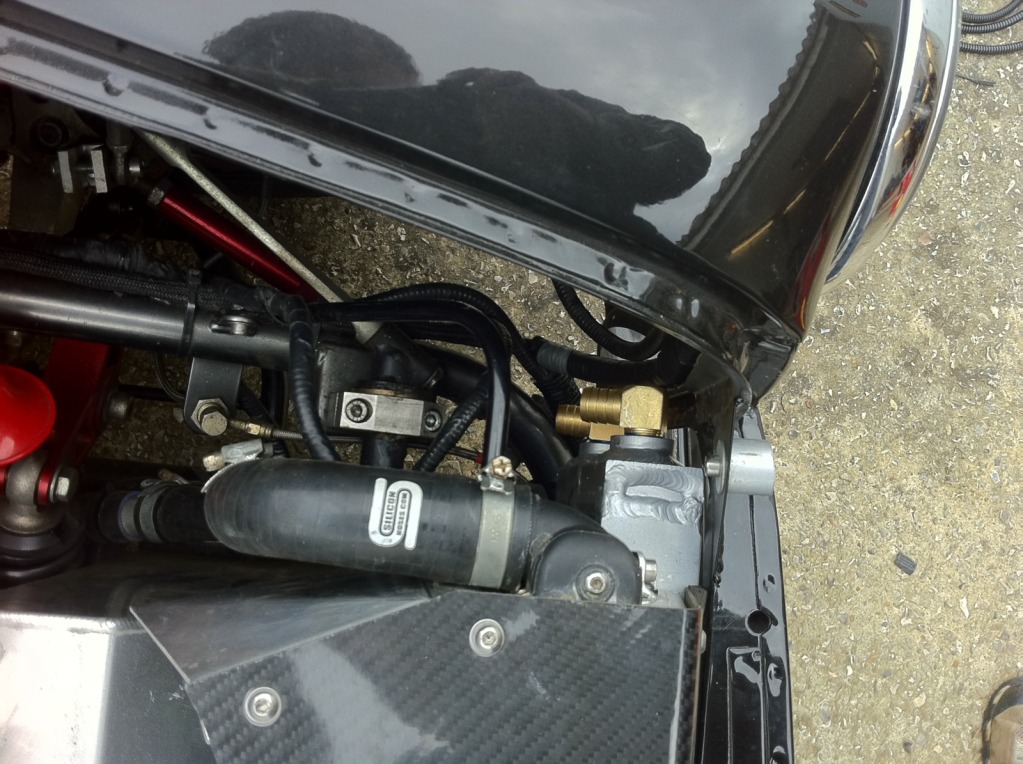
I ended up with the pre rad upside down to its normal usage position, this might sound odd but it has worked out for the best as its drainage plug is now a bleed screw, perfectly placed to get rid of any air in the system at the top on the drivers side of the rad. By jacking the beast up on the drivers side whilst bleeding out the air will totally get rid of any air in the rad.
I havent got it piped yet as I was waiting til I put the engine back in so I have it on ramps to fit the pipework.
A few photos of it installed: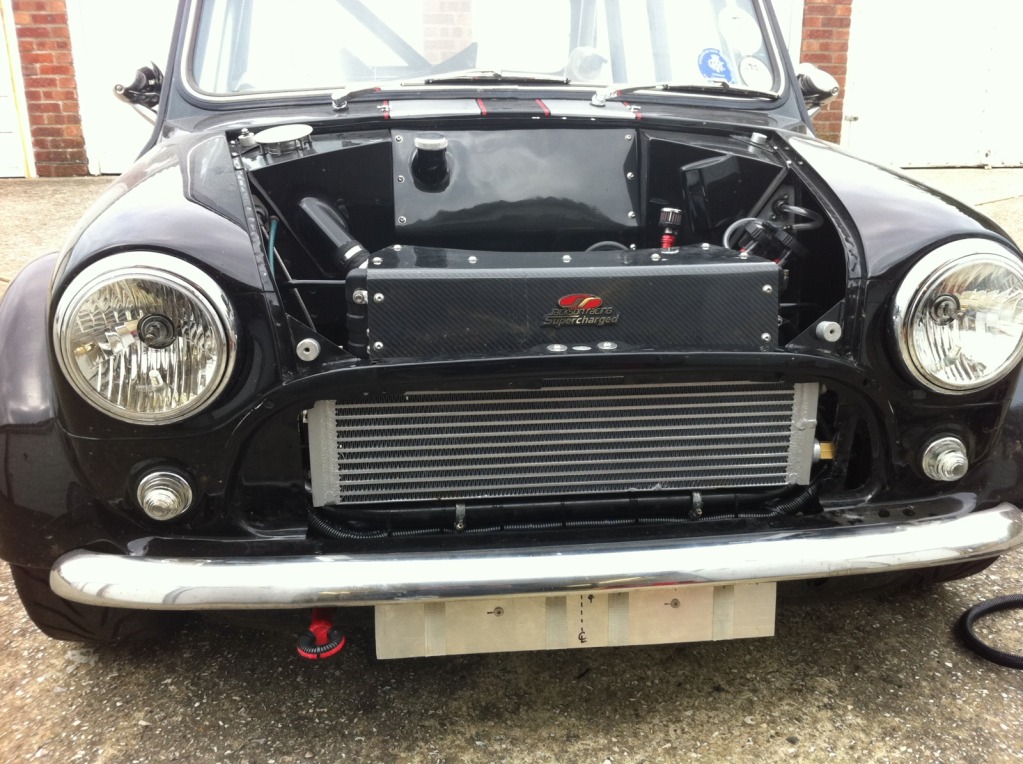
4-5-2012
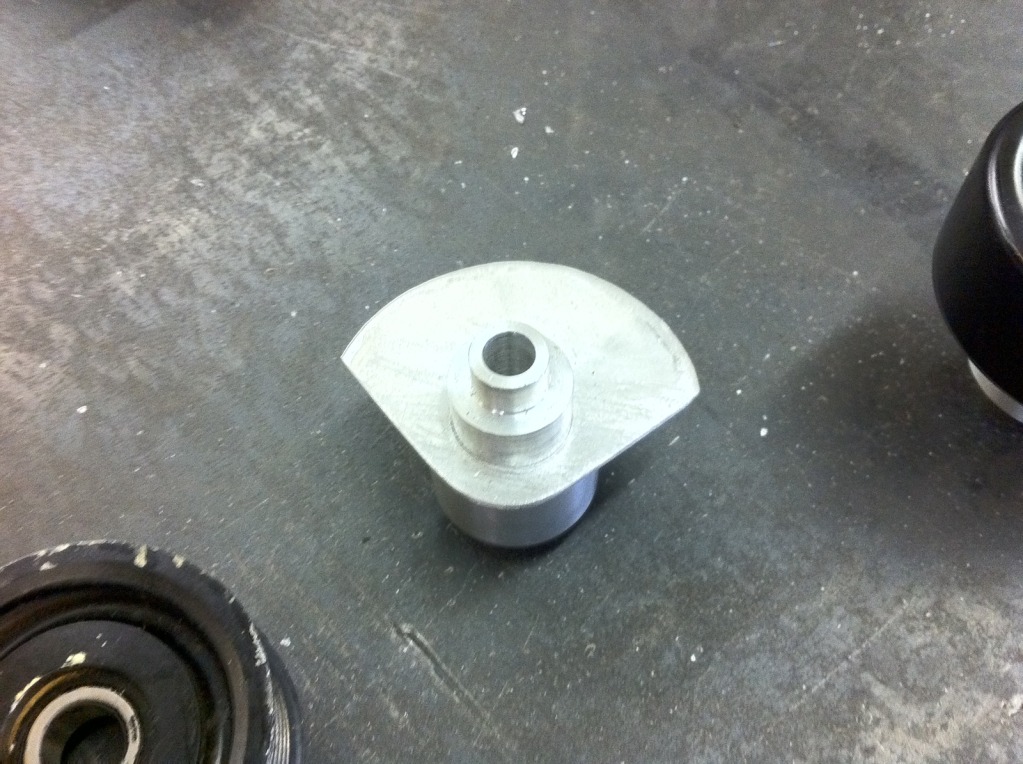
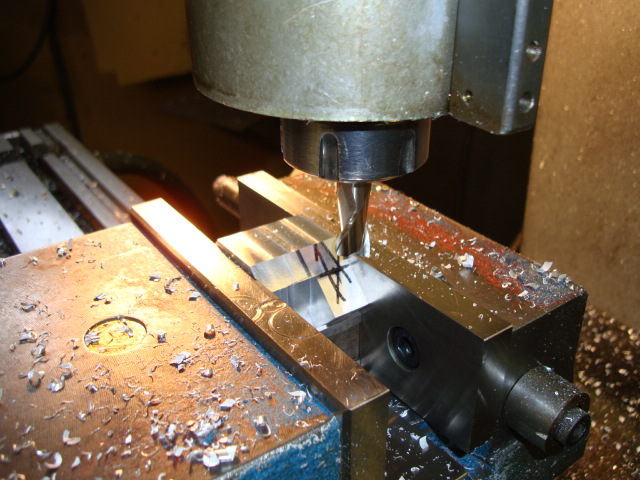
SNOUT CLAMP IN PRODUCTION
Myself and my good mate Stevie G started on creating the snout clamp last night, its so much easier when you have all the right tools for the job. I left steve doing the milling whilst I made the little pulley cover. Unfortunately the only photo I have of the snout clamp is early on when the holes are being drilled, however with the Easter weekend upon us there will be a lot of progress by Tuesday and I will keep everyone updated.
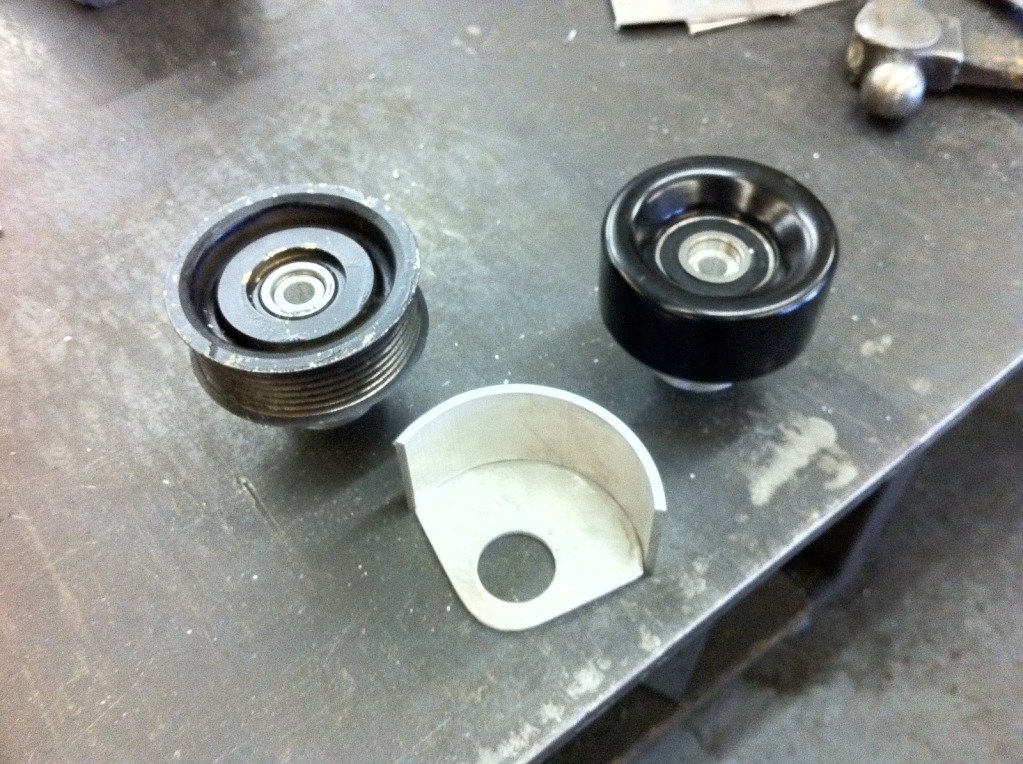
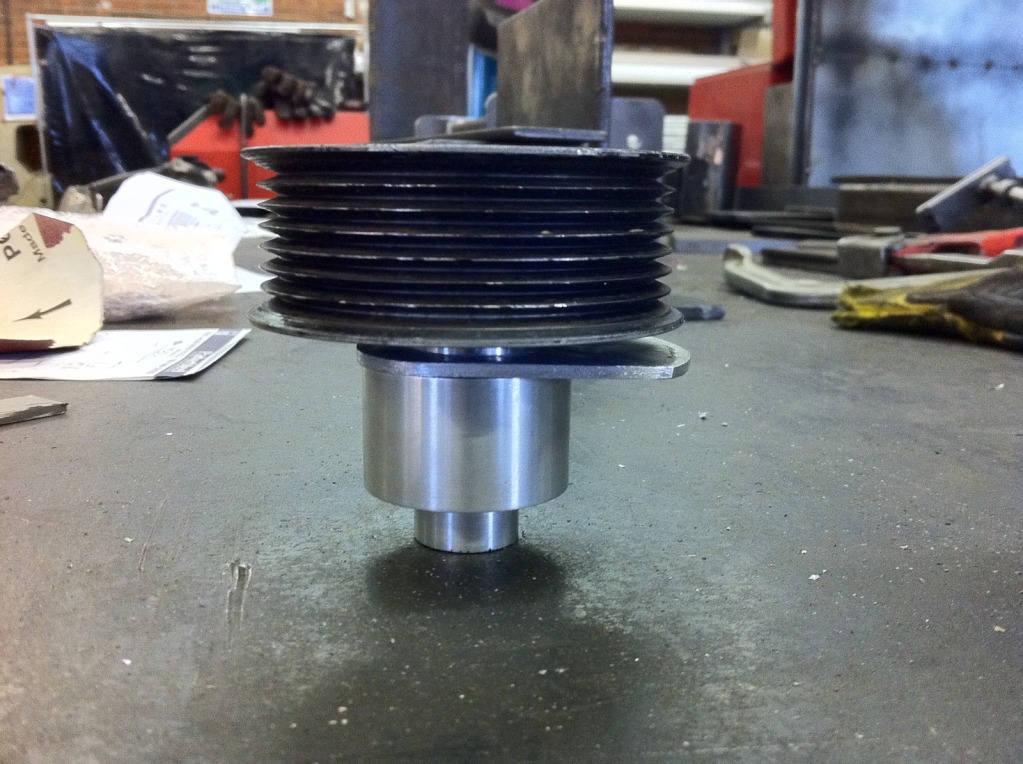
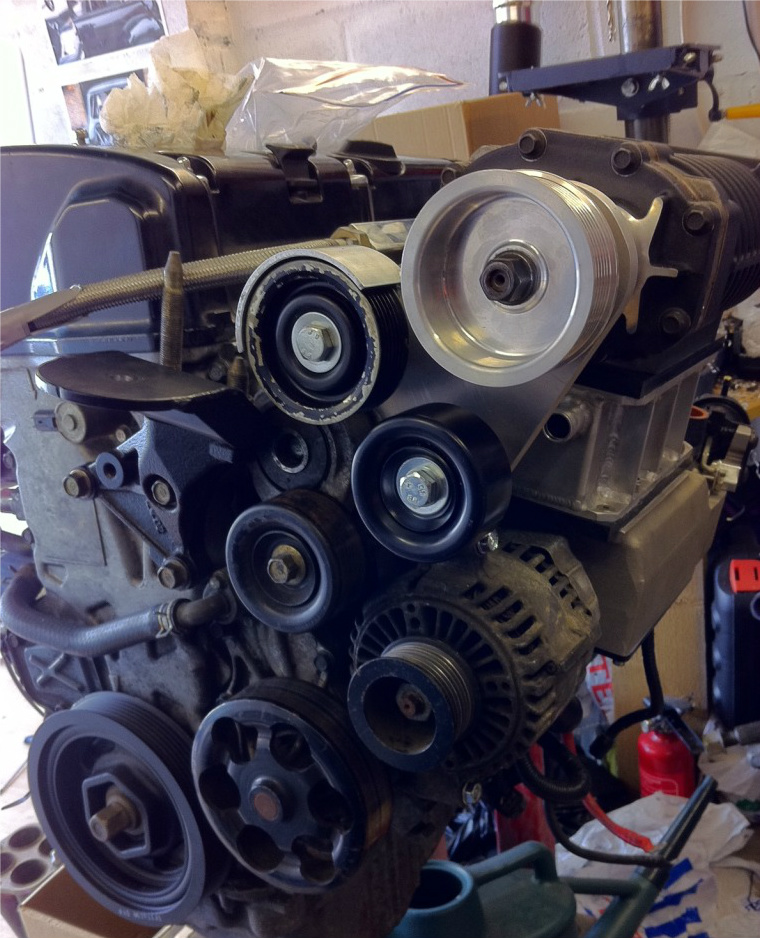
Over the last couple of weeks my other good mate Jim Bright has been doing some turning for me on his lathe, making the fixings for the two extra pulleys that you can see in the photos below.
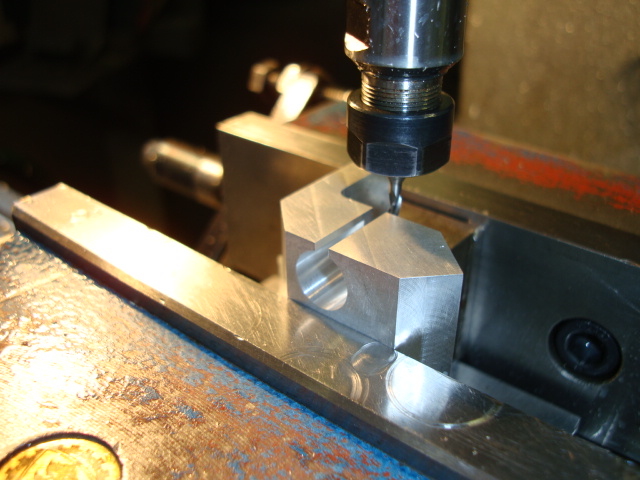
Snout clamp in the mill: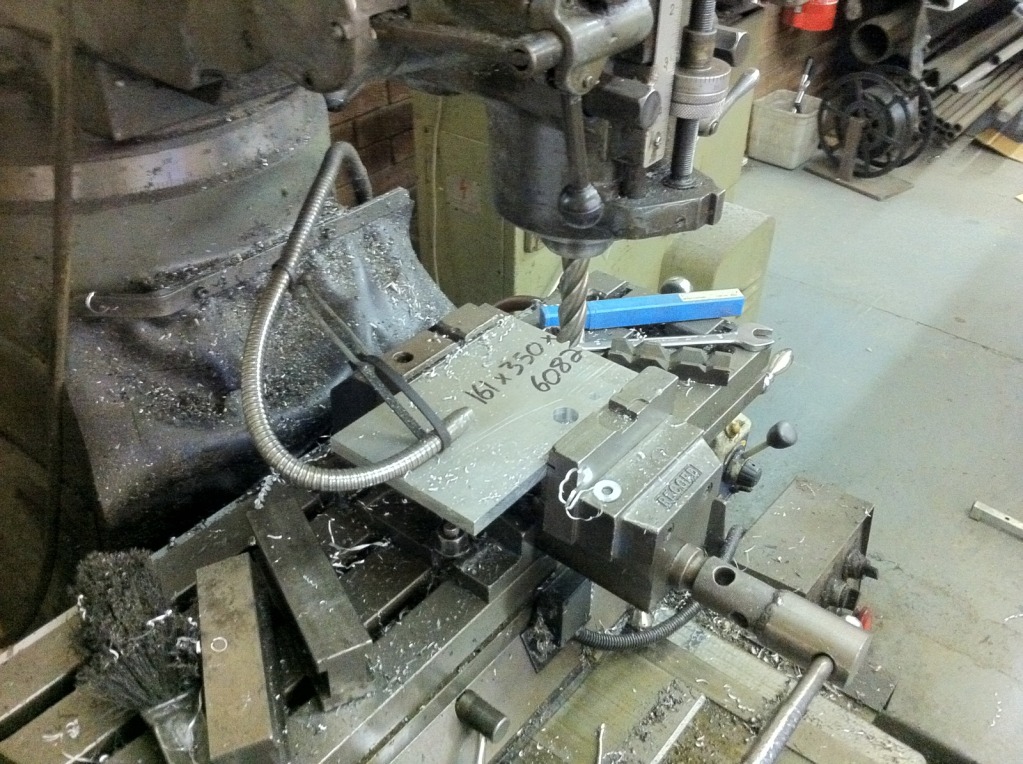
Pulleys, mounts and covers: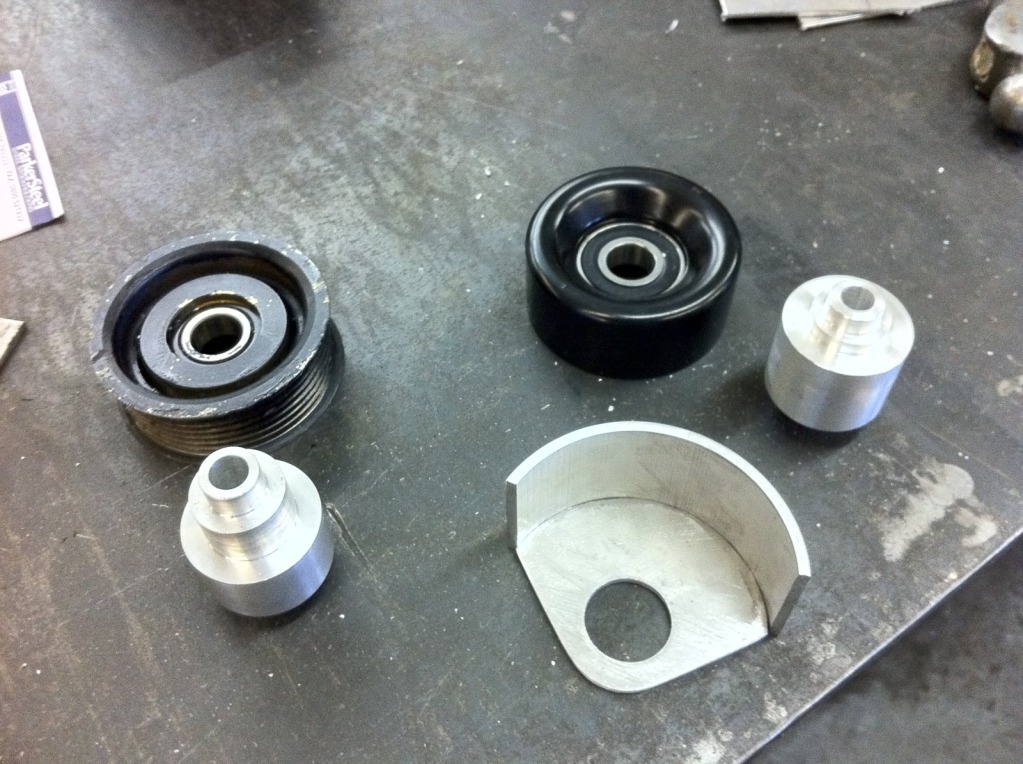
4-8-2012
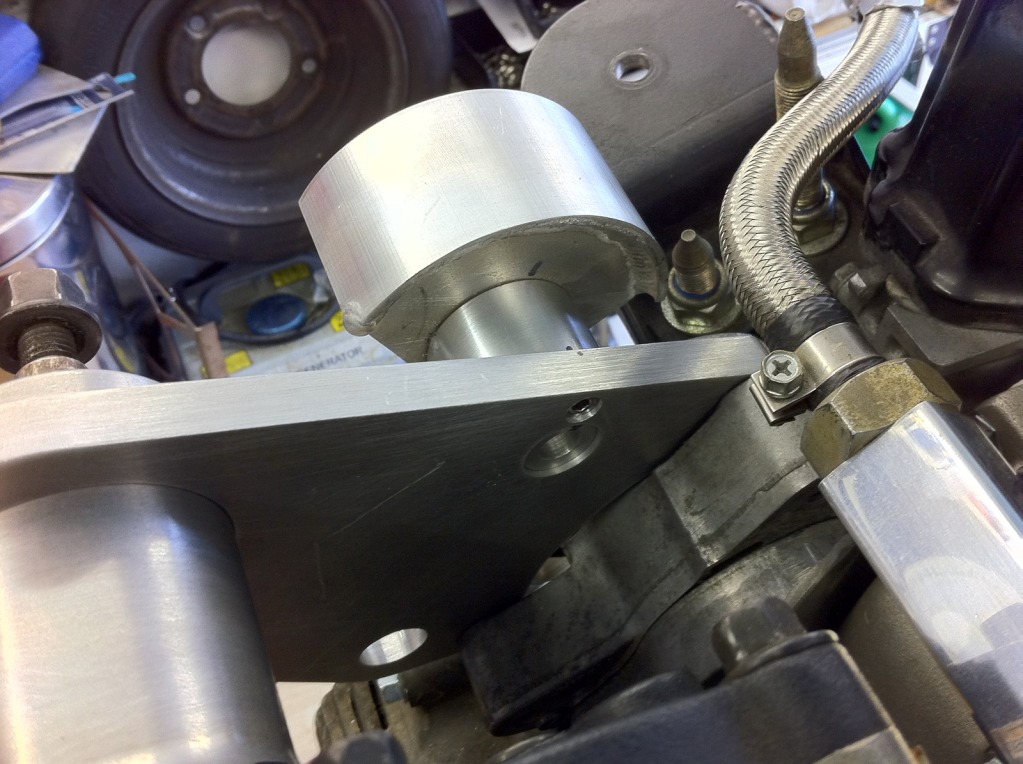
SNOUT CLAMP FITTED
First trail fit of the clamp on the auto tensioner to make sure holes line up.
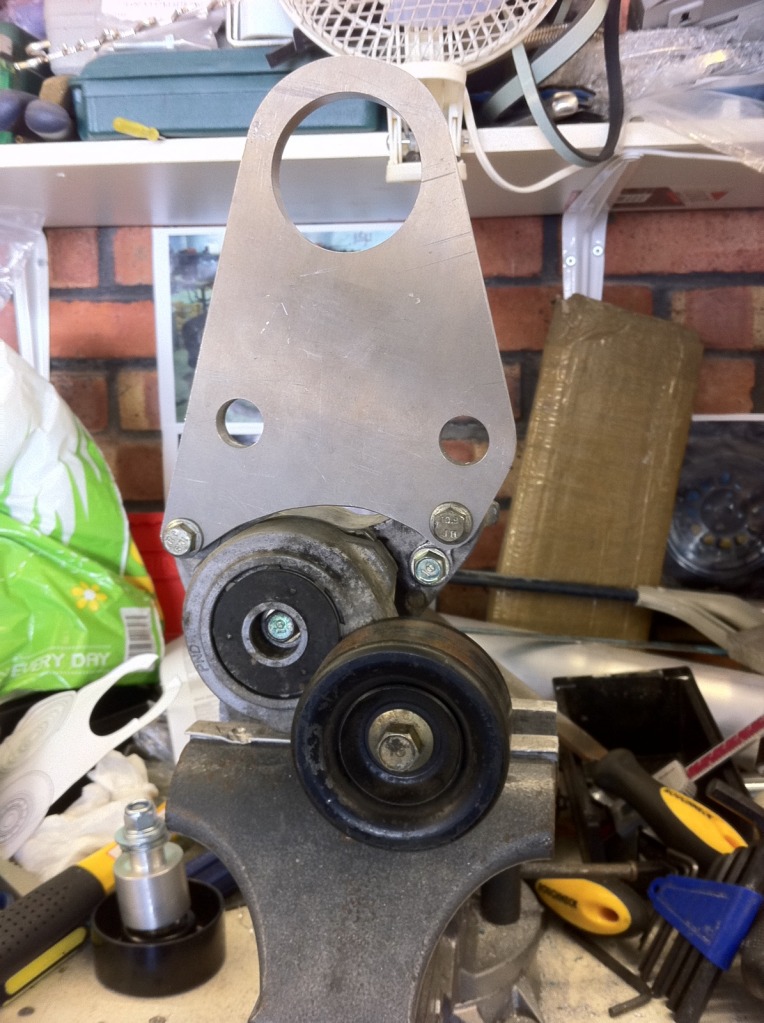
It took a bit of gentle sanding and a bit of persuasion to get it on the snout but then as I ended up with a design that isnt a true clamp then that it exactly what I needed, a slight interference fit.....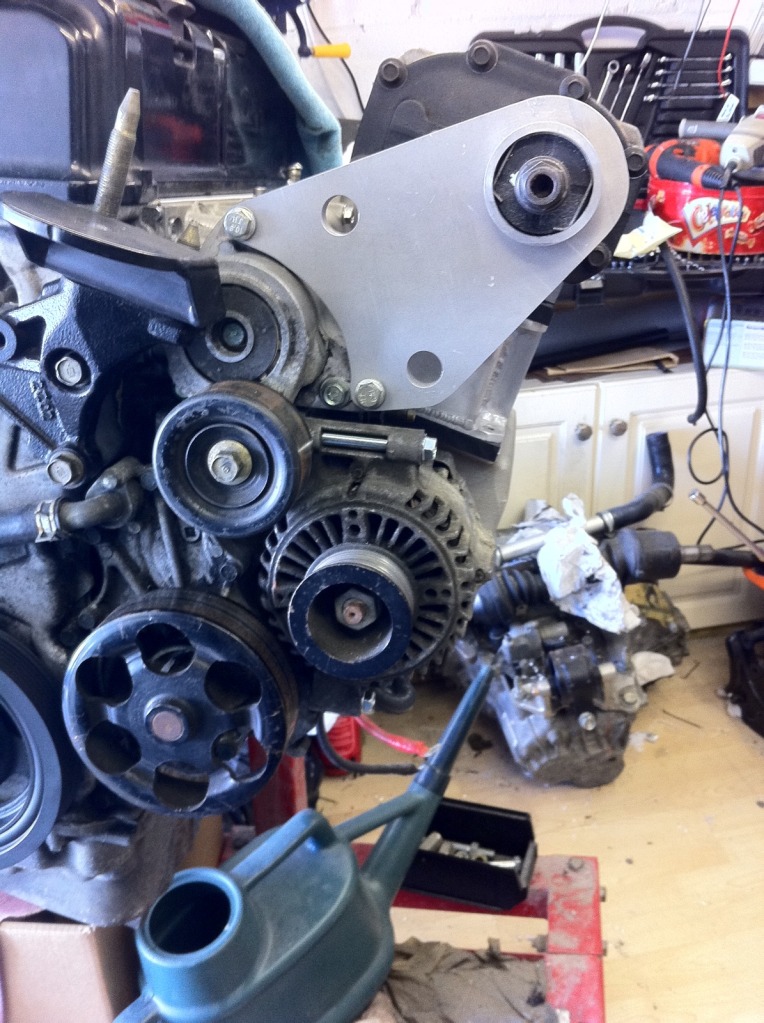
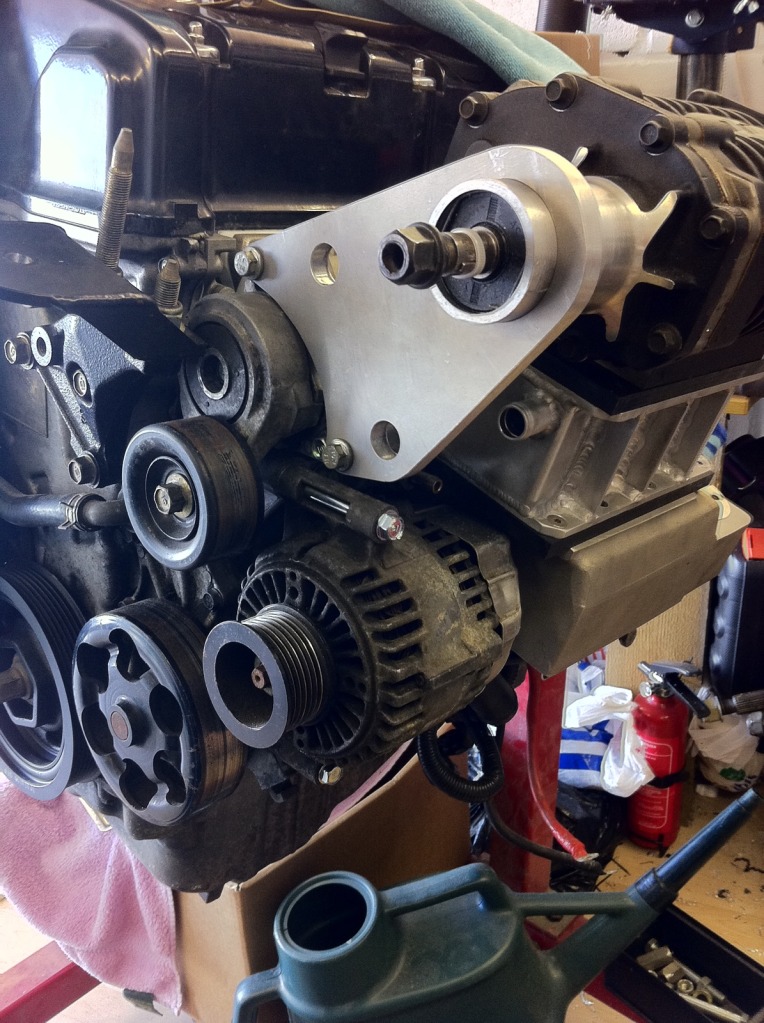
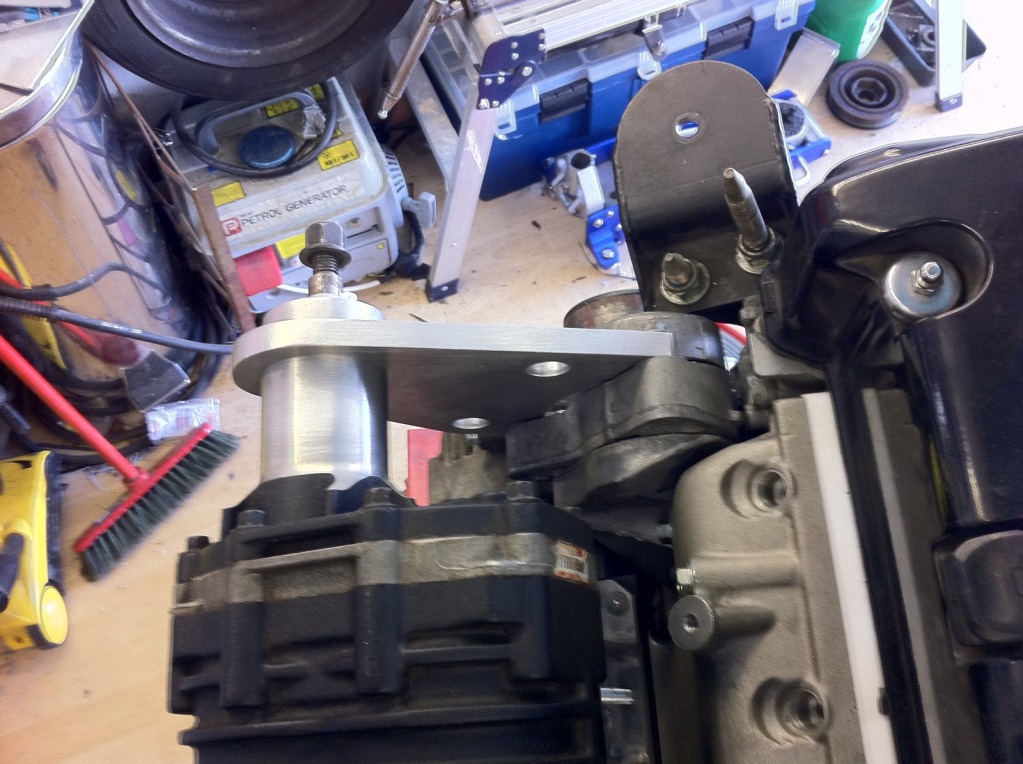
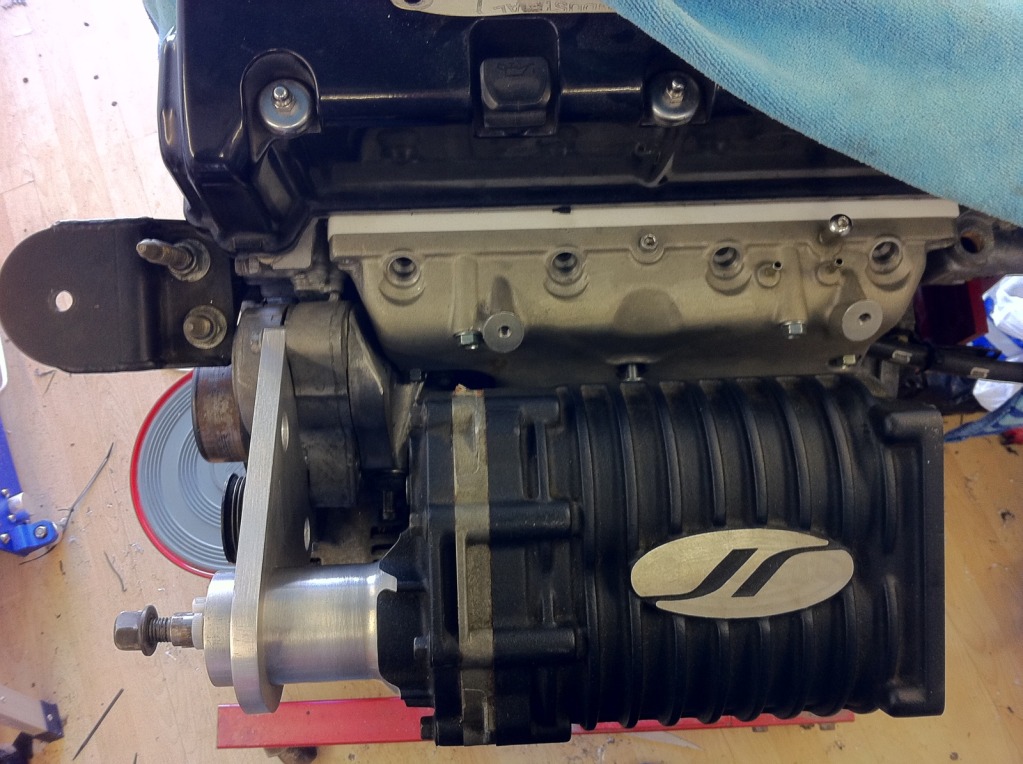
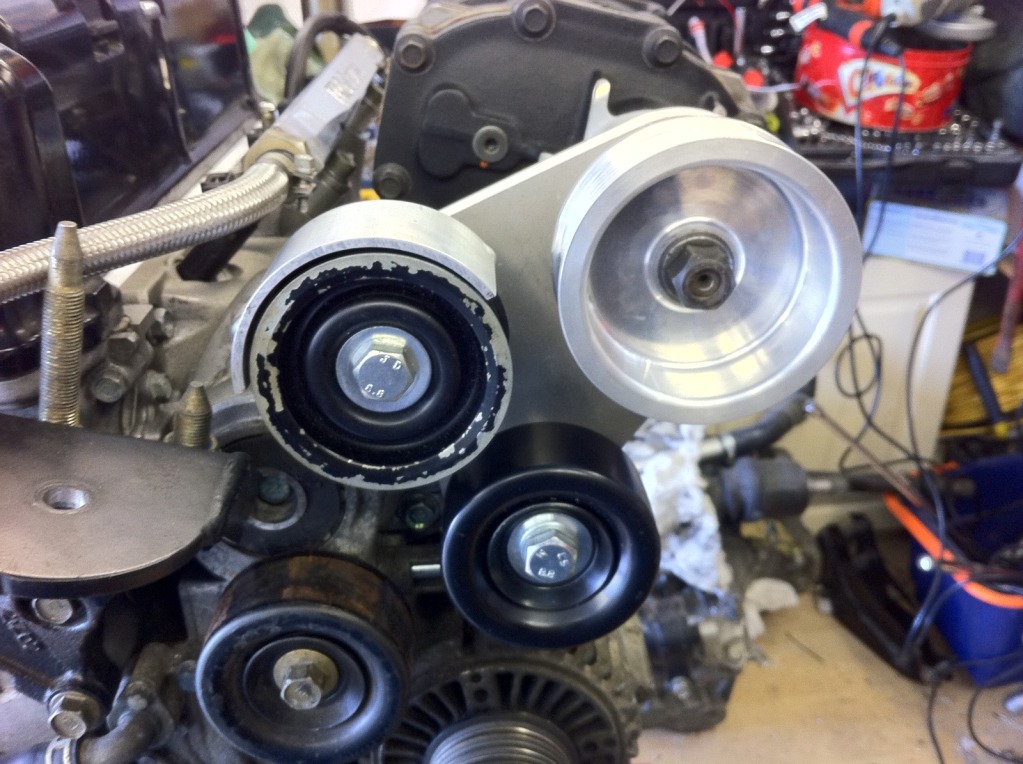
Then I fitted all the pulleys and relative fittings to the clamp plate.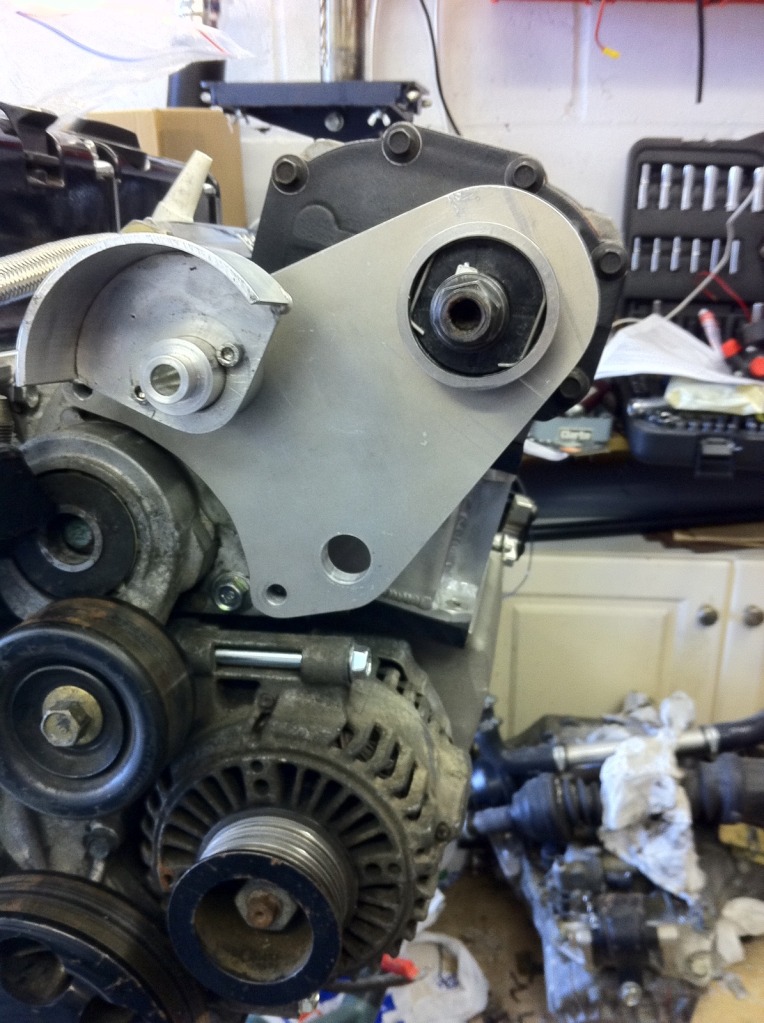
4-10-2012
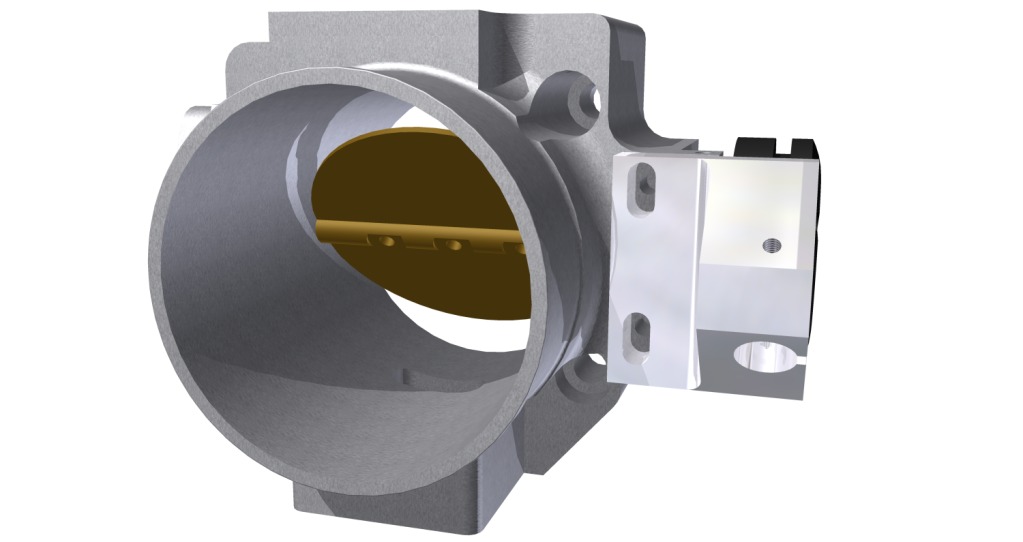
TB-SC Manifold
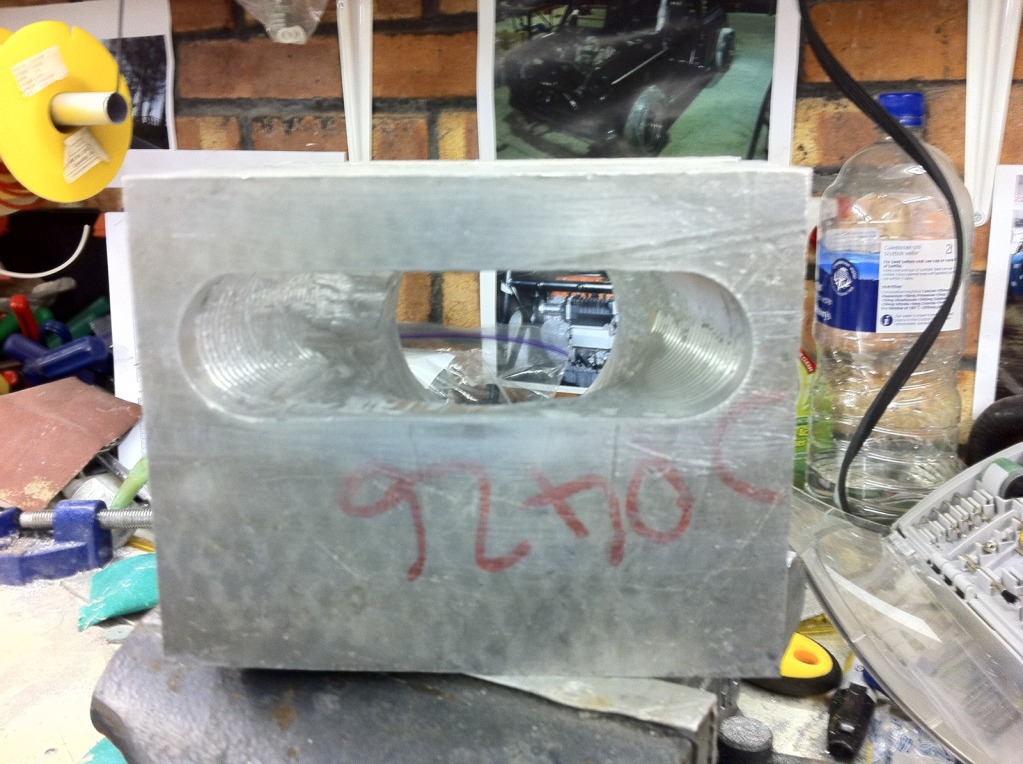
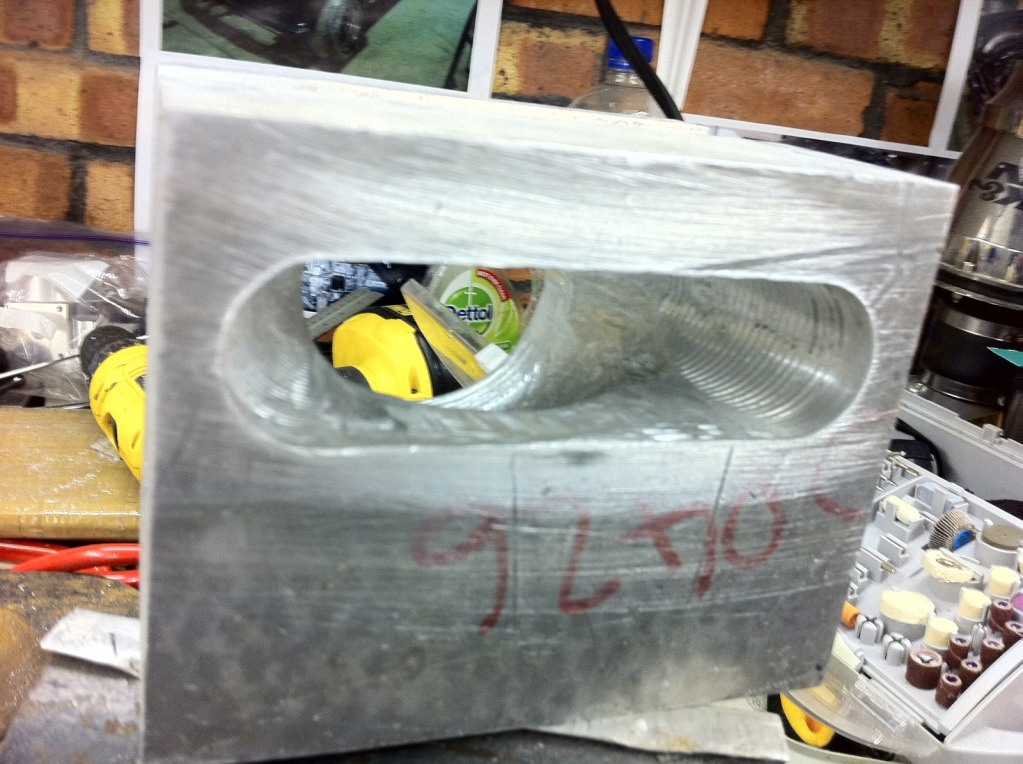
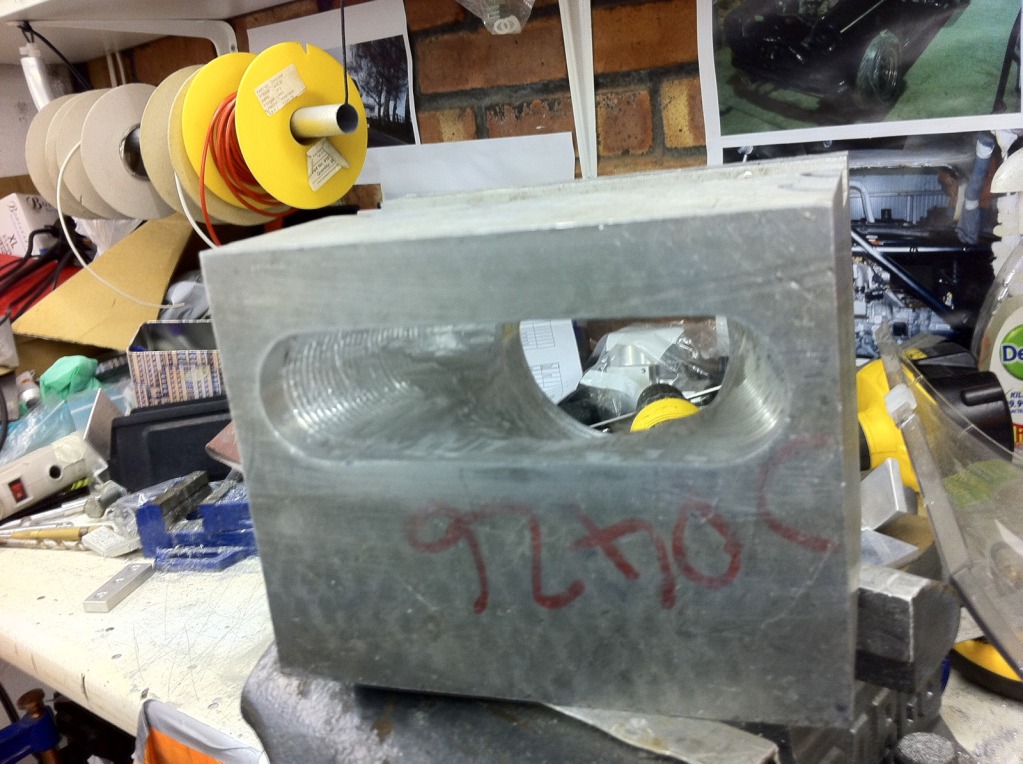
I spent 3.5hours with a die grinder trying to get the inner tunnel shape of the TB-SC Manifold done, I got the basic shape but the finish to the tunnel surface needs some work.
So it went from this: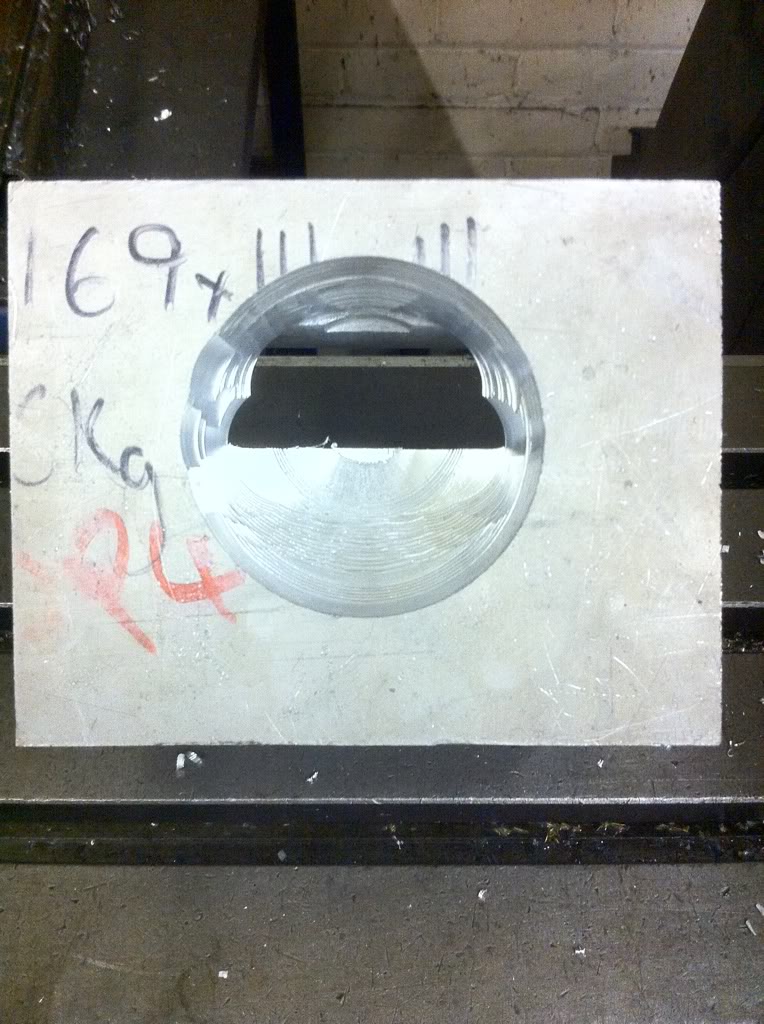
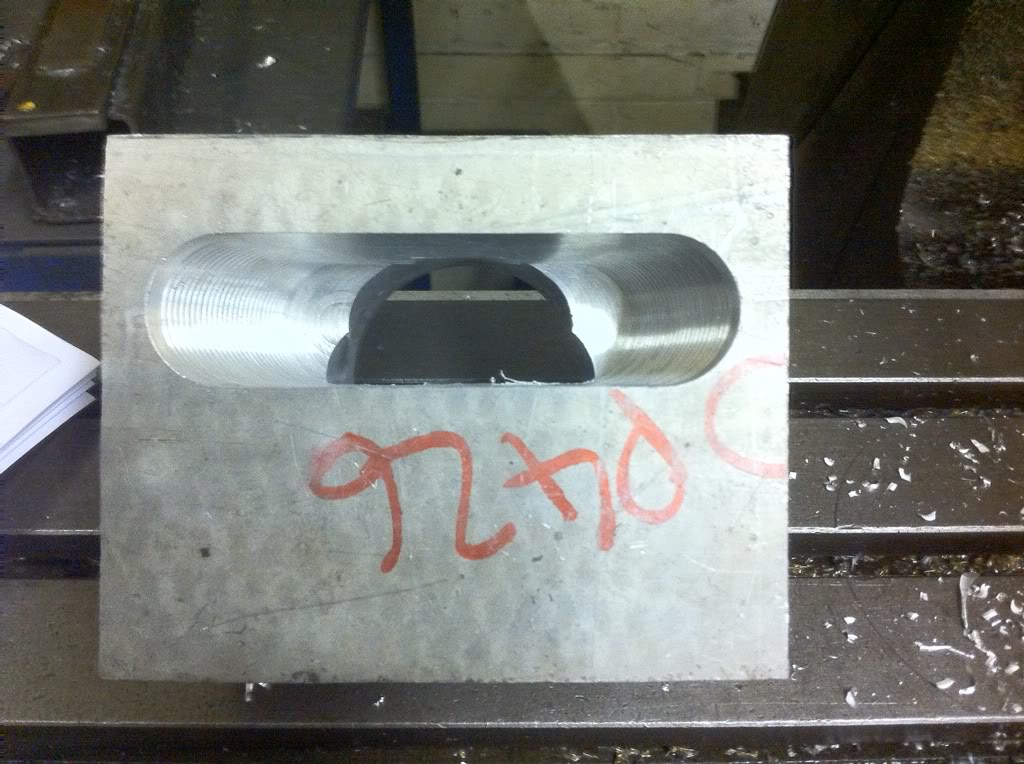
To this: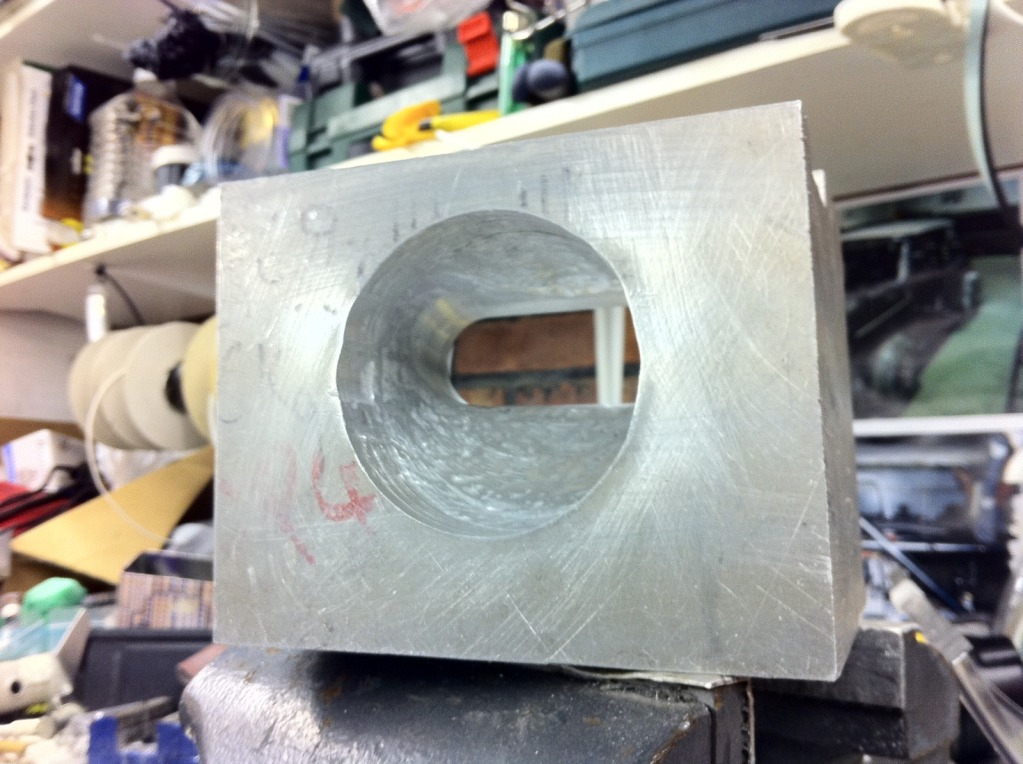
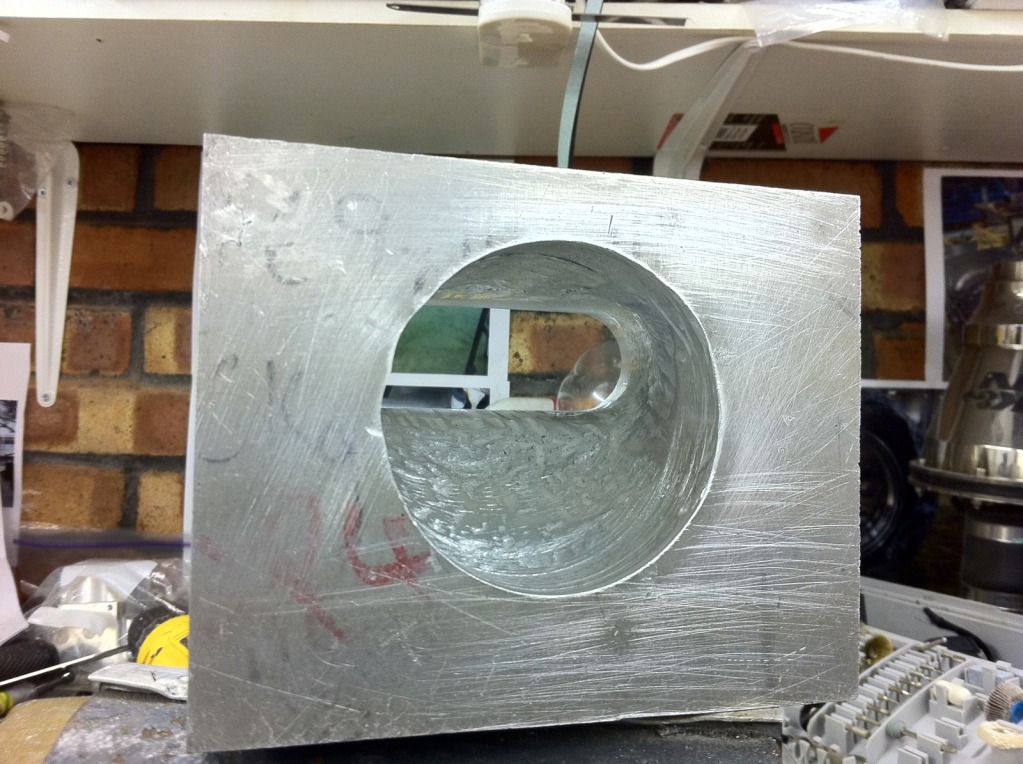
Going to do some more sanding and smoothing to the tunnel, but at least we can now start on the outer machining which shouldnt take too long.
4-11-2012
NEW THROTTLE CABLE HOLDER
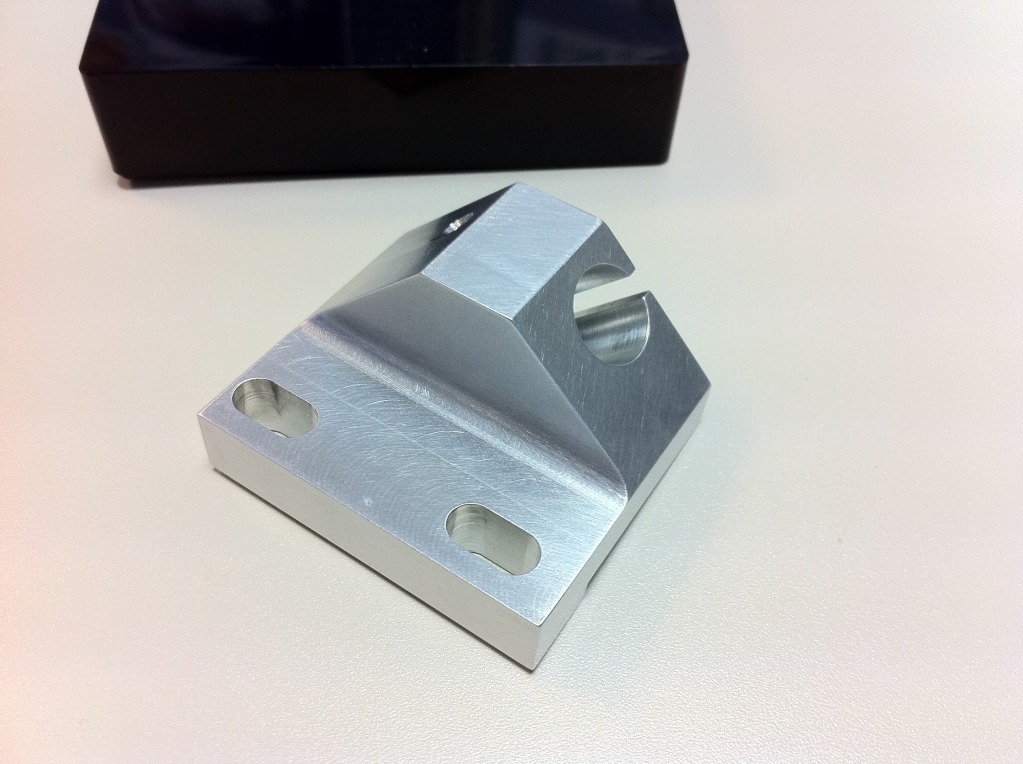
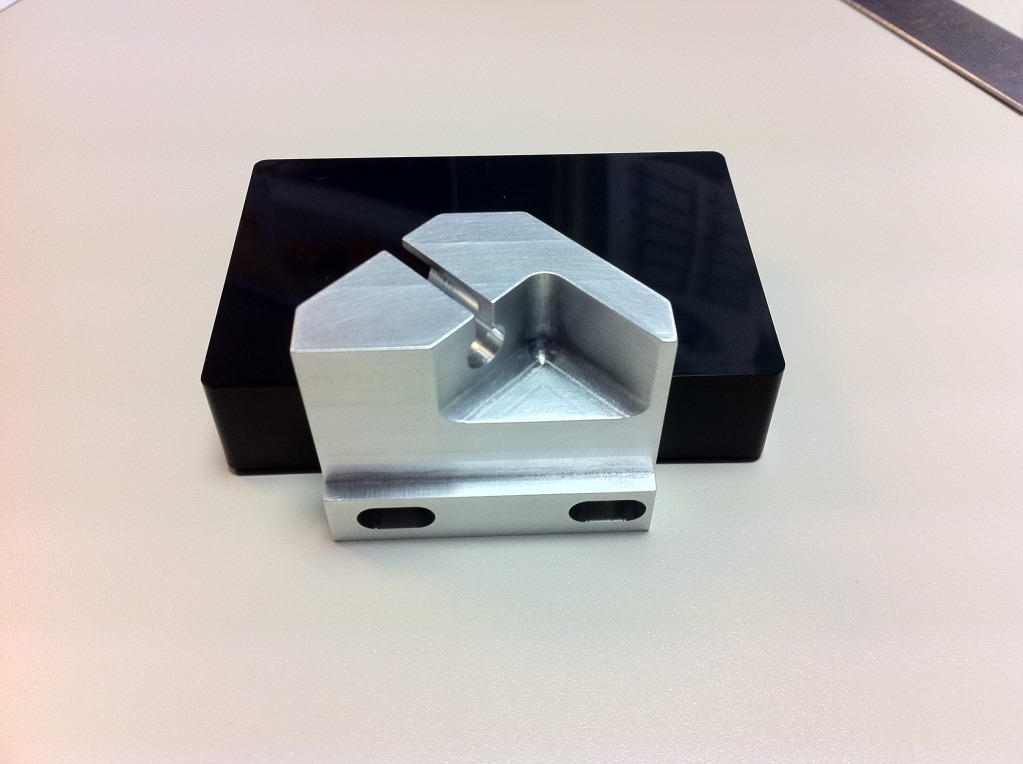
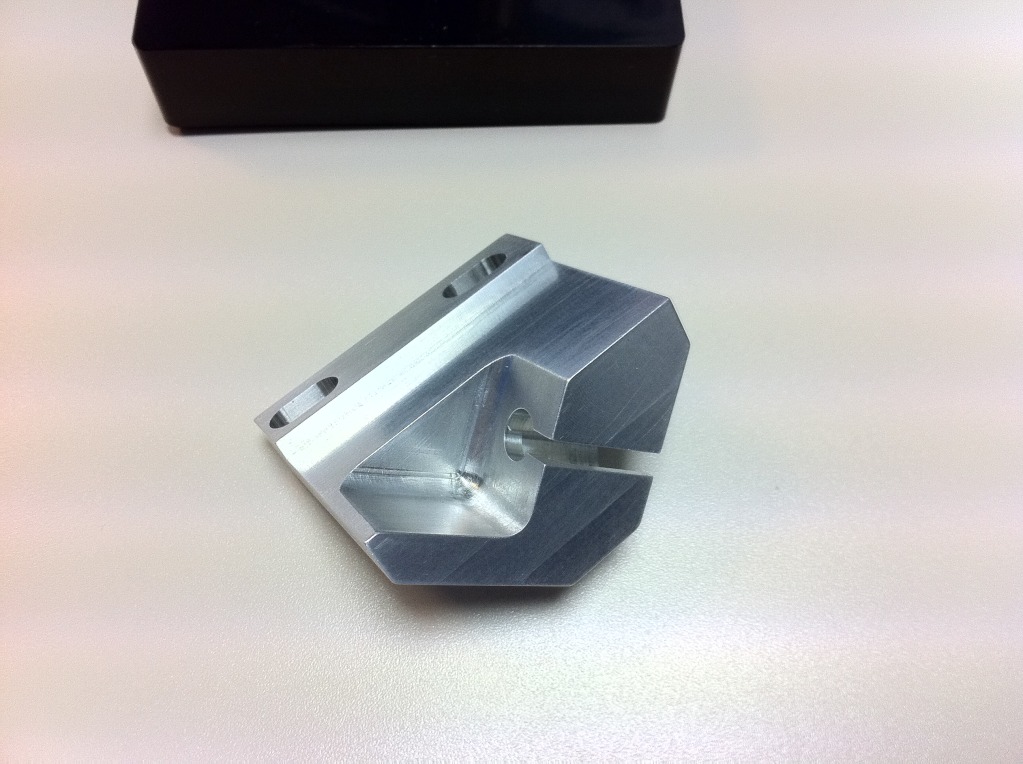
Fisrt things first I have to give a massive thanks to Martin (AKA Rust and Oil) as he has very kindly made this part for me.
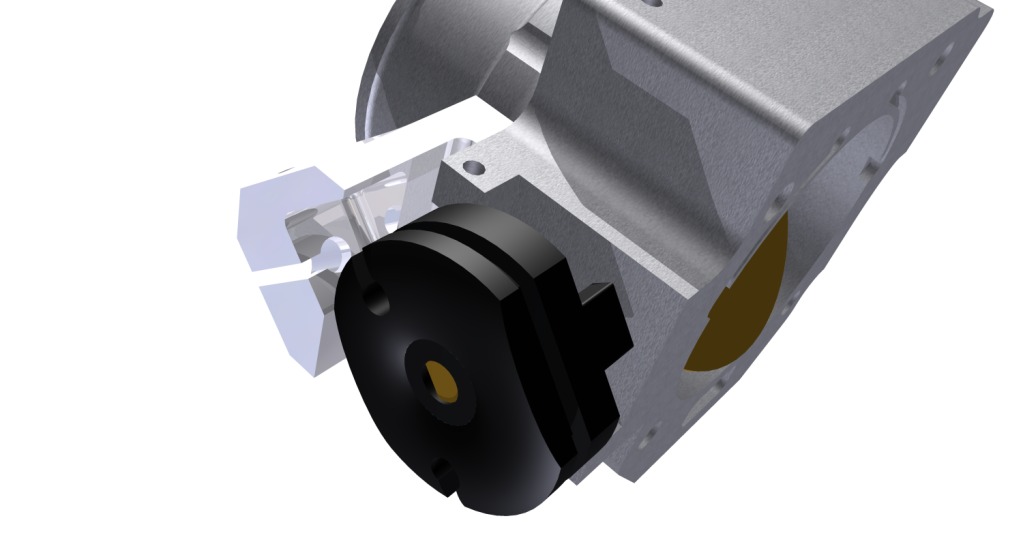
Due to the repositioning of the throttle body I have had to redesign the throttle cable holder, the TB is now 3" more outboard and 3.5" higher, the throtle cable did not have enough extra length in it to be able to meet the old throttle cable holder.
So a series of pictures, running from the design in CAD, through the production to the final part: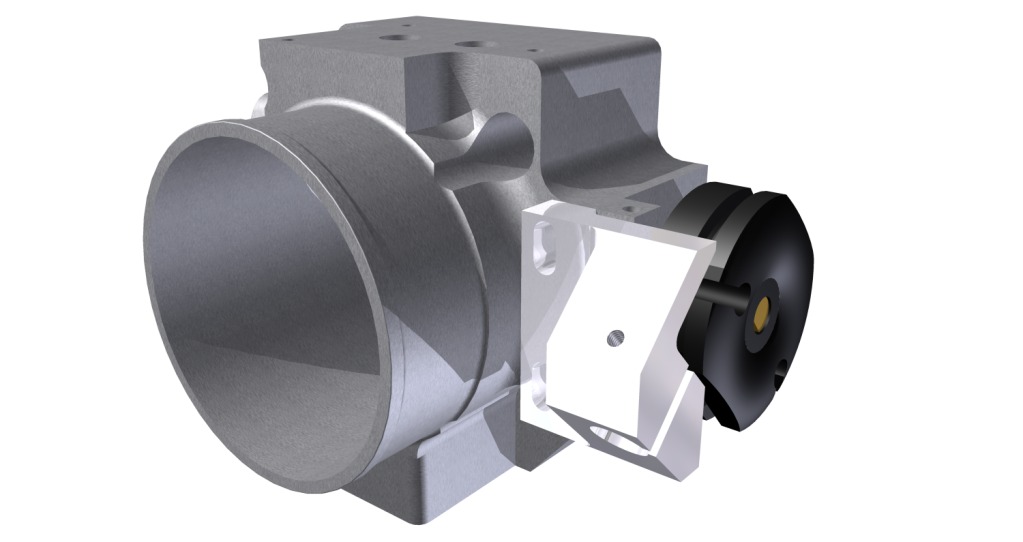
In production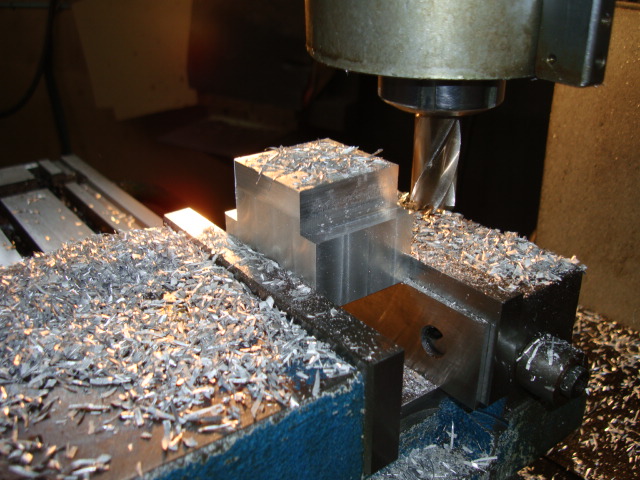

The final Part, as receieved this morning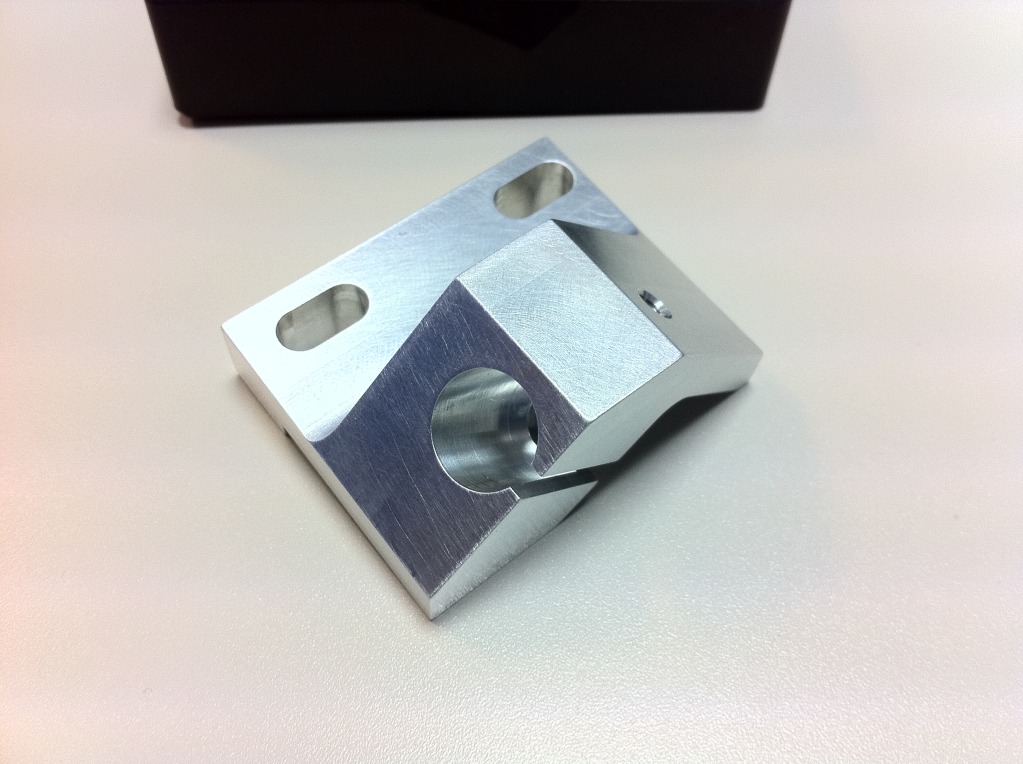
Wow this is amazing build!
Posted by Diggymart on 2/3/20 @ 4:10:14 AM