You must be logged in to rate content!
9 minute(s) of a 377 minute read
11-29-2011
I took the car to a mates garage and used his two poster ramp, it sits pretty much flat on the bottom of the sump when dropped onto a flat surface, we used an old tool chest with castors so we could move it around. front and rear engine mounts have to be removed, the gearbox mount jsut needs the bold dropping out of it when theres some pressure from underneath on the engine and then finally the O/S mount needs weight taken up and then theres three bolts in the side of the block that need removing. Then its just a case of taking the car up on the ramp and pulling the engine from underneath, this is the second time I have taken the engine out, this is my second engine as the first one was well and truly water damaged.
12-23-2011
ONE STEP CLOSER TO MORE POWAHHHHH
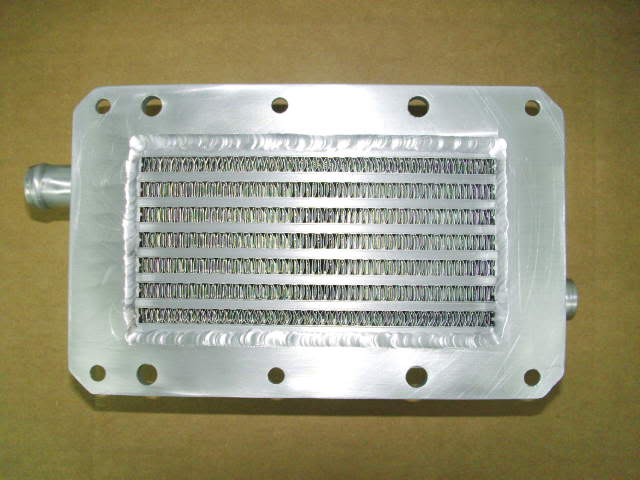
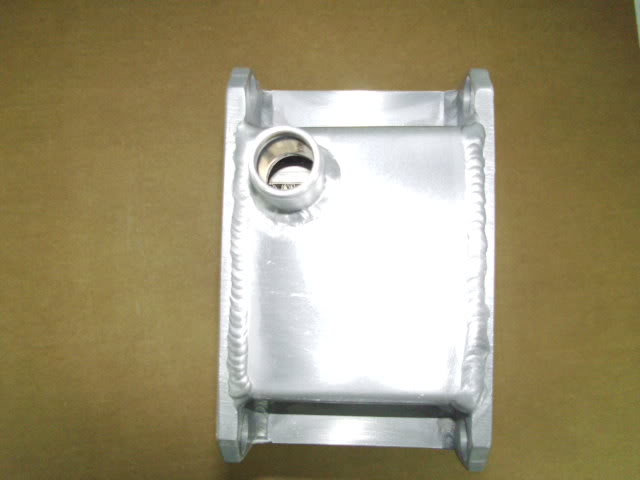
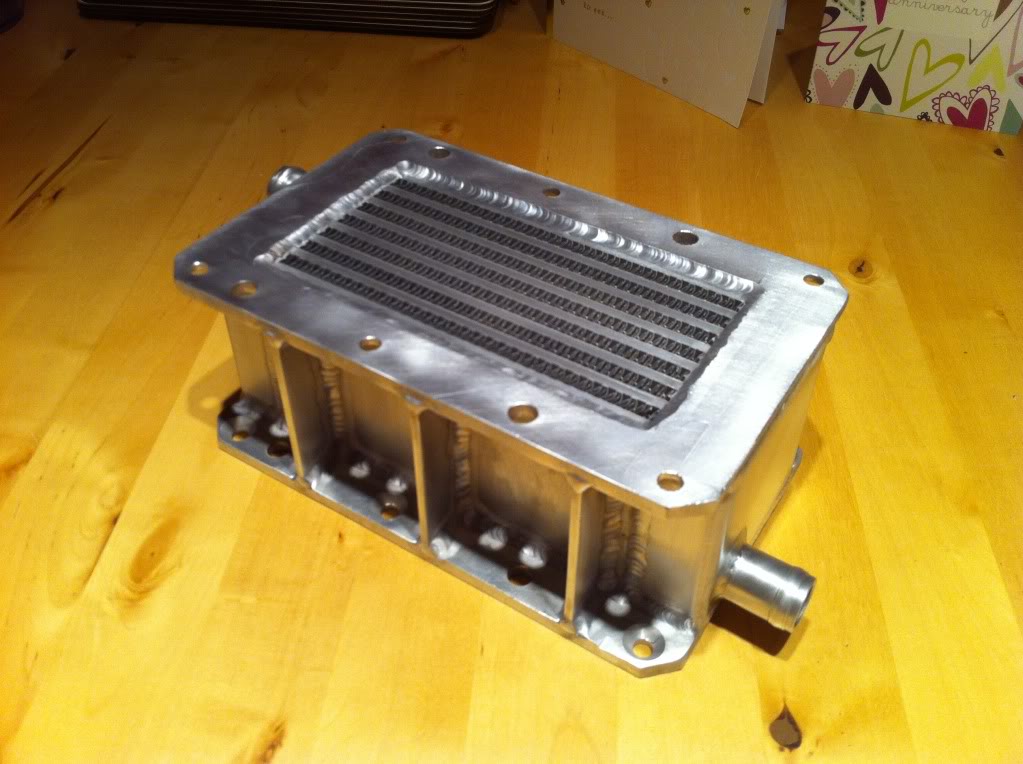
I got an email yesterday from the guys at Bell in the USA, my new Intercooler cartridge (as they call them) is winging its way to me.........AWESOME.....
They were kind enough to send a couple of photos, unfortunately they arent the most interesting of angles, hey ho you get what you're given......
Turns out it looks alot like the drawing I sent them - which is nice, as if it didnt I'd be a bit peeved... So below we have the drawing I sent to them (not great quality but then I dont want to give all my secrets away followed by the photos from Bell, more to come as and when.....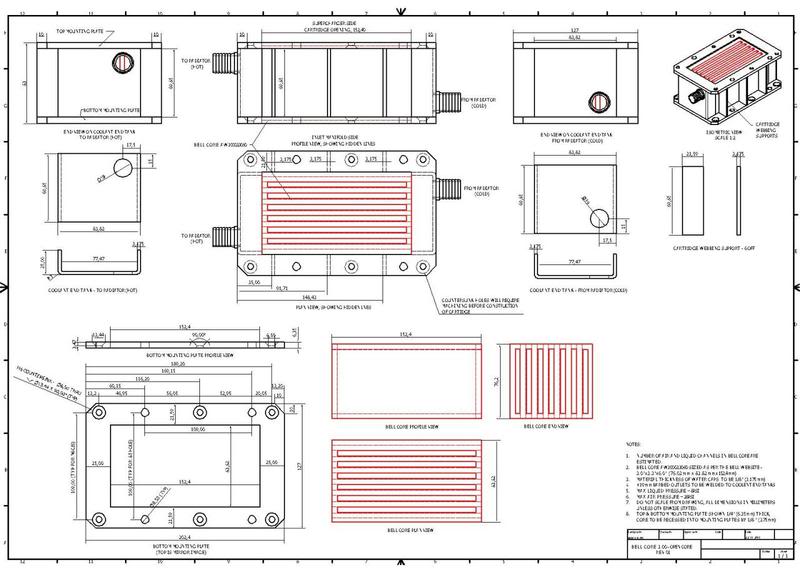
12-28-2011
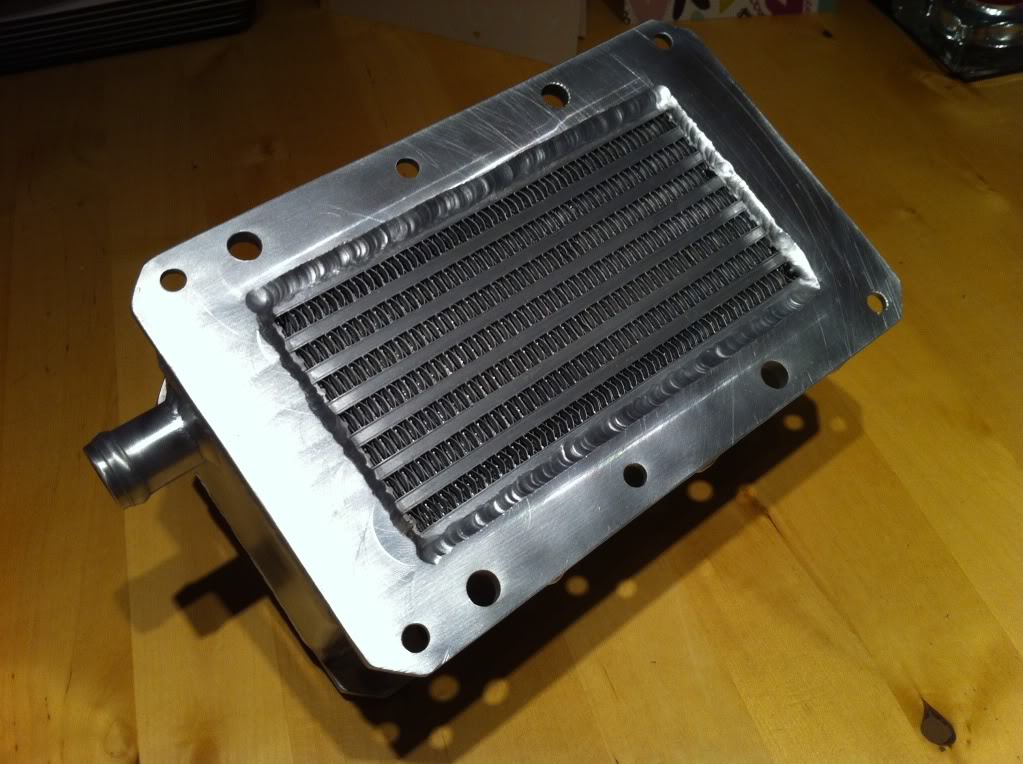
The Intercooler is Here
It arrived today and looks really good, there will be more photos to come once I get the adaptor plates machined which will make more sense of the holes in the top and bottom plates.
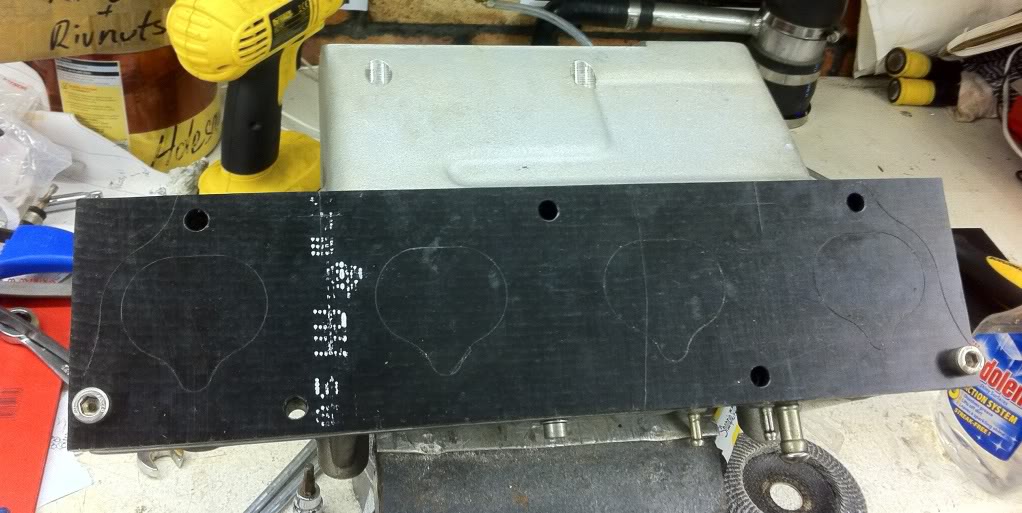
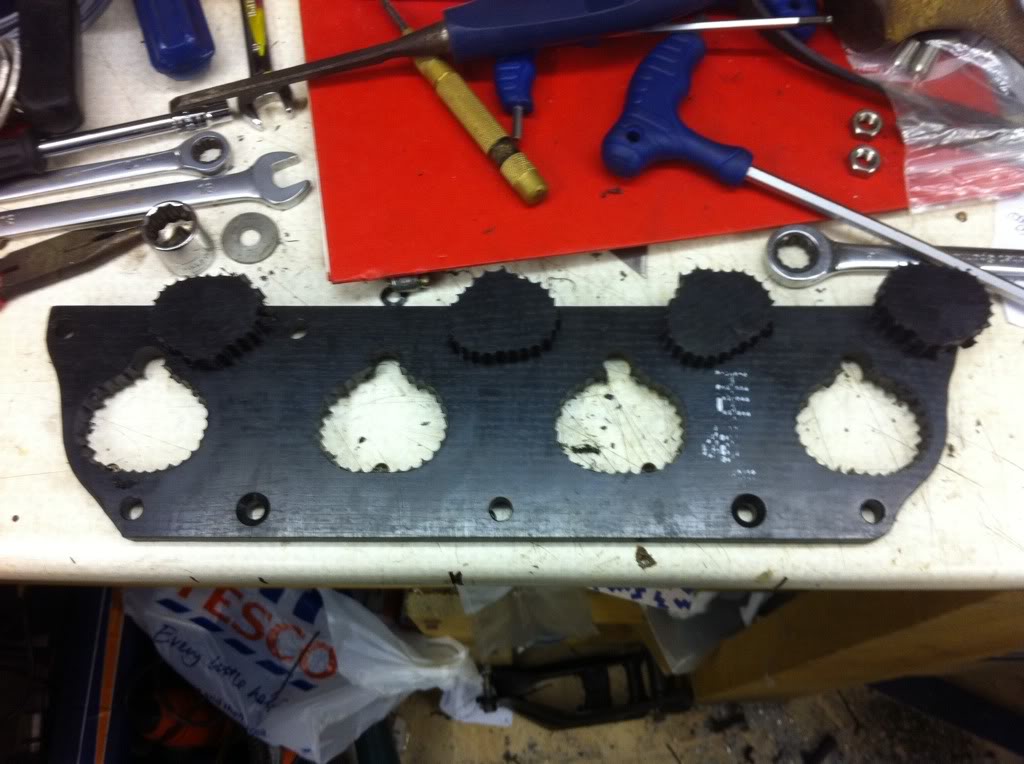
I have also been doing some work on a heat barrier intake manifold gasket, you can buy these from Hondata and others but they are only 3-4mm thick, I went for 10mm Acetal for its high melting point. I am only half way through and hope to get more done to it tomorrow, photos of that at the end...
Intercooler Cartridge: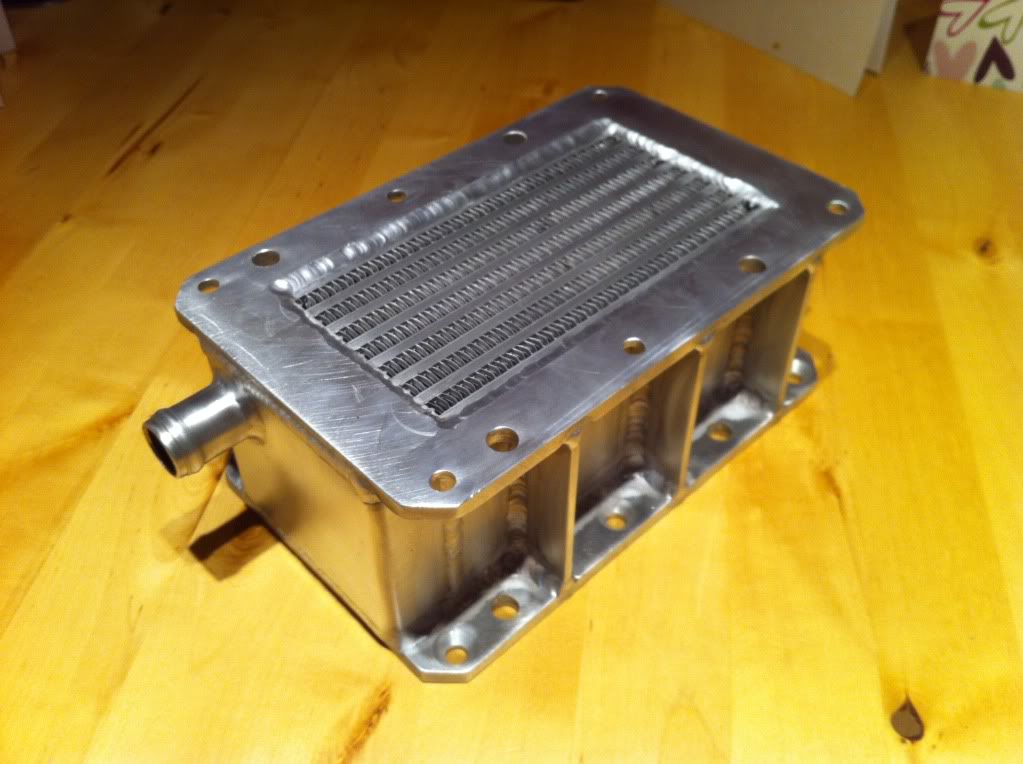
Heatshield:
the OEM gasket and the blank of Acetal - Gasket made for a good template.
12-31-2011
Heatshield
I managed a few more hours on the car and got the heatshield finished, considering all I used was a pillar drill, hand files and a stanley blade I thought I did alright.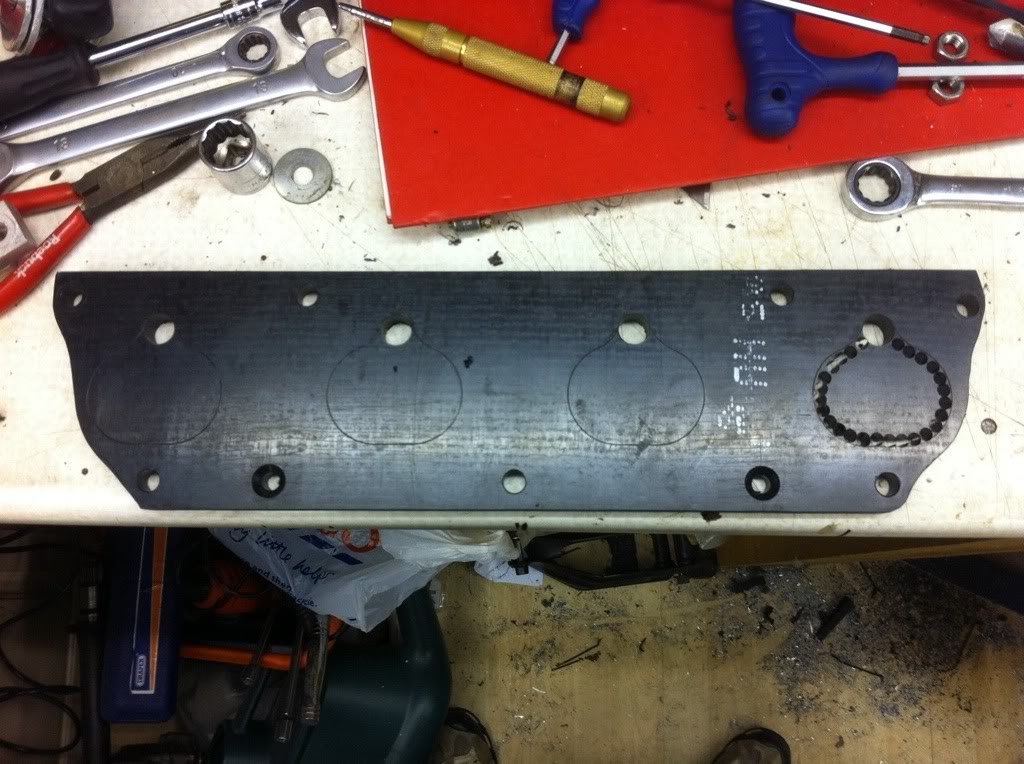
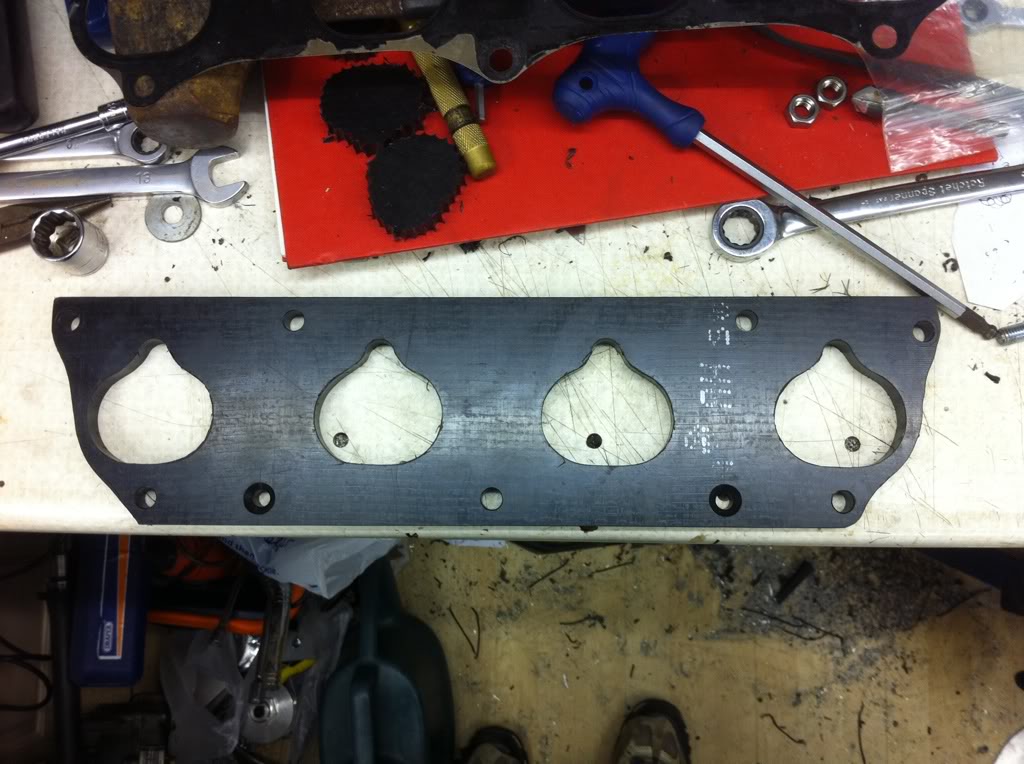
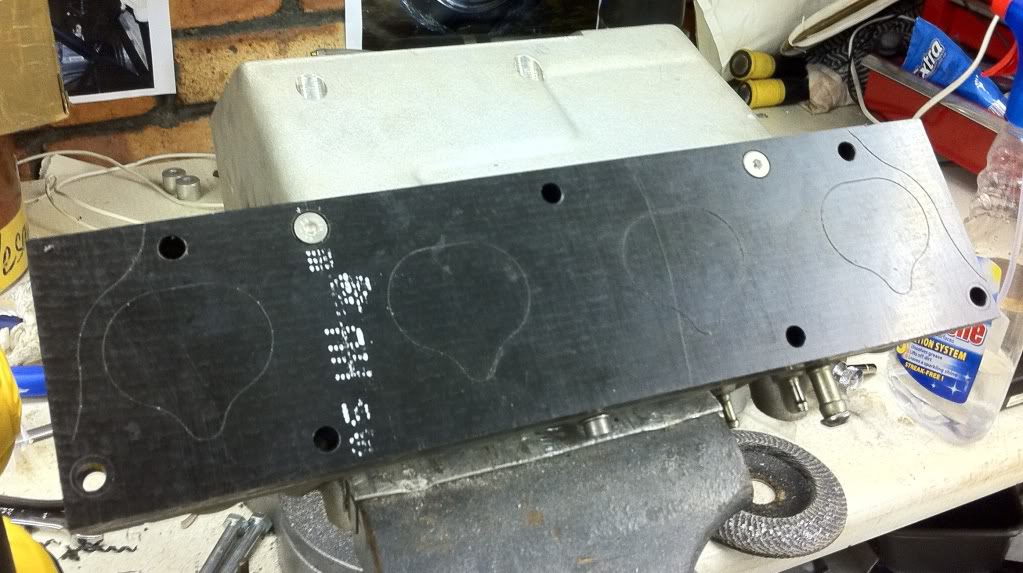
This is one with the OEM gasket over the new Heatshield:
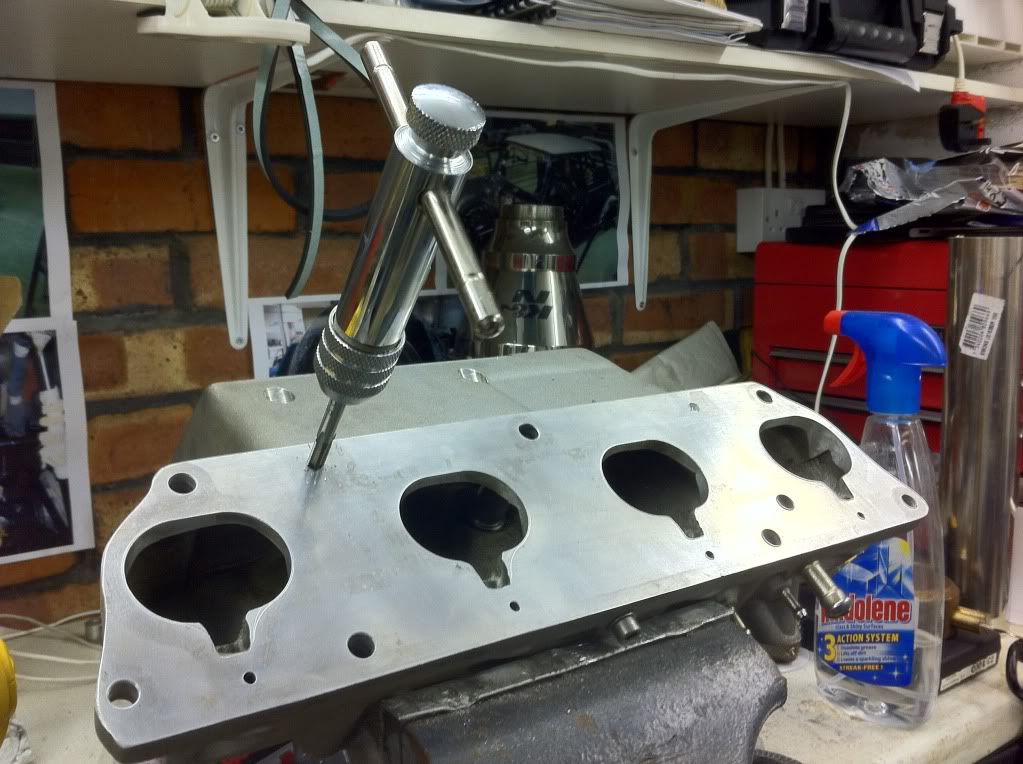
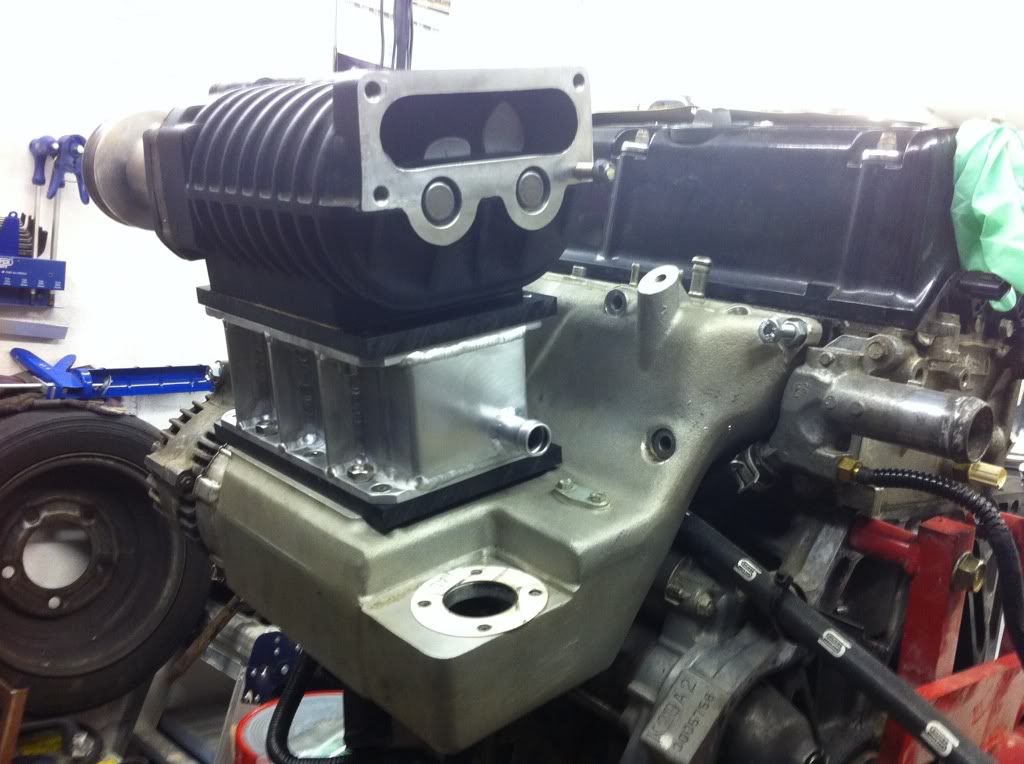
This is with the new Heatshield on the intake manifold, it shows how much the Jackson Racing manifold can be ported to improve the flow. I hope to borrow a die grinder and sort that soon enough.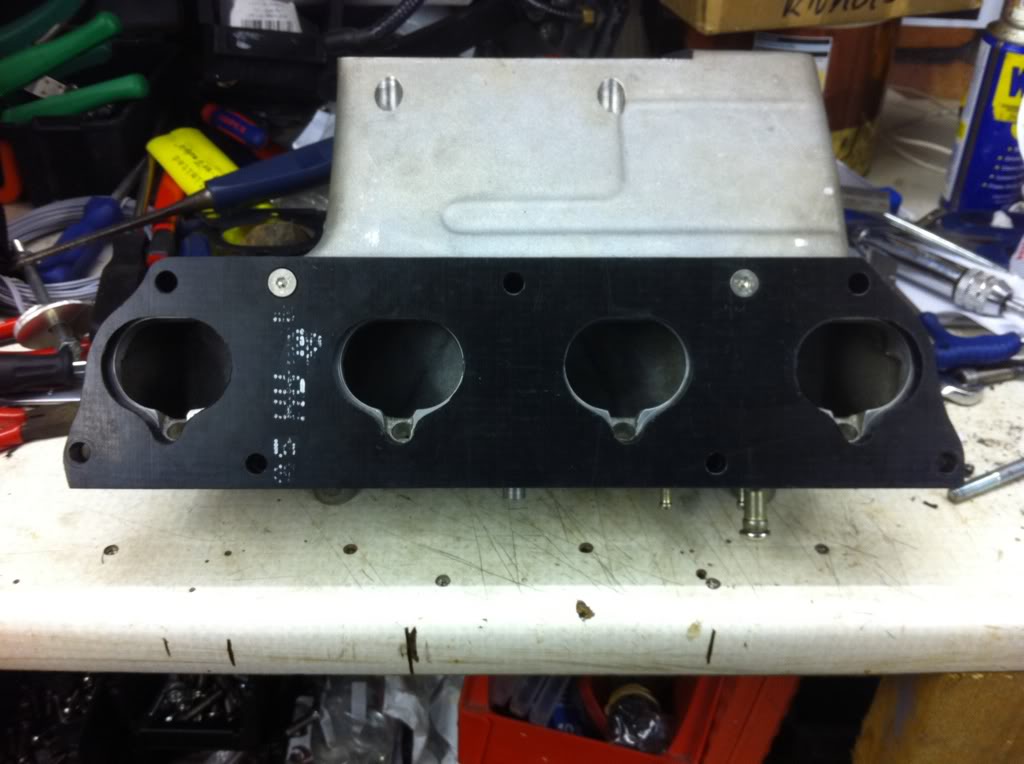
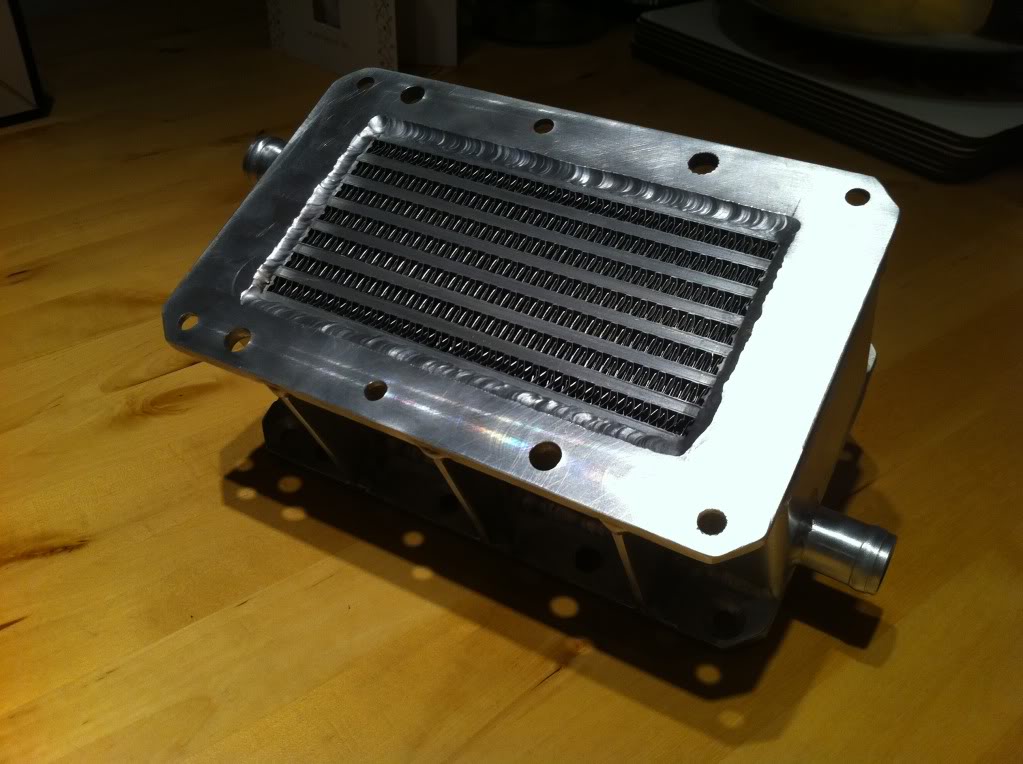
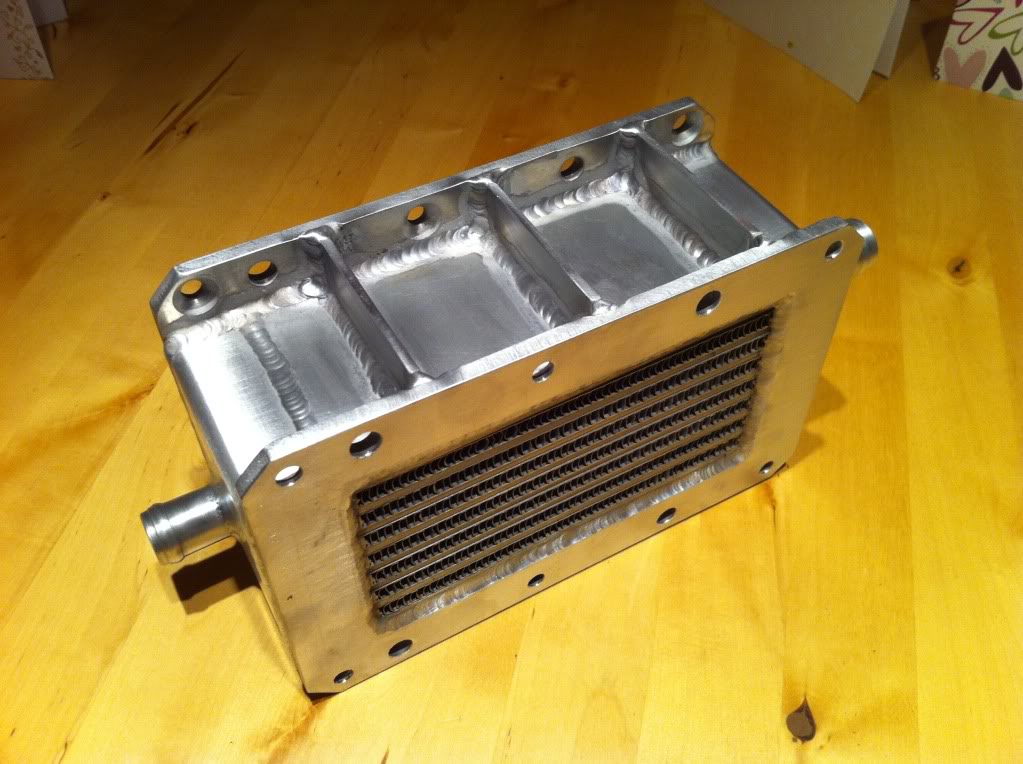
Intercooler Cartridge Adaptor Plates
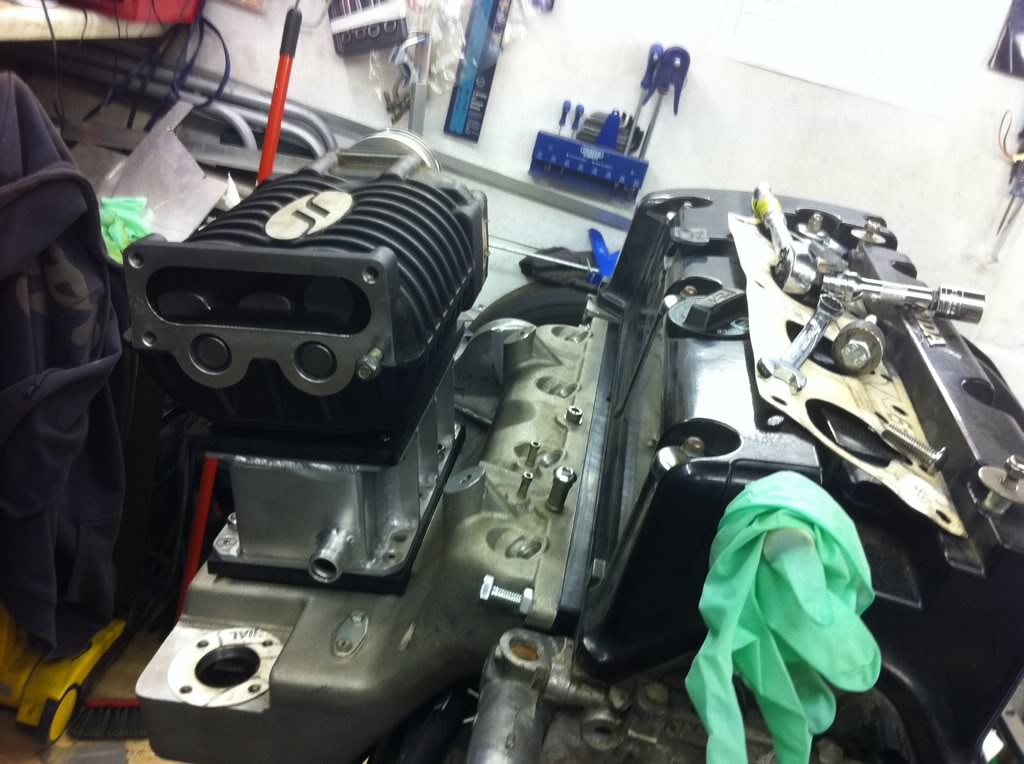
I made a start to the adaptor plates that will sit either side of the intercooler cartridge, as shown in the CAD model this will make all the air flow through the intercooler. I am still undecided as to whether I use acetal on both side or make the top plate from ali, that way transferring heat from the body of the charger into I/C....mmmm....time will tell. I managed to cut out the central hole but didnt get a picture, all that remains now is to get the sloped edges machined in.
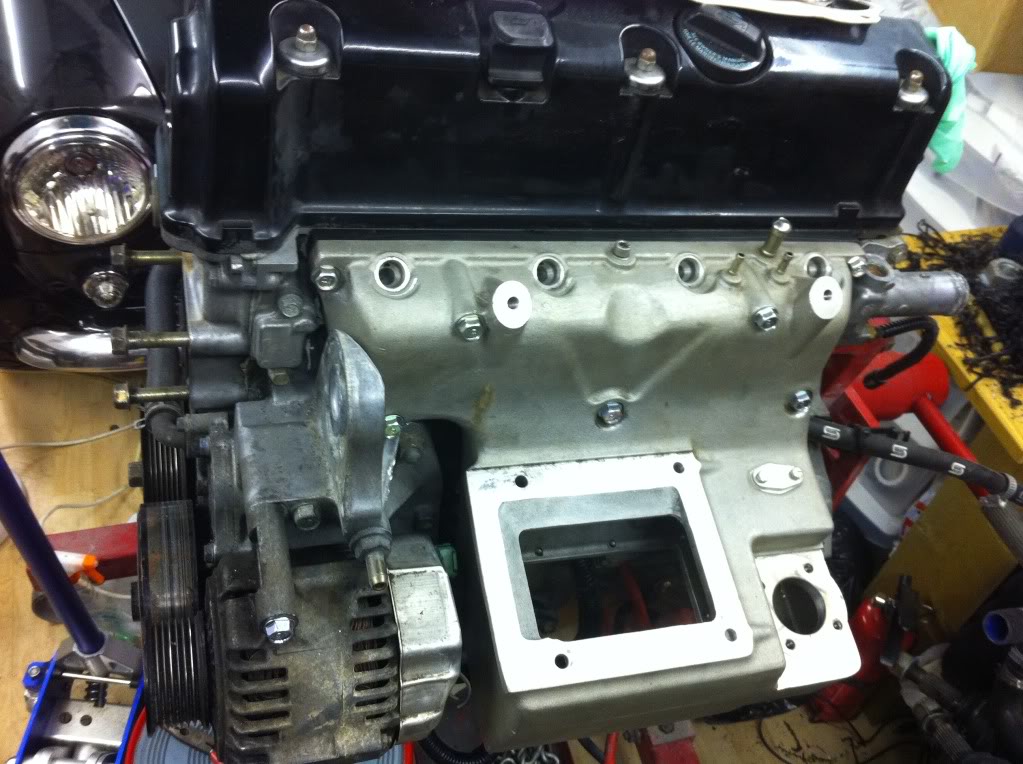
After that I couldnt resist putting the charger on it and then the manifold back on the engine as you see in the photos at the end of the post.
Adaptor plates: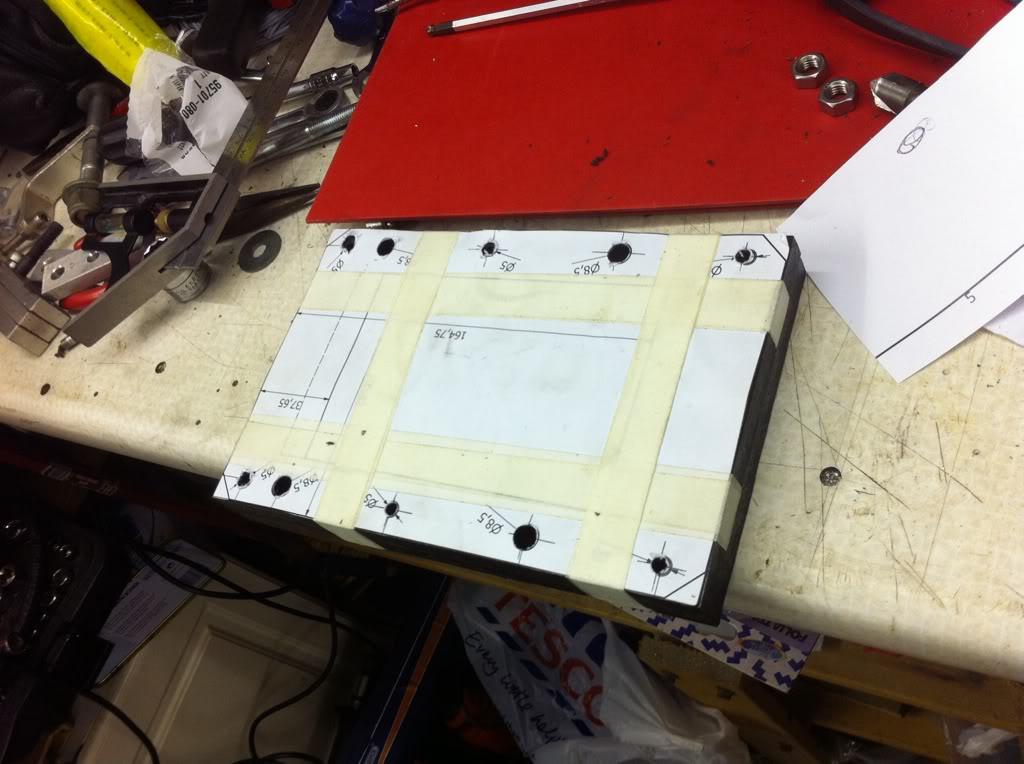
Intercooler Cartridge in place: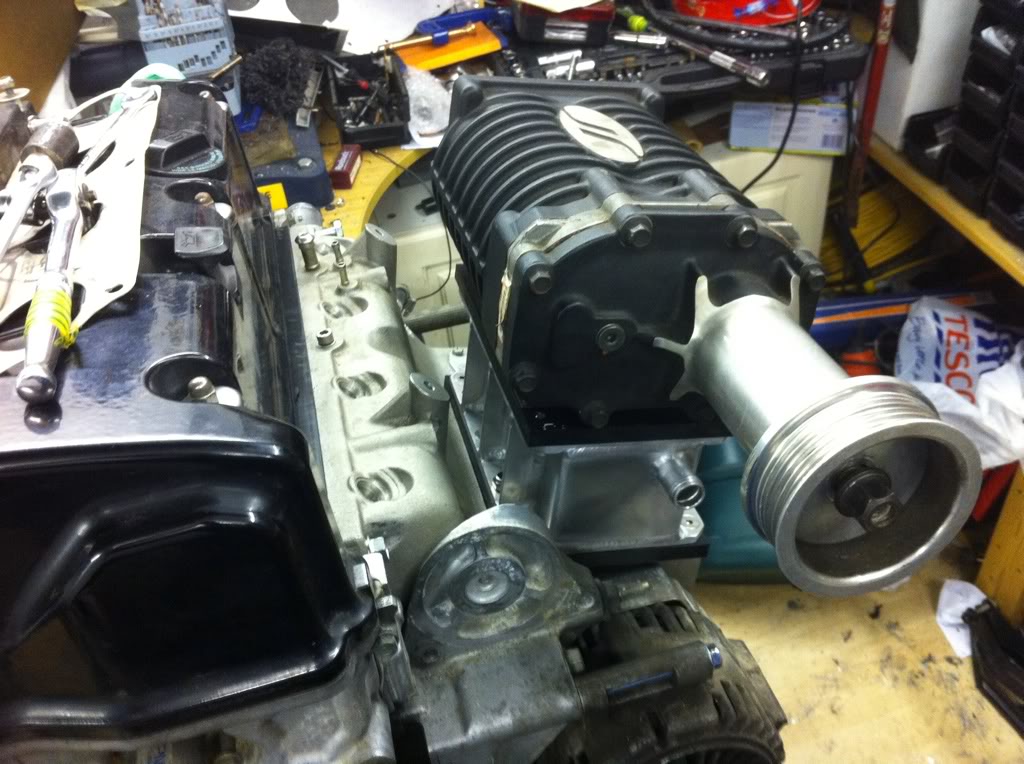
1-11-2012
Bolt Problems
Here's a word from the now '1 fact wiser' person - when taking on a project that means you need bolts of a specific Japanese Industry Stnadard check you can get them before ordering all your parts.
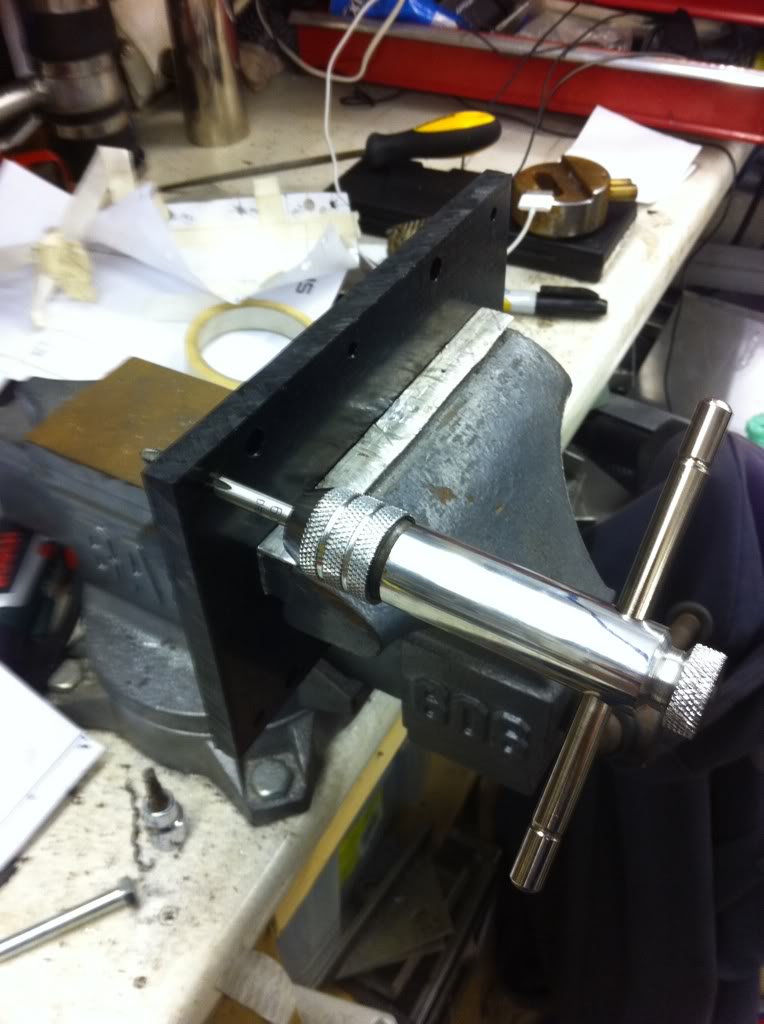
For anyone wanting to order bolts to be used to hold the intake manifold on the bolts you require are JIS 1189 (small head flanged bolt) M8. Due to the 10mm thermal barrier gasket I needed 2x35mm and 5x85mm long bolts, the 35's were not an issue, however the 85's - aaaaaaaaargh.......
I could find a similar type of bolt in titanium at £14 per bolt which you just couldnt justify that amount on bolts. I searched for days on'tinternet and come up empty handed every time.
I then had what alchoholics call 'a moment of clarity' and got on the phone to the guys at my local Honda Stealership, now the parts guy their - James (Yeomans at Chichester) is a legend, he will not only provide me with any Honda part numbers I require so that I might order them somewhere else much cheaper but he also took the time to search the Honda parts system to find me JIS 1189 M8 85mm bolts - geezer......
So to save anyone else the trouble heres the part numbers:
1-18-2012
A few more updates...
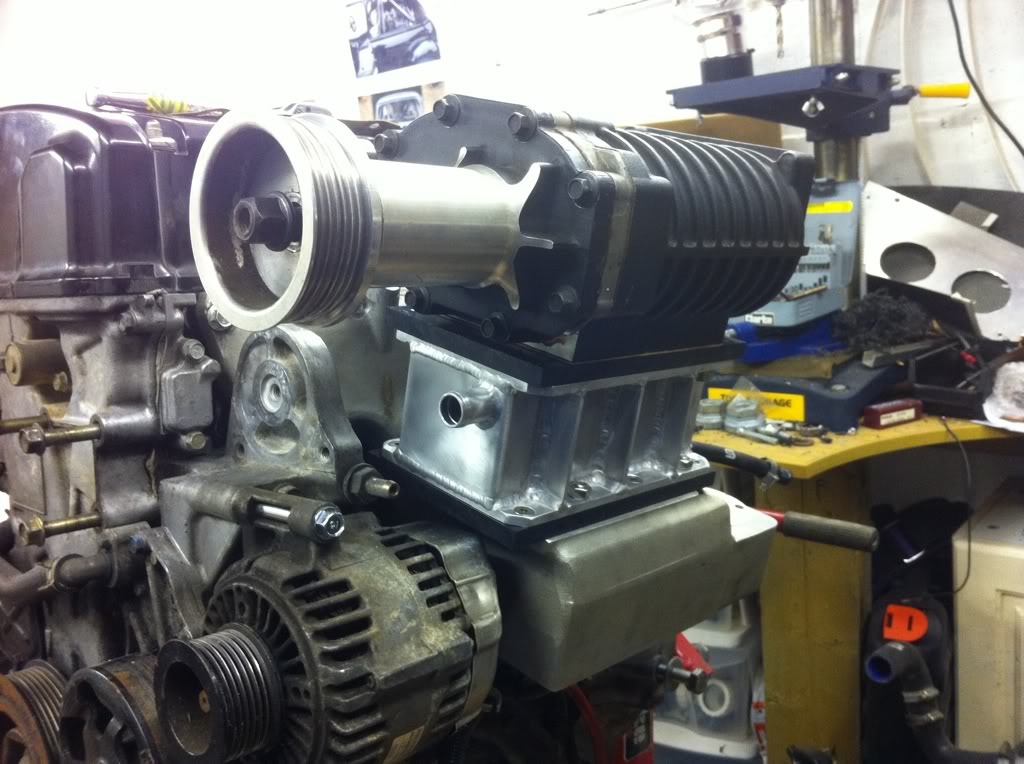
I finished my adaptor plates, instead of a flat angled side I used a ball nosed mill cutter. Thanks again to Stevie G for doing this for me.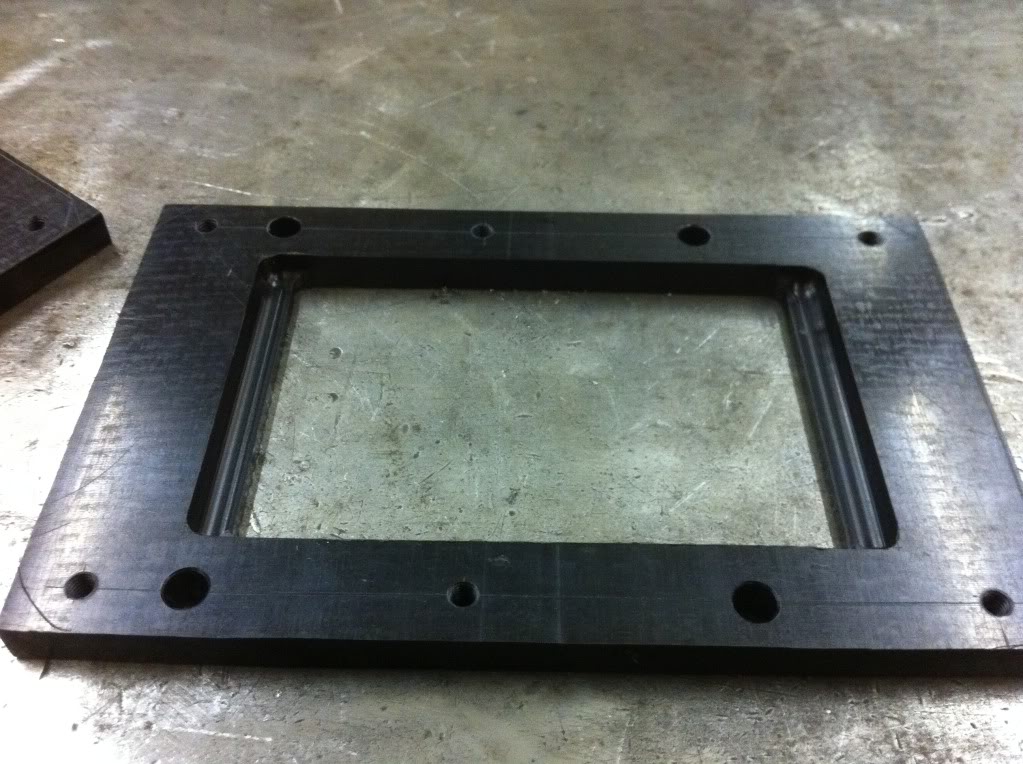
Whilst Steve was milling my adaptor plates I took the time to use his die grinder and open up the inlet ports on the intake manifold, you can see in the picture below the scribed lines taken from the OEM gasket, this shows how the casting isnt the best especially around the injectors so I opened it up and whilst in there I did a bit of flow work on the manifold as it had some 'interesting' angles before the openings.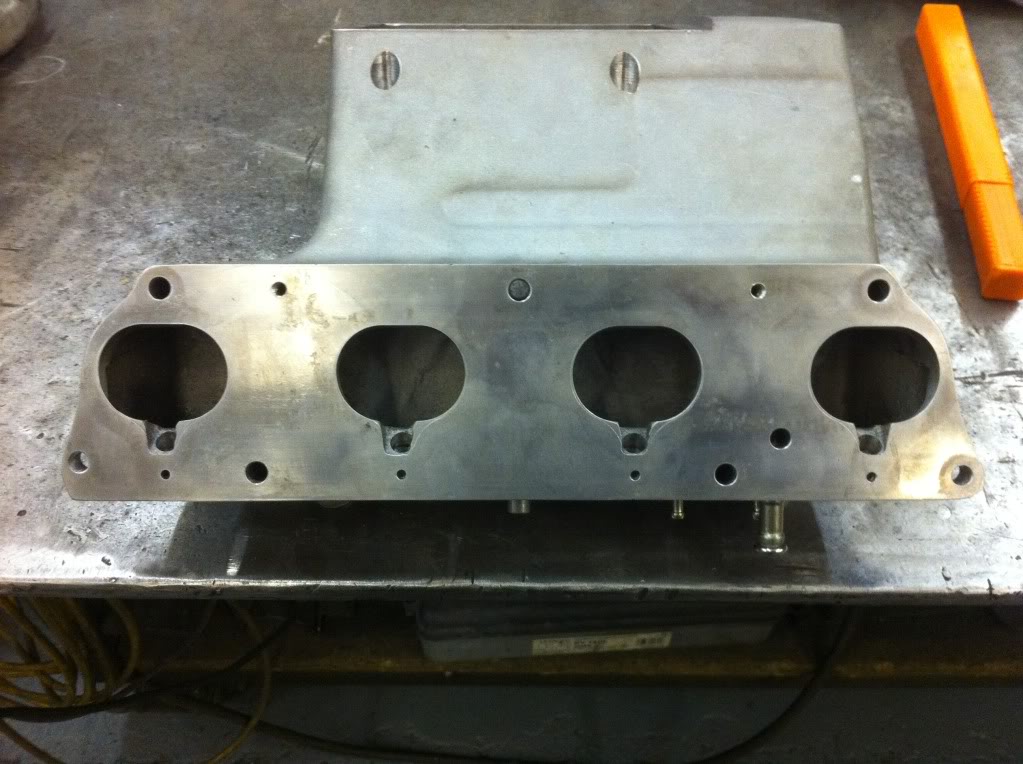
After: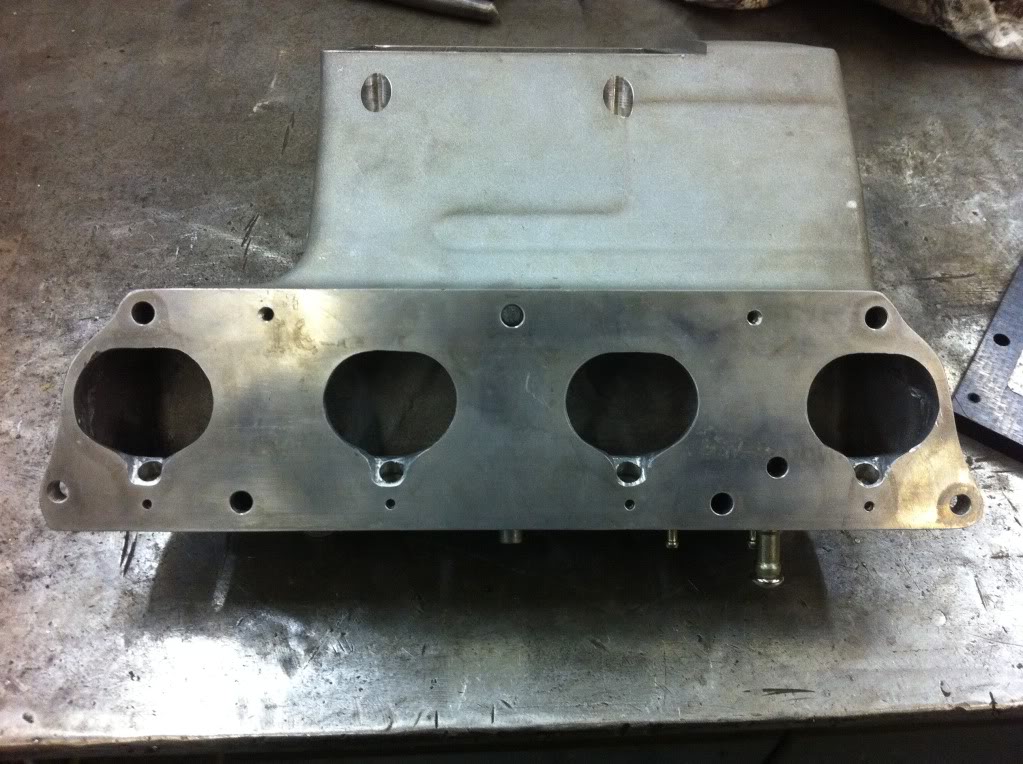
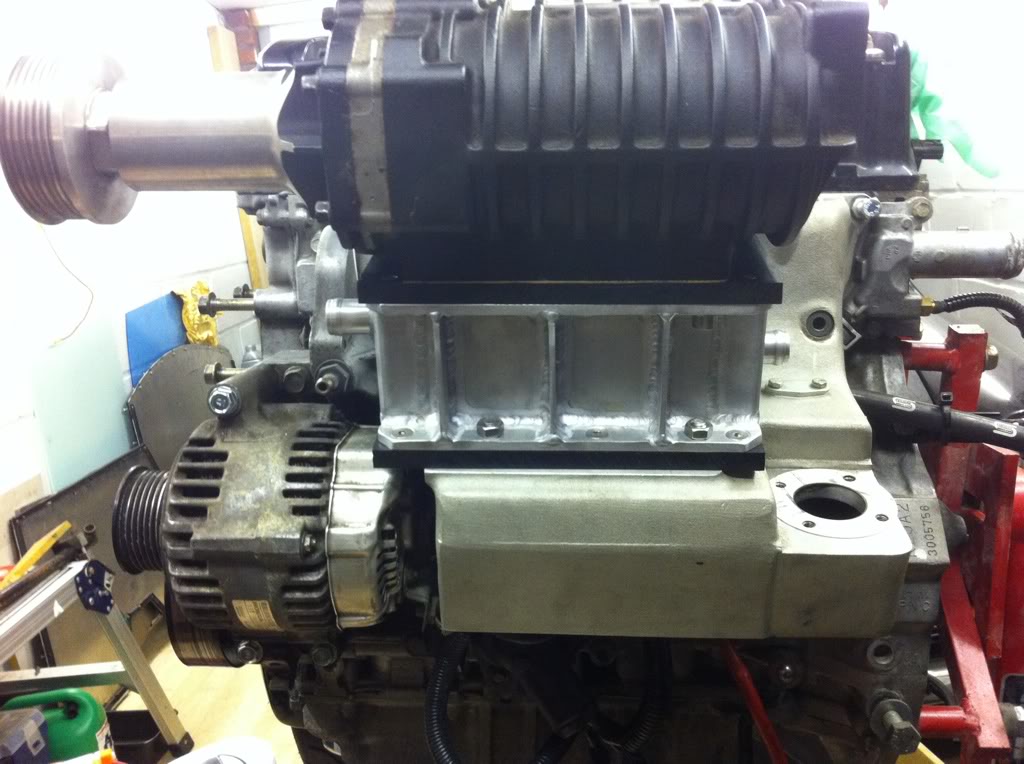
I managed to source a 35mm bolt in a zinc coating from Honda and put the intake manifold on to test fit it and make sure nothing was fouling.
Bolt: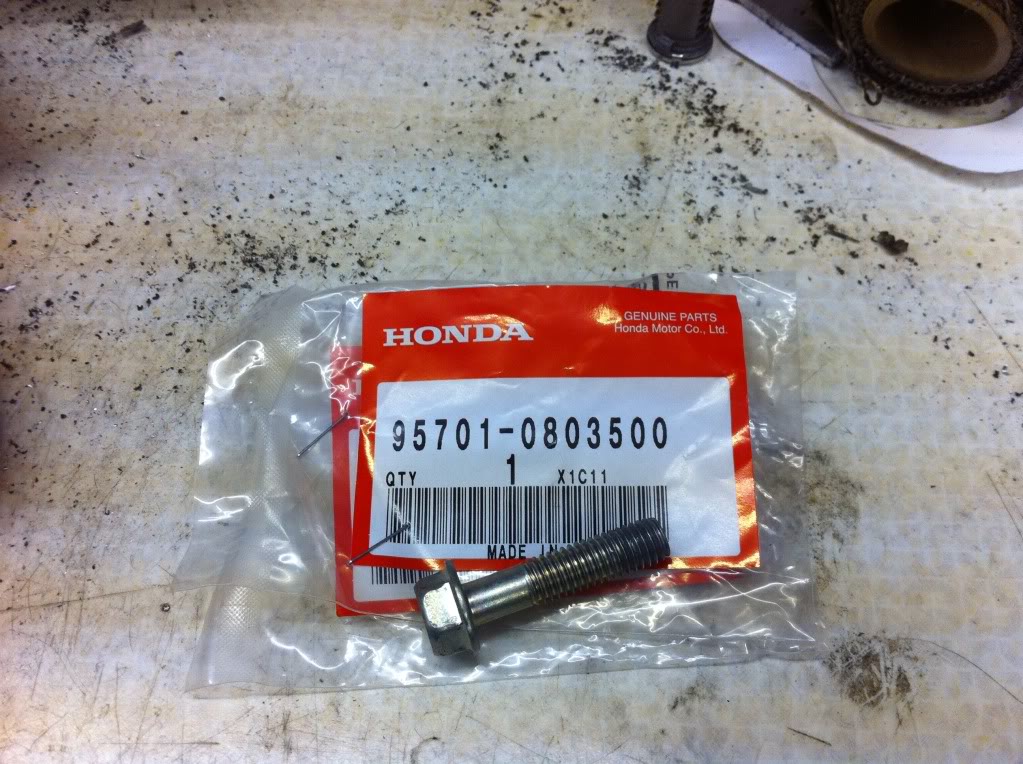
I also got my I/C water pump yesterday from the good ol US of A - its a Johnson CM30 pump, reputedly one of the better 19mm pumps on the market and very compact, even compared to the bosch unit: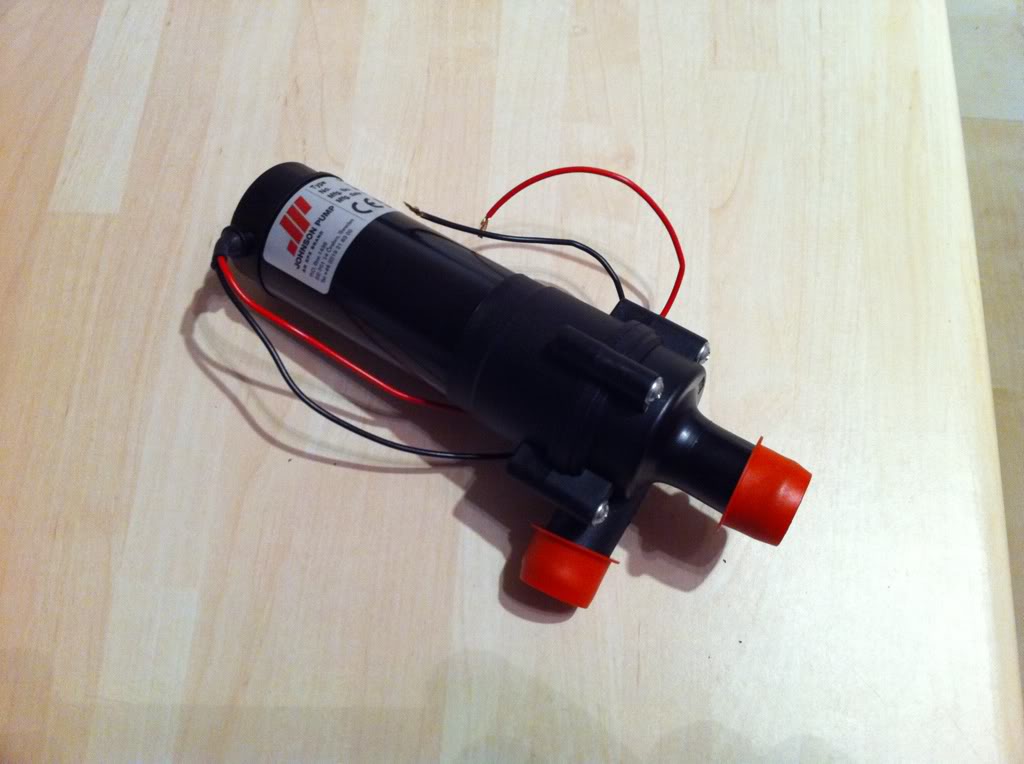
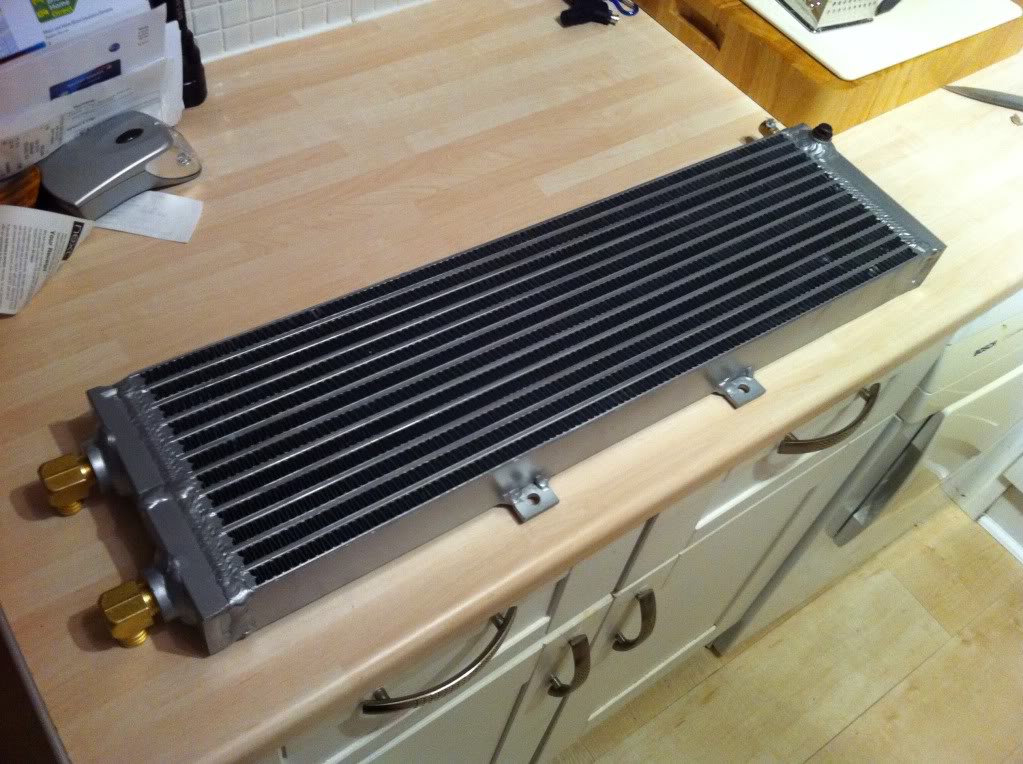
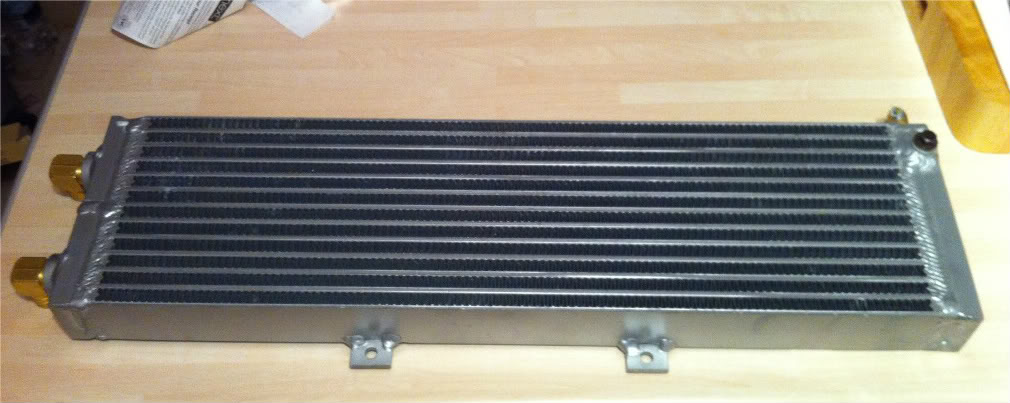
Intercooler Radiator
I got my radiator through today, I ordered it from FrozenBoost in the states as it worked out cheaper including taxes than buying in the UK. Now I have to work out how to squeeze it in behind the grille without too much messing around, time will tell.......
Intercooler Radiator: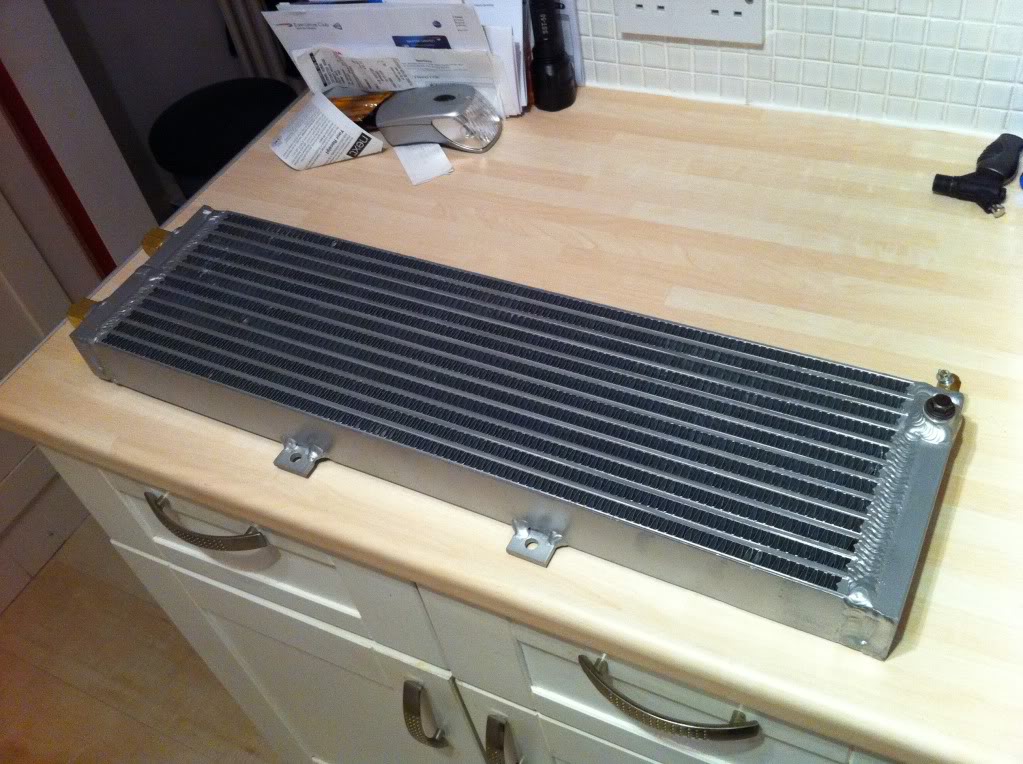
Wow this is amazing build!
Posted by Diggymart on 2/3/20 @ 4:10:14 AM