You must be logged in to rate content!
7 minute(s) of a 377 minute read
3-10-2011
Charger Rebuild 01
In preparation of rebuilding the charger and getting it back on the car, last night saw me making new gaskets for the charger and manifold, no its not shredded wheat box it is proper gasket sheet purchased off the bay - there are five new ones, can you spot them all?: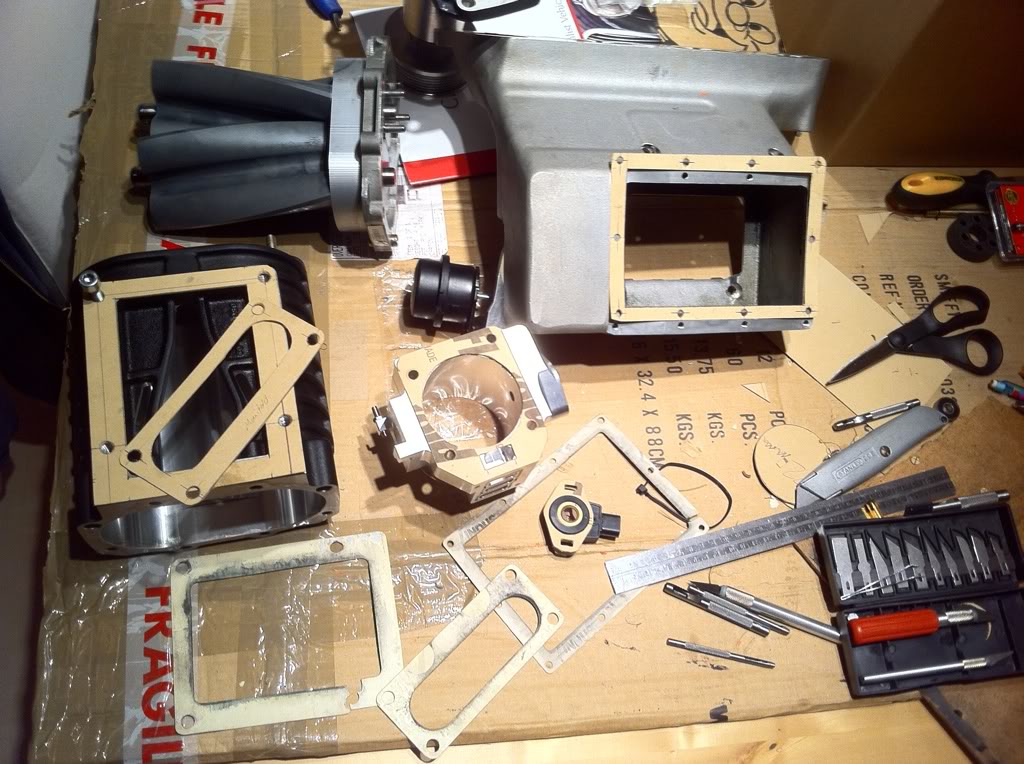
Unsure if the new manifold is going to be ready in time for Marham, gutted if it isnt, as those extra few ponies could well have helped with my top speed attempt........
3-16-2011
TB-SC MANIFOLD PRODUCTION - 02
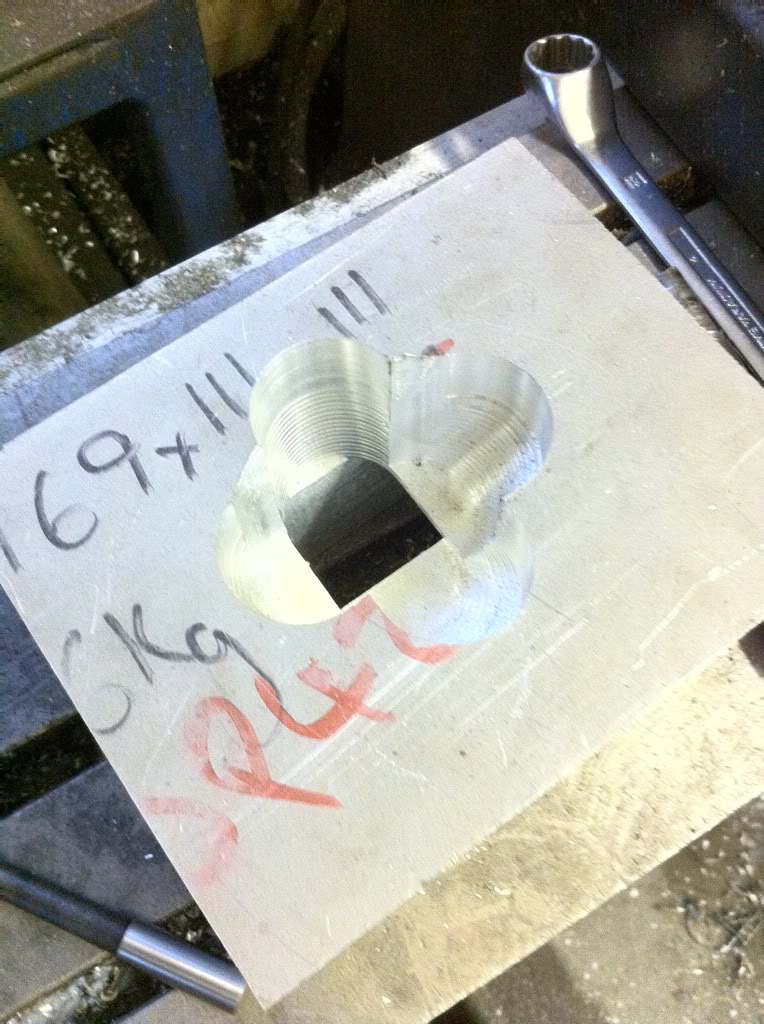
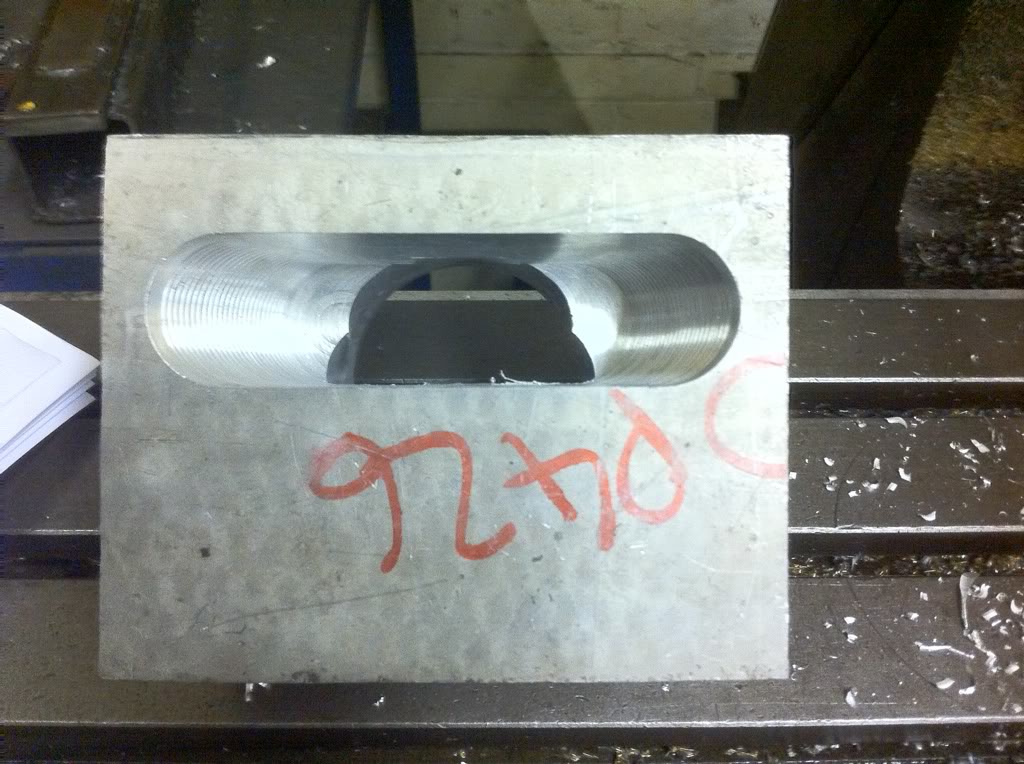
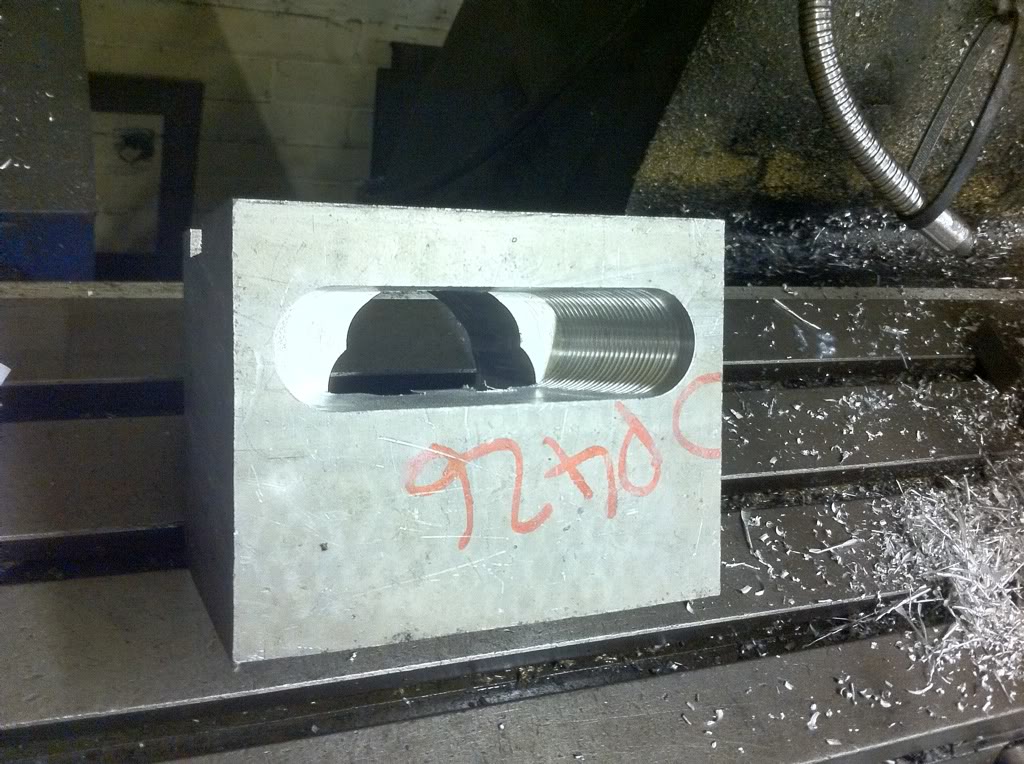
We made some more progress last night with this, the first couple of pictures show where we had removed a lot of material to allow us to use a boring tool to open it up to a round shape as seen in the later photos. We now need to work out how to get in and get more of the material out, we are currently looking at small fly cutters and dovetail cutters. It is slow work but we are getting there......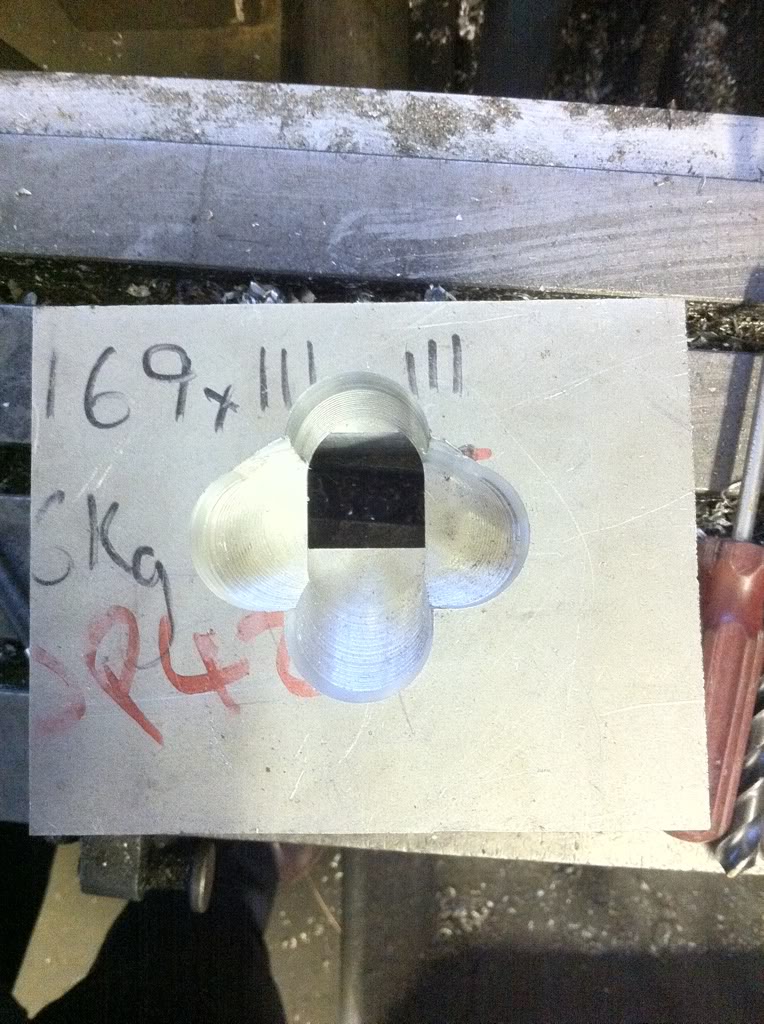
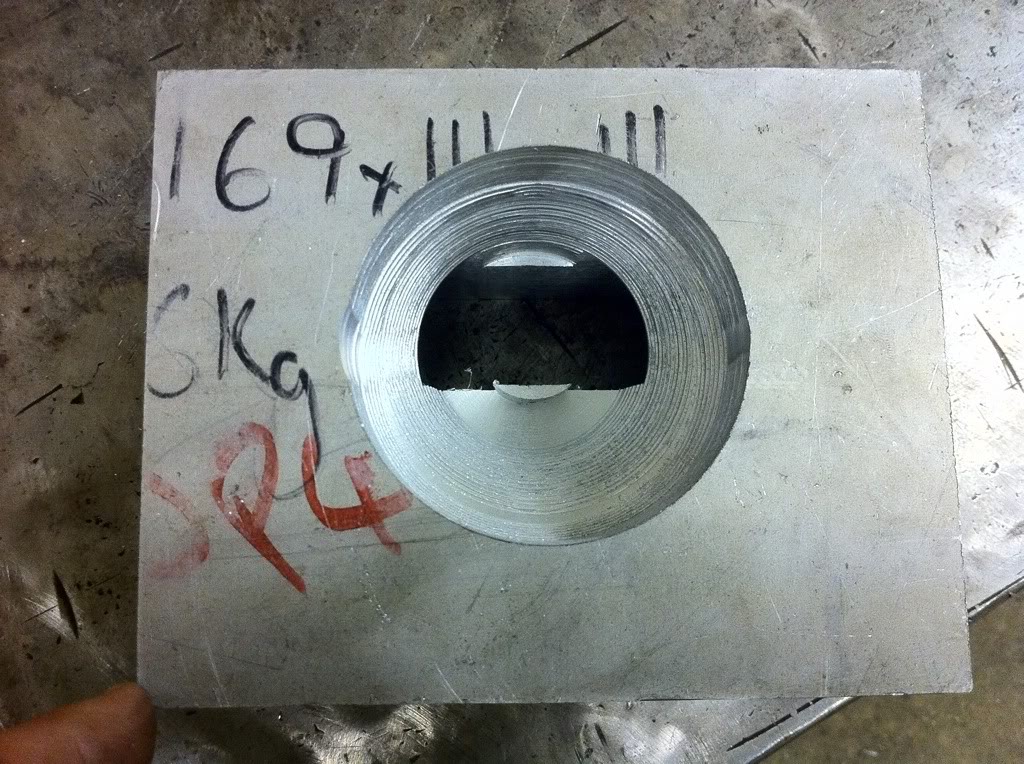
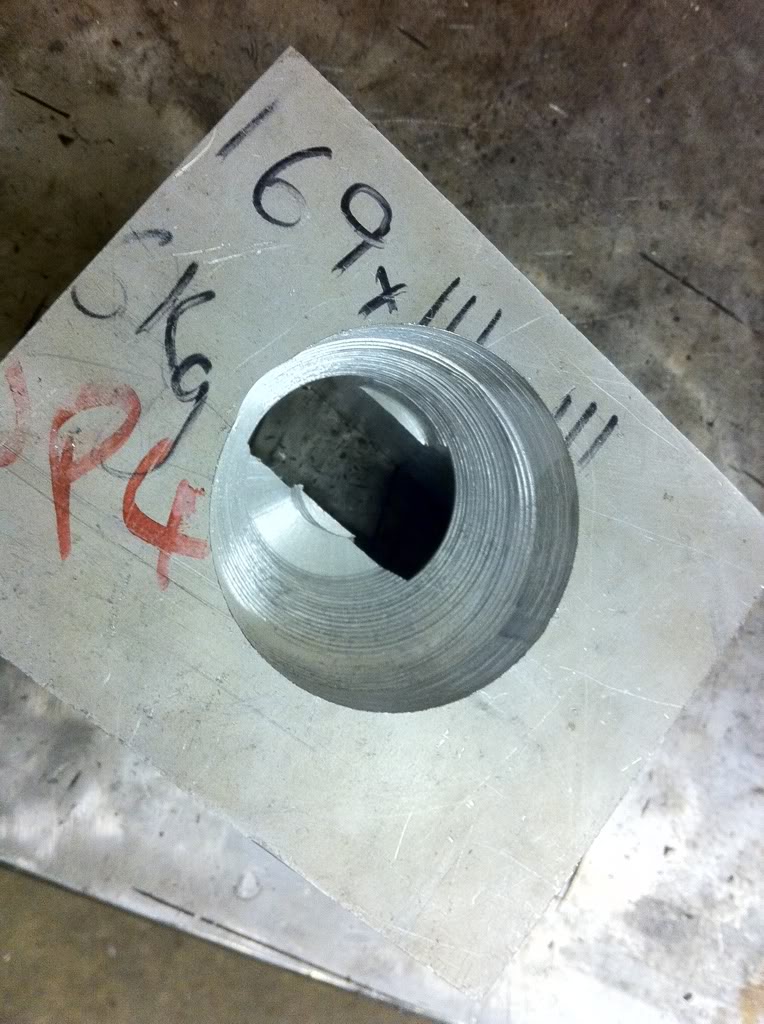
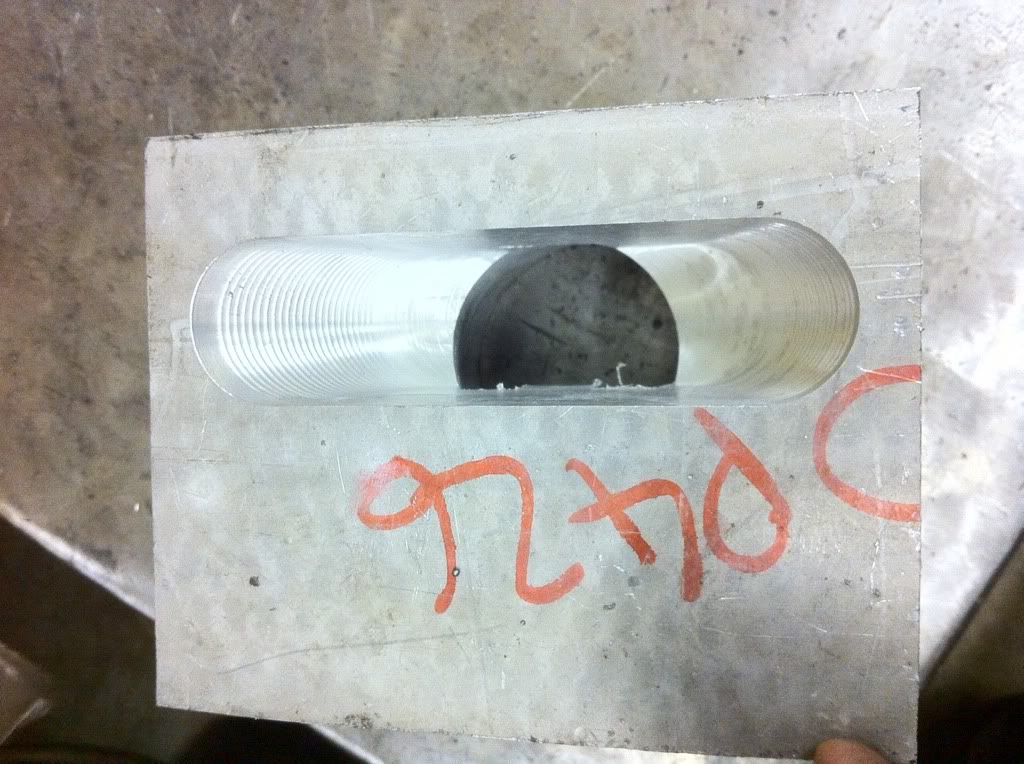
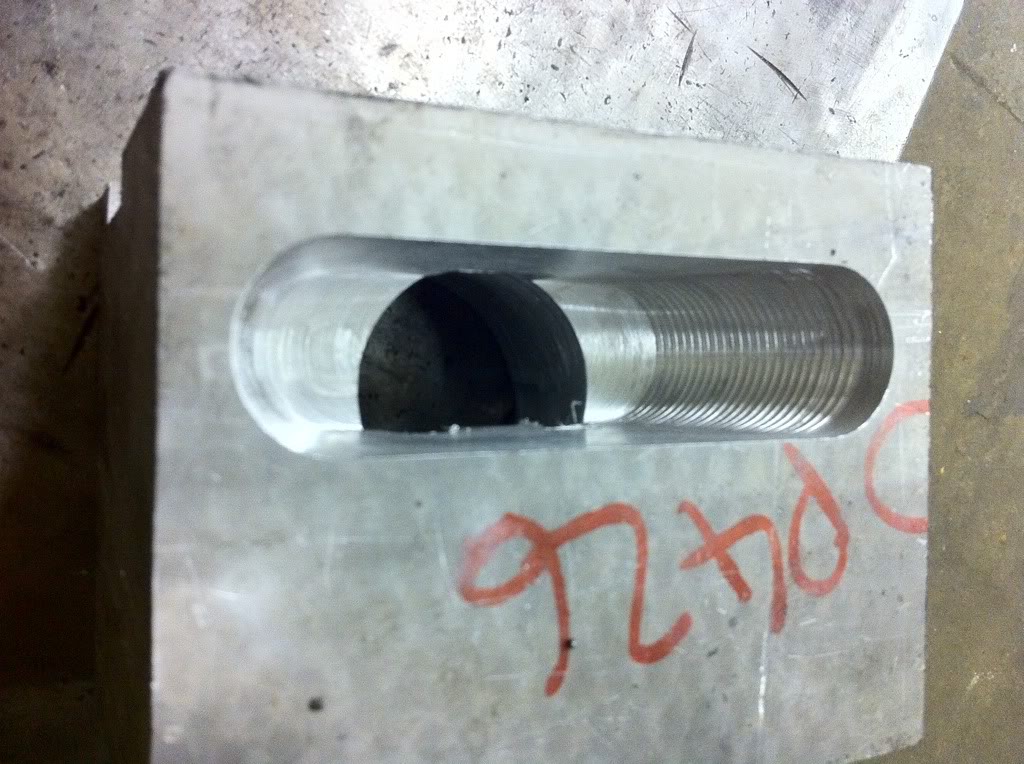
by the way this is what I am aiming for, apologies for the quality, however I cant give all my secrets away: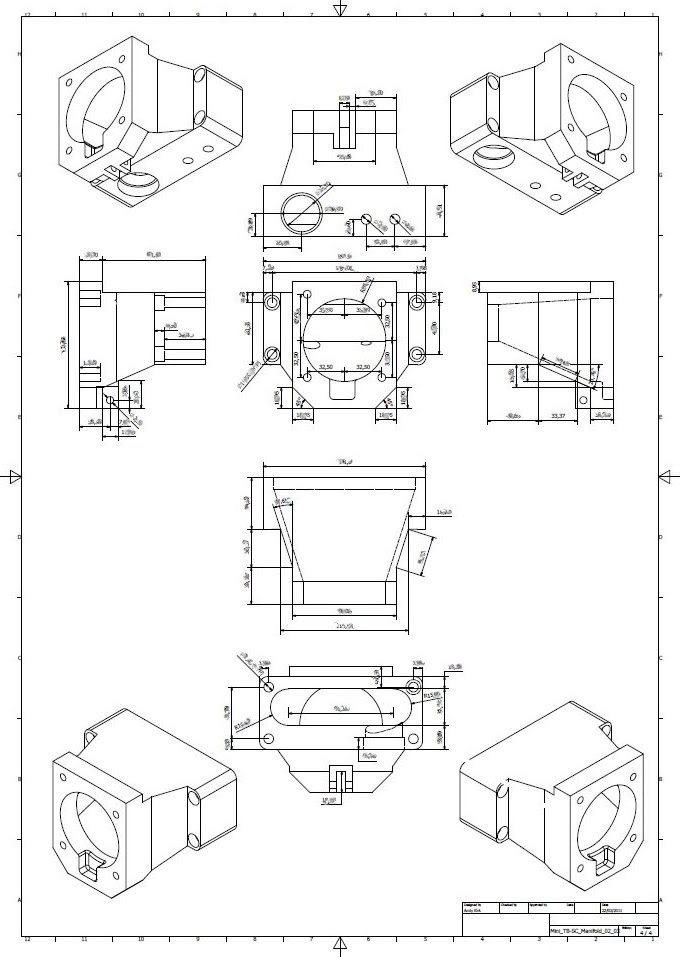
So as to show where I have come from to where I am going I have put together a drawing showing sections of the original inlet as supplied by Jackson Racing and the new straighter flowing design I have put together.
In the drawing below the New version is on the left and the old on the right, you can see that not only is it straighter in the section but when viewed from above it is also a straighter shot to the charger entrance: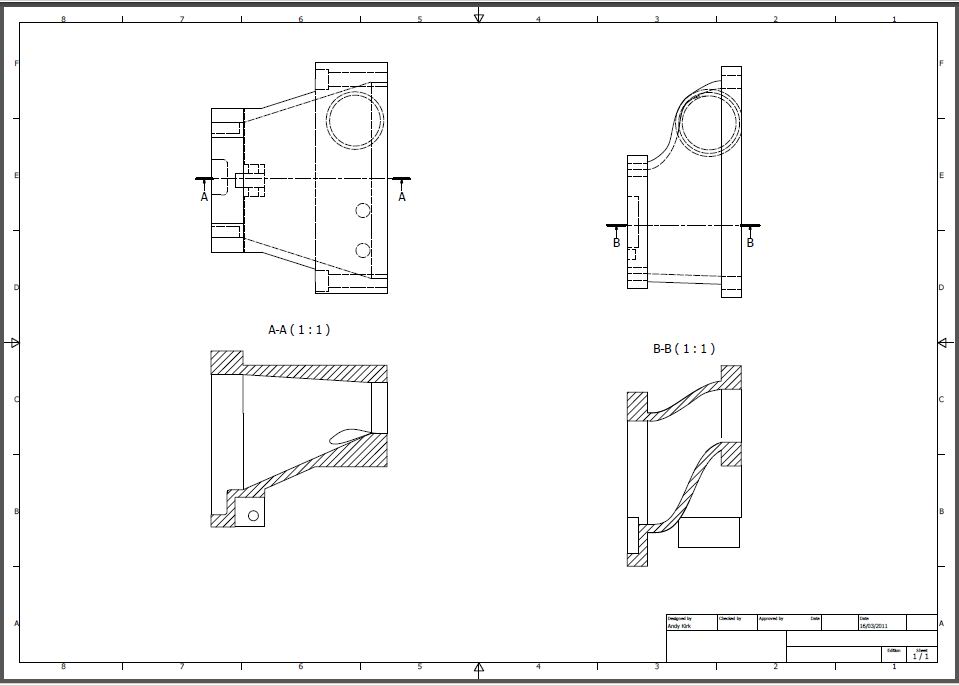
3-23-2011
TB-SC MANIFOLD PRODUCTION - 03
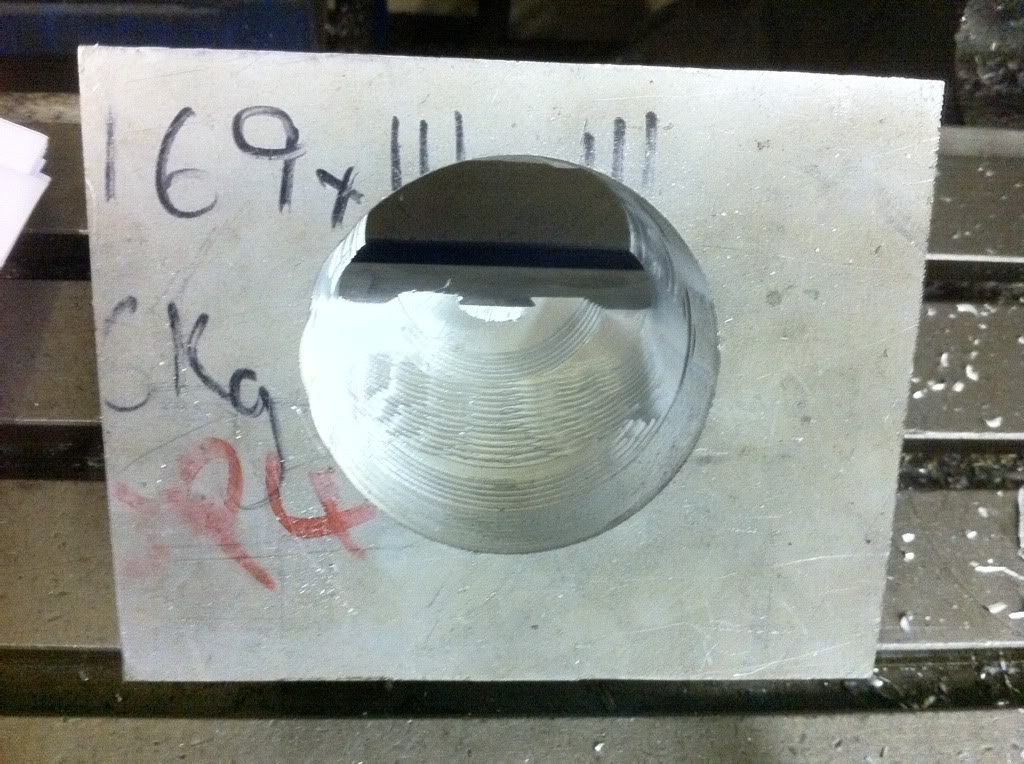
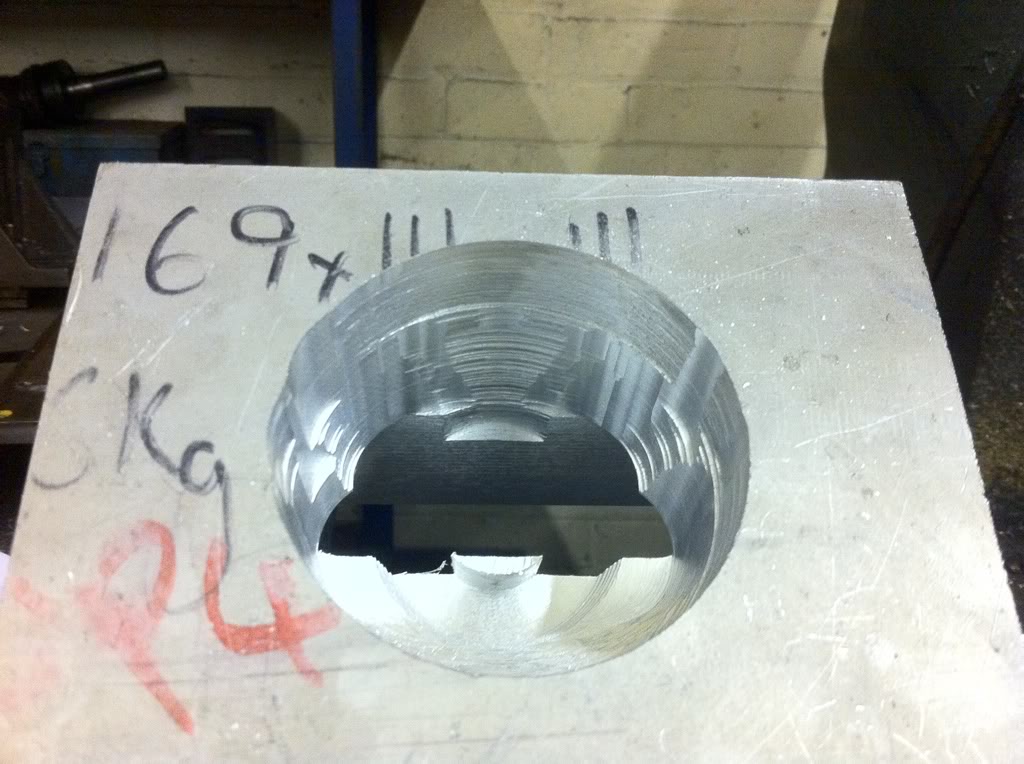
Last saw a bit more work to the manifold, we made one slight boo boo but we can recover that by boring the entrance hole some more once we get nearer to completion.
It might not seem like uch but it tokk us a couple of hours to get to where we are now: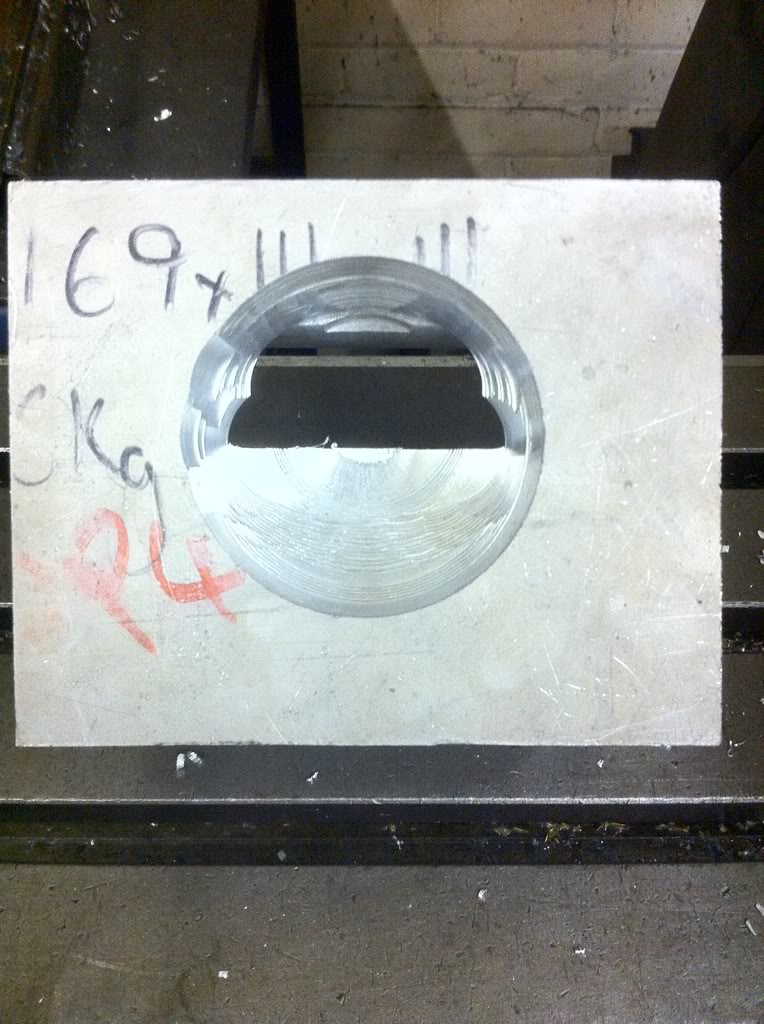
3-24-2011
As of last night the car is now up and running again, minus the whirring/grating supercharger bearing - it now sits and purrs.......
All I have to do tonight is put the seats back in, belts back on, rear windows in then take it for a its first drive of 2011 - I am soooooooo looking forward to it.....I want to go home right now and finish it.........
I might look at getting the video camera mounted and see what the footage is like - no promises.....
3-25-2011
Sorry no vids, but I will - honest...
So it had its first run out last night - feck me I had forgotten how fast it was......
the squeeks and rattles seem louder than last year, I can cure the squeeks as thats the rose joints that have dried out, a bit of oil will sort that out, the rear anti roll defo needs some lube as that really squeeks and it didnt before.
Its safe to say that I had a big old grin on my face last night when I got home......
4-4-2011
I got noise tested again on the weekend, wasnt as bed as I thought it would be, well on the static noise test, havent done a drive by yet.
So some months ago I bought a stubby race can as used by big sports bikes in the hope that it was a cheap way to get the db's down, it wasnt until saturday that I actually got to test it. I rang the pit office at Goodwood and organised a time to get up there, it was Saywell International day which brings in teh crowds to oggle over Saywells collection of cars, plus lots of other interesting machinery up there just visiting. I got myself over to the Noise Test area to be promptly swamped by people wanting a look round the car, which was nice but I was there on business. The Marshalls came over with the DB meter and we set about testing:
Car standard: 105db's - surprised as it was 106 last time....
With Stubby can - no baffle: 101db's not a bad drop in noise for a 12" can
Stubby Can + Baffle: 98db's - Woo Hoo
My biggest problem from here is that when the car is revving at a constant rpm the bypass valve is wide open, letting the excess air flow back aorund from the manifold into the charger, therefore the extra noise made by the charger isnt being heard. So the drive by test will be the one to watch out for, I honestly have no idea what the drive by test will be like if I have the accelerator planted when going past a db meter.
Going to have a look for a supertrap but gettting that past the financial controoler at the minute might prove tricky......
4-6-2011
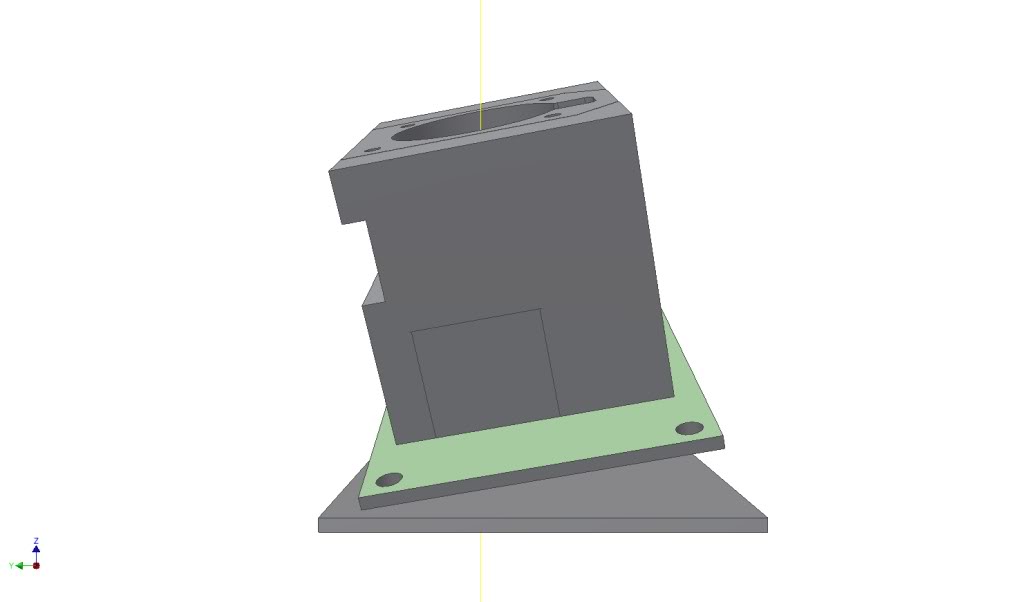
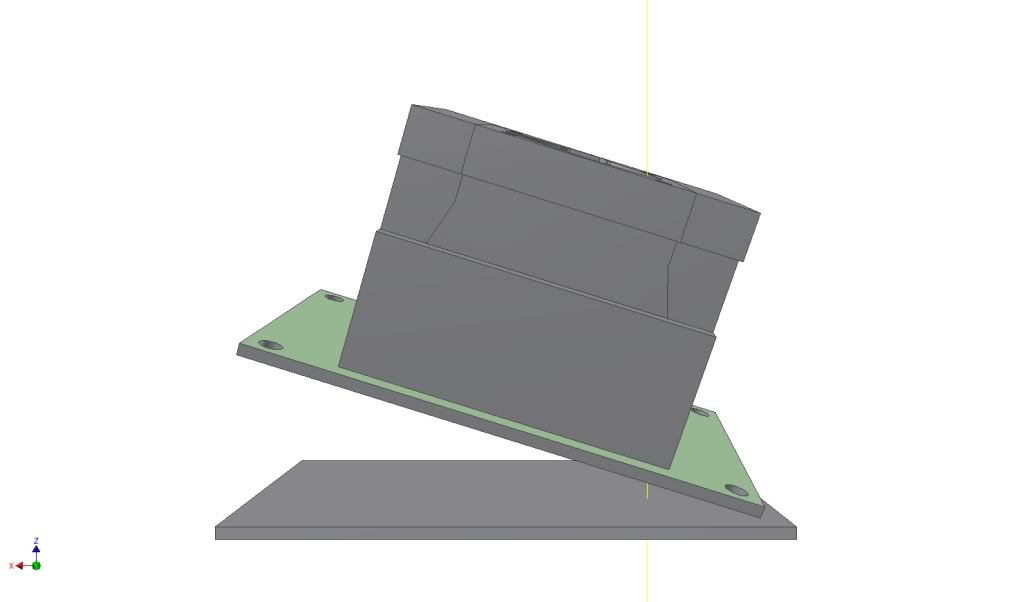
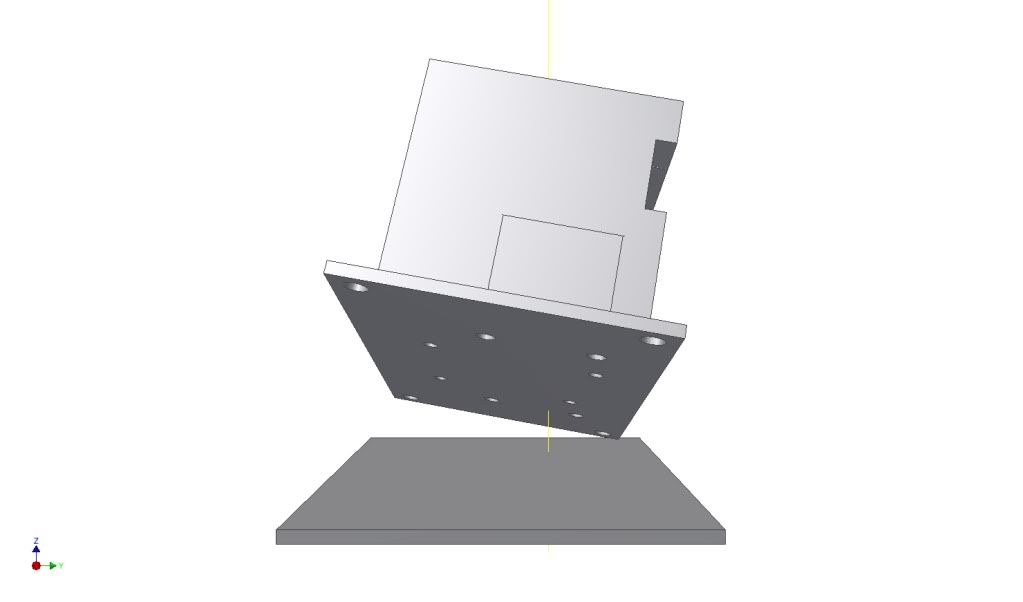
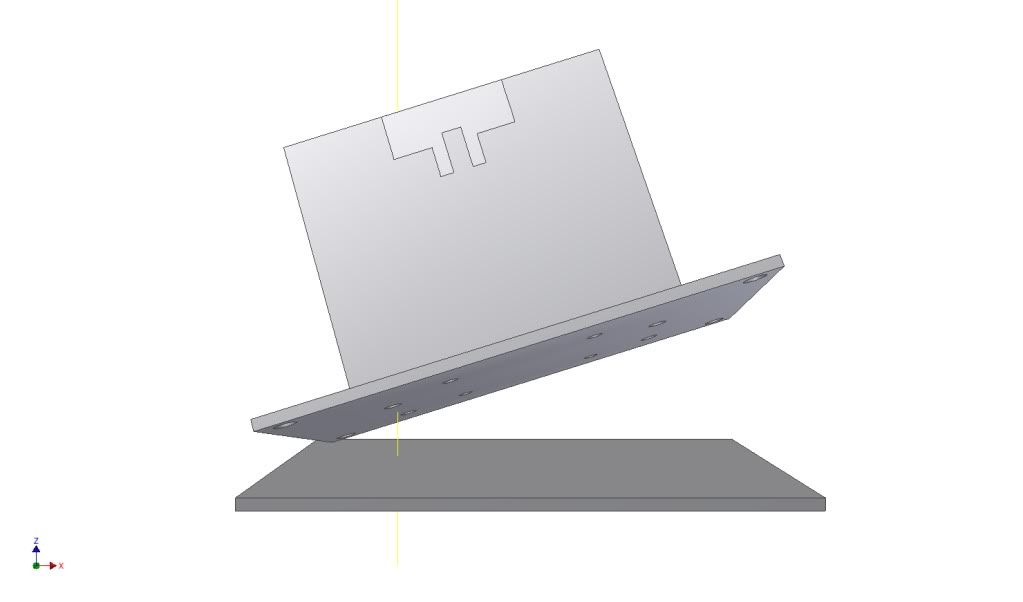
No production photos yet as I ahve been workign on how to make a table that we can we can use for compound angles, kind of like the extra axes that you would get on a 4 axis.....
I have been able to draw up where we need to be heading, the thoughts from here are using rose joints and threaded bar, or rose joints and set length spacers to mount them to - leaning more towards the latter.
No-one said it was going be easy....................
So not to let the thread go stale here are a few screen dumps of where I am heading with the compund angle machining table: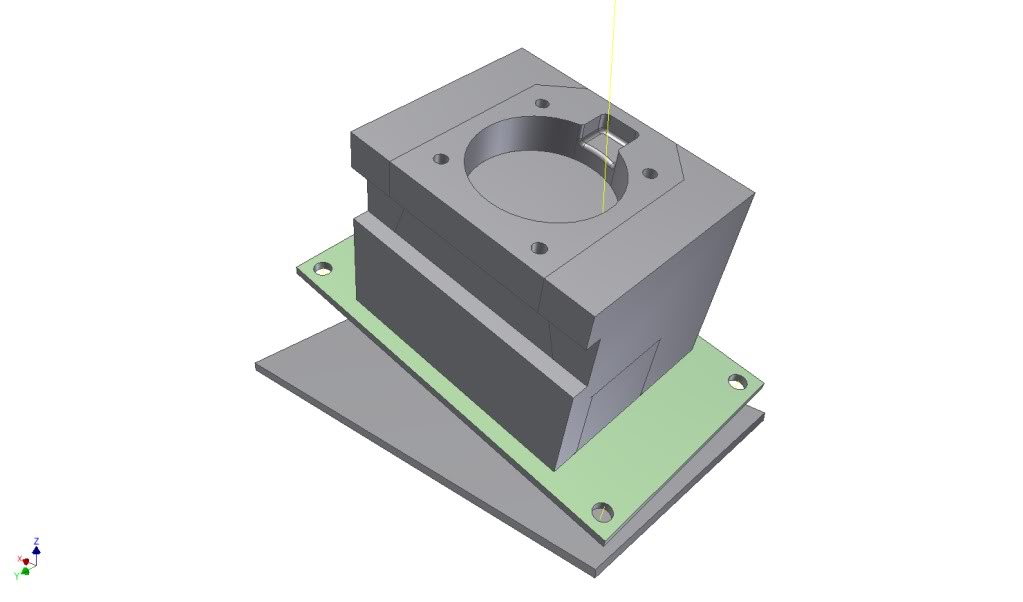
Wow this is amazing build!
Posted by Diggymart on 2/3/20 @ 4:10:14 AM