You must be logged in to rate content!
9 minute(s) of a 377 minute read
2-16-2011
TB-SC Manifold
I am having issues trying to get the new TB-SC Manifold machined so it looks like I am going to have to do it the old fashioned way, with a hand operated mill, some skill and a lot of patience. by the way thanks to Martin at MRA Minis he would have been able to do it but I already ordered the material and a 1 1/4" slot drill to do the work with.
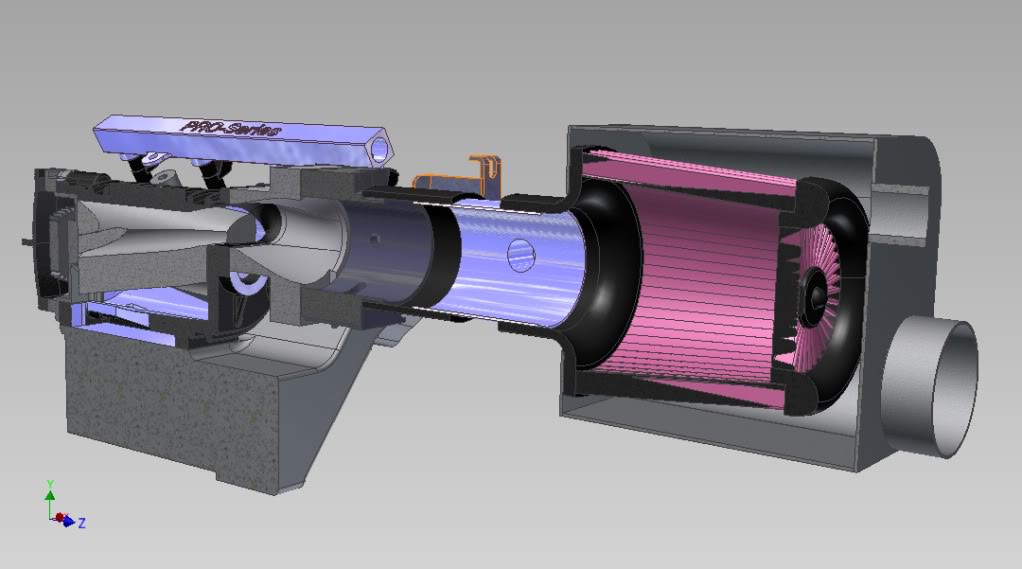
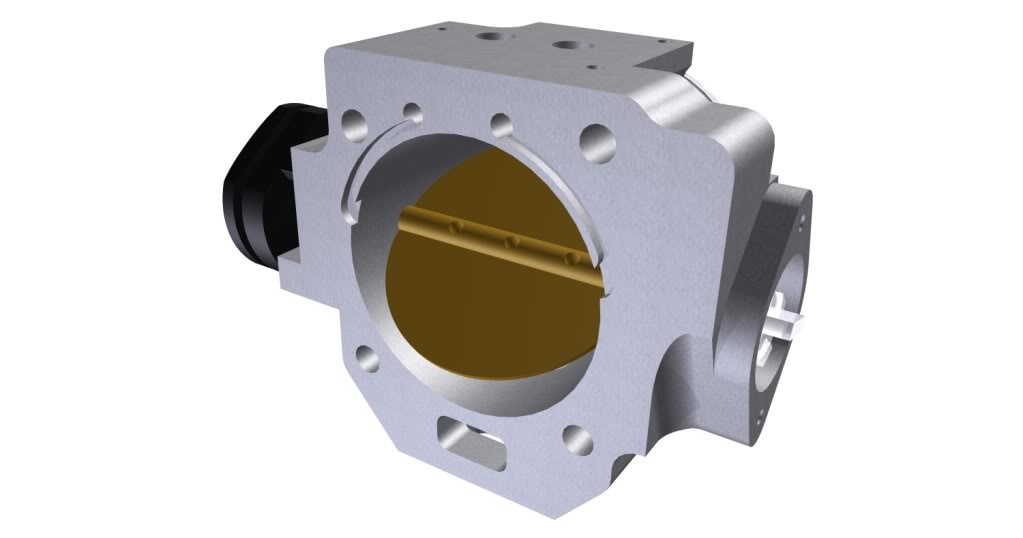
So as for the drawings I have been busy, drawn up the new K&N, nice bit of kit by the way... I have been very busy trying to work out a design that may be useful for others that use the same setup as I in the Acura RSX over the pond. For those that havent been following I am making a new manifold that goes between the Throttle Body and the Supercharger, the old one made the air go round an S bend which isnt great for flow, secondly the OEM TB is 65mm which is restrictive when compared to the opening of the charger body onto the rotors, so a 72mm TB was ordered, received, sent back, another 72mm ordered, recieved and now sits on my table waiting to be sorted into the mix.
The drawings below show how the flow of the new setup pretty much follows a straight line, I am going to have to make another shroud for the filter to keep the intake temps down and feed it from the 76mm NACA duct on the N/S. I am currently toying with two feeds to air filter but yet to decide where I would source more cold air from.
Still waiting for the snout bearings over 28days after ordering....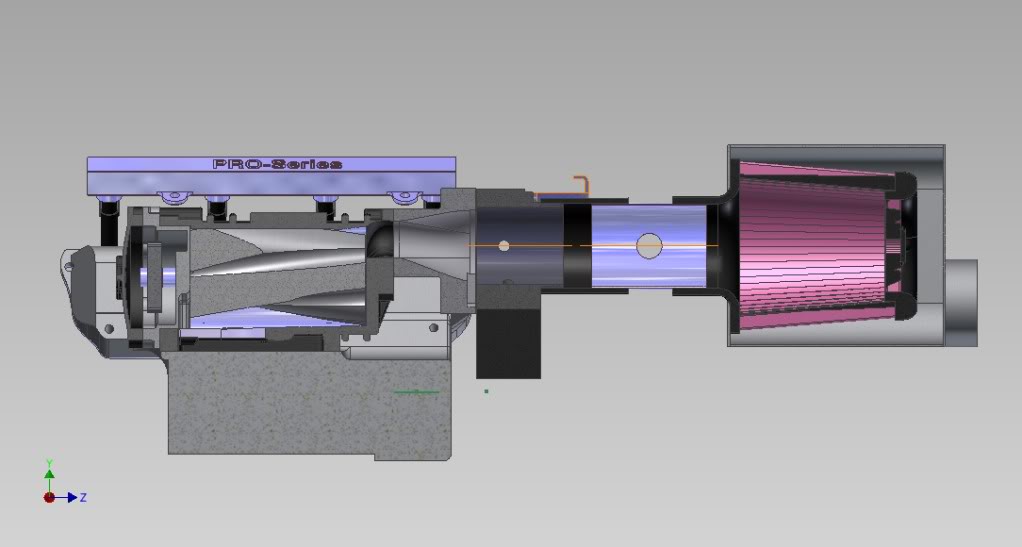
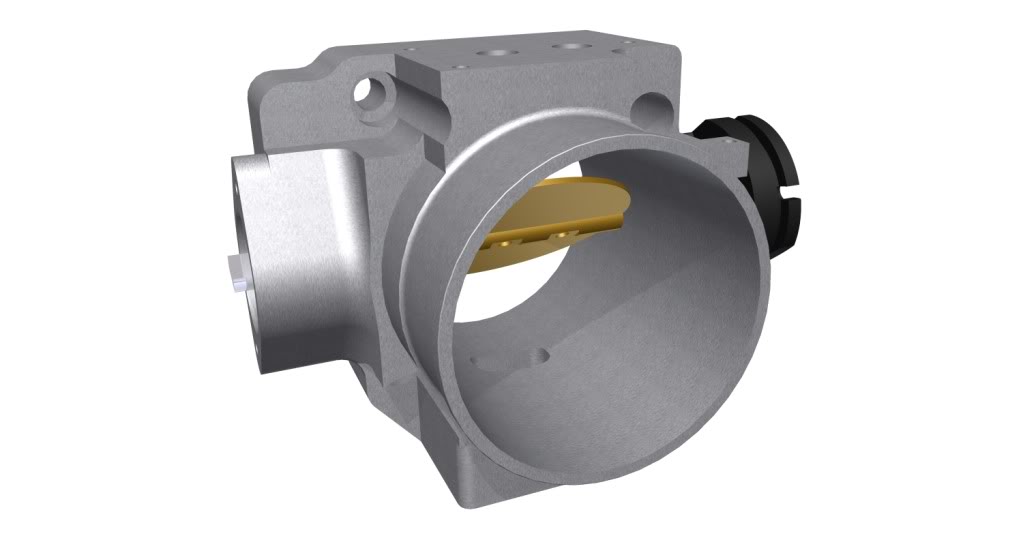
Below is a picture of the new TB verses the OEM, its a bit misleading as the new 72mm actually measures 74mm at the intake and 72 at the outlet, a TB with a built in velocity stack - not bad.....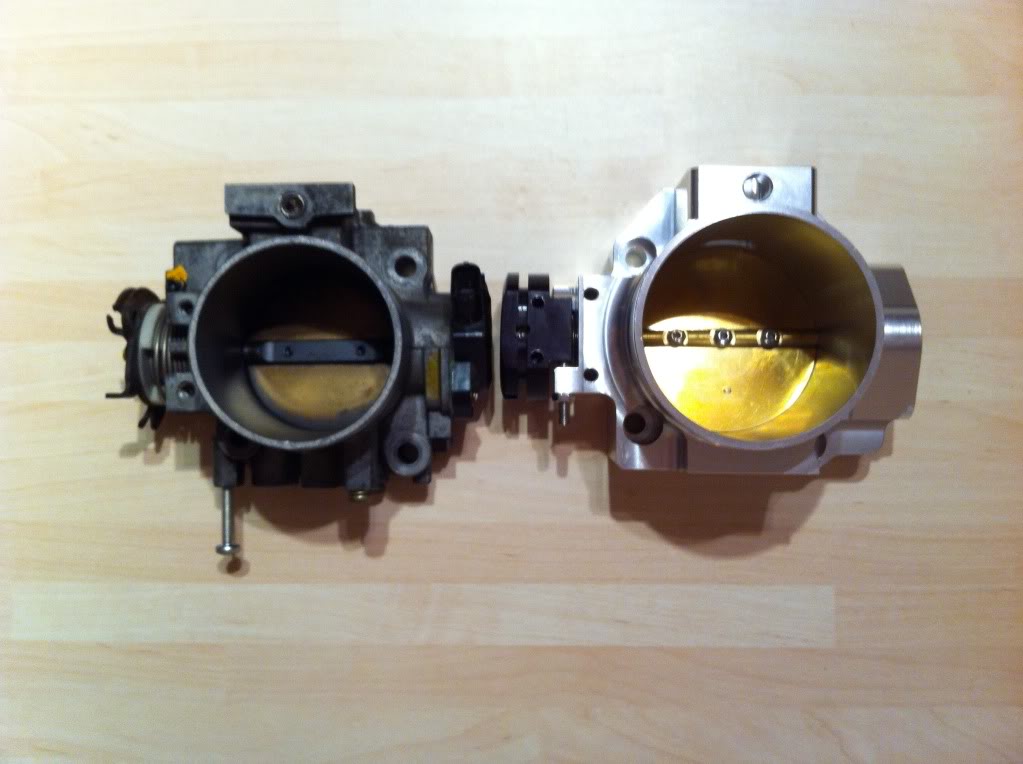
2-17-2011
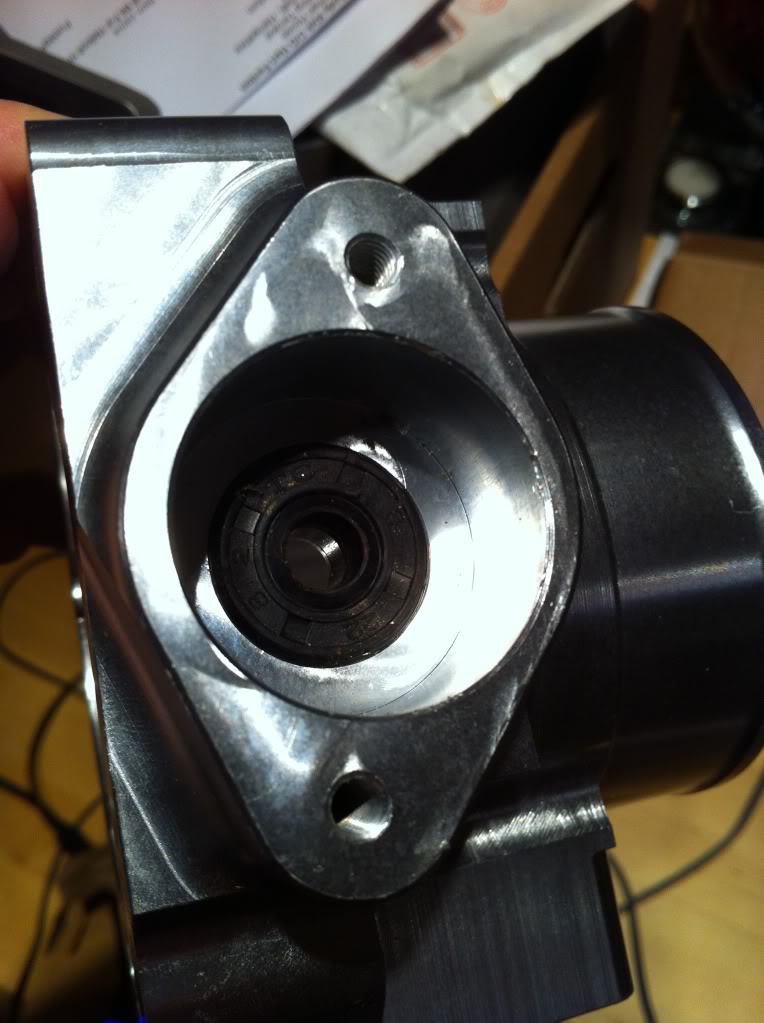
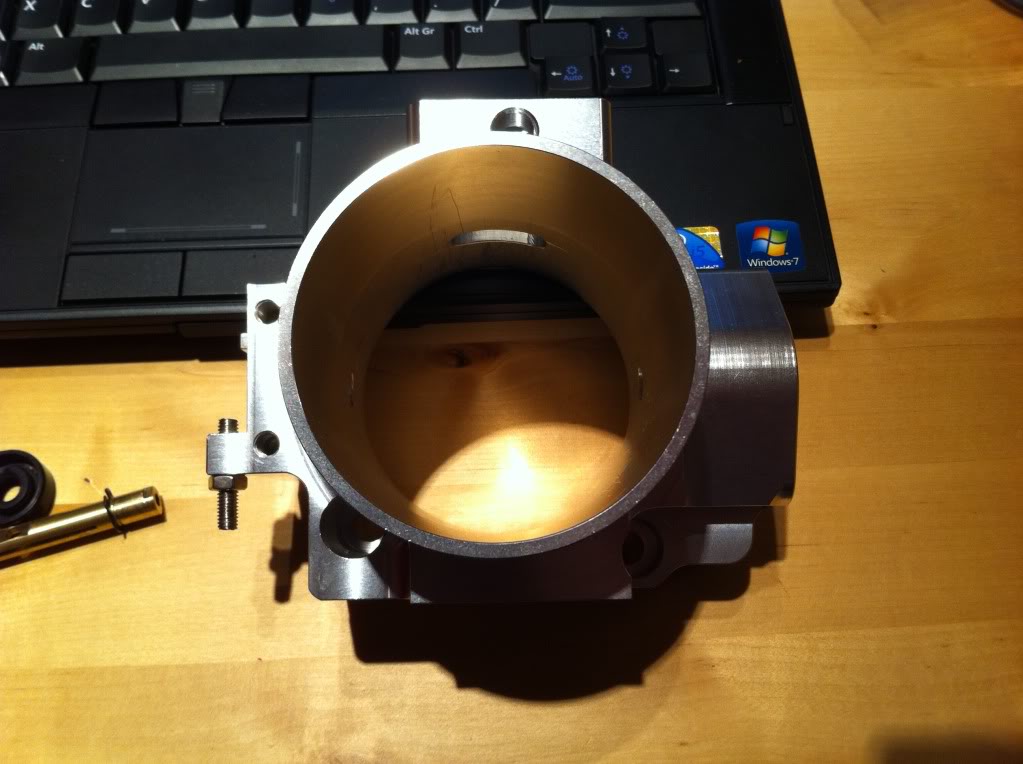
OBX RACING 72mm Throttle Body Dissected
In my plight for more ponies I decided to go to a 72mm TB, I was lured by the cost of the OBX unit, even though I am well aware of 'You get what you pay for'.
So when it arrived I promptly got it out to measure it after being duped by a previous and even more inferior TB that I had previously ordered receiving a 70mm not a 72mm. So I measured the air filter end of the TB throat and that was 73.75mm - initially prompting me to think they had sent the wrong part but before opening my big mouth I measured the outlet and that measures 71.70mm so its fair to say they had sent me the right part. After noticing the big 72 laser etched into the side I was pretty convinced I had the right part.
First appearances aren’t great, some of the machining leaves a lot to be desired, never the less it does look like a hoofing great throttle body.
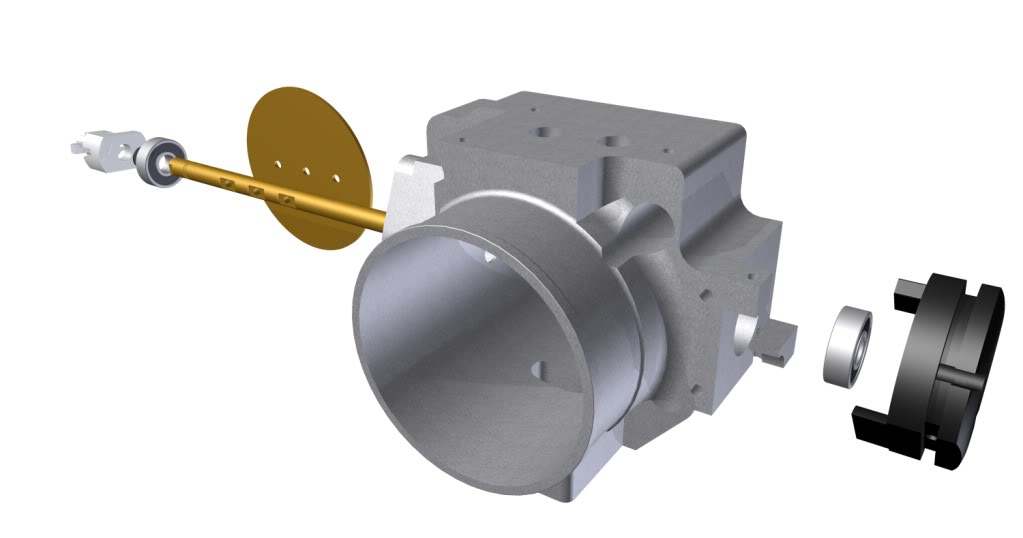
First turn of the shaft via the cable fixing confirmed everything I had read on the web about them being sticky and this was without any heat of the engine bay to make everything expand. So I was intrigued as to what was causing the shaft to labour like it was - out came the tools.......
On turning the first bolt it became apparent that there wasn’t a lot of Loctite or fixant in use, even on the butterfly valve bolts. I got the TPS fixing off to notice a cheap rubber oil seal. Under the cable fixing was another oil seal, below the two outer fixings are two Chinese (ZXZC) made 608RS bearings, rubber seals, they feel average – a bit sloppy.
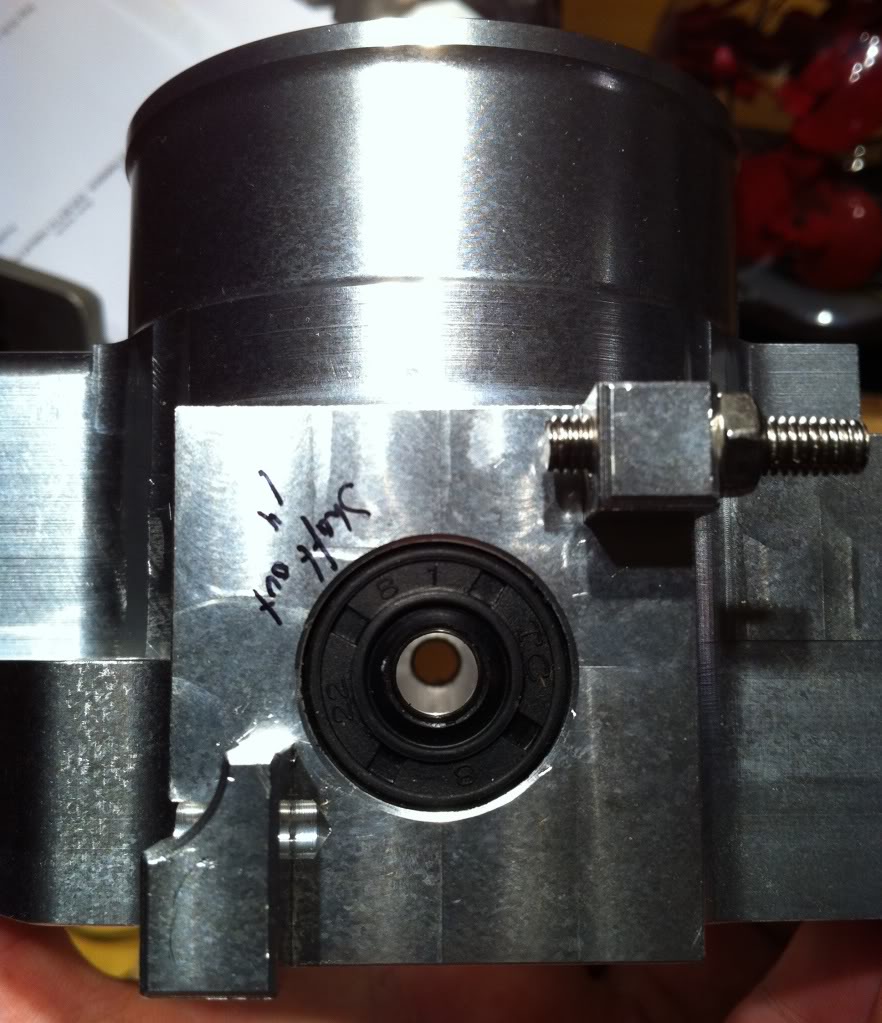
So once this lot was apart it was really evident that the oil seals are what are causing the sticking with the TB at room temperature. I obviously have yet to see if sticks with added heat.
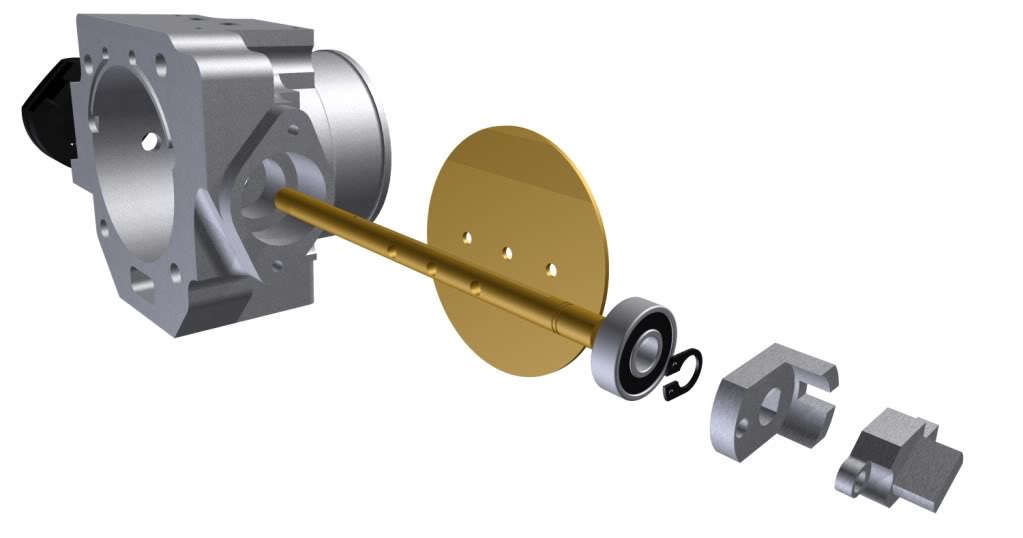
With all of that in mind I ordered new bearings 608RS-2 C3 SKF and 2x Viton Seals (8x22x7) and await to see how it feels once they arrive....... I will keep you posted.
It is very true - you do get what you pay for and this can be made a whole lot better by spending an hour and about £20 on new bearings and seals - I might even fore-go the seals if the Vitons are any where near as sticky as the rubbers, again got to wait and see, I doubt it knowing other Viton seals but still......
I took a load of photos so people can see what I am going on about: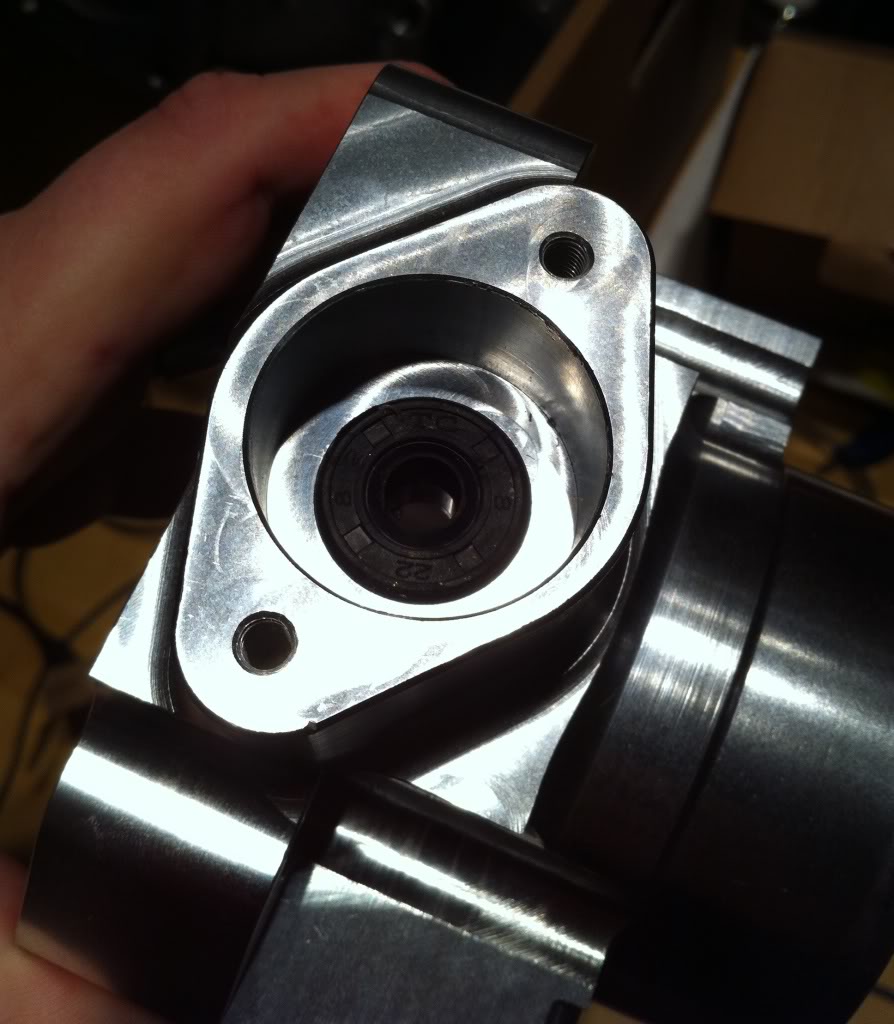
2-20-2011
This is what you're looking for when you next pop to the shops:
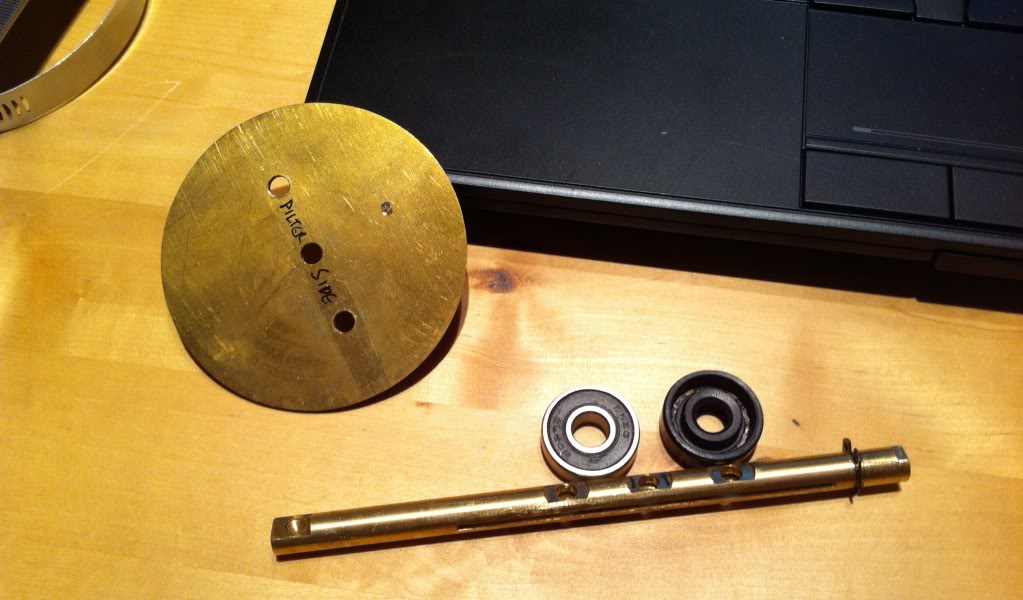
After spending today drawing it up I am considerably more familiar with the new 72mm throttle body, bearings and seals should be here early in the week.
Once I get the bearings and seals I will make a decision on the use of the seals or get some spacers made up to go in there place, I dont see any reason for an oil seal on the TPS side as there is a gasket under the TPS keeping the crud out so maybe one seal used on the cable fixing side??!!?
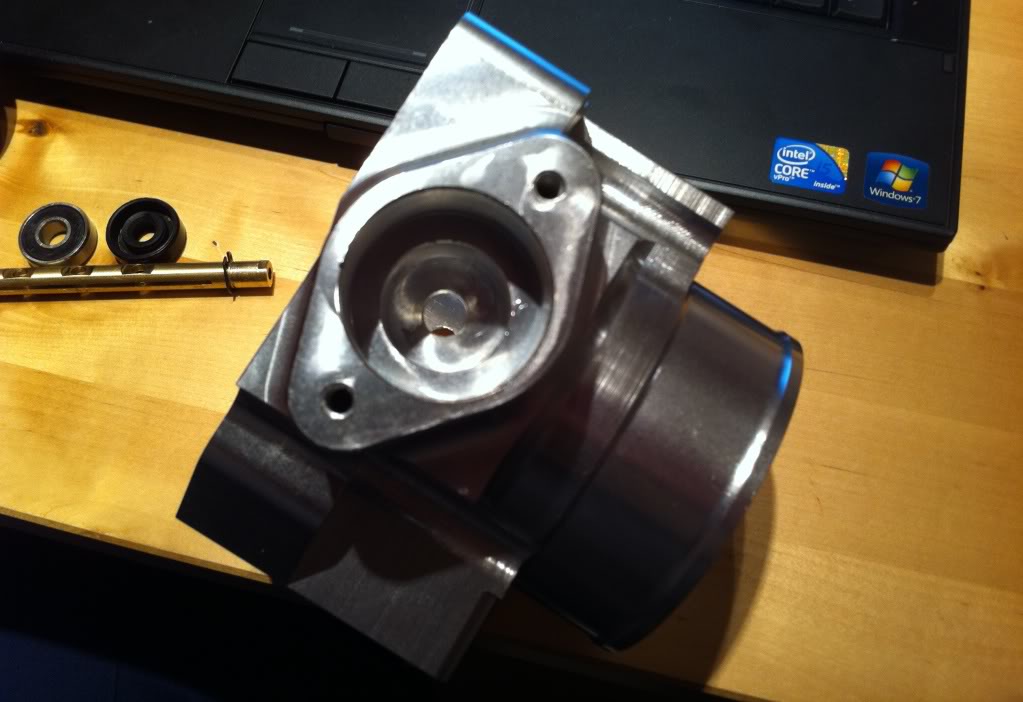
The TPS side of the TB has thrown up a problem with my current design for the TB-SC manifold so that'll need a re-think before I get it machined which was due next week - it is alot wider than the OEM TB.......
OK so here's how its looking (minus the oil seals and fixings):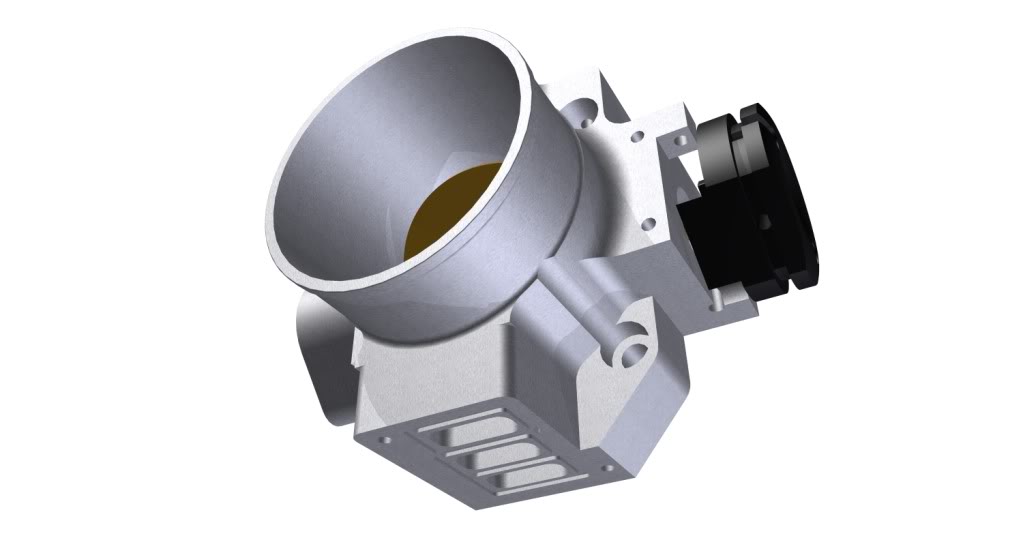
3-7-2011
I got my new bearings in my supercharger snout, I went in the end for regular deep ball but the C3 version which have greater tolerances to allow for expansion caused by heat, if I get the problem again I will swap it out for a different type of bearing.
So a mate of mine (Jim Bright - thanks mate) did the pressing of the bearings and used the old outer race of the snout bearing to press the new bearing in, he had split the old outer race to do this and found that the inner race had a fault which you can see below. Looks like there was a fault in the original casting before machining.
Another thing that I think will help is once the charger is back together - rest it on the pulley for a day or two to make sure that the oil makes its way to the outer snout bearing to ensure it gets good lubrication from the off.
So here's what we found: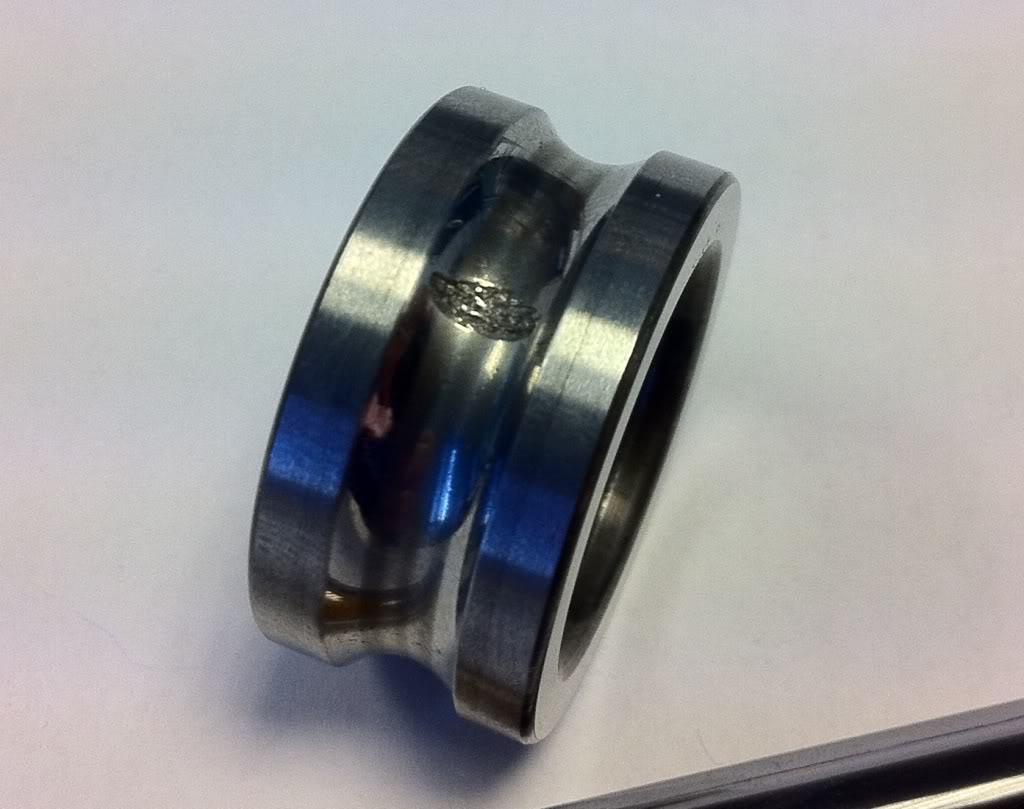
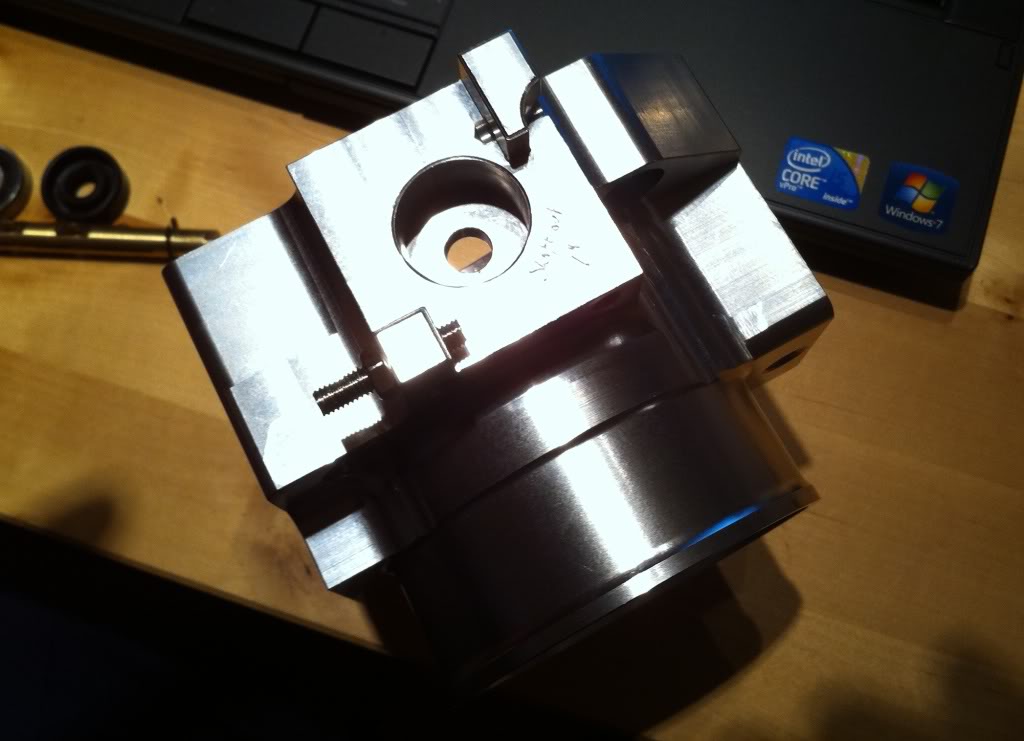
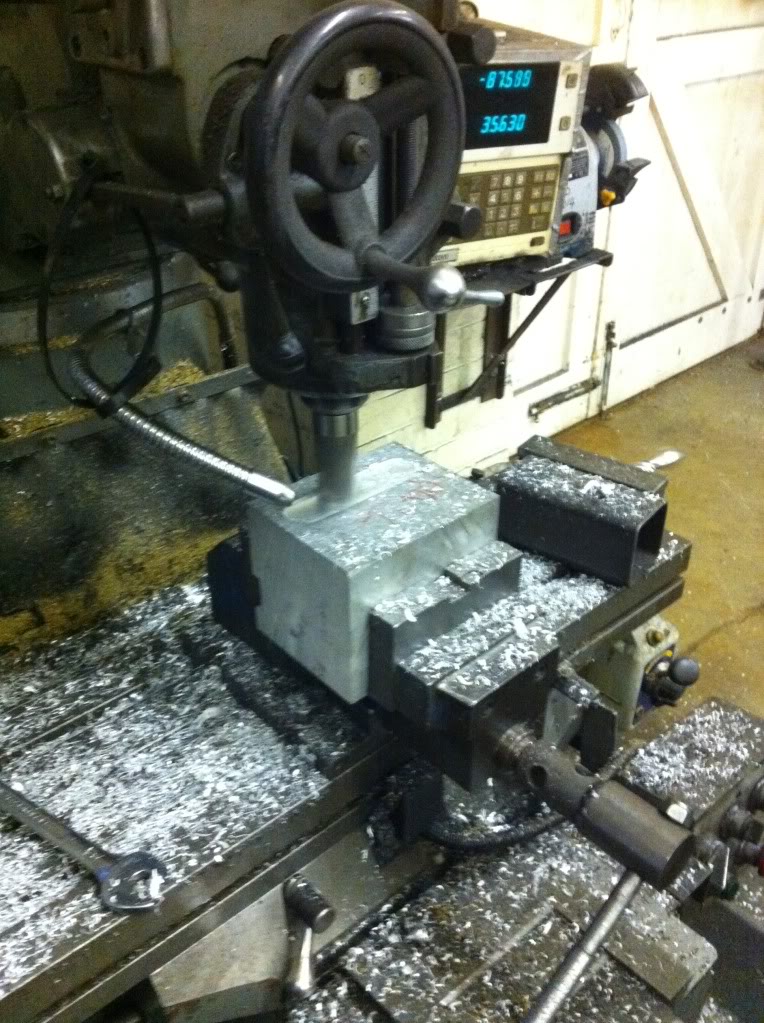
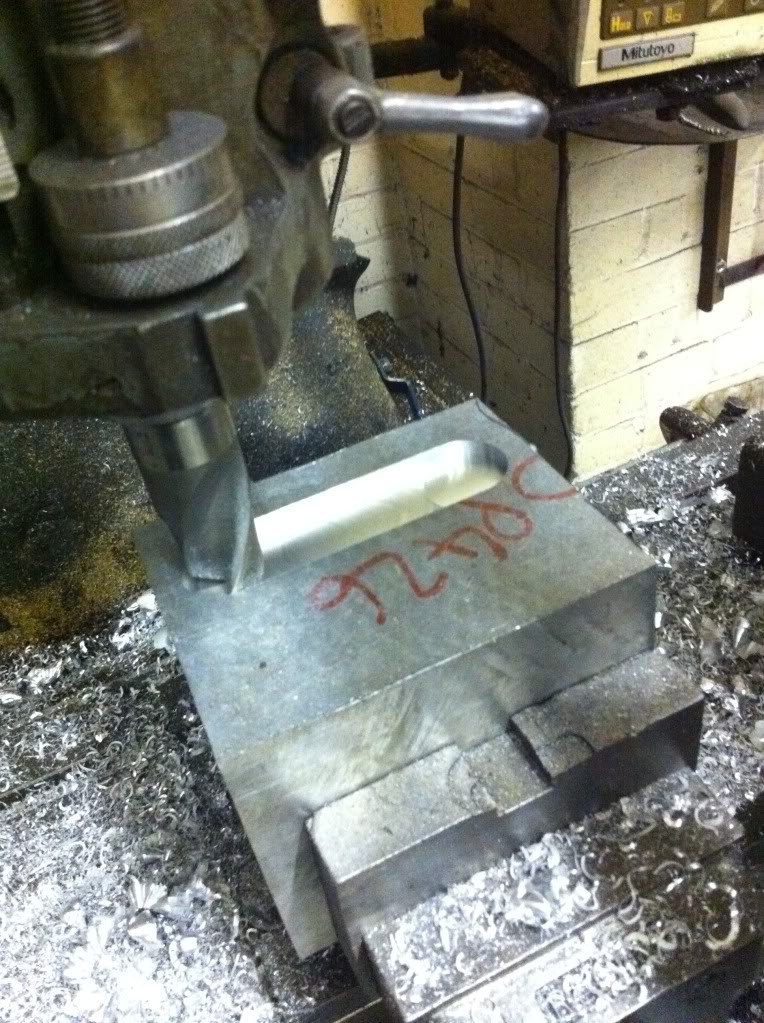
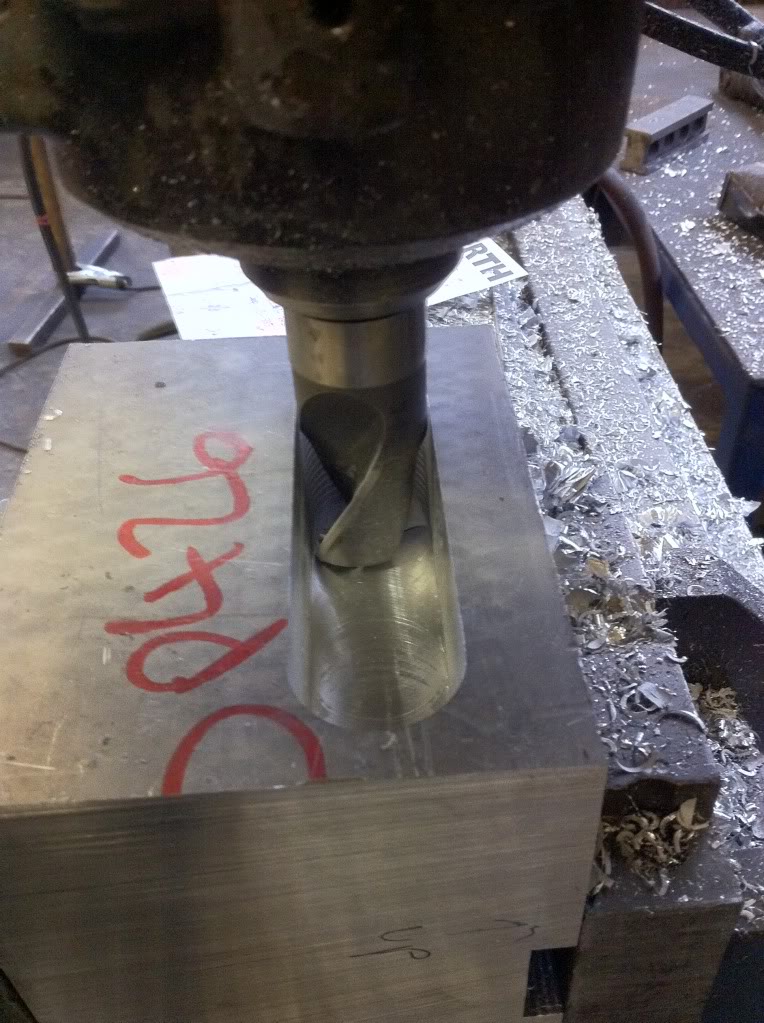
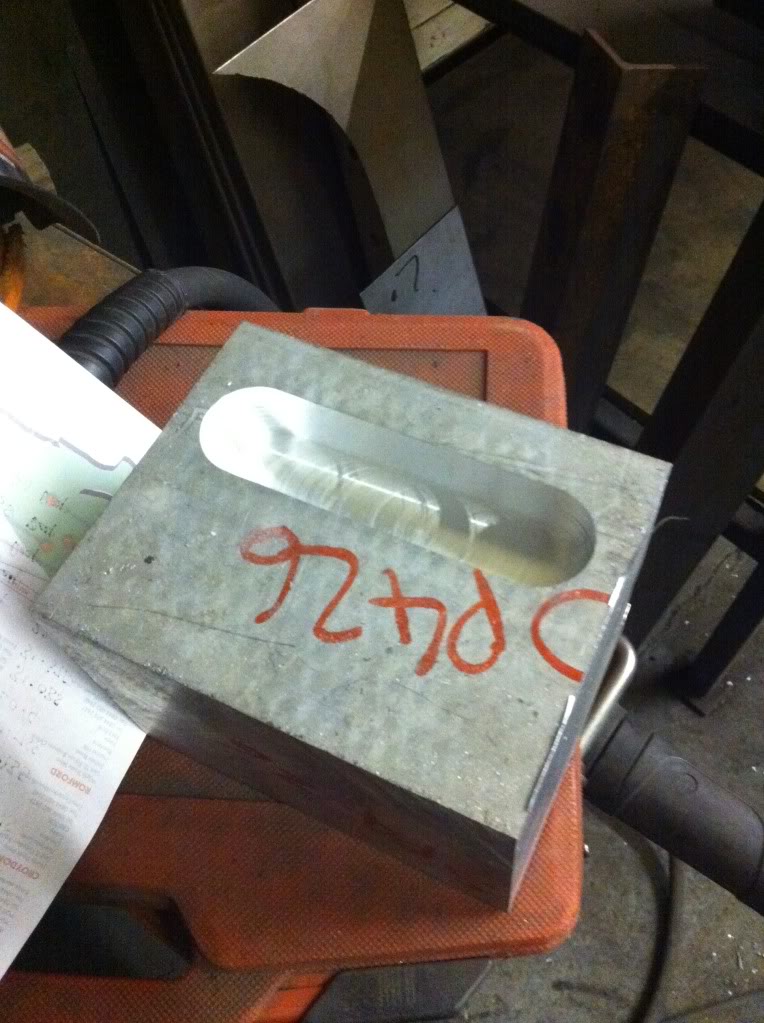
TB-SC MANIFOLD PRODUCTION - 01
We (myself and Stevie G) made a start on the TB-SC Manifold over the weekend. It is slow work and will prove quite challenging as we get to the more tricky geometry but we are pretty confident that we can get something that resembles my drawing.
I have produced sectional drawings every 2mm through the manifold to give us the required geometry, so we have ended up with 4x A1 sheets of drawings, admittedly one of the sheets is the outer dimension but three are purely sectional at 1:1 scale so we can measure off them if we need extra dimensions. We started at the SC side of the manifold and are primarily concentrating our efforts on the centrral tunnel as this is the worst bit. We started with a block measuring 169x111x111 and we will end up with a part measuring 142x110x110
I dont have a great amount to show but here are a few snaps of what we have been up to: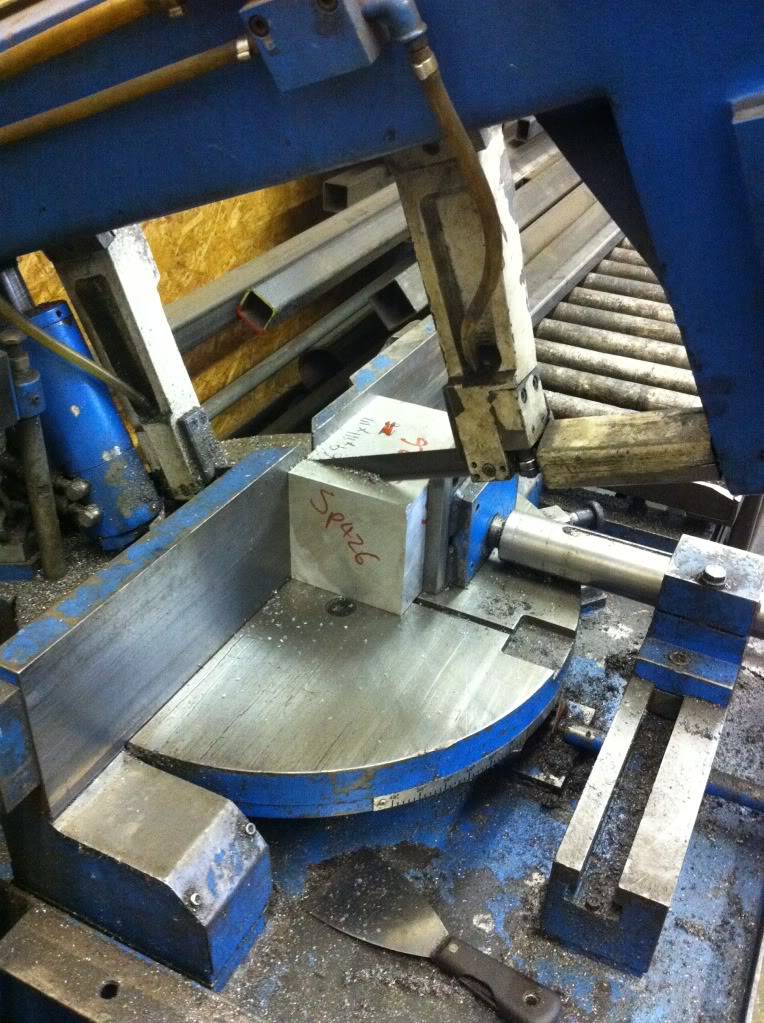
Wow this is amazing build!
Posted by Diggymart on 2/3/20 @ 4:10:14 AM