You must be logged in to rate content!
2 minute(s) of a 220 minute read
3-1-2012
today we finished off the repairs to the boot floor and fitted the rear valance + closures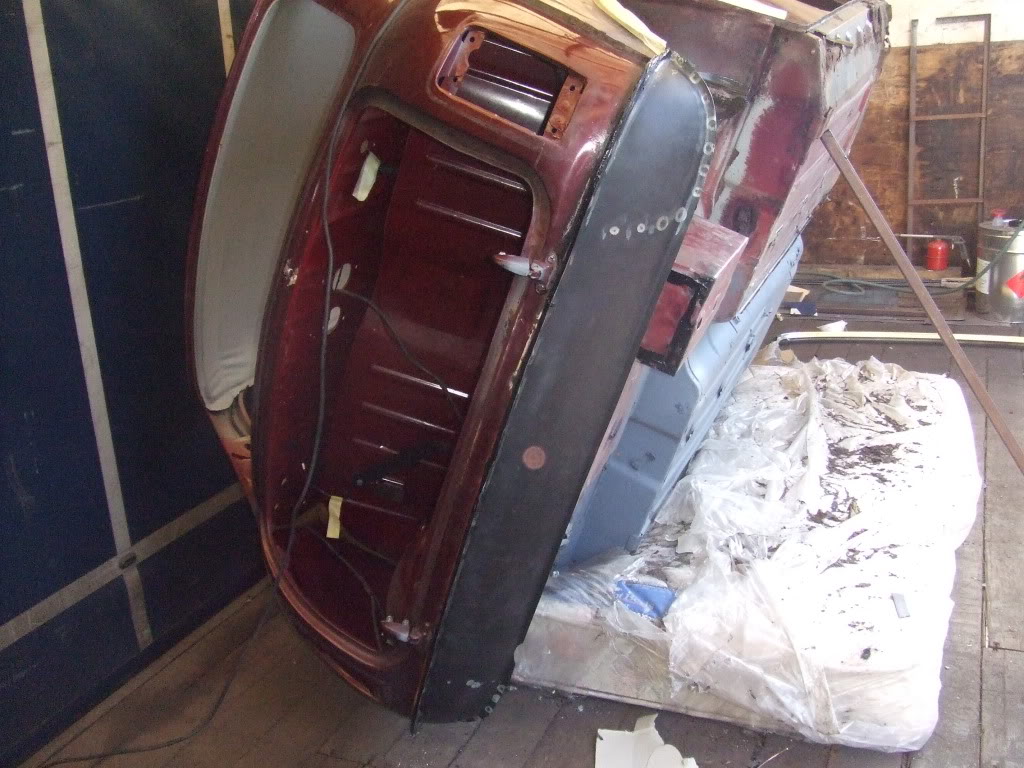
we then seam sealed the welds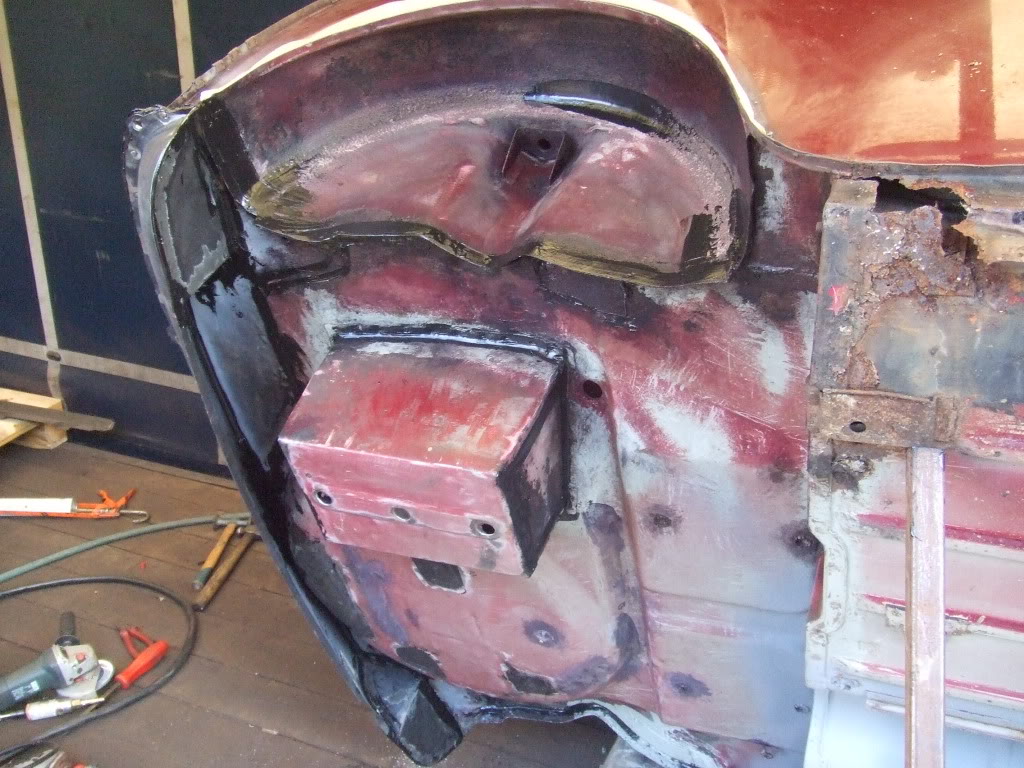
and primed and stone chipped from the heel board back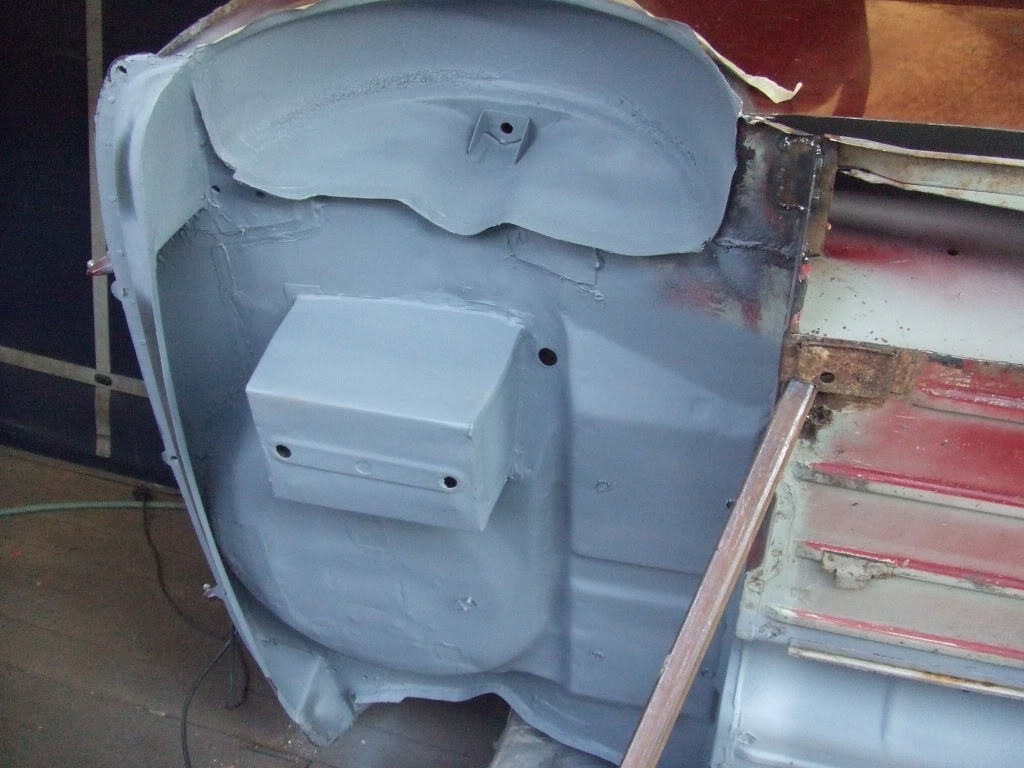
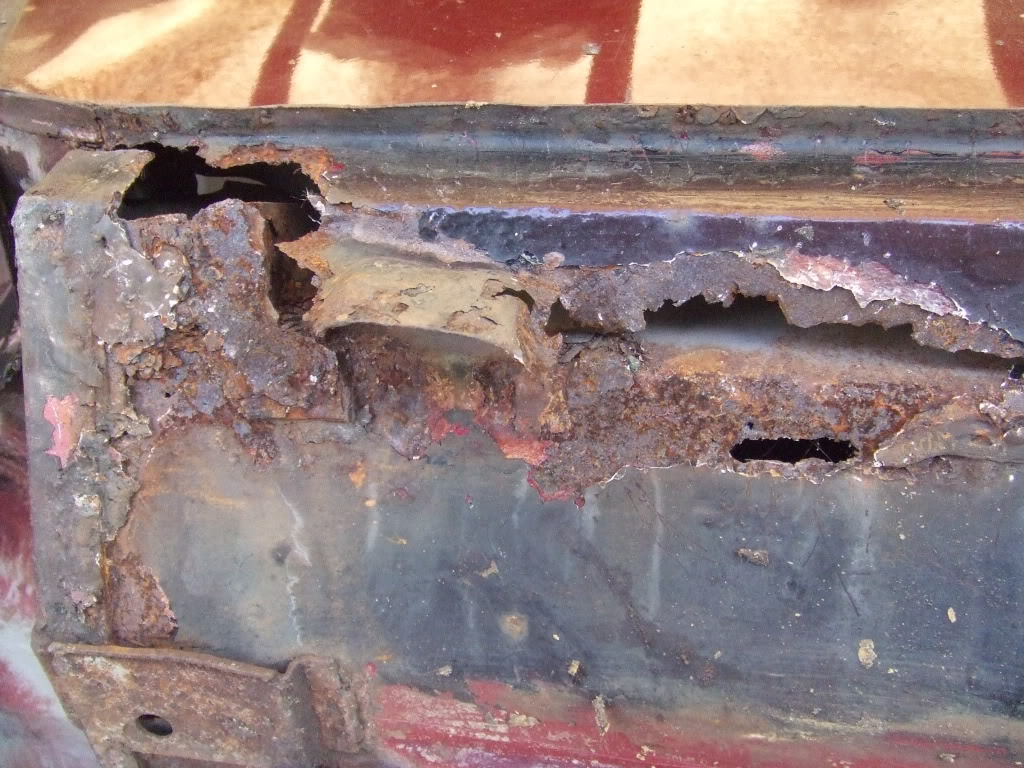
i then had a poke around the sill with a screw driver...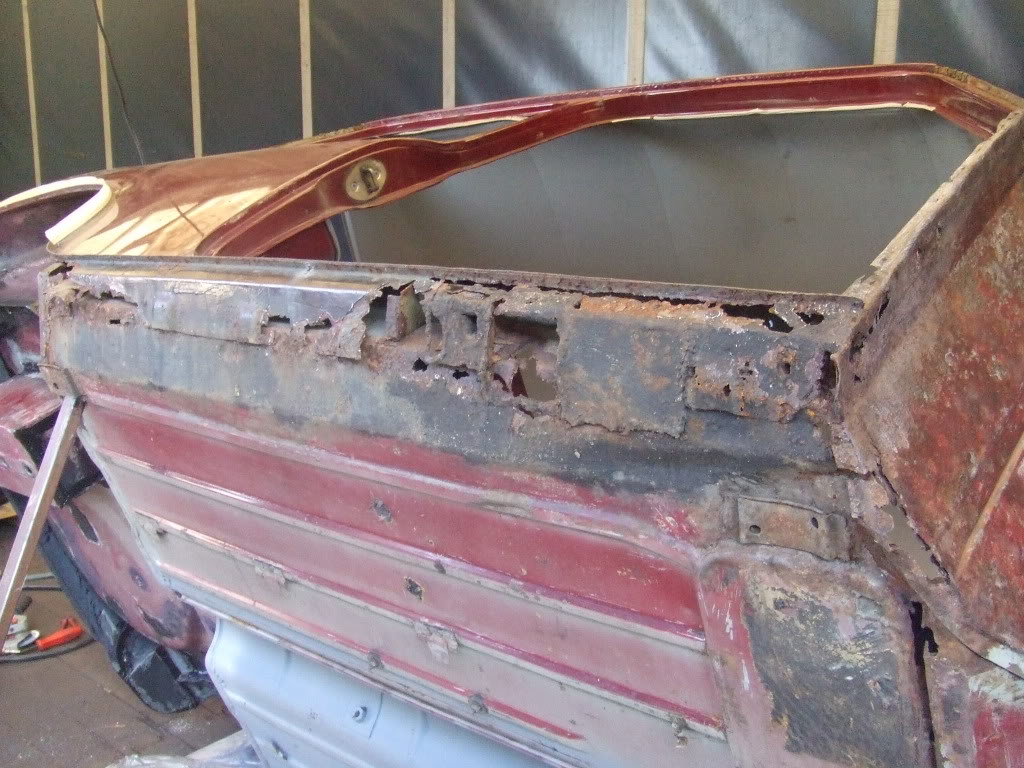
...how this got through the last MOT i will never know  ...
...
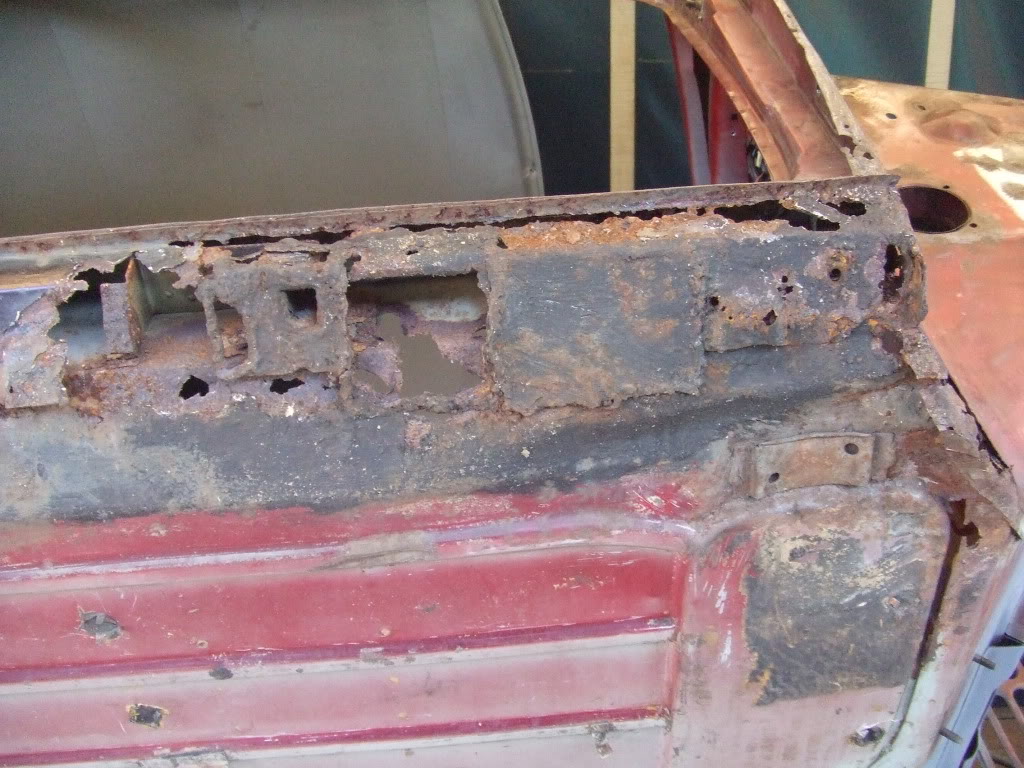
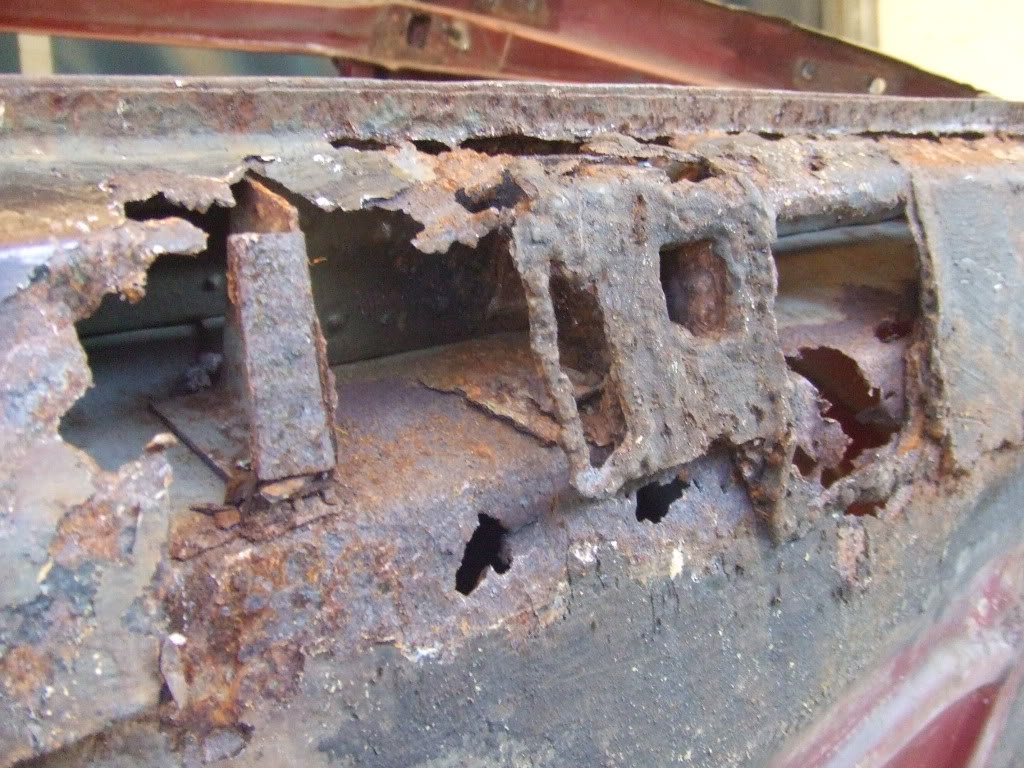
...we were lucky to drive this the two hours home without it falling apart 
so we got to work cutting out the last of the rusty metal ( hopefully ) and you will be surprised to know that this side isn't as bad as the other...how ?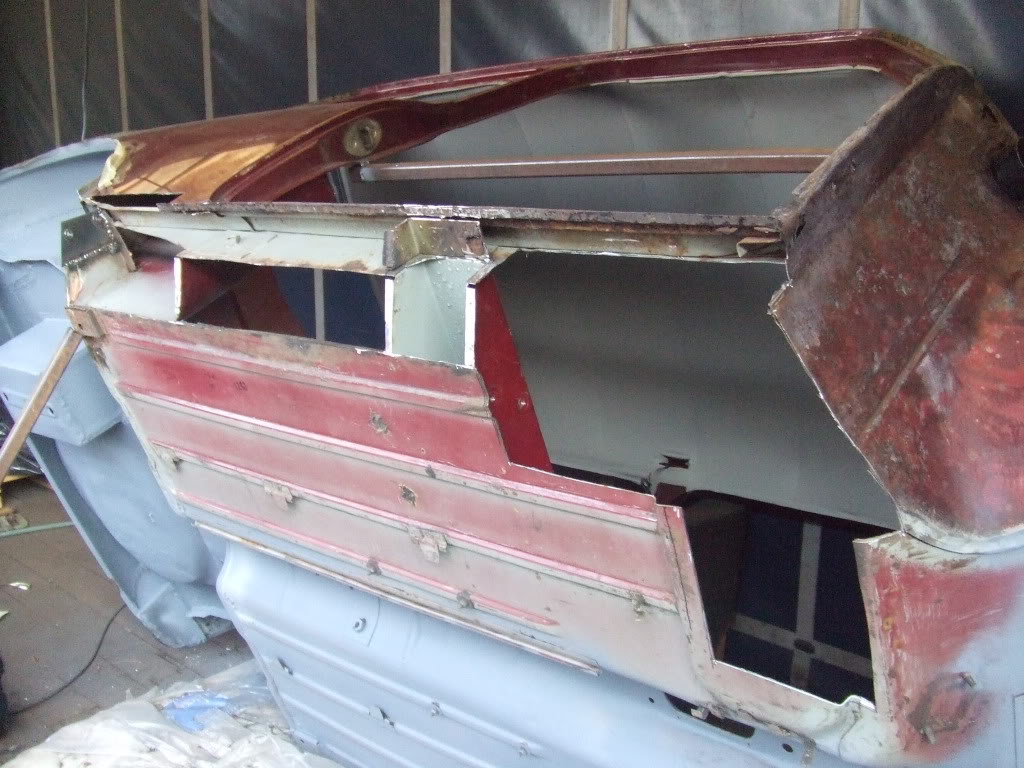
new subframe mount repair fitted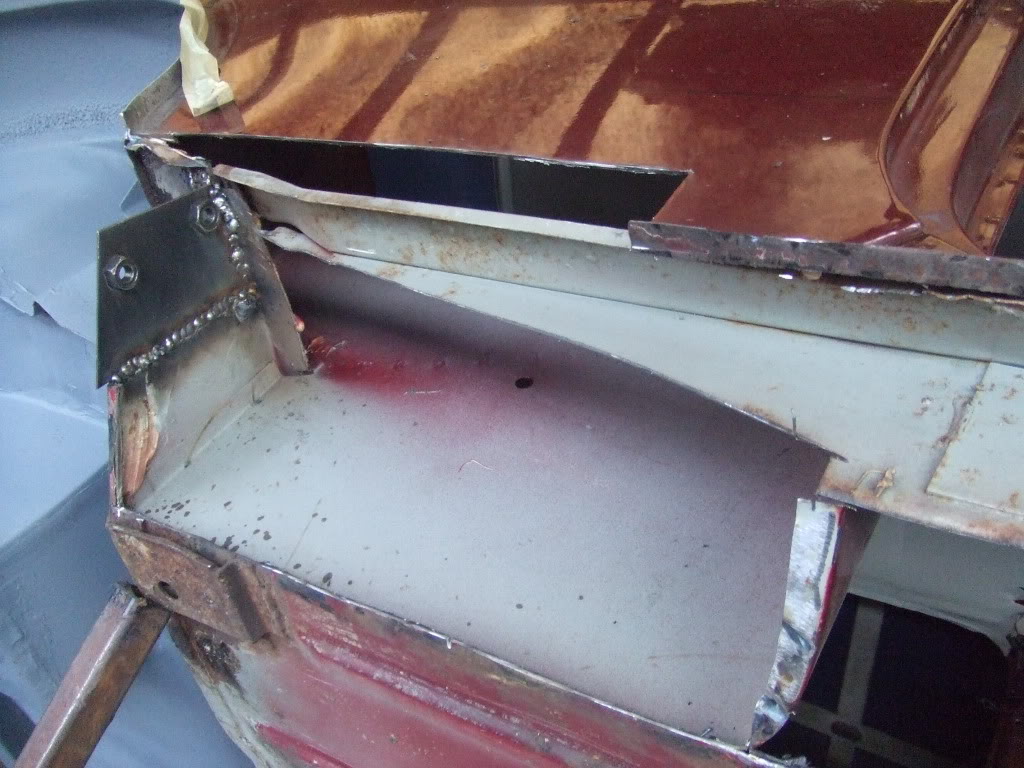
2mm thick angle iron to repair and reinforce the base of the companion bin and rear inner sill ( the same as we did to the other side )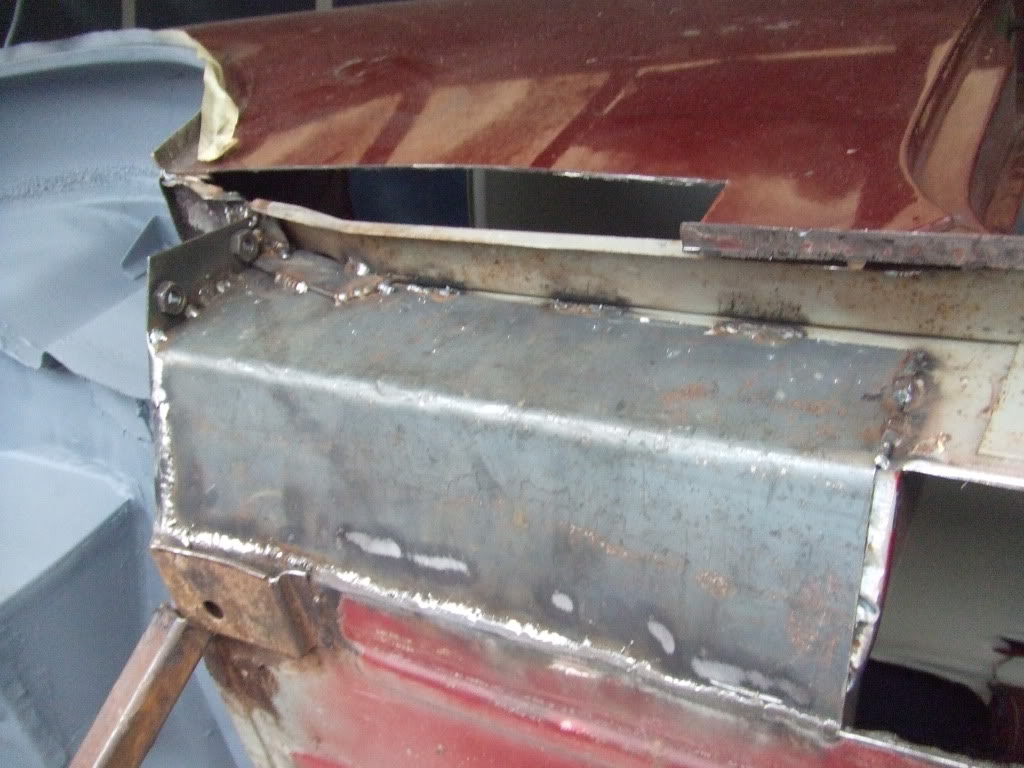
then we made a panel to repair the rest of the inner sill ( apart from the front floor pan )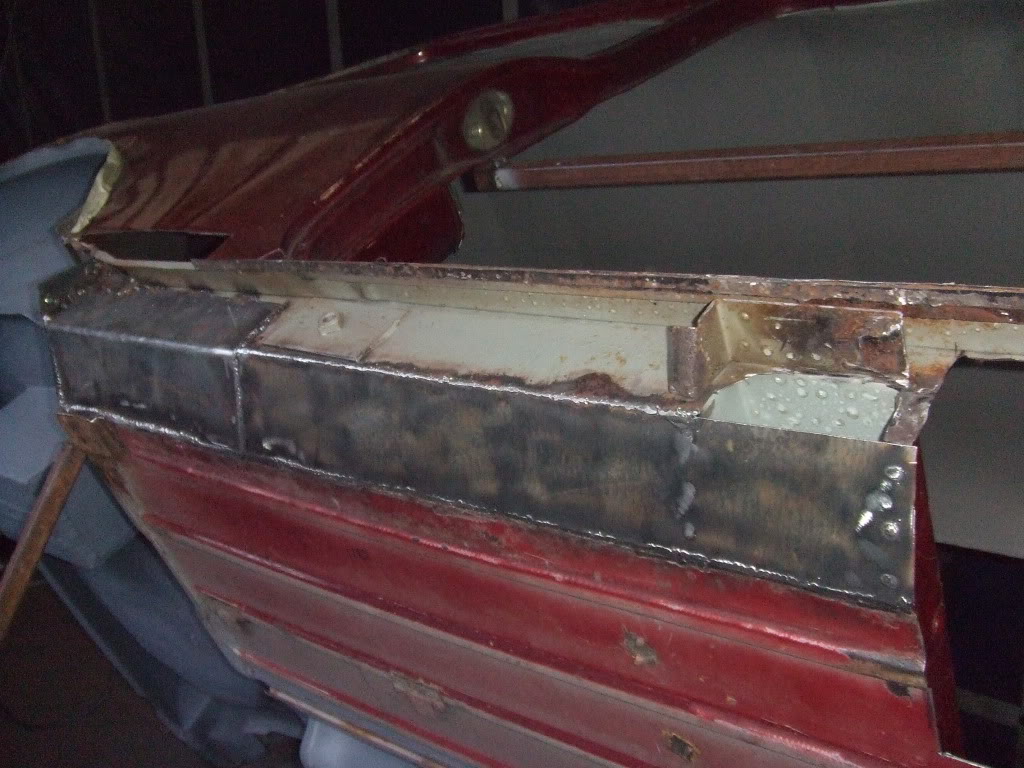
then we gave the new metal and welds a clean up and a coat of etch primer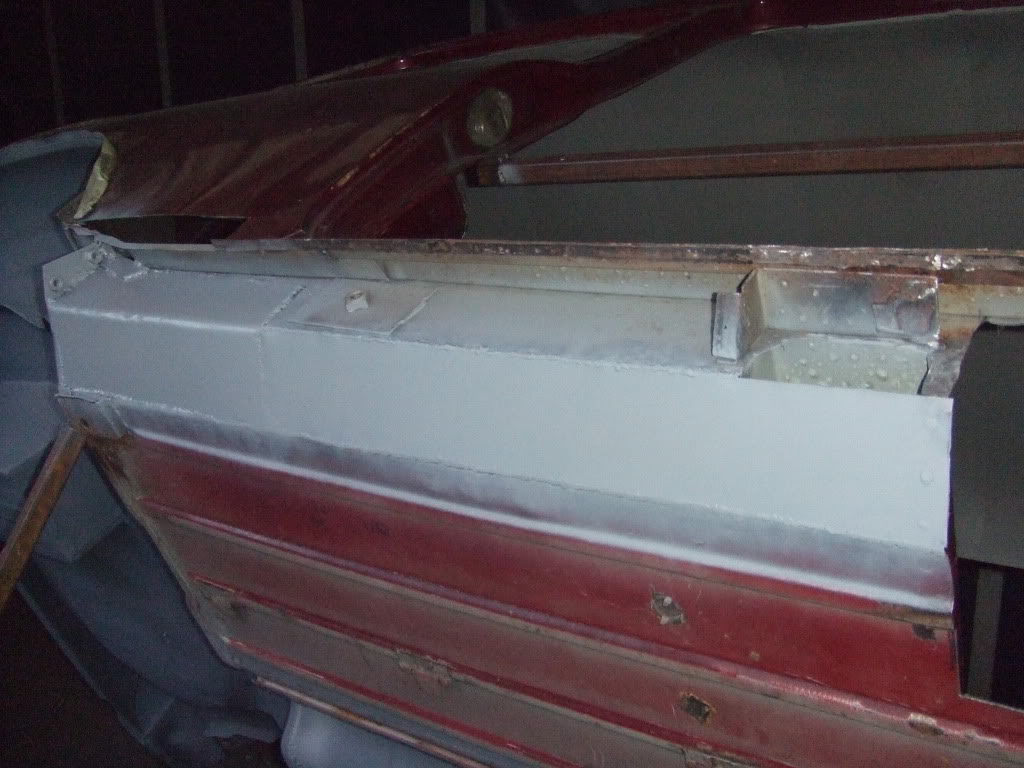
before we packed away for the night, we gave the door step, jacking point and any other areas of remaining rust a coat of rust reverter
tomorrow we will fit the new front floor panel, fit the outer sill, repair the flitch panel, fit the other scuttle closure and then maybe fit the new scuttle and...well...we'll see what happens 
3-2-2012
today we started by fitting the lower rear quarter repair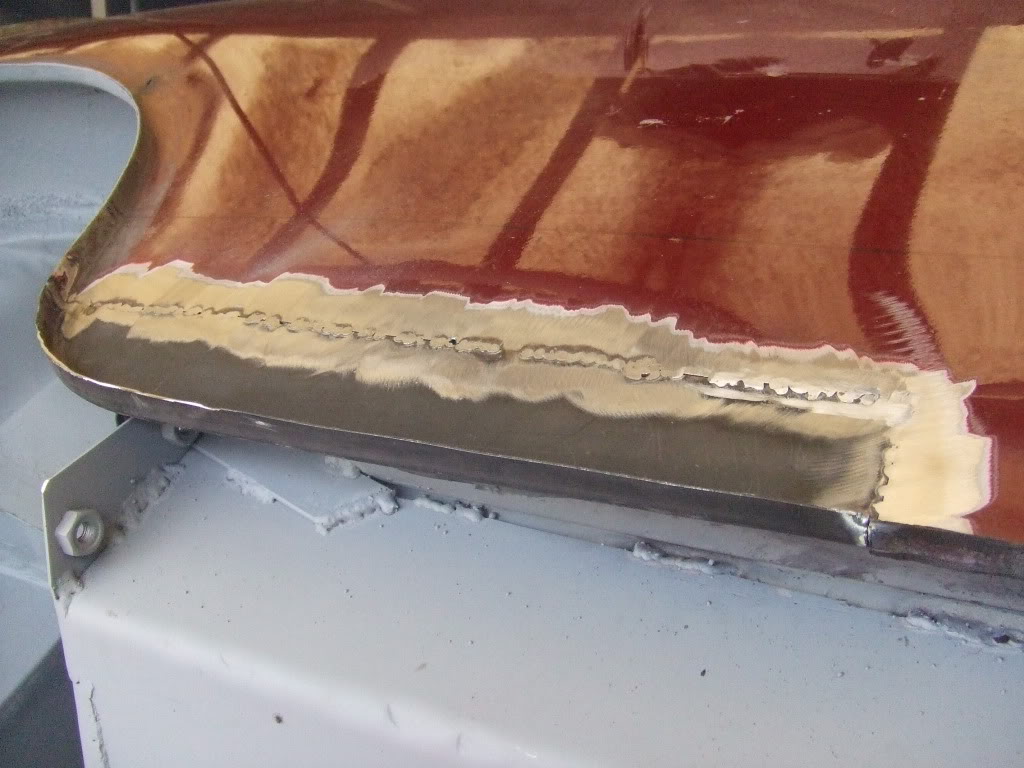
when i said that this side was in better condition than the other, i was wrong  ...........the rear quarter was slightly bowed, the jacking point needed re constructing, the door step needed a patch from the hinge panel to the middle of the door frame, the flitch is rotten from top to bottom on the very edge and there was a split in the base of the bulk head from the transmission tunnel to the O/S sub frame mount...all fixed now though ( apart from the flitch repairs )
front floor pan fitted and jacking point repaired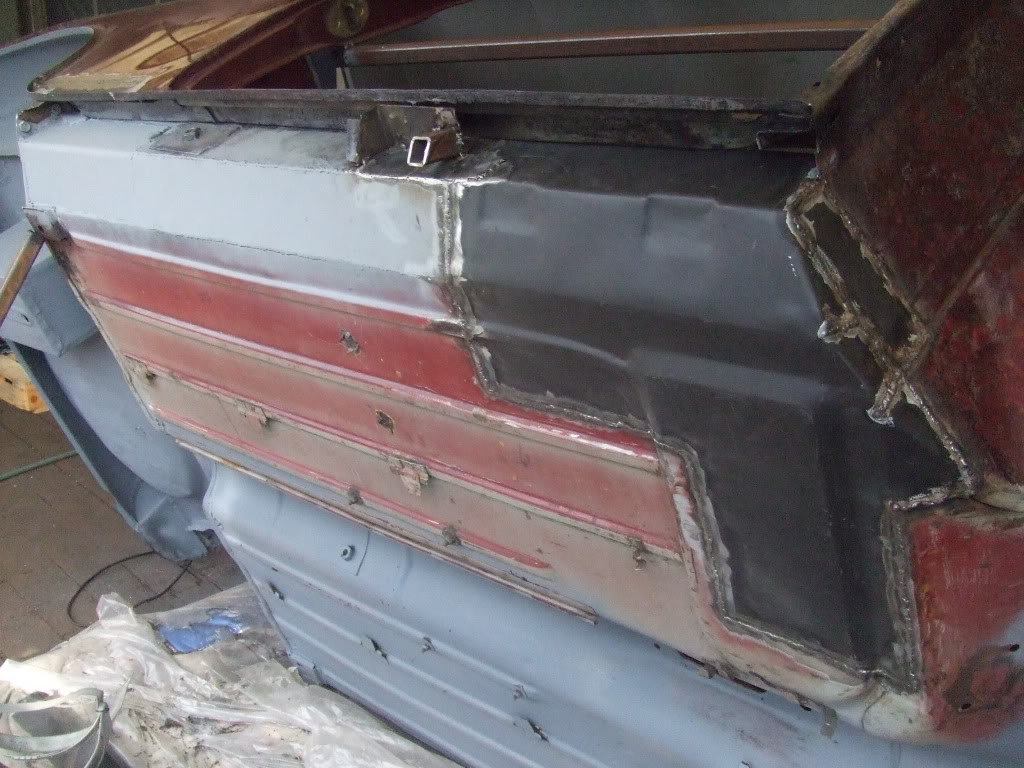
sill fitted, bulk head split welded shut, door step repaired ( utter nightmare to make a patch for ) and all primed and stone chipped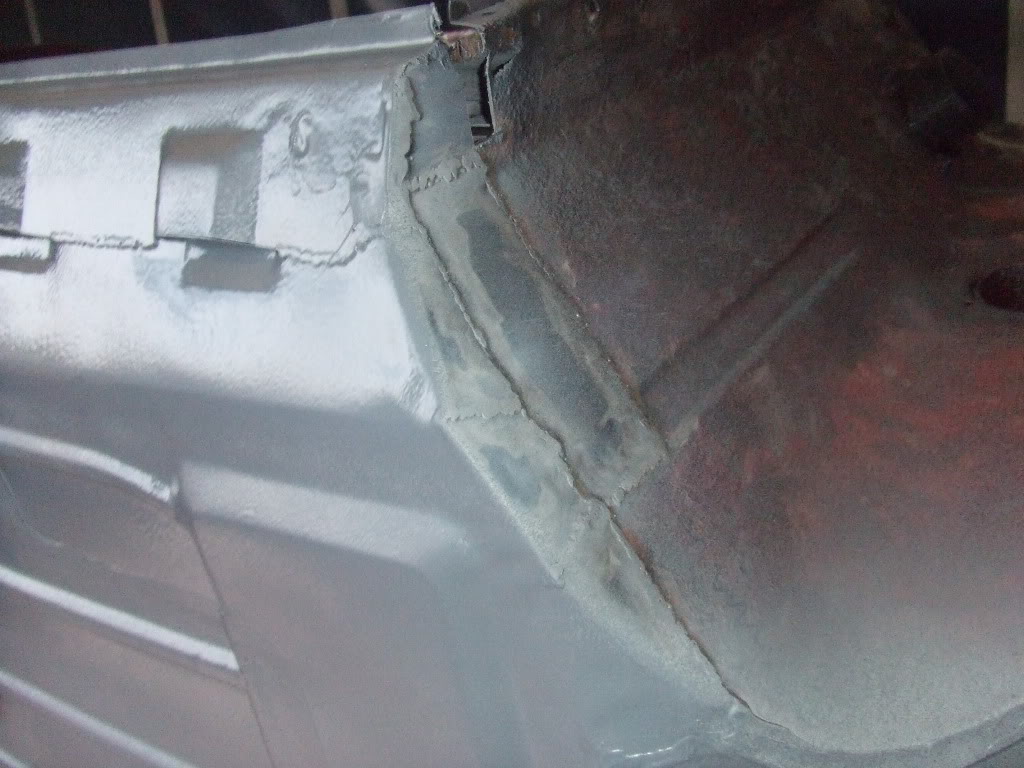
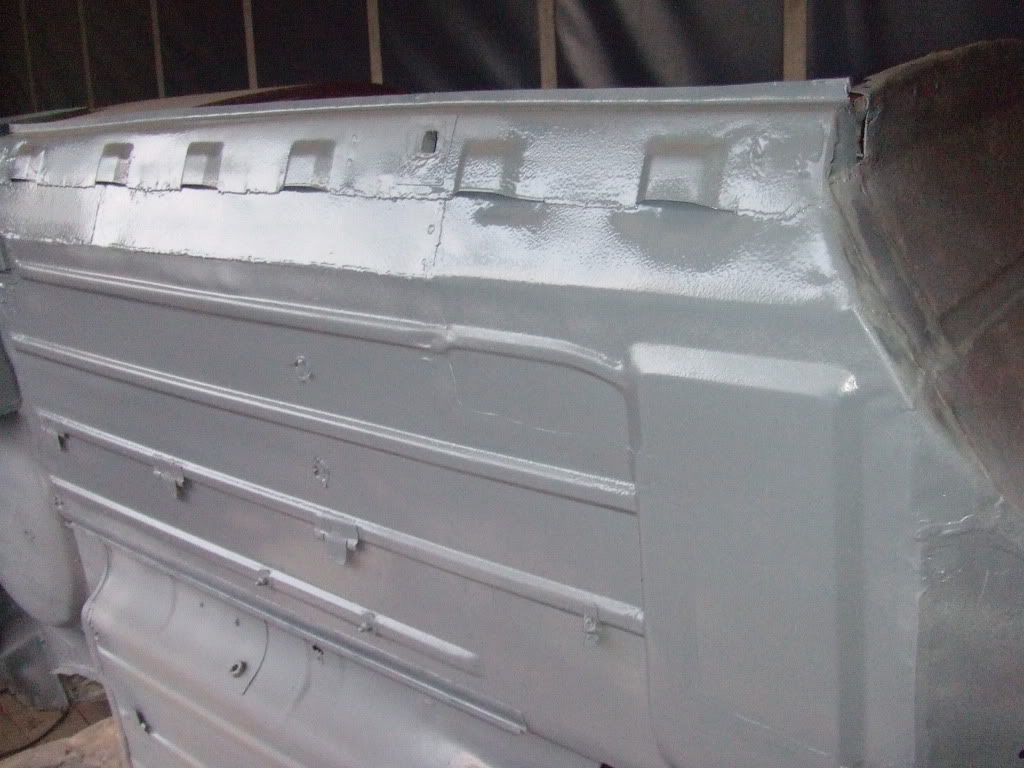
that's it, the floor is now completely done and solid 
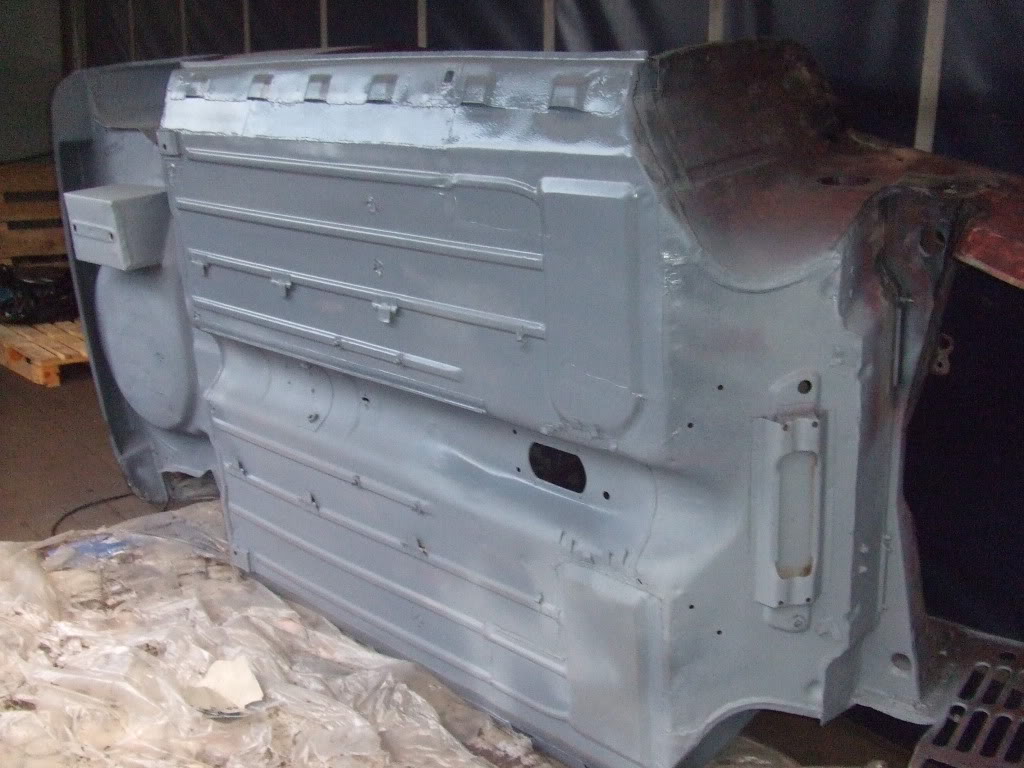
now it just needs a coat of paint and then wax oil
tomorrow is our last day of work as my dad goes back to work Monday and we aren't working Sunday...so we need to finish ALL of the body work:
- repair the O/S inner wing
- repair the O/S flitch panel
- patch the pedal box mount
- repair top centre of bulk head/dash rail ( where the rust hole in the scuttle was )
- wire brush the roof guttering to check for rust ( fingers crossed it is just surface )
and anything else other than the front end panels as we want to spend out time getting the alignment right next weekend
i might go down to the unit some time in the week and start flatting down the old paint and paint the underside
3-3-2012
today we only worked a half day as cliff is now all done body repairs wise other than the front end 
first we cut out the rusty parts of the flitch and repaired them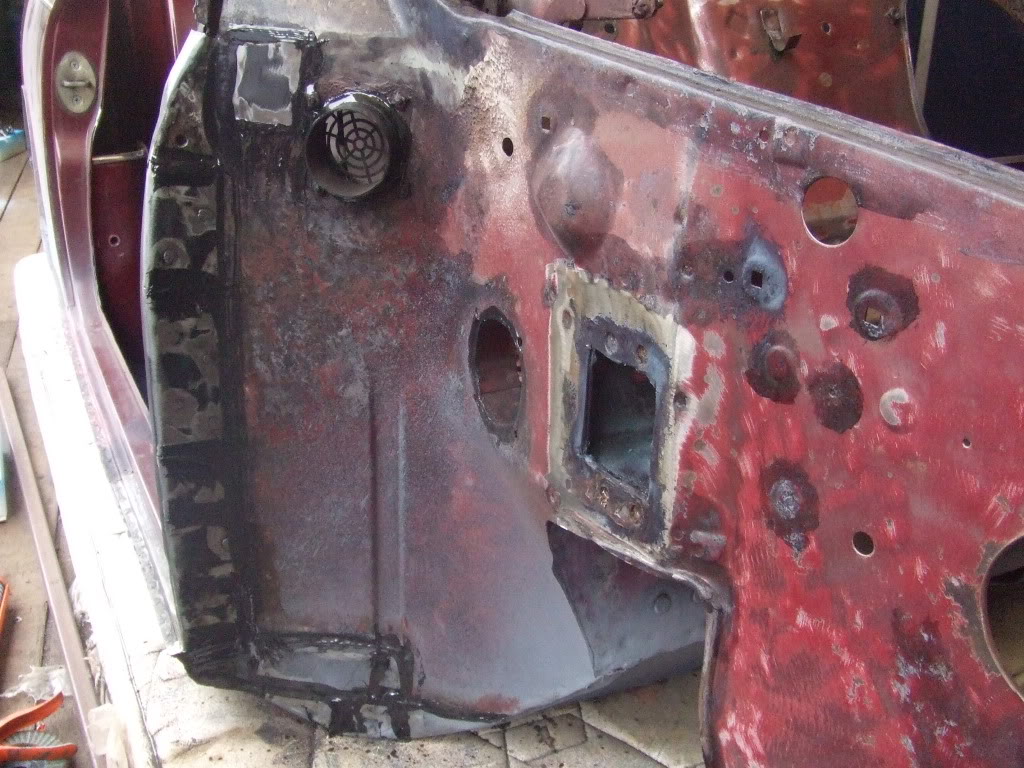
i was going to buy a flitch/hinge repair panel but after the experience we have gained at panel making, we decided to give making one a go any way...it went fairly well and it only took one hour from start to finish...nothing can stop us now 
we also seam sealed all the welds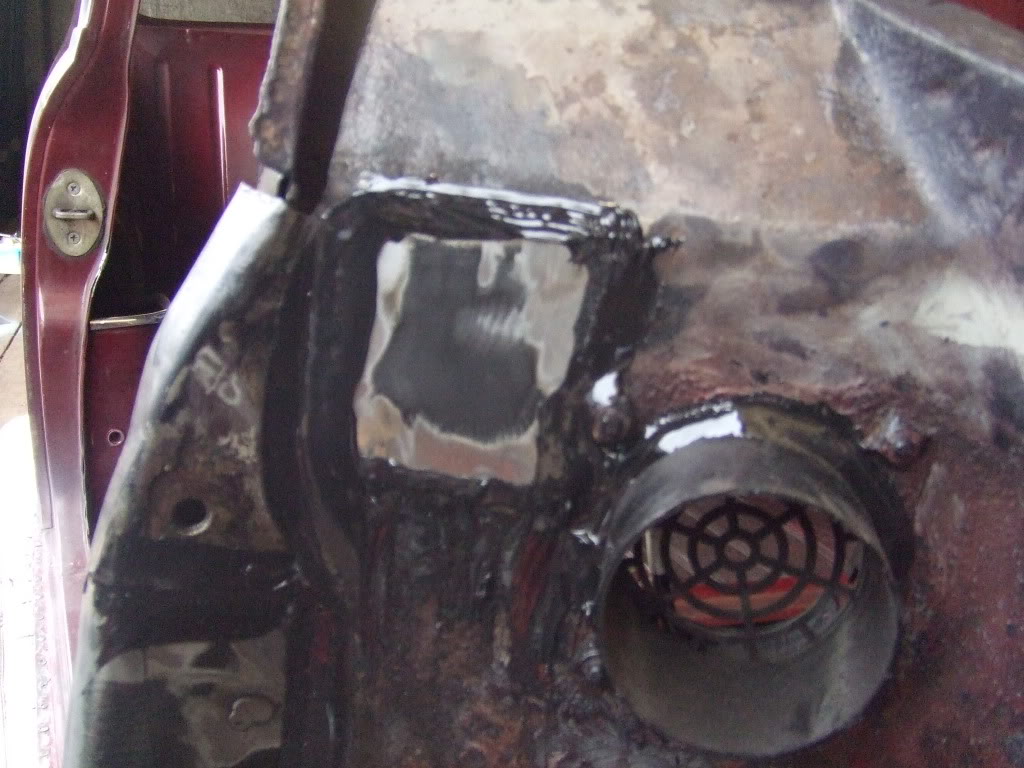
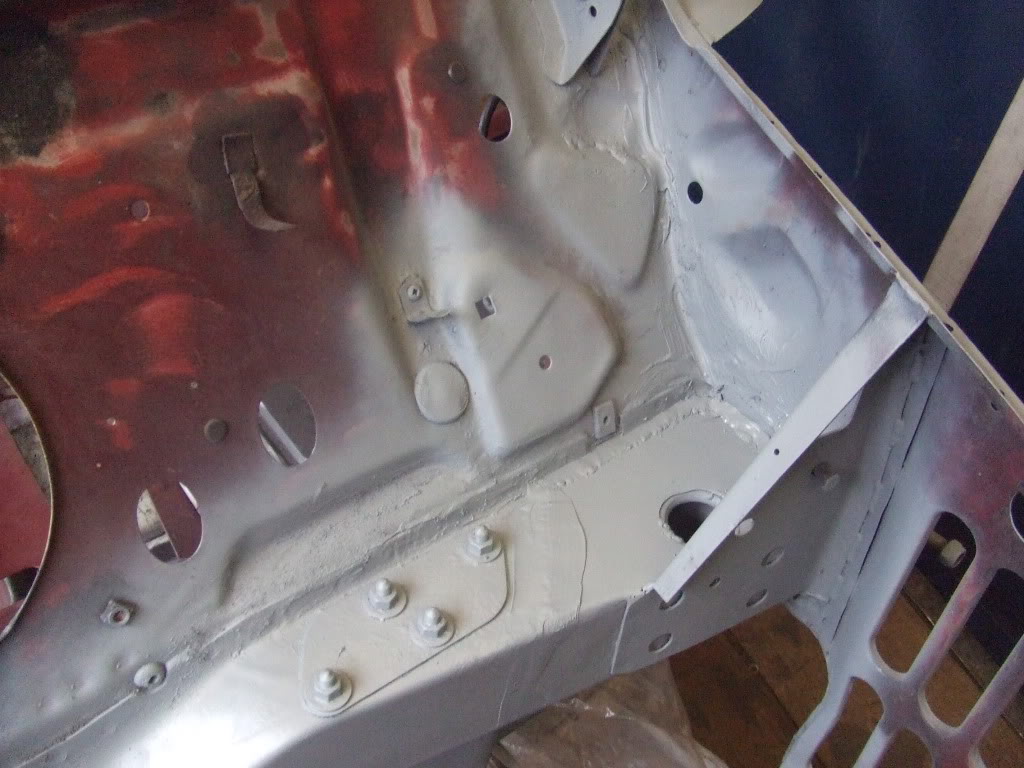
we then repaired the rest of the inner wing, fitted the shock mount, fitted the scuttle closure, seam sealed the welds and etch primed all the new metal + welds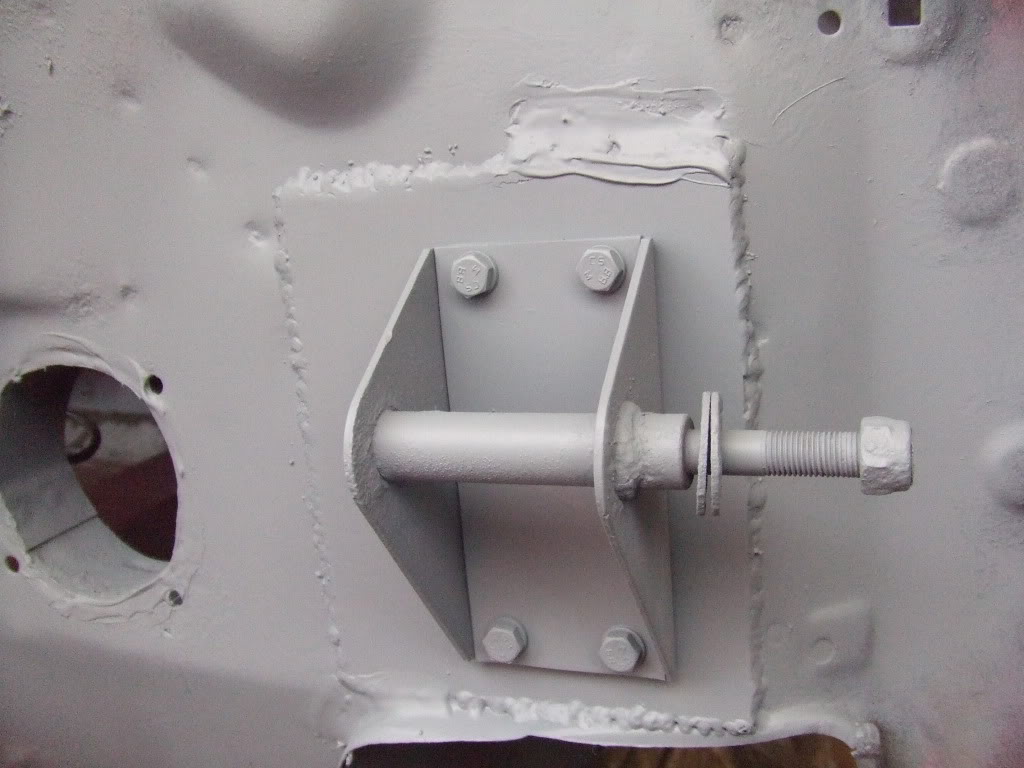
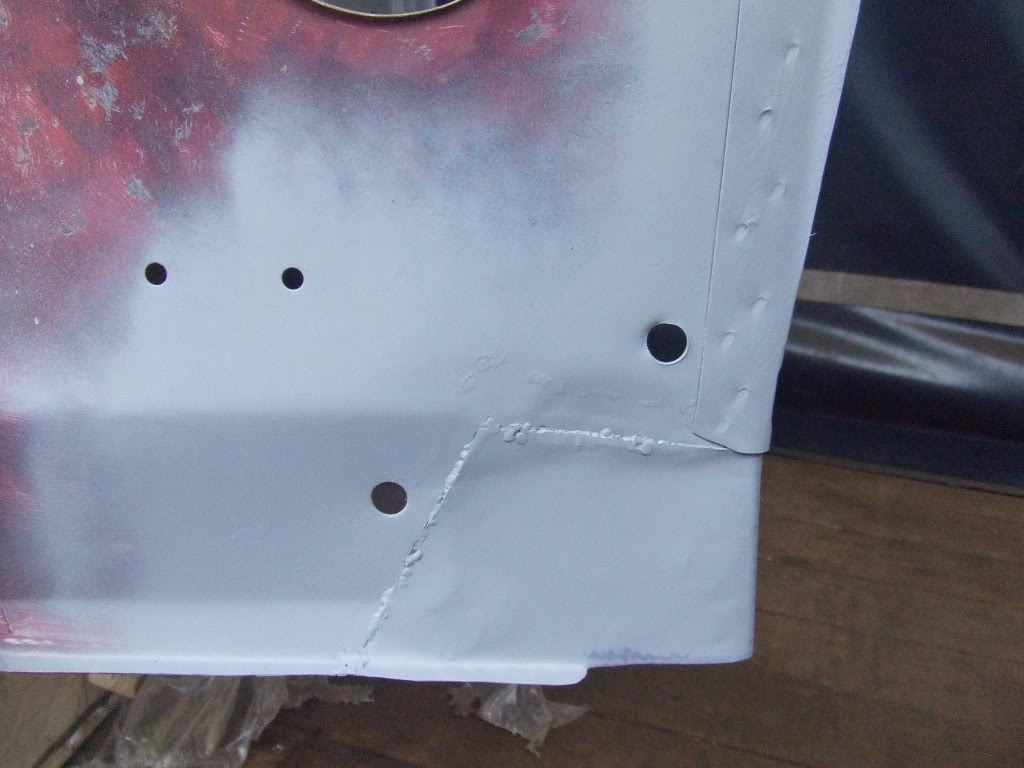
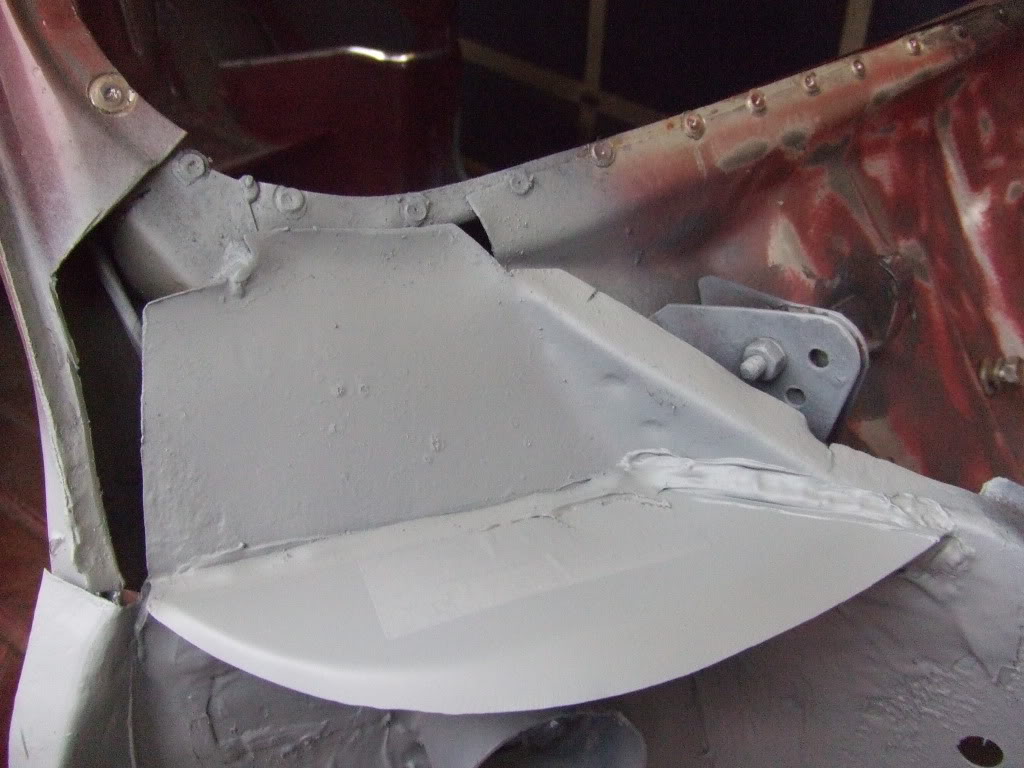
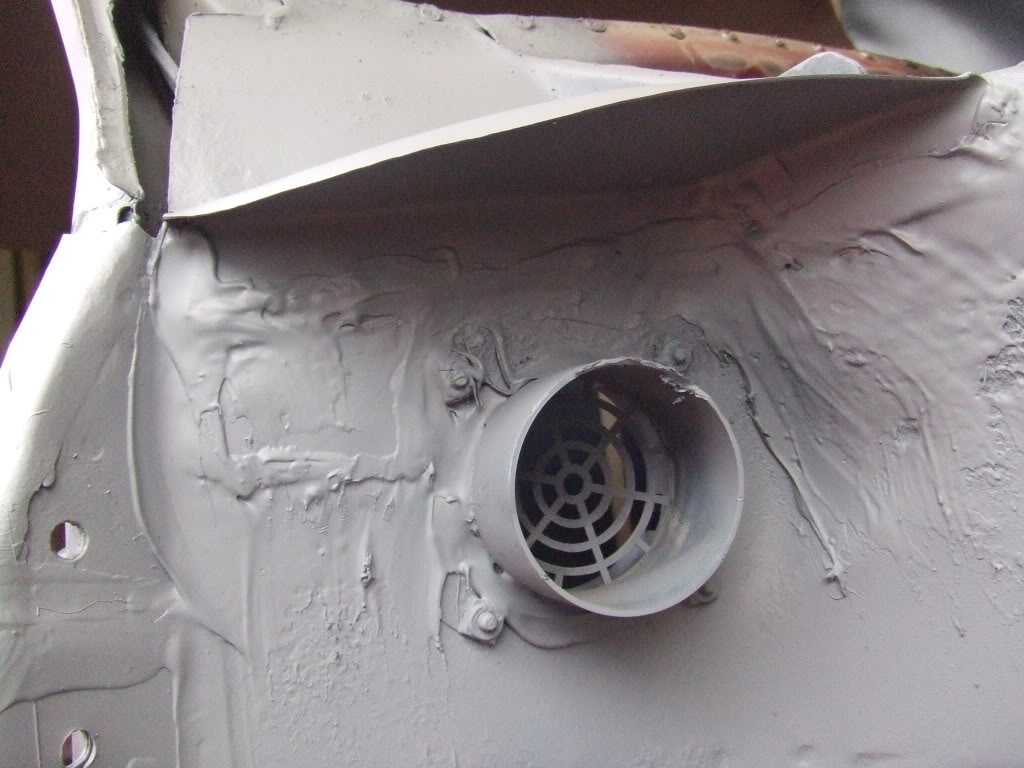
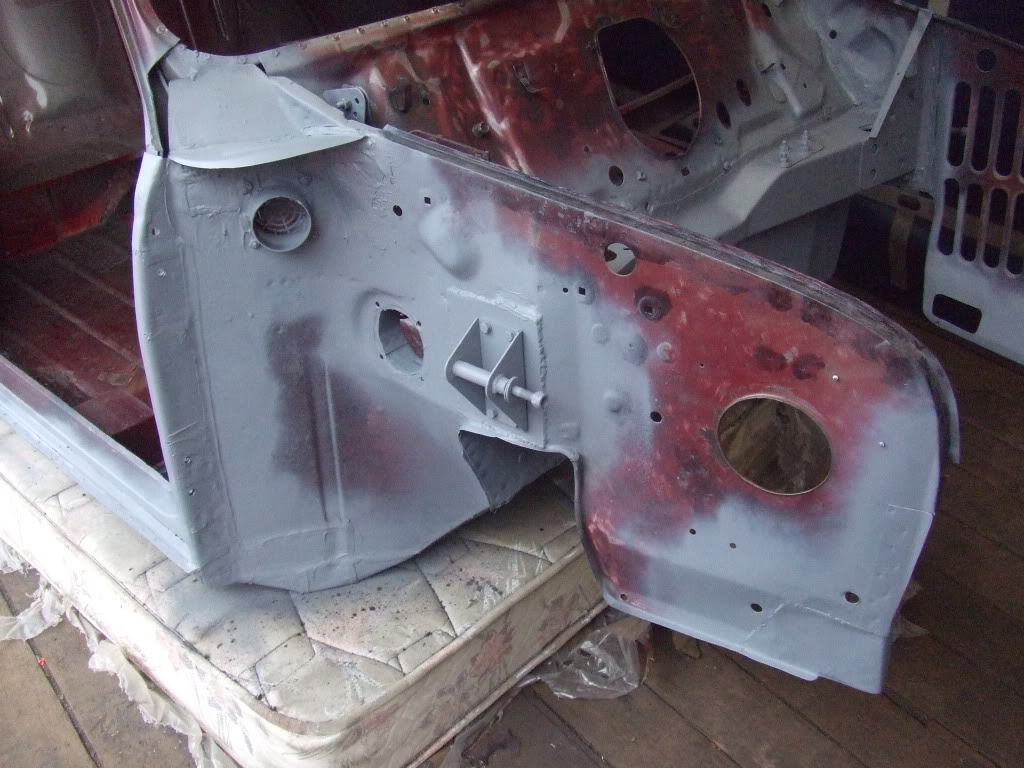
we then repaired the top of the bulk head cross member, seam sealed and then etch primed the new metal + welds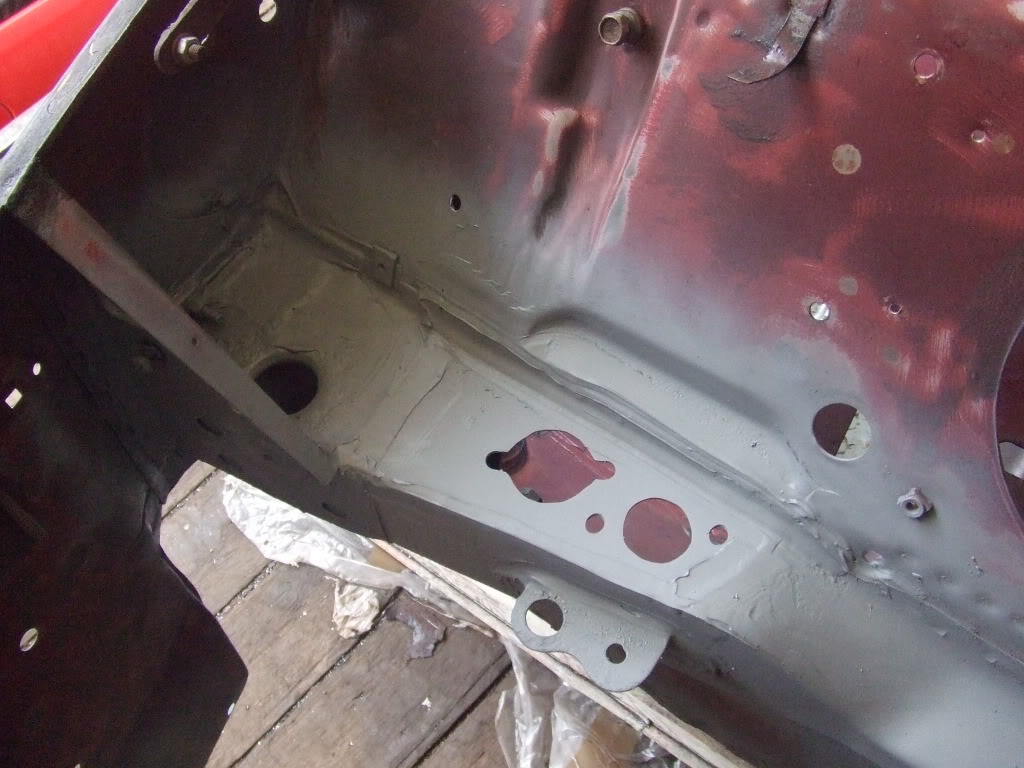
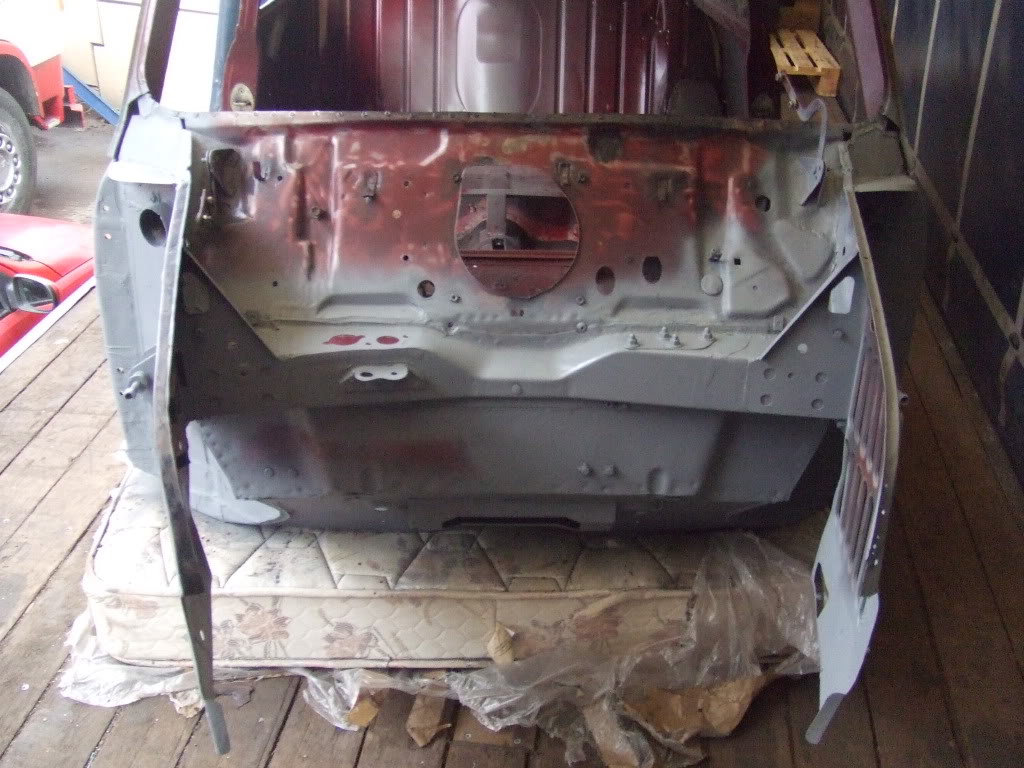
next weekend we will fit the front end panels and then check the car over for any rusty patches...primarily the roof gutters and window frames, hopefully the bubbling paint is just surface rust...we are fed up with welding for now 
during the week i may pop down to the work shop and:
- give the car a good vac out as it is covered in dust and full of flakes of old rust
- prime and stone chip the floor and boot
- stone chip and paint the underside and engine bay in brush able cherry red
well that's it for now, in 6 days we have spent a total of 60 hours on the car  ...10 hours of solid work a day, i need a break and a good lye-in

Wow this is amazing!
Posted by Diggymart on 6/13/19 @ 12:47:42 PM