You must be logged in to rate content!
11 minute(s) of a 220 minute read
2-25-2012
today we finally started the body work
this is what we are borrowing off of my dad's mate...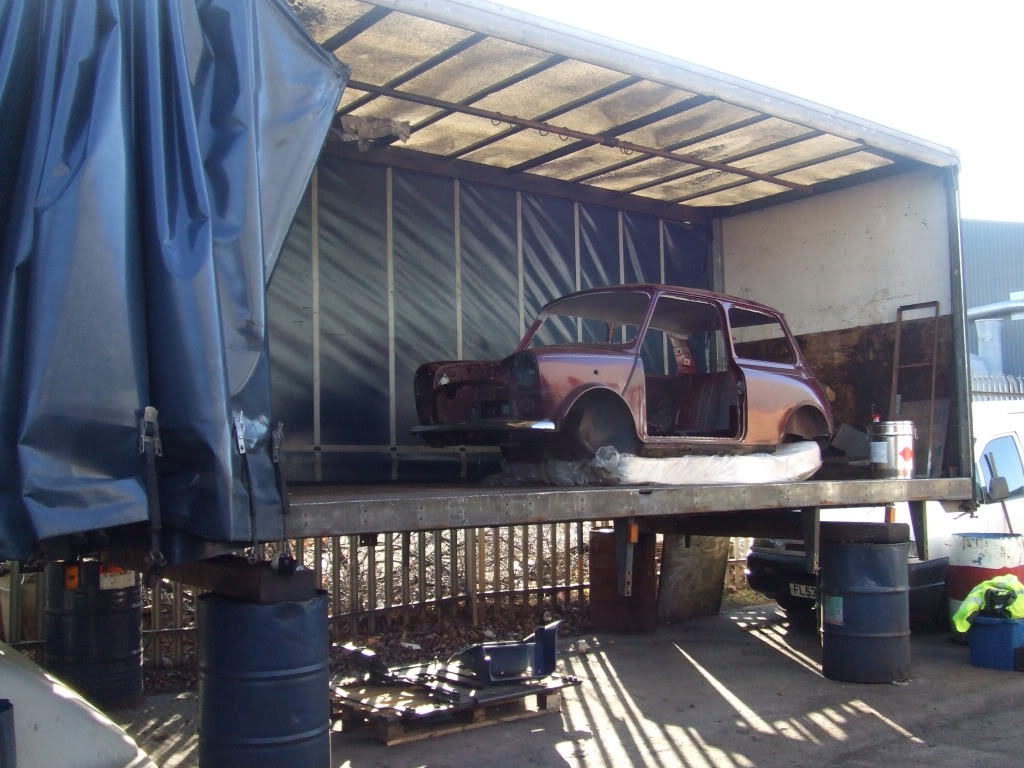
...it's the old curtain-sider body off the back of the recovery truck he lent us 
so we started by using a plasma cutter to remove the front end, now you see it...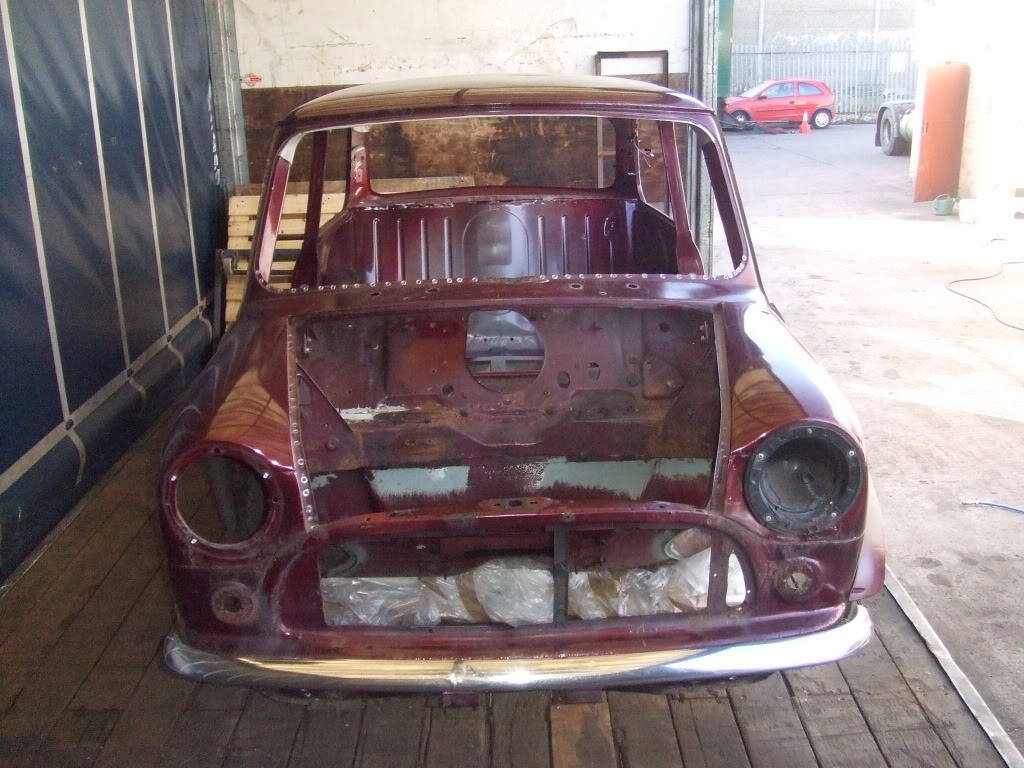
...now you don't...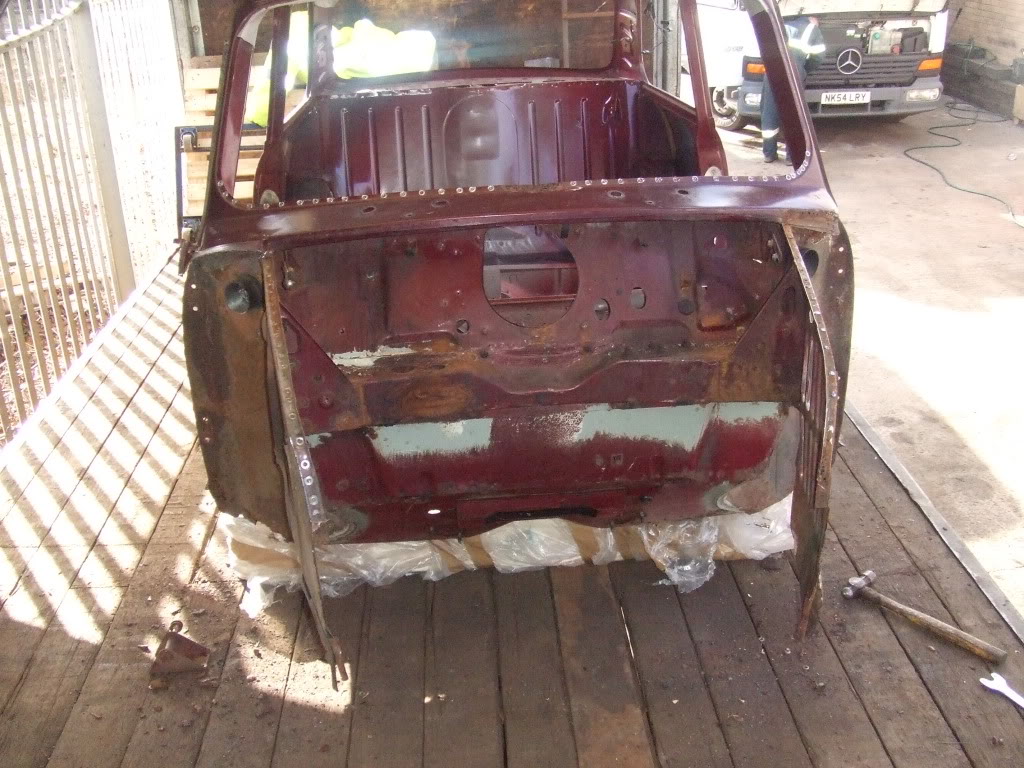
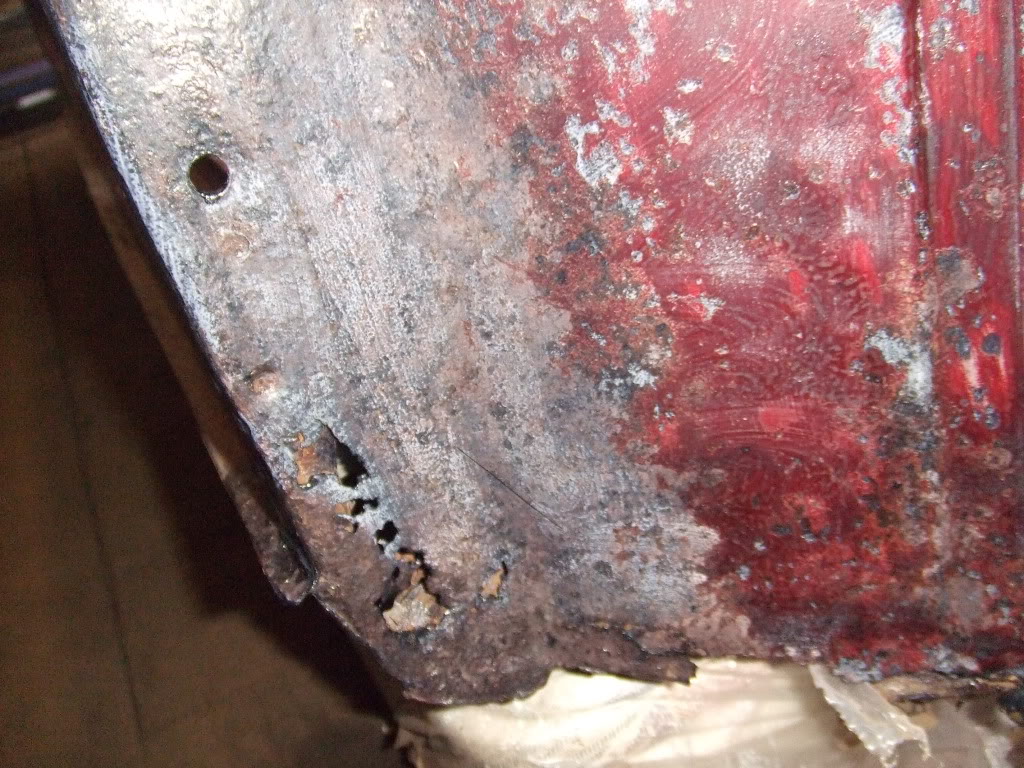
unfortunately the inner wings seem very rusty and flimsy 
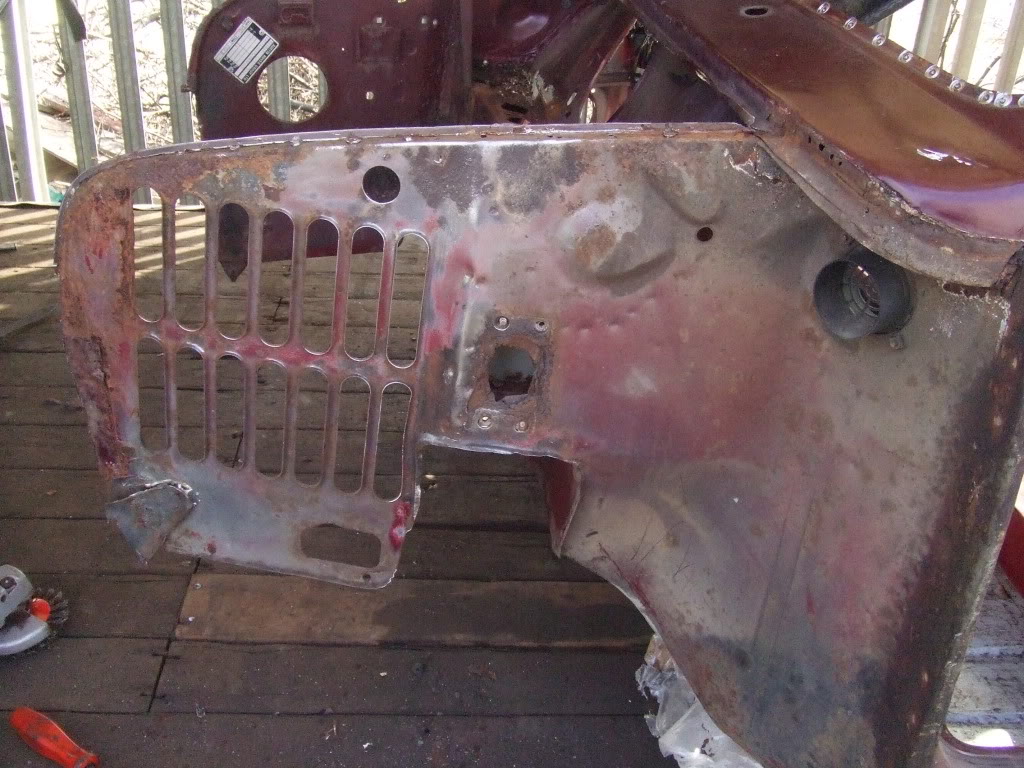
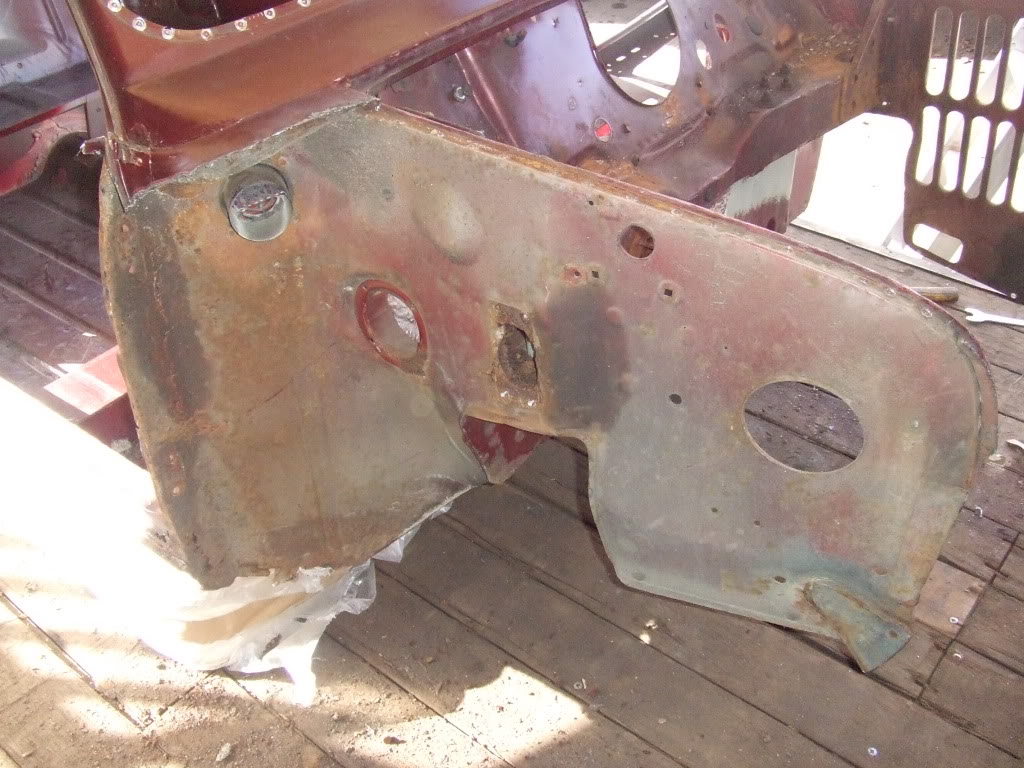
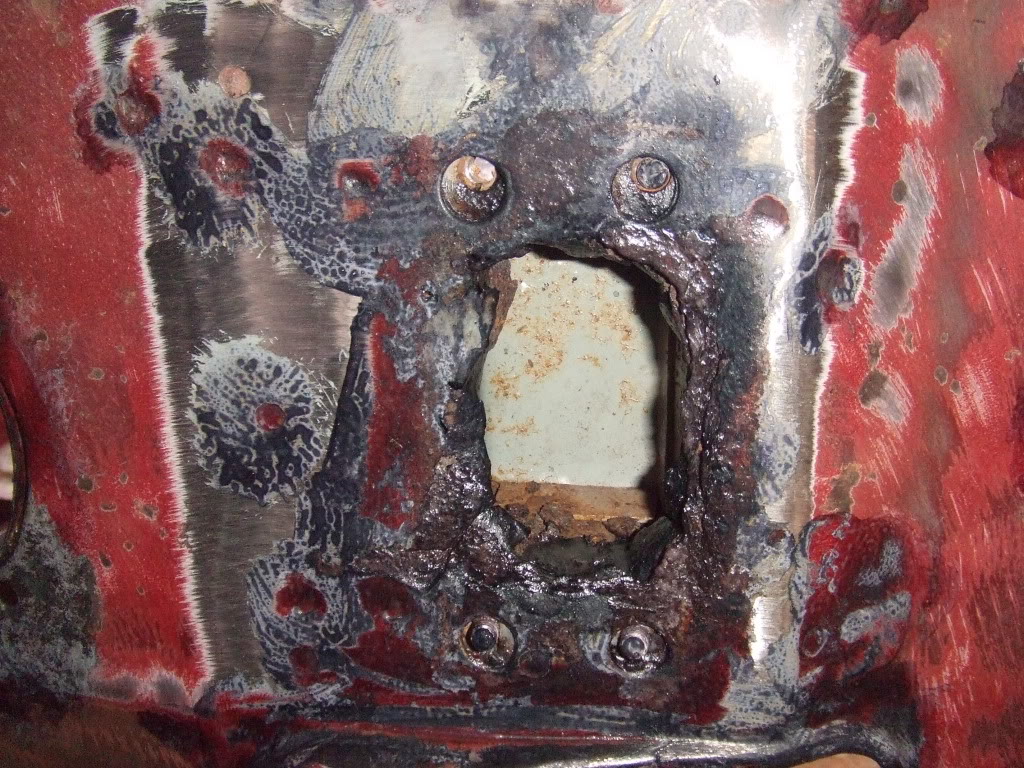
and the bad news kept coming...the metal behind the front shock mounts had de-laminated and i pushed my fingers through on both sides 
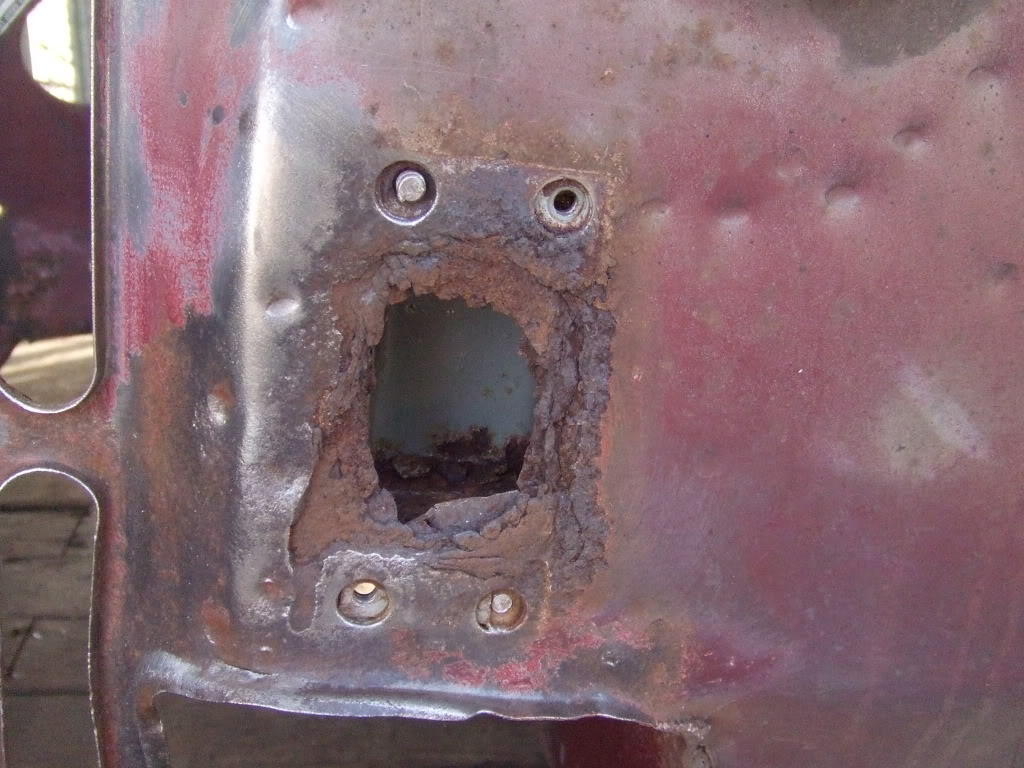
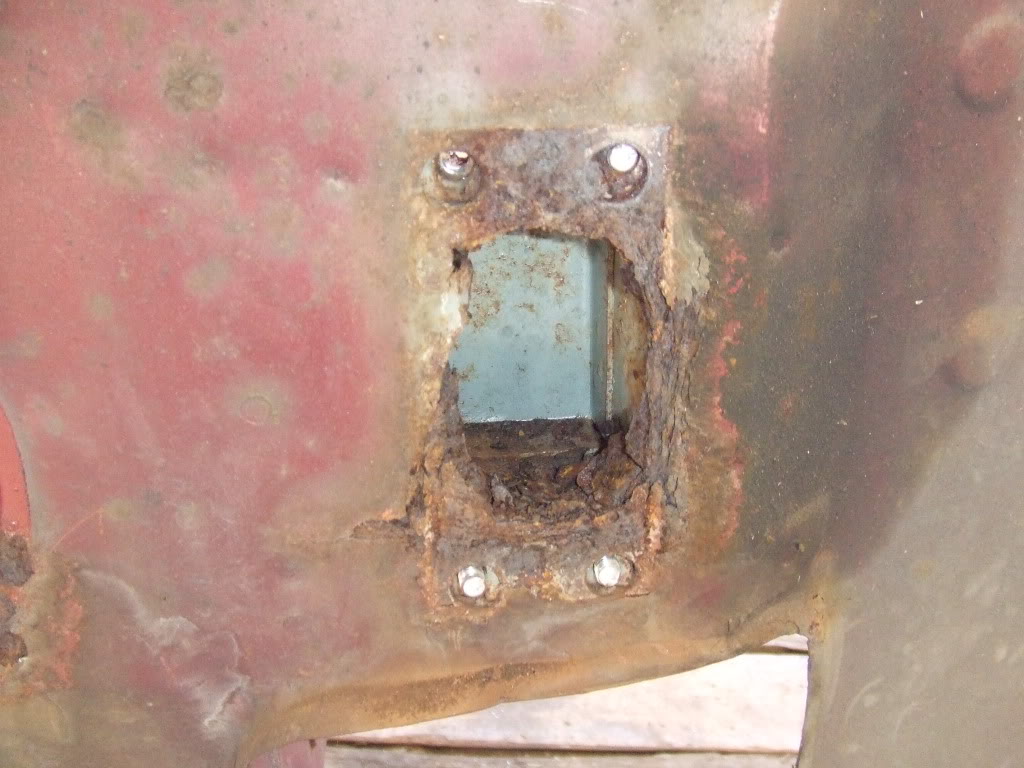
and the mounts have holes rusted through in the centre of them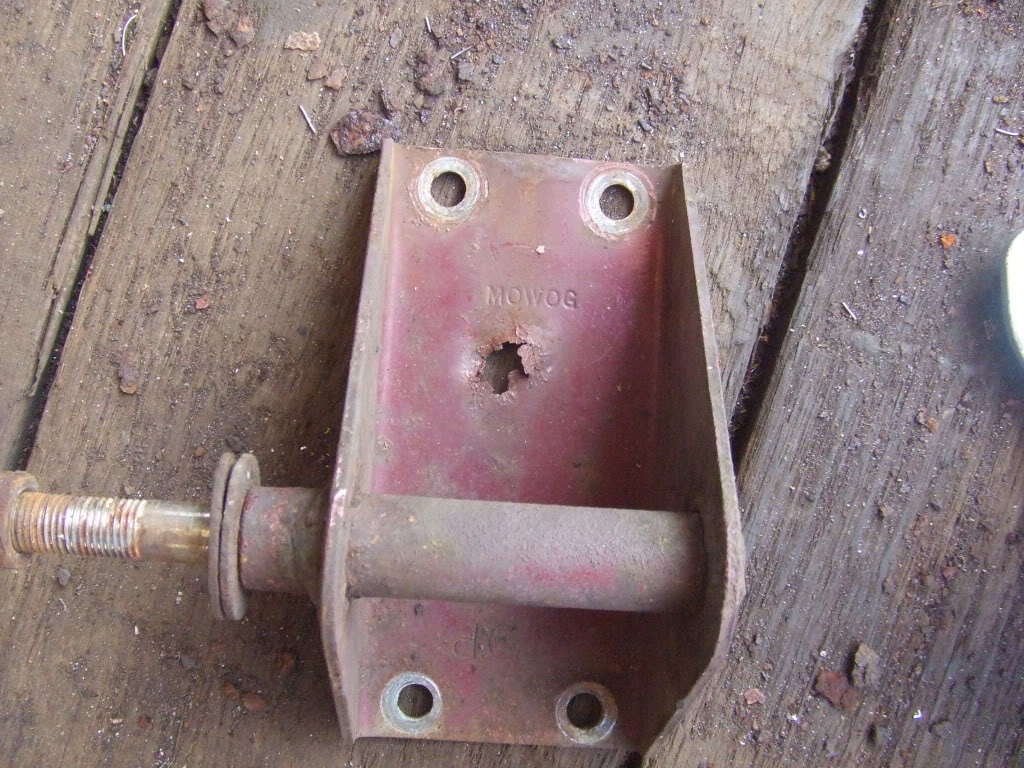
( the other mount has a larger hole in it but i forgot to take a photo )
then we cut the scuttle ends off...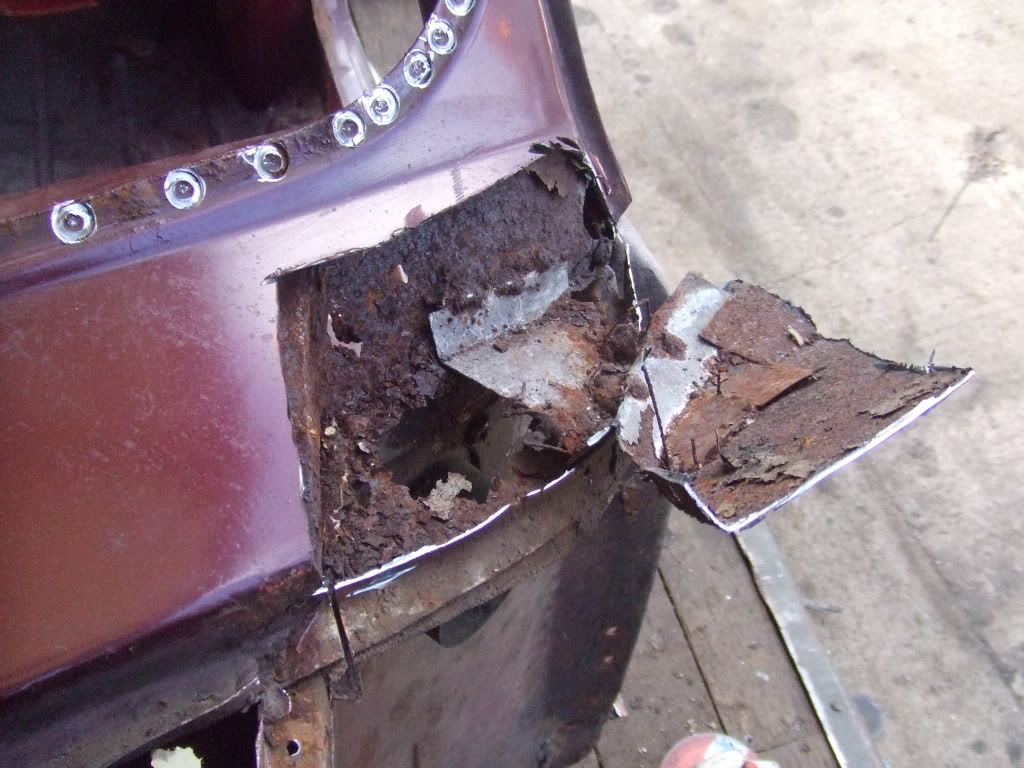
...to reveal more rust, the closure on the N/S has rusted away almost entirely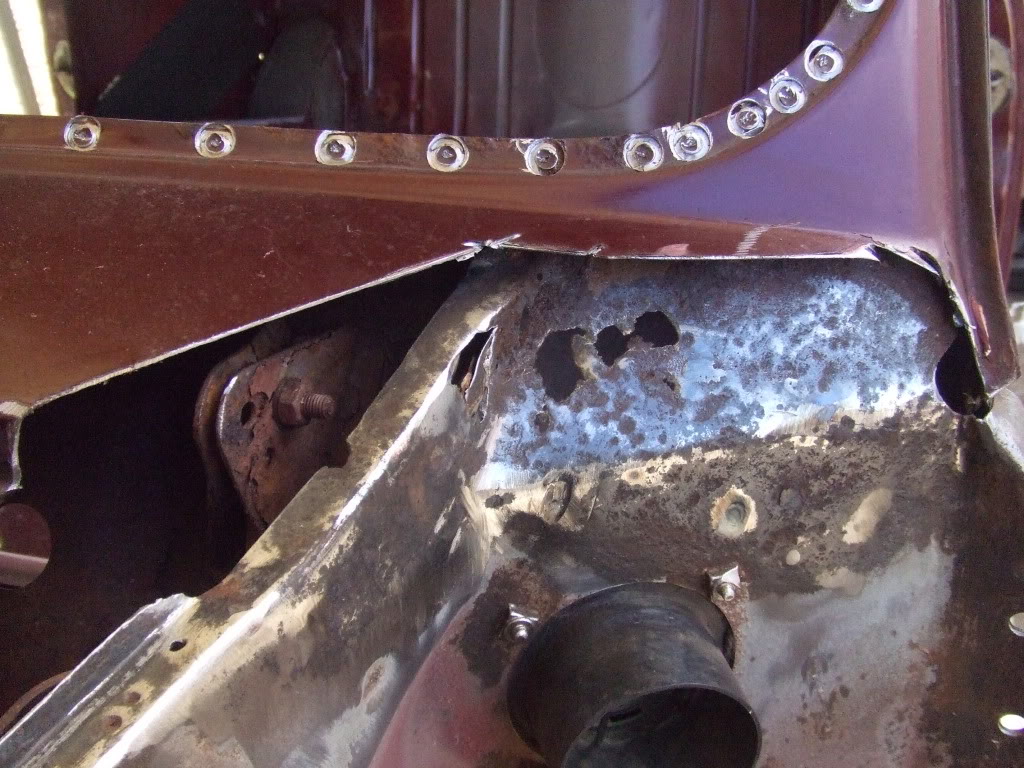
then we cleaned up the outer face of the N/S inner wing...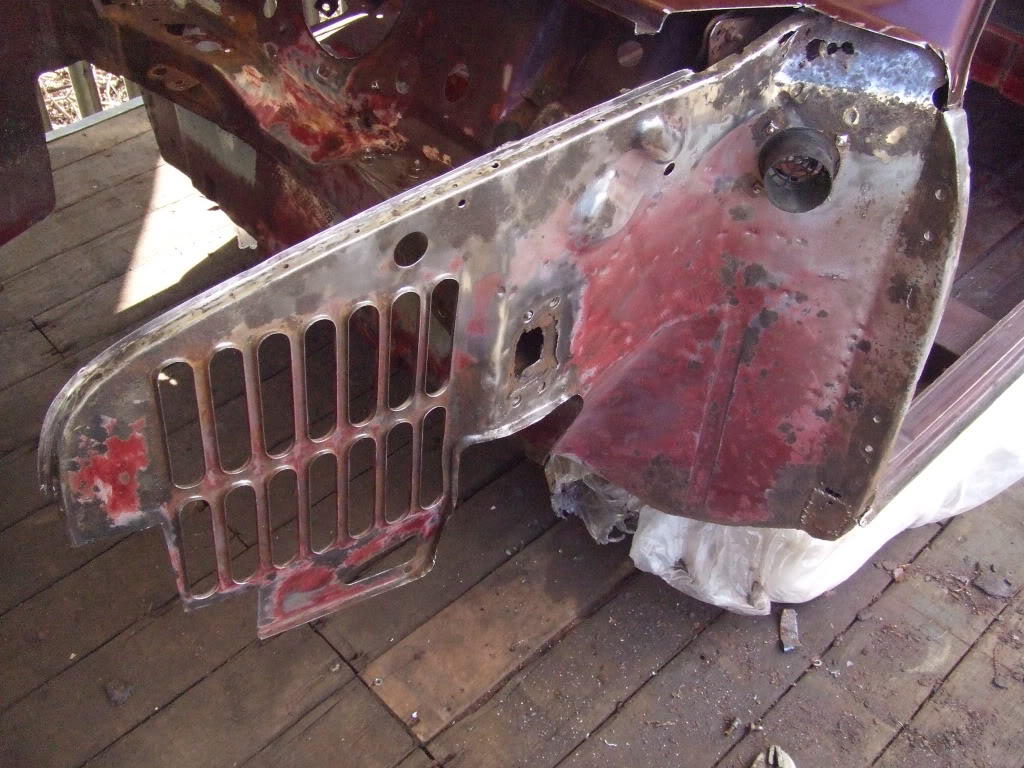
it turns out that it was mainly surface rust and that the inner wing is actually fairly solid  it only needs a few patches...
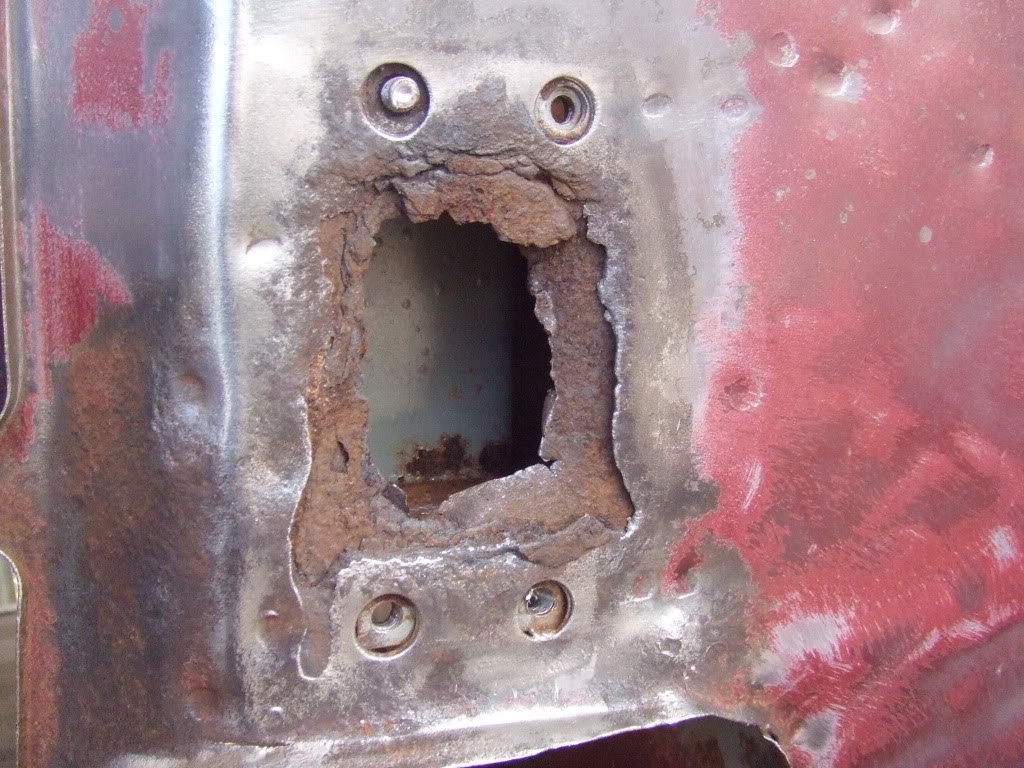
...one on the shock mount...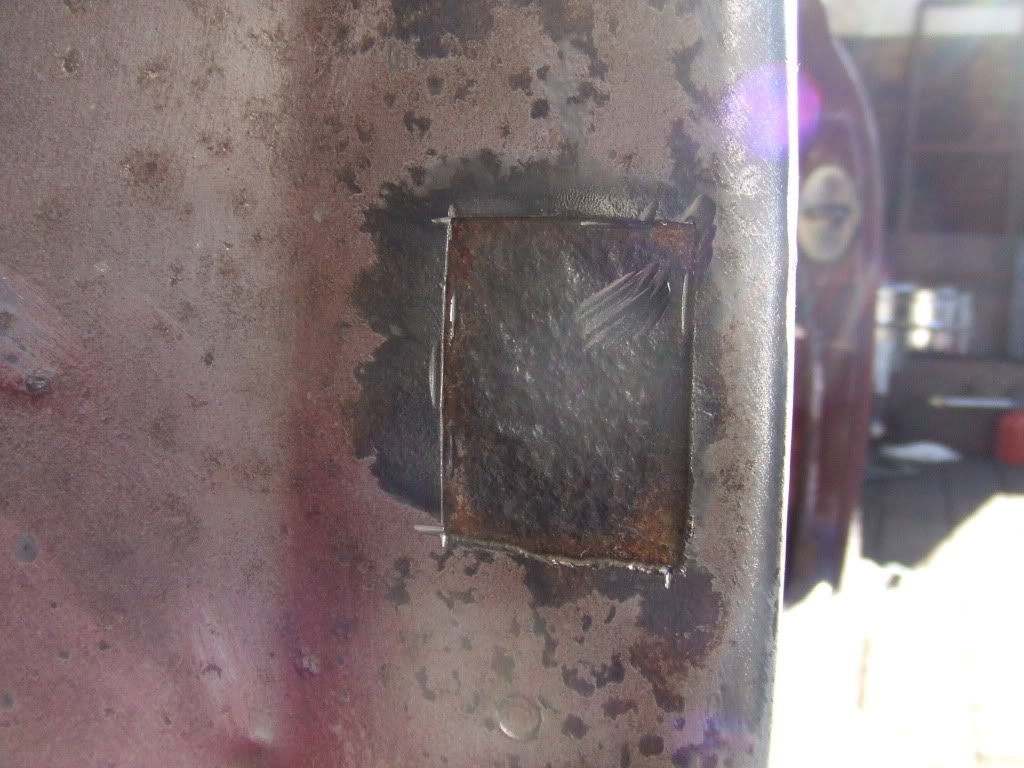
...a small patch half way down the flitch panel...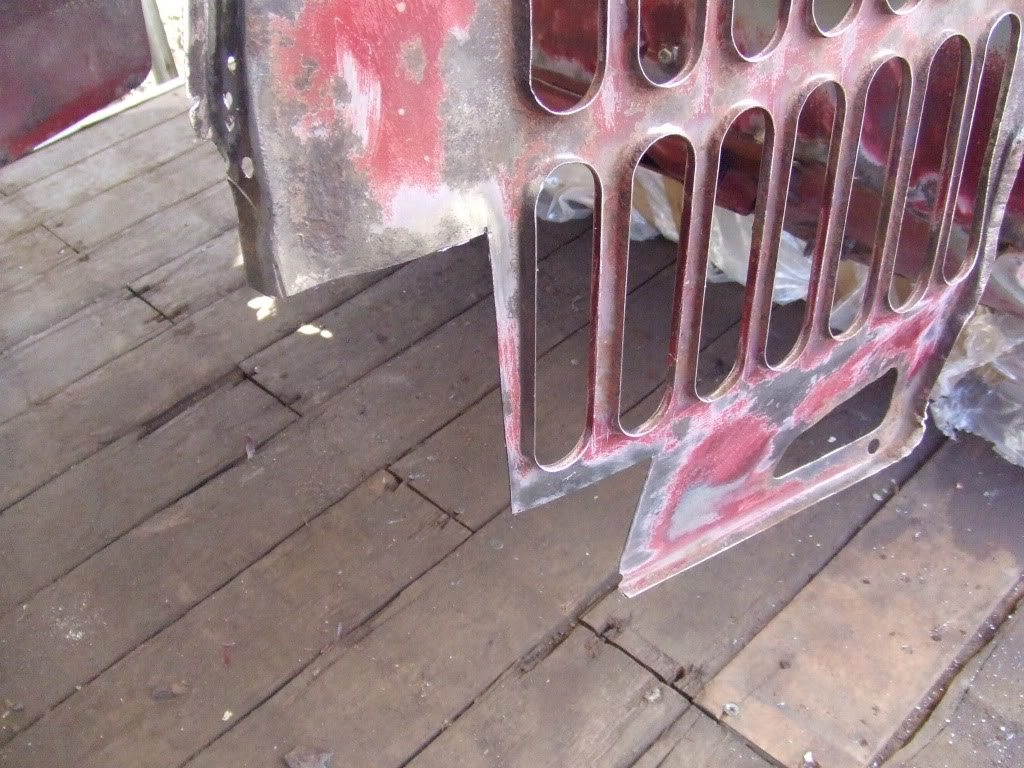
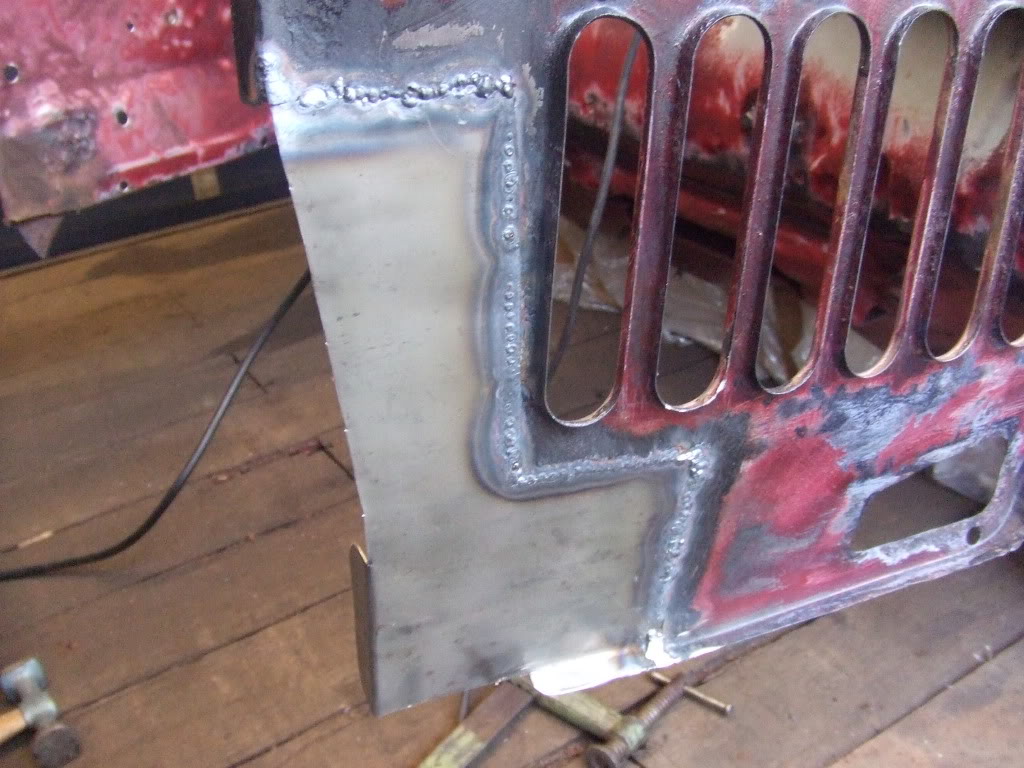
...a large repair to the front of the inner wing and one under the scuttle closure
whilst my dad removed the scuttle and cleaned up the other inner wing and bulk head, i set about to make the repair patches...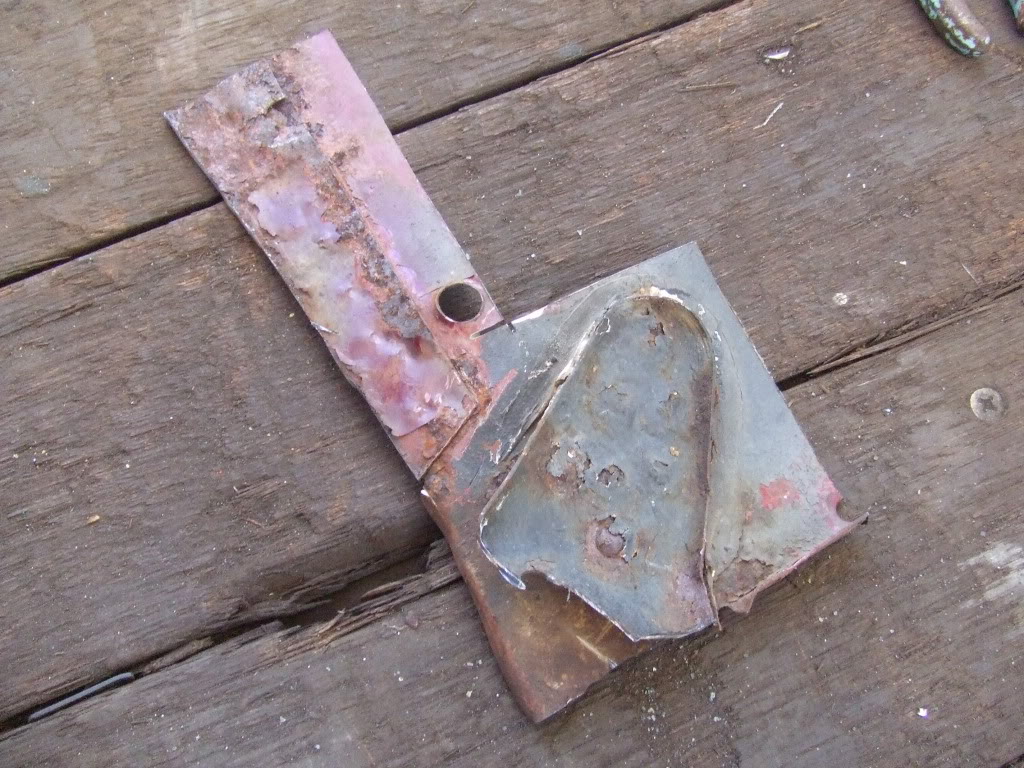
this is the first time i have ever attempted any fabrication so fingers crossed...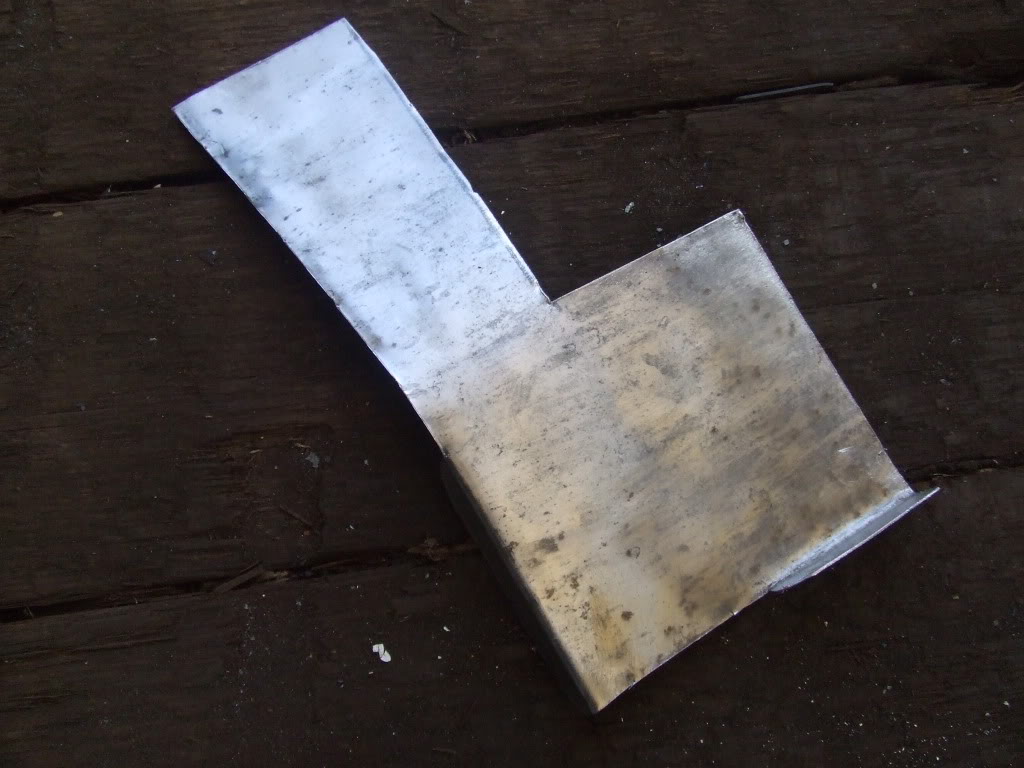
this is a repair patch for the front of the inner wing where it joins the front panel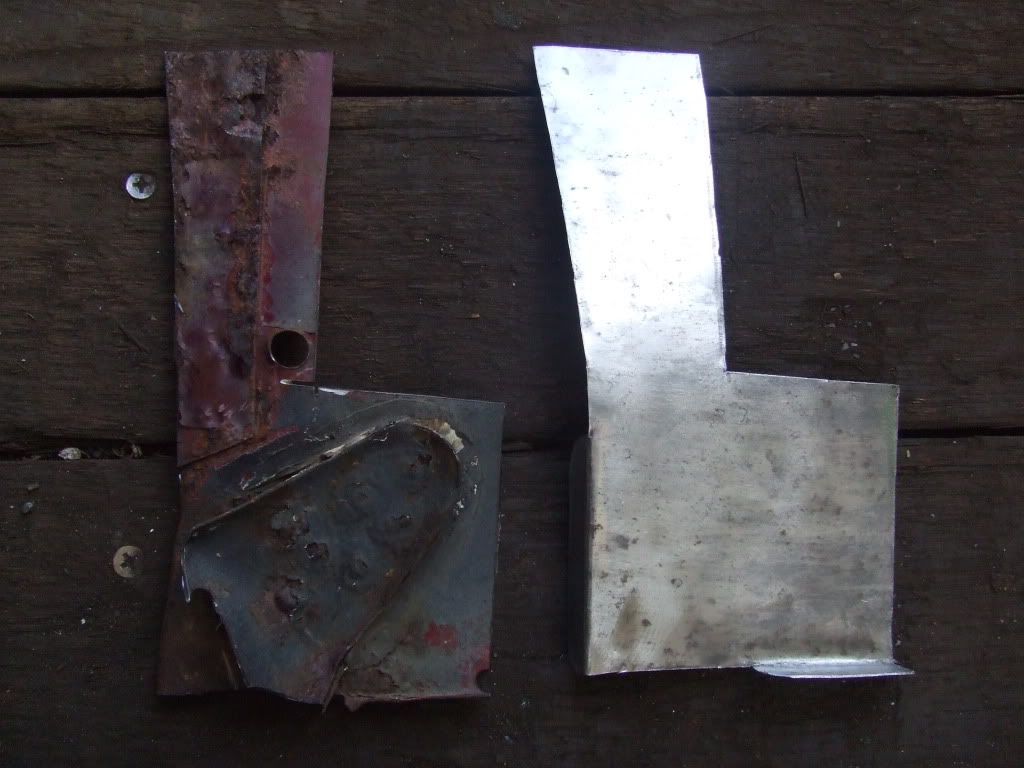
before and after...i think i made a fairly good job 
small patch for the flitch panel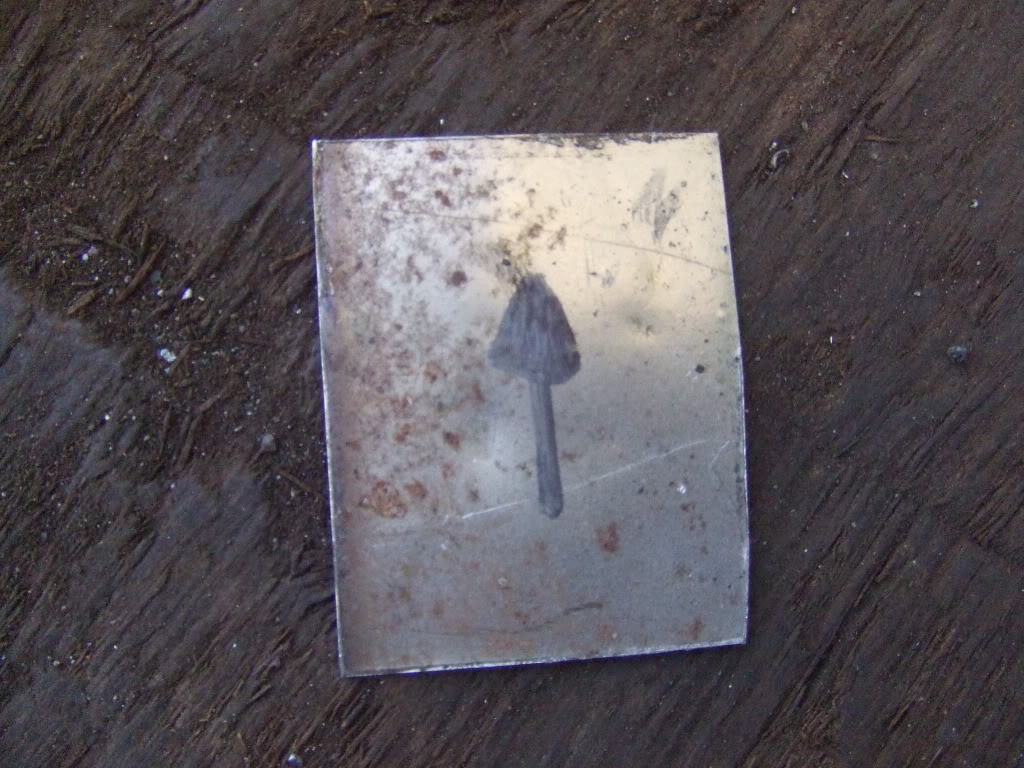
new backs for the shock mount brackets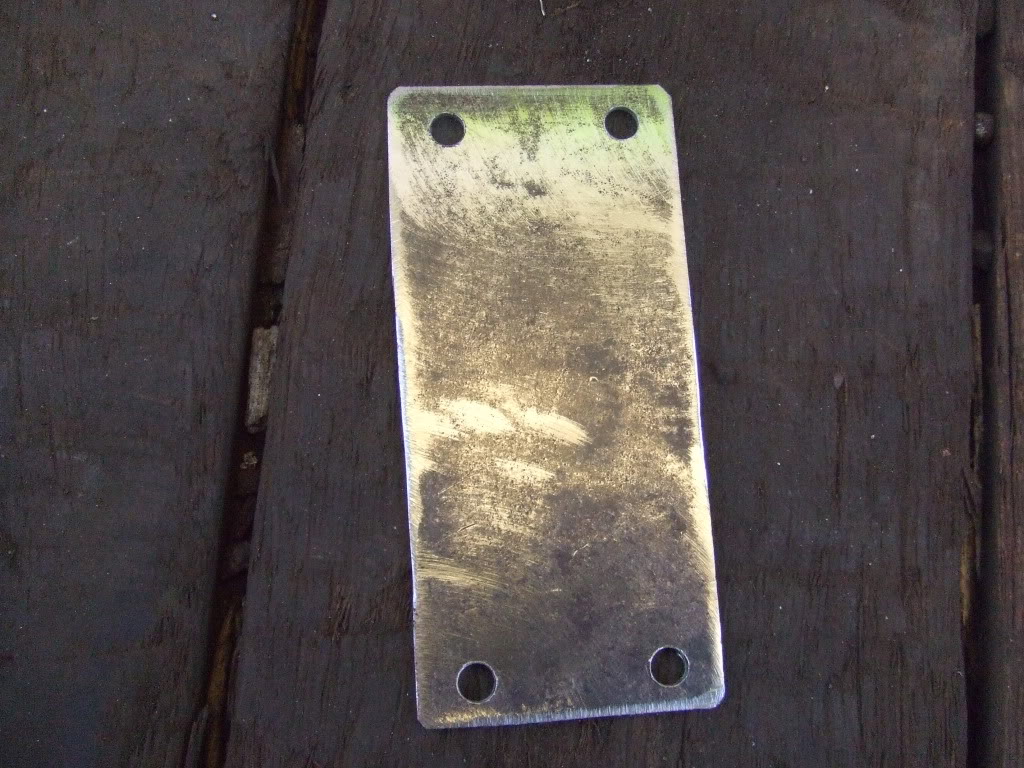
plates to repair the shock mounts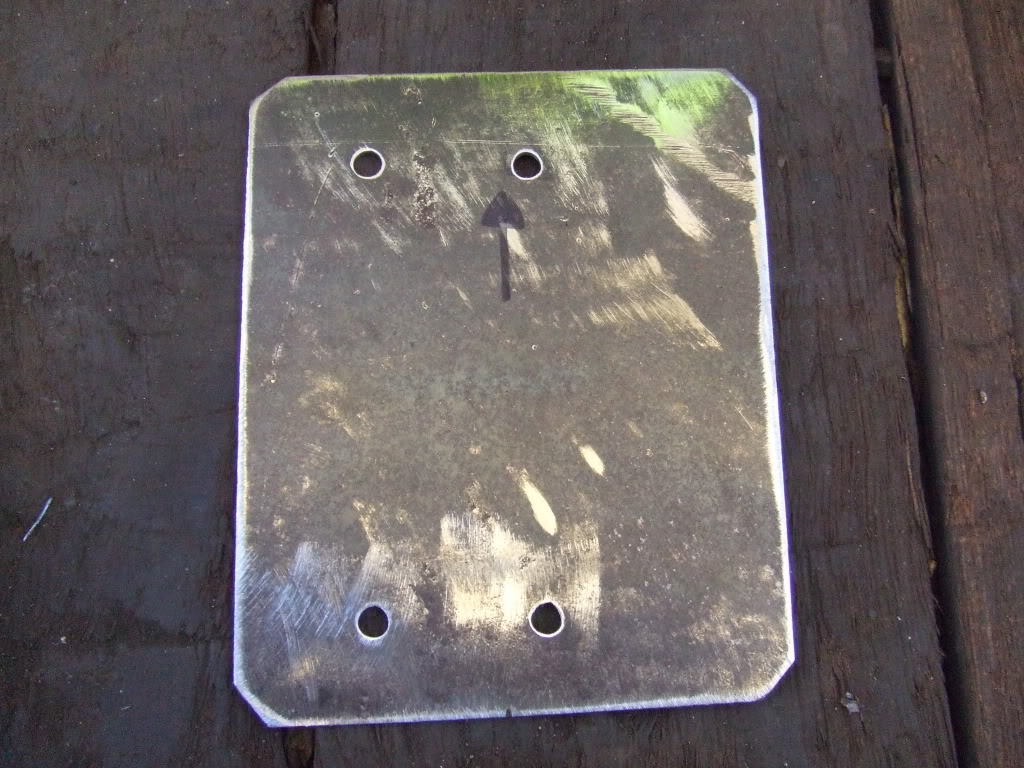
plate to repair the top of the flitch panel/inner wing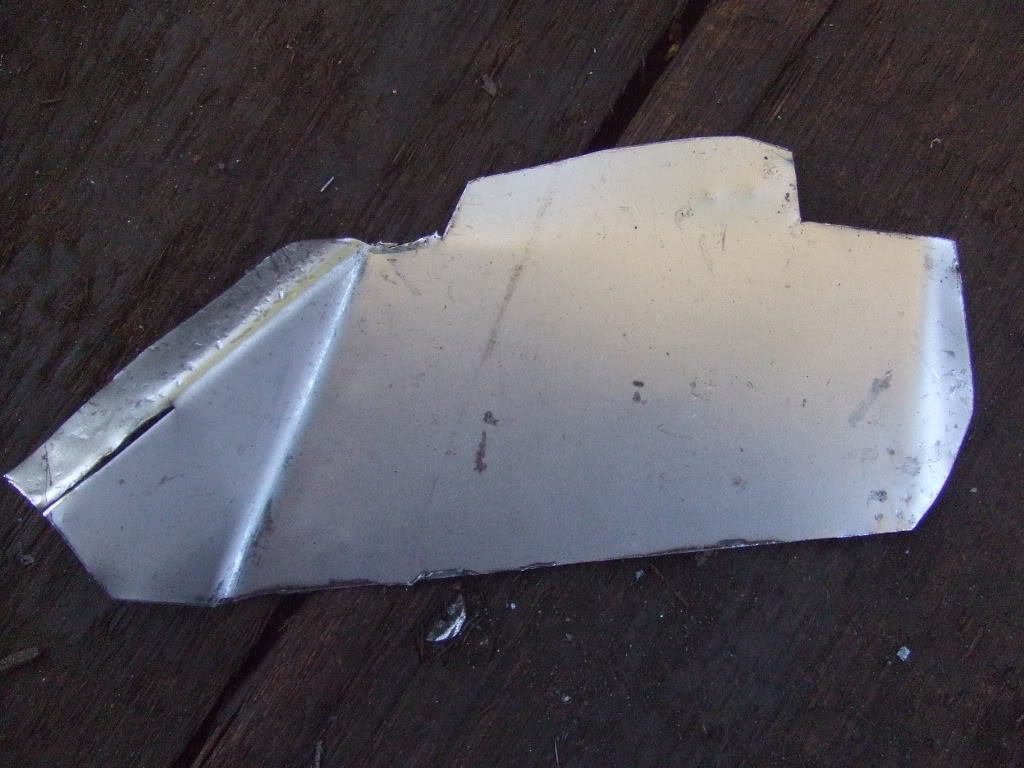
the other inner wing and flitch panel was slightly worse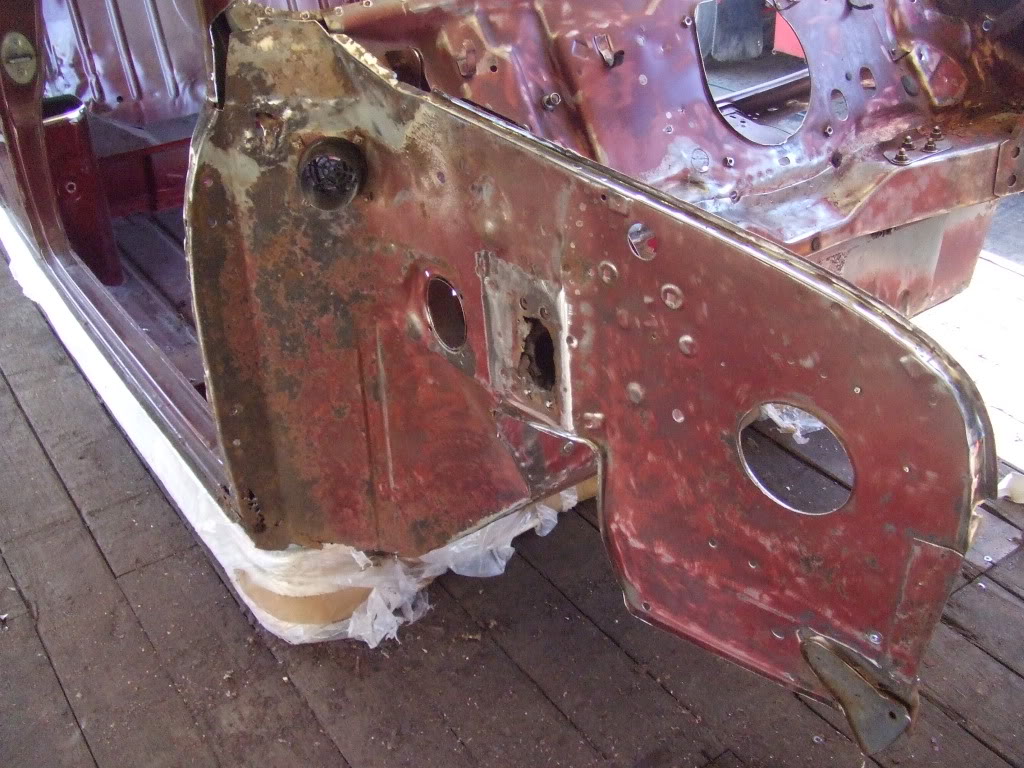
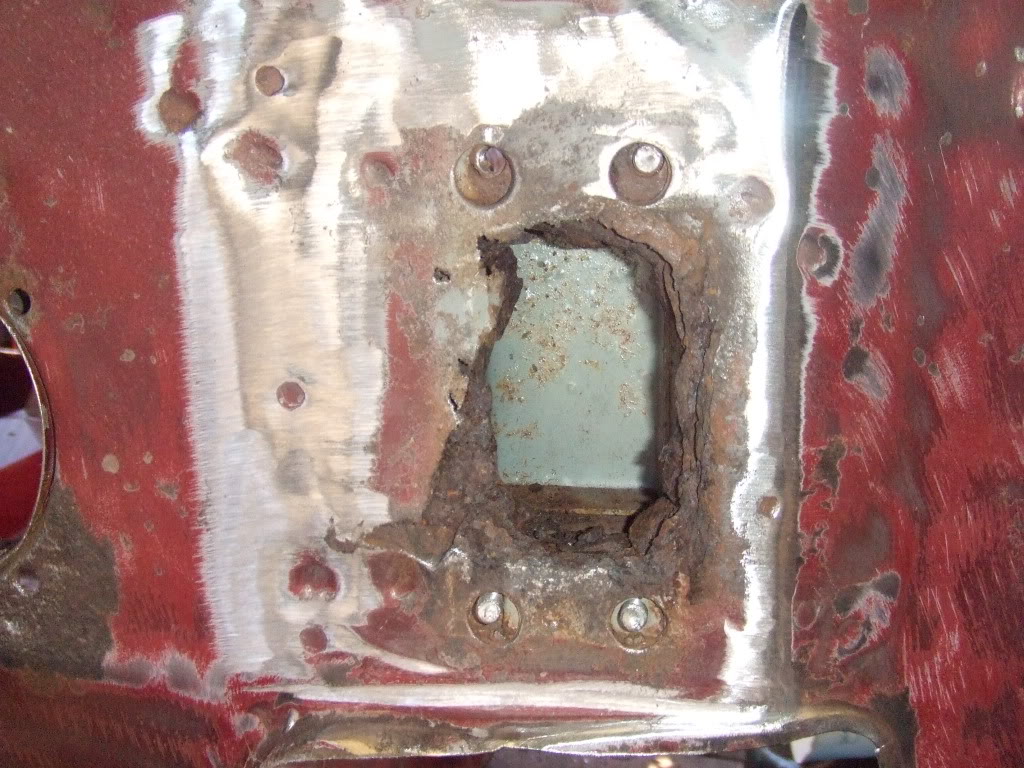
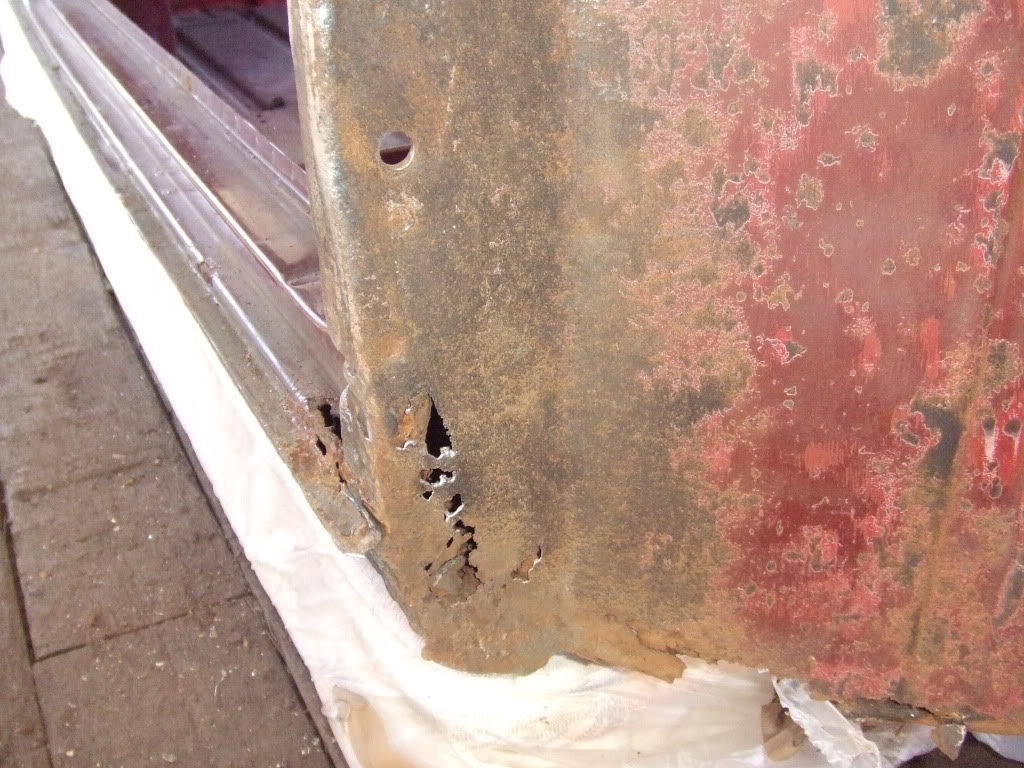
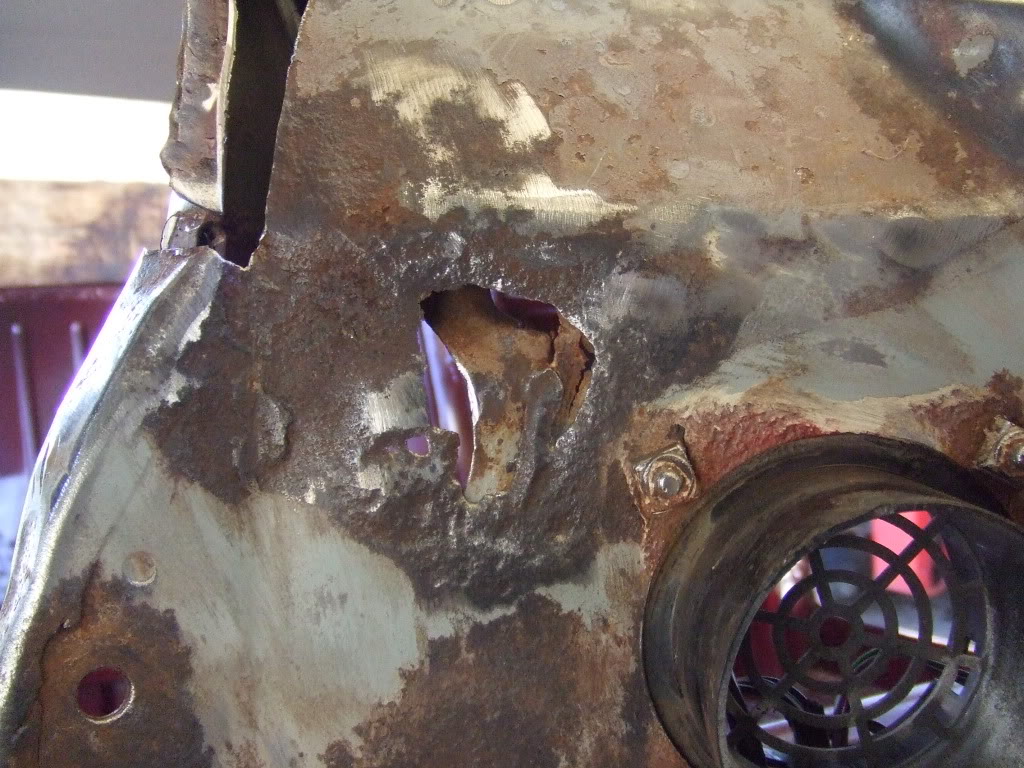
after we removed the scuttle and cleaned up the bulk head with the wire brush wheel, the rust in the centre of the wind screen doesn't look too bad and the upper dash rail is solid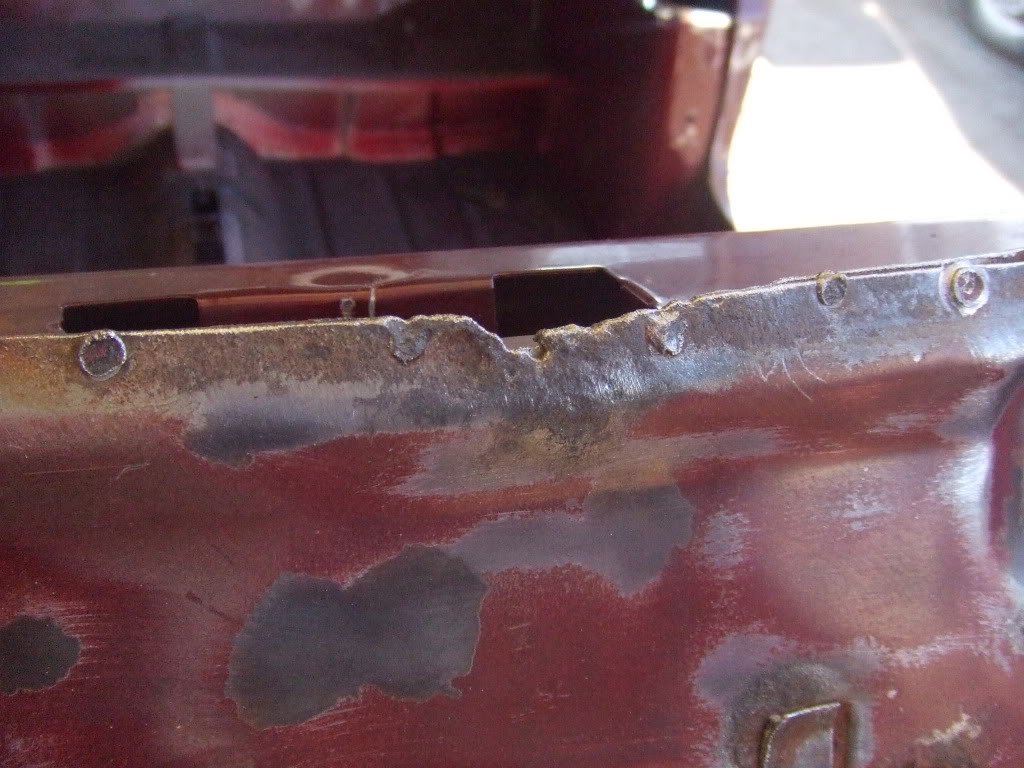
the bulk head needs a repair patch on the pedal box cross member but apart from that it is solid too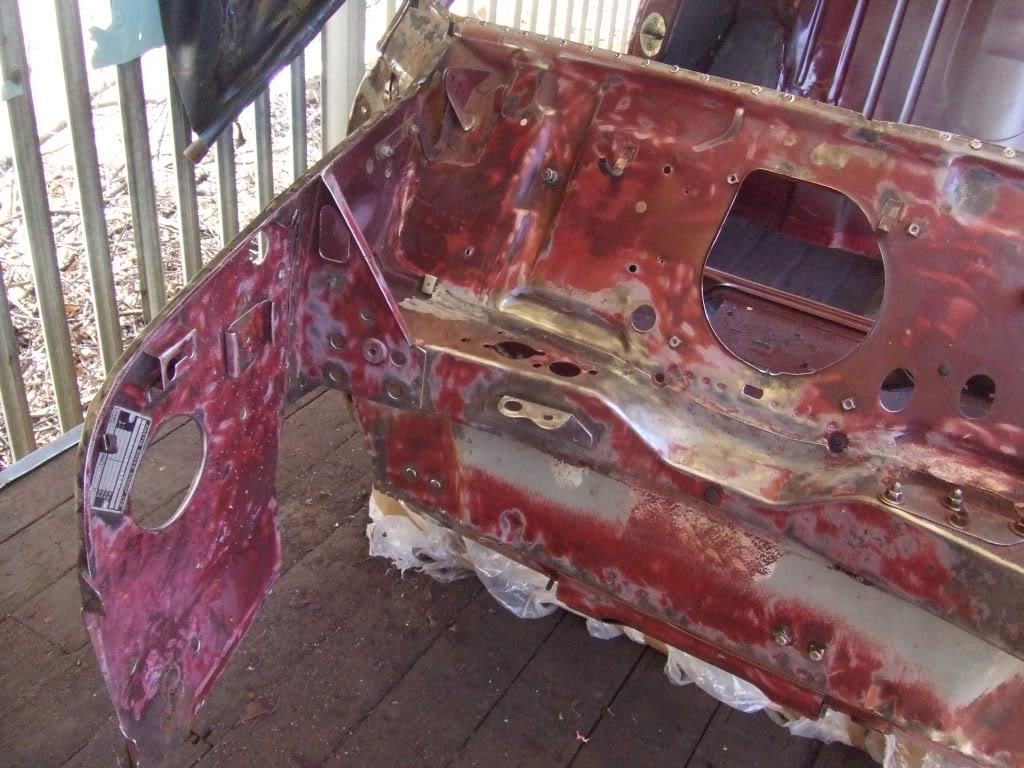
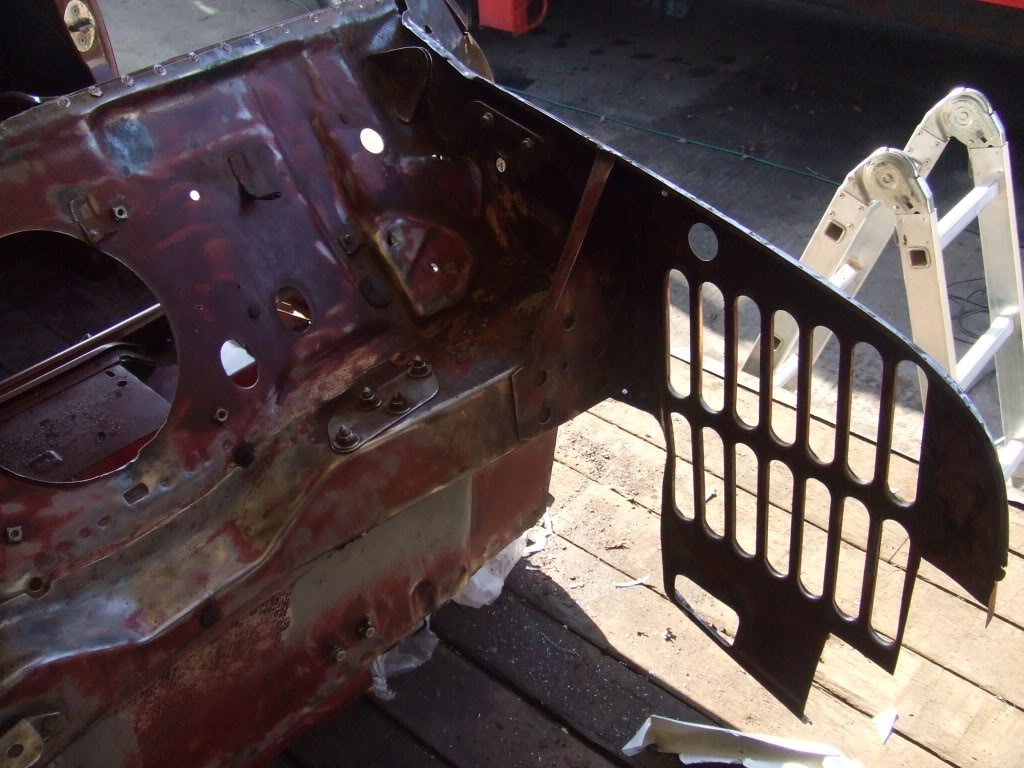
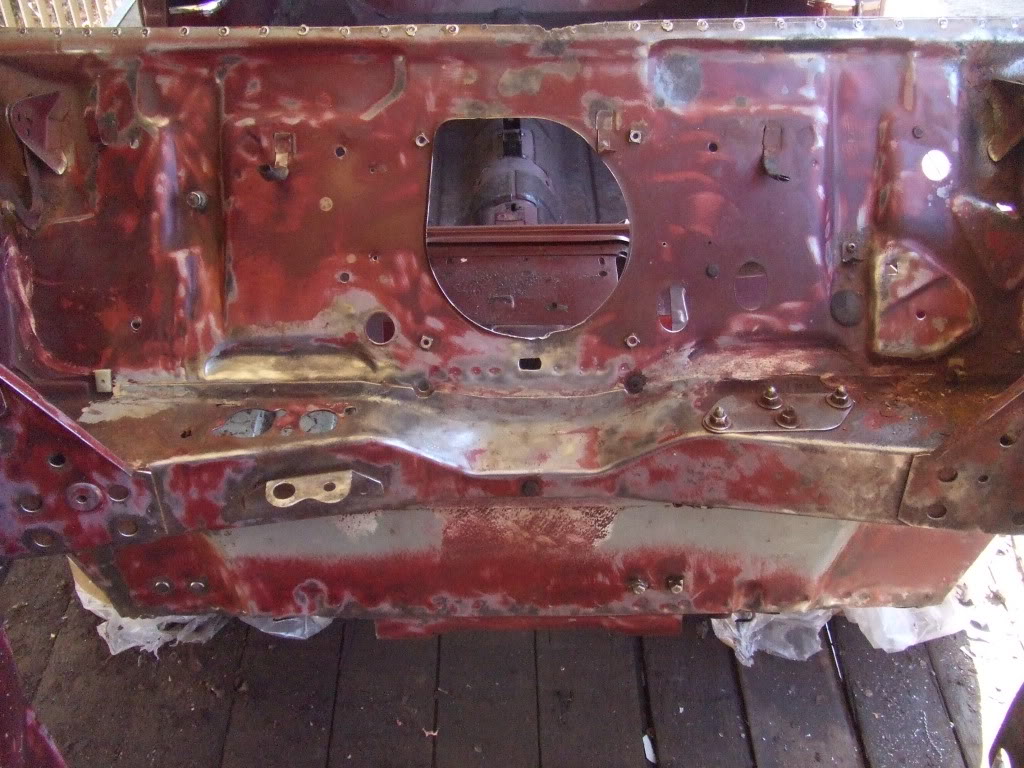
then we applied some form of rust reverter all over the front bulk head (inside and out), inner wings, flitch panels, bonnet hinges, upper dash rail, and door steps which we are going to leave it until Monday
and this was the pile of rusty old metal we were left with...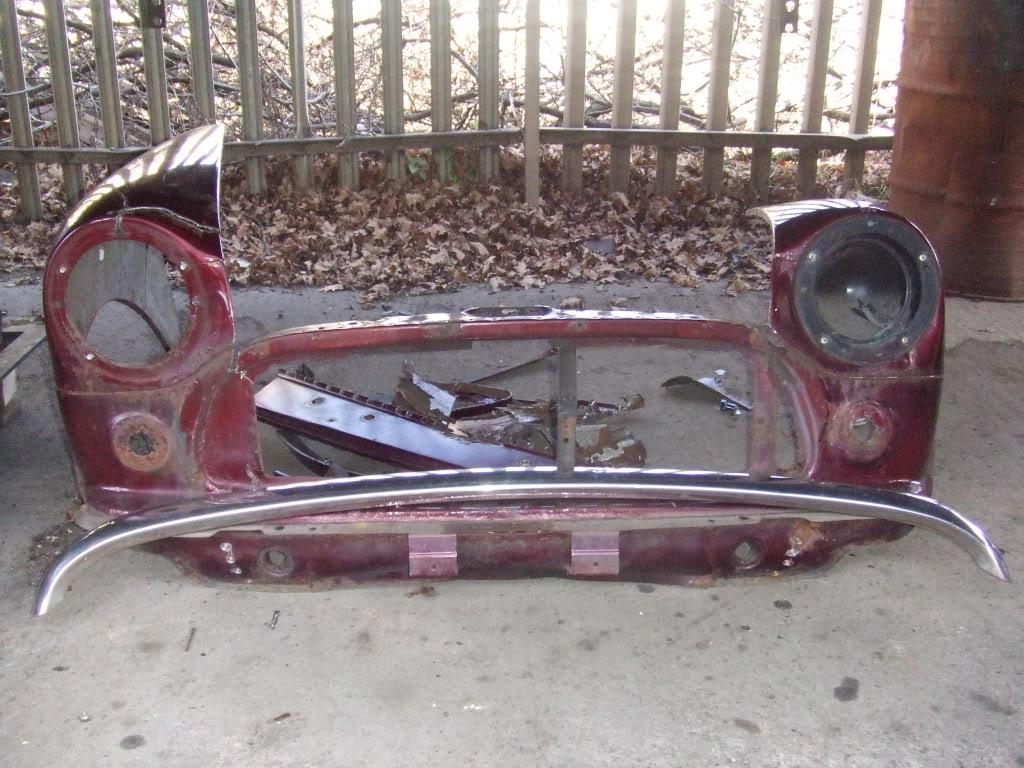
that's all the progress for today, i don't think we are going to be able to do any work on the shell tomorrow so there will be more progress monday
Cheers
2-27-2012
we pulled back the curtains today after leaving cliff over Sunday and the rust reverter has completely stopped the rust 
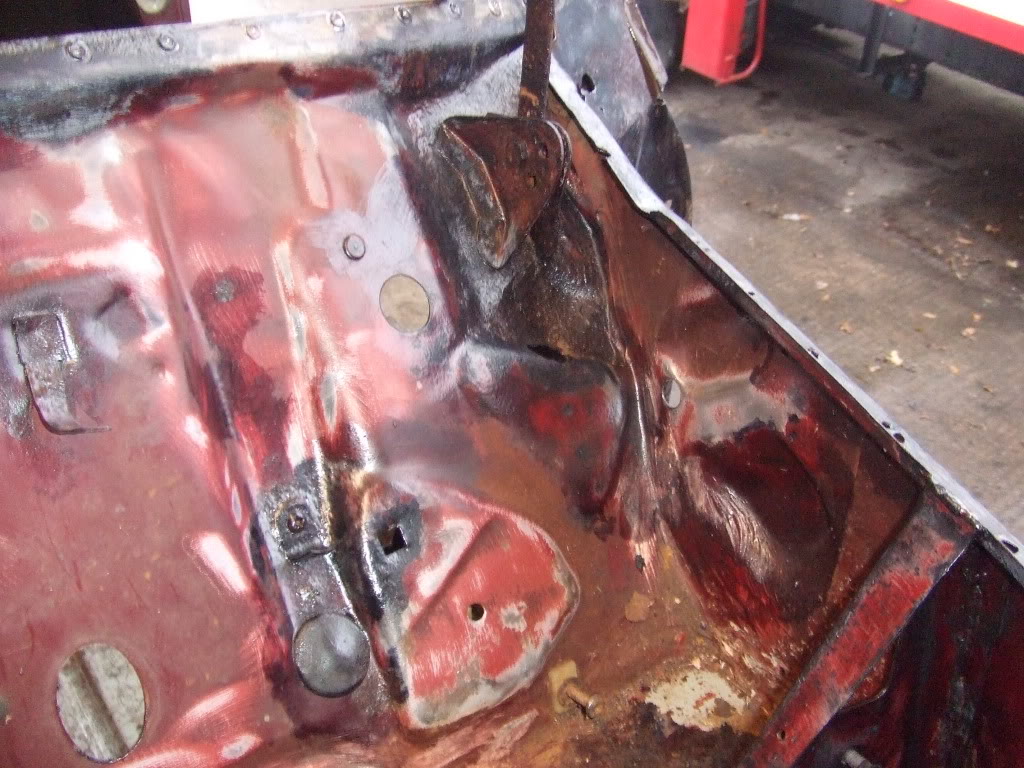
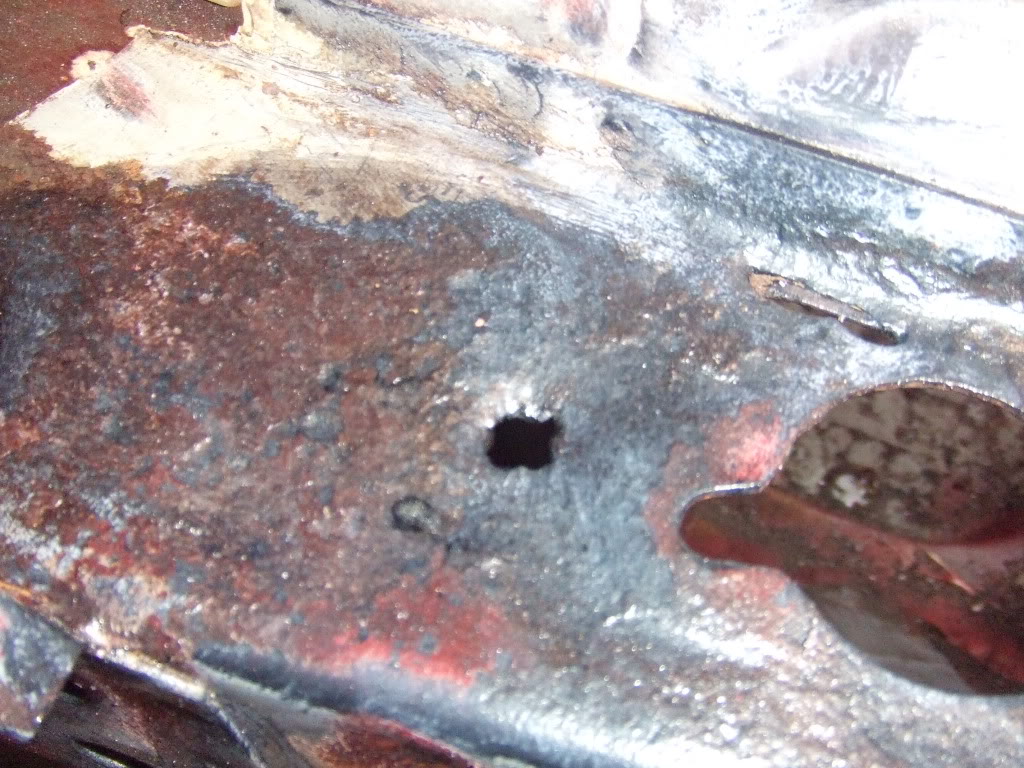
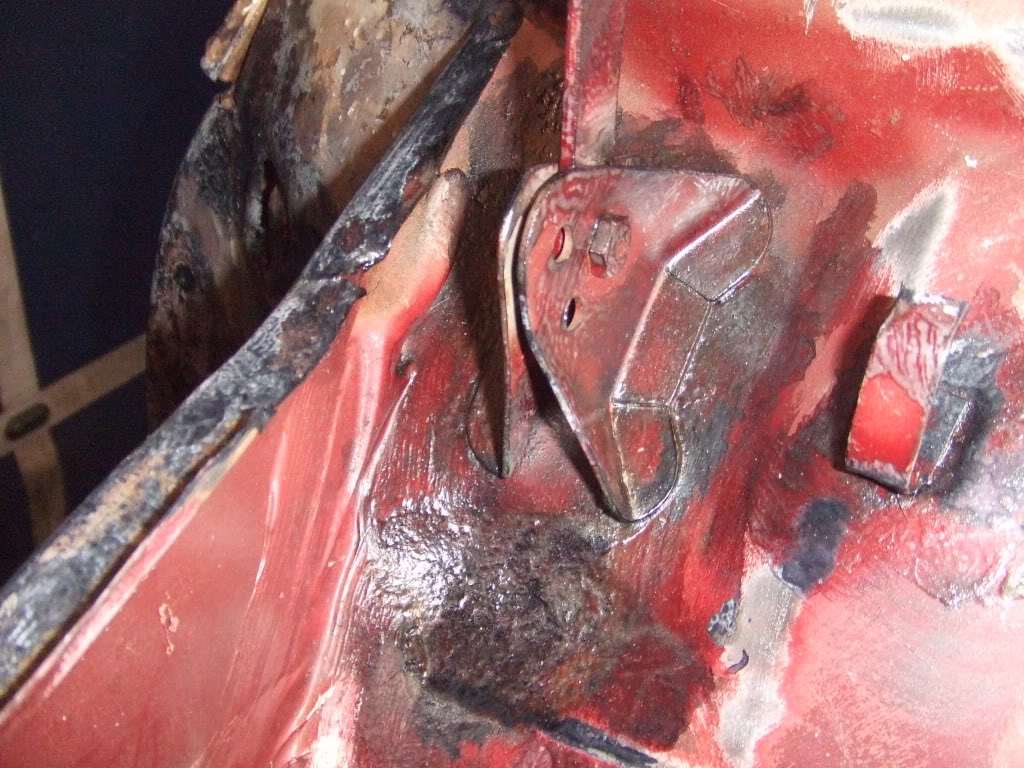
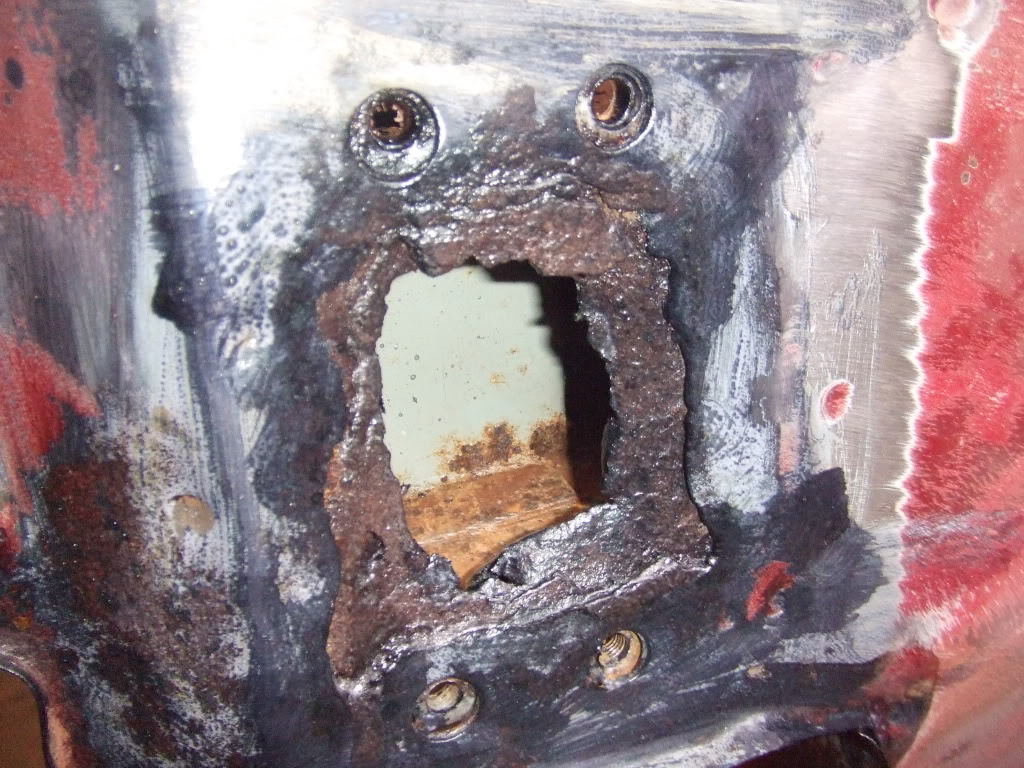
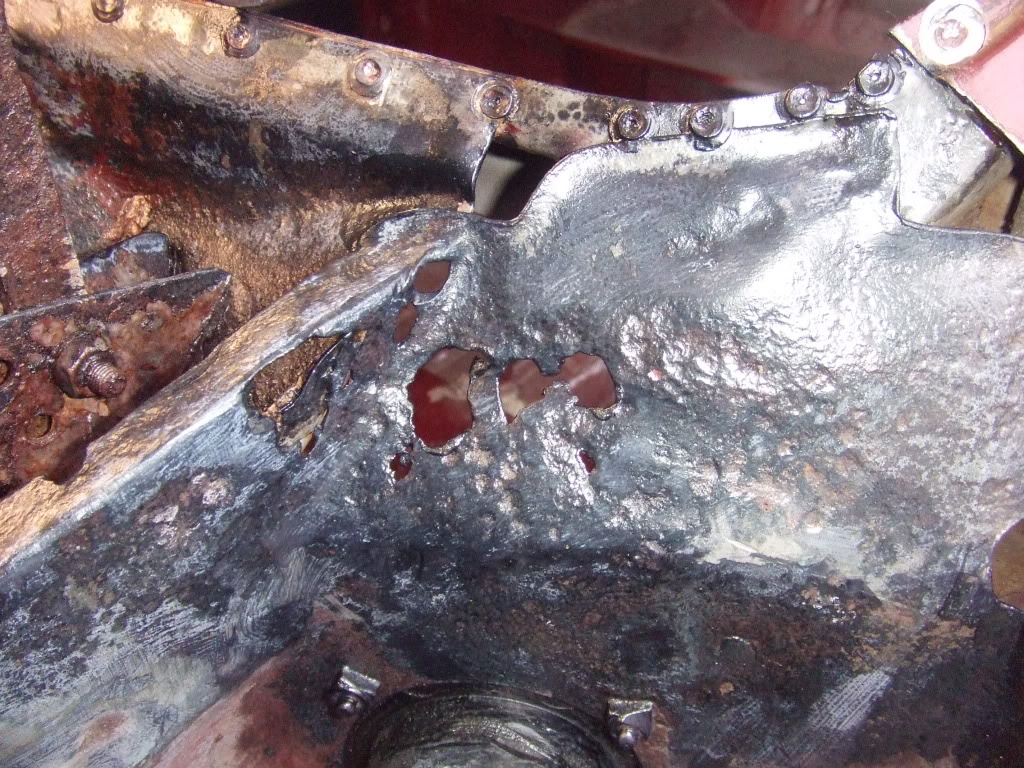
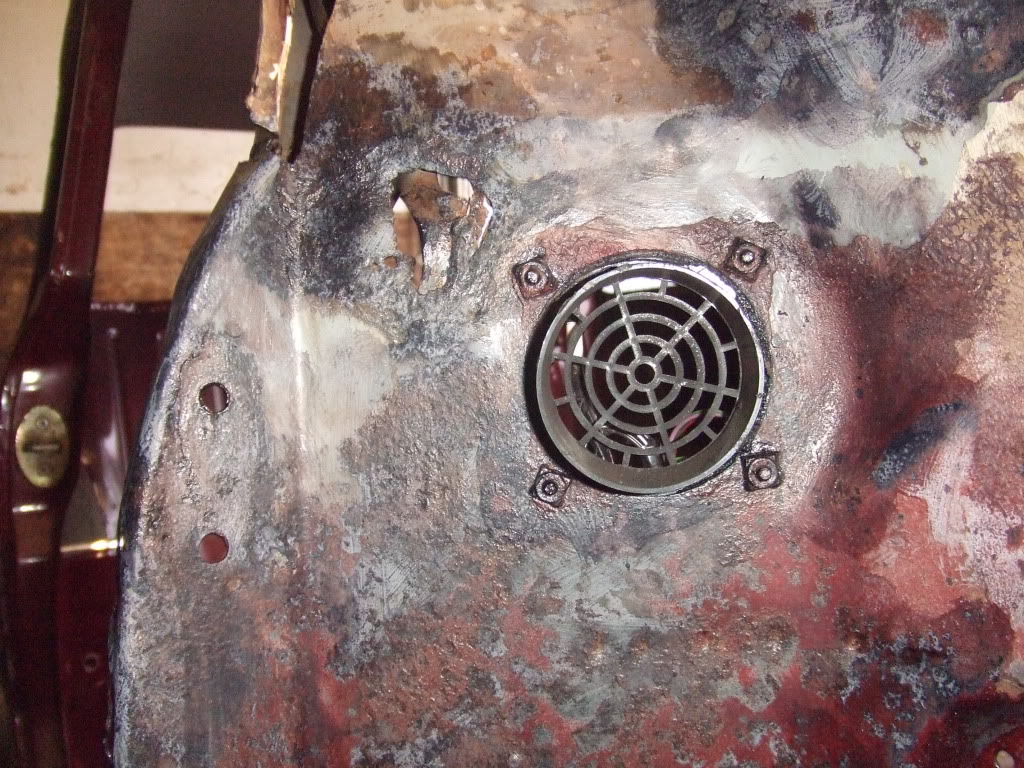
first we welded on all the patches to the N/S of the bulkhead, N/S inner wing, flitch panel and scuttle closure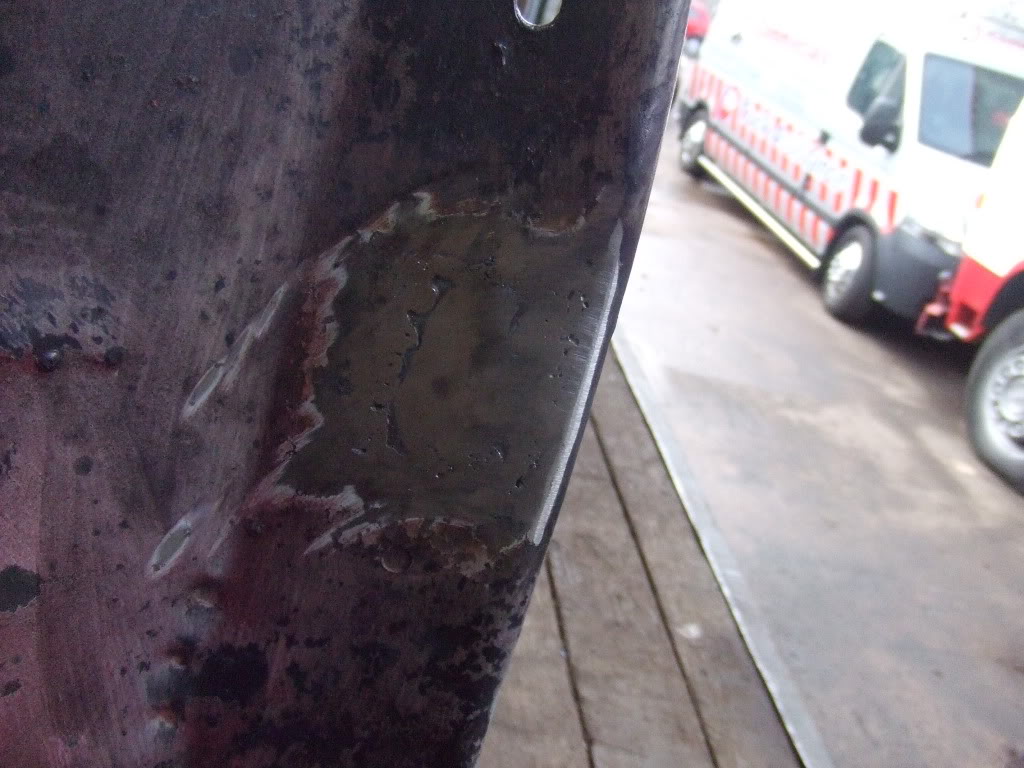
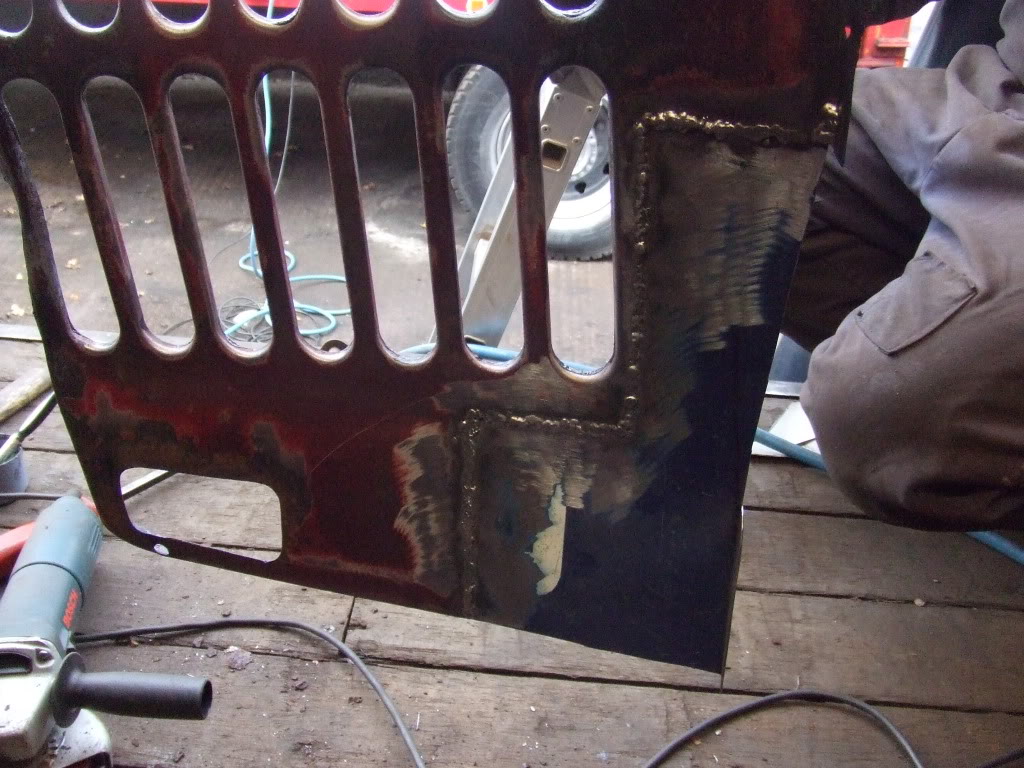
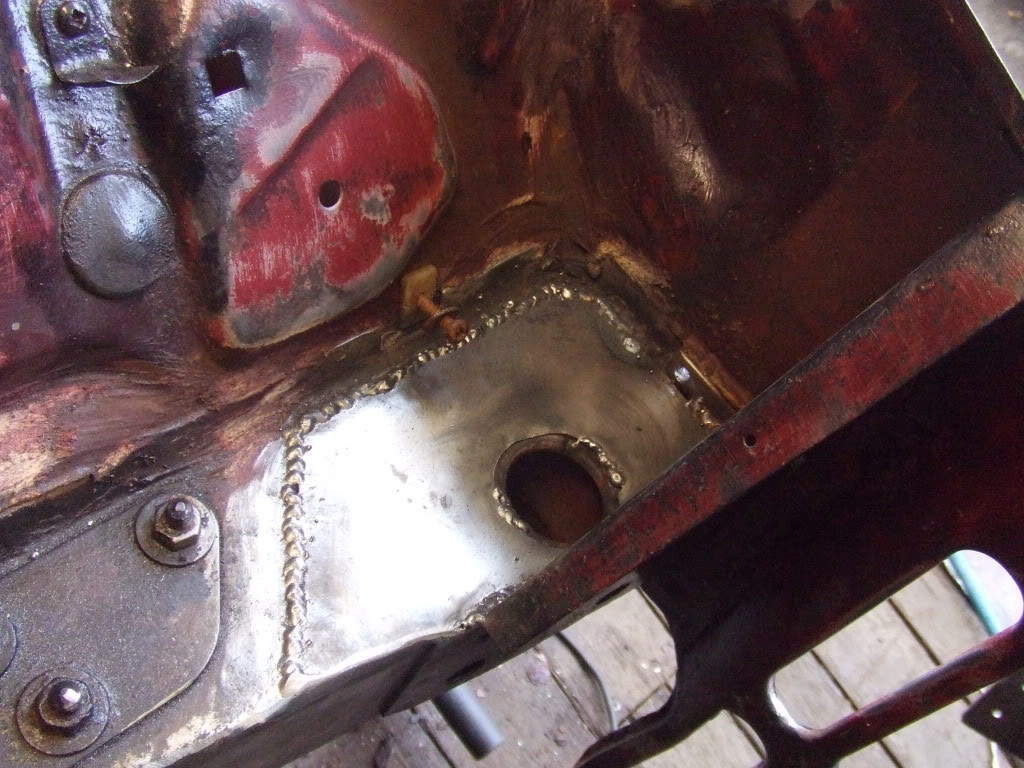
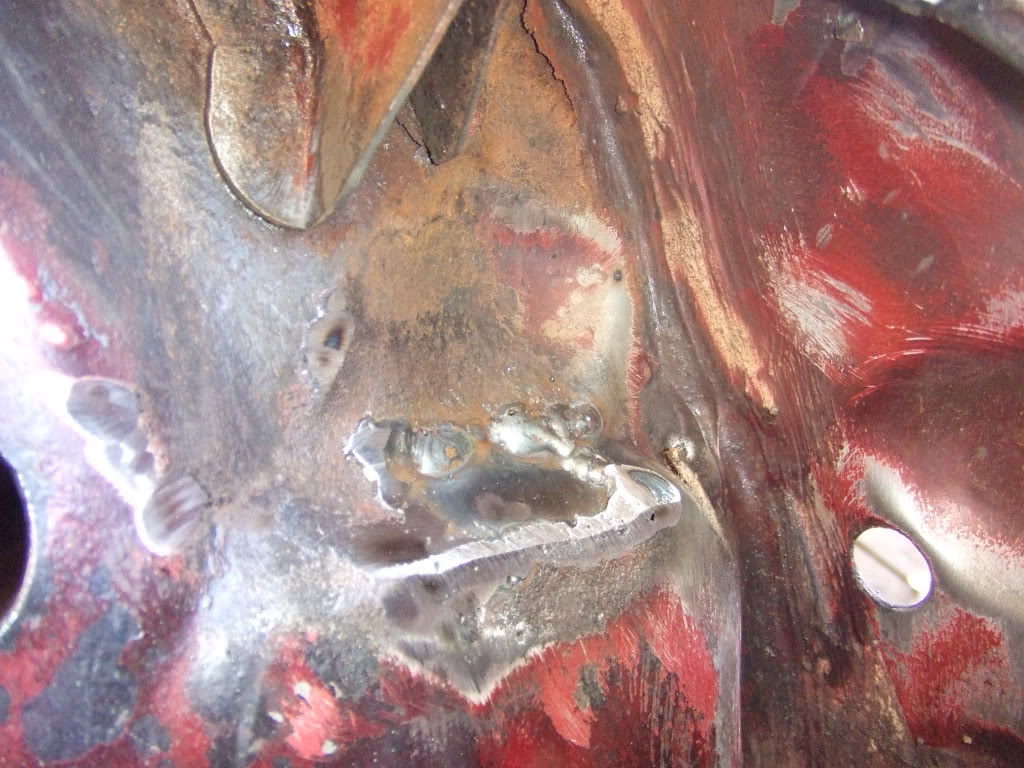
before repairing the shock mount, we filled the inside of the bulk head cross member with rust reverter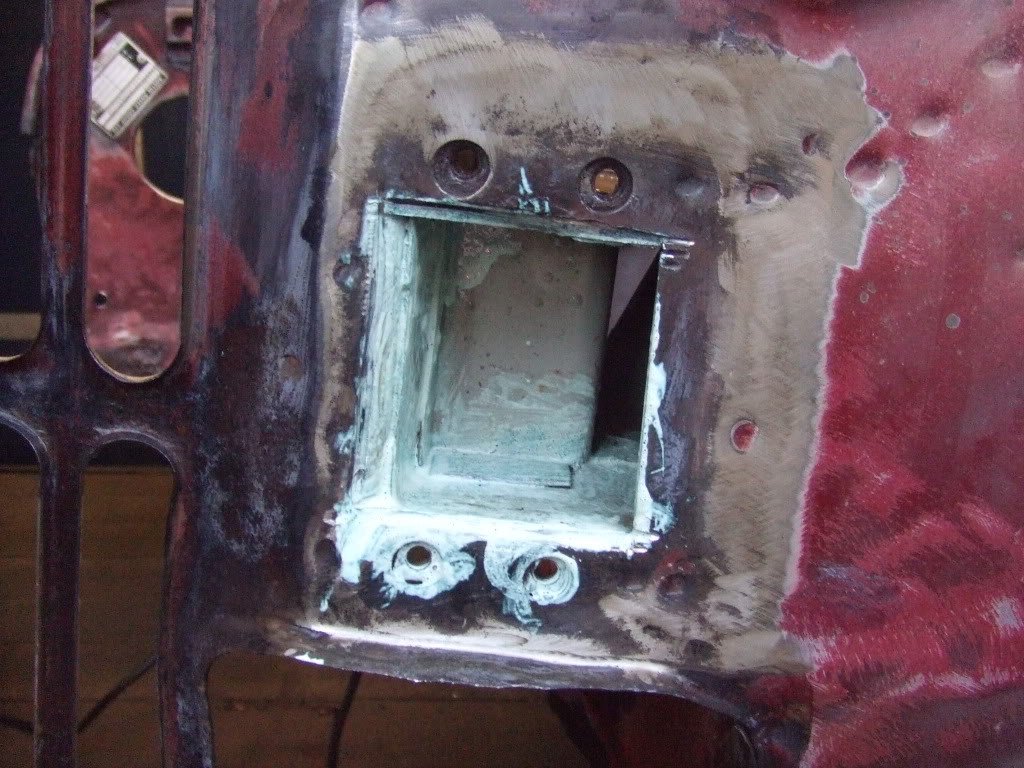
this was my first attempt at welding, i didn't even practice on off cuts first...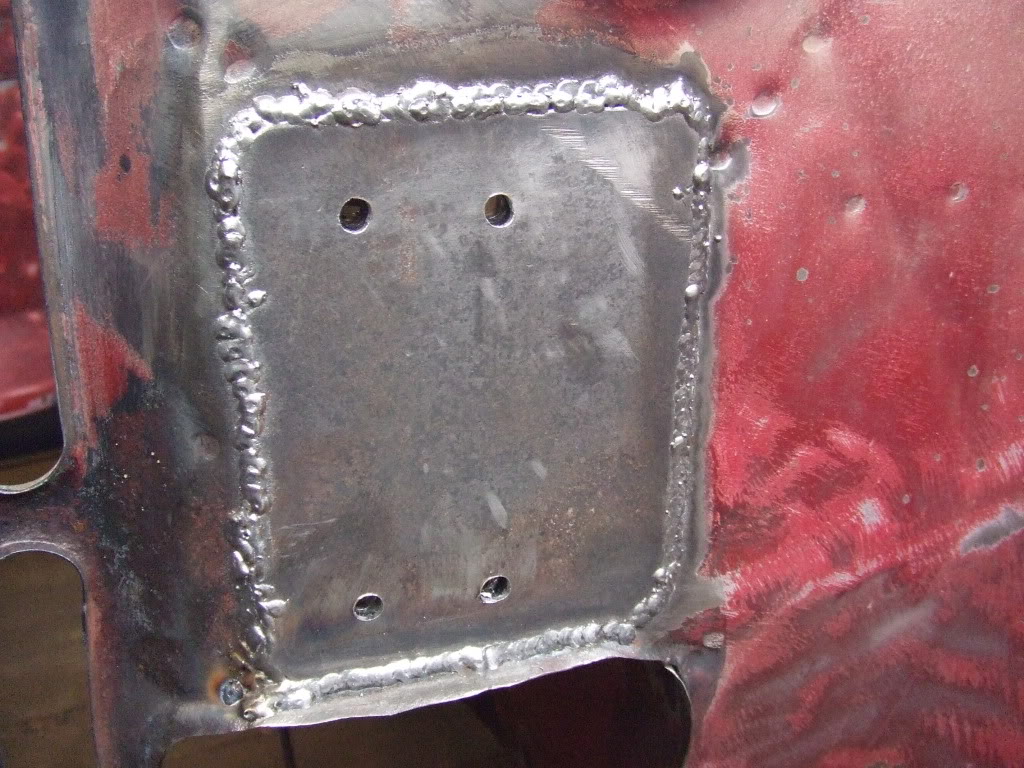
we used the new scuttle to line up the new closure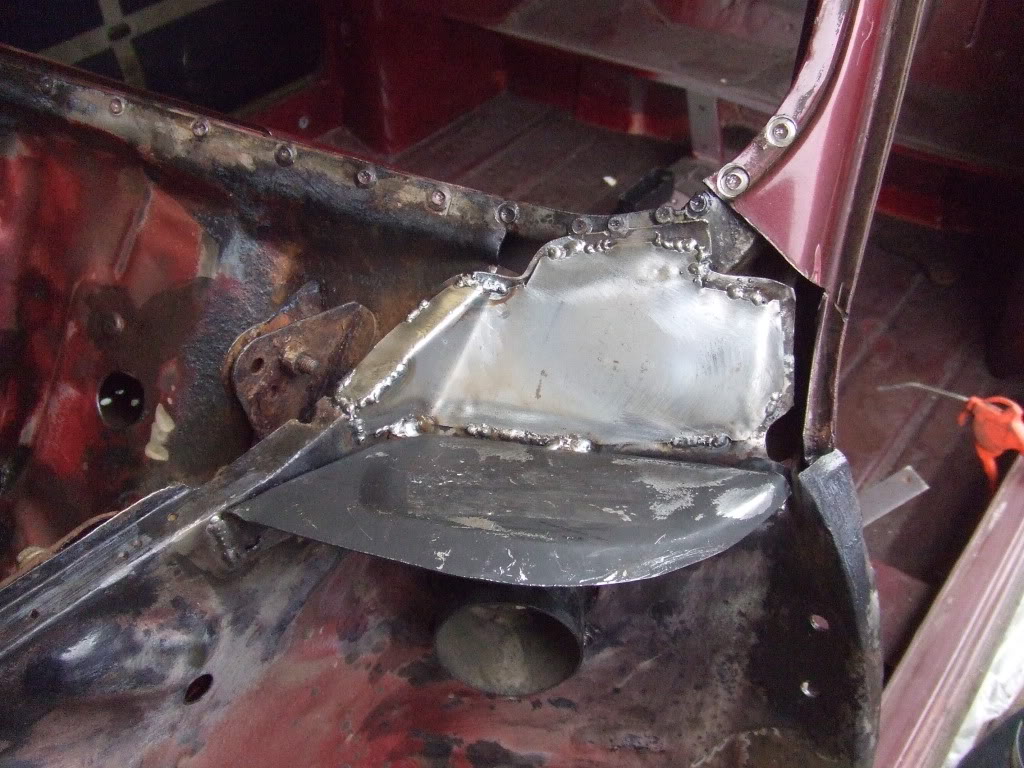
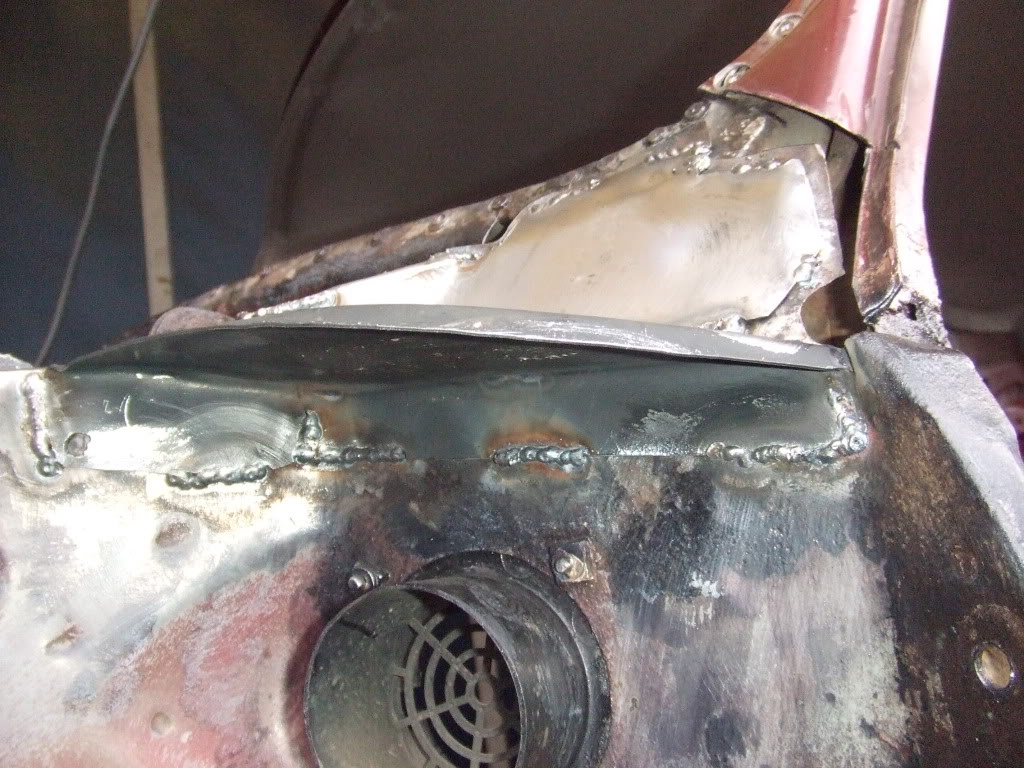
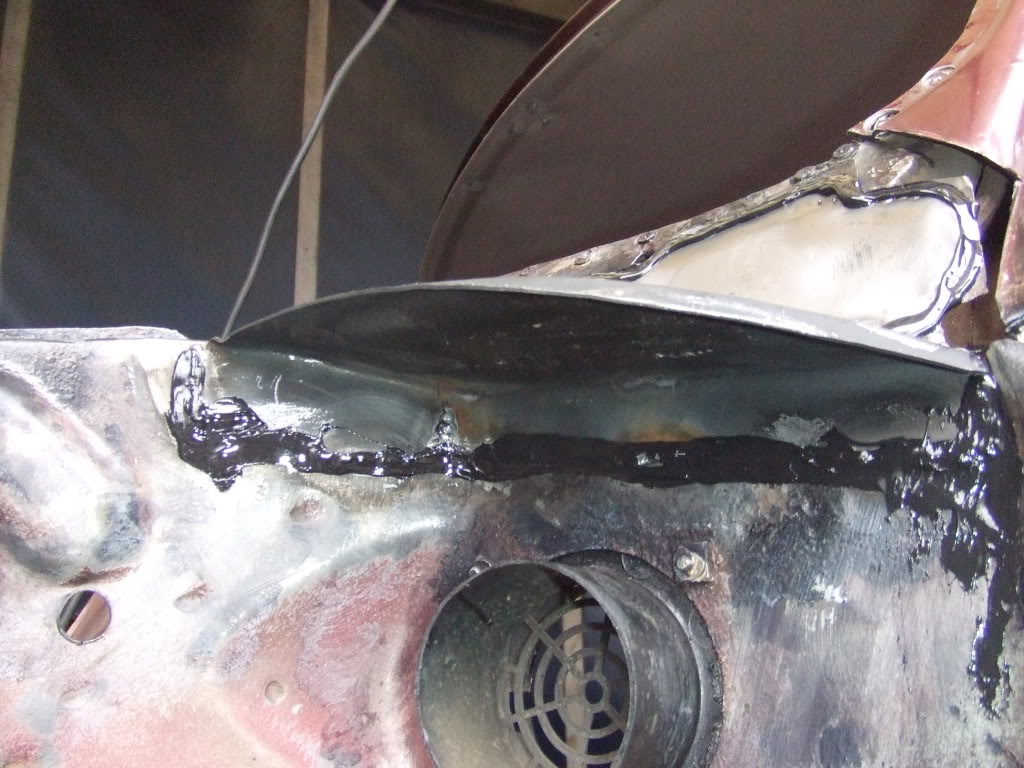
then applied some seam sealer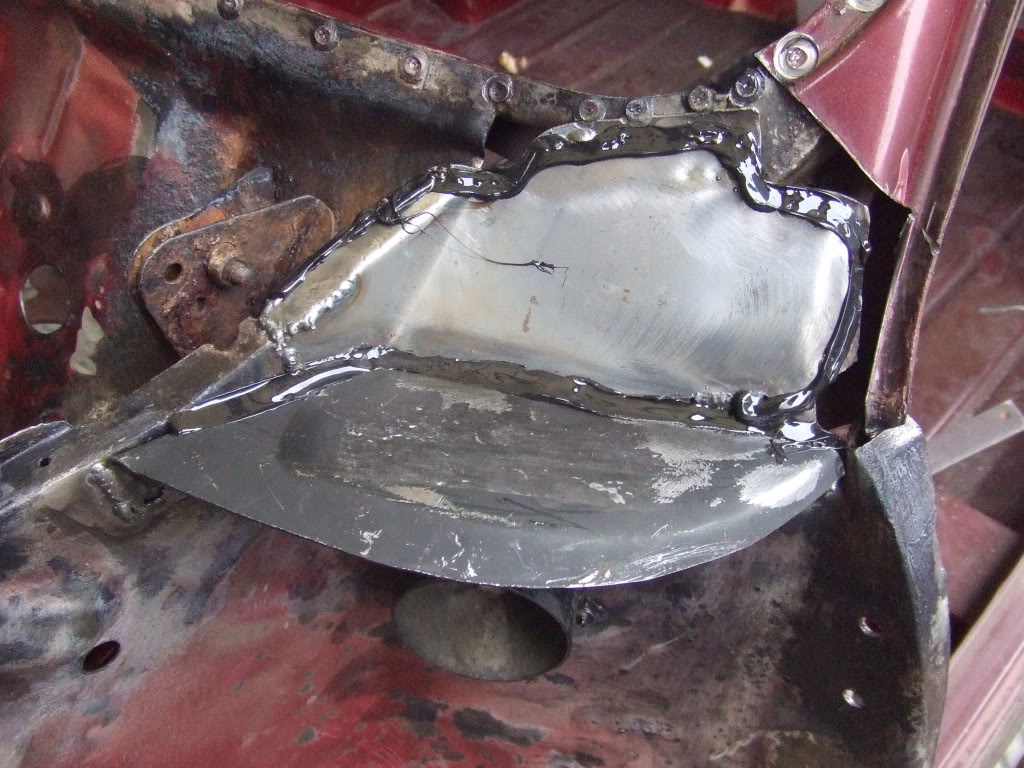
then we bit the bullet and cut out the N/S front floor pan, outer sill, subby mount, lower rear quarter and parts of the inner sill and jacking point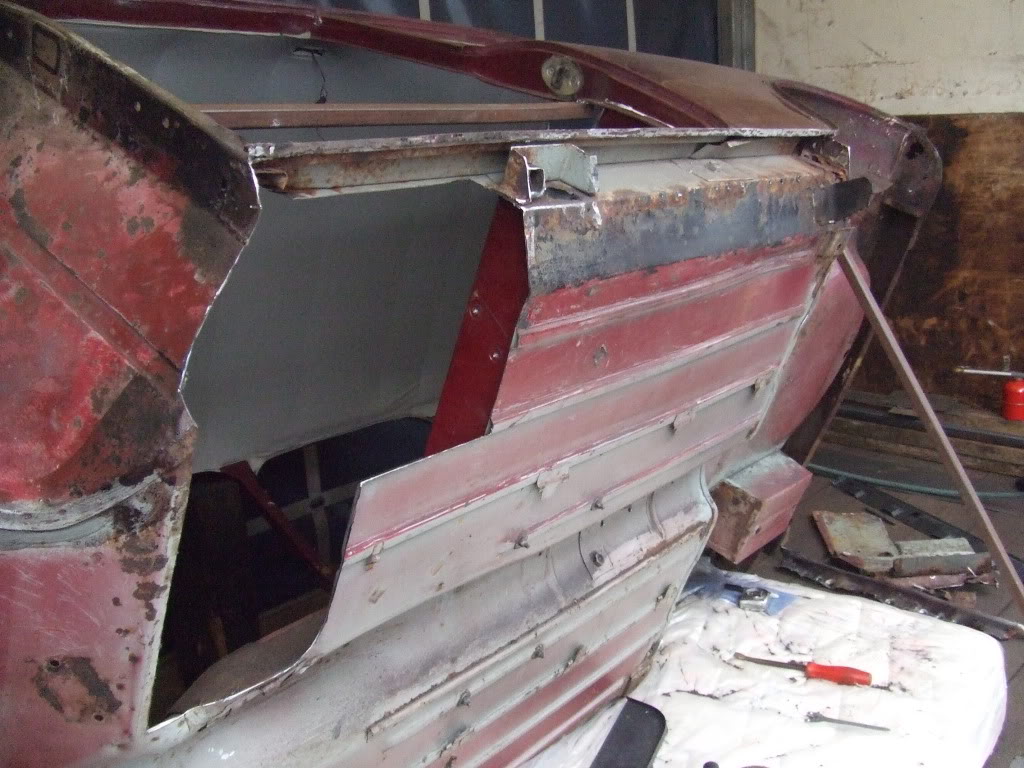
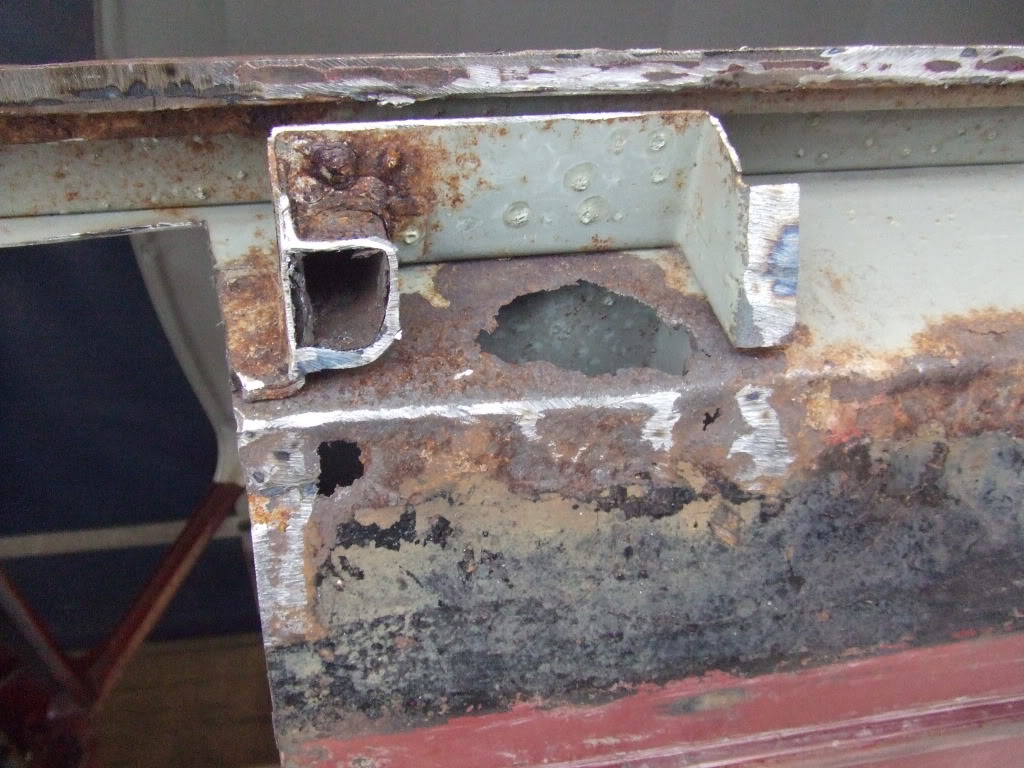
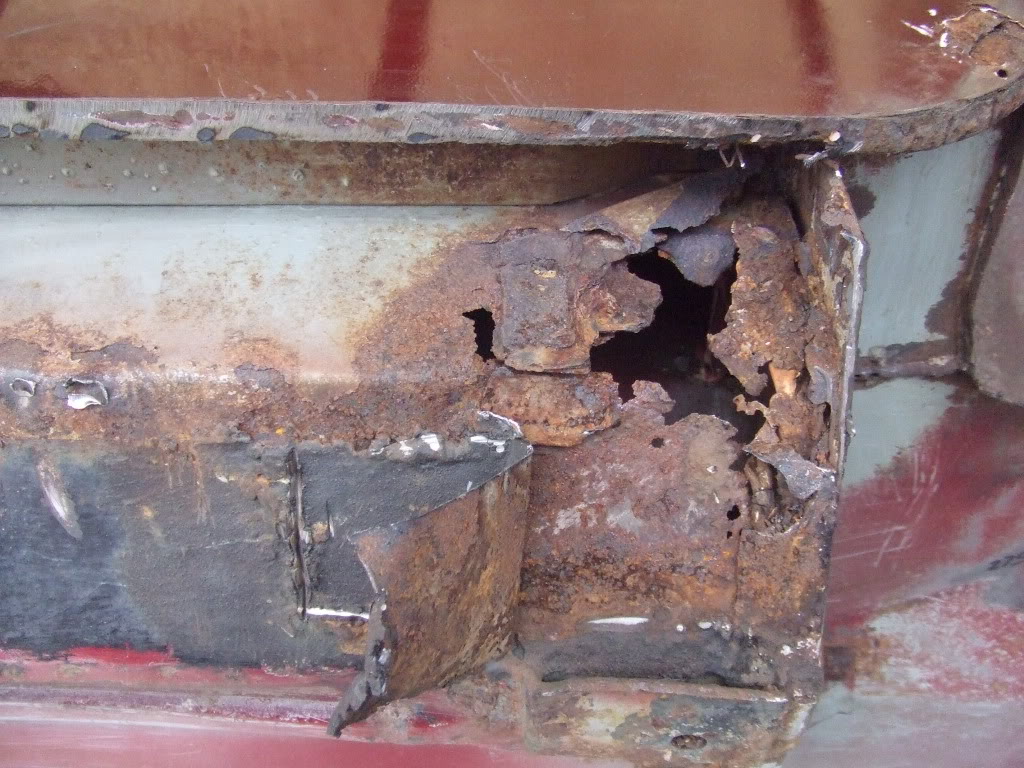
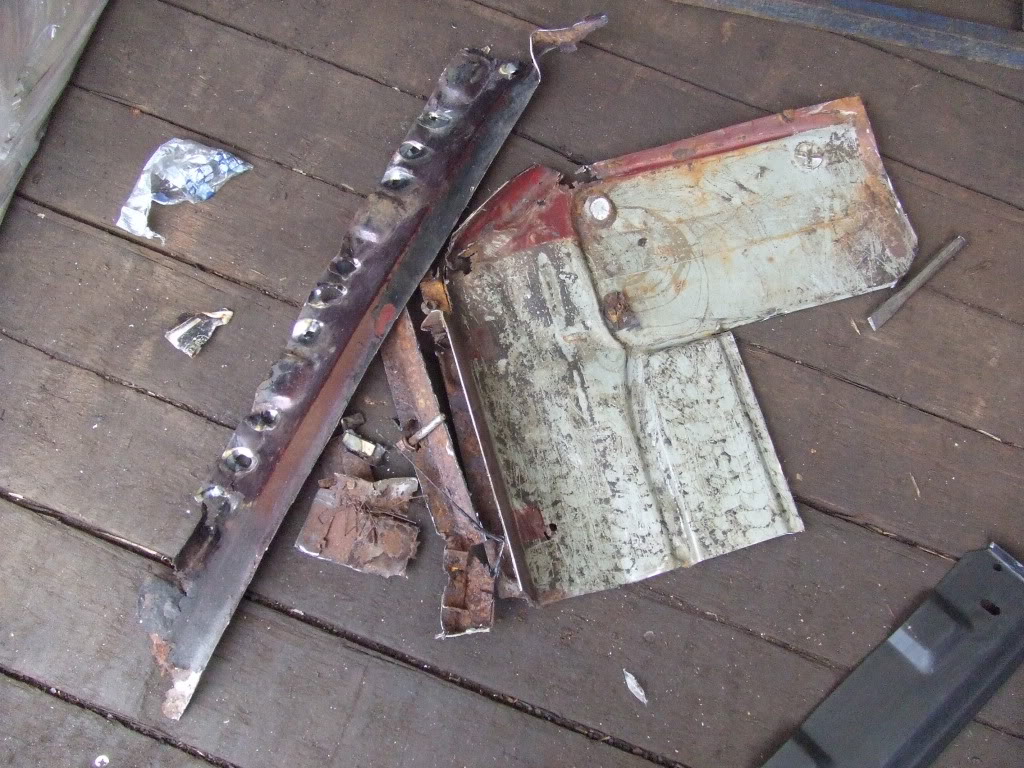
we ended up cutting off a lot more than we anticipated to find some solid metal  it made me feel a little sick to see cliff like this
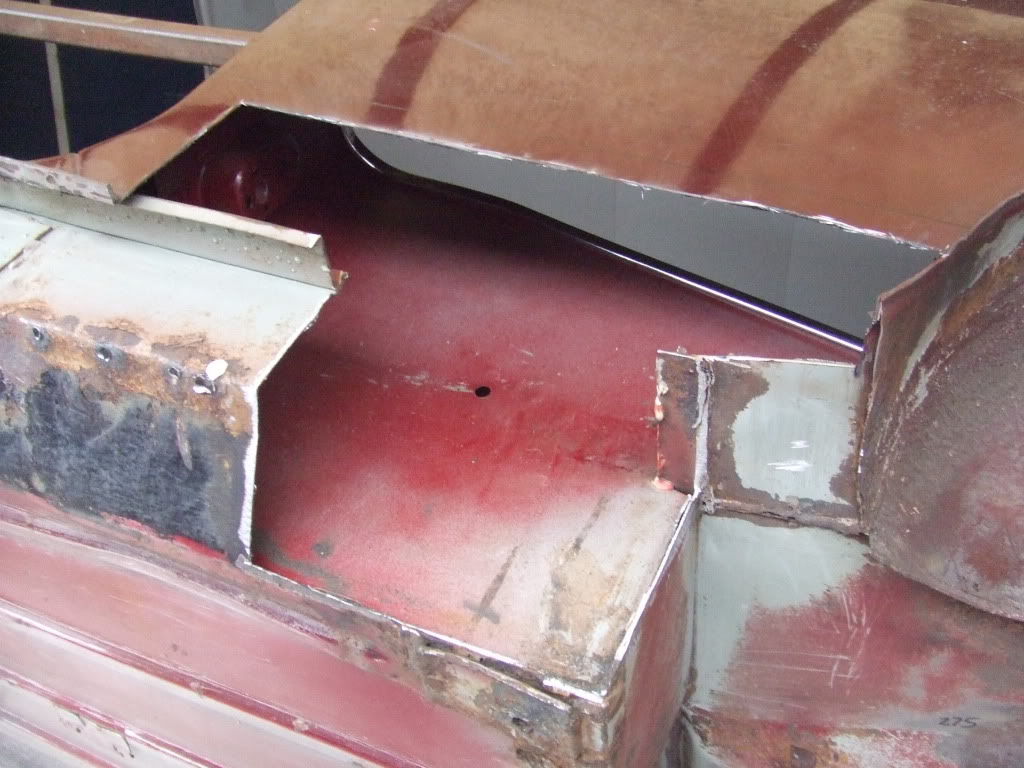
then we started to replace the panels with fresh metal...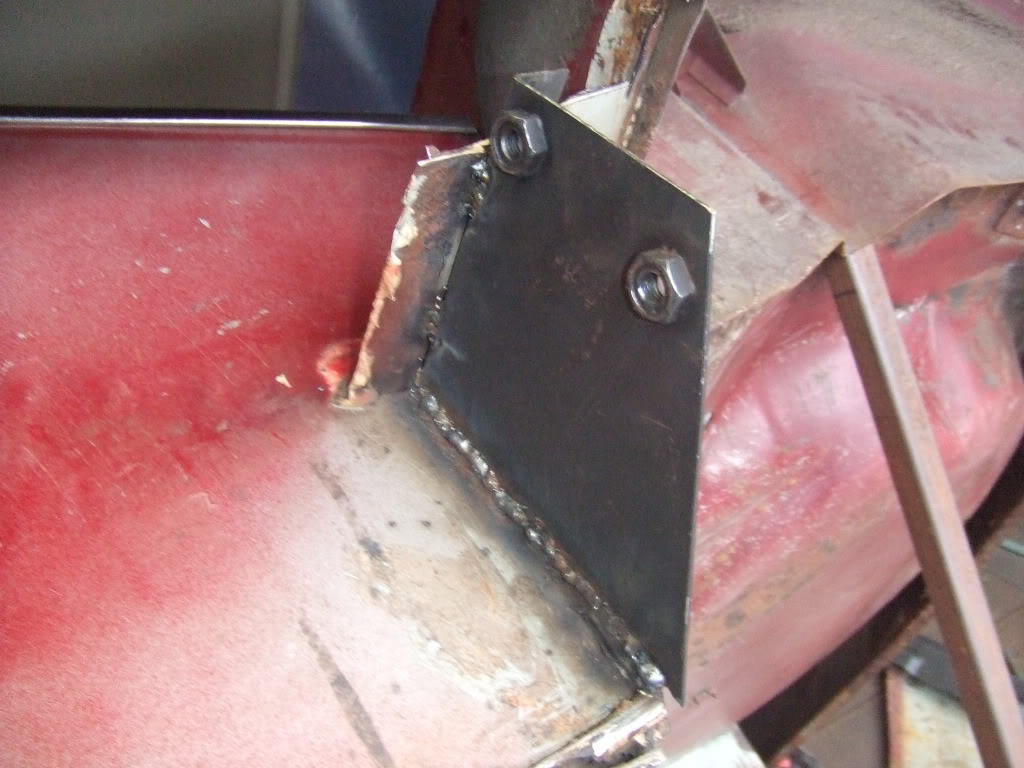
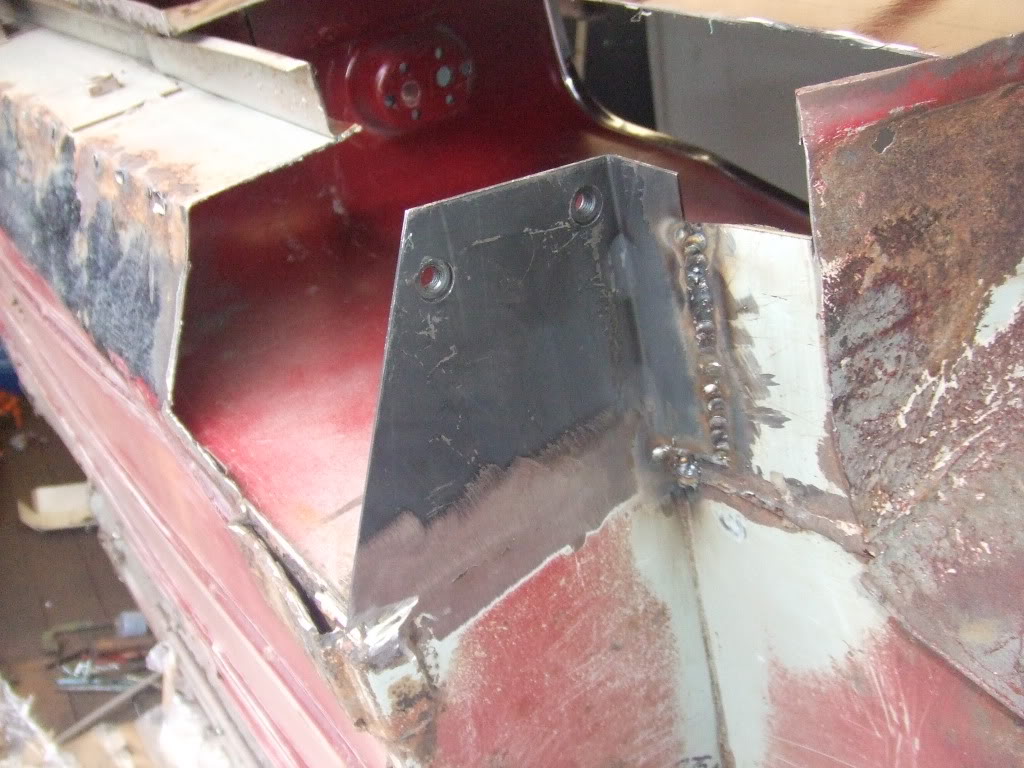
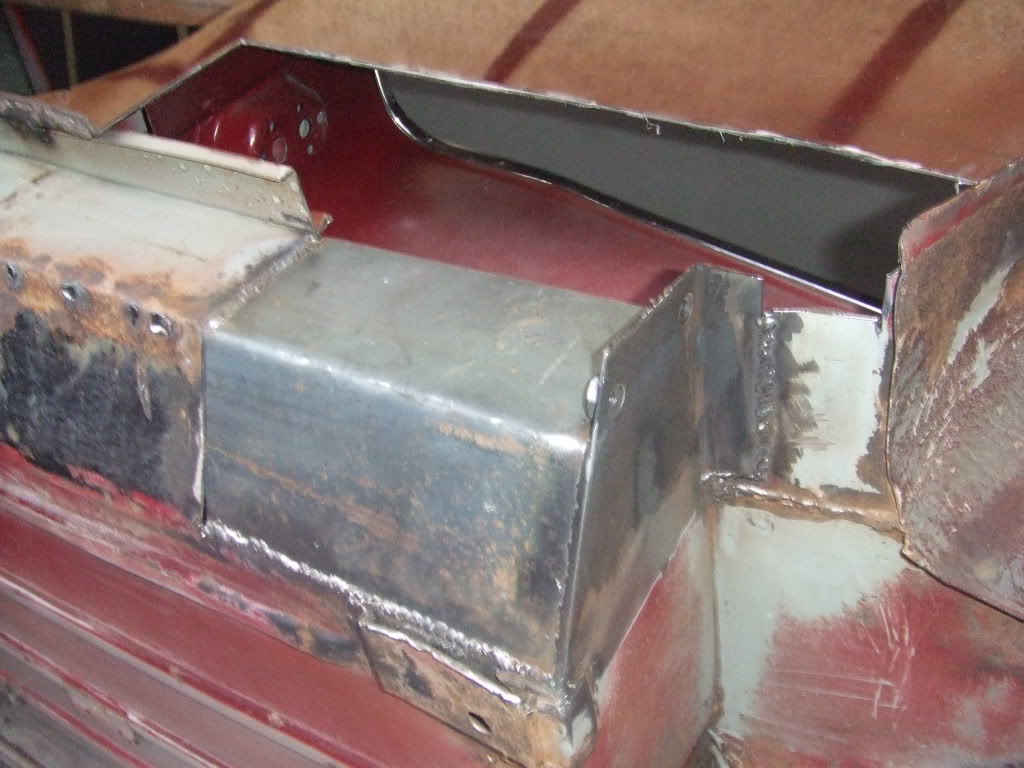
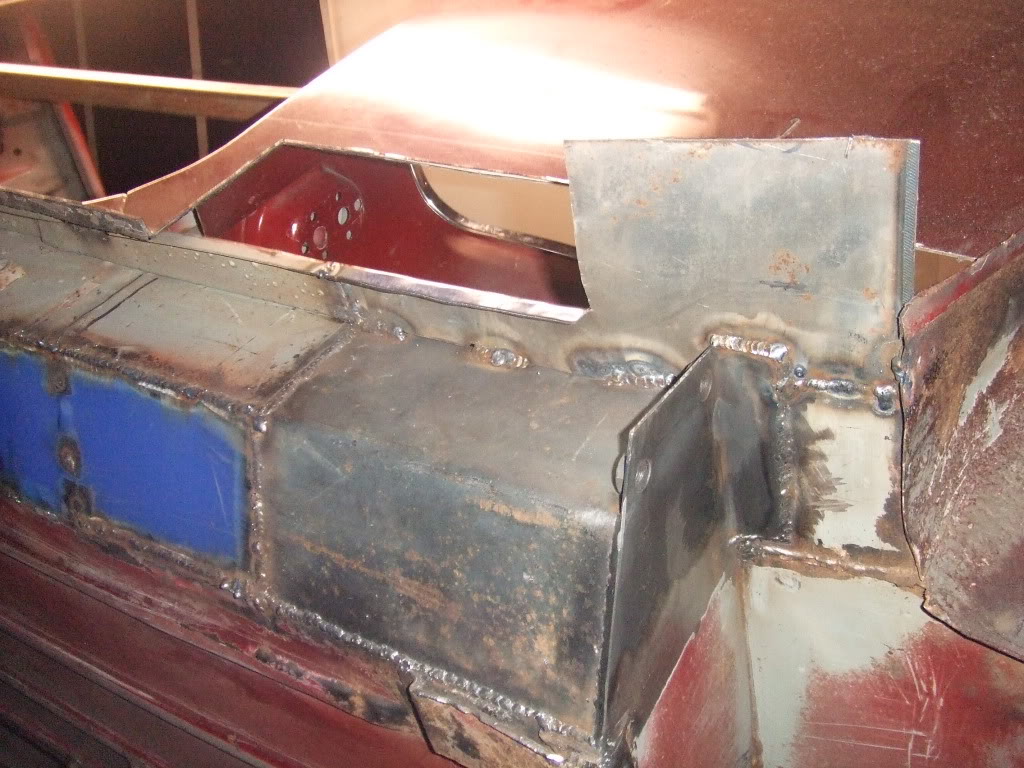
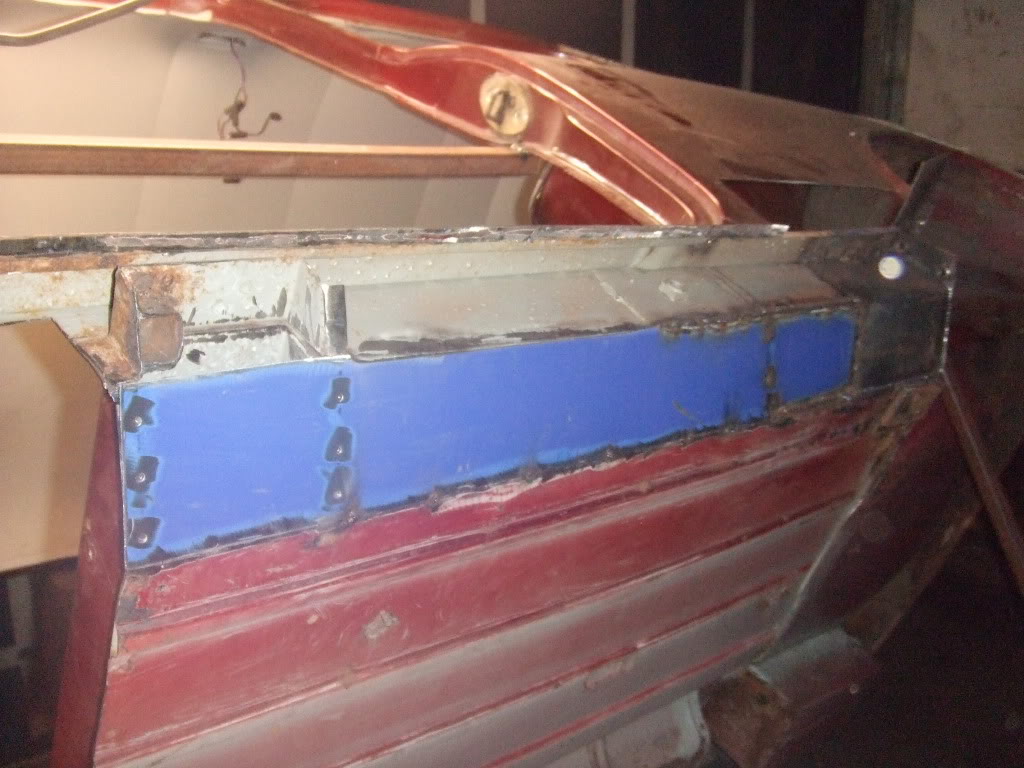
...that's better 
tomorrow we will finish welding on the new part of the inner sill, front floor pan, outer sill, lower rear quarter repair...the list goes on and on 

Wow this is amazing!
Posted by Diggymart on 6/13/19 @ 12:47:42 PM