You must be logged in to rate content!
6 minute(s) of a 192 minute read
9-11-2013
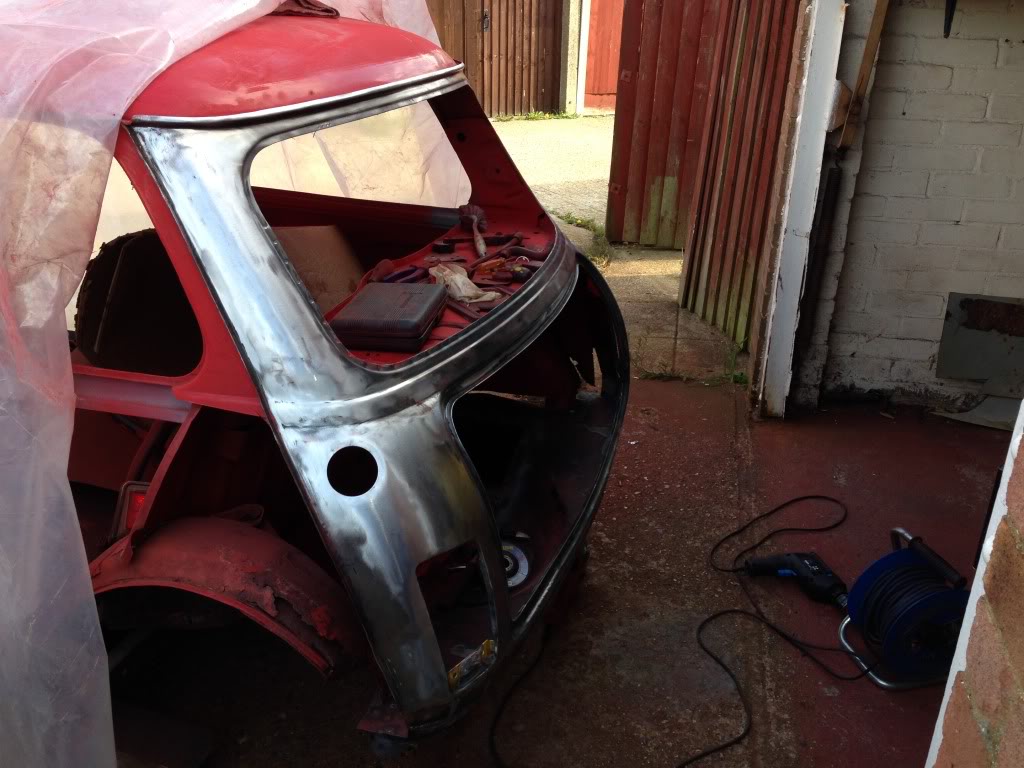
So another day in the cave and another significant update
Knocked some new genuine bearings in the front hubs and made this happen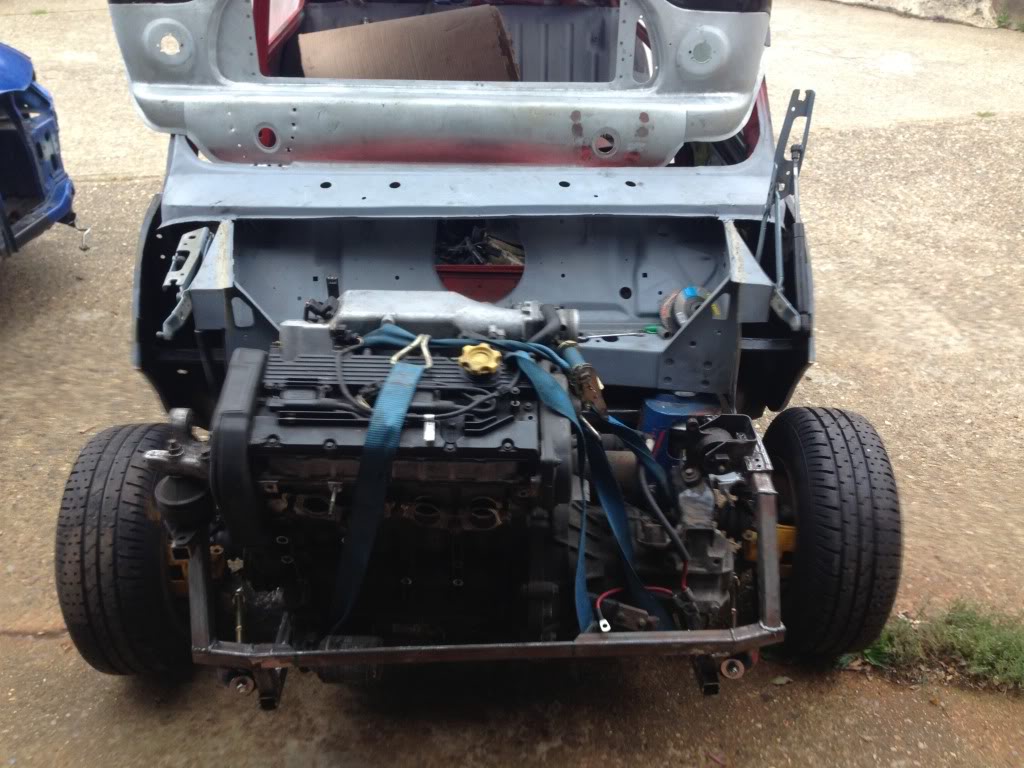

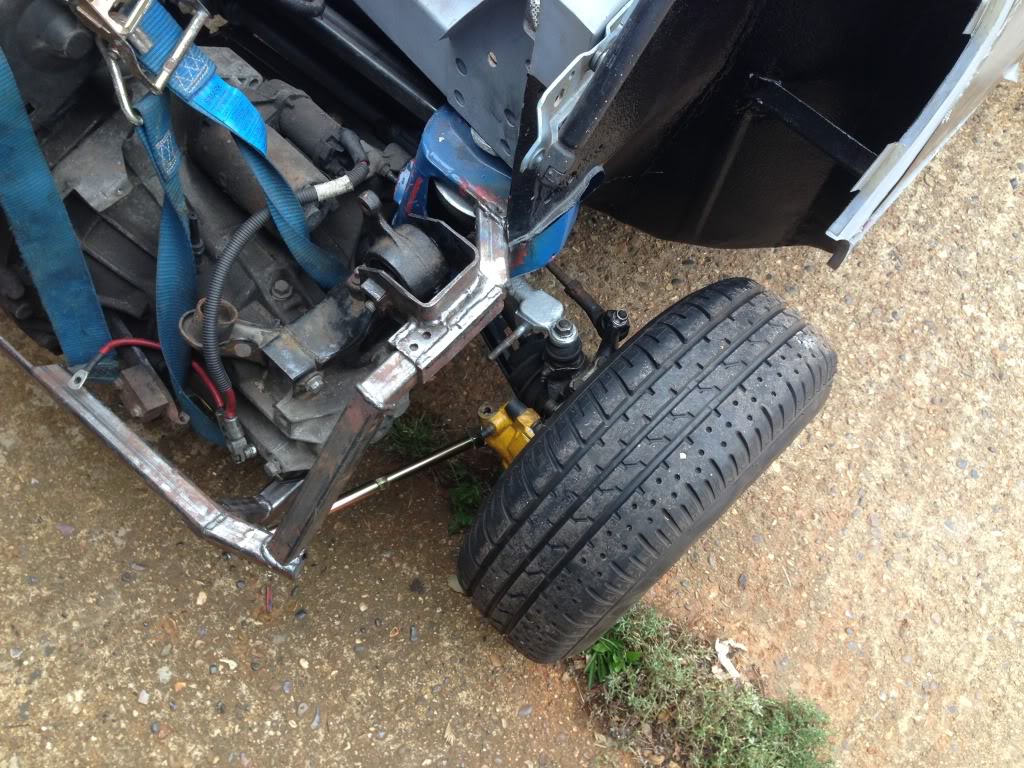
As you can see this is full lock and no touching from anything which I was shocked about maybe it's the fiesta calipers that help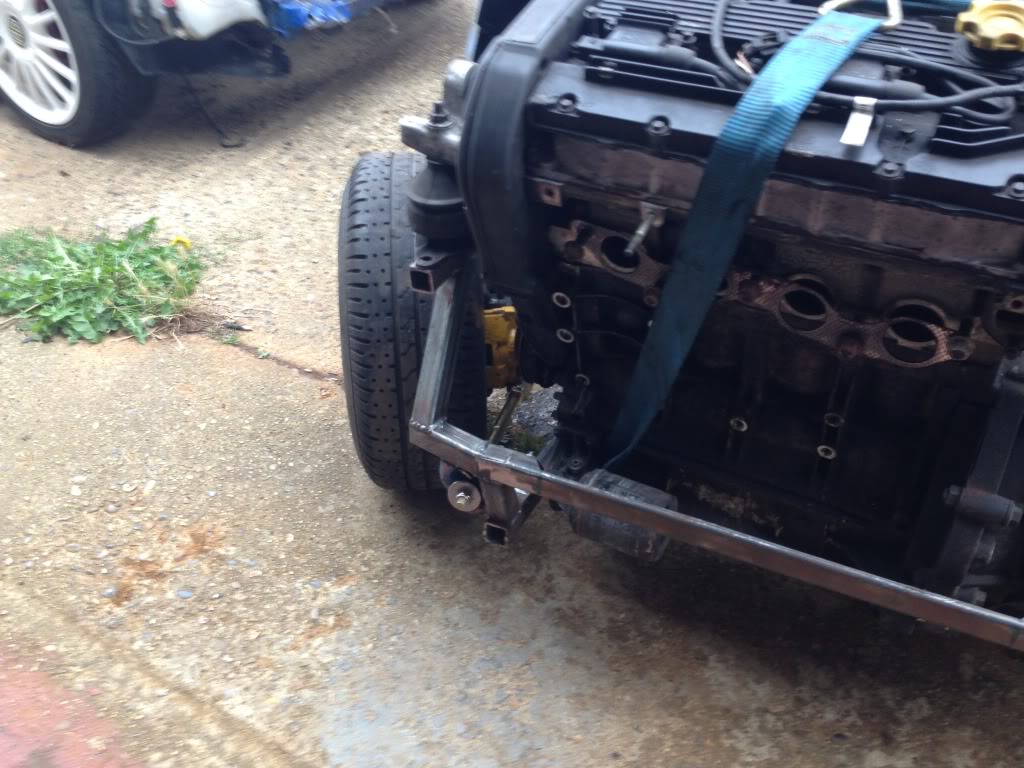

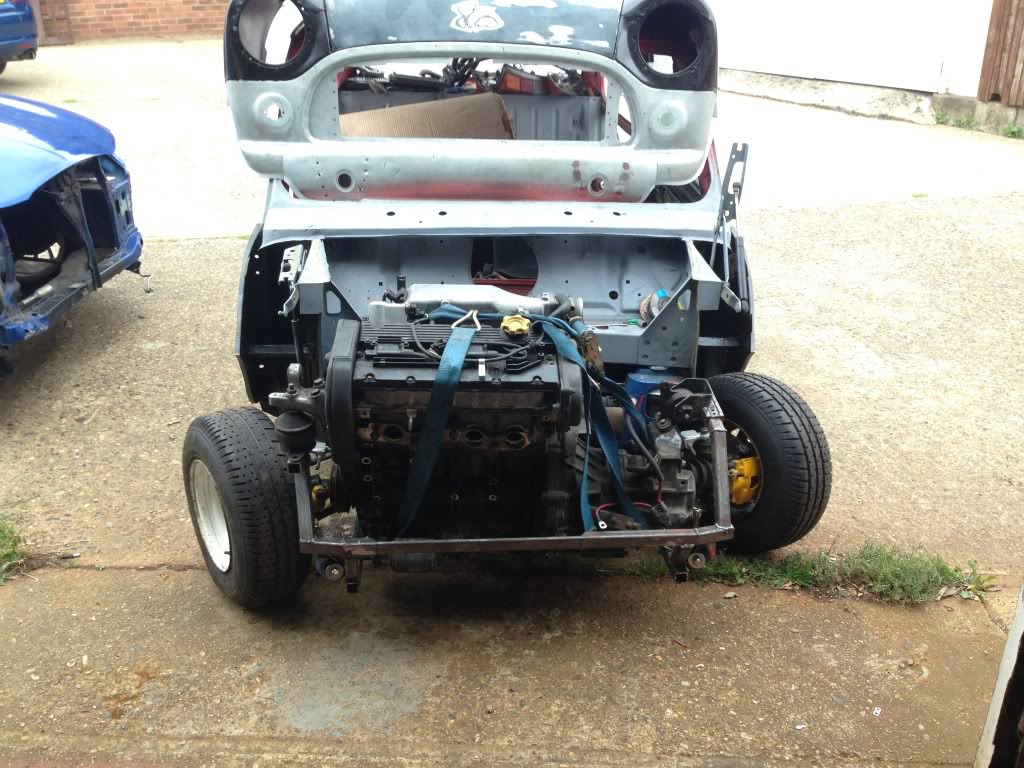
And the last one I couldn't resist see how much poke ill have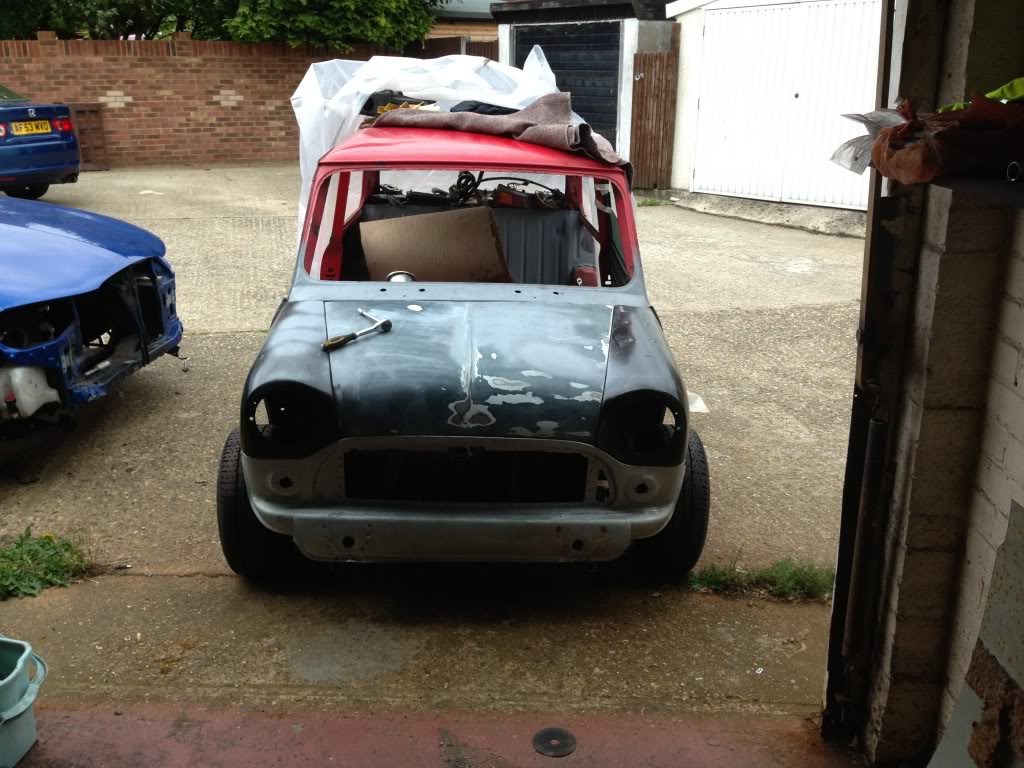
I've had to cut the front panel for the tiebars but ill make it look good again maybe trim round them and out a new lip on then only the keen eyed would tell.
9-25-2013
Not much to report of late just trying to get the back end done so it can be a full rolling chassis again.
Painted the rear subby in 2k black and did it with a brush turned out the nuts and the paint is rock solid then painted and fitted the trunions with new poly bushes and stainless fittings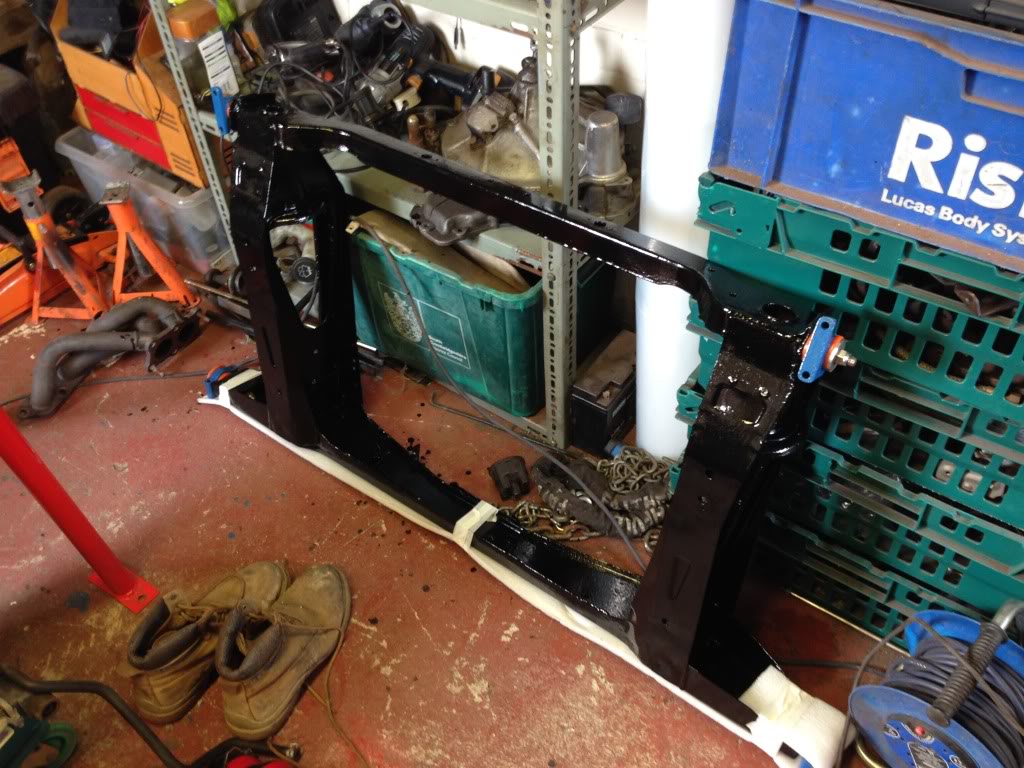
Next I got one side of the rear end fully de-bumpered it looks a mess at the minute but will be ok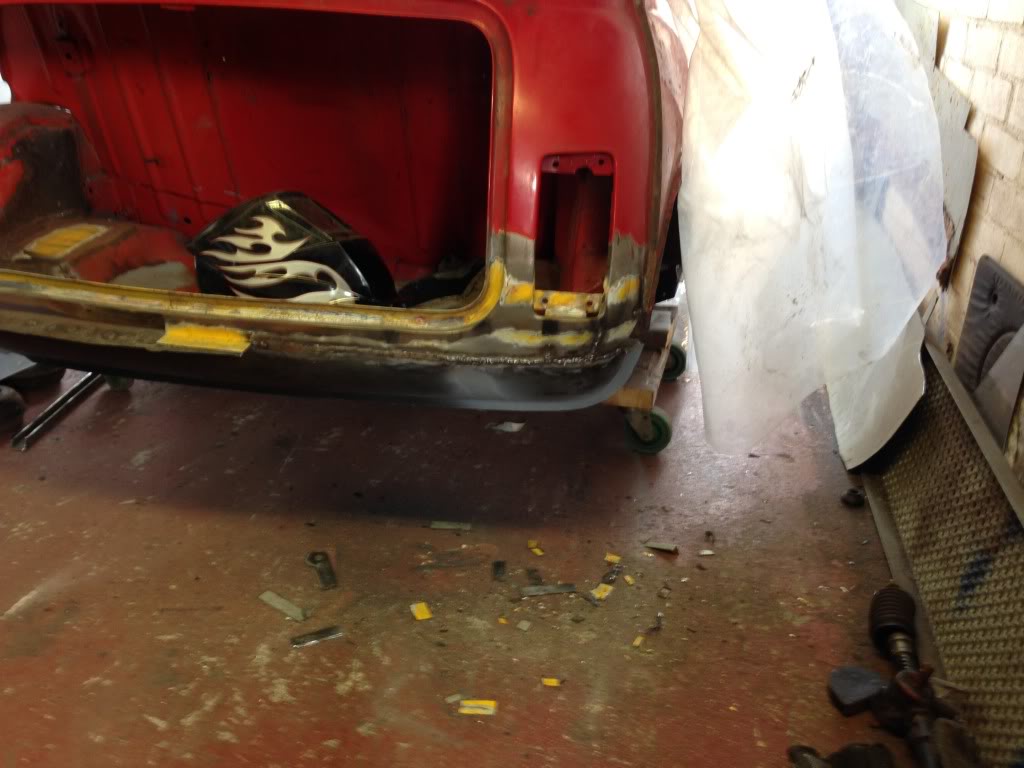
Will get the other side done tomorrow then arches and one rear quarter with repairs to the other then the welding will be done and I won't be using such a rotten shell in a hurry lol
9-26-2013
Done a bit more today welded in the rest of the rear panel ready for left side de-bumpering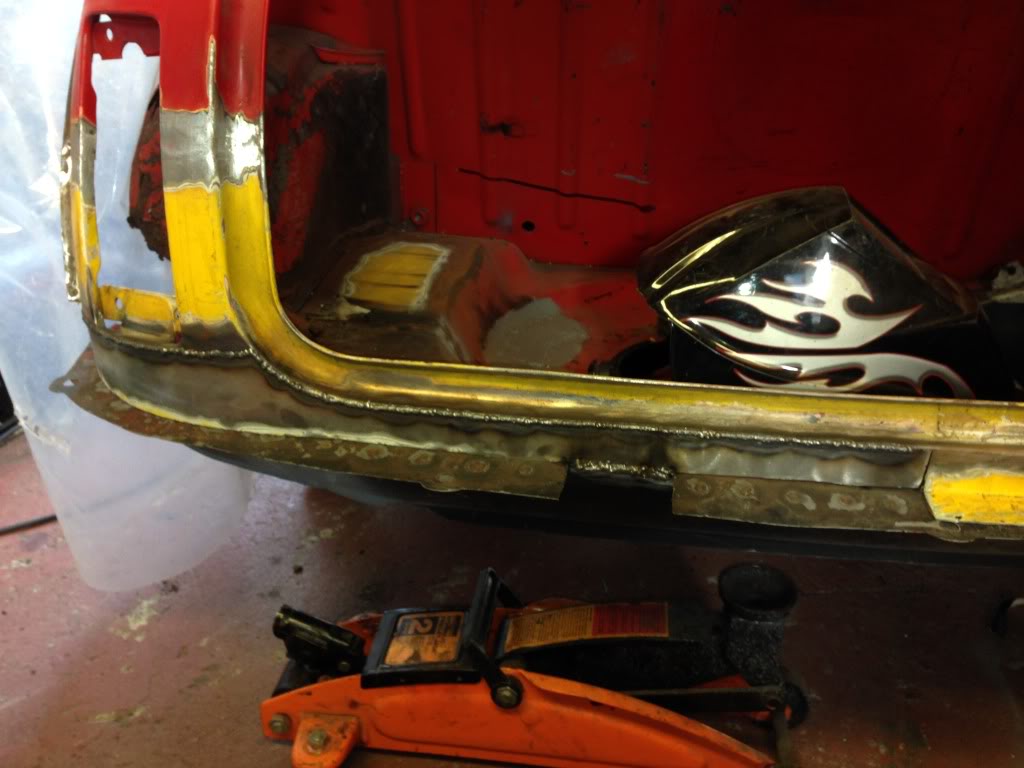
9-27-2013
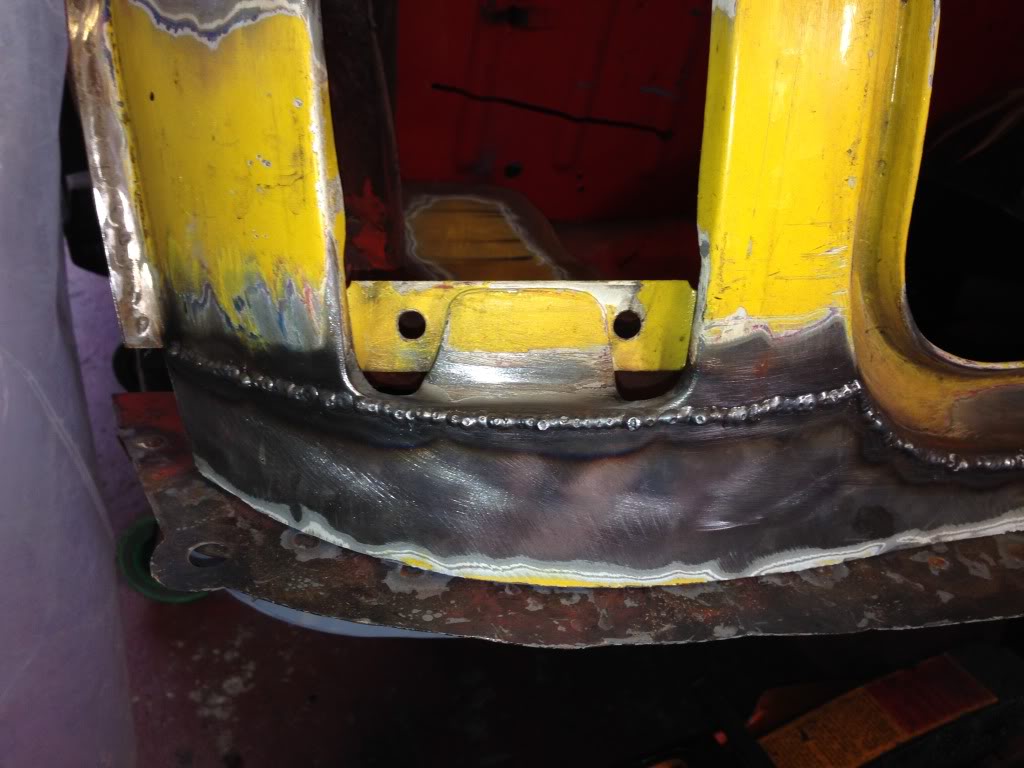
Epic day in the garage today started with a wedathon finishing up the rear panel and de-bumpering then the big grind with my usual finish on the edge if the boot lip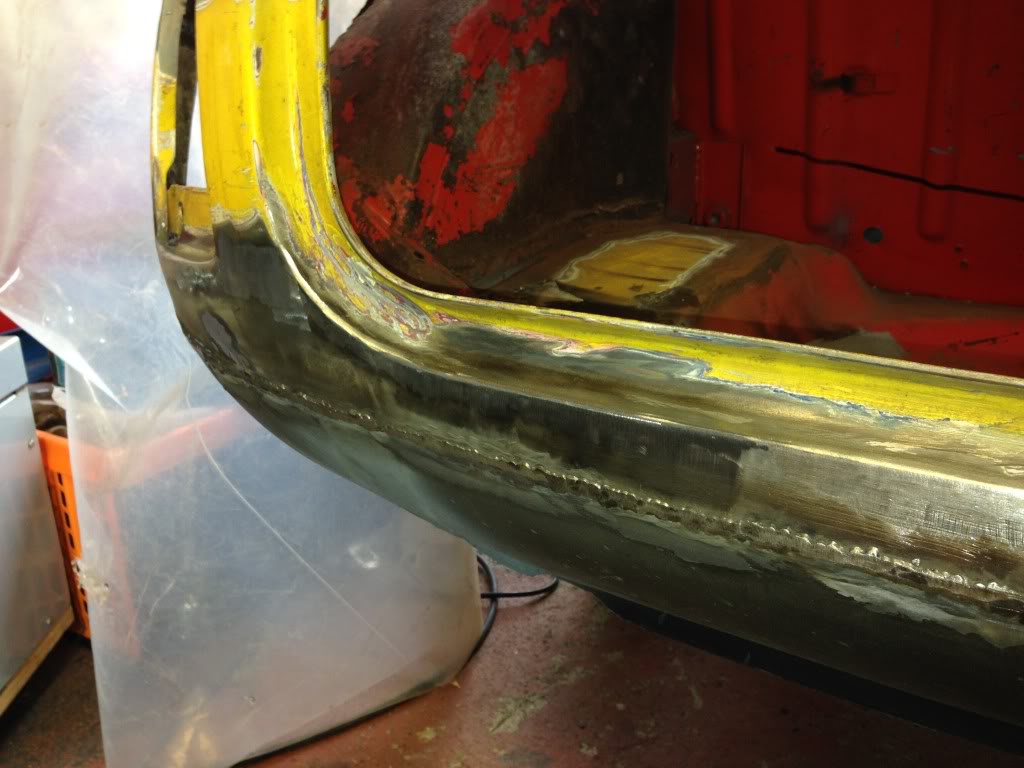
And this is an overall shot if the finished rear panel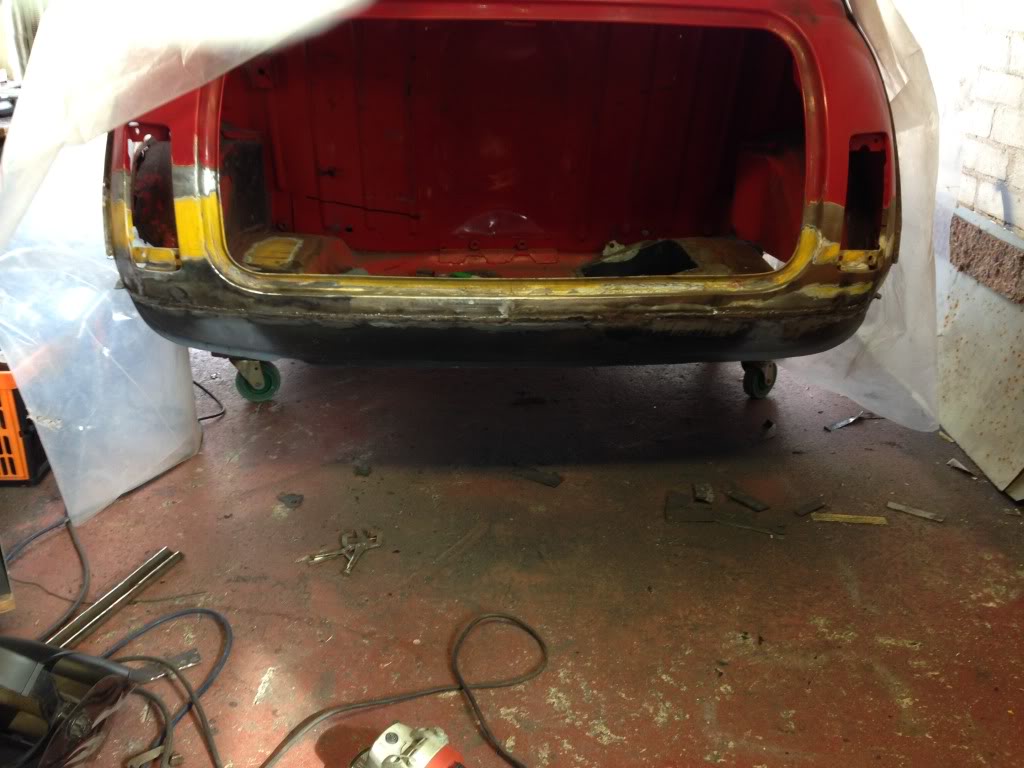
Then I started something I wish I never stripping the rear end back to metal hour and a half later and it was all done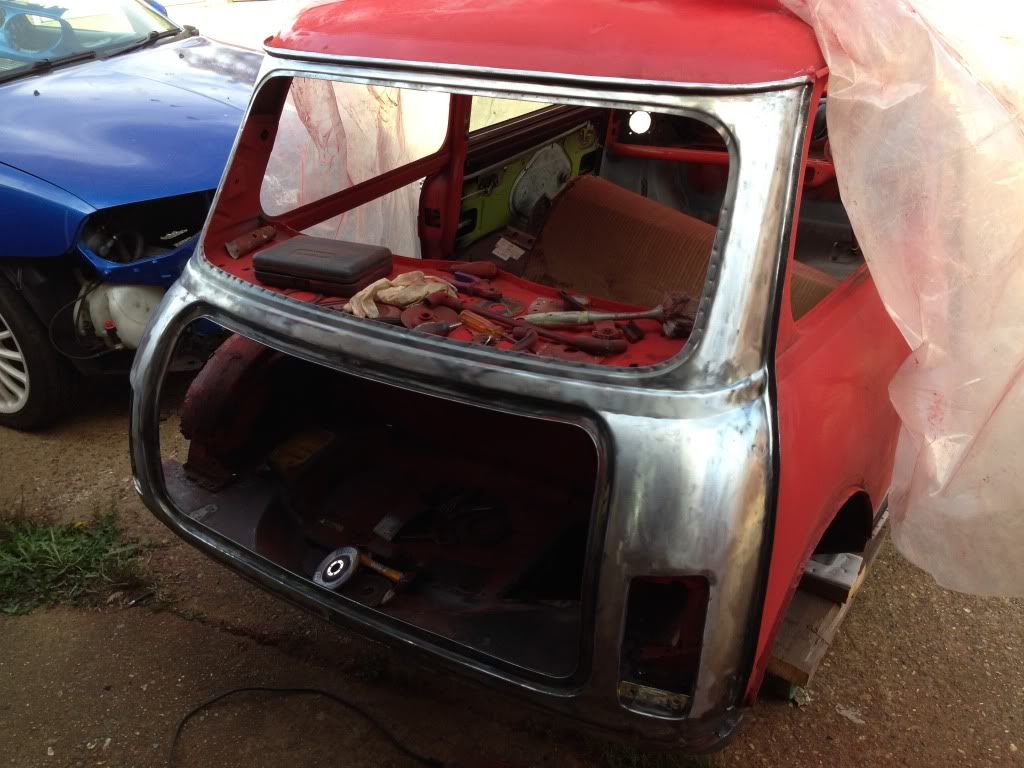
No nasty puffs of white dust just turd loads of red paint lol. And with that now ready to rust again I thought I'd best put some non porus etch on there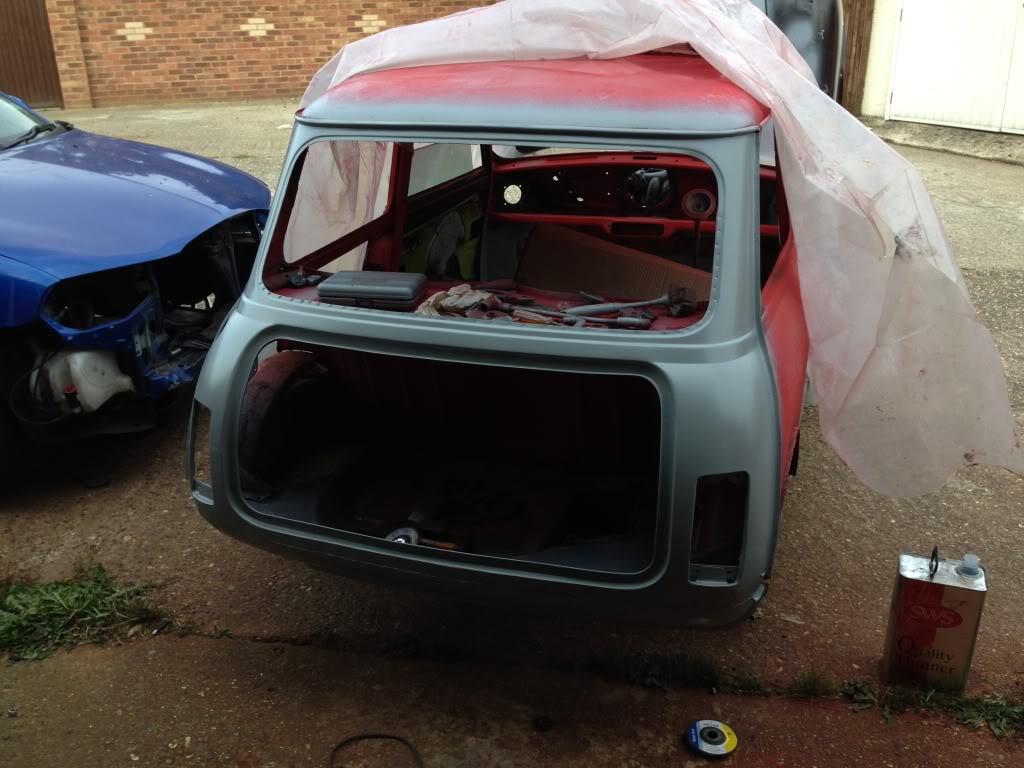
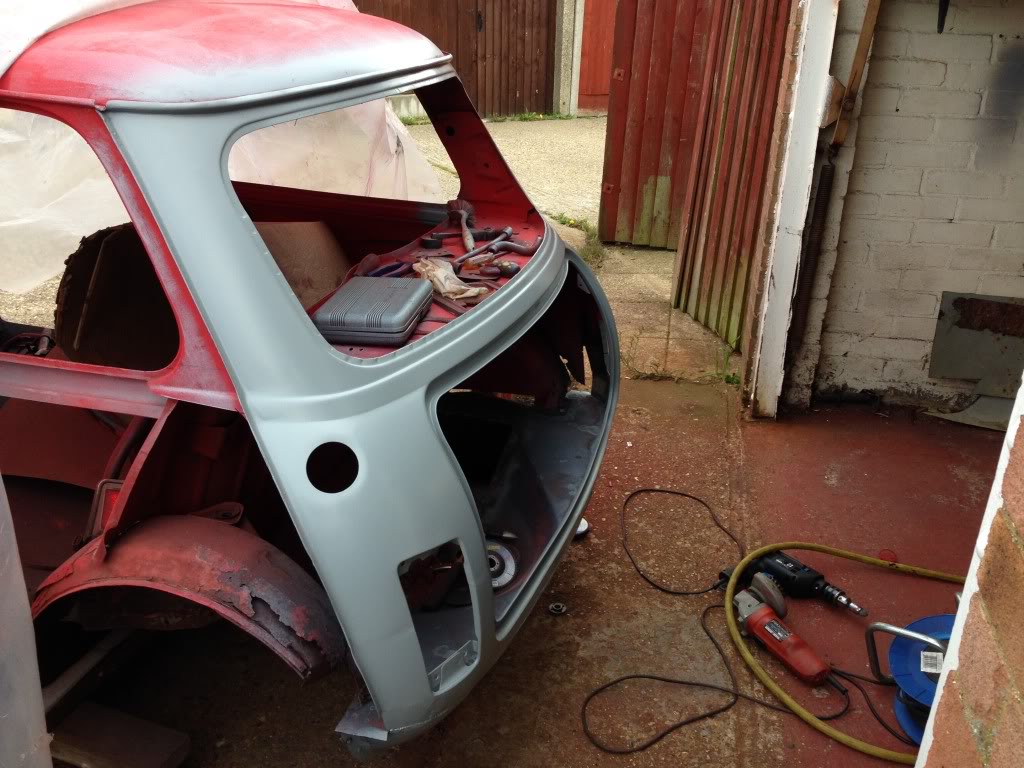
Three good full coats and ready for filler well pleased about 5 hours though lol
9-30-2013
Hi there mate glad you liked the thread any questions don't hesitate to ask the inner wing came from a member off here but it is this part from minispares
http://www.minispare...Back to search.
I would strongly suggest a full scuttle and genuine one at that but the ends can be fitted with a lot of work and filler ill link you to both ends and the full one
http://www.minispare...|Back to search
A cheaper less well fitting alternative
http://www.minispare...|Back to search
And then the end pieces should you go down the route just search the site for the other side
http://www.minispare...MS.aspx|Back to
And whichever route you take to repair the scuttle you will need one of the closure panels for either side
http://www.minispare...6L.aspx|Back to
Hope this is what you are looking for
10-3-2013
So last couple of days update
Not done a massive amount but it's something made a start on the rear arch renewal and cut the old one out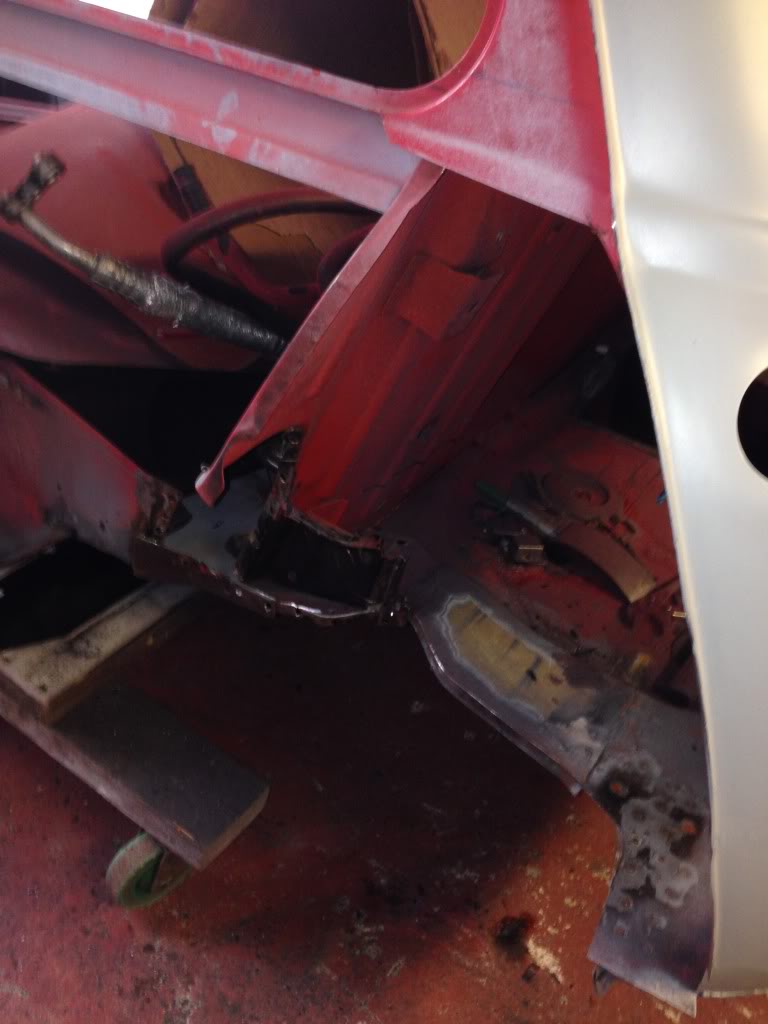
Then seeing as this is the last time I will have major access to the boot I cut the skin off an old boot lid and taped n tied it in place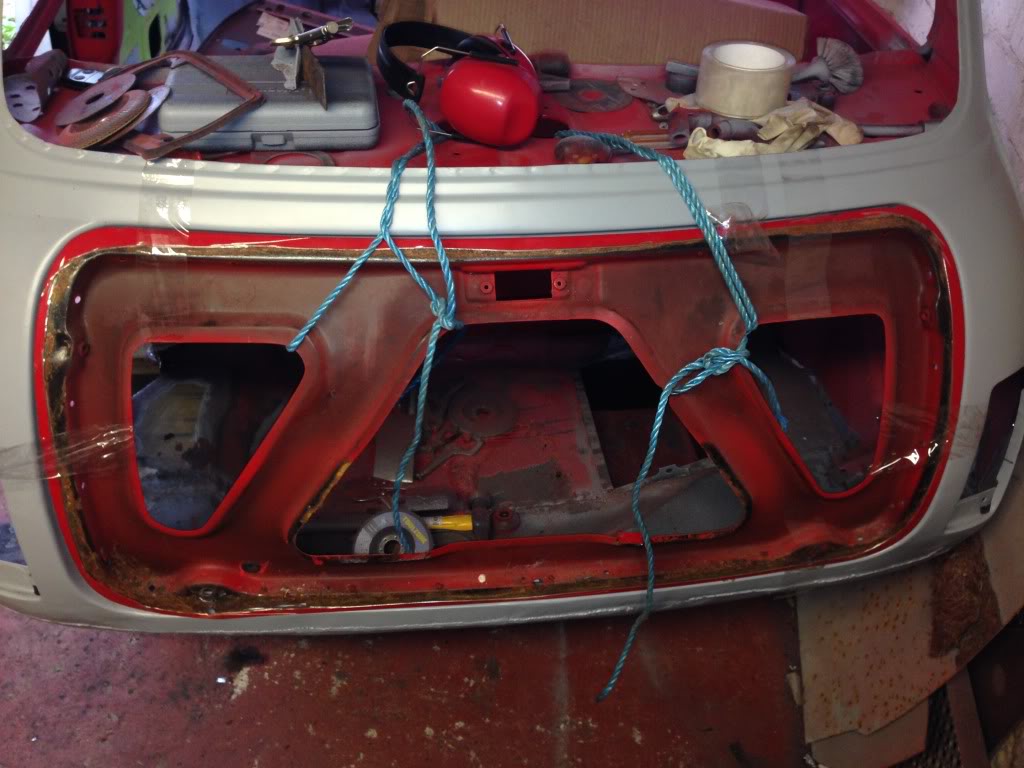
Then started on the internal hinges that will flip up to match the front pulled the old bonnet hinge mounts off as they seem a foot place to start with and clamped some 3mm between them to get the spacing needed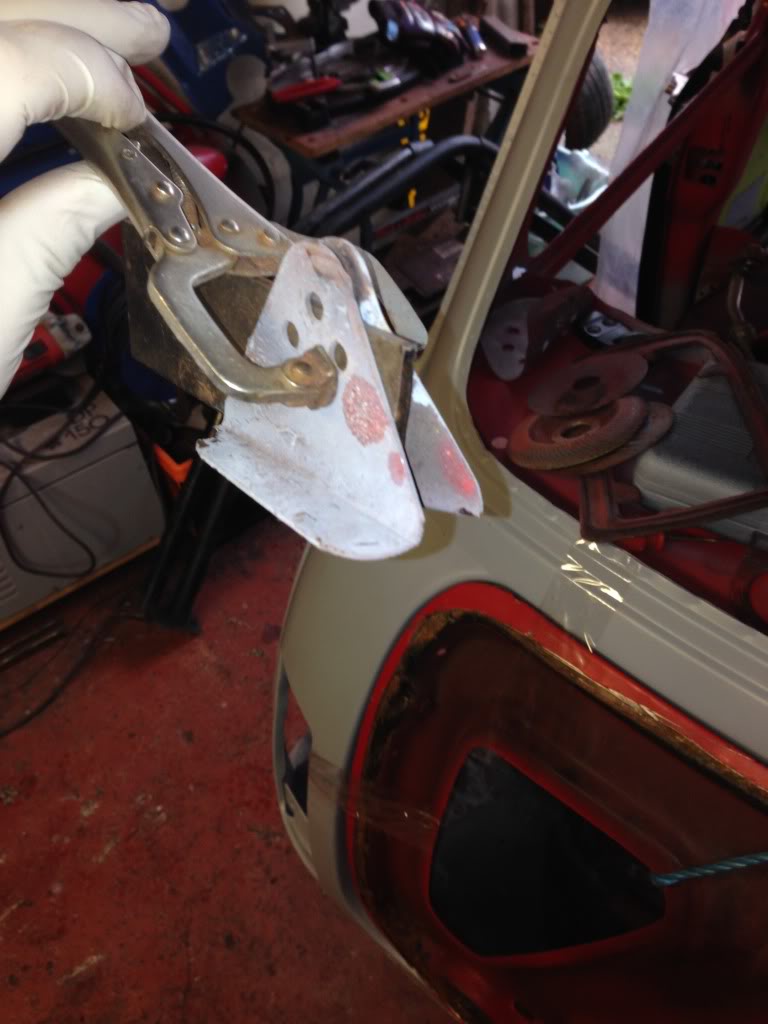
Then using my marks made with the boot kid on I welded then to the parcel shelf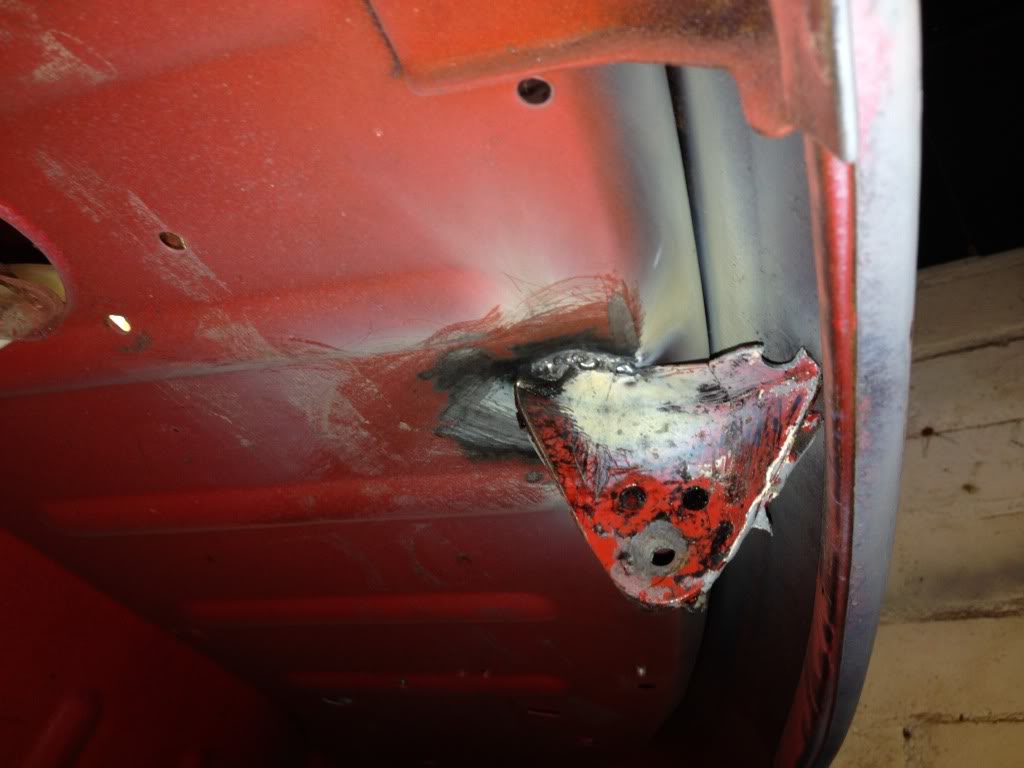
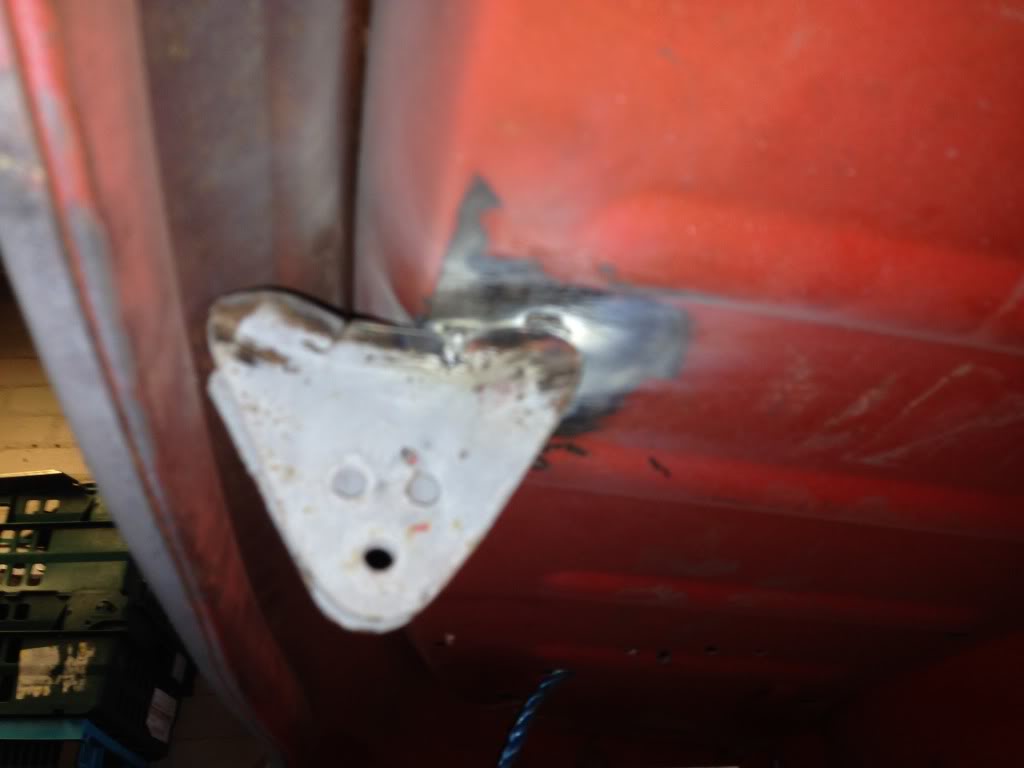
I must also admit at this point I have run out of gas so it's gasless until I can get some more
Wow what a build!
Posted by Diggymart on 1/17/20 @ 10:10:34 PM