You must be logged in to rate content!
4 minute(s) of a 192 minute read
12-17-2012
UPDATE!!!
first off a few thanks for the kind words
brum,brum,mike its slowly getting there. HughJ i think by the fire is the best place for this time of the year not sure why i put myself throught the cold. Grahama im glad you added the finishing part at the end as with the welder i have its all in the finish for me until i can afford something more reliable. Jasonc dont be jelous its freakin freezing out there lol. Skortchio ha ha i think there could be a thing or two you could teach me lol and finally junky it certainly has come a way since you saw it you and dave are more than welcome over anytime im not at work lol
Anyway now for the update picking up from the last post i was not happy with the panel so started again and added the angles and lips that were needed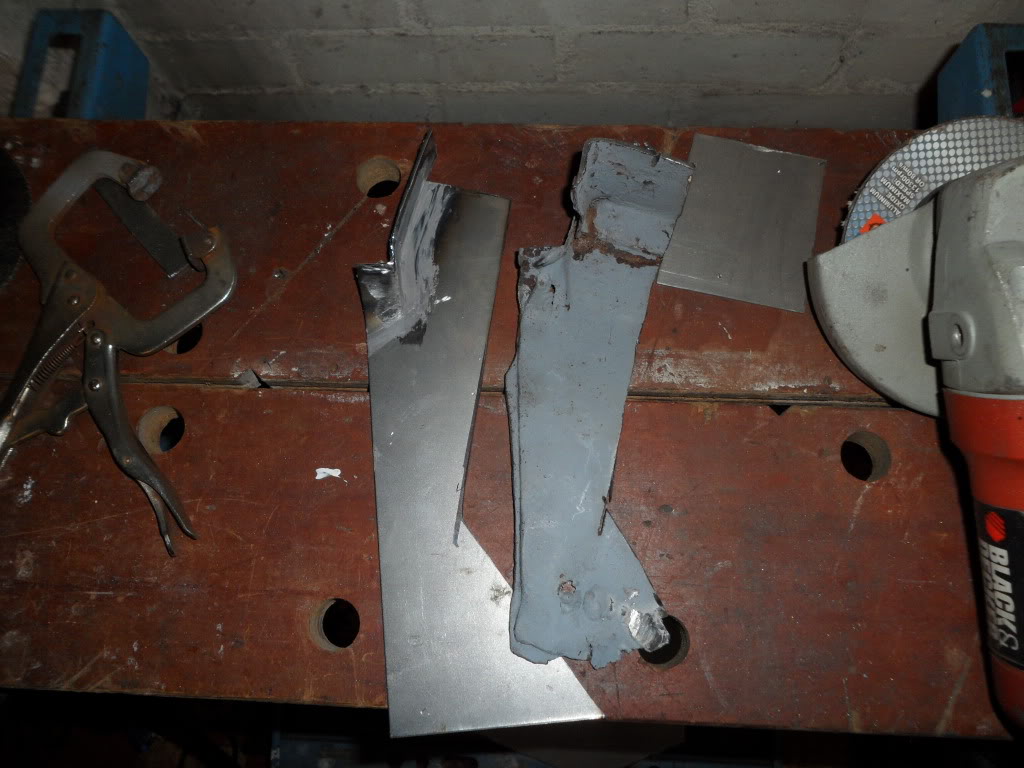
not excatly the same but the best i can do with my tools and the grey stuff is seamsealer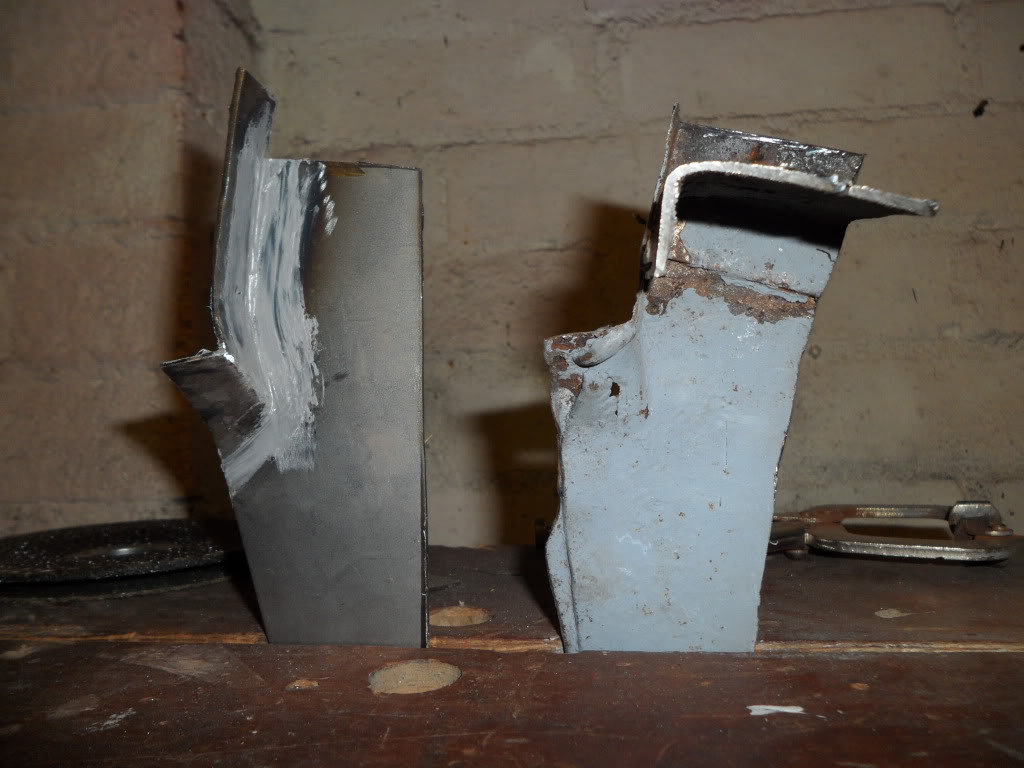
then got it clamped and tacked in place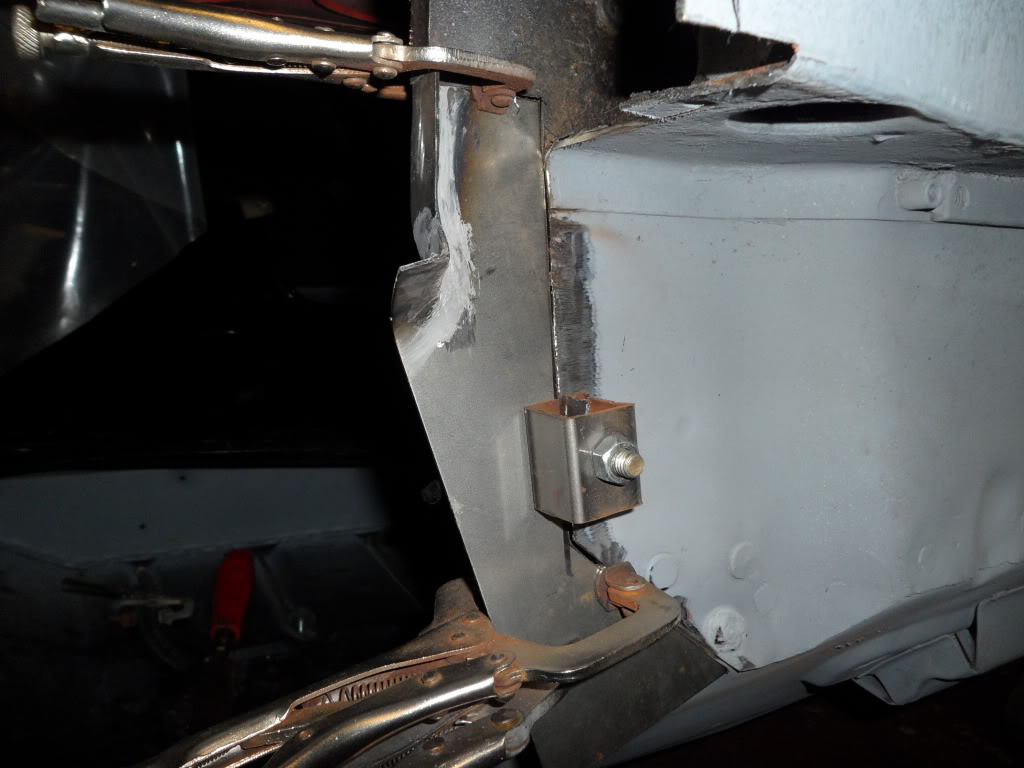
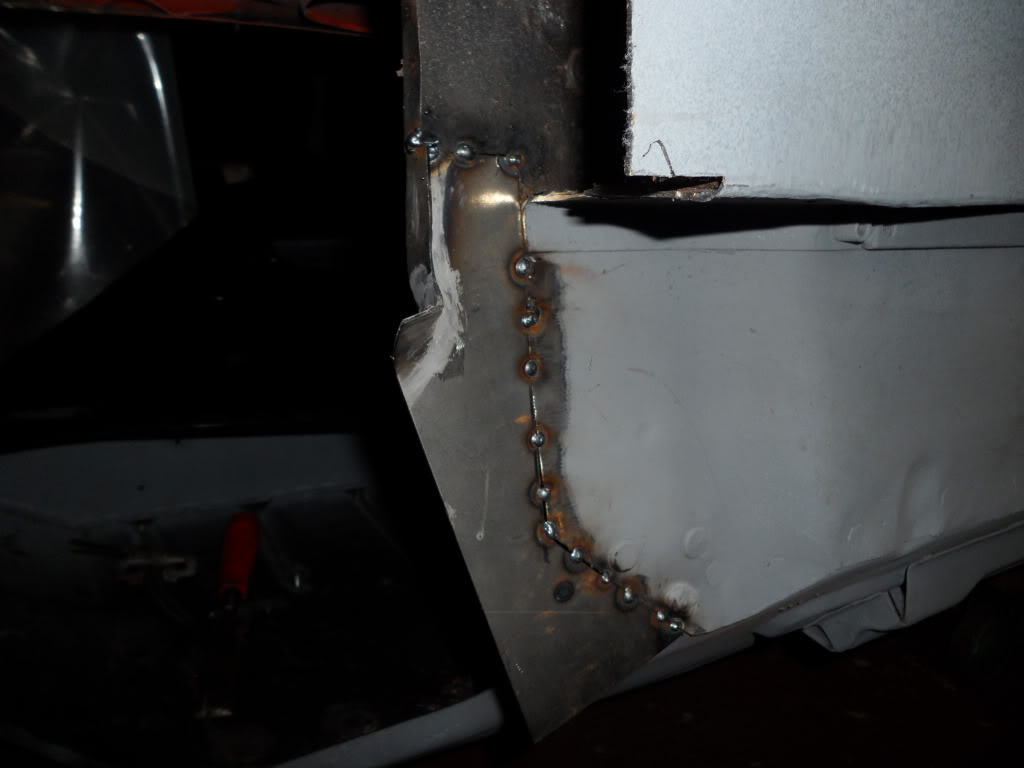
and then fully welded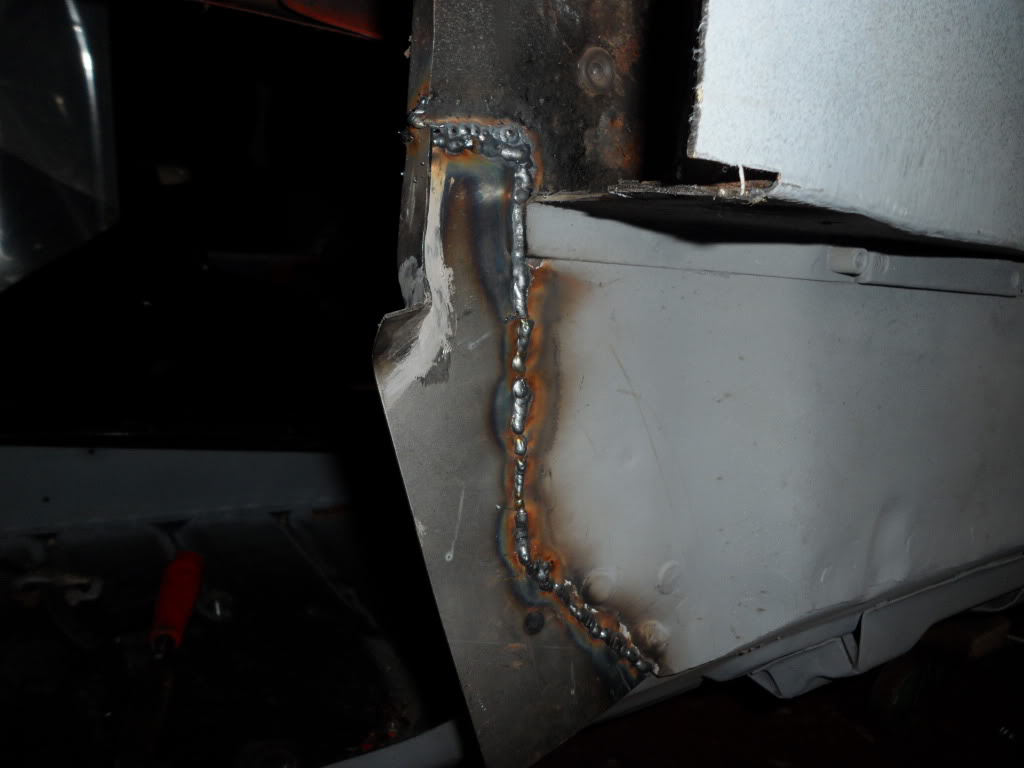
and then cleaned off although i was not very happy with the finish so ended up putting more blobs and made it look very messy but you will never see it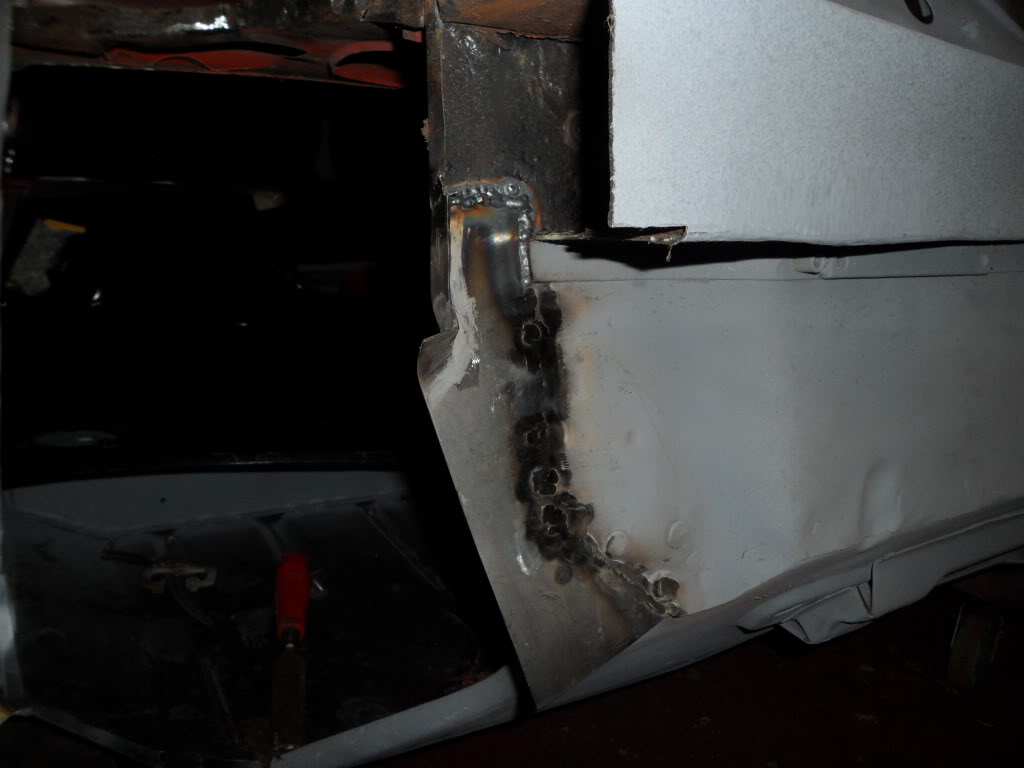
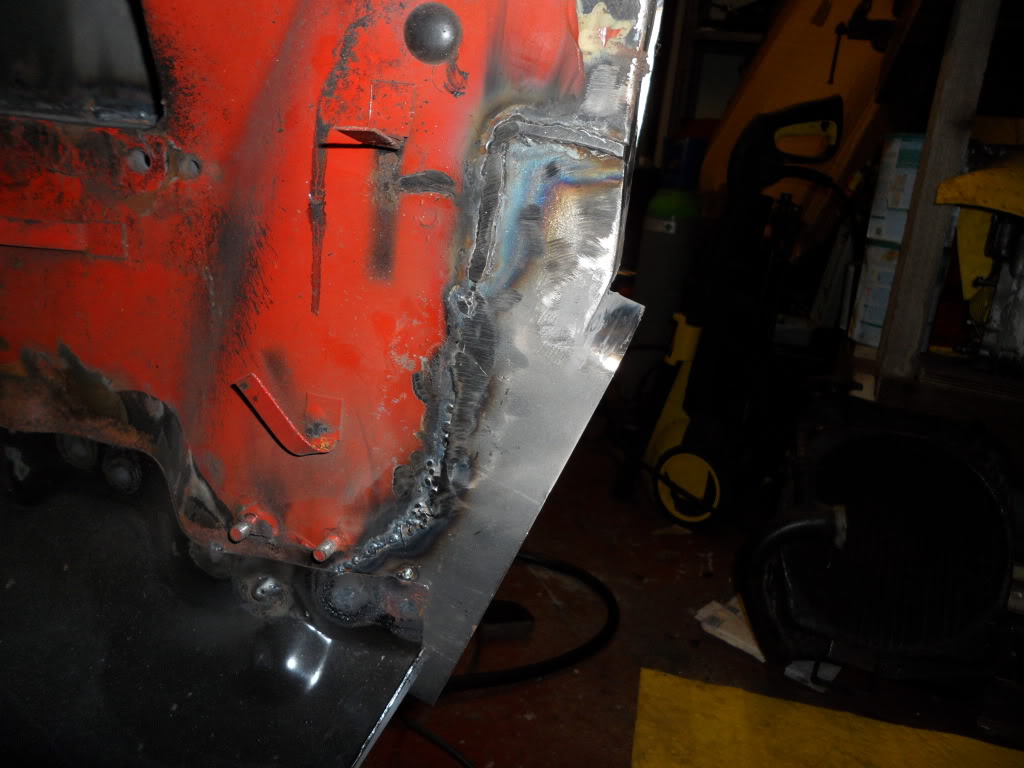
then i made up this little panel for the rest of the crossmember, first out of card then with flanges bent in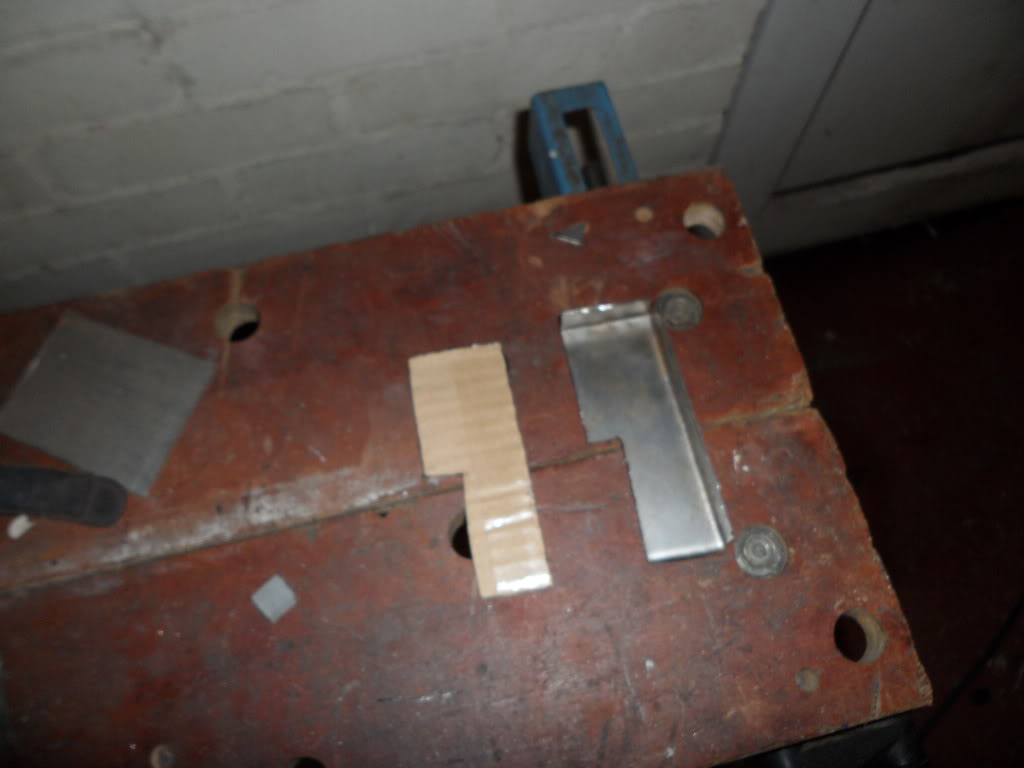
and then clamped spotted and for my first bit of upsidedown wacked up the power and wirespeed and it went ok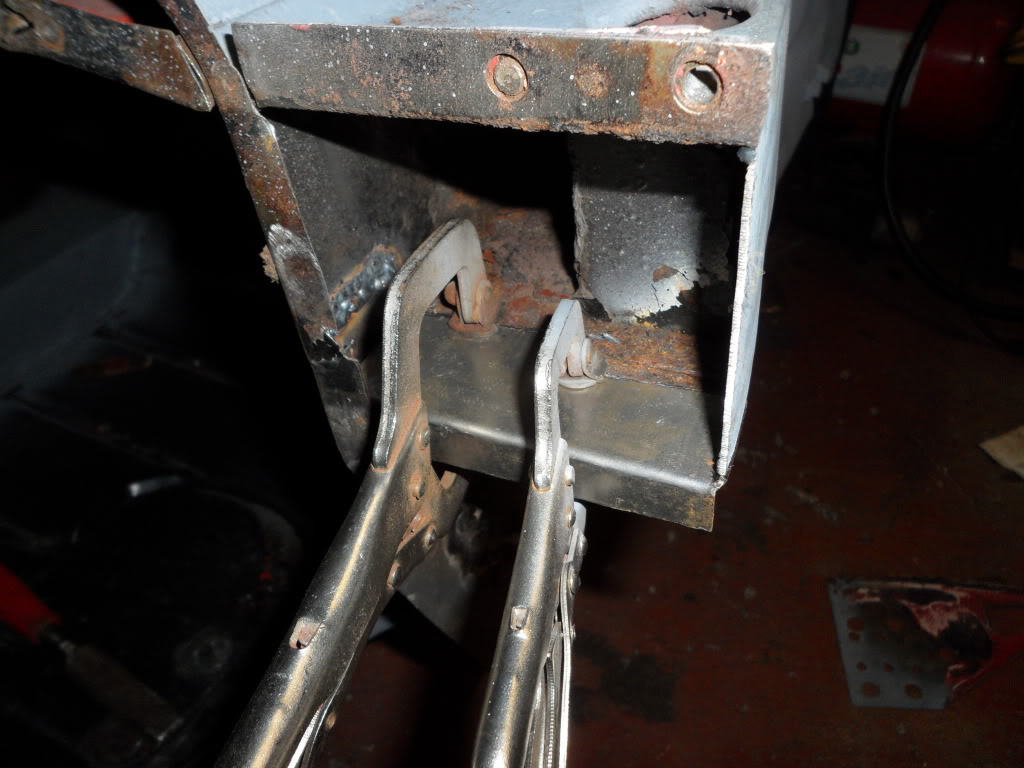
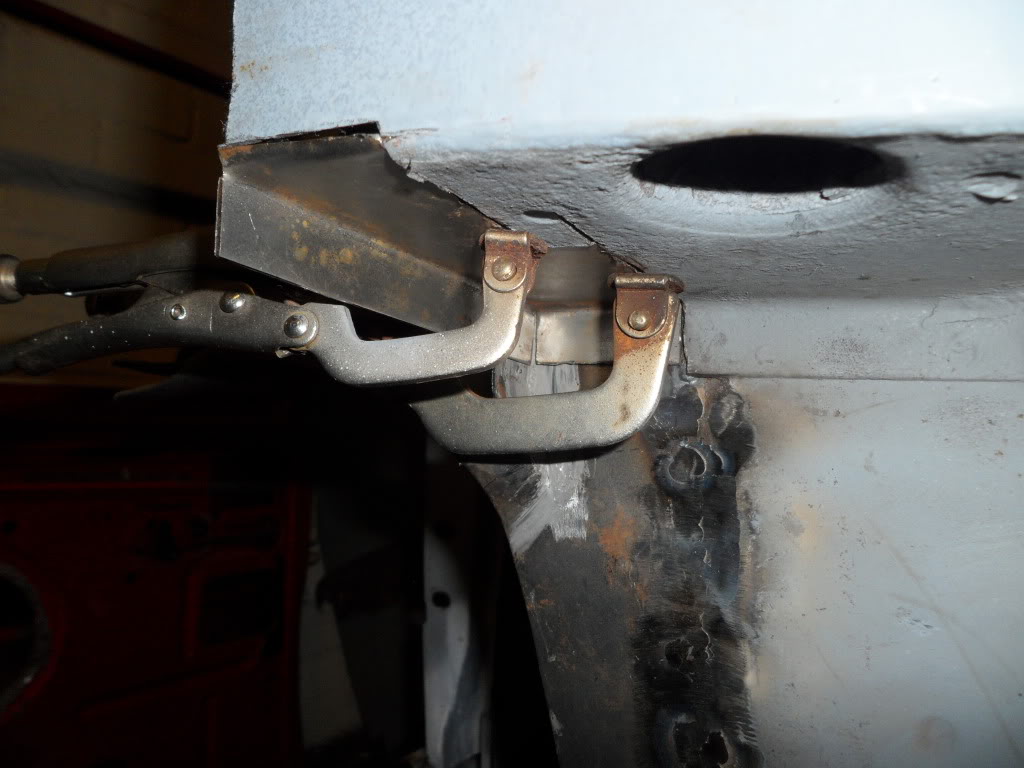
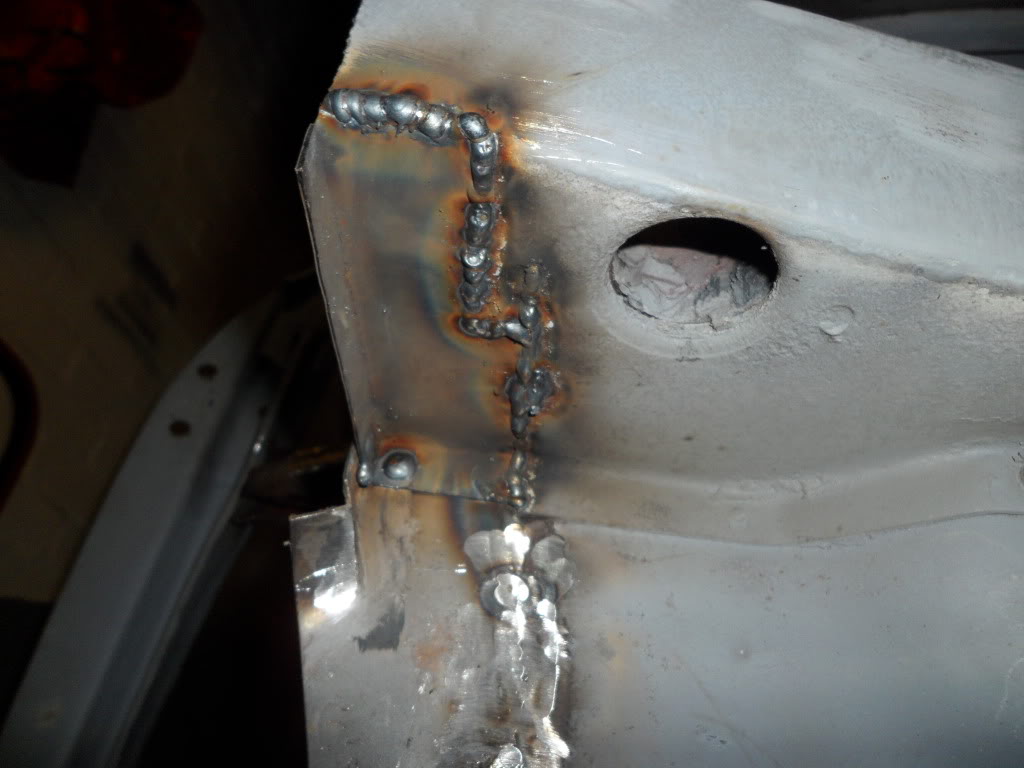
i welded inside and out on this part as it is high stress area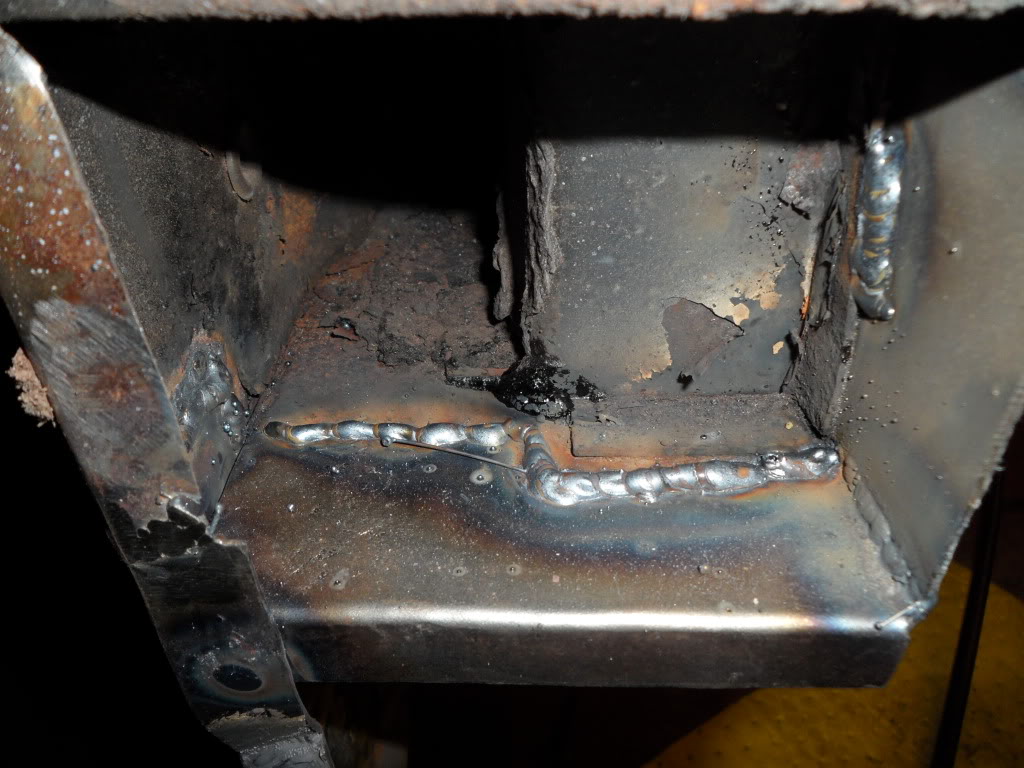
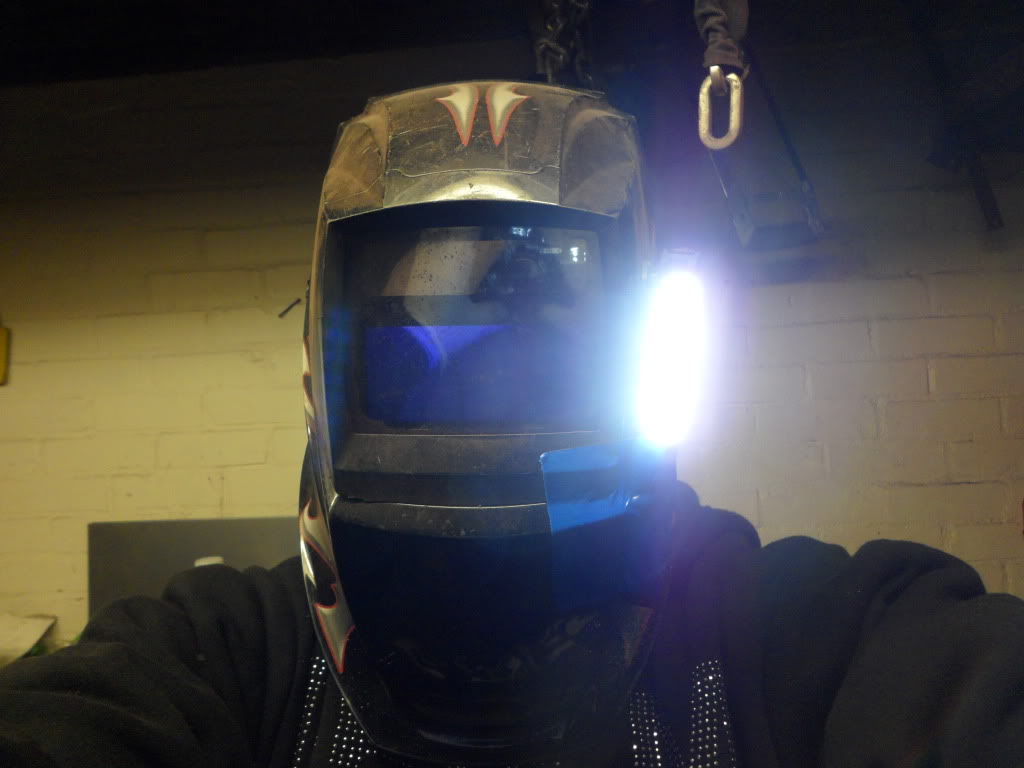
i have also managed to overcome the lack of lights i have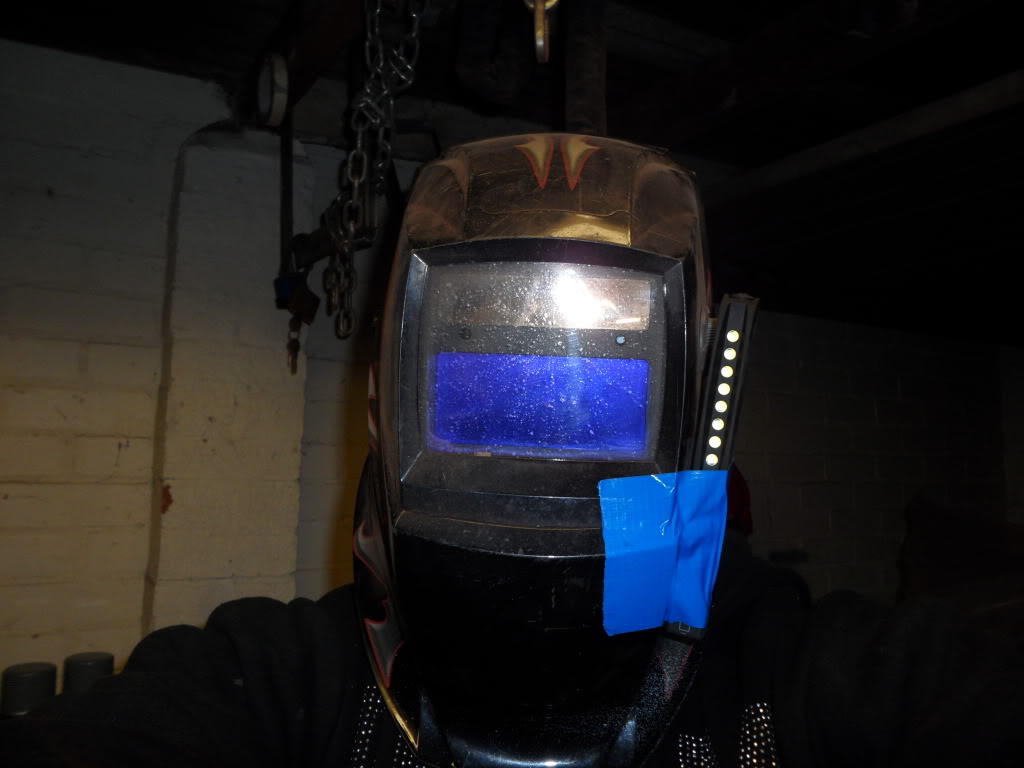
i then got on with cleaning it up and a bit of paint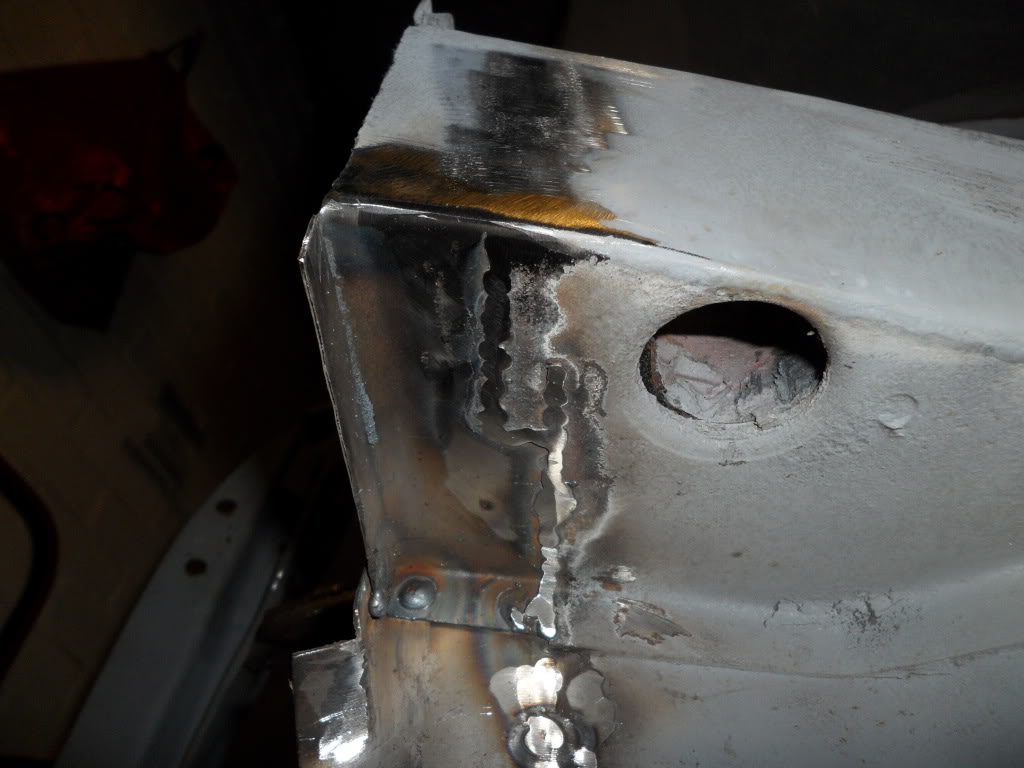
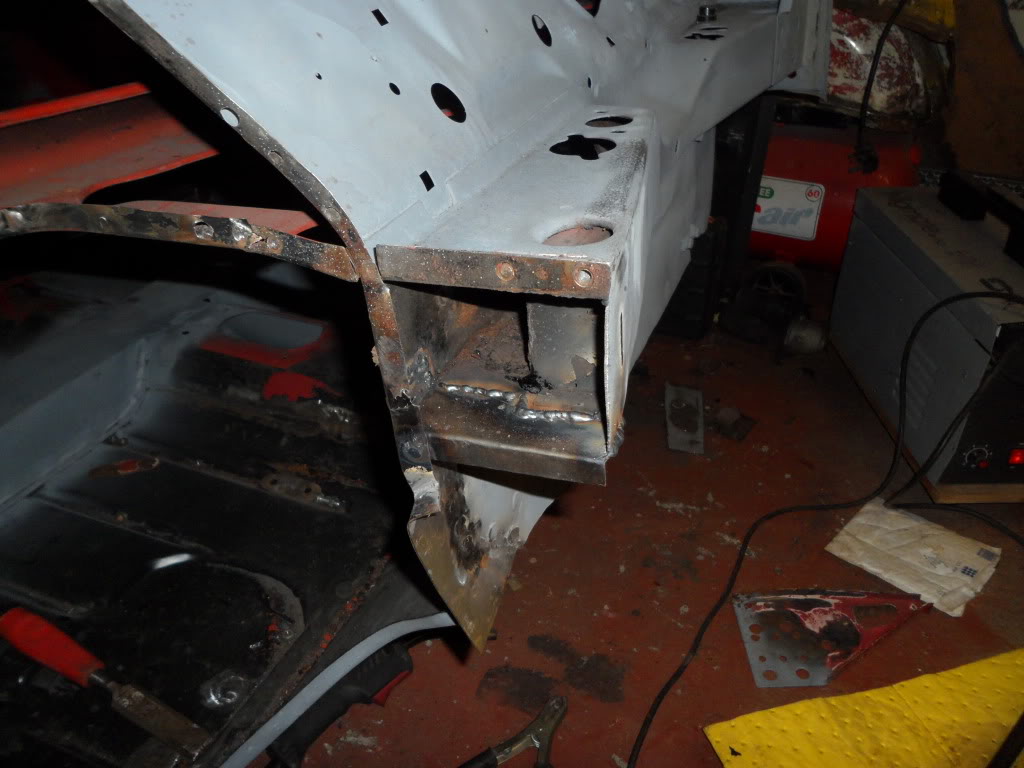
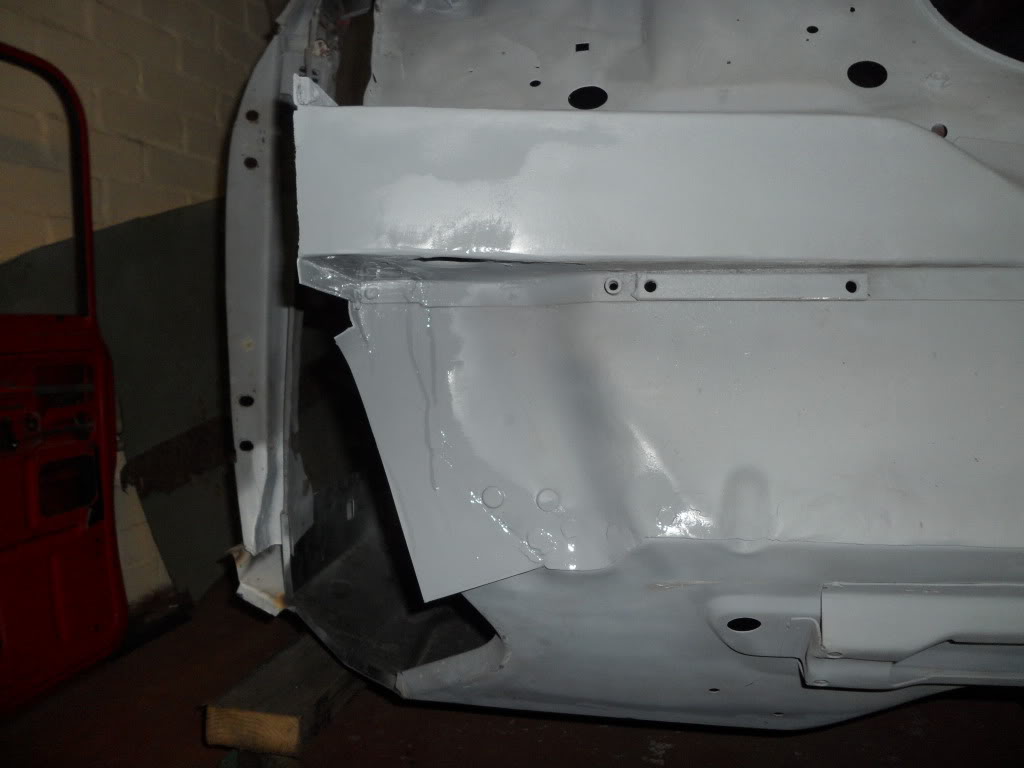
and also got round to painting the inside of the front repair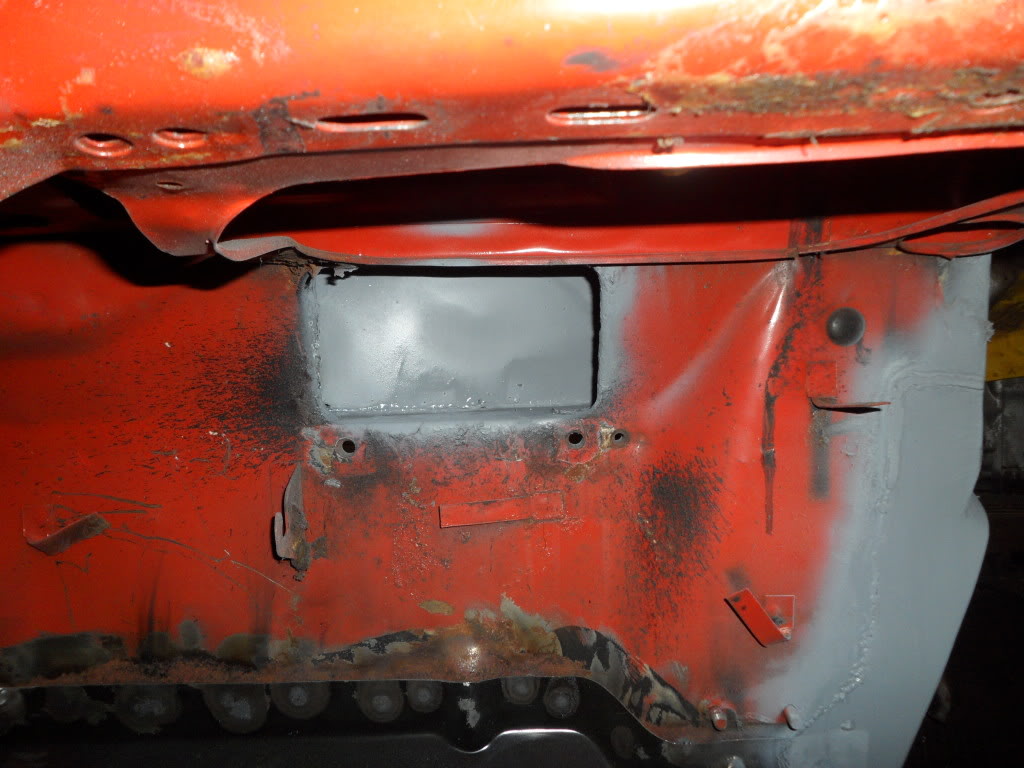
and this is how it was left tonight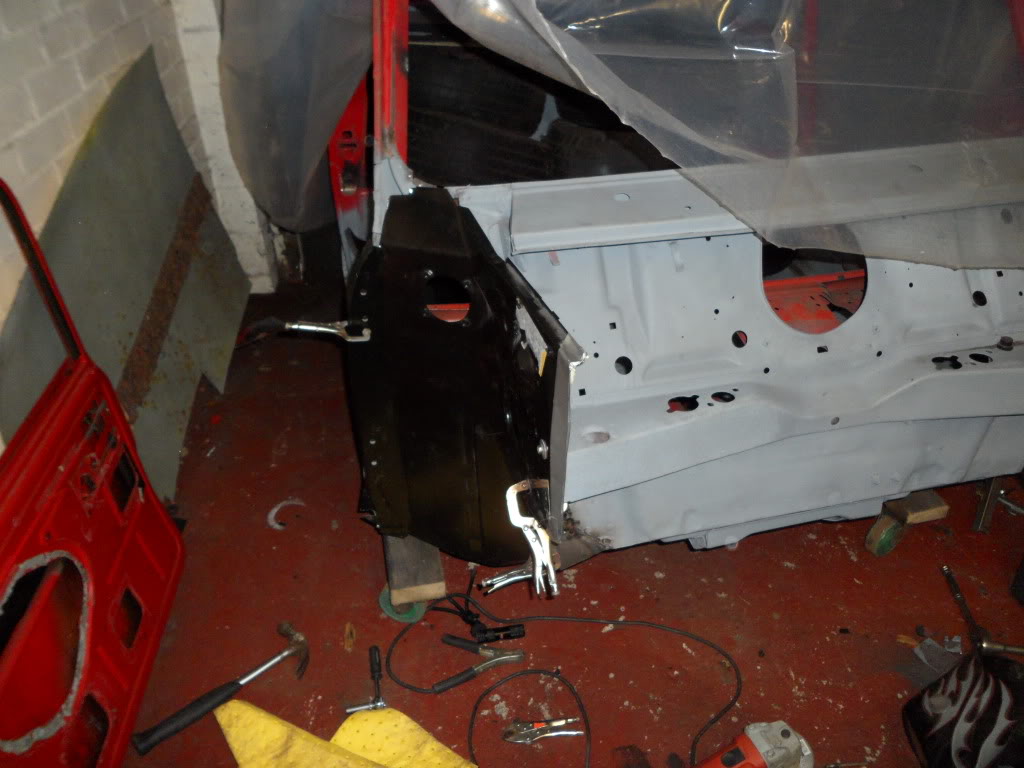
bolted and clamped up for its final fitting
so hopefully get this done later in the week but for now thats all
as always comments more than welcome Darren
Wow what a build!
Posted by Diggymart on 1/17/20 @ 10:10:34 PM