You must be logged in to rate content!
3 minute(s) of a 160 minute read
6-4-2007
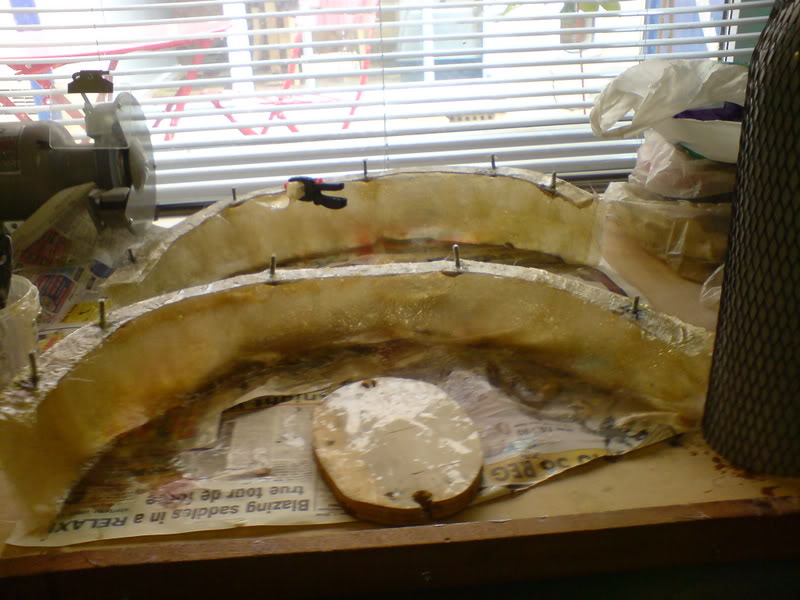
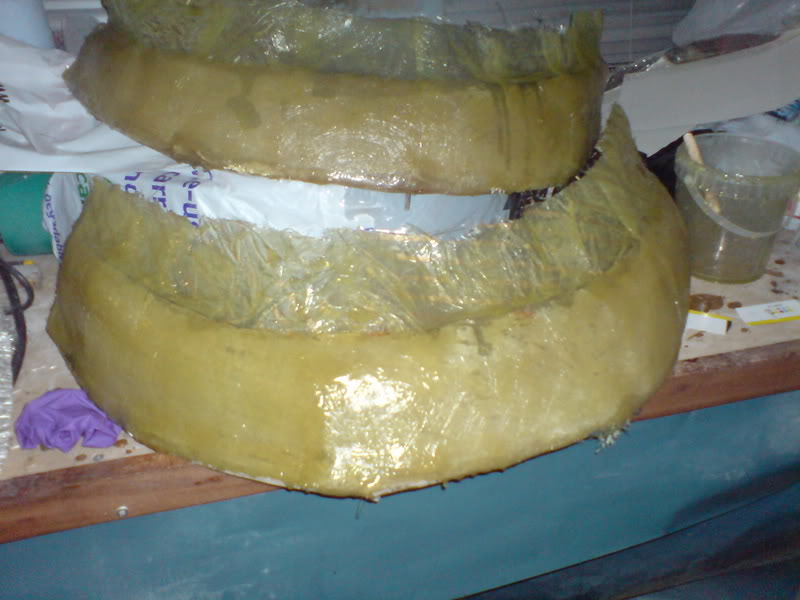
Have added some more fibreglass to the inner arches and they are taking shape ok.
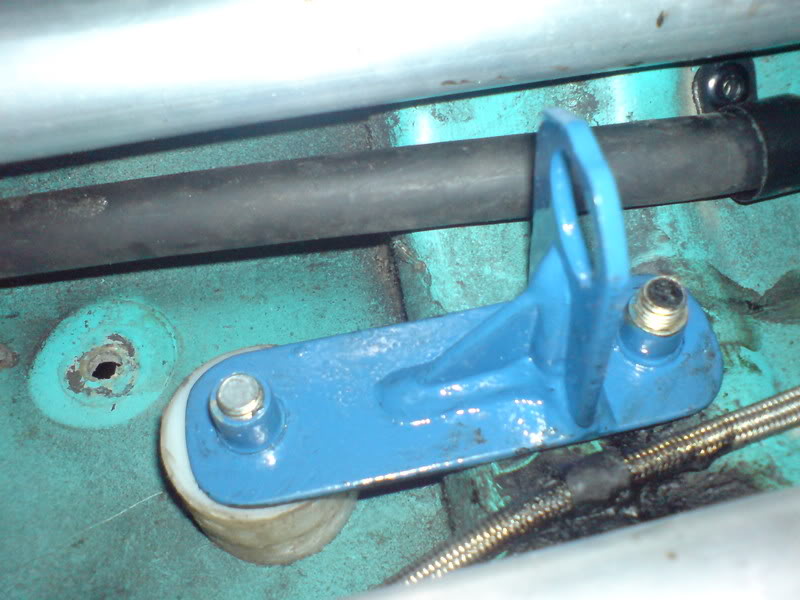
Plus in keeping with the racing modifications I have made an ally bracket and fitted a brake bias. it took a while for me to decide where to put it, because it needed to be easily adjustable from the drivers seat, but not get in the way of anything else.
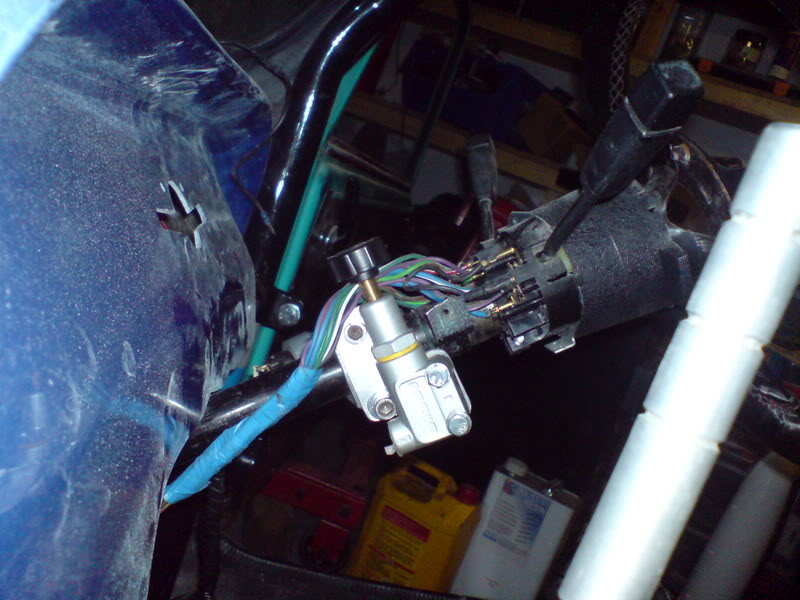
I just need get some different fittings for my brake lines before I plumb it in.
6-6-2007
Had to move the brake bias, i was planning to use a 90 degree banjo fitting to kit the lines nice and tidy, but the fitting is 1/8 NPT (stupid bloody american poop) and tapered, so it was never gonna work. This way is easier and I don't know why I didn't think of it before.
Easily adjustable and I can use the normal straight braided line ends you buy from wilwood.

6-30-2007
I have extended my inner arches, they just need offering up for final position before I graft on the vertical part of them that will stop road crud getting on my suspension and sprockets, etc.
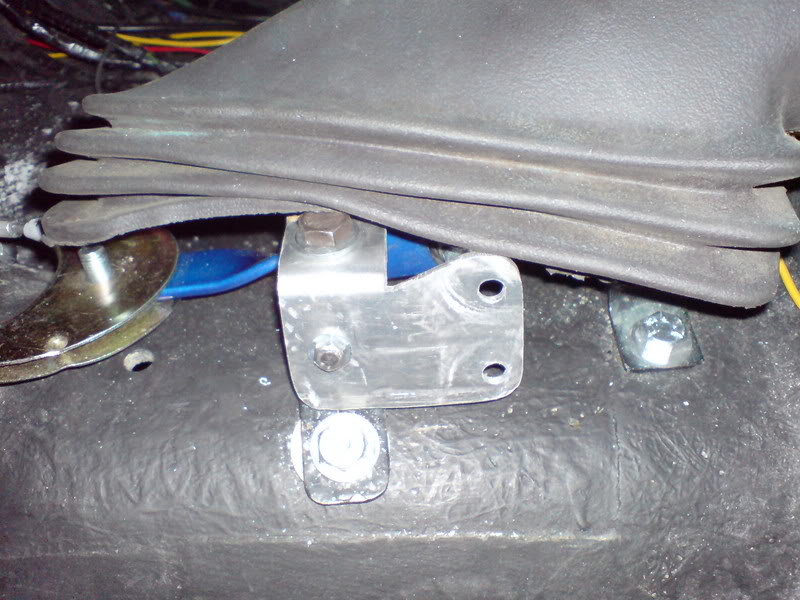
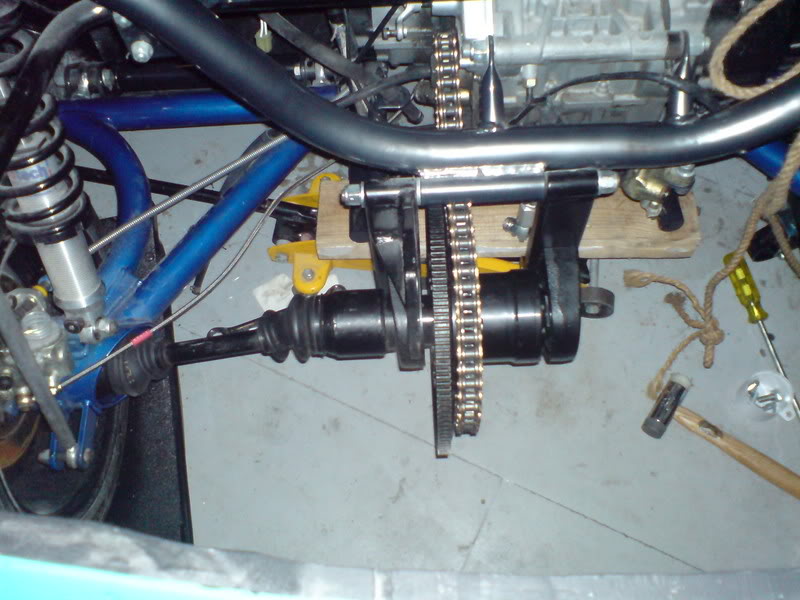
I have modified the gear change bracket to fit around the cross member bulge on the underside of a minus that is flat on a mini. The bracket needed to be about an inch shorter and I made a nylon bush for one side to make it fit the normal part of the exhaust tunnel.
My diff is finally back from DR engineering and is in bar one drive shaft.
I've been doing a lot of head scratching regarding 4 wheel alignment as the rears are not symetrical compared with the body. I have had it apart (again) and tried the frame in various different positions to no avail. Either the rear wheels are in line with the front wheels and the body has moved or the zcars 4 wheel alignment wasn't up to much. If so, I may need to make new spacers for the rear arms. I'm gonna use the old faithfull string measurement technique to check the alignment, but I'm gonna get on with other stuff until I can figure it out.
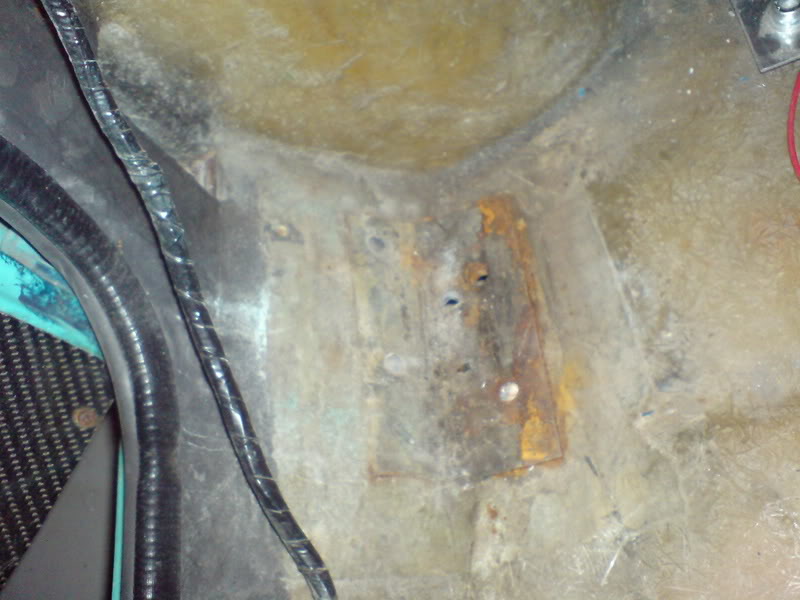
...so I've stripped the front cage out to restore or replace (if needs be) all the integral steelwork in the body in the front floor pans, and another layer of grp as I have already done with the rear half of the shell.
-A before shot:
Very cool build!
Posted by Diggymart on 2/5/20 @ 8:09:06 PM