You must be logged in to rate content!
5 minute(s) of a 160 minute read
4-14-2007
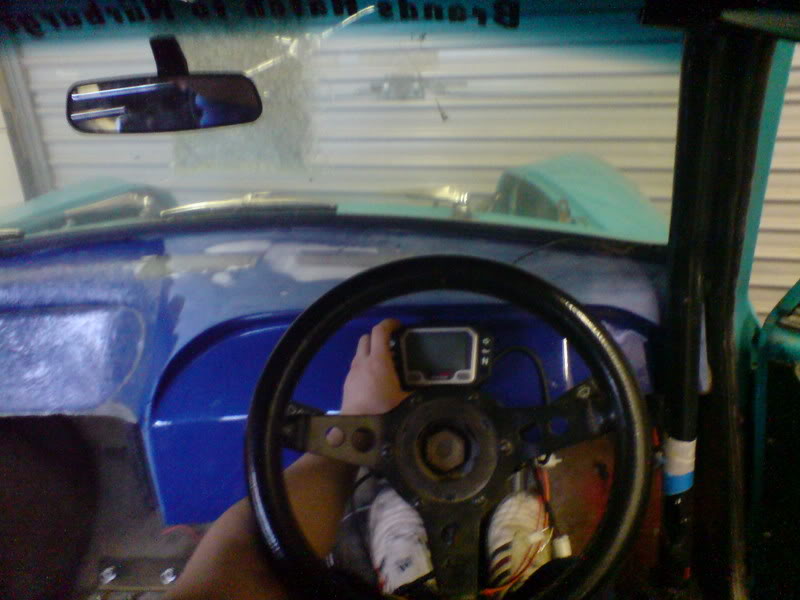
I temporarily put a seat in today...
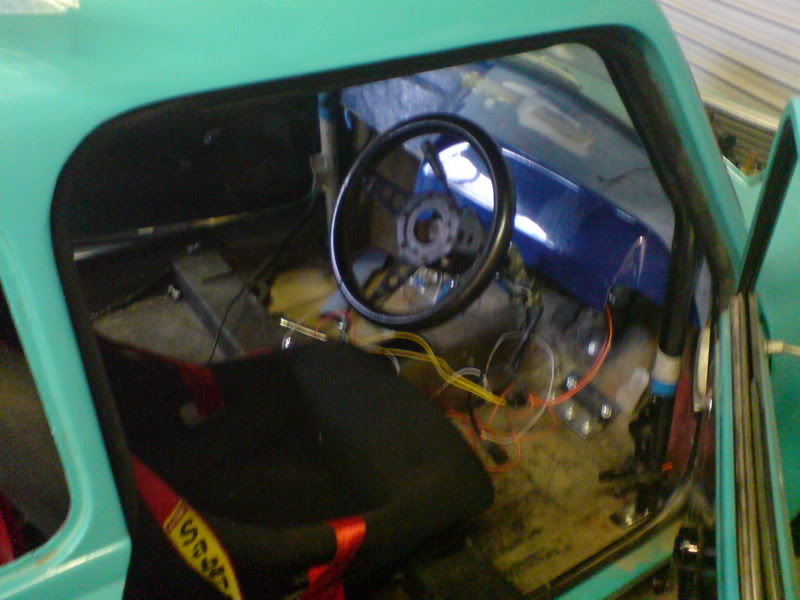
...in order to mock up where the digi dash will go, but I'll have to wait for my dash bar to come back, to get the position of the steering wheel perfect before I can fit it.
4-16-2007
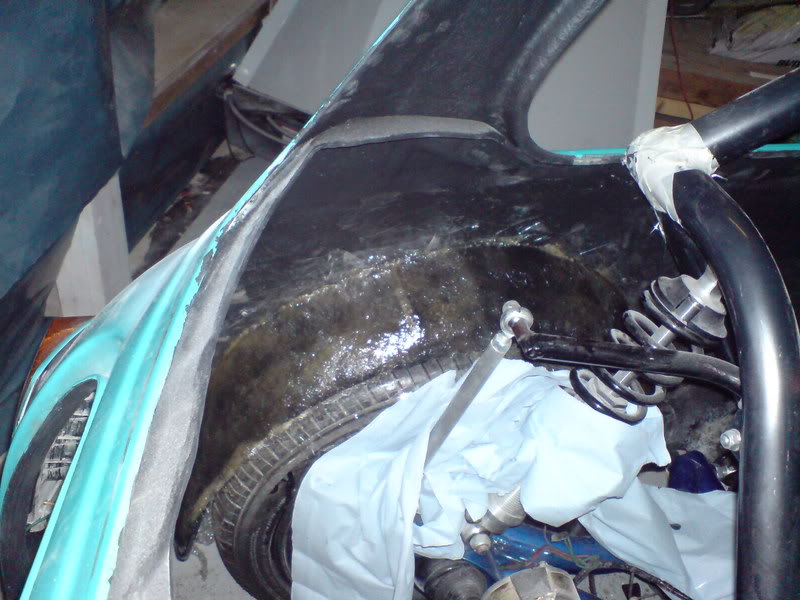
I work very strange shifts so progress comes as and when, plus it has to fit round a social life too, so sometimes It all fits in and I can get some work done. All my hoses have arrived, I will be cracking on with that shortly. I have just ordered a piece of 'S' shaped tube and some other bits so I can get my rear stabilizer bars sorted and have a go at fitting some inner arches too.
- Fill petrol hole, sand rear half of roof interior and paint the lot.
- bolt cage back in.
- make a dash bar that also steadies the steering coloumn.
- strip back grp and restore all metal in front half of interior, then recover in grp (as i did with rear half).
- remove non ltd slip diff and exchange it for semi- race gripper diff and drive shafts.
- fit hoses (waiting for correct 25mm ones from Z's)
- refit tank
- fit dash and console and fix bloody great holes I put in it!
- fit exhaust manifold
- make a steady structure for rear end (body work wobbles a bit) and hang back box off it too.
- fit throttle position sensor.
- modify pedal and fit throttle cable
- fit gear cable.
- finish fitting brake hoses and rear fit clutch cable then bleed em.
- fit (and buy, come to think of it) sump baffle, change filter and fill put new oil in.
- make and fit bottom half side pieces of bulk head and then fit the whole thing.
- fit expansion tank
- make rear number plate bracket and light.
- fit battery cut off and wire instrument panel and rear lights.
- and final note to self...don't look at this list again as it's depressing. LOL.
-Fit scott oiler
5-9-2007
Well, I've had dash bar back from powder coaters a little while now and so have had the oppurtunity cut the dash down to fit over it.
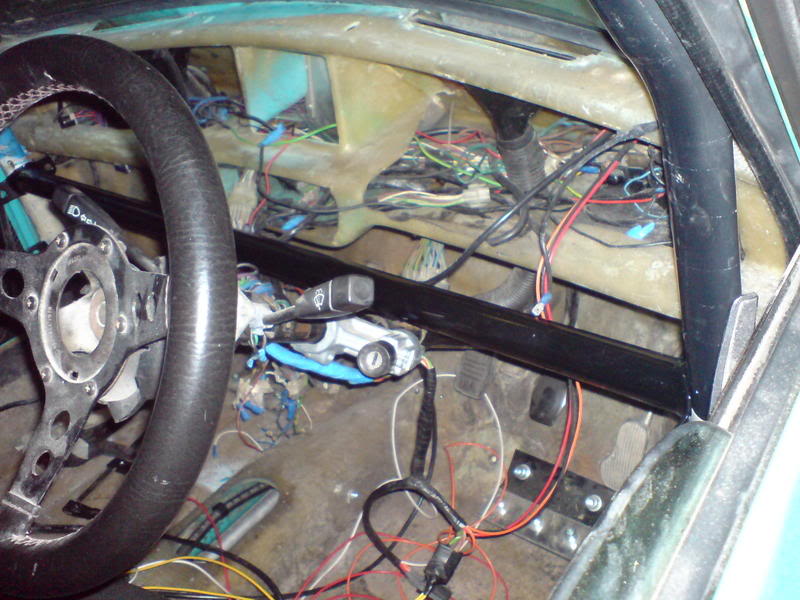
Also realised that I would have to remove roll cage to remove dash so set about modifying it so that it could be removed easily. I created a lip on the front face.
then cut the dash in half under the lip. I then drilled through the lip and fitted some steel plate with threaded inserts on the rear of the dash.
Then fibreglassed a lip in the rear of the dash that also fixed the plates in position. The dash now easily splits in two and is held together by four button head bolts. I'm very proud of the end result.
I started to make up some bulk head templates
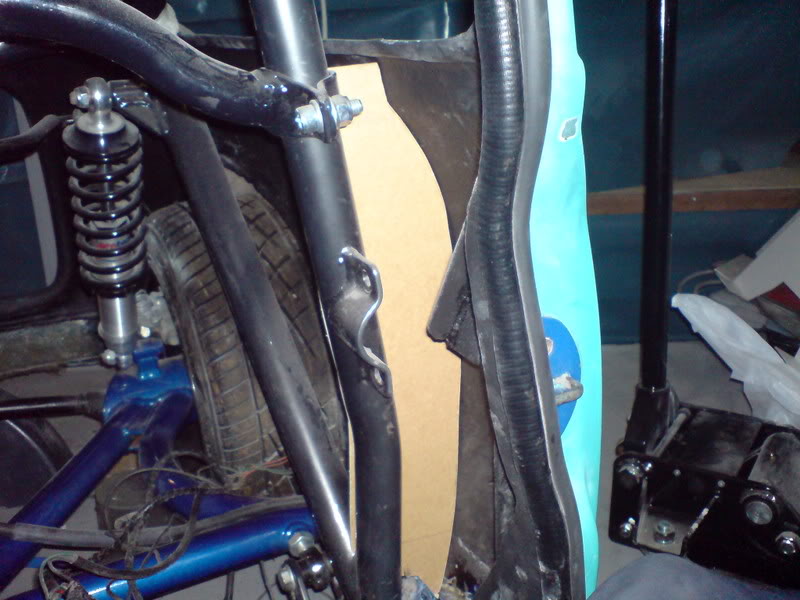
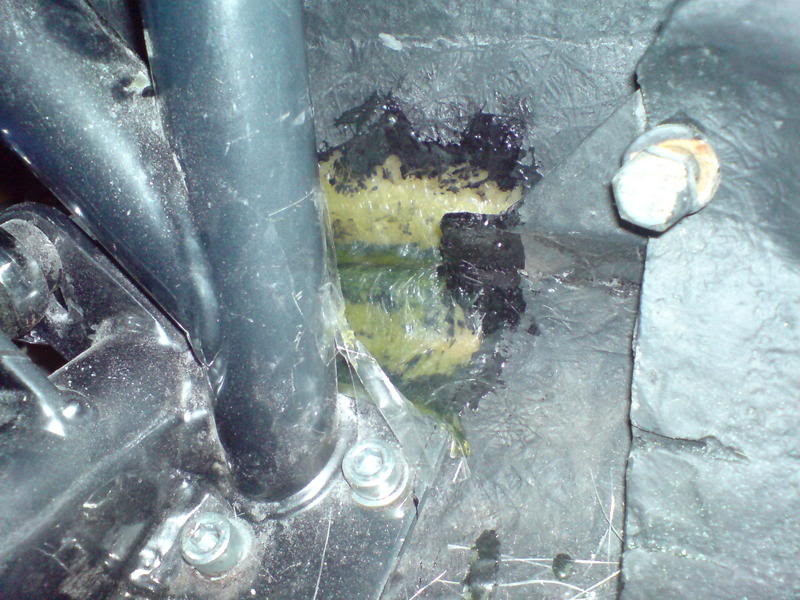
and realised that the angle iron set into the floor and the bottom of the integral roll hoop and seat belt fixings was getting in the way, so I set about chopping a section out on each side of the car.
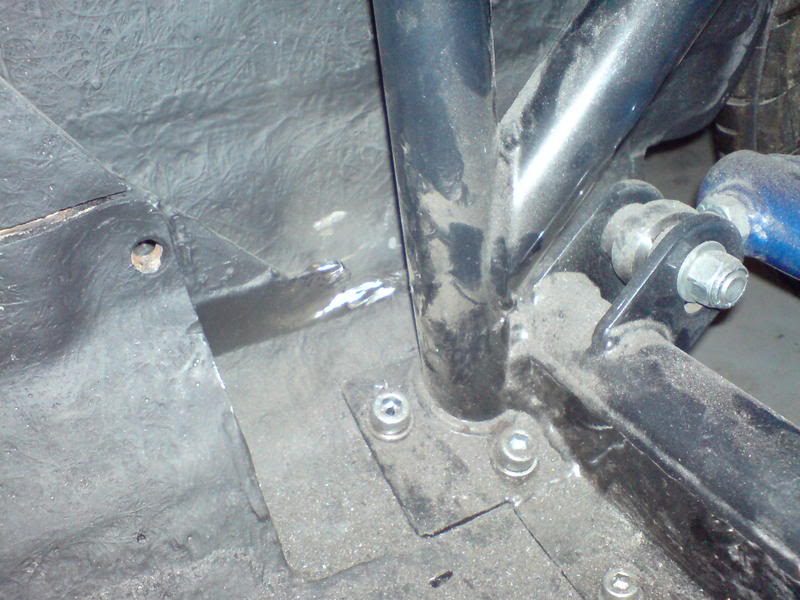
I rust treated and painted the steel and then grp'd over the top.
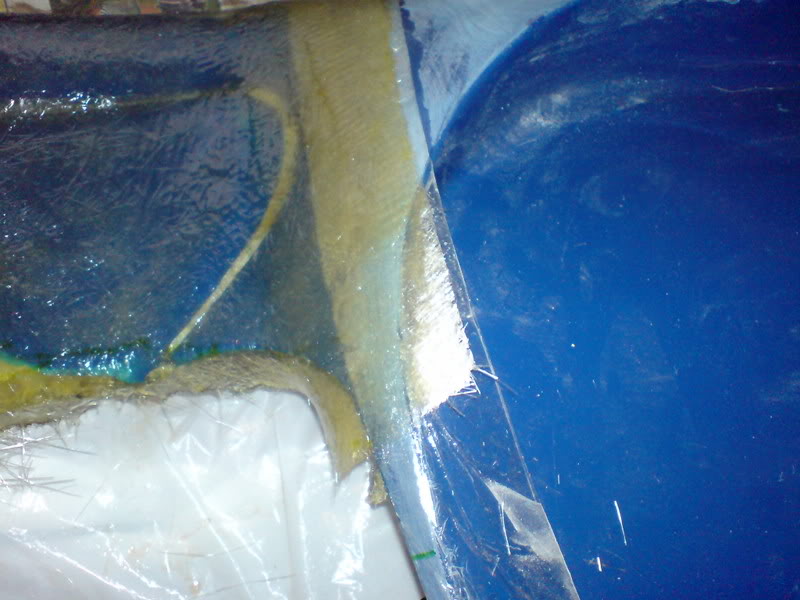
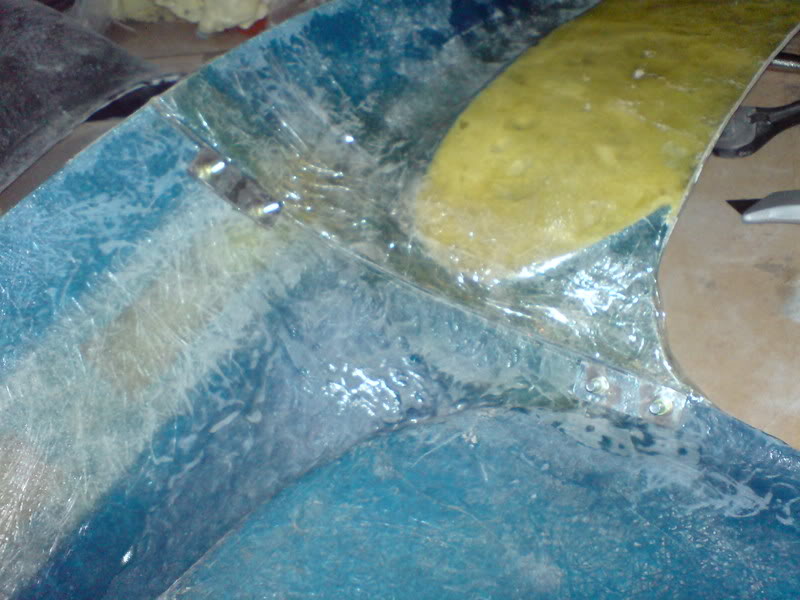
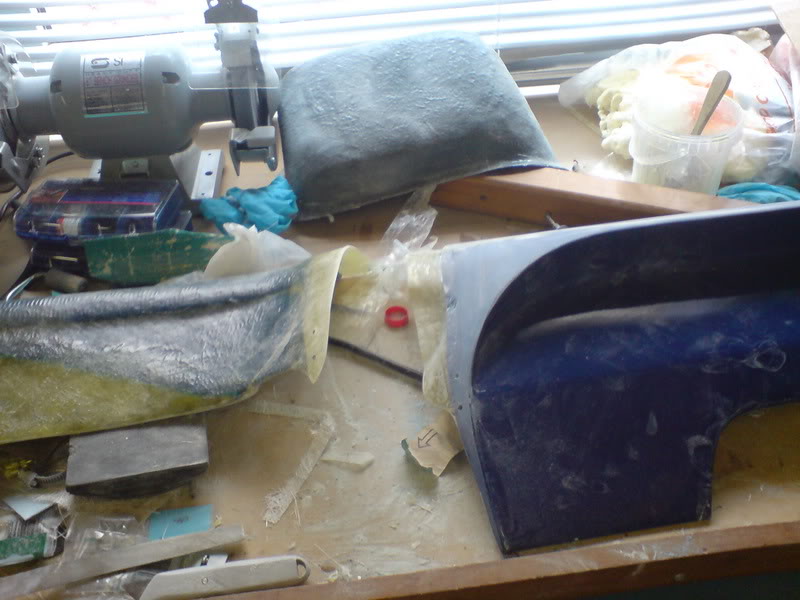
I bought a pair of crappy sports pack replicas at the Riv Run for a fiver and started to mod them to fit.
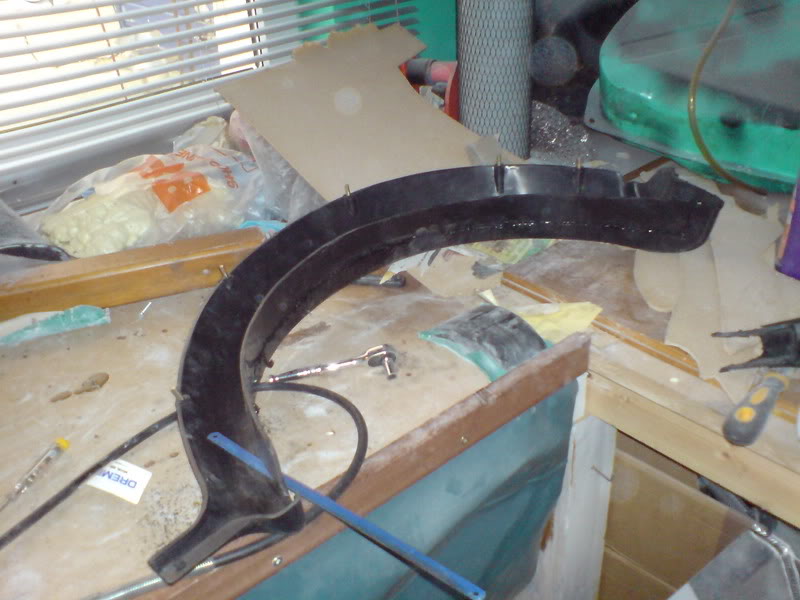
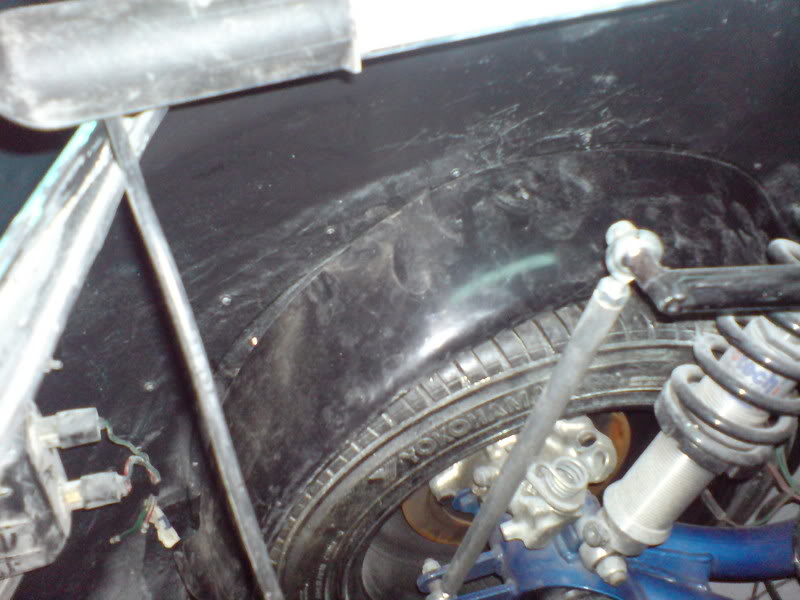
they don't quite do the trick as they are too narrow at the front and the studs are too short to get through the thicker grp shell. So once fitting exactly how I wanted, I've scuffed them up.
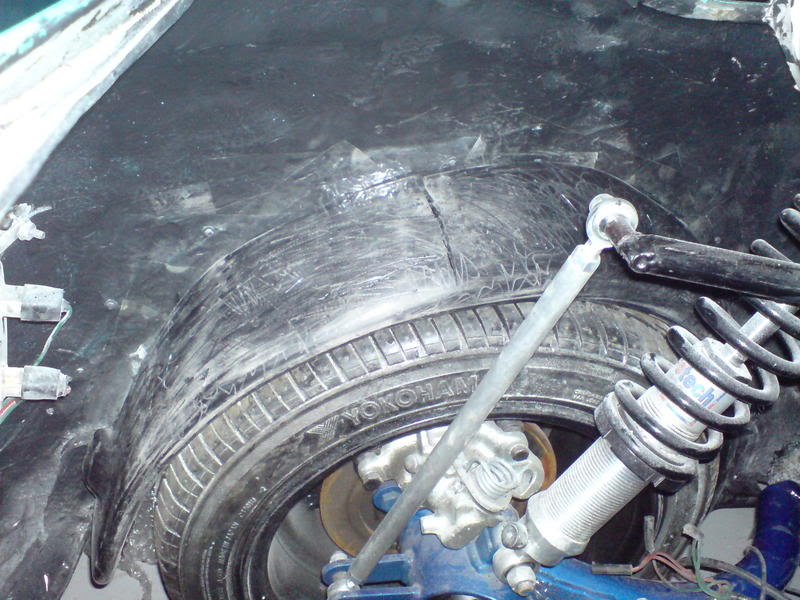
and layed some good old grp over them to stop them flopping about, so I can remove them and copy the stud pattern and create some longer stud arches.
The studs come out under my blended-in outer arches so will be totally hidden.
Very cool build!
Posted by Diggymart on 2/5/20 @ 8:09:06 PM