You must be logged in to rate content!
4 minute(s) of a 160 minute read
9-13-2006
Here is the top piece. It fits ok, but I'm gonna have 4 gaping holes
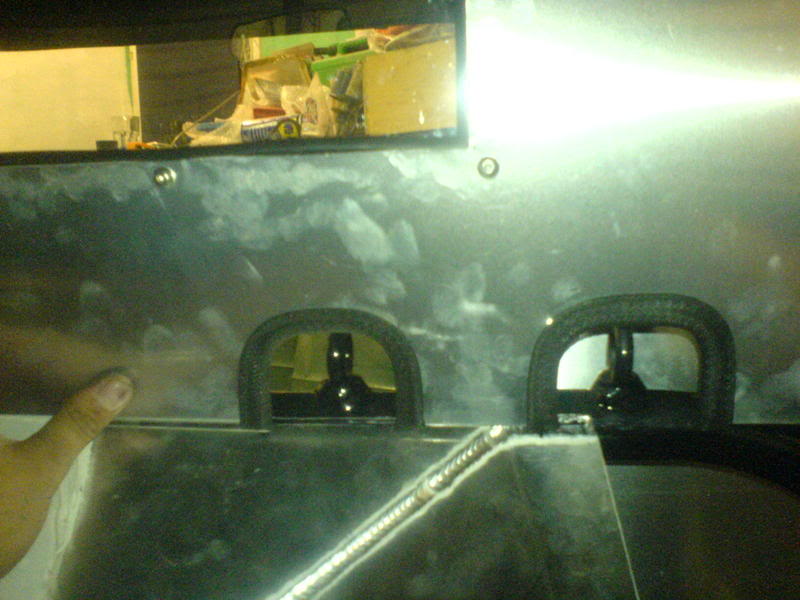
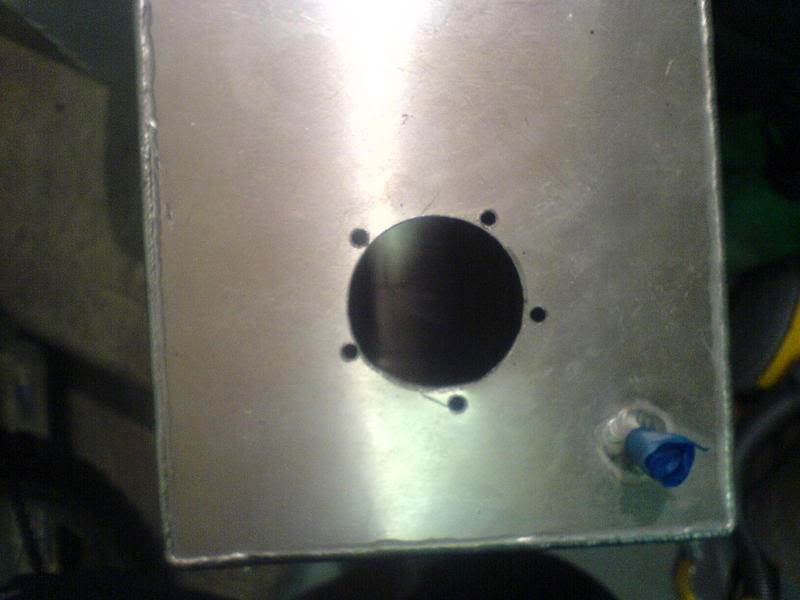
I have now cut a hole in the fuel tank along with 5 tapped holes for fitting a universal fuel sender.
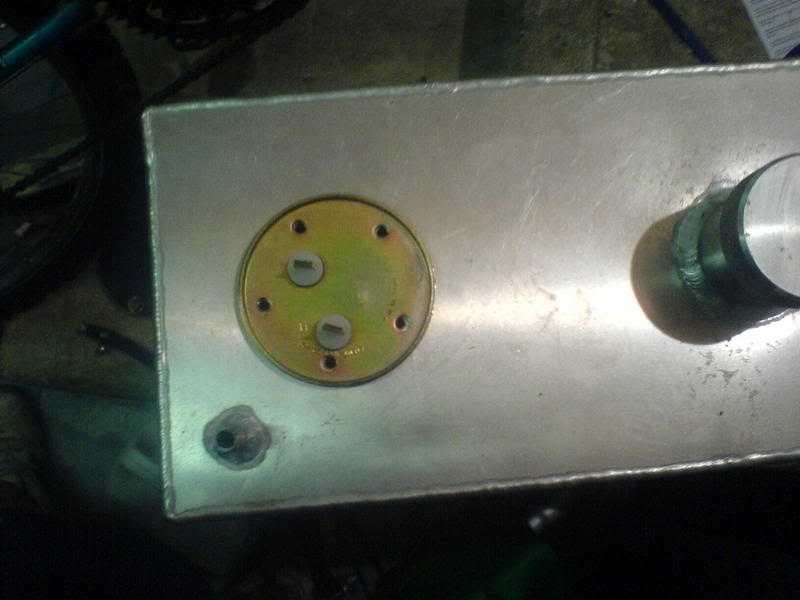
You have to work out how deep and how long a pivot arm you need. The instructions that came with it were pretty straight forward and it's all built up now and trial fitted.
9-14-2006
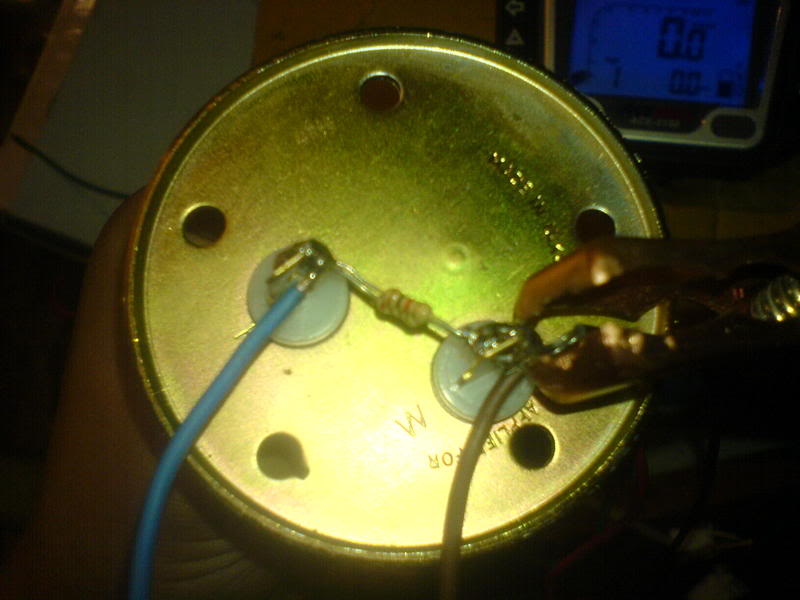
Using an acewell digidash with everything on (including a neutral light-very useful!). Having just set the bloody thing up and testing it, I realised that it was reading opposite (full when empty and vice versa) the sender is the universal smiths one from demon-teets. it is 10ohms empty and 240ohms full, which is way off from the 100ohms empty and 0 full that the acewell dash requires. so I'm gonna have to turn the sender upside down (no big deal apart from the fact that it now involves welding a bit onto the senders rod as I've already chopped it down to size, for the wrong position) and add some resistors across the senders points to get it somewhere near correct. I'm just brainstorming with ed4ran at the moment, to get the exact ohms of resistors required.
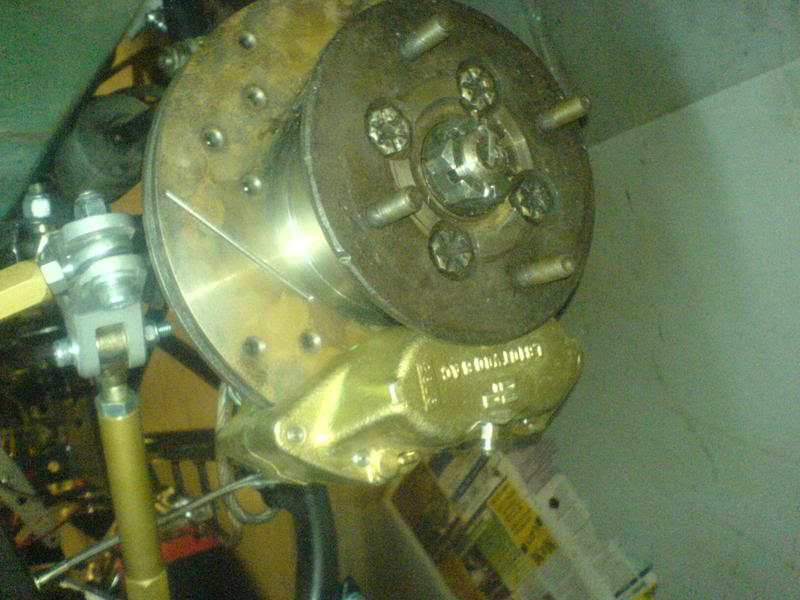
fitted calipers and set about fitting brake lines today, but I'm having trouble with the brake line kit from z's. I think I am missing the bolts that go through some banjo fittings into the rear calipers.
Also, FAO z cars owners:
What is this bracket on the rear frame for?
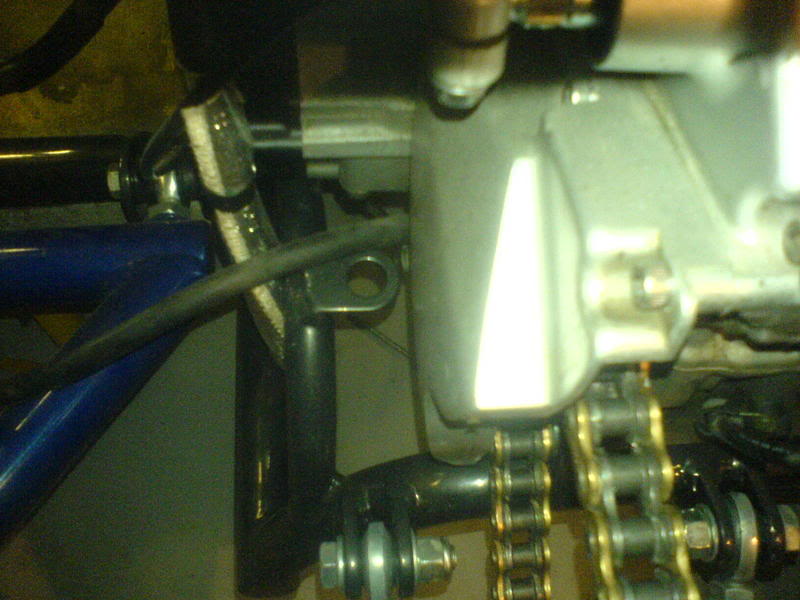
Actually, just had a brainwave - It's gonna be the fixing point for the clutch cable isn't it.
Here's a pic of my calipers fitted
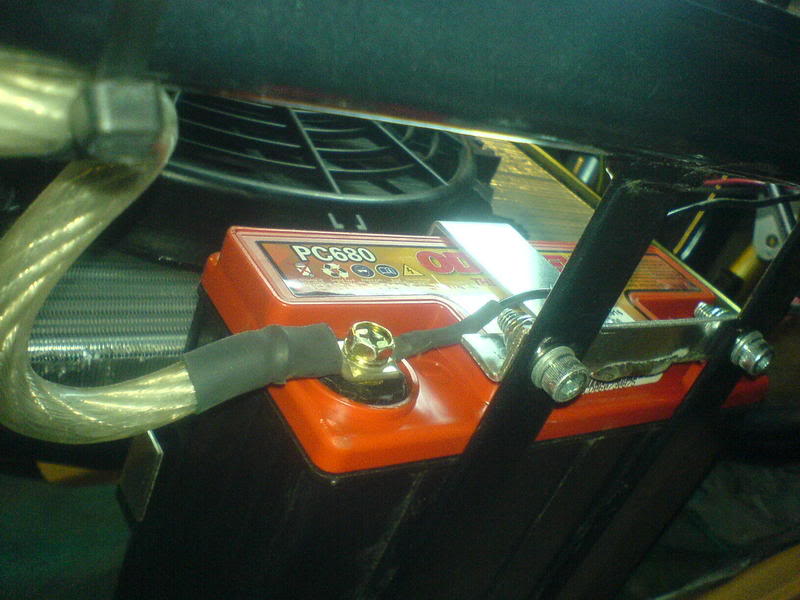
Sealed battery is fitted. under front subframe.
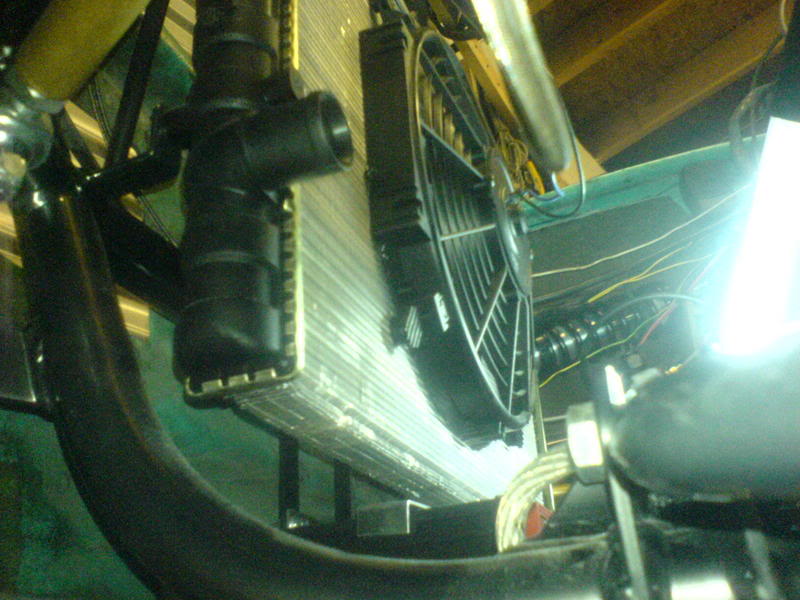
Large electric fan has been fixed and tiger sealed to the rad and wired to the rad switch.
fuel pump fitted

It's the standard fuel pump for a carb'd R1 Bike. I could have got a nice new bosch one, but then I'd have to fork out for a requlator too, so It made maore sense to stick with the original equipment.
Here's the digi dash. wired up to a battery charger for the time being, in order to test the sender.
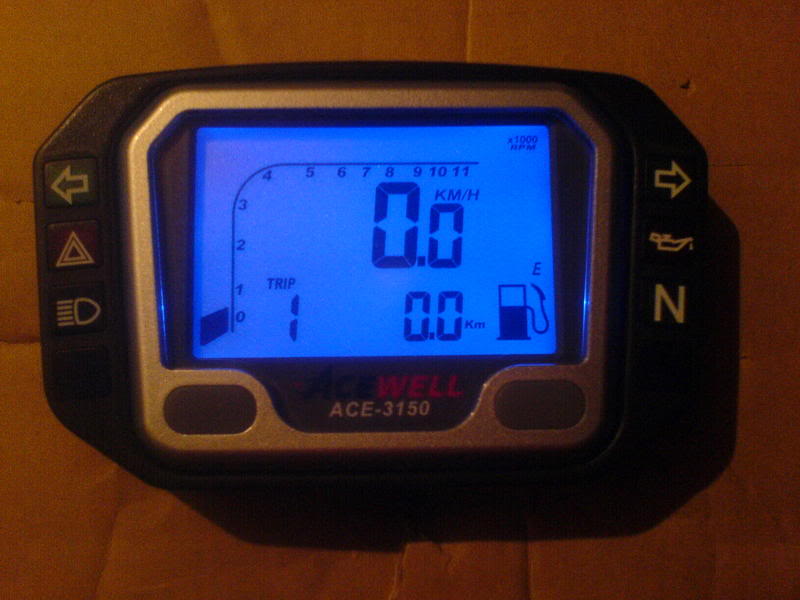
Which I have now modified and added 140ohms resistors. But I think I may have blown the resistor part of the sender, when I was buggering about, because now it doesn't read at all!
Very cool build!
Posted by Diggymart on 2/5/20 @ 8:09:06 PM