You must be logged in to rate content!
7 minute(s) of a 203 minute read
3-5-2014
A couple of interesting videos
Well, apparently this thing vibrates quite a bit. I lost 2 exhaust bolts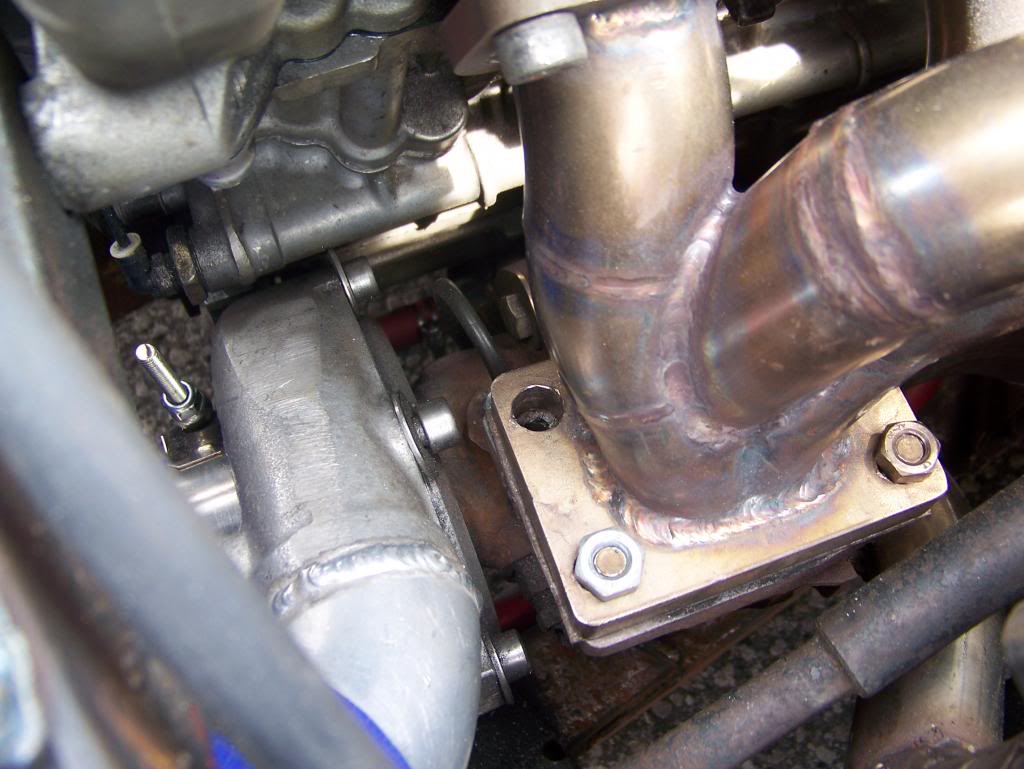
And header bolts were loosening up. Time to get out the drill bits and safety wire!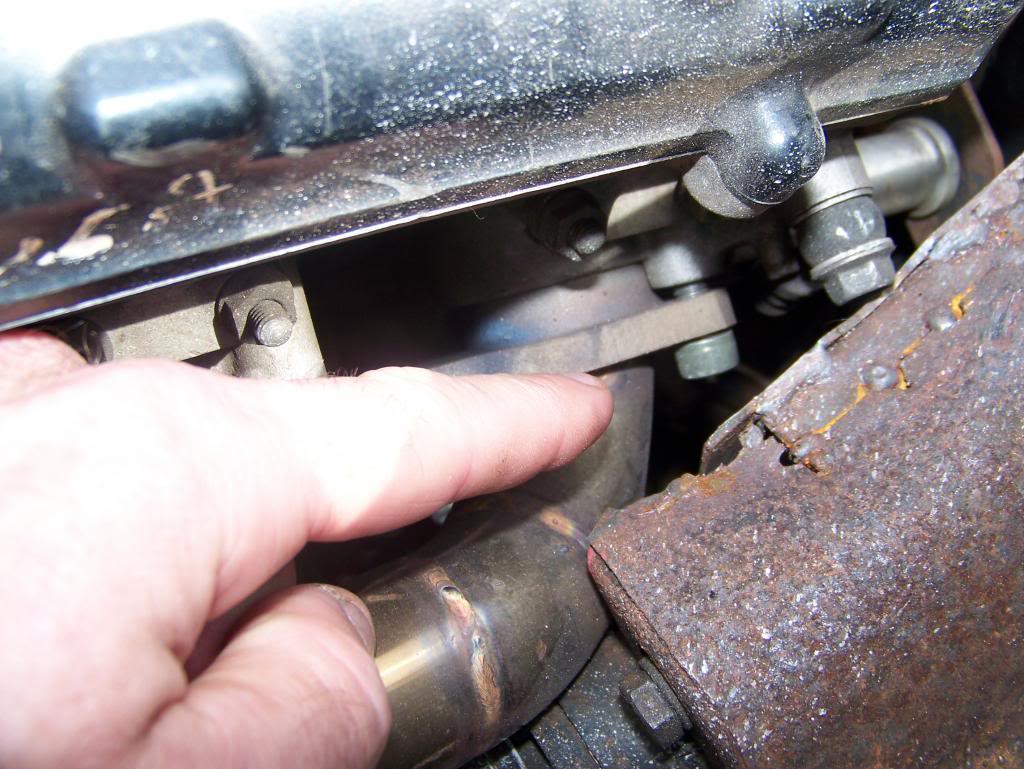
I also installed my hood pins, one on each side. That's all for now, but something...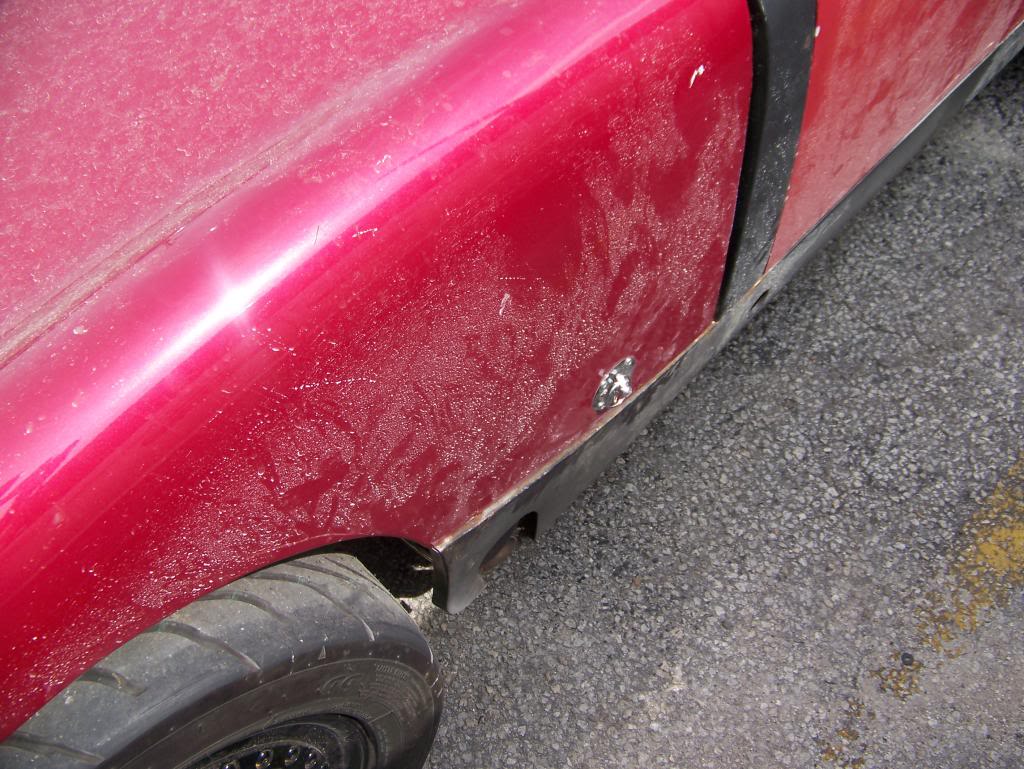
3-6-2014
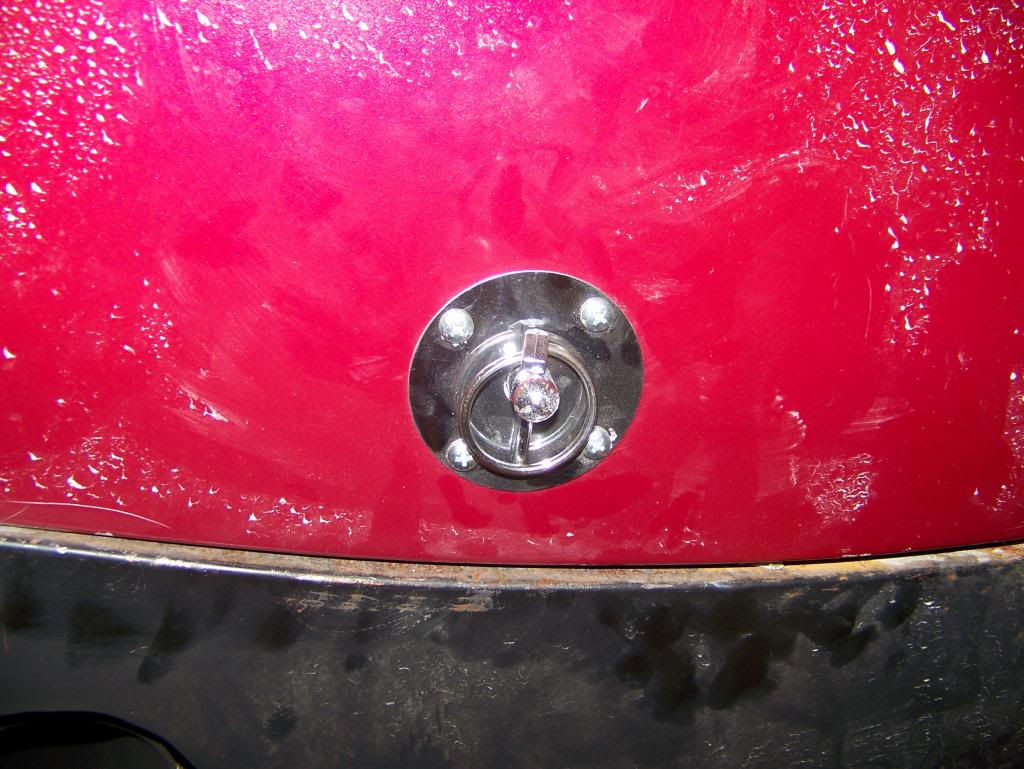
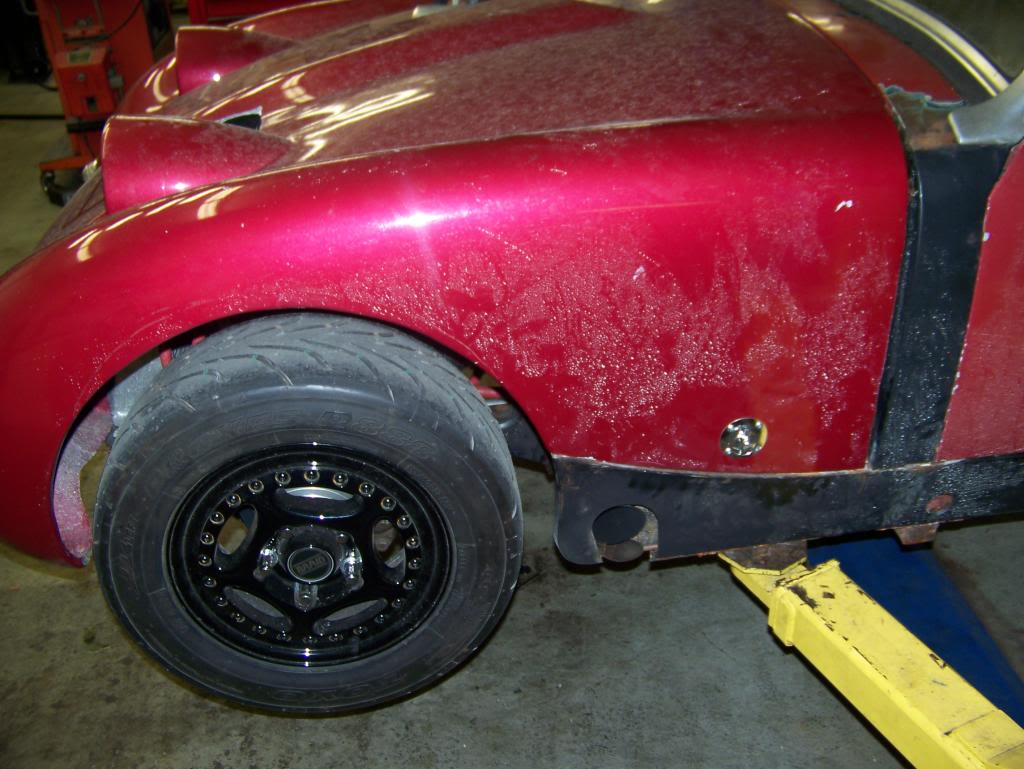

I welded the 1st nut on the wheel well. The second nut acts as a lock nut and provides some adjustability as to length.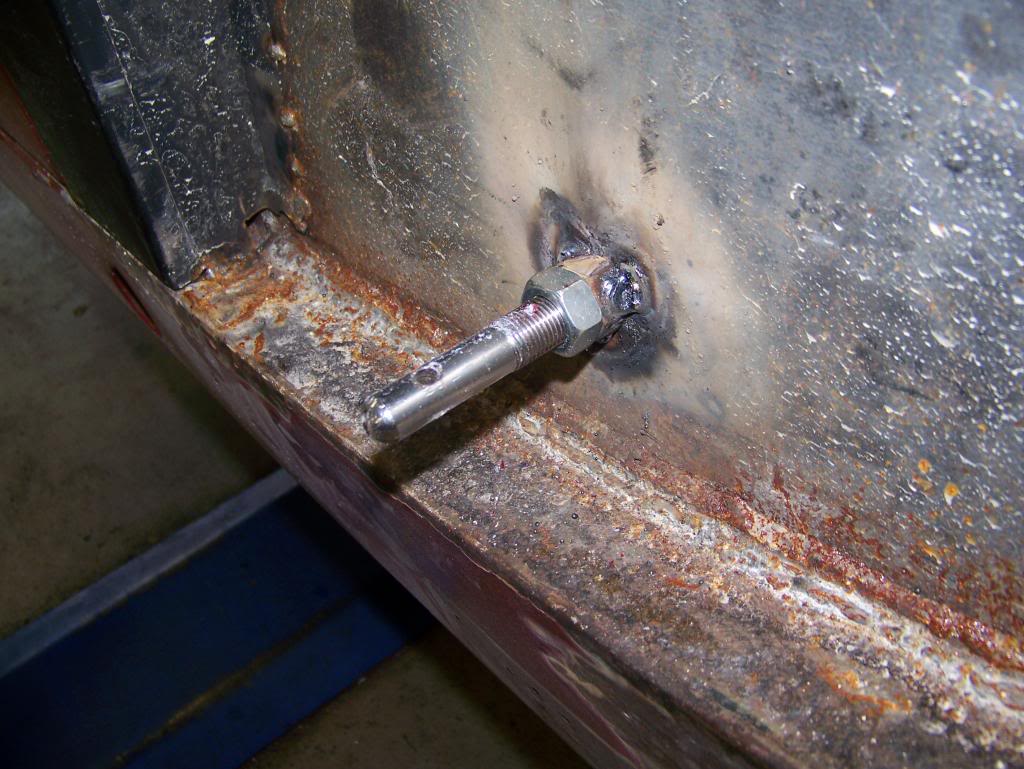
3-7-2014
Well, let me tell you ......
Ok, enough bitching. I started working on the hood. First, I marked out where the radiator is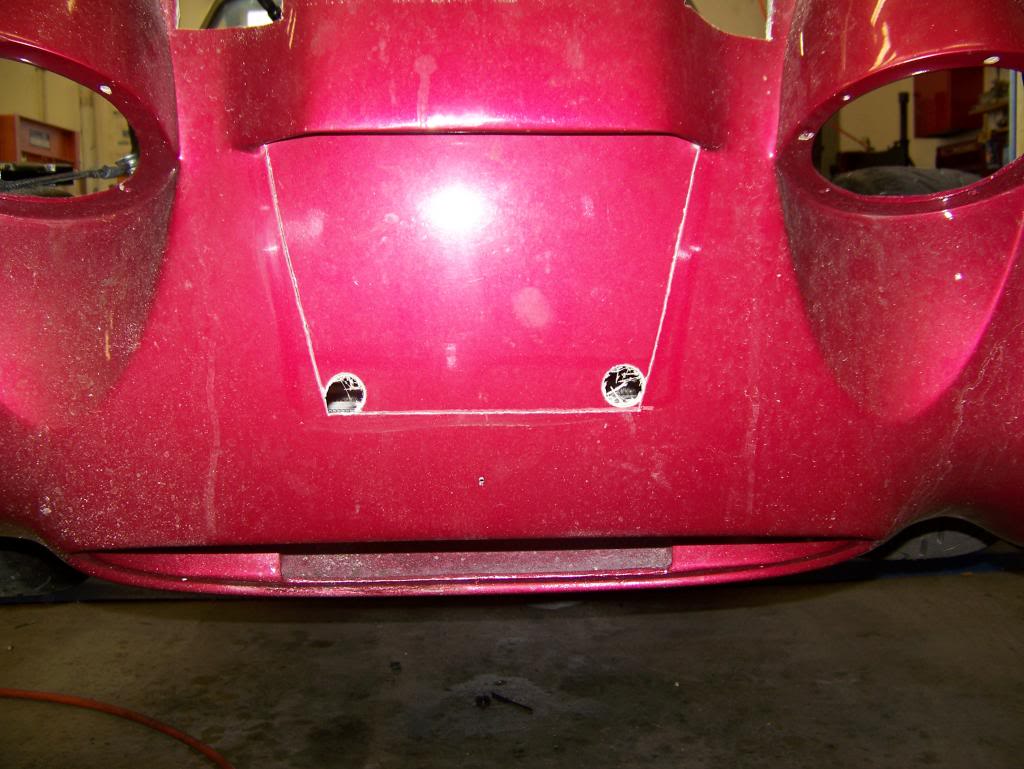
Then cut it out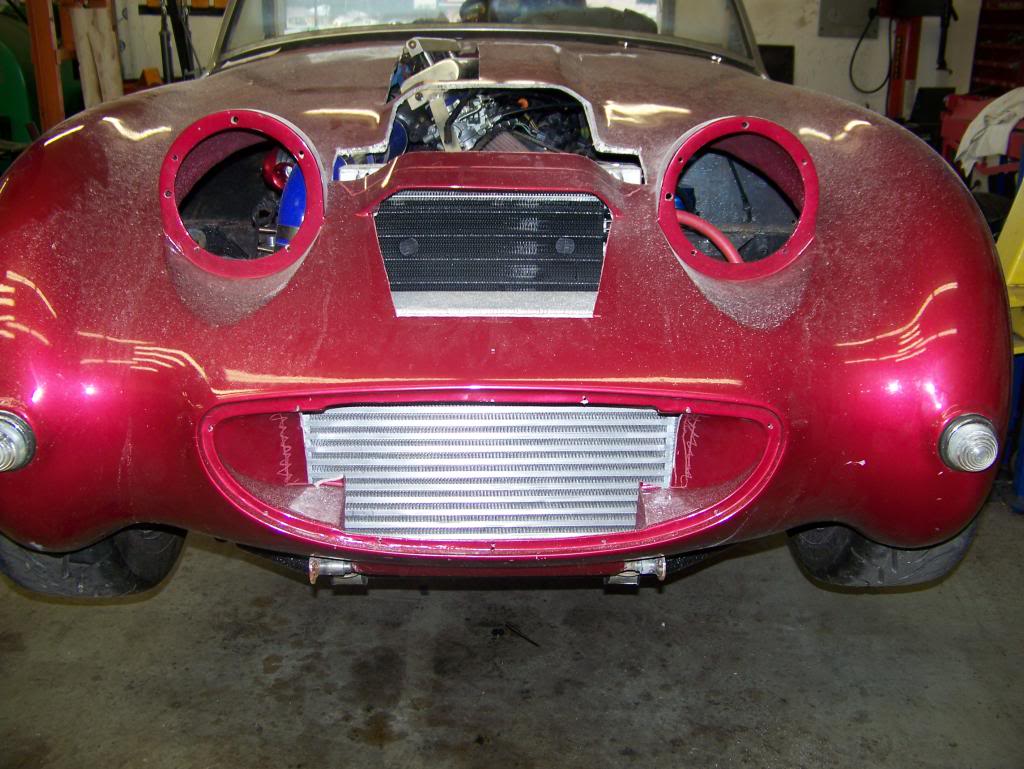
Then fiberglass it back in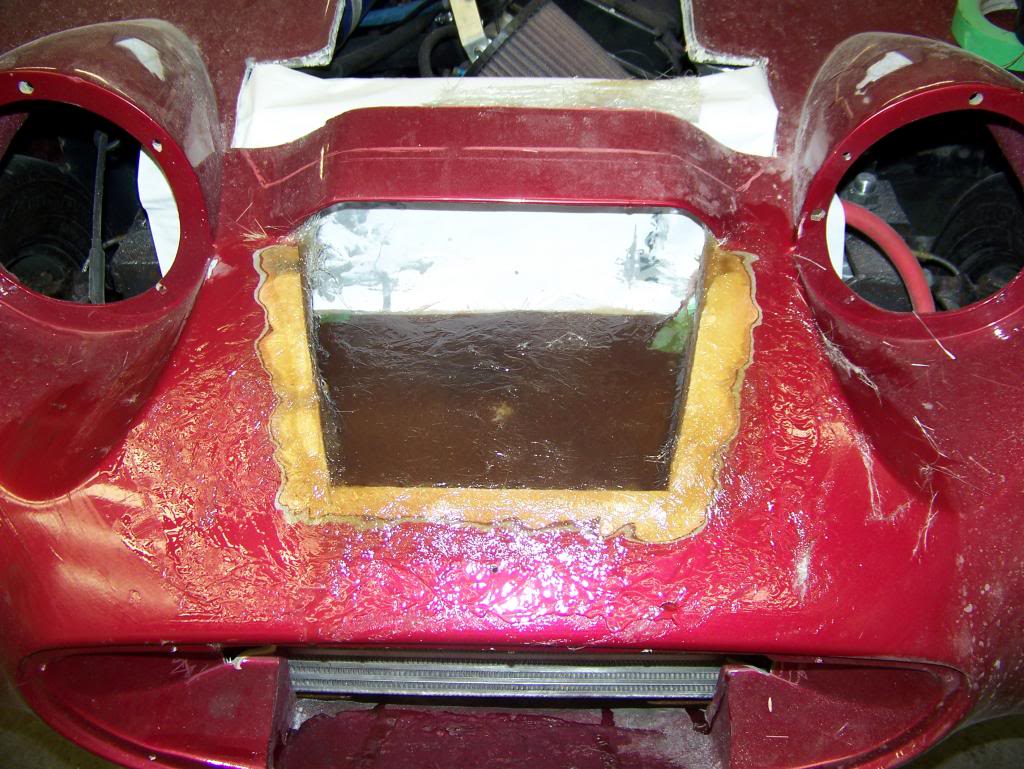
I then fiberglassed in the top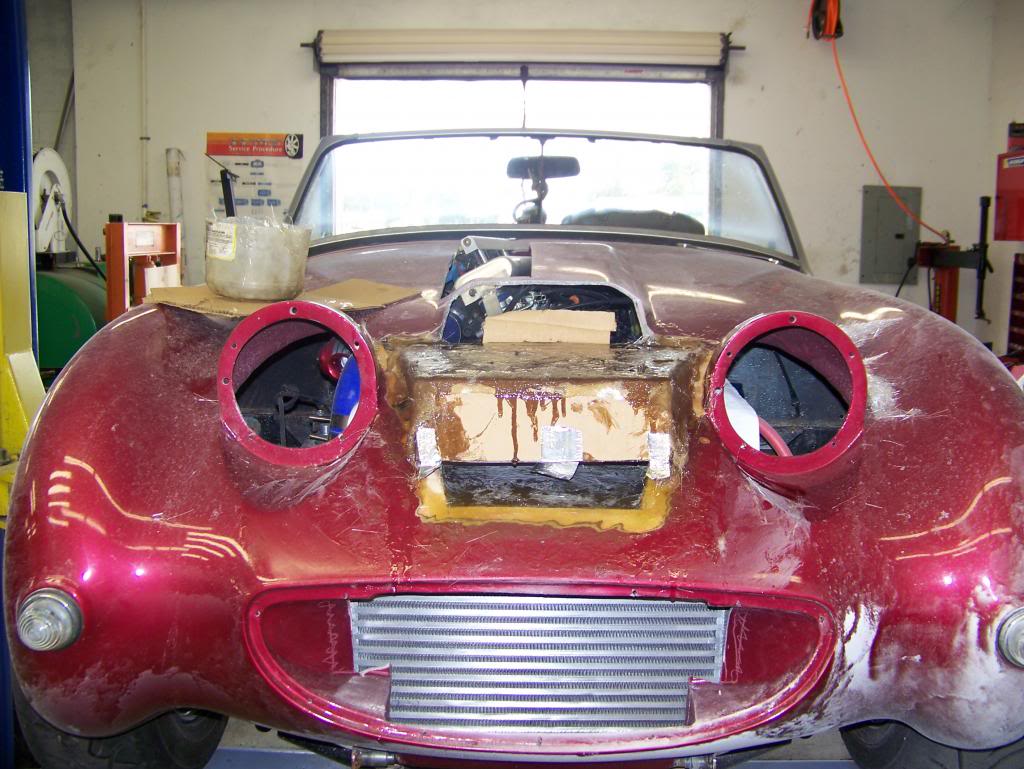
Trimmed it when dry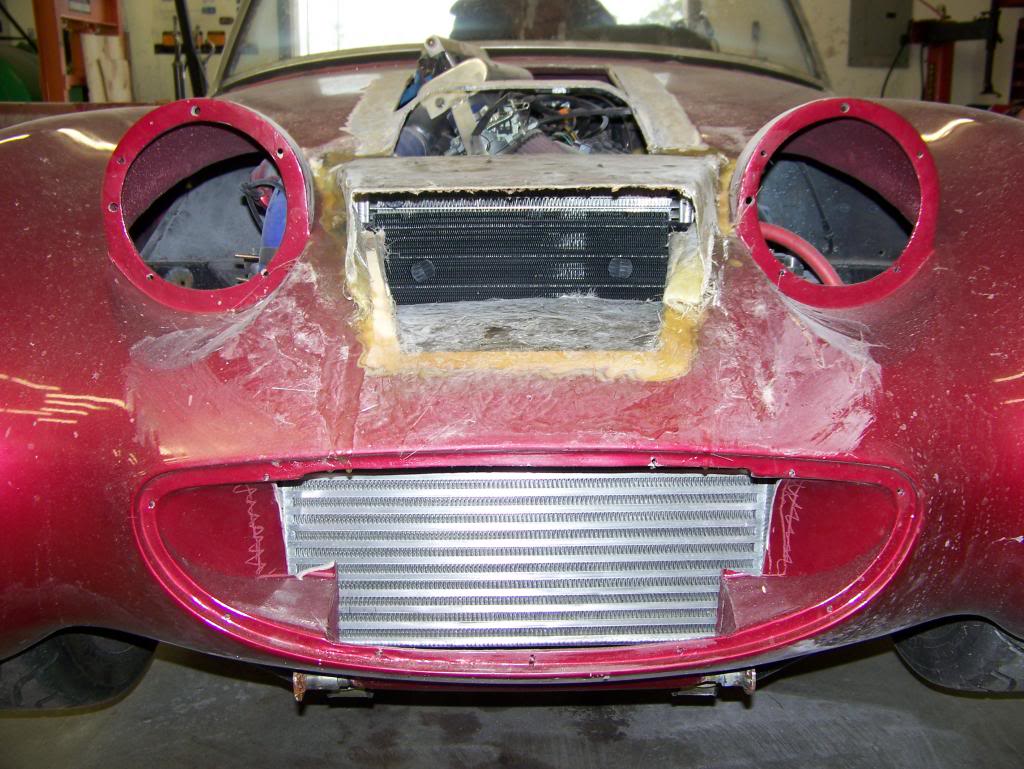
Then cut out more of the old hood. There will be a bigger hump to hide the fuel rail and a 3rd level of scoop for the cold air intake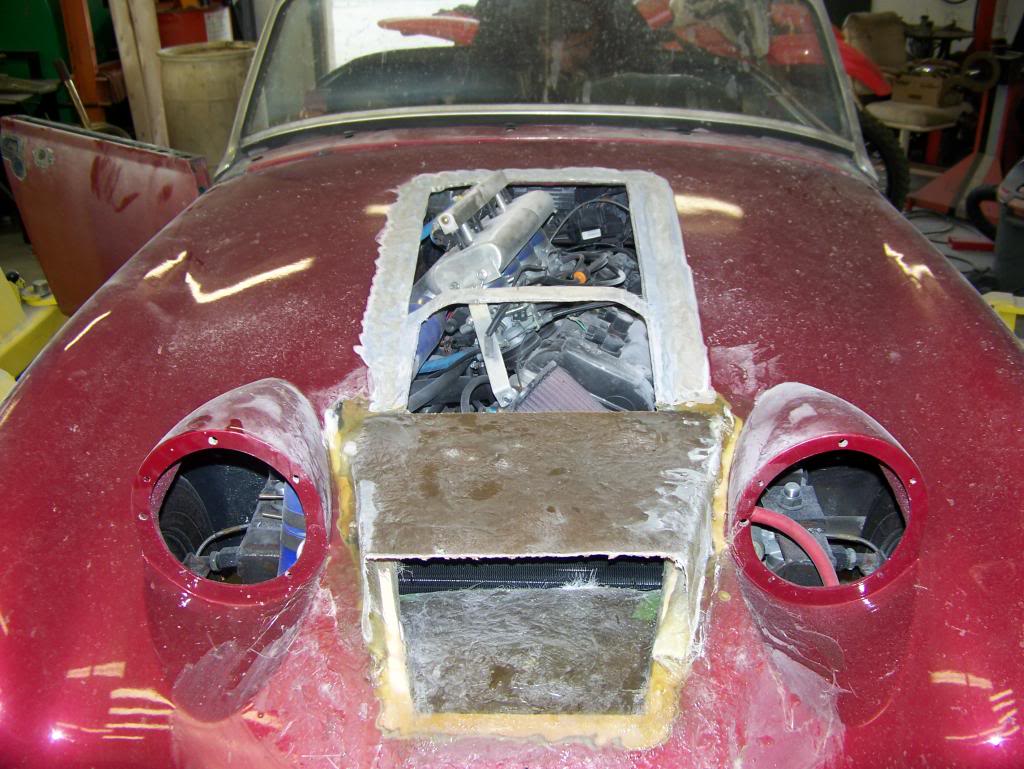
3-12-2014
More work on the bonnet. I filled the hole with spray foam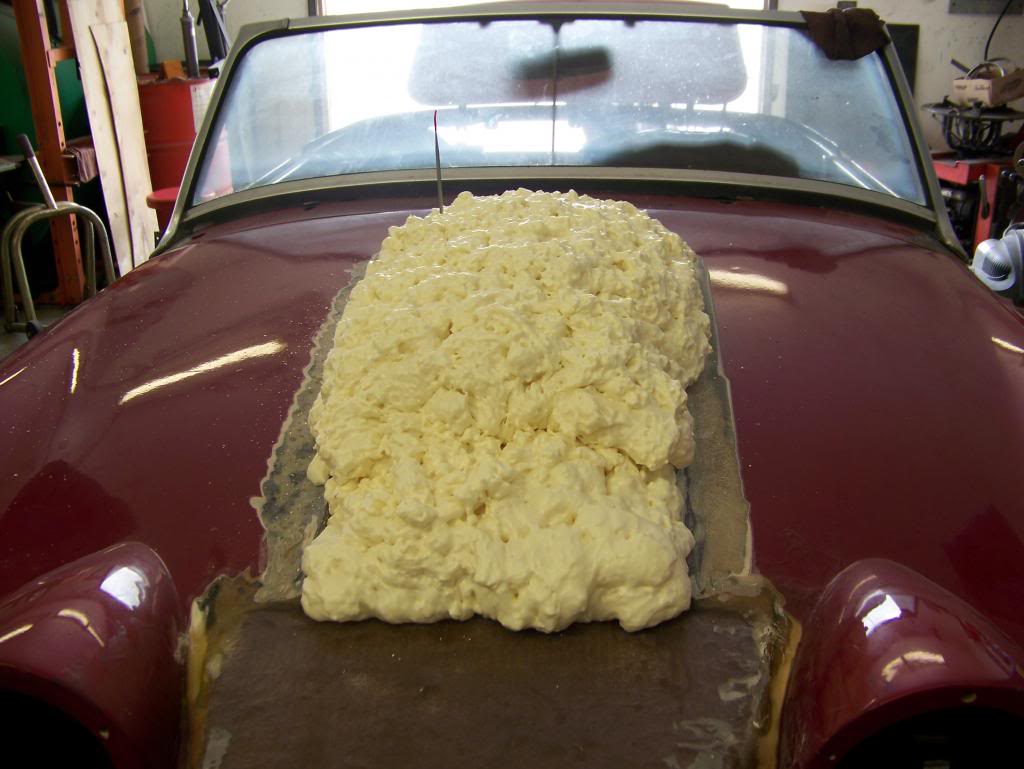
Looks like brains!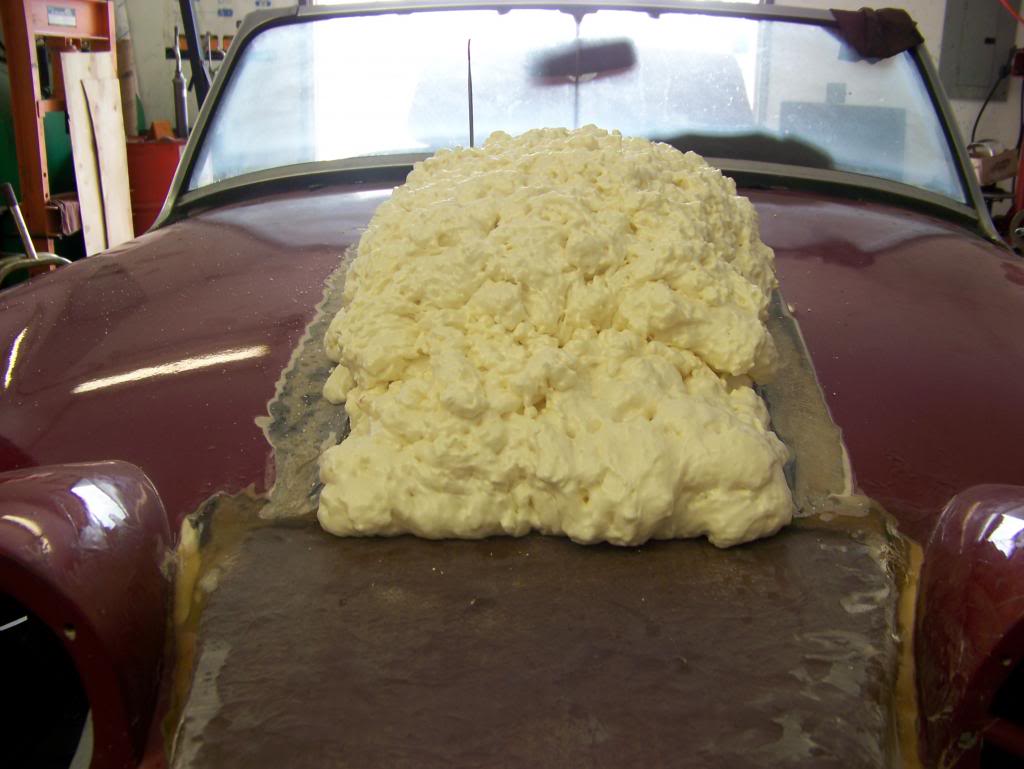
I then trimmed it close to what I wanted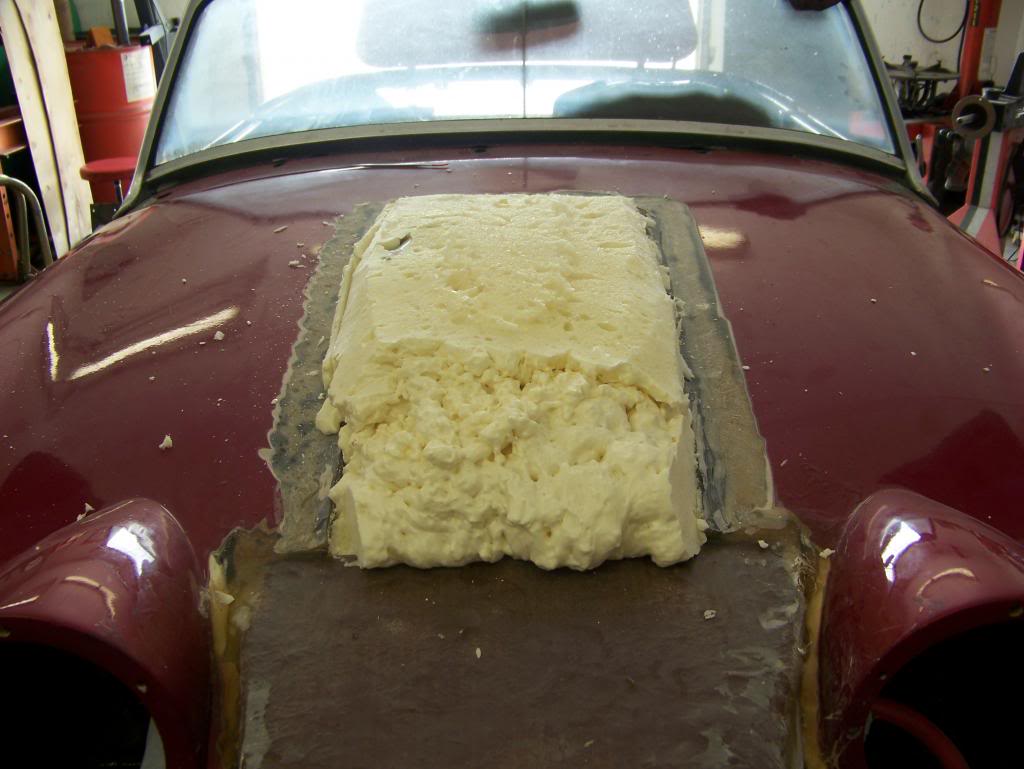
I then laid more fiberglass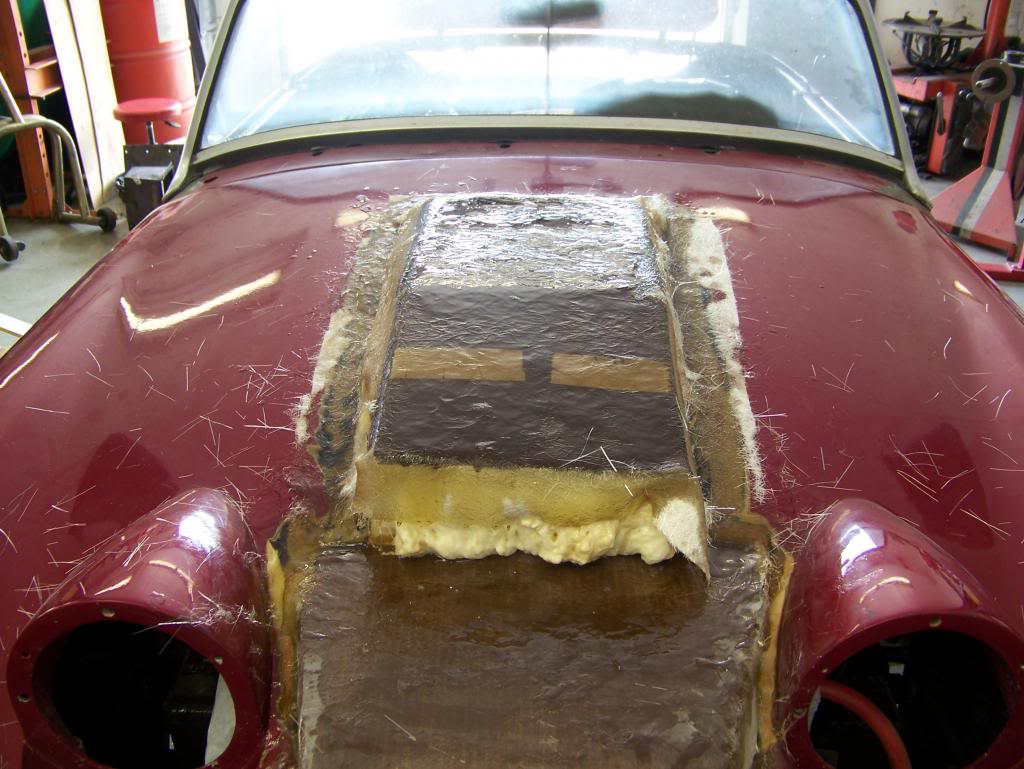
This is the final scoup/intake. It was to cover the fuel rail in the back and for a cold air intake in the front side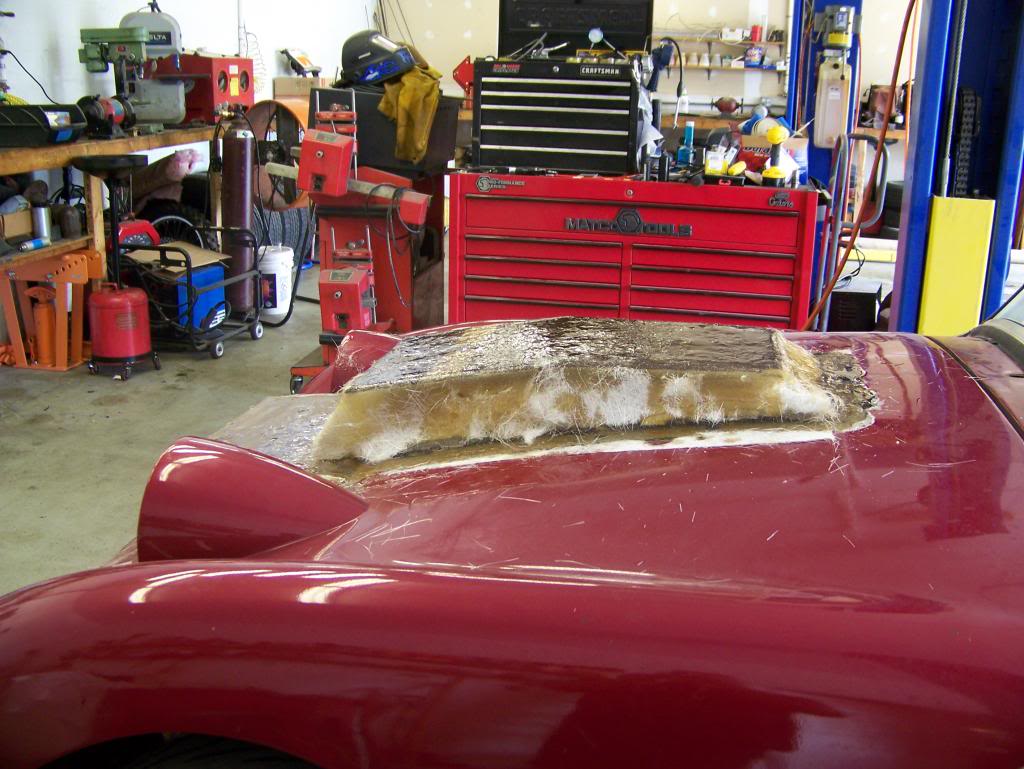
5-6-2014
The jackass who worked for me didn't tighten down the driveshaft retaining nut. It came loose. It did thousands in damage. It is mostly repaired at this point, but I am waiting to have a new driveshaft built.
5-22-2014
Sorry for the delays folks...
The new driveshaft is in. I am working on hooking up more gauges. I am also planning on dyno time to tune the motor. I will post pics and updates when I have something useful to share
6-9-2014
At last, some new pics!
I drilled and tapped a hole in the fuel rail for a pressure switch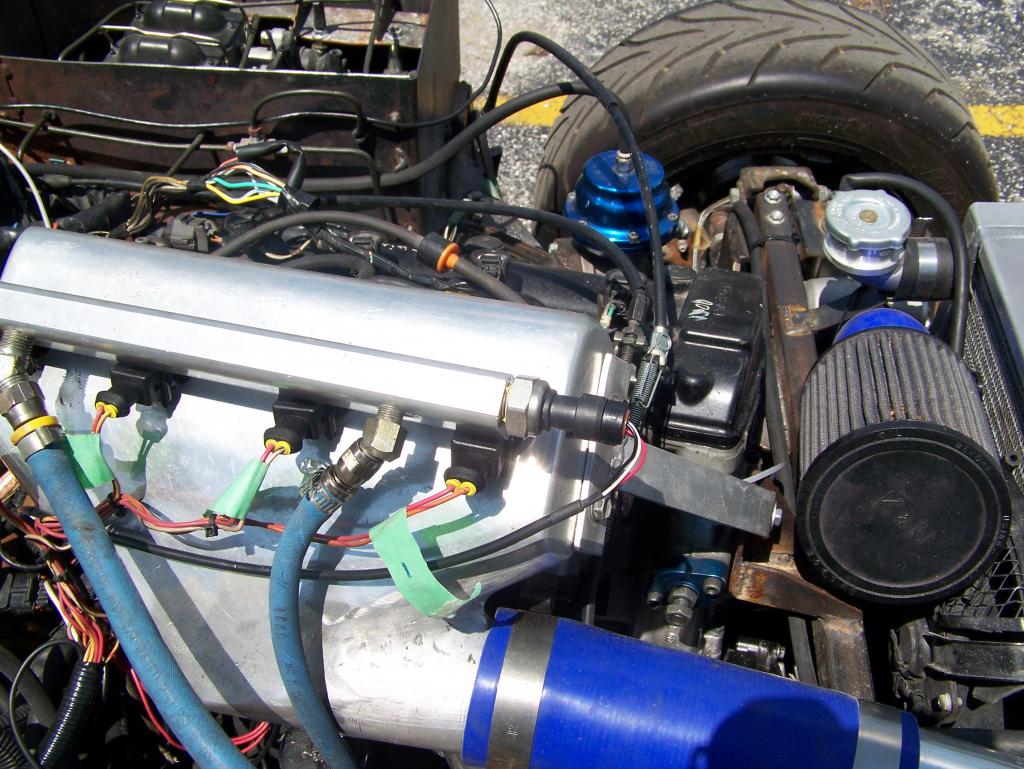
An installed a gauge in the dash, backlit, multi color, bad pic...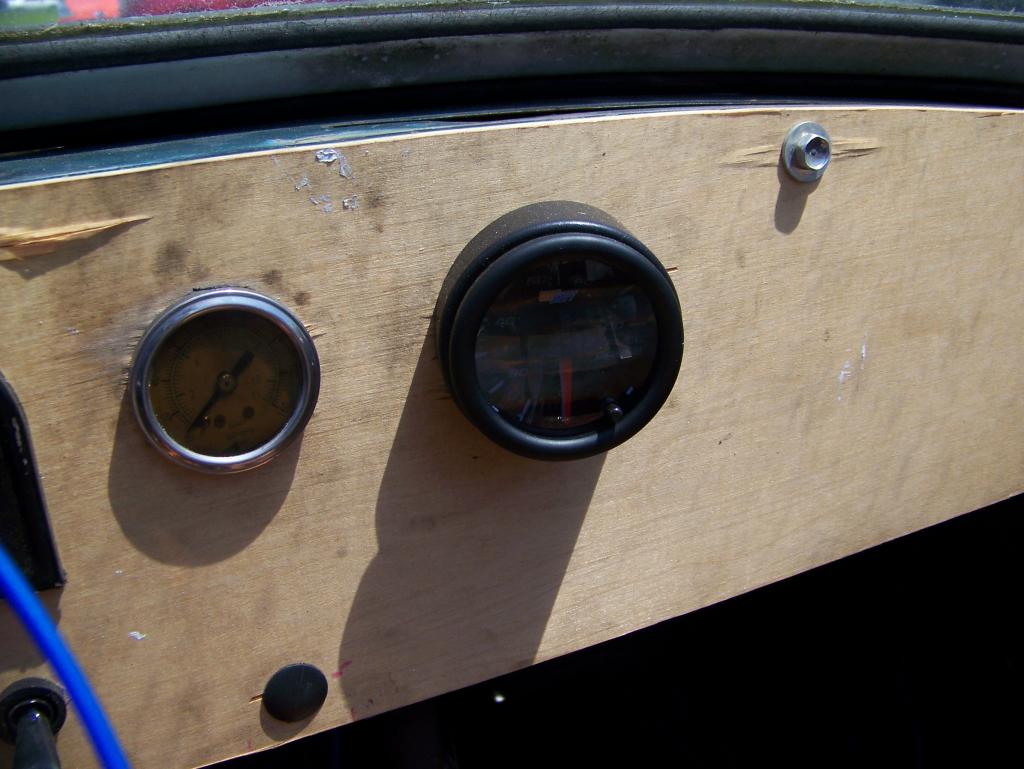
The dash is getting full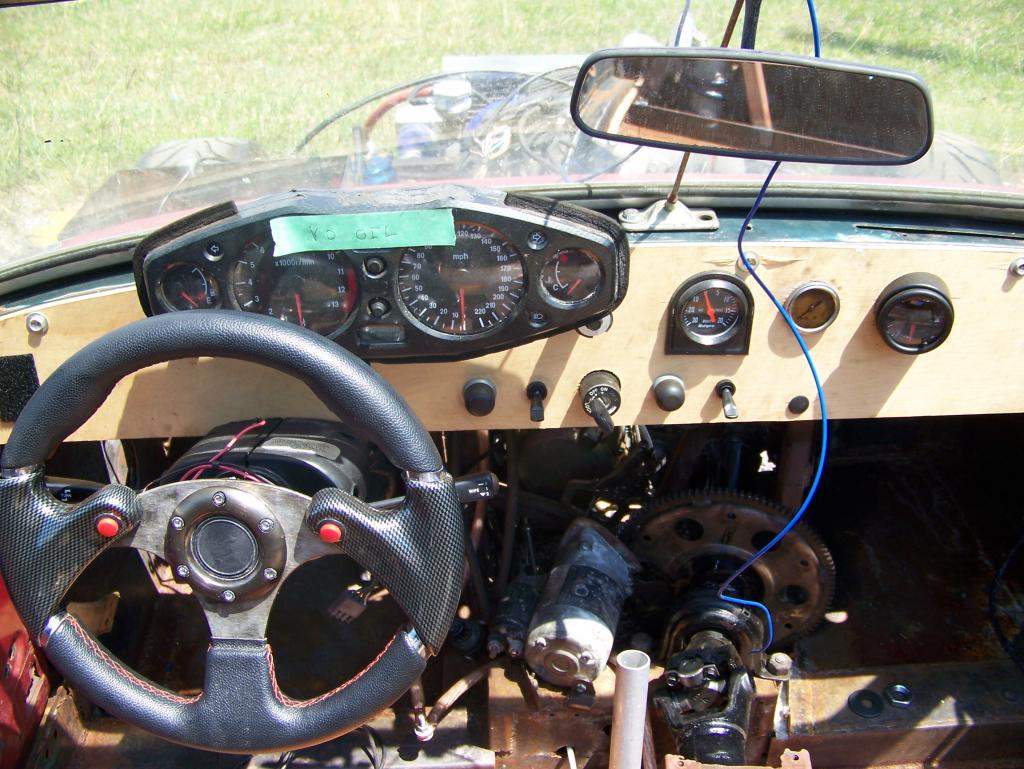
6-10-2014
This thing is a bit buzzy. Nuts and bolts don't want to stay tight. The exhaust is too hot for Loctite, so it get's the safety wire treatment: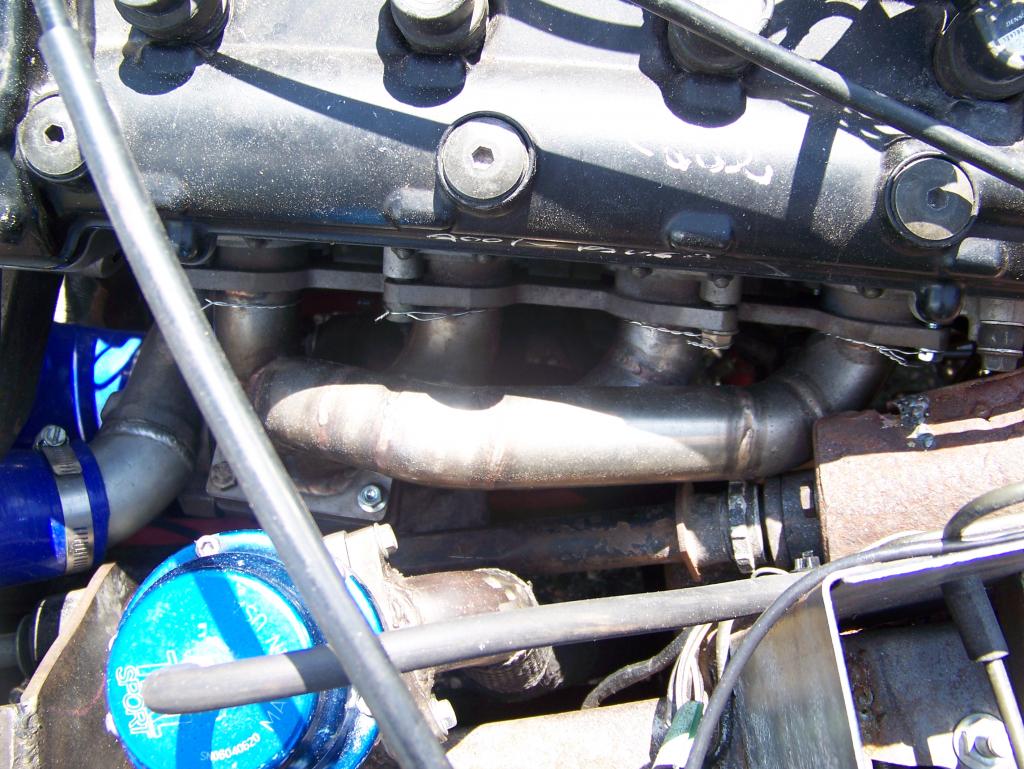
The manifold bolts are all done. We are now working on the turbo flange bolts and the wastegate bolts.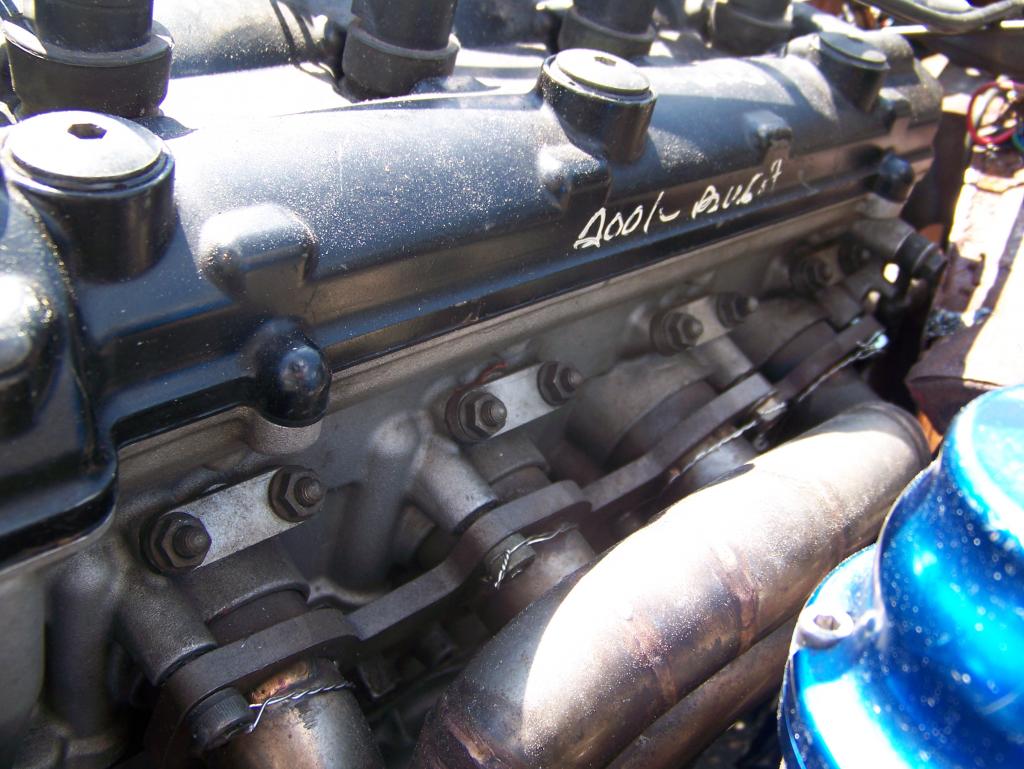
6-12-2014
Ok, new driveshaft pics. Looks like the old! Under the front you can see the new shifter star cover and new end of the shift rod (heim joint). It was all trashed when the driveshaft came off. The shift star broke, the engine cases broke (but were repairable), the shift shaft, driveshaft, clutch slave cylinder, and lots of sheet metal were casualties as well. The passenger seat got burned as there was a fire. The driveshaft took out the fuel line in the tunnel and the hot wire from the battery, bad combo: pumping/spraying fuel and electricity arcing.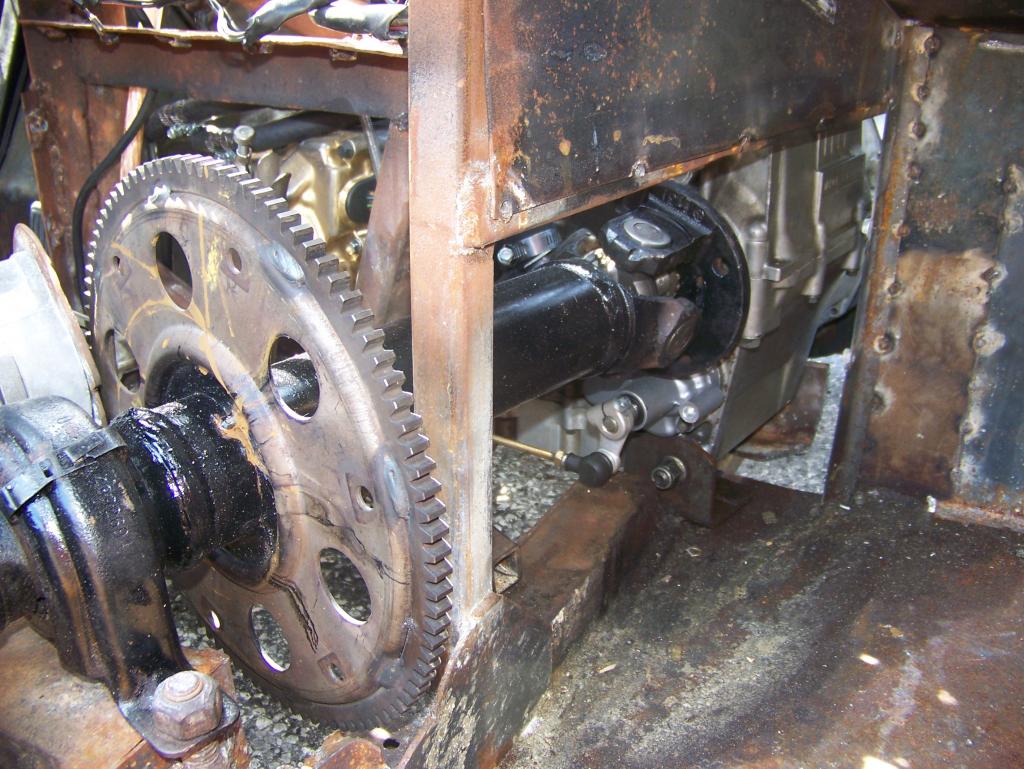
The reverse starter survived, but the mounts all got trashed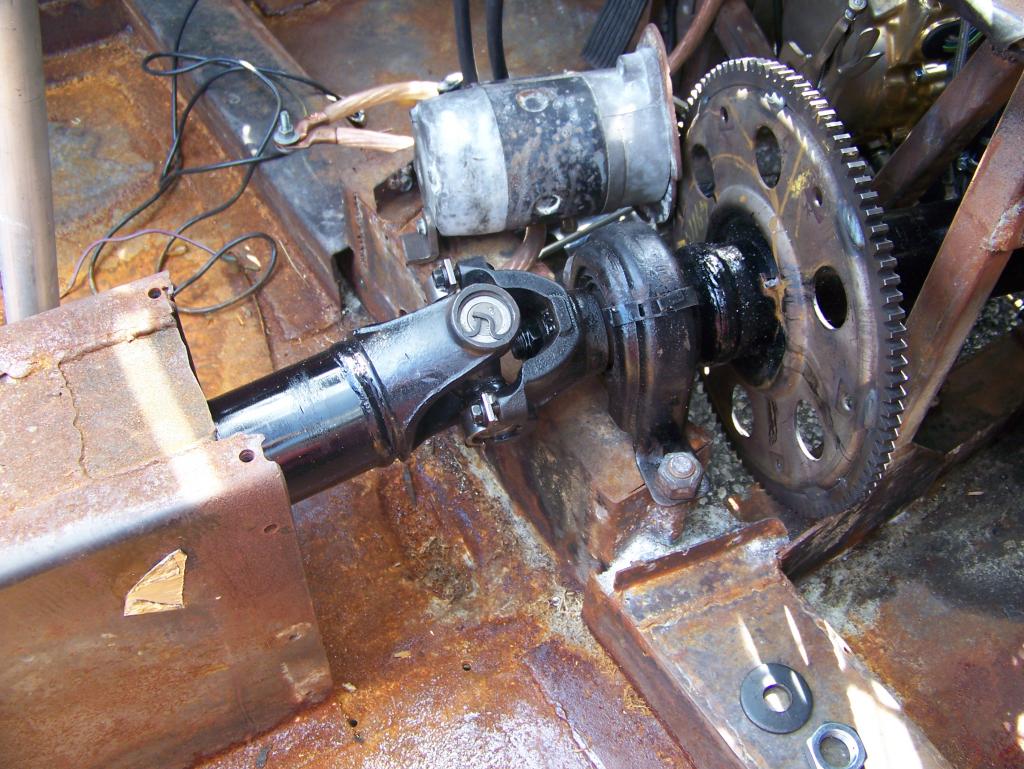
I need to make new mounts for a new clutch slave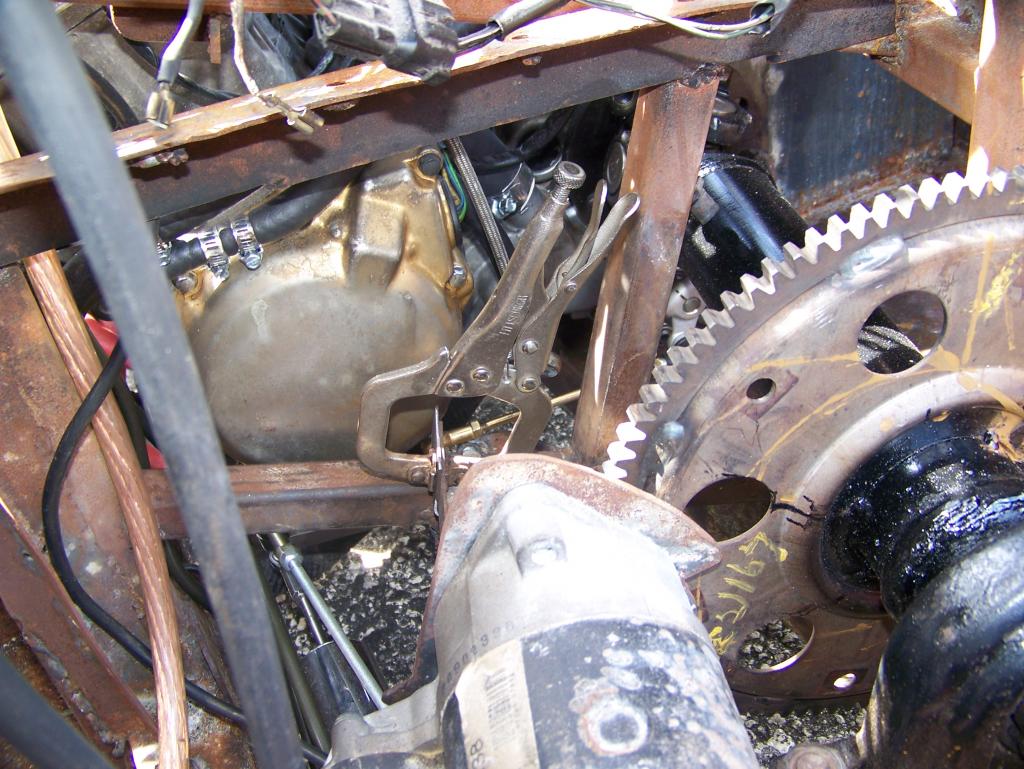
It lives again! I fired it up and let it run for 5 minutes. I just called the tuner to make an appointment for a day on the dyno.
6-14-2014
Ok, my camera is about done I guess. It only flashes when it wants to. Thus, I can only get pics when the car is outside....
I did the base plate for the carrier bearing on the driveshaft. I also installed a new clutch slave cylinder with a fulcrum that gives 3:1 leverage ratio. This was to give me more engagement throw at the pedal. It appears to work as I had hoped.
The driveshaft tunnel is all back in now as well. I have to check torque on all the fasteners, install the driver's seat, then off to the dyno!
6-16-2014
Ok, I actually feel like I am letting you guys down. The car is reassembled. I loaded it in my 6 x 12 enclosed trailer to take to the tuner and neglected to snap a couple of pics. I brought the camera and everything, just failed to perform.
At any rate, the car is dropped off. I should have some preliminary numbers in a few days and some final numbers in 2 weeks or less.
Wish us luck. I will be truly disappointed if we don't see 400 hp on pump fuel. If we don't see those numbers, I will put off the race fuel tune for a bit while I finish other aspects of the project.
Comments

This thread was donated to our website to be preserved. If you want to message the author, please click the source link to contact.
Posted by diyauto on 8/25/21 @ 1:32:42 PM
This is a great build with so much time and effort put into recording in words and pictures. Can you help me with this question please, Is the top arm inner pivot point is in the same place as the original pivot point? Regards Davy
Posted by DavyF on 4/16/20 @ 6:44:51 PM