You must be logged in to rate content!
6 minute(s) of a 203 minute read
5-3-2013
Today, I worked on the passenger footwell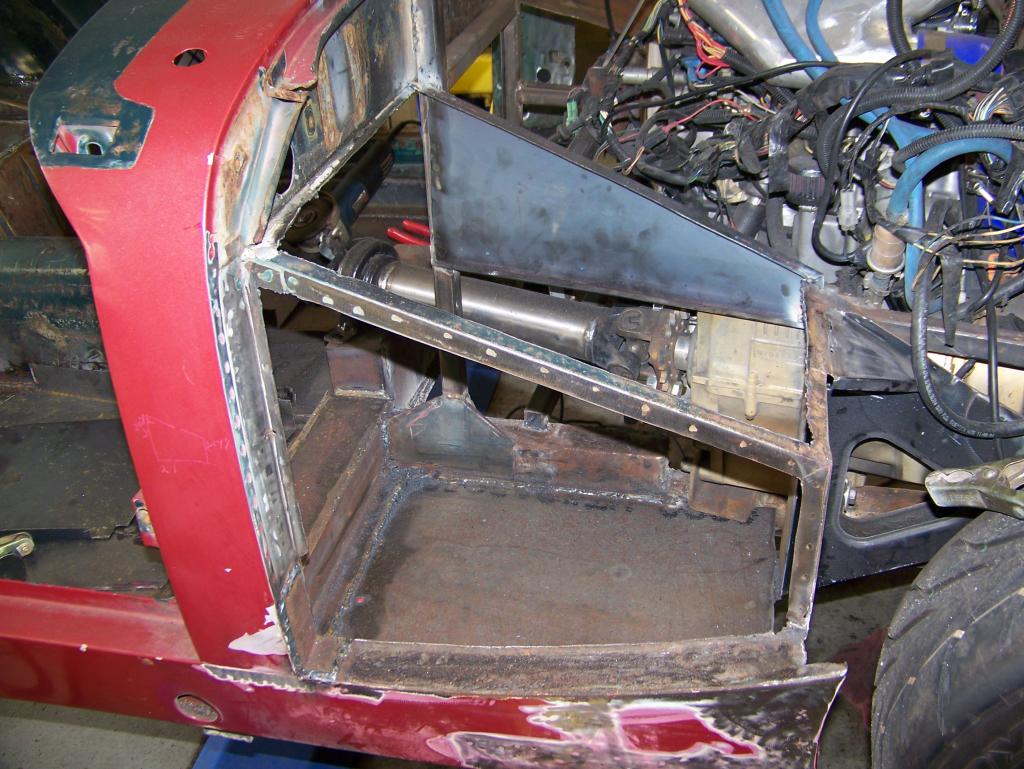
This piece of sheet metal bolts into place. I can now remove it when needed to access the clutch slave, shifter stuff, and driveshaft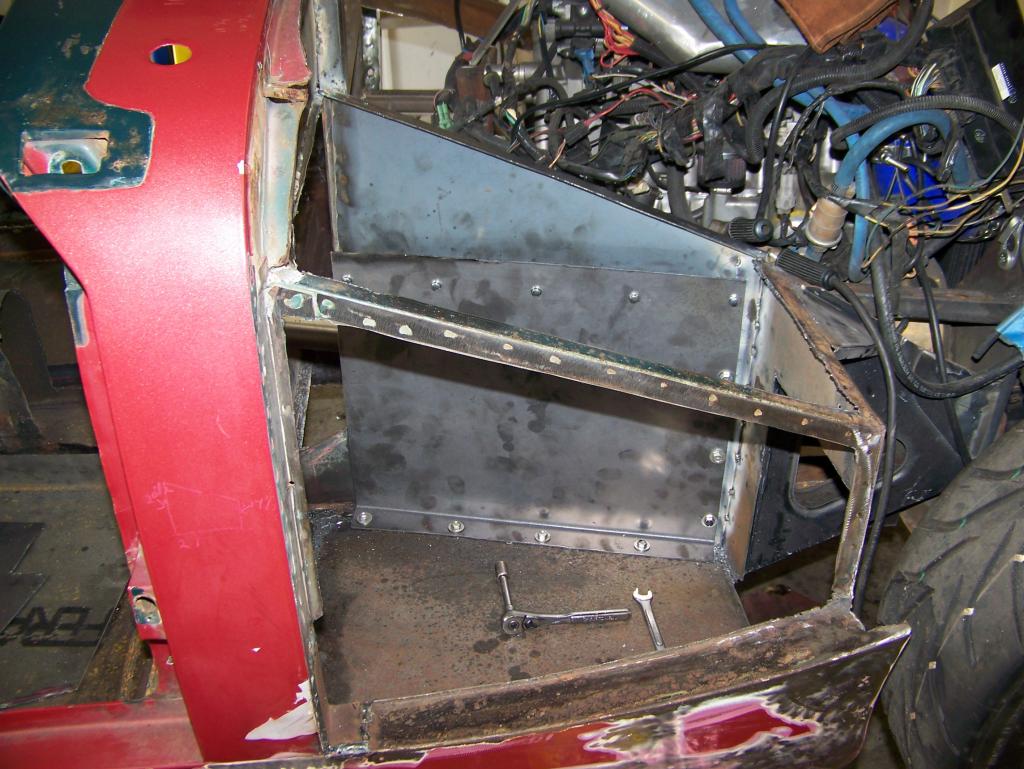
5-16-2013
Ok, back to work you lazy SOB....
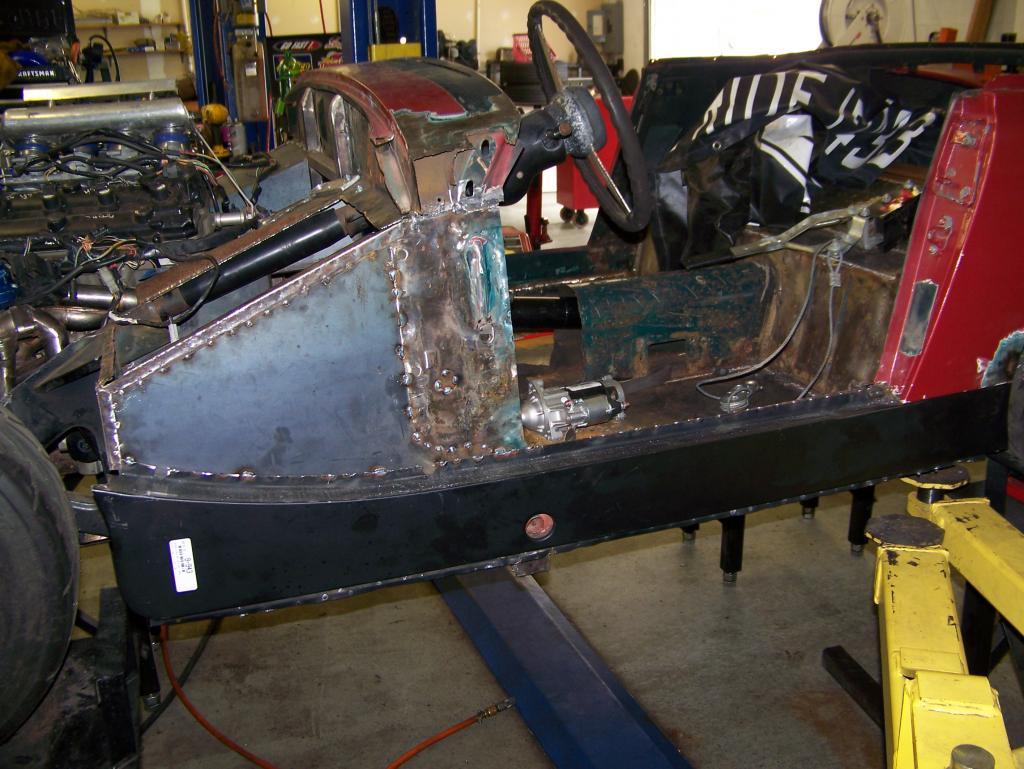
Boxing in the passenger footwell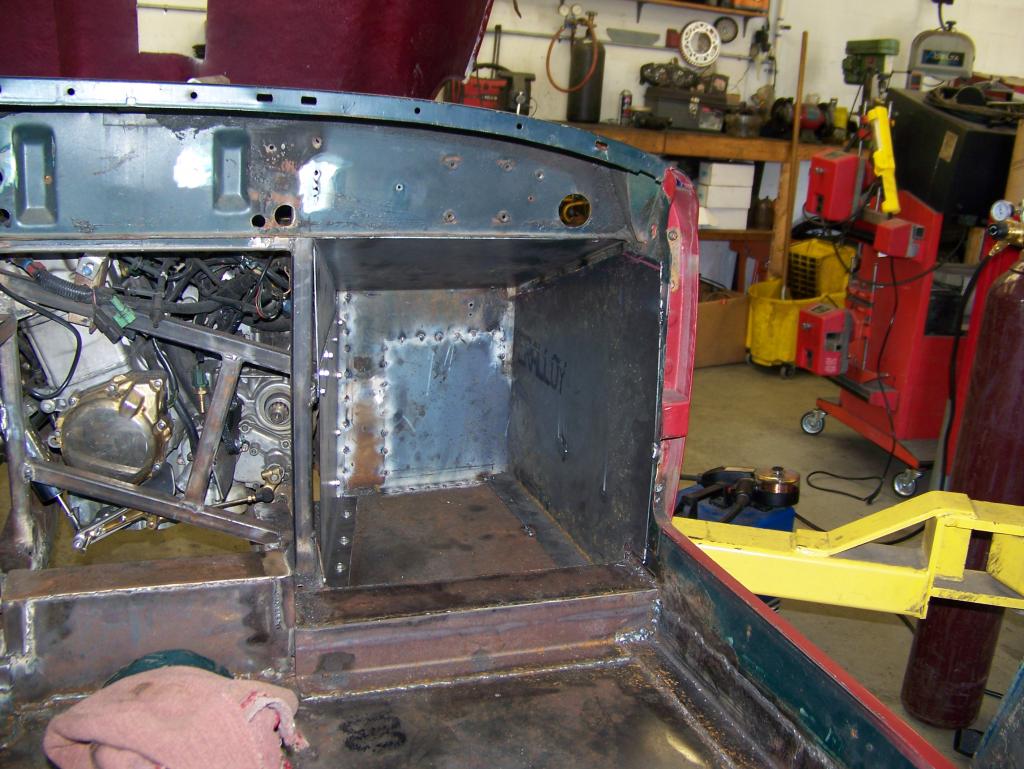
Looking good!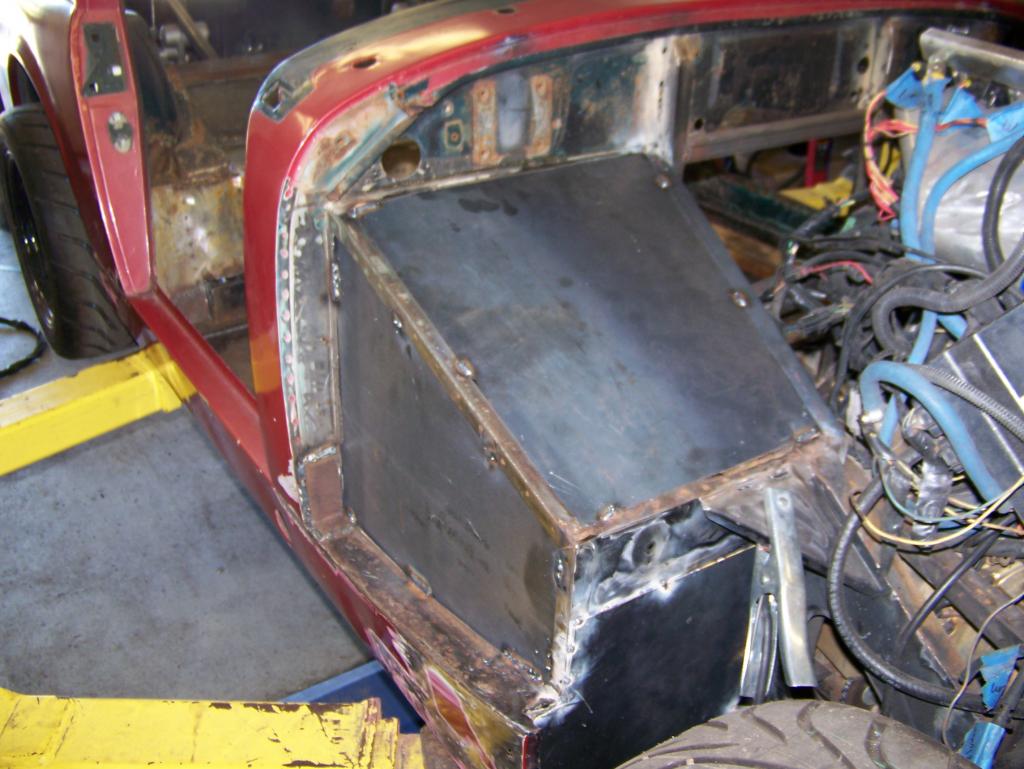
And on to the driver's side
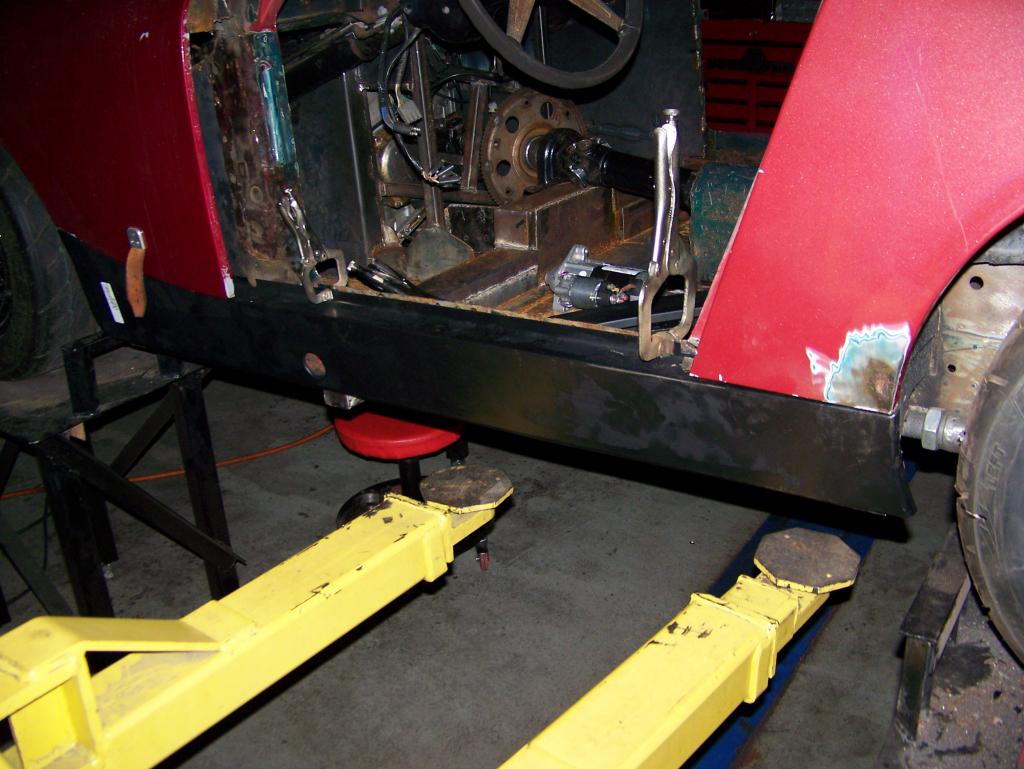
New inner sill with lots of overlap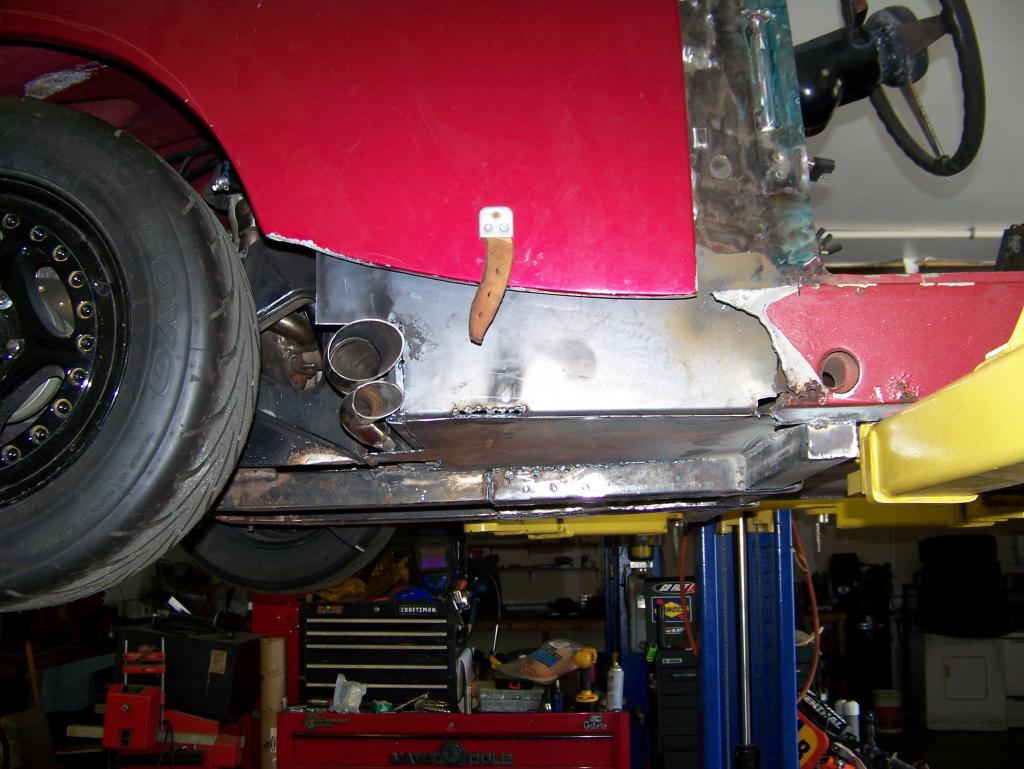
Where the exhaust exits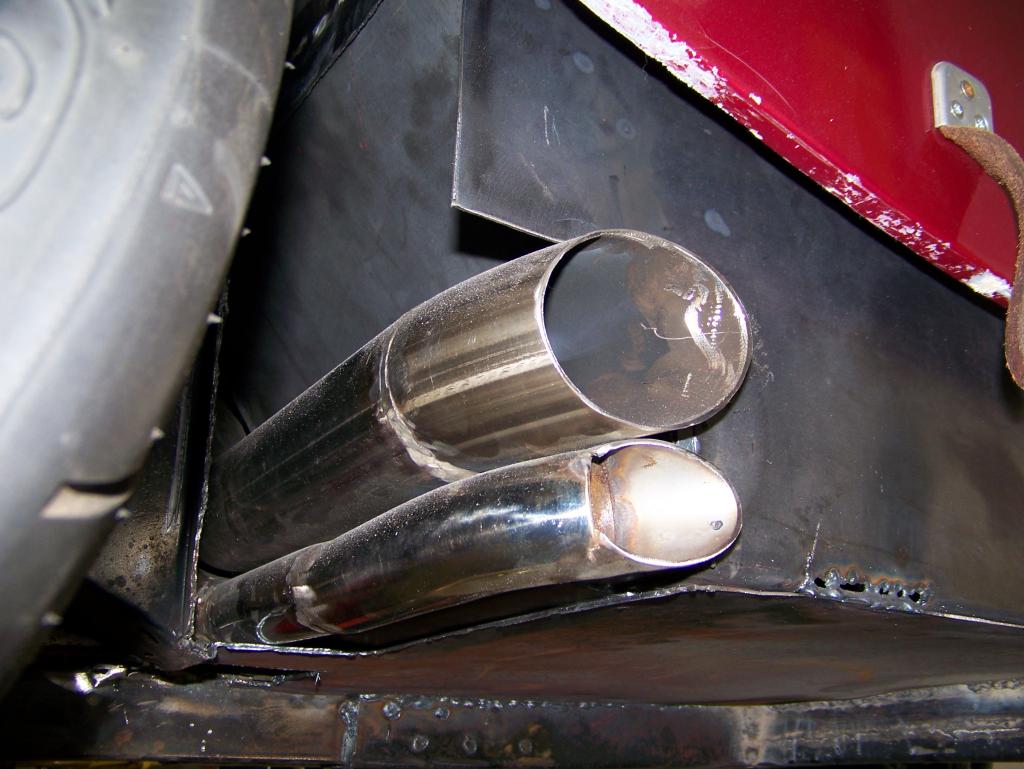
The 'kick panel'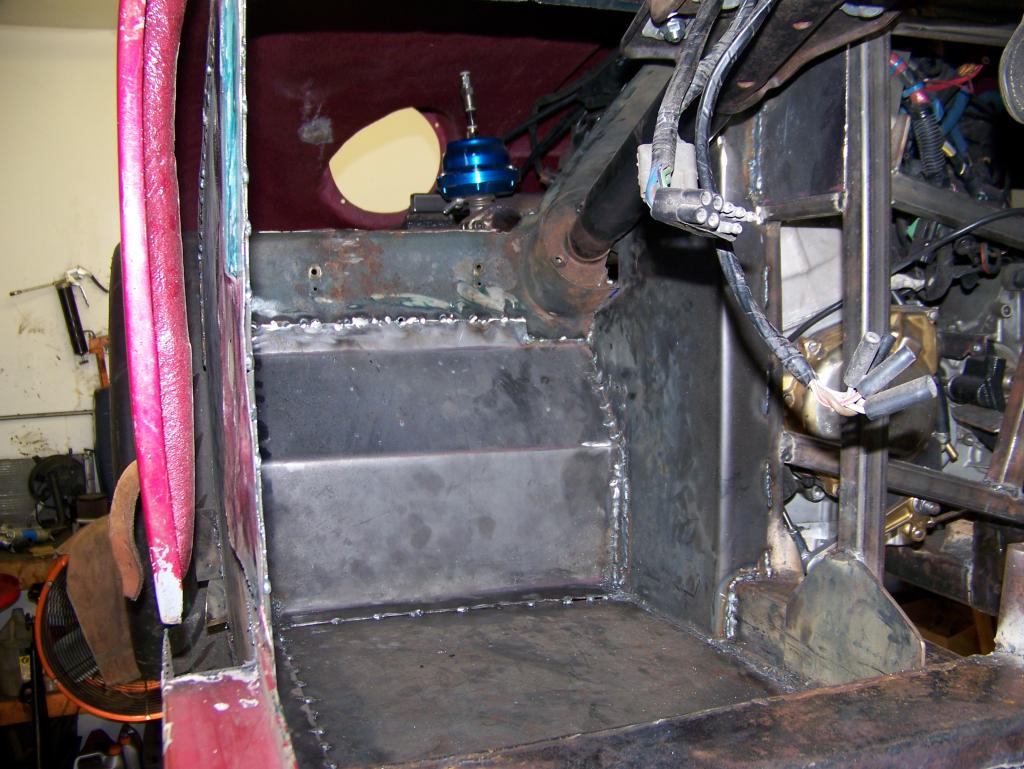
5-30-2013
I got on the new outer sill. I now need to work on the hinge pillar and skin...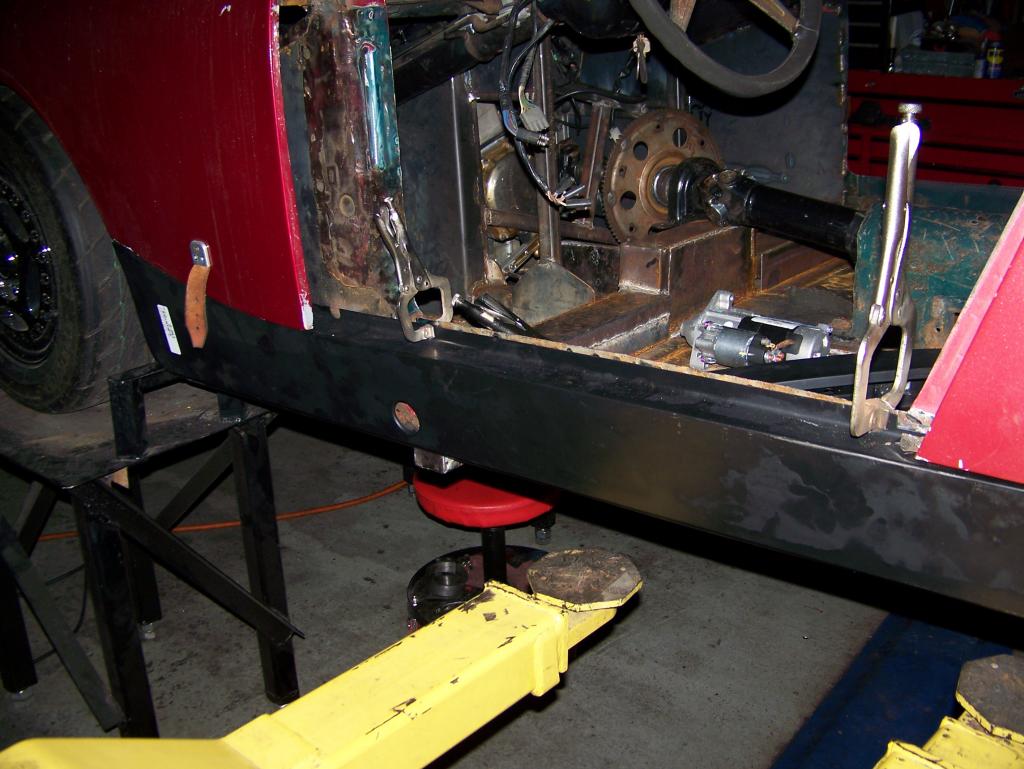
7-28-2013
Well, I have gotten some work done, but no new pics.
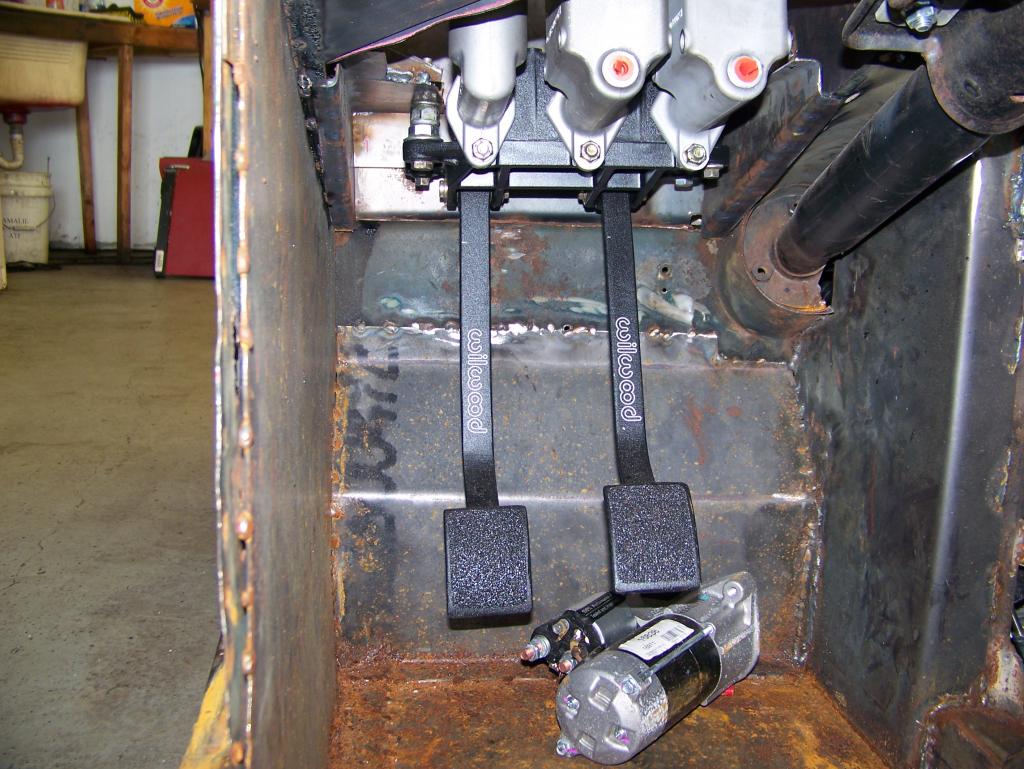
I have gotten the pedal box in, run the hydraulic line to the clutch, and started on the brake lines.
I also temporarily run the fuel line and wires from the pump.
I got my new seats from ebay and did a trial fitting, it will be tight.
If I ever have some more time, I may try to start it.
I promise, new pics at some point.
I started buying single wide mobile homes for rentals. It is keeping me VERY VERY busy, taking all my 'free time' when not working my primary job...
8-2-2013
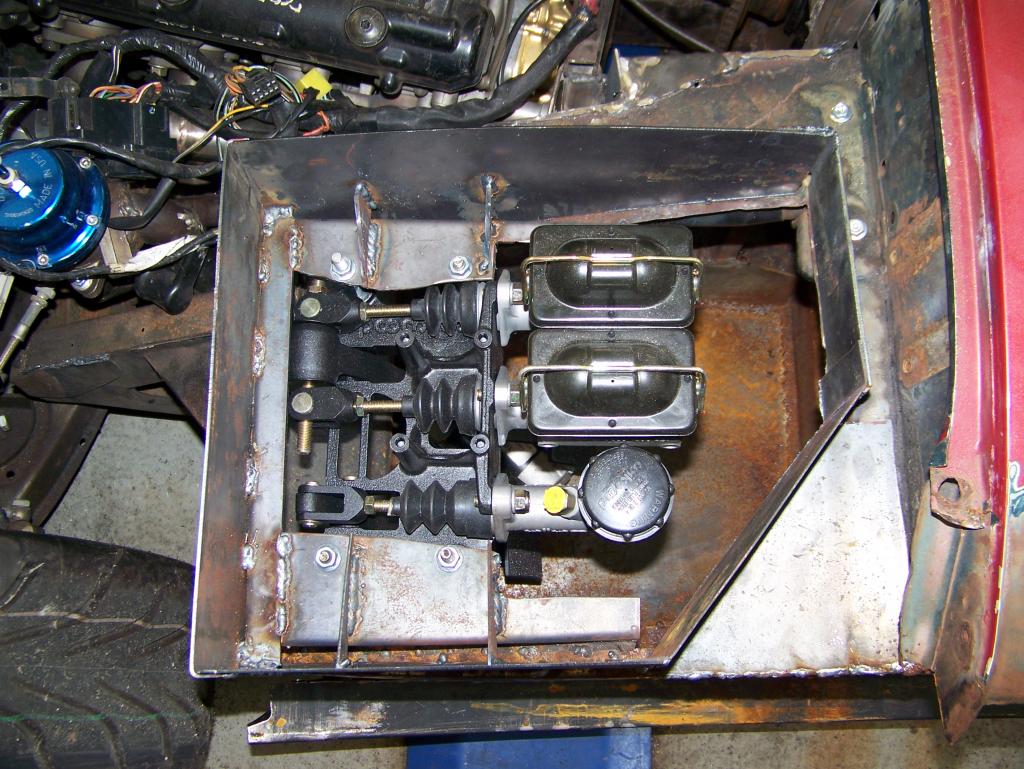
I built this up so I could put a cover on it and keep the engine bay heat out of the passenger compartment. The cover will be removable for access to the MC's.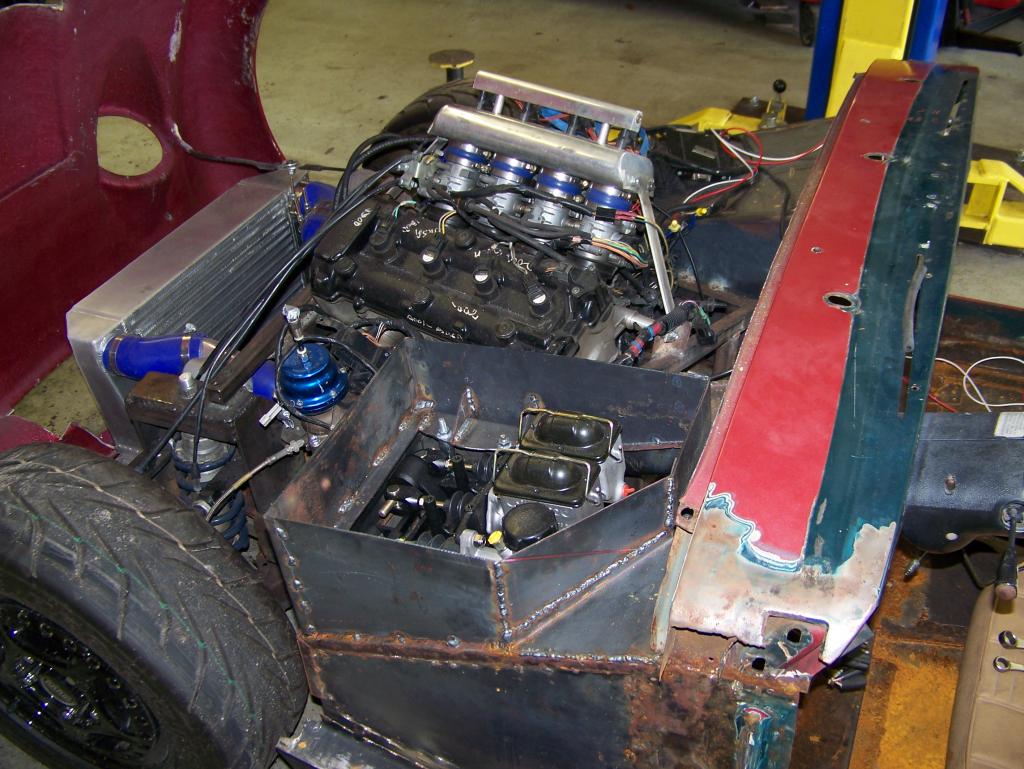
I ran some temporary fuel line and power wires to the fuel pump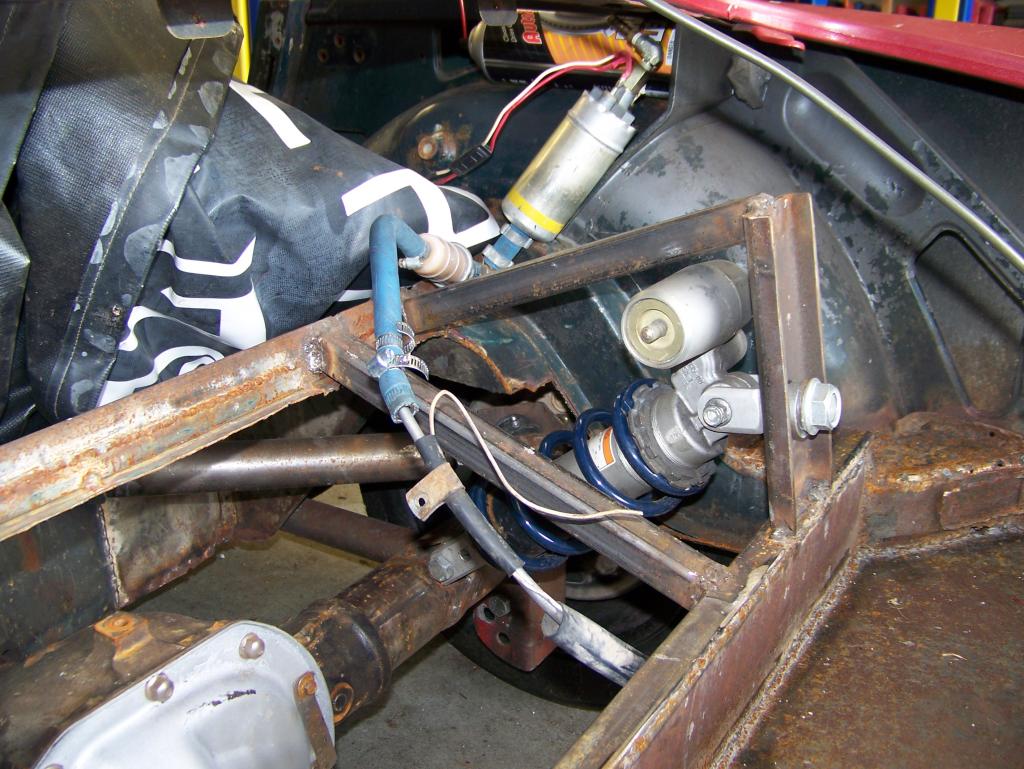
11-17-2013
Yes, now I am just being a slacker....
I have been building the trans/driveshaft tunnel. It needs to bolt in so I can remove the driveshaft/flywheel setup for the reverse gear. It has been very time consuming. I must have spent 40+ hours on it now. When done, it will get a one post, 3 pic write up and will look like too many pics for so little work :lol:
I am making progress though and will update soon.
I guess my other excuse would be that I need to start another photobucket account when I start posting pics again
12-21-2013
Ok, so sorry for the delays. I have made quite a few changes and haven't been good about taking pics. Here is a start though:
I didn't like the setup I had for the electric shifter, so I changed it. It is oriented front to back and horizontal now.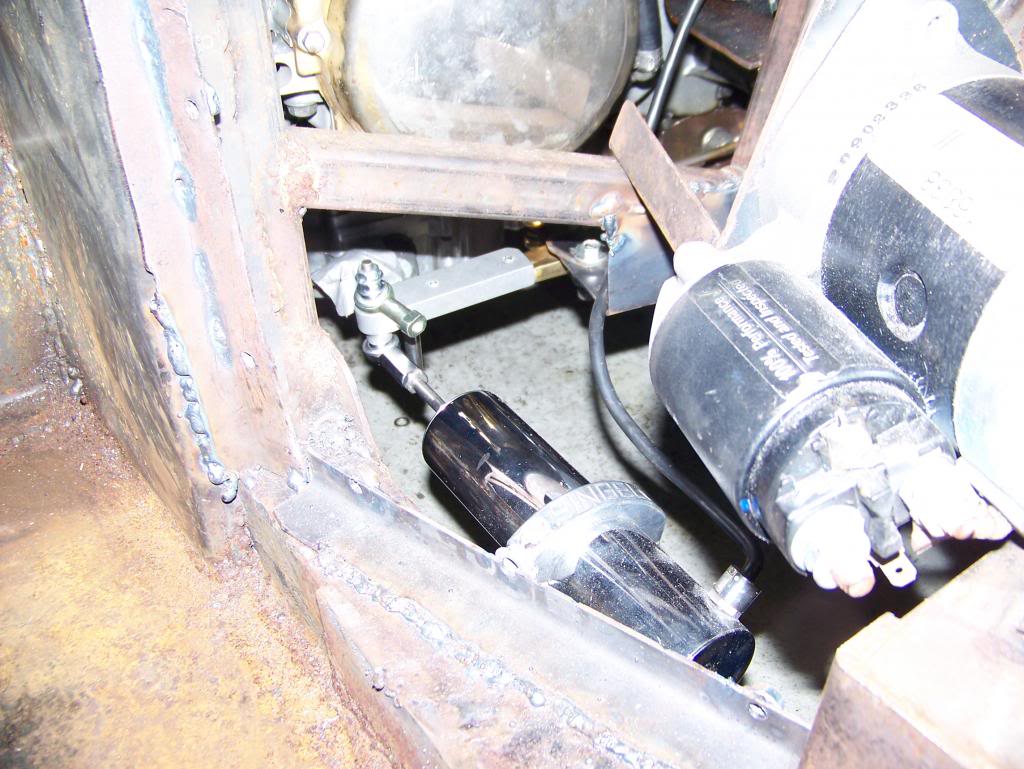
I removed the old trans tunnel and built a new one.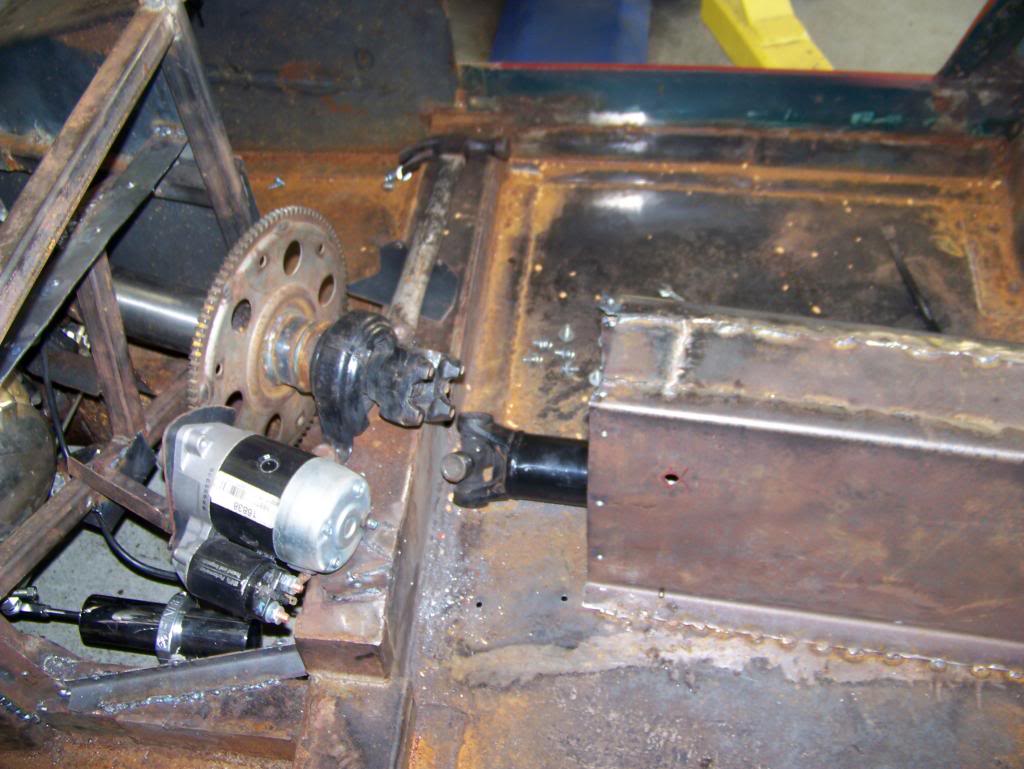
The front sections of the tunnel will bolt together so I can remove the driveshaft, which has a flywheel welded to it for a reverse gear.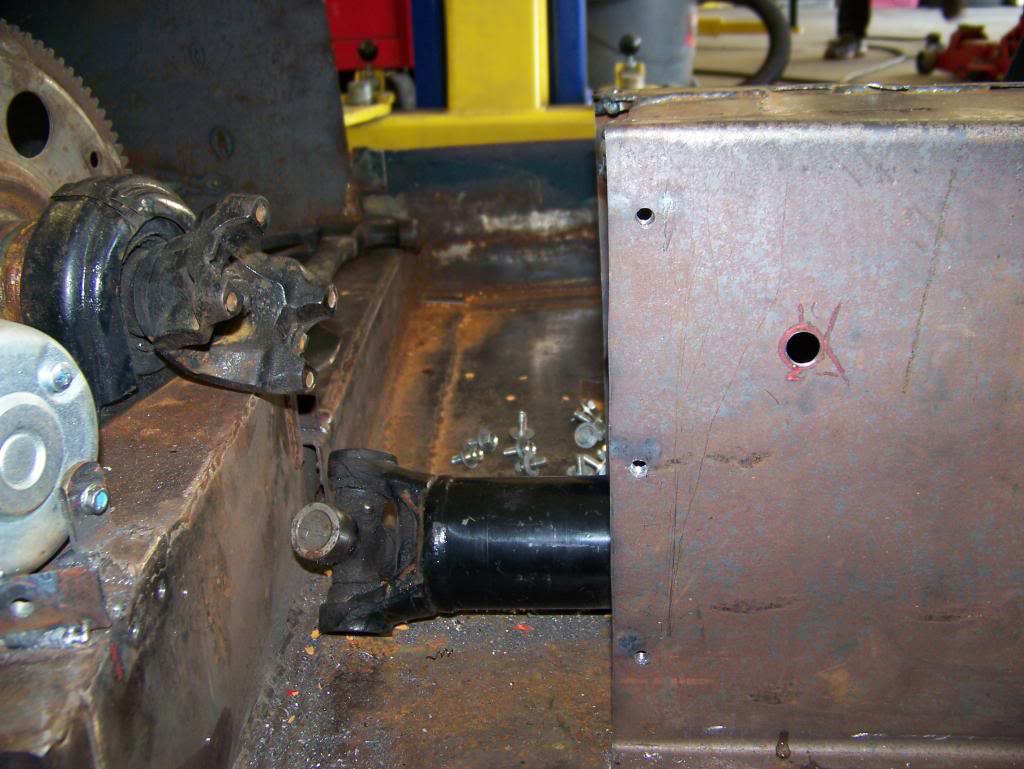
I am using a piece of round aluminum tubing for a manual shifter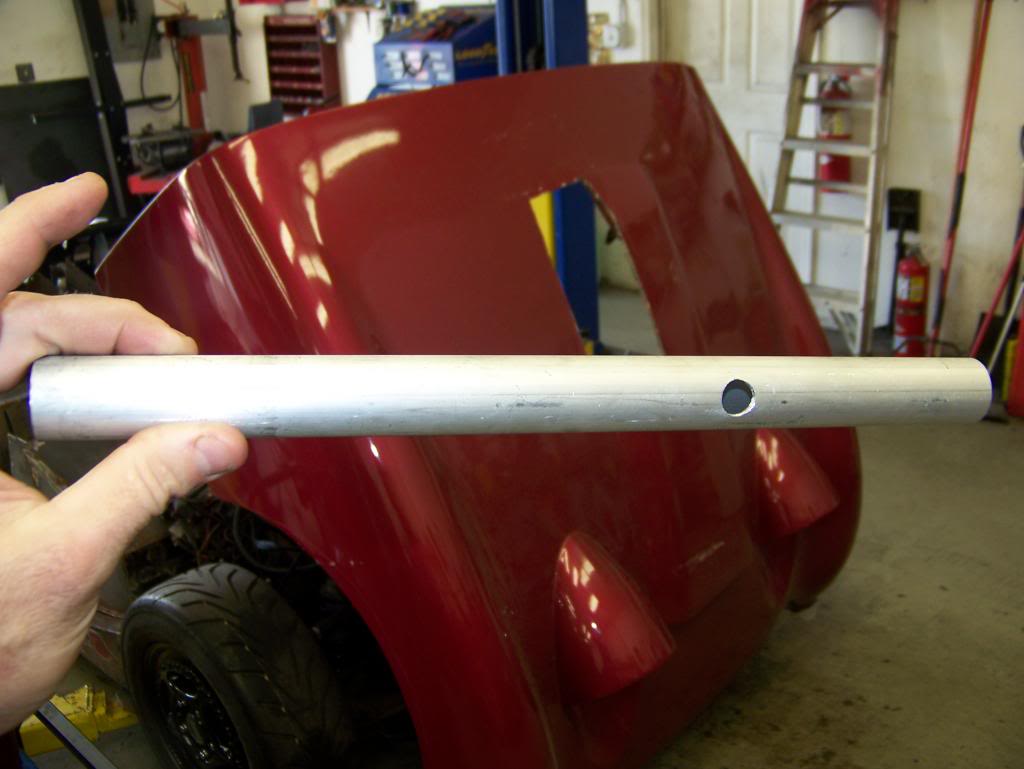
I purchased 2 heim joints for the shift rod.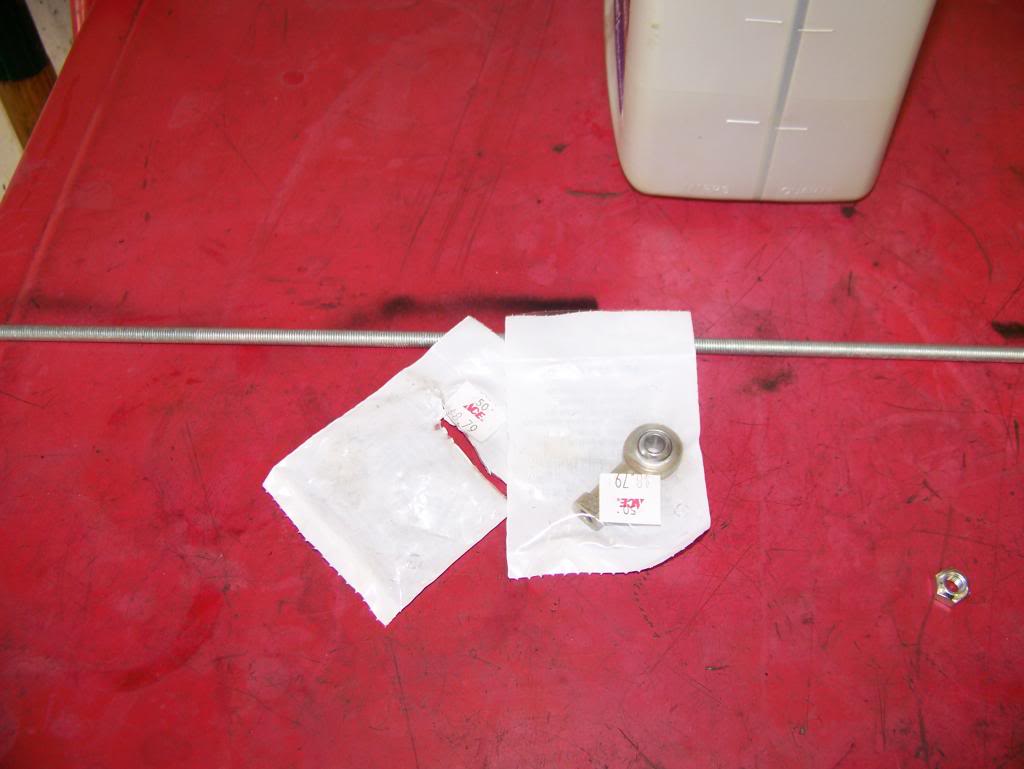
And that is all I have pics of for right now. More updates to follow.
12-24-2013
IOk, back to these 2 pics.
You can see the heim joint on the shifter. This is for the shift rod of the manual shifter.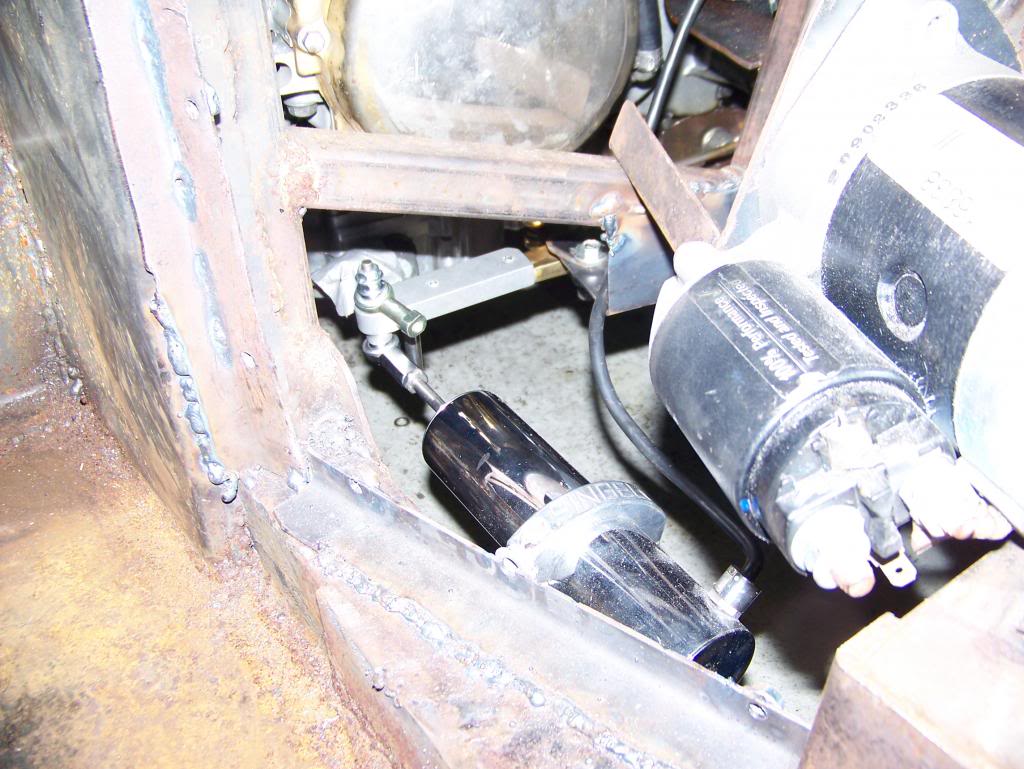
Here is the bottom of the manual shifter with the other heim joint and shift rod.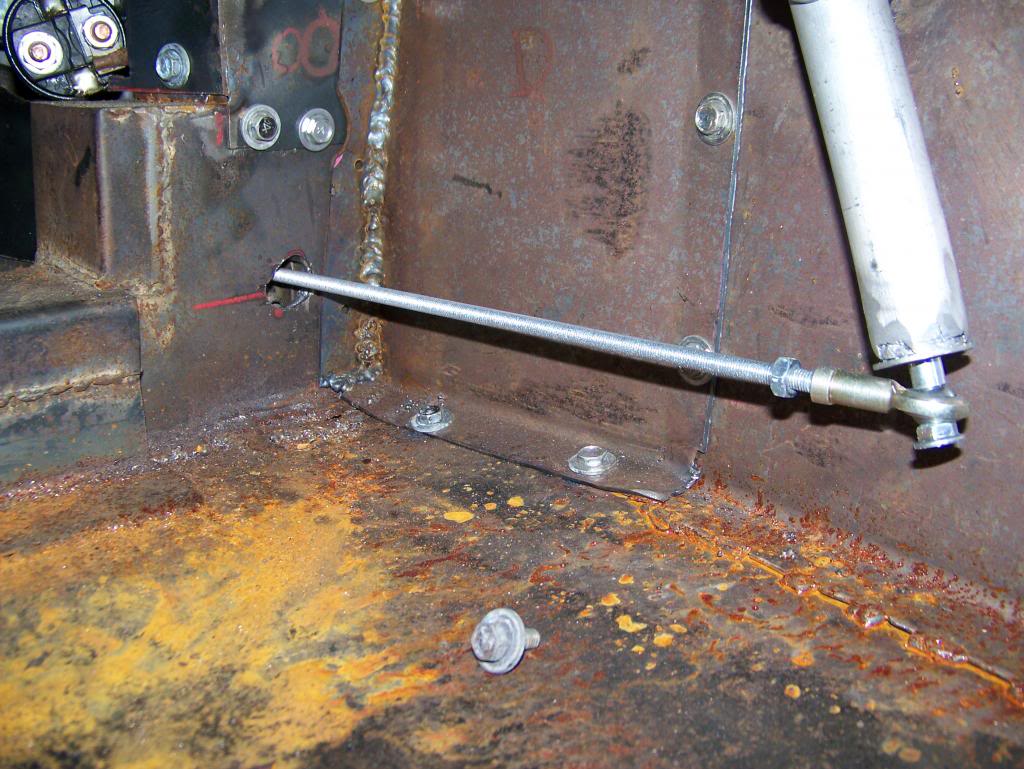
Here is the reverse gear. The starter motor and flywheel are for a reverse gear only. The bike motor has its own starter. I am hoping that there isn't so much flex in the driveline that I have clearance issues between the flywheel and starter motor.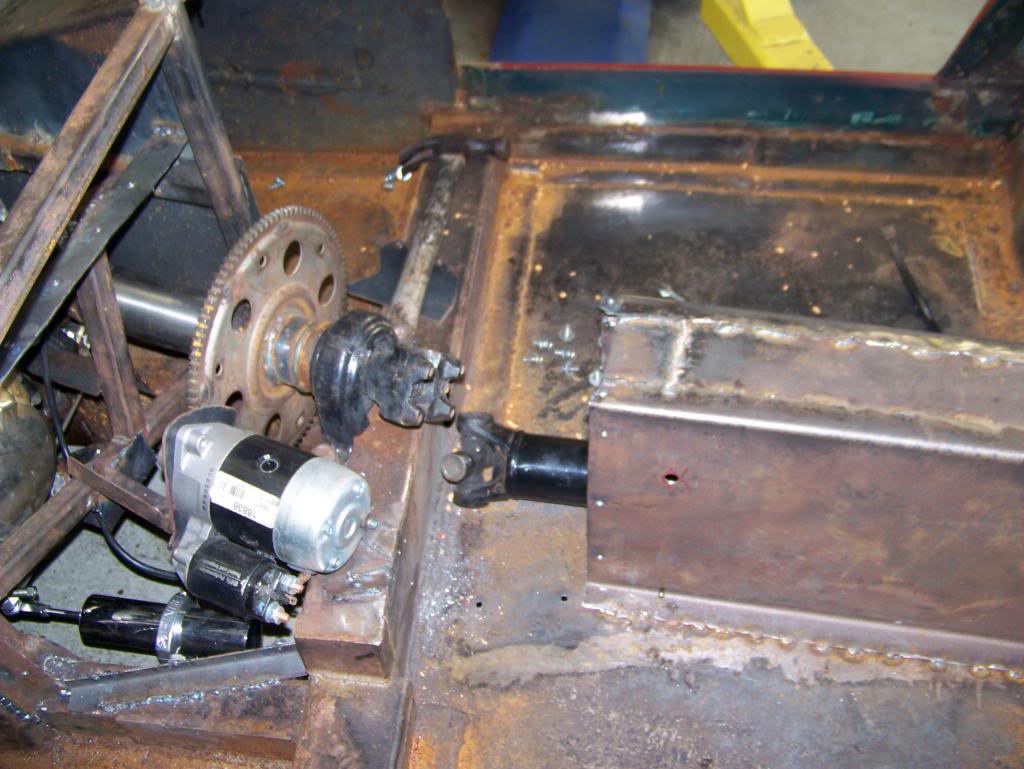
I put the seat in the car and sat in there so I could locate the manual shifter in a comfortable location. I will likely put a motorcycle handgrip on it instead of a pistol grip or knob...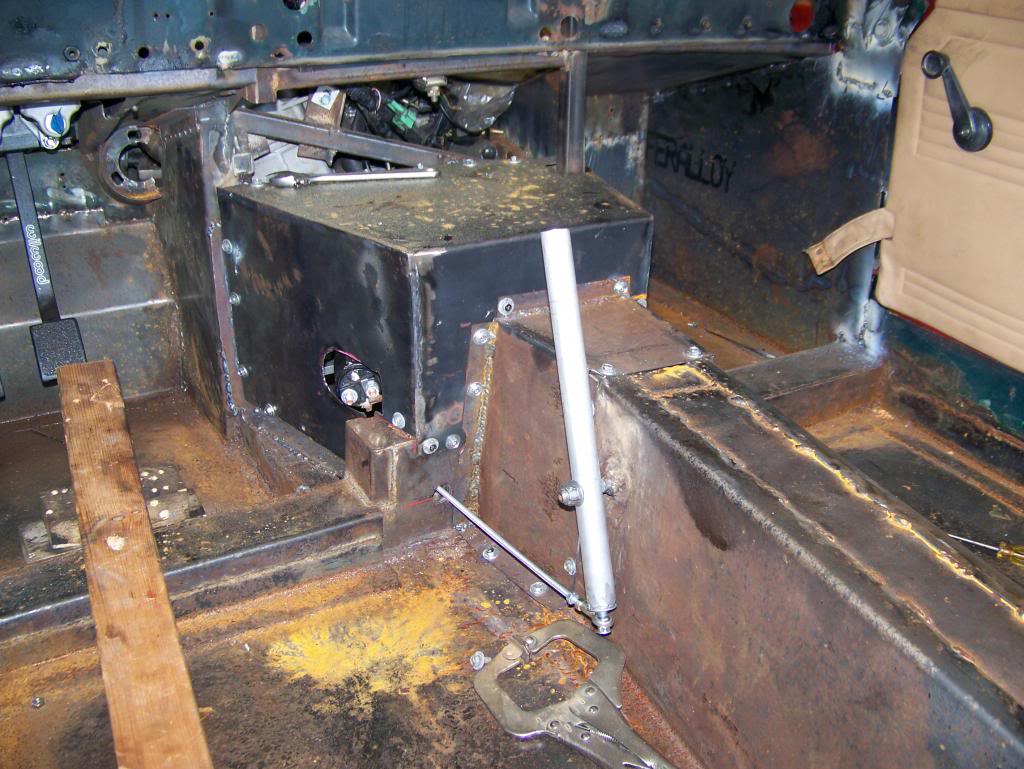
Here is the front of the tunnel installed. I had to make a clearance hole for the solenoid on the reverse starter. I will cover it with some rubber (probably a cut inner tube) for electrical insulation, then in theory, carpet will cover that if/when the interior is done.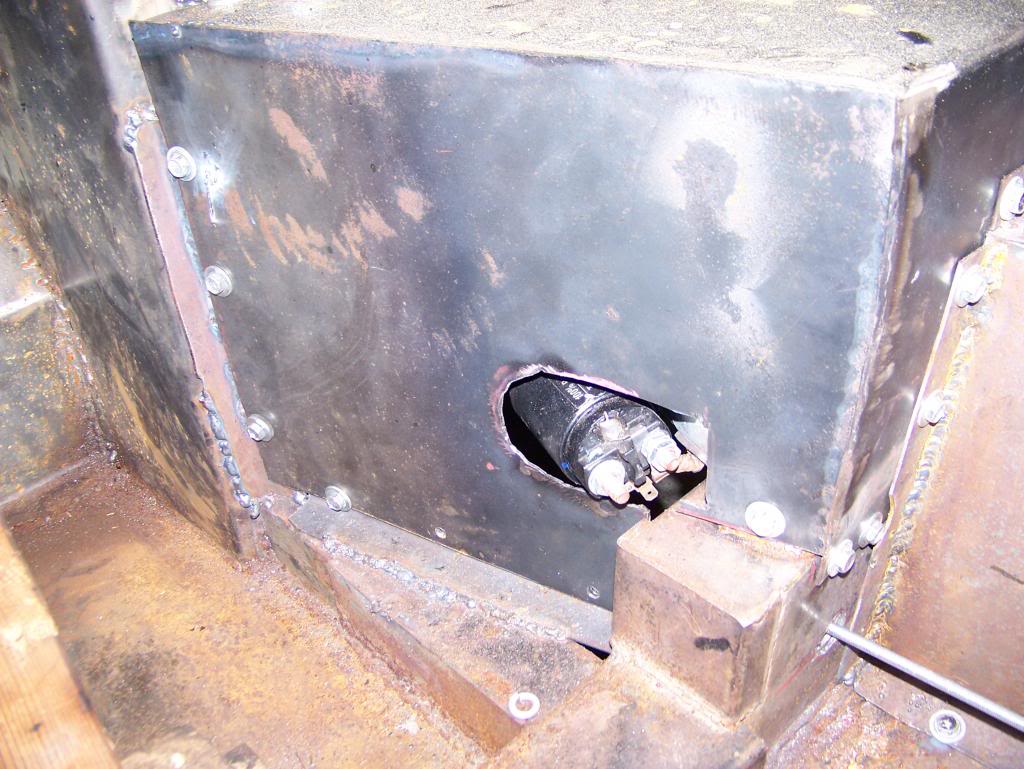
Comments

This thread was donated to our website to be preserved. If you want to message the author, please click the source link to contact.
Posted by diyauto on 8/25/21 @ 1:32:42 PM
This is a great build with so much time and effort put into recording in words and pictures. Can you help me with this question please, Is the top arm inner pivot point is in the same place as the original pivot point? Regards Davy
Posted by DavyF on 4/16/20 @ 6:44:51 PM